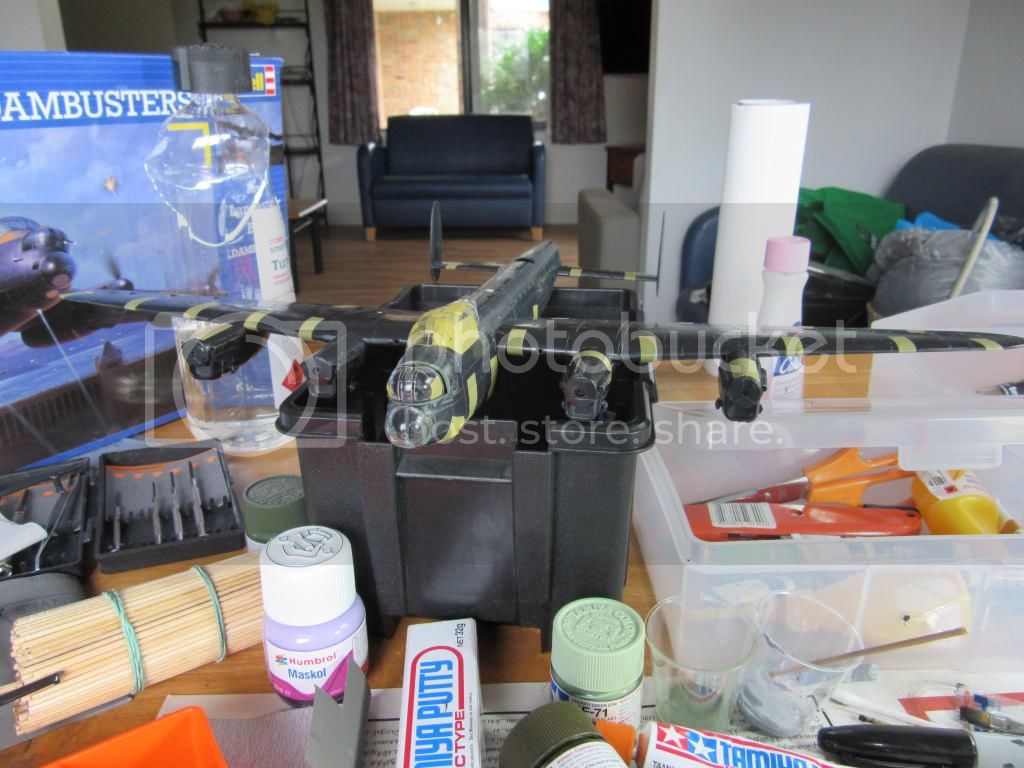
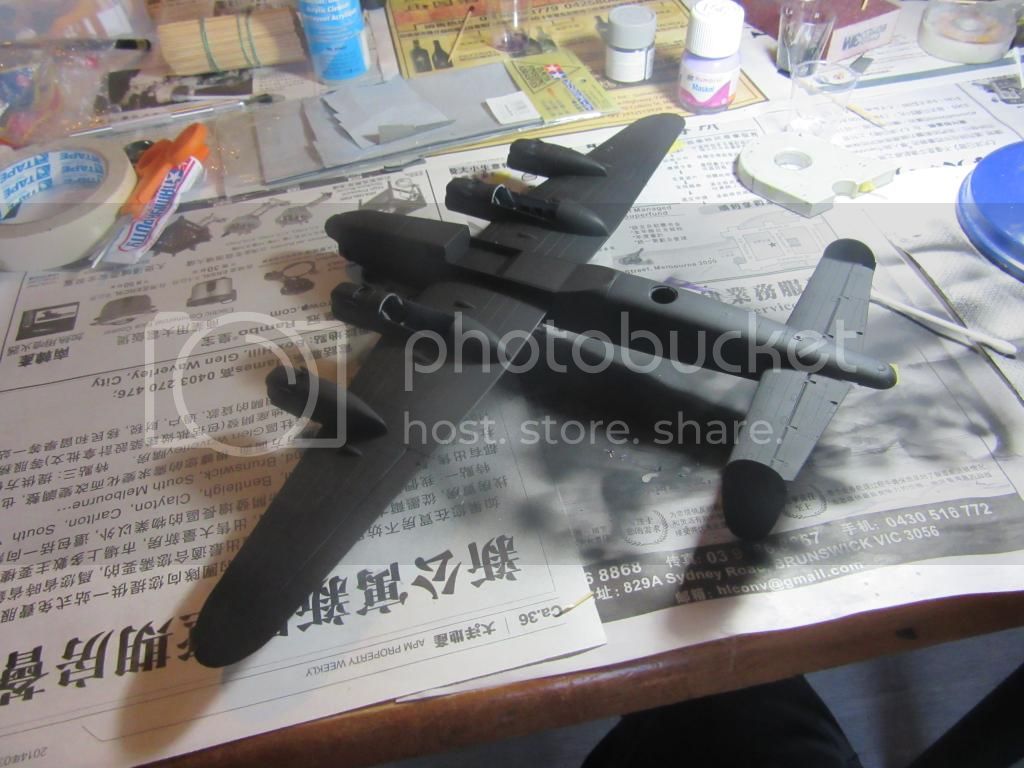
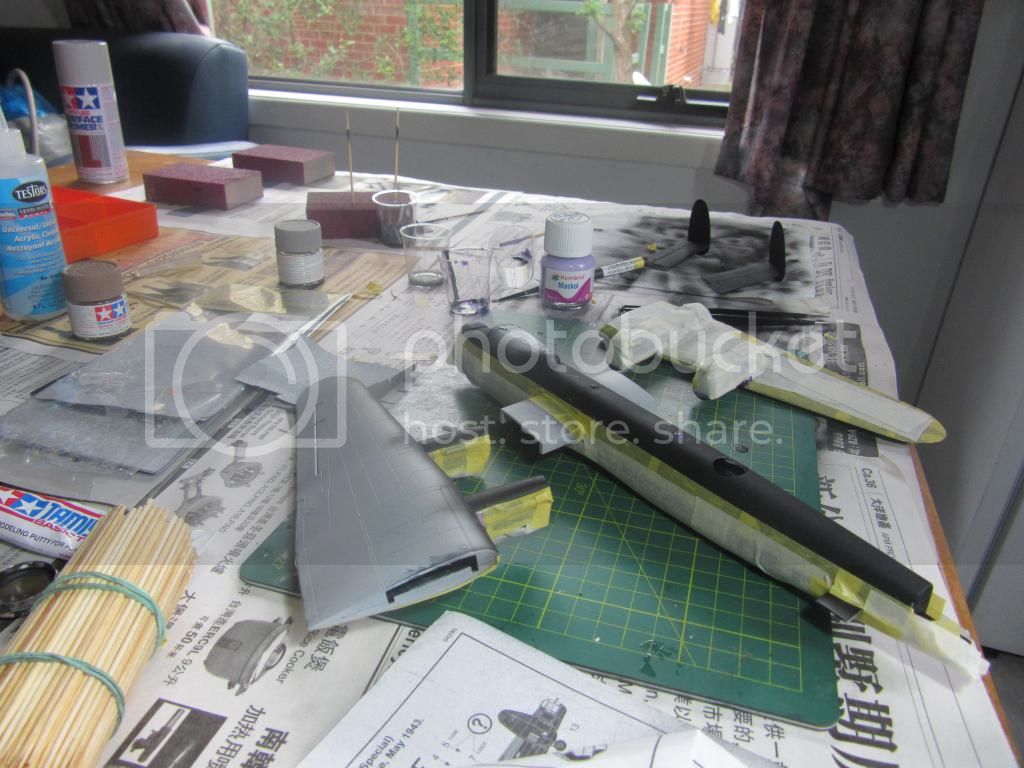
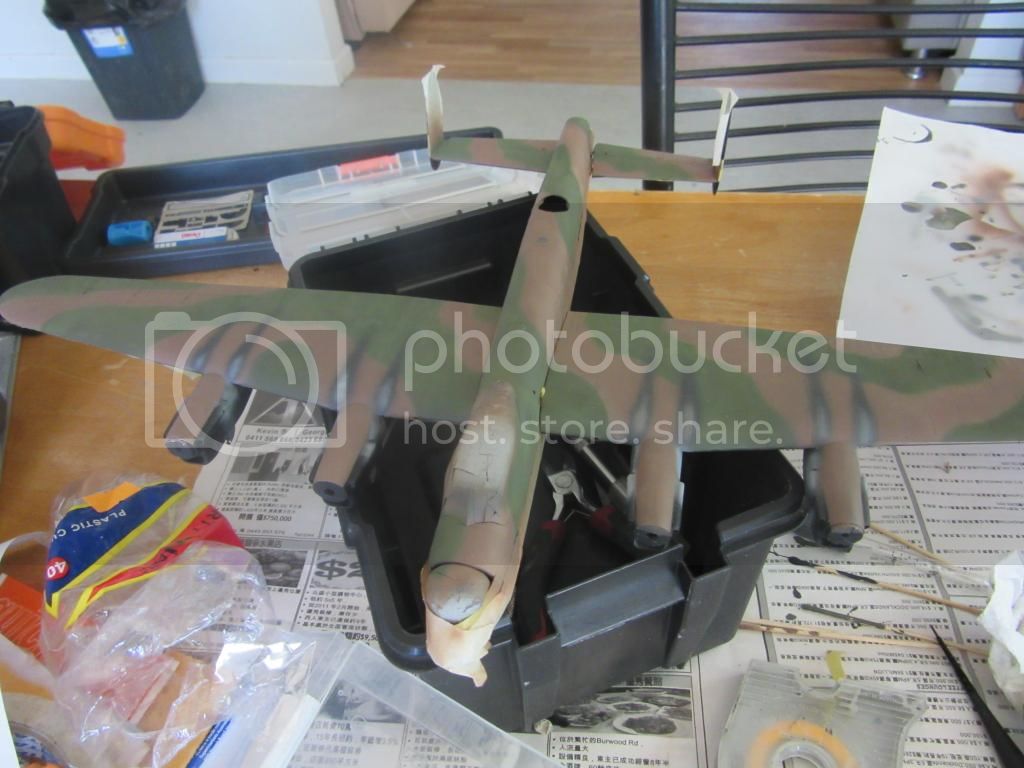
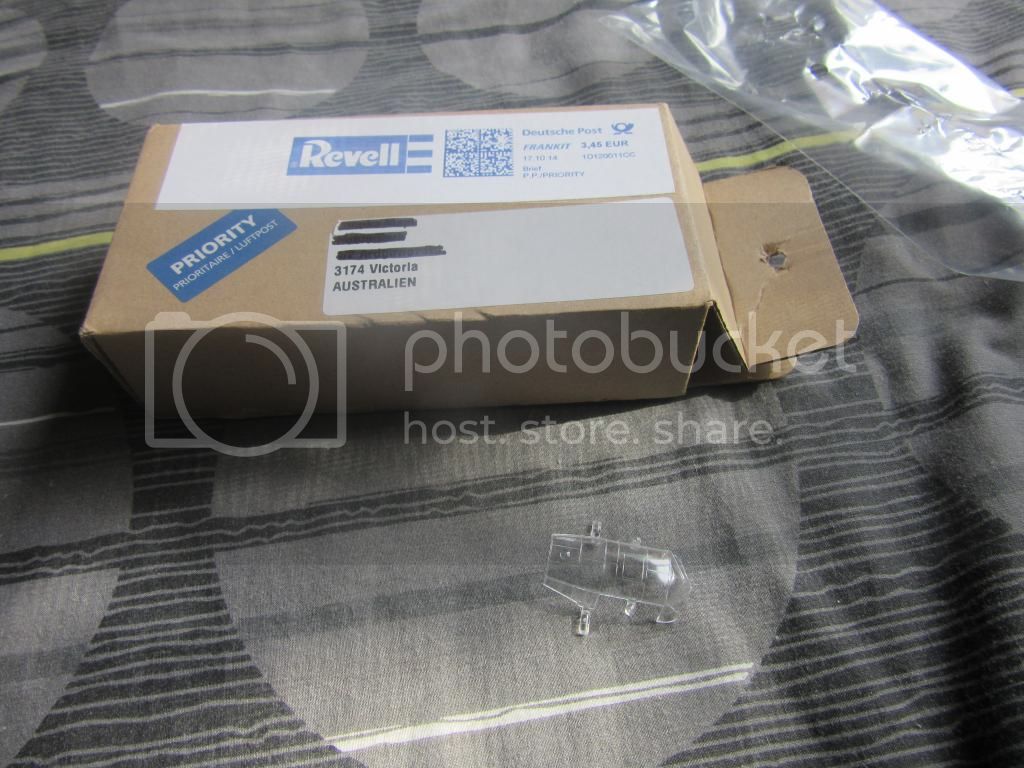
This time i shall be tackling the 1:72 Lancaster B.III 'Dambusters' kit by Revell, kit no. 04295.
This kit proved most enjoyable as I began learning more about 'Operation Chastise' and the highly ambitious bombing raids conducted by the RAF over the 16th and 17th of May 1943 to take out the Ruhr dams in Germany. Even more astonishing being the reliance of this operation on a highly experimental 'bouncing bomb' that required the bomber crews to release the bomb/mine at low altitude above the water, at a critical distance from the dam wall, and with substantial backspin to induce adequate bounce for it to reach the wall and then submerge to a depth before exploding. Finding myself heavily caught up in this I did end up watching 'The Dam Busters' (1955)!
Here's some prescribed viewing:
https://www.youtube.com/watch?v=lCRIsjJFRNo
Actually to be honest it really did remind me of the Death Star Trench sequence in Star Wars: A New Hope (1977), but we're digressing.
Let's get to the build.
Here's the unboxing, not really much to talk about here:

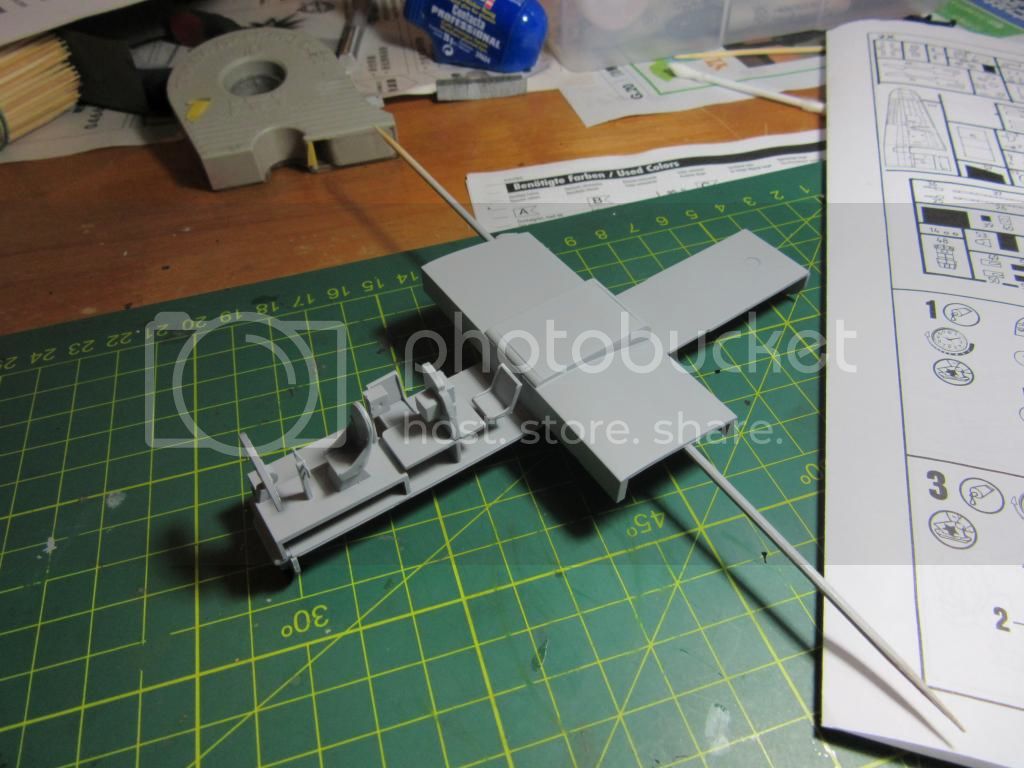
Glued together cockpit parts. Some of the parts off the sprue did require a bit of work before they were ready to fit as per the instructions, but not too much:

Moved on to Priming. Used Tamiya Surface Primer (Light Grey) FINE. Was really happy with the result as I had only used the 'non-fine' version in previous builds, but this turned out much better:
Ordered some Eduard photo-etched parts online. I find these really tricky and temperamental to work with, but a lot of people helped my get my head around them on my last build, so I felt much better equipped this time. Cyanoacrylate adhesive all the way!:

Cockpit painted.

Not finished just yet. All painting was done with a brush. I would have preferred to use an airbrush on certain areas, but I don't have a compressor anymore because my last one ended up having a faulty pressure switch, and though its still under warranty, it looks like I won't see a replacement for a good three weeks maybe.

But back to the build, I attempted to scratch build a few things in like the seat cushions, the desk lamp and navigators map with pen. I'm not all that confident with scratch building. I was hoping someone would share tips or a good reference thread. Once everything comes together more satisfactorily i'll start trying to put in some chipping effects with a Derwent silver metallic pencil.
Here's the cockpit from the back view.

From the back it doesn't look too bad but paint on the floor is cracking. I have a feeling I will need to re-paint and apply the wash again. i have a bad habit of spraying too much Tamiya TS-80 Flat Clear on, and it can really crack the paint.
 But apart from this I feel more or less content with everything, including the end result with the PE parts.
 This is my last photo for this build so far, and it is kinda tragic:

Yes that is indeed a CRACKED part 48 on the clear parts sprue, which just happens to be the cockpit canopy! After spending some considerable time 'not' getting over this, I spurred up the initiative to contact revell replacement parts through [email protected], and they actually got back to me very promptly, which I was very very impressed with.
Well there you have it! I hope you enjoyed reading about my progress so far. I will try my bet to update soon.


