Bryan,
The only time I've ever had that issue is with very old and brittle decals. I store all my decal sheets in plastic zip loc bags with as much air removed as possible.
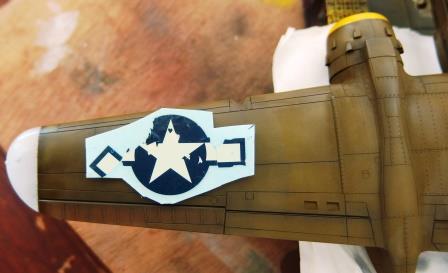
If it's just the Stars and Bars, you can get replacements from just about any decal sheet. If it's stenciling, numbers, & tail codes, they're all standard WW11 sizes and fonts, and again, there are numerous aftermarket generic sheets. That leaves just any nose art. If you haven't tried to apply the decal yet,here's a few products and methods that do work.
for yellow decals I've heard of this fix: Try taping the decal to the inside a sun-facing window with a piece of cardboard as backing. That will keep the sheet flat and support it at the same time. After a few days the yellow will start to disappear. The degree generally varies, but less is better in this case.
To avoid cracking issues of old,dried out decals, where you can see or not see the cracking, you can check for cracking issues with any form of magnification. If you do find cracks, or don't want to take chance of the decal falling apart in the water bath,you can apply a protective clear coat.
Microscale has Liquid Decal Film which has the thickest protective coating, and usually just one coat will do it. Another use for Pledge/Future is a diluted solution brushed on the decal. I would use a 50/50 mix, and apply 2 coats on a test decal.
One thing I do with old decals is to test them before the build if there is a particular decal that isn't replaceable.
Joel