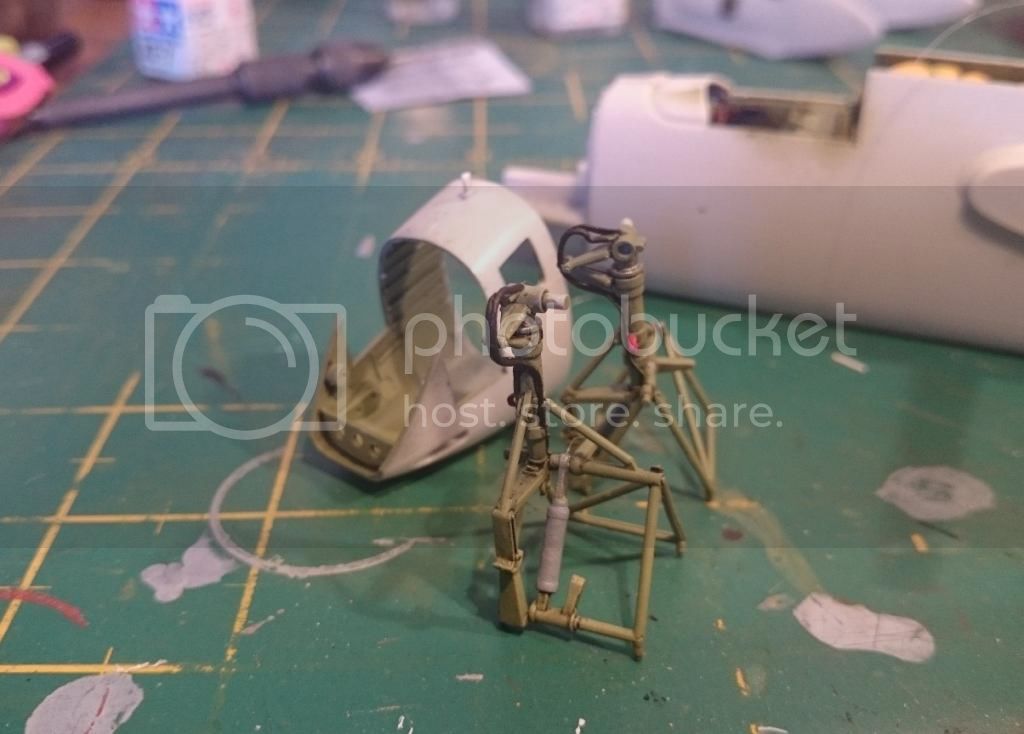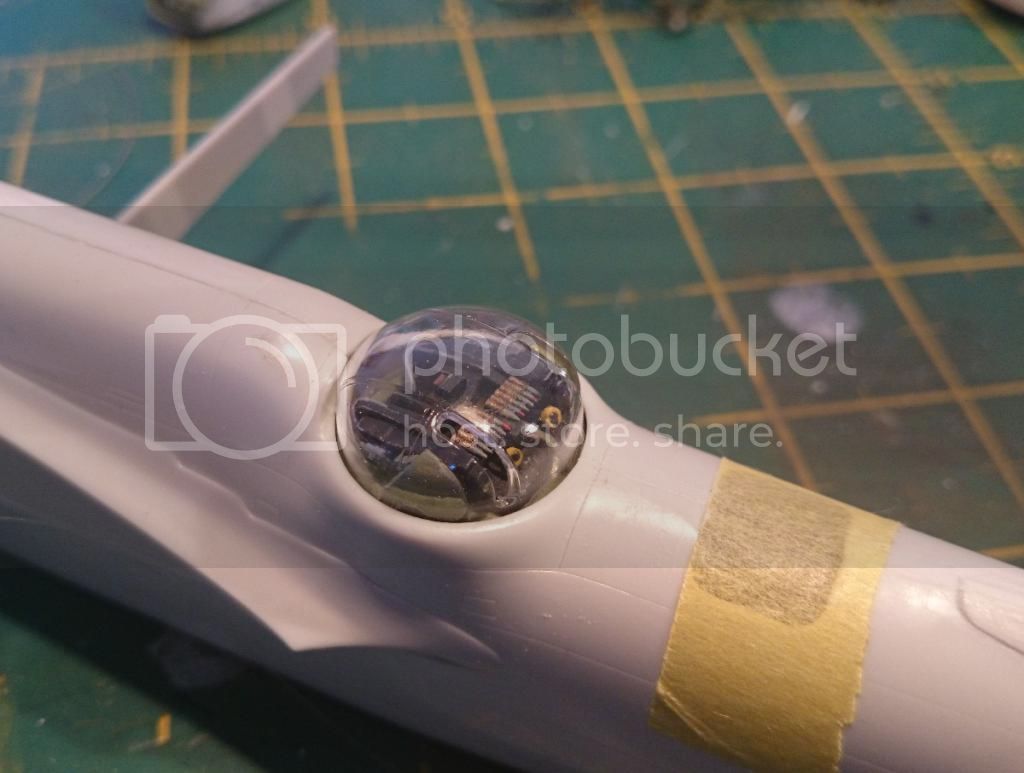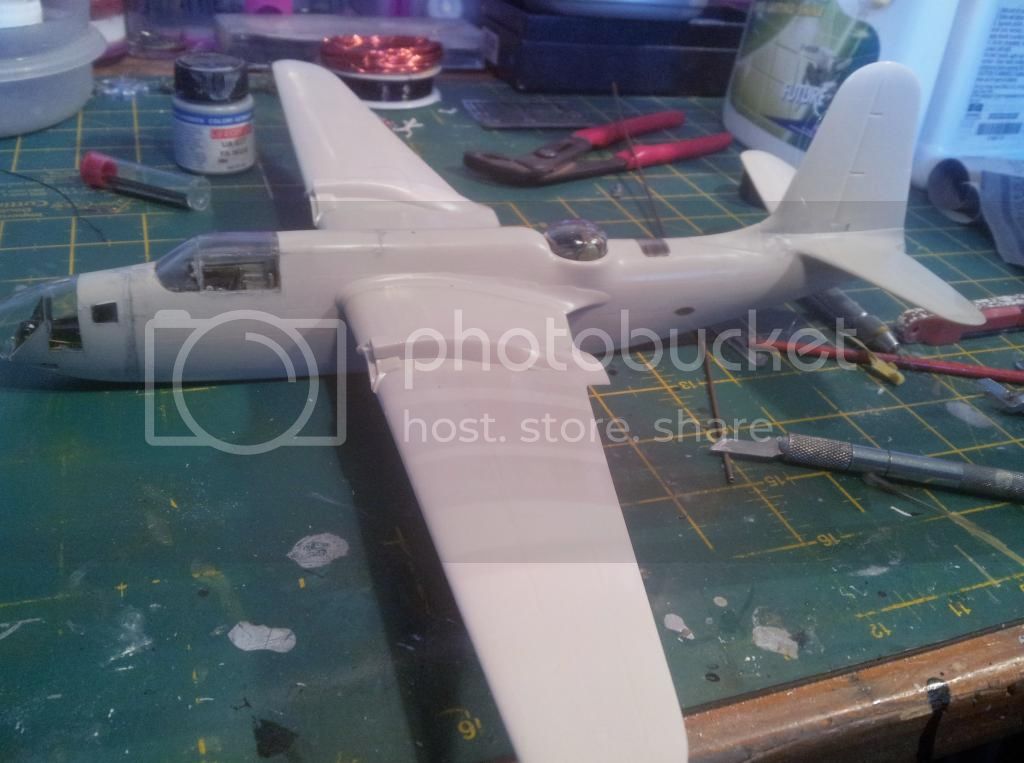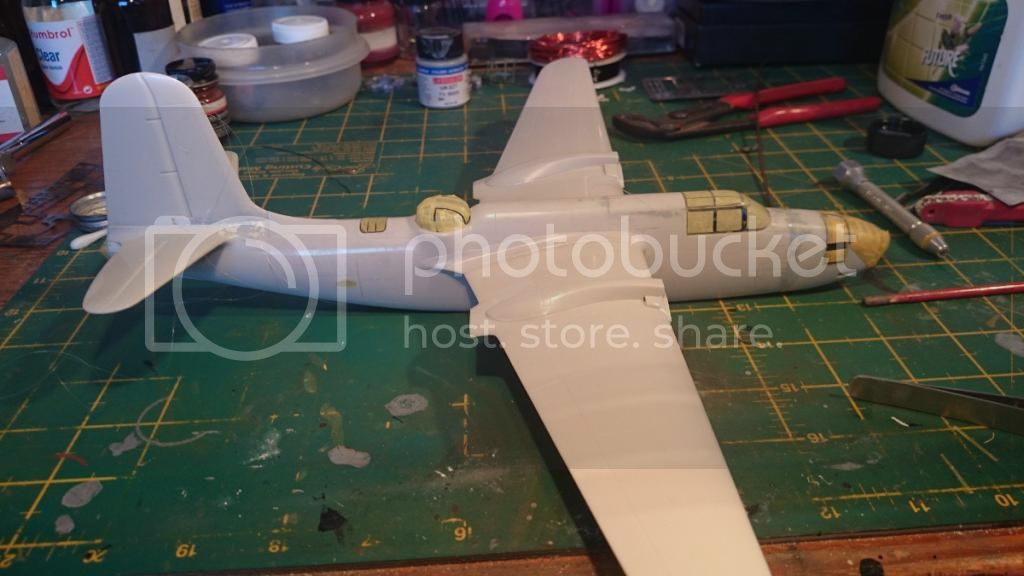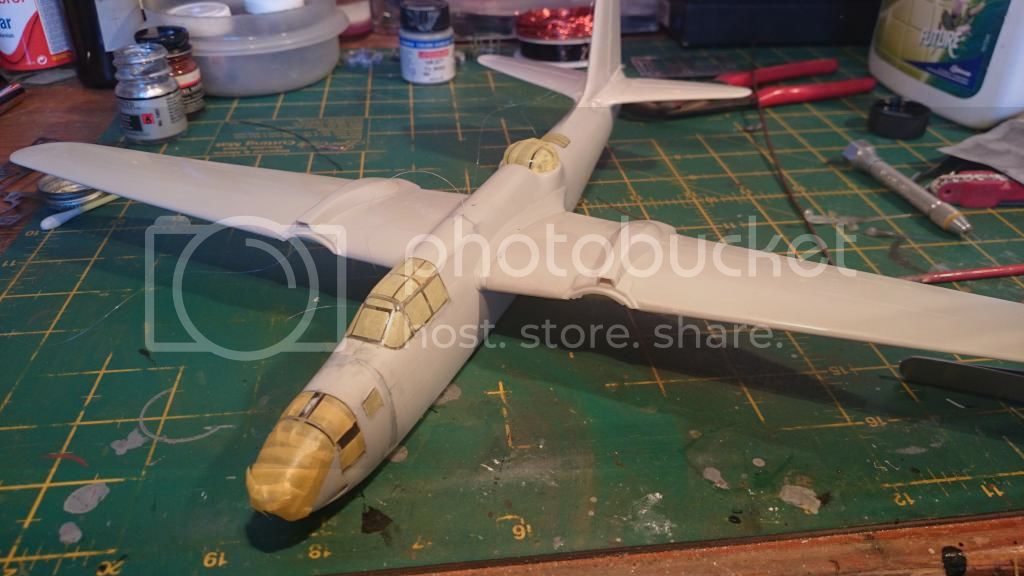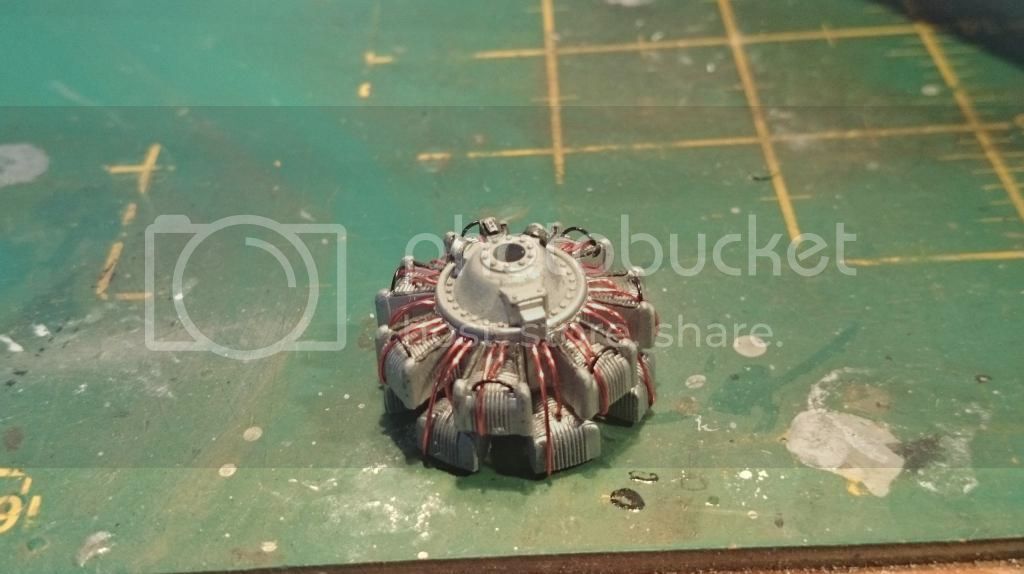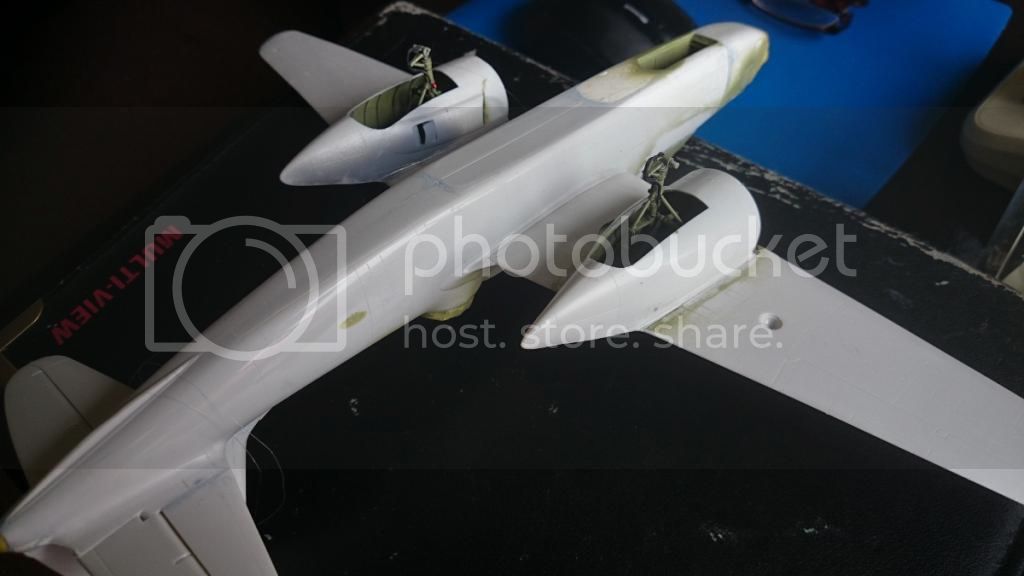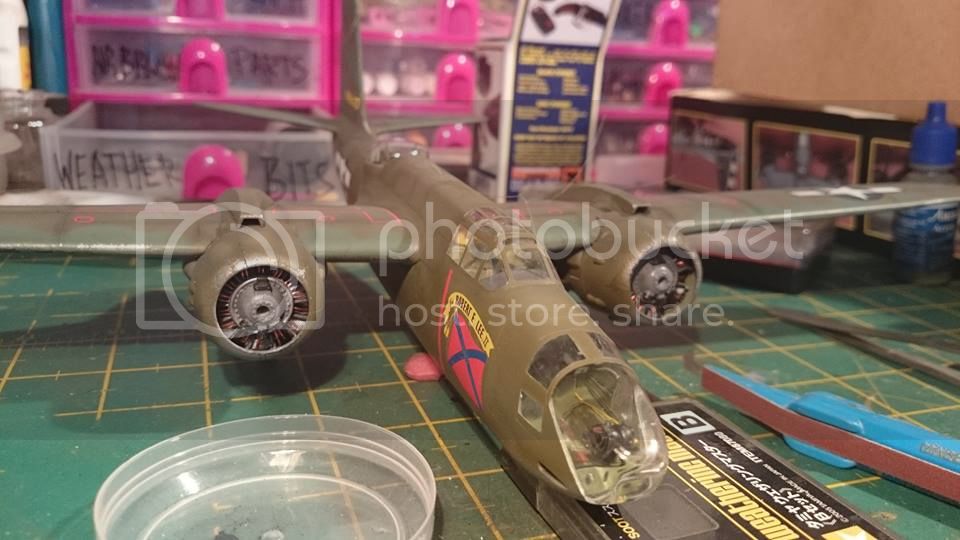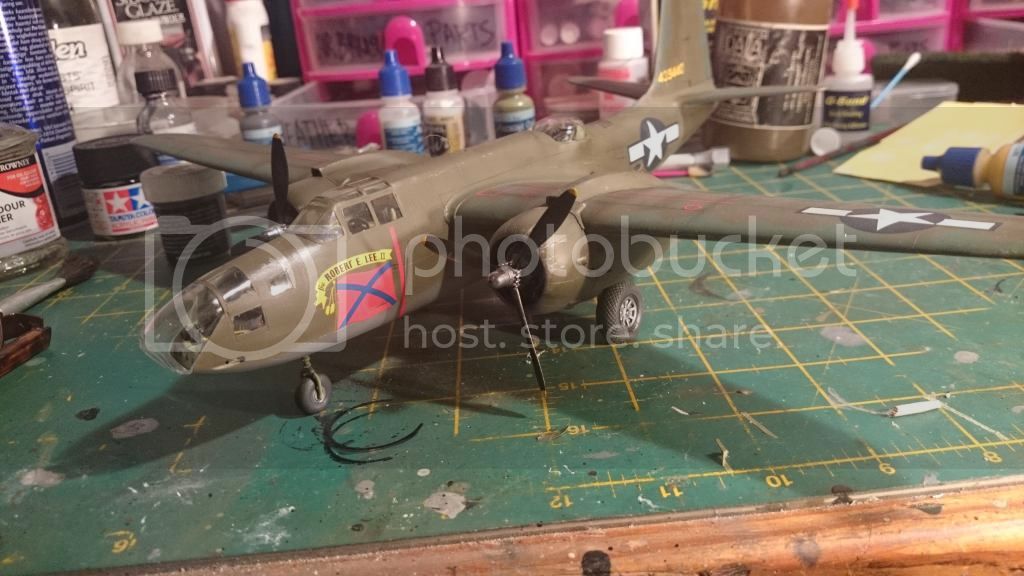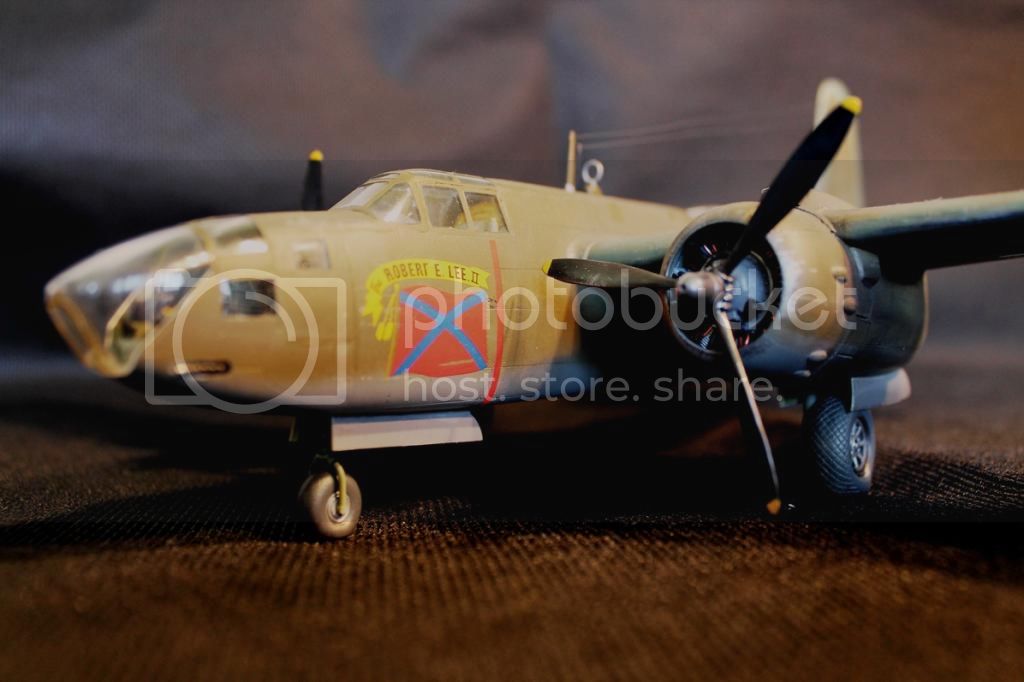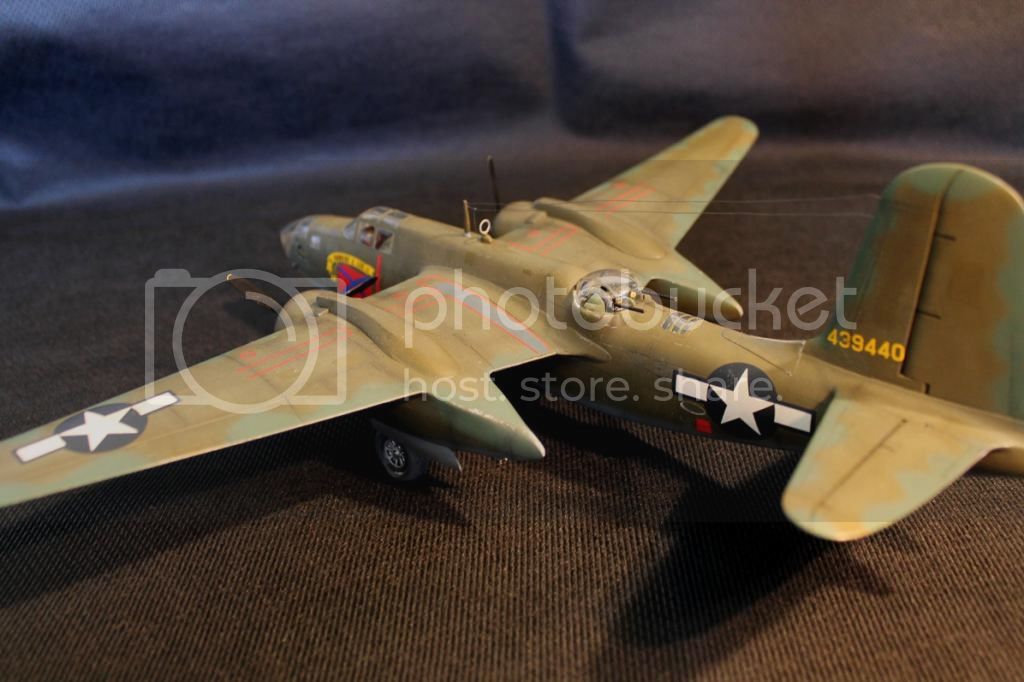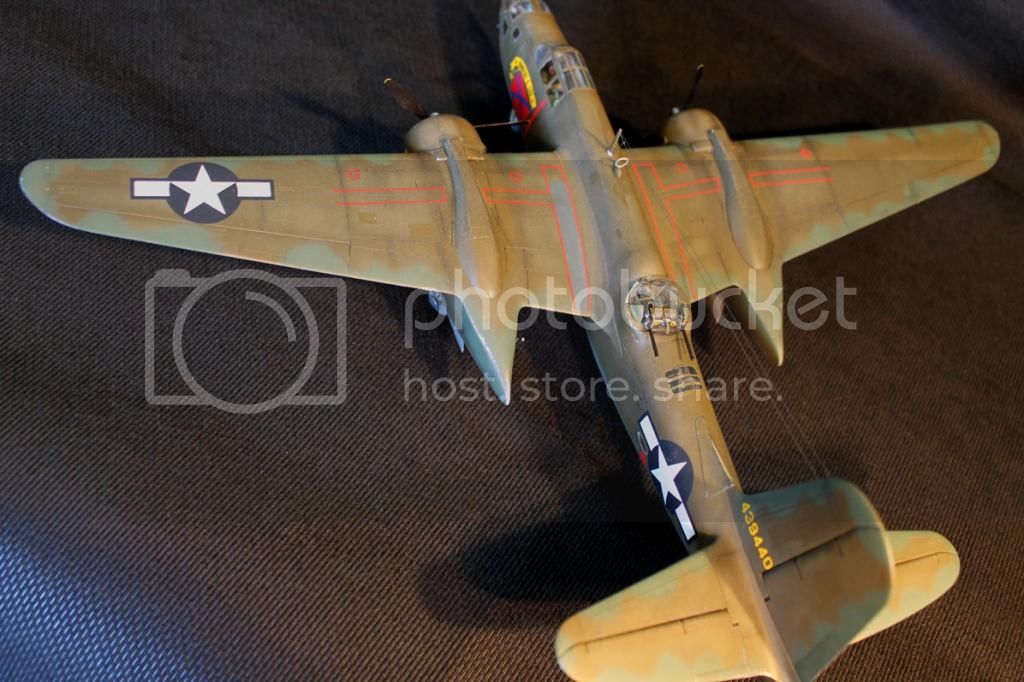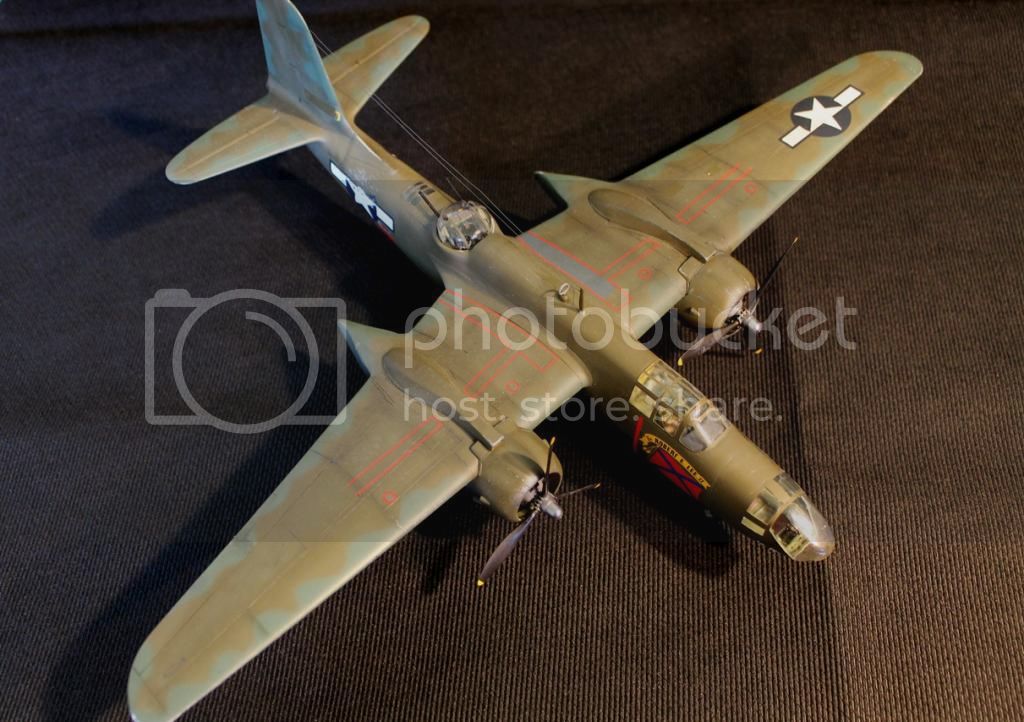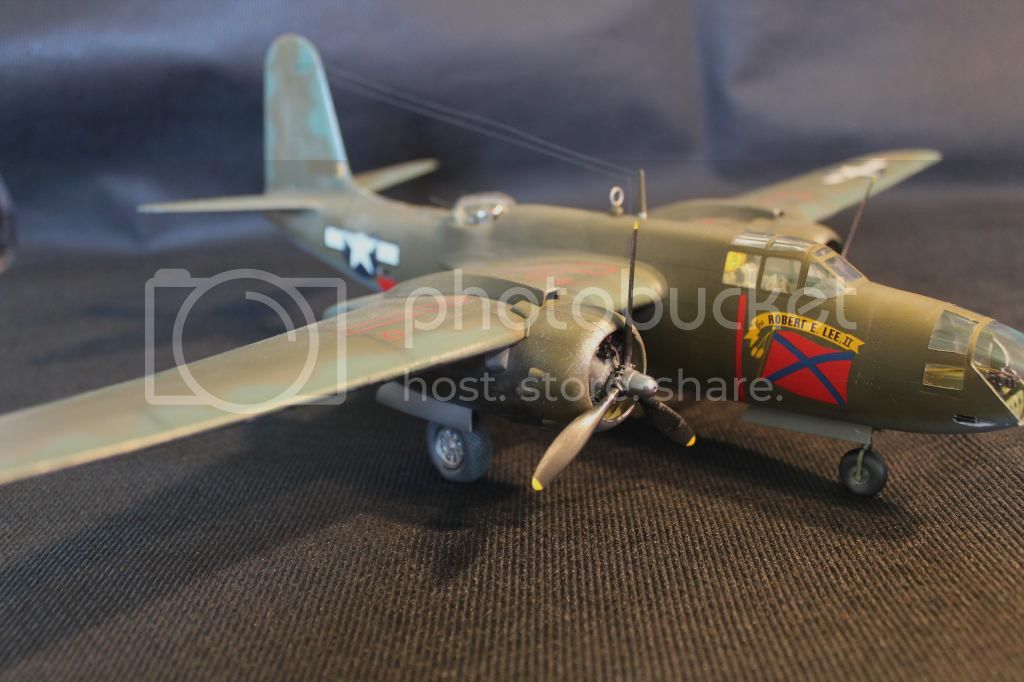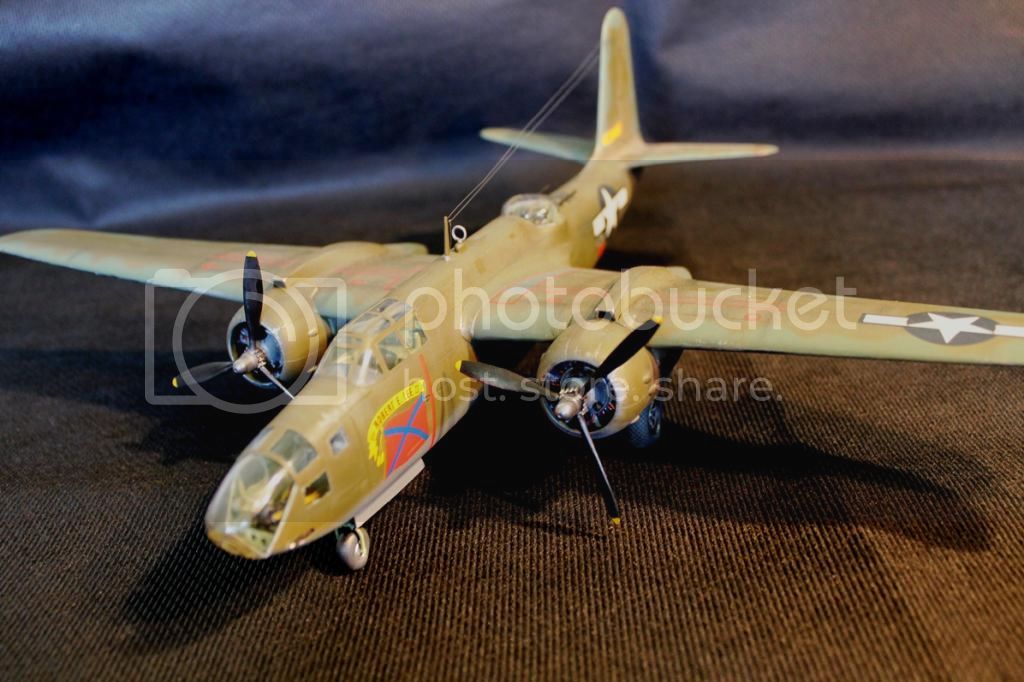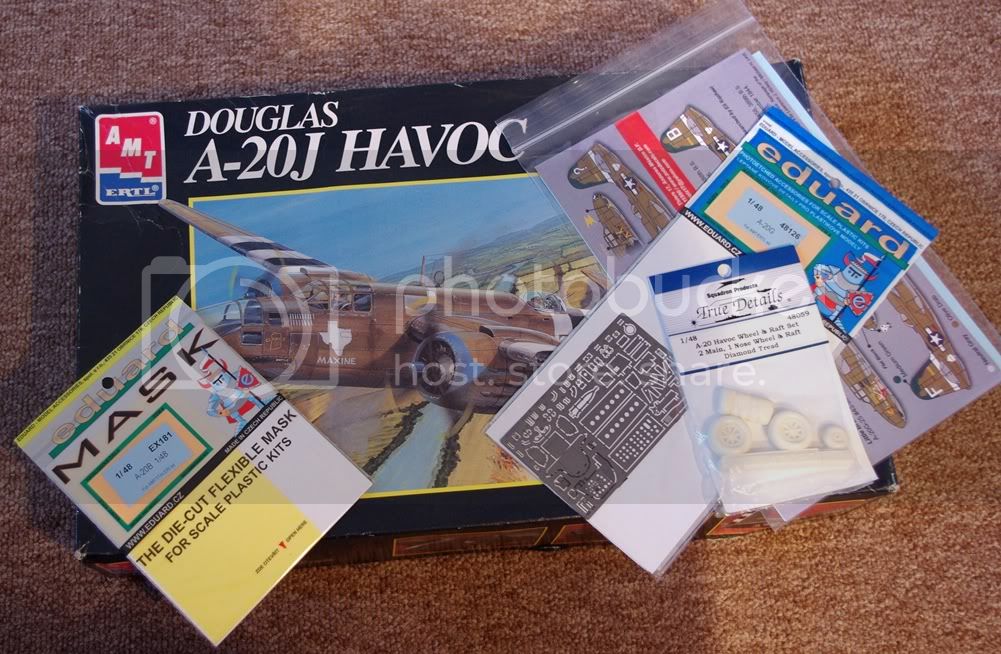
This is AMT/ERTL's Douglas A-20J.
The kit looks pretty good if somewhat sparse but nothing that can't be fixed by AM goodies. I'll be using Eduards Cockpit set (actually very little of it fits). The kit comes with True Details wheels and raft - the wheels are simply miles better than the horrible kit ones - the diamond pattern on the kit wheels is "layered"on - looking like snake skin, rather than cast with recess tread and looks appalling!
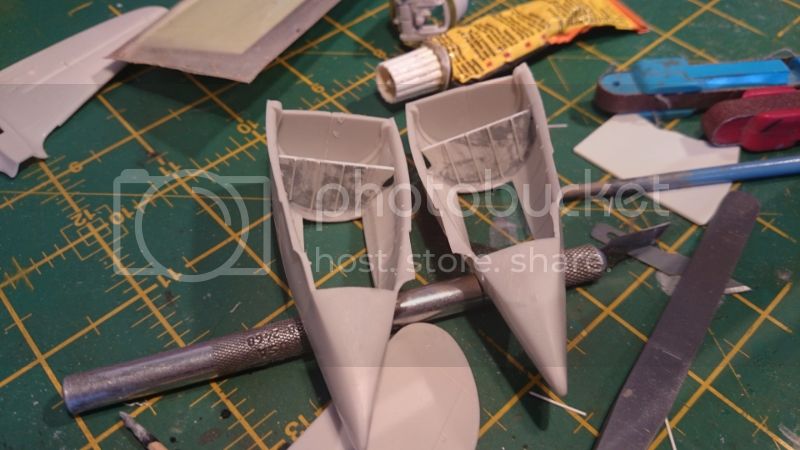
I must say from dry fitting, everything seems to snuggle up nice and tight. Another huge "needs fixing"area is the main wheel wells, they are just empty caverns and the forward section looks straight into the empty nacelles area. Bombadier's area is also going to have to get some extra trash to make it look a bit busier.
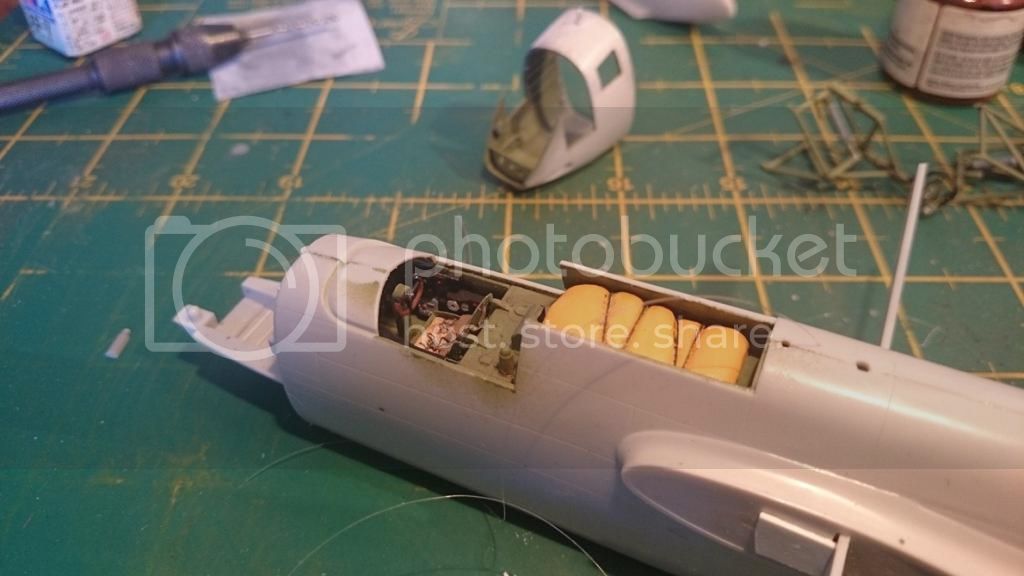
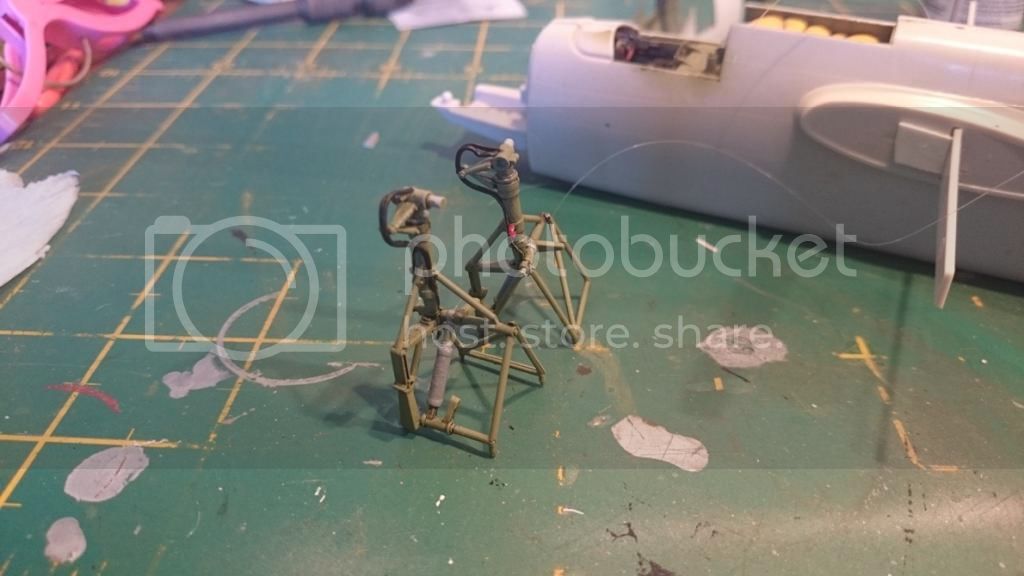
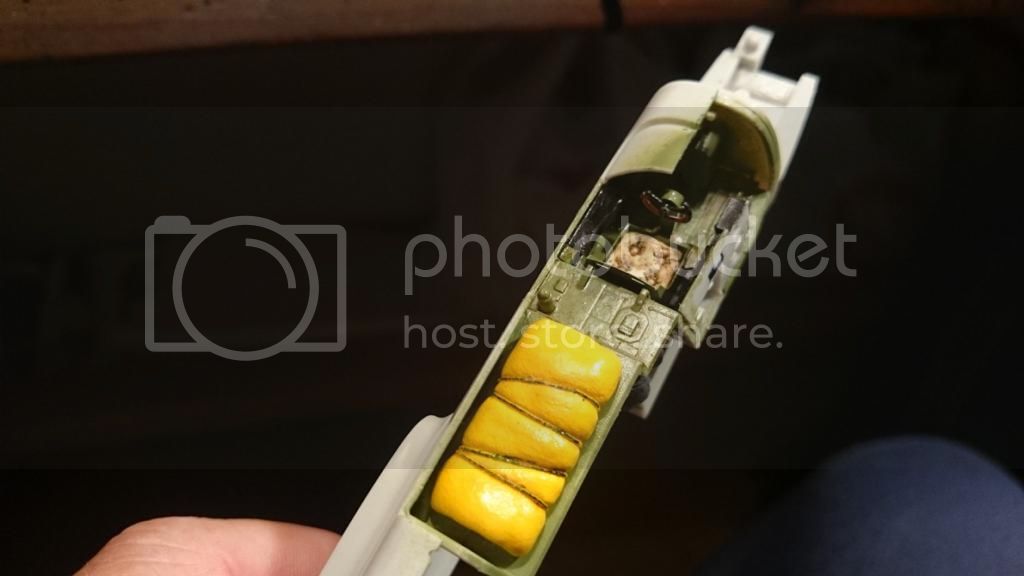
Cockpit went OK but as I said i could use very little of ED's interior set...note the Millipit seat cushion
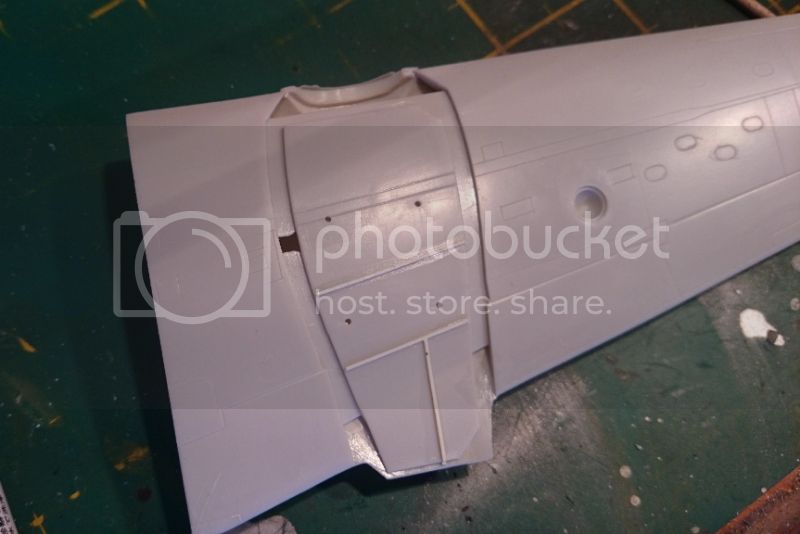
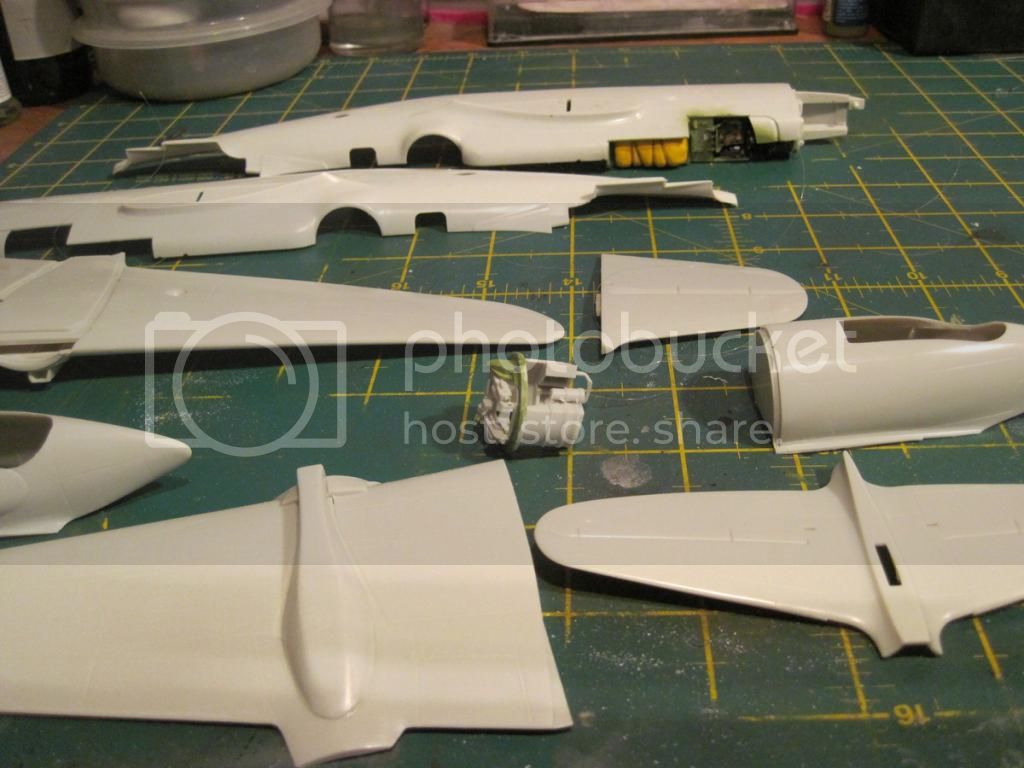
All major sections fit really well and besides a slight upward warp of the wings tips which hot water sorted out, they are all ready for assembly....
World War II
Discuss WWII and the era directly before and after the war from 1935-1949.
Hosted by Rowan Baylis
AMT/ERTL's Douglas A-20J.
jugjunkie
South Africa
Joined: January 20, 2009
KitMaker: 140 posts
AeroScale: 84 posts
Joined: January 20, 2009
KitMaker: 140 posts
AeroScale: 84 posts
Posted: Monday, November 03, 2014 - 07:14 PM UTC
berndm
Niedersachsen, Germany
Joined: March 26, 2014
KitMaker: 844 posts
AeroScale: 630 posts
Joined: March 26, 2014
KitMaker: 844 posts
AeroScale: 630 posts
Posted: Monday, November 03, 2014 - 07:20 PM UTC
Great start Geoff, the cockpit look really good ! Got this kit in my stash too and will watch your build with interest !
Joel_W
Associate Editor
New York, United States
Joined: December 04, 2010
KitMaker: 11,666 posts
AeroScale: 7,410 posts
Joined: December 04, 2010
KitMaker: 11,666 posts
AeroScale: 7,410 posts
Posted: Tuesday, November 04, 2014 - 03:48 AM UTC
Geoff,
Nice start as the cockpit looks pretty good. Once the fuselage halves are glued together, you won't see that much of it to be concerned about.
The wheel wells and Bombay will take considerable work. What are your plans for adding some detail?
Lately my detailing philosophy has me more concerned with adding details that will be seen when the model is on it's wheels in my display case, or being photographed ( I don't turn the model over for a picture shoot). Since I no longer build for contests, but rather static displays, I've drastically cut down on the amount of detailing I try to do in wheel wells, or areas that will only been seen if the model is turned over.
Joel
Posted: Tuesday, November 04, 2014 - 07:30 AM UTC
I'll be watching this with interest, I have one in the stash as well. I seem to remember that AMT did almost all the A-20 variants in the catalogue the old model shop in my town used to have. Course I was more interested in the Trek and Star Wars kits at the time so never thought to get any.
Thearmorer
Alabama, United States
Joined: June 17, 2014
KitMaker: 121 posts
AeroScale: 118 posts
Joined: June 17, 2014
KitMaker: 121 posts
AeroScale: 118 posts
Posted: Tuesday, November 04, 2014 - 01:37 PM UTC
Geoff,
Your build's looking real good at this stage. Just a work of caution though, AMT put the main landing gear mount holes too far aft. I built one of these babies several years ago and if memory serves me right, I had to move all 4 mount holes 1/4 inch (6.35mm) forward. The main strut should be just aft of the forward edge of the wheel well opening. Since all 4 mount holes are parallel, just draw a fore/aft line thorough the left and right pair of mount holes for each main gear and mark four new hole locations, each 6.35mm forward of the existing hole. The drawback on this adjustment is it will put the center of gravity on an already tail heavy model even further back. Note: Since by your pictures you've got the nacelles together already, the measure twice cut once school of thought would dictate dry-fitting the nacelle and line up the main gear to make sure my memory on spacing is good.
jugjunkie
South Africa
Joined: January 20, 2009
KitMaker: 140 posts
AeroScale: 84 posts
Joined: January 20, 2009
KitMaker: 140 posts
AeroScale: 84 posts
Posted: Tuesday, November 04, 2014 - 08:31 PM UTC
Quoted Text
Geoff,
Your build's looking real good at this stage. Just a work of caution though, AMT put the main landing gear mount holes too far aft. I built one of these babies several years ago and if memory serves me right, I had to move all 4 mount holes 1/4 inch (6.35mm) forward. The main strut should be just aft of the forward edge of the wheel well opening. Since all 4 mount holes are parallel, just draw a fore/aft line thorough the left and right pair of mount holes for each main gear and mark four new hole locations, each 6.35mm forward of the existing hole. The drawback on this adjustment is it will put the center of gravity on an already tail heavy model even further back. Note: Since by your pictures you've got the nacelles together already, the measure twice cut once school of thought would dictate dry-fitting the nacelle and line up the main gear to make sure my memory on spacing is good.
Thanks for this, i will need to do some head scratching about this one because the problem is that since the last update I have now also created a forward firewall in the wheel well because of the large un-sightly cavern in the nacelle...
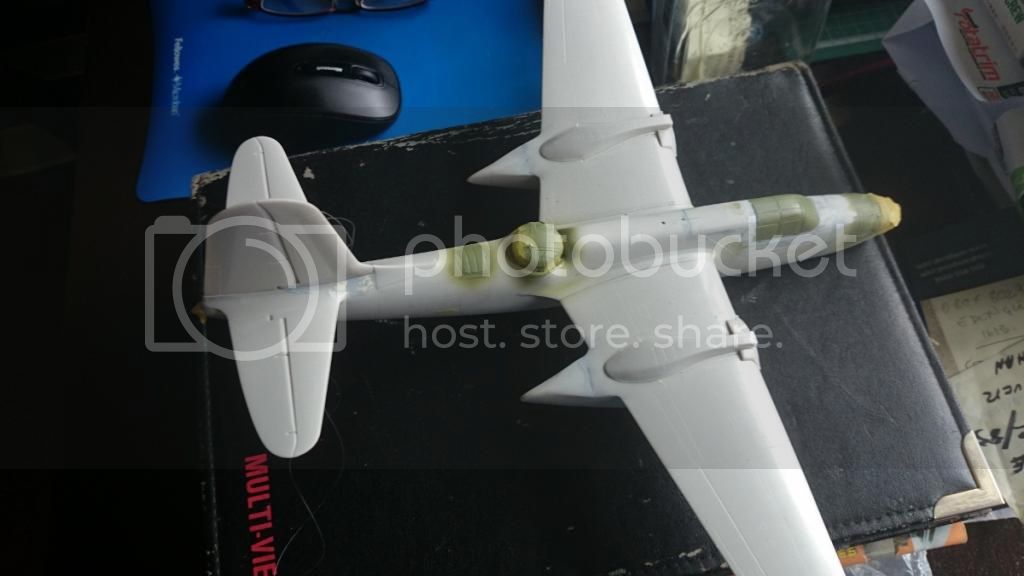
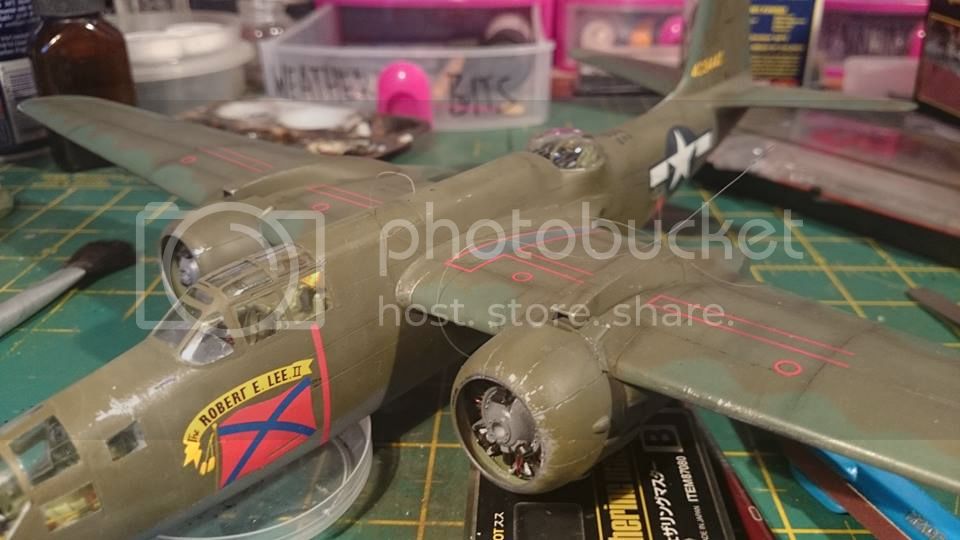
and I started to add some detail to wing section of the nacelle so i may just have to live with gear position on this one but thanks for the heads up anyway.
jugjunkie
South Africa
Joined: January 20, 2009
KitMaker: 140 posts
AeroScale: 84 posts
Joined: January 20, 2009
KitMaker: 140 posts
AeroScale: 84 posts
Posted: Monday, December 01, 2014 - 02:01 PM UTC
Posted: Monday, December 01, 2014 - 05:35 PM UTC
Great work so far Geoff, very nice detailing.
I started the P-70 version of this kit for the Nightfighters campaign a couple of years back and it sits forlornly in the hangar queen stash waiting for my life to become a bit less complicated!
I look forward to the next update.
Cheers, D
I started the P-70 version of this kit for the Nightfighters campaign a couple of years back and it sits forlornly in the hangar queen stash waiting for my life to become a bit less complicated!
I look forward to the next update.
Cheers, D
Joel_W
Associate Editor
New York, United States
Joined: December 04, 2010
KitMaker: 11,666 posts
AeroScale: 7,410 posts
Joined: December 04, 2010
KitMaker: 11,666 posts
AeroScale: 7,410 posts
Posted: Monday, December 01, 2014 - 07:42 PM UTC
Geoff,
You've made quite a lot of progress since your last post. The one engine really looks nicely detailed.
Looking forward to seeing your A-20J with some paint on it.
Joel
You've made quite a lot of progress since your last post. The one engine really looks nicely detailed.
Looking forward to seeing your A-20J with some paint on it.
Joel
jugjunkie
South Africa
Joined: January 20, 2009
KitMaker: 140 posts
AeroScale: 84 posts
Joined: January 20, 2009
KitMaker: 140 posts
AeroScale: 84 posts
Posted: Monday, December 08, 2014 - 12:31 PM UTC
jugjunkie
South Africa
Joined: January 20, 2009
KitMaker: 140 posts
AeroScale: 84 posts
Joined: January 20, 2009
KitMaker: 140 posts
AeroScale: 84 posts
Posted: Sunday, February 22, 2015 - 05:21 PM UTC
jugjunkie
South Africa
Joined: January 20, 2009
KitMaker: 140 posts
AeroScale: 84 posts
Joined: January 20, 2009
KitMaker: 140 posts
AeroScale: 84 posts
Posted: Monday, February 23, 2015 - 02:01 PM UTC
Joel_W
Associate Editor
New York, United States
Joined: December 04, 2010
KitMaker: 11,666 posts
AeroScale: 7,410 posts
Joined: December 04, 2010
KitMaker: 11,666 posts
AeroScale: 7,410 posts
Posted: Tuesday, February 24, 2015 - 11:12 PM UTC
Geoff,
Impressive to say the least. Excellent paint, decaling, and weathering. They always look so much better standing on their own feet.
Joel
Impressive to say the least. Excellent paint, decaling, and weathering. They always look so much better standing on their own feet.
Joel
jugjunkie
South Africa
Joined: January 20, 2009
KitMaker: 140 posts
AeroScale: 84 posts
Joined: January 20, 2009
KitMaker: 140 posts
AeroScale: 84 posts
Posted: Friday, March 06, 2015 - 08:20 PM UTC
Jessie_C
British Columbia, Canada
Joined: September 03, 2009
KitMaker: 6,965 posts
AeroScale: 6,247 posts
Joined: September 03, 2009
KitMaker: 6,965 posts
AeroScale: 6,247 posts
Posted: Friday, March 06, 2015 - 08:32 PM UTC
Congratulations! Now You know what to do
Posted: Friday, March 06, 2015 - 08:46 PM UTC
totally agree! that thing is fabulous!
greif8
Bayern, Germany
Joined: January 17, 2006
KitMaker: 673 posts
AeroScale: 492 posts
Joined: January 17, 2006
KitMaker: 673 posts
AeroScale: 492 posts
Posted: Sunday, March 08, 2015 - 12:41 PM UTC
Your A20 is a real beauty Geoff!
Posted: Sunday, March 08, 2015 - 02:51 PM UTC
Super work Geoff, love it!
Cheers, D
Cheers, D
Posted: Sunday, March 08, 2015 - 06:23 PM UTC
Geoff,
Your Havoc is excellent! Those landing gear looked great, as does your engines. Now I gotta find mine and build it.
There's an excellent book out there I read a decade ago: Wreaking Havoc: A Year in an A-20
Well worth the time to read it. Fascinating accounts of training and in-theater. Very well written!
jugjunkie
South Africa
Joined: January 20, 2009
KitMaker: 140 posts
AeroScale: 84 posts
Joined: January 20, 2009
KitMaker: 140 posts
AeroScale: 84 posts
Posted: Tuesday, March 31, 2015 - 06:06 PM UTC
Got that book thanks for the heads up Frederick - awesomeness!
Joel_W
Associate Editor
New York, United States
Joined: December 04, 2010
KitMaker: 11,666 posts
AeroScale: 7,410 posts
Joined: December 04, 2010
KitMaker: 11,666 posts
AeroScale: 7,410 posts
Posted: Wednesday, April 01, 2015 - 09:43 PM UTC
Geoff,
What an impressive A-20J build. Love the paint scheme and your weathering. Very nicely done.
Joel
What an impressive A-20J build. Love the paint scheme and your weathering. Very nicely done.
Joel