Ontario, Canada
Joined: June 07, 2014
KitMaker: 102 posts
AeroScale: 102 posts
Posted: Sunday, November 09, 2014 - 09:24 PM UTC
Niedersachsen, Germany
Joined: March 26, 2014
KitMaker: 844 posts
AeroScale: 630 posts
Posted: Monday, November 10, 2014 - 12:24 PM UTC
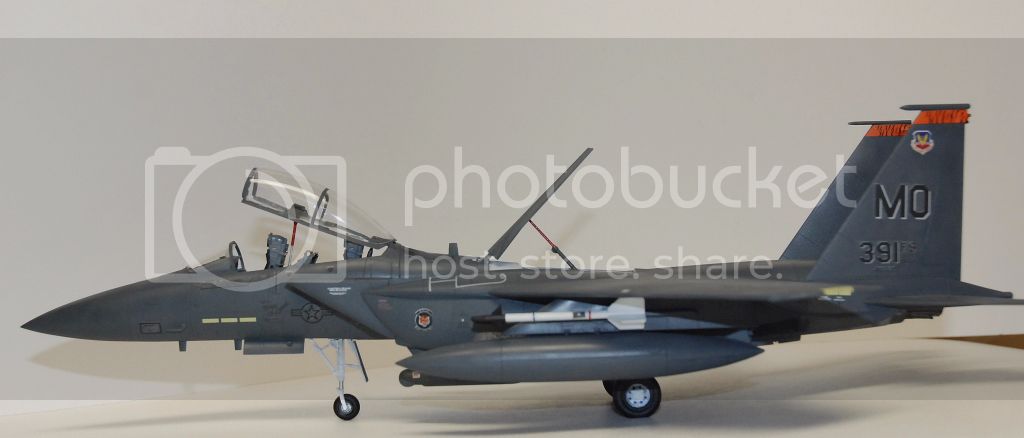
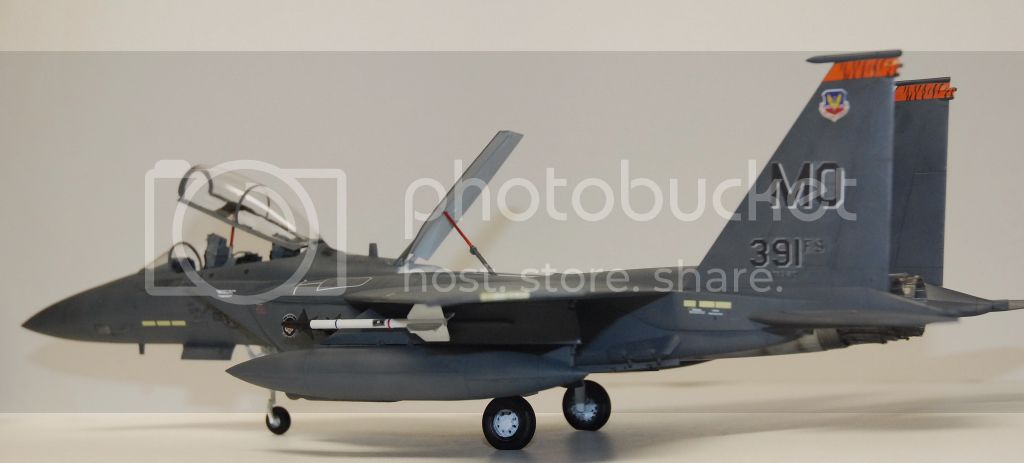
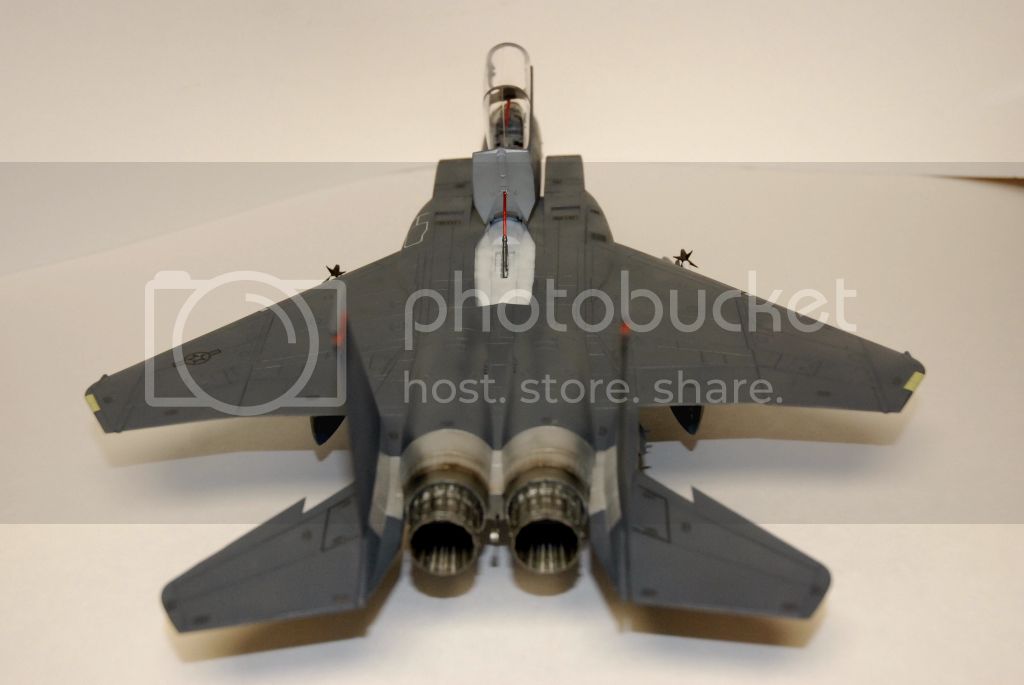
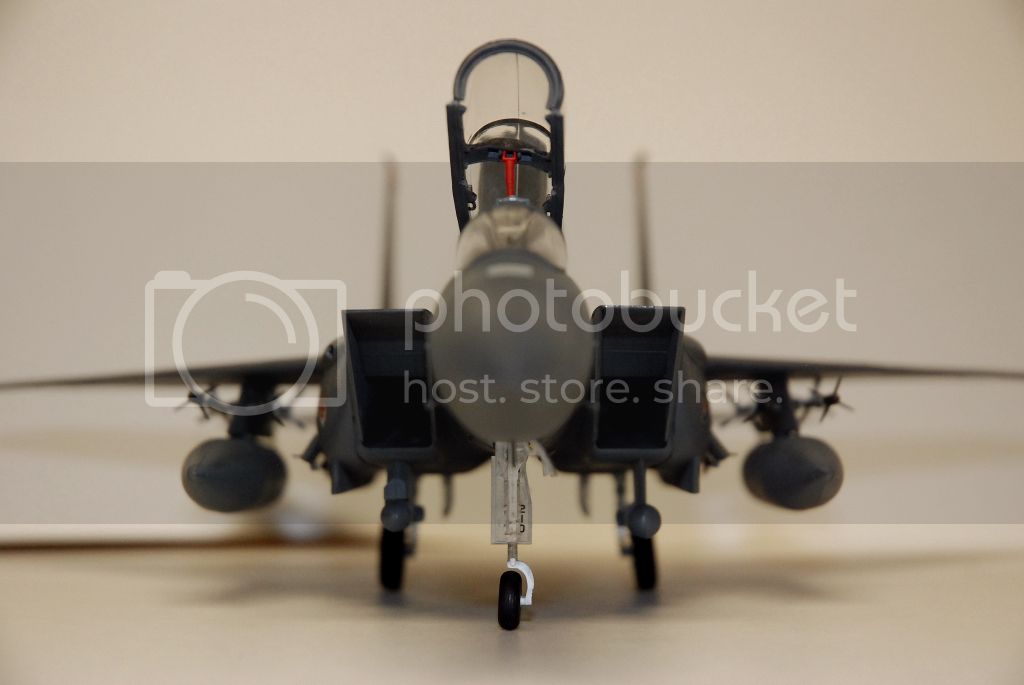
Great build and great pics as well, together with Hasegawas Bf 109G in 1/32 the nicest kit to assemble in my opinion.
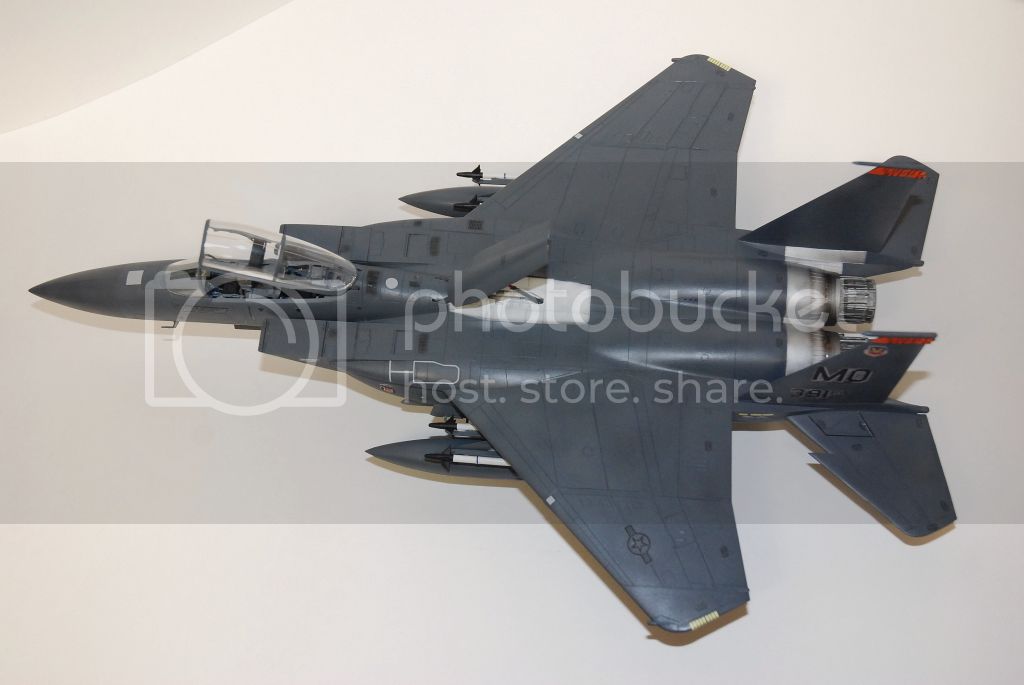
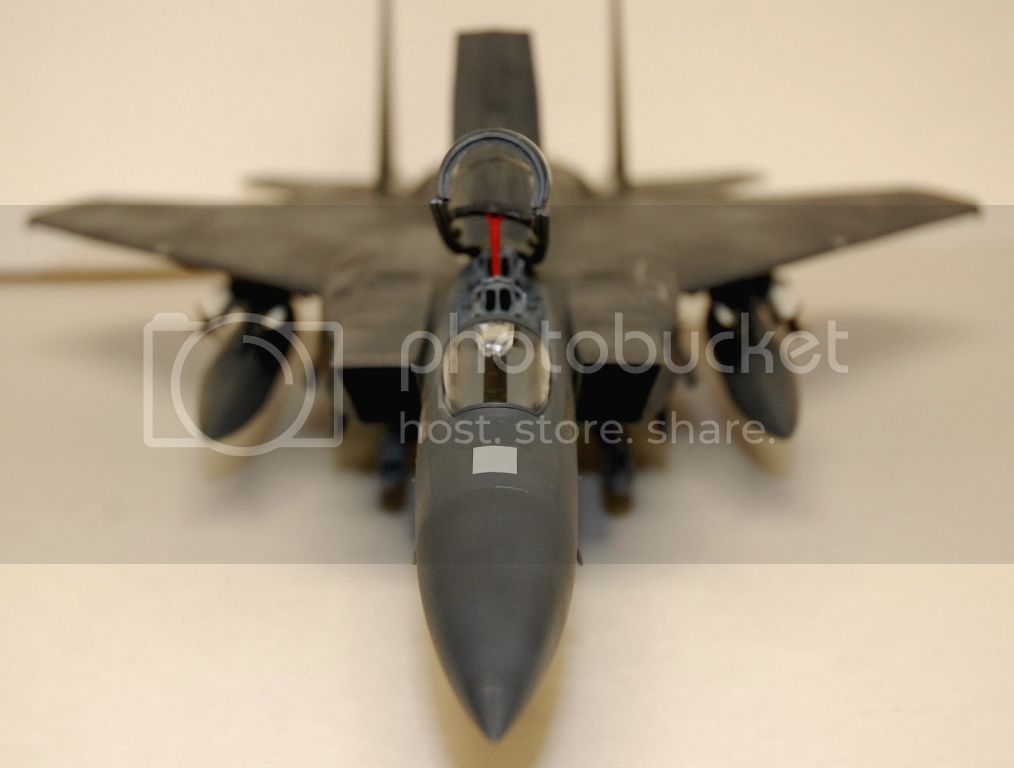
The last picture is truly awesome
Bernd
CMOT
 Editor-in-Chief
England - South West, United Kingdom
Joined: May 14, 2006
KitMaker: 10,954 posts
AeroScale: 290 posts
Posted: Monday, November 10, 2014 - 06:11 PM UTC
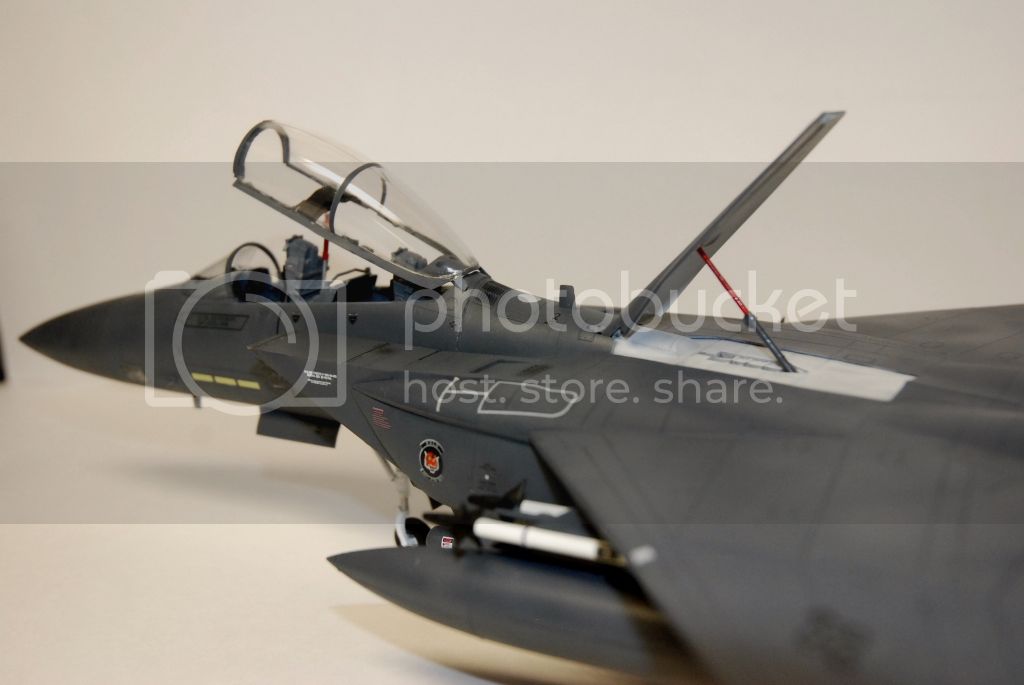
Looks like you have done a great job with this very recent release from Revell of Germany. One question is the canopy out of kilter in the last picture or is it just the picture?
Ontario, Canada
Joined: June 07, 2014
KitMaker: 102 posts
AeroScale: 102 posts
Posted: Monday, November 10, 2014 - 06:28 PM UTC
Quoted Text
Looks like you have done a great job with this very recent release from Revell of Germany. One question is the canopy out of kilter in the last picture or is it just the picture?
Thank you guys.
Darren,
I think the canopy is off balance when I move it to take pictures since it's not glued to the plane.
Joel_W
 Associate Editor
New York, United States
Joined: December 04, 2010
KitMaker: 11,666 posts
AeroScale: 7,410 posts
Posted: Wednesday, November 12, 2014 - 12:23 AM UTC
I don't know why so many people seem to think that they have to apologize if they don't add any AM parts to a build. It's the final presentation that counts.
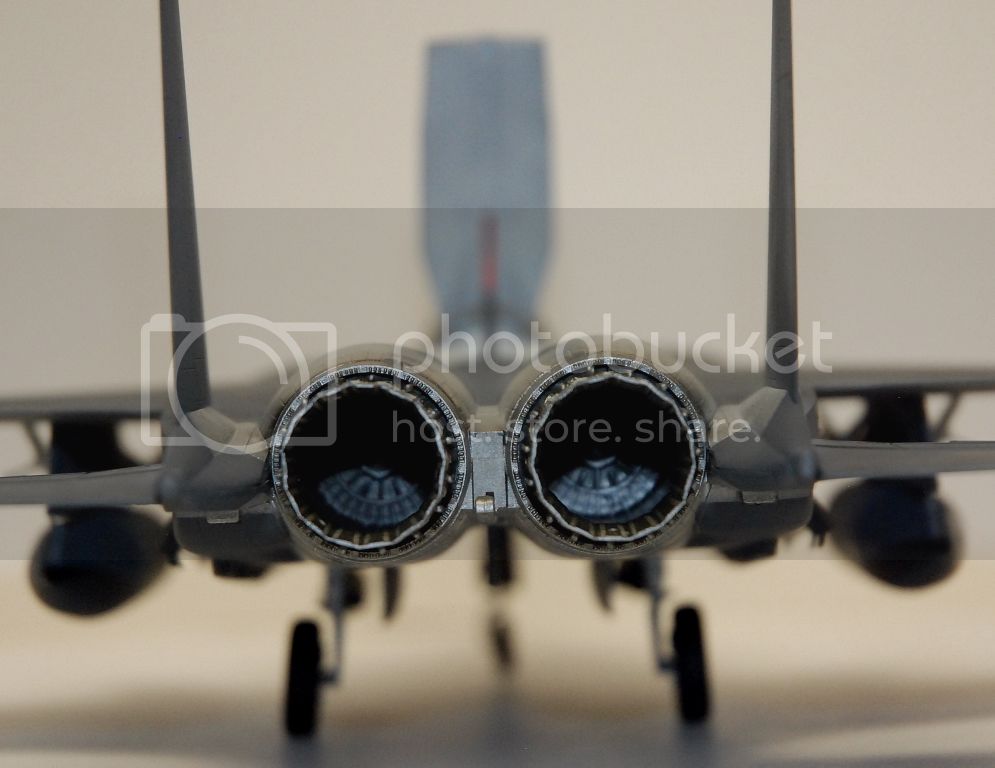
Your OOB build looks rock solid. Expertly painted and decaled. Your weathering is on the soft side, but one certainly can see the variation in dark gray tones. I would think that in person it's much easier to see. I Also really like how you did the exhaust cans both inside and outside, with various metalizer tones and dry brushing. They certainly look realistic.
My only suggestion if at all possible depending on the type of camera you used, is to increase the depth of field, and change your focal point if necessary, as some of your close-ups have DOF issues. Other then that, it's an excellent Aeroscale presentation.
Joel
On my Workbench:
Monogram 1/24 scale 427 Shelby Cobra
Just Completed:
Beemax 1/24 scale BMW M3 E30 1992 Evolution II
CMOT
 Editor-in-Chief
England - South West, United Kingdom
Joined: May 14, 2006
KitMaker: 10,954 posts
AeroScale: 290 posts
Posted: Wednesday, November 12, 2014 - 12:42 AM UTC
I am in the process of writing a review for Aeroscale on this model, may I use some of your images in the review?
Ontario, Canada
Joined: June 07, 2014
KitMaker: 102 posts
AeroScale: 102 posts
Posted: Wednesday, November 12, 2014 - 01:48 AM UTC
Joel, thanks for the suggestions. I think I need to switch my camera to manual focusing next time and increase the depth of field as well to get better pictures.
Darren,
Please feel free to use the images for your review.
CMOT
 Editor-in-Chief
England - South West, United Kingdom
Joined: May 14, 2006
KitMaker: 10,954 posts
AeroScale: 290 posts
Posted: Wednesday, November 12, 2014 - 02:14 AM UTC

#226
British Columbia, Canada
Joined: February 20, 2012
KitMaker: 1,909 posts
AeroScale: 508 posts
Posted: Wednesday, November 12, 2014 - 05:43 AM UTC
Well Done!

Cheers Rob.
Anything without guns is a target!
27 completed campaigns and counting :)
