Hi. Well today I've been making, or at least started to make some of my back collection of models.
This blog is about the Airfix Me 109. Enjoy!!
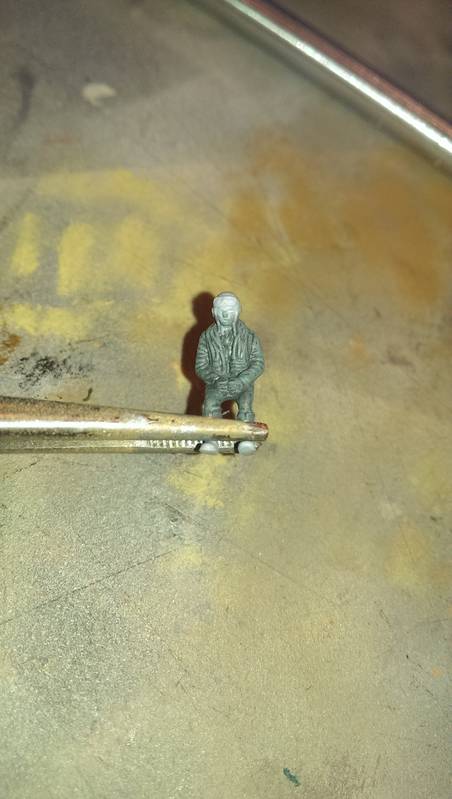
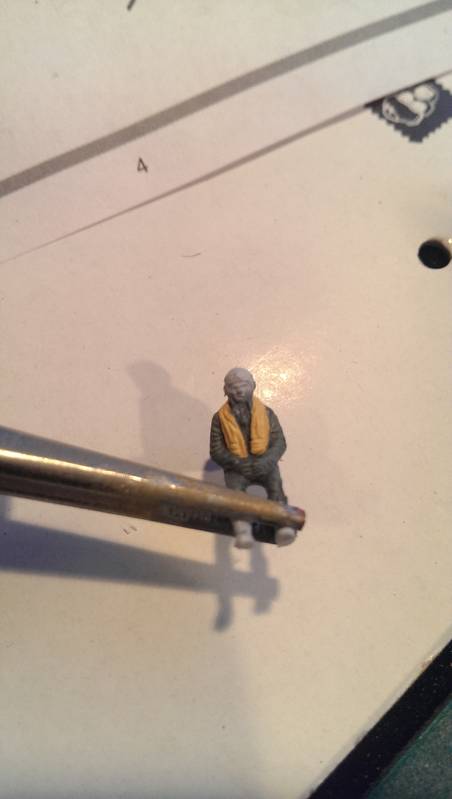
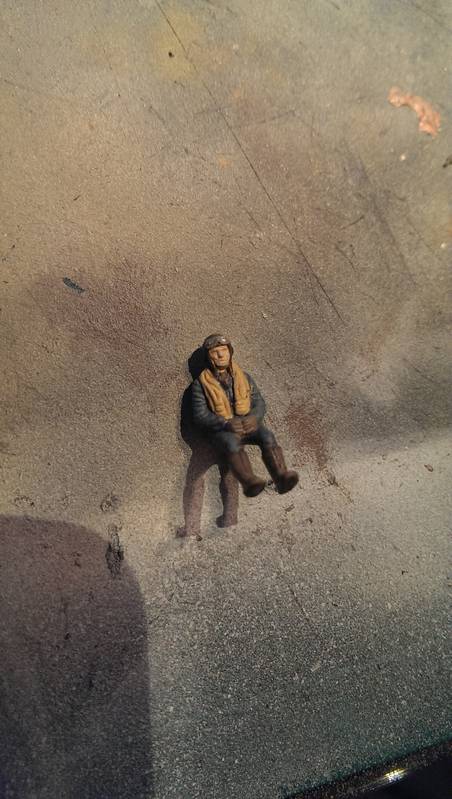
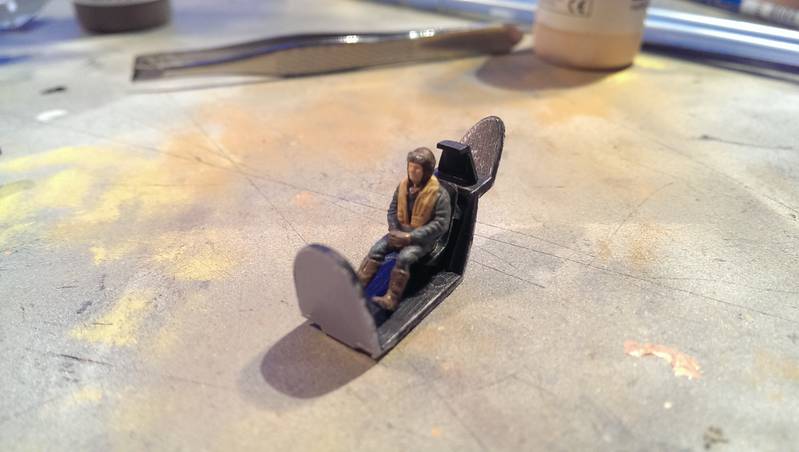
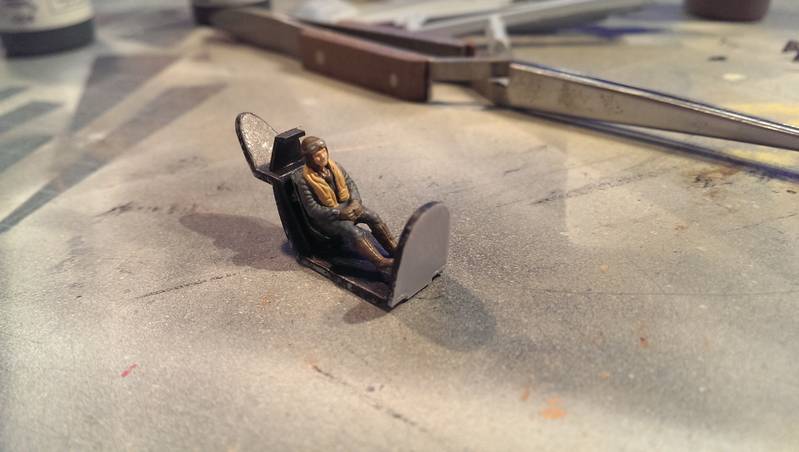
As per most aircraft its the cockpit and pilot first.
So after getting the pilot to a decent standard it was time to put the different parts together.
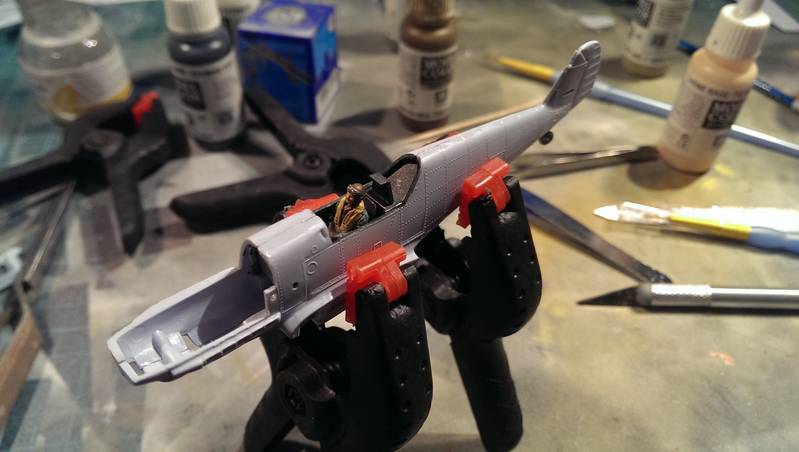
Next stage was fitting the fuselage and cockpit together.
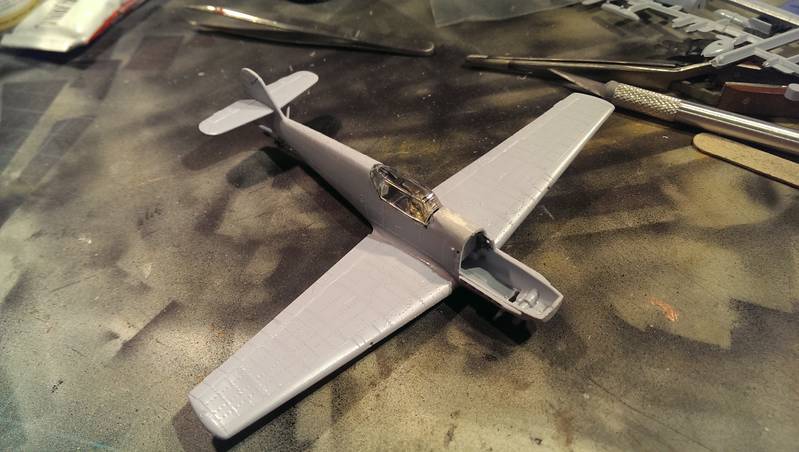
Planes don't fly without wings.
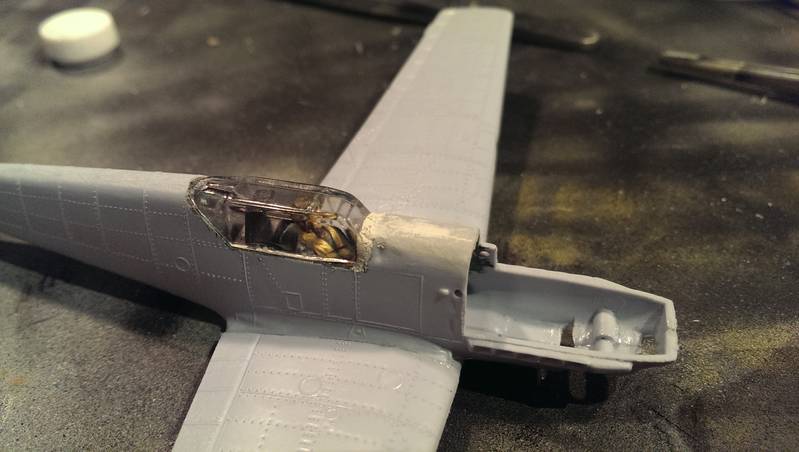
Now there is a slight issue with the canopy......
However a little warmed up white putty and the gap is fixed
That's all for today but I#ll be doing more tomorrow.
Hosted by Rowan Baylis
1:72 Airfix Messerschmitt BF 109 E
SiStorey
England - North East, United Kingdom
Joined: March 14, 2014
KitMaker: 242 posts
AeroScale: 65 posts
Joined: March 14, 2014
KitMaker: 242 posts
AeroScale: 65 posts
Posted: Friday, January 09, 2015 - 04:16 AM UTC
magnusf
Stockholm, Sweden
Joined: May 02, 2006
KitMaker: 1,953 posts
AeroScale: 1,902 posts
Joined: May 02, 2006
KitMaker: 1,953 posts
AeroScale: 1,902 posts
Posted: Friday, January 09, 2015 - 01:14 PM UTC
Si! That's a true classic and for many years it was the best 109E in 1/72 shape-wise!
A word of advise could be to sand down the rivets lightly, you don't have to remove them altogether but just toning them down a bit will improve the final result I think. And it is quick and easy to do !
Magnus
A word of advise could be to sand down the rivets lightly, you don't have to remove them altogether but just toning them down a bit will improve the final result I think. And it is quick and easy to do !
Magnus
SiStorey
England - North East, United Kingdom
Joined: March 14, 2014
KitMaker: 242 posts
AeroScale: 65 posts
Joined: March 14, 2014
KitMaker: 242 posts
AeroScale: 65 posts
Posted: Friday, January 09, 2015 - 02:46 PM UTC
Thanks for the advice Magnus, I'll give it a slight sanding later on this afternoon when I get around to it. Shame Airfix kits are not as good quality as they used to be like.
magnusf
Stockholm, Sweden
Joined: May 02, 2006
KitMaker: 1,953 posts
AeroScale: 1,902 posts
Joined: May 02, 2006
KitMaker: 1,953 posts
AeroScale: 1,902 posts
Posted: Friday, January 09, 2015 - 03:13 PM UTC
Quoted Text
Thanks for the advice Magnus, I'll give it a slight sanding later on this afternoon when I get around to it. Shame Airfix kits are not as good quality as they used to be like.
Si! I have to tell you that you are wrong in your last point : Airfix quality is what it has always been: good for their time in many cases but getting rather old by now, your 109 no exception!
They have however started doing new moulds during the last few years and those kits are, if not on par with Hasegawa and Tamiya when it comes to details, generally very accurate, easy to assemble and can be expected to give a very good result out-of-the-box. Take into account the very attractive pricing and they are sure winners!
I've done a few of them lately, both the Mustang (finished), a Vampire T.11 (almost finished) and a Spitfire 22/24 (not finished, shame on me...). All of those are very good kits!
Two other kits that fall a bit "in-between" the new and the old range are their Spit IX and the Spit XIX, I think they were searching for which level to aim for where the IX was on the low end and the XIX closer to the latest releases. I've (of course ) built both. And both can still be built into very nice models!
In some cases you have to do a bit of research though since quite a few of these are completely new moulds of previously kitted subjects, usually easy to figure out via the Internet, otherwise you can always ask around here!
You can find the 2015 releases here!
Magnus
SiStorey
England - North East, United Kingdom
Joined: March 14, 2014
KitMaker: 242 posts
AeroScale: 65 posts
Joined: March 14, 2014
KitMaker: 242 posts
AeroScale: 65 posts
Posted: Sunday, May 31, 2015 - 03:29 PM UTC
Hi everyone, sorry for the delay Magnus, yeah I hae a few of the new mold kits and the quality is a ten time better than the older kits.
So this is my progress from weekend on the ME109.
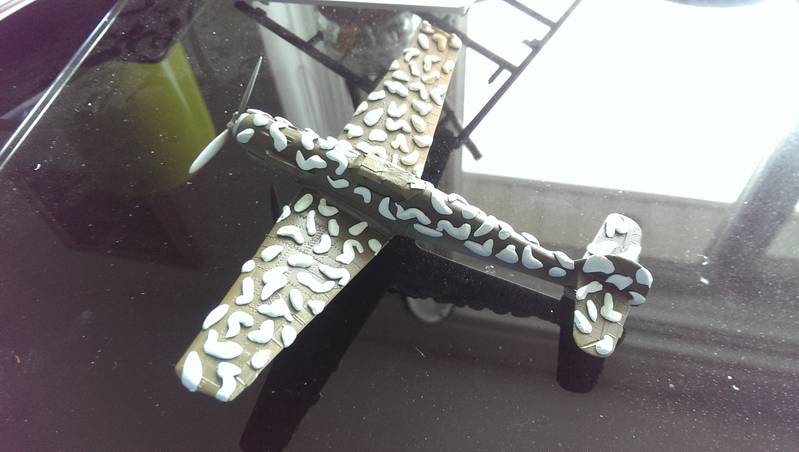
Finished the construction to the point of painting. I gave it the blue colour first followed by the dark green as I'm going for the North African colour scheme.
After that I used a new technique for the paint by using blue tack to mask of the areas for the camouflage. Was a litte sceptical of doing this but from looking at others that have used blue tack I though what's the worst that could happen lol.
After spending an hour with the little bits of blue tack I gave it the brown coat.
And then, the moment of truth.........
And it worked, ever better than I hoped, so I am very happy with the paint now lol
Just to mask of the wings etc, add some more blue tack then a coat of blue and that's the main bulk of the paint done.
Joel_W
Associate Editor
New York, United States
Joined: December 04, 2010
KitMaker: 11,666 posts
AeroScale: 7,410 posts
Joined: December 04, 2010
KitMaker: 11,666 posts
AeroScale: 7,410 posts
Posted: Sunday, May 31, 2015 - 06:37 PM UTC
Si,
Nicely done so far. The paint camo scheme really came out quite well.
I do agree with Magnus that sanding down those rather large/out of scale rivets would have made a tremendous improvement to the overall appearance of the finished model. Unfortunately, it's too late now to do much about it.
Joel
Nicely done so far. The paint camo scheme really came out quite well.
I do agree with Magnus that sanding down those rather large/out of scale rivets would have made a tremendous improvement to the overall appearance of the finished model. Unfortunately, it's too late now to do much about it.
Joel
thegirl
Alberta, Canada
Joined: January 19, 2008
KitMaker: 6,743 posts
AeroScale: 6,151 posts
Joined: January 19, 2008
KitMaker: 6,743 posts
AeroScale: 6,151 posts
Posted: Monday, June 01, 2015 - 04:50 AM UTC
I like how your figure turned out , nice job
Terri
Terri
stooge
South Australia, Australia
Joined: June 20, 2013
KitMaker: 210 posts
AeroScale: 210 posts
Joined: June 20, 2013
KitMaker: 210 posts
AeroScale: 210 posts
Posted: Tuesday, June 02, 2015 - 08:53 AM UTC
Nice job with the masking technique, looks very good as a result.