_GOTOBOTTOM
Early Aviation
Discuss World War I and the early years of aviation thru 1934.
Canvas Falcon I - Spin Caproni Ca.20
Jessie_C
_VISITCOMMUNITY
British Columbia, Canada
Joined: September 03, 2009
KitMaker: 6,965 posts
AeroScale: 6,247 posts
Posted: Sunday, January 11, 2015 - 05:39 AM UTC
The Caproni Ca.20 is the Grandfather of every single fighter aircraft in the world. Conceived in 1913, it didn't find favour with the Italian Government, who had decided that Caproni would build bomber aircraft rather than fighters. Relegated to the status of a one-off failure, the Ca.20 was saved from destruction by Giovanni Caproni himself, who stored it in a barn on the family farm for the next 85 years. In 1999 it was rescued from obscurity by the Museum of Flight in Seattle, who now have it on display. Except for its tires which were chewed by rodents, the Ca.20 is displayed as it was found.


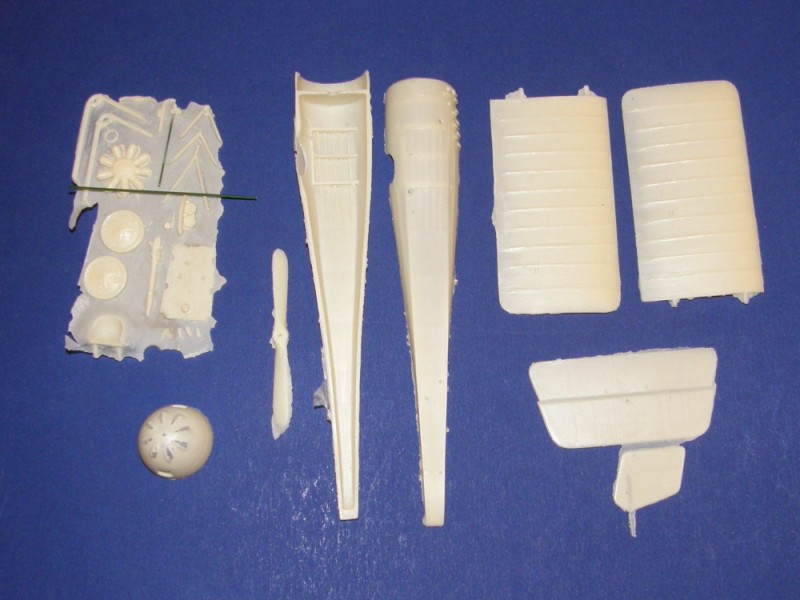
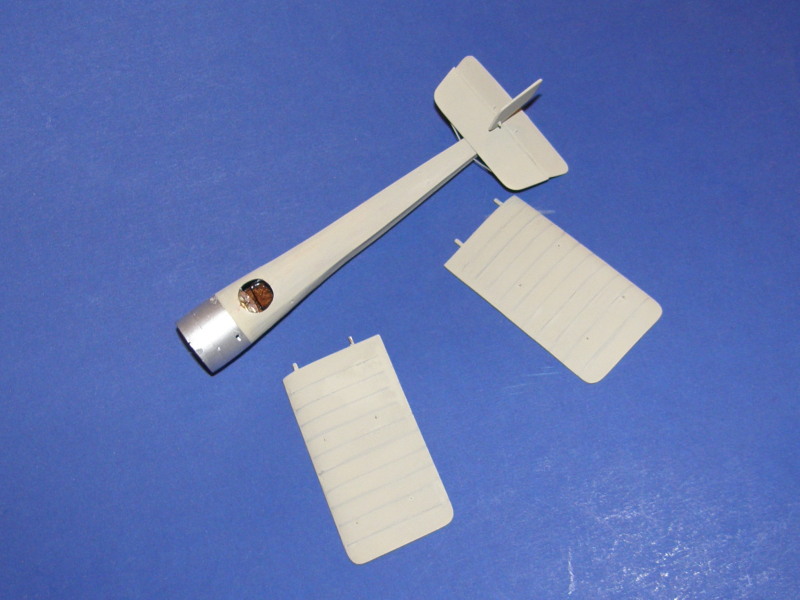
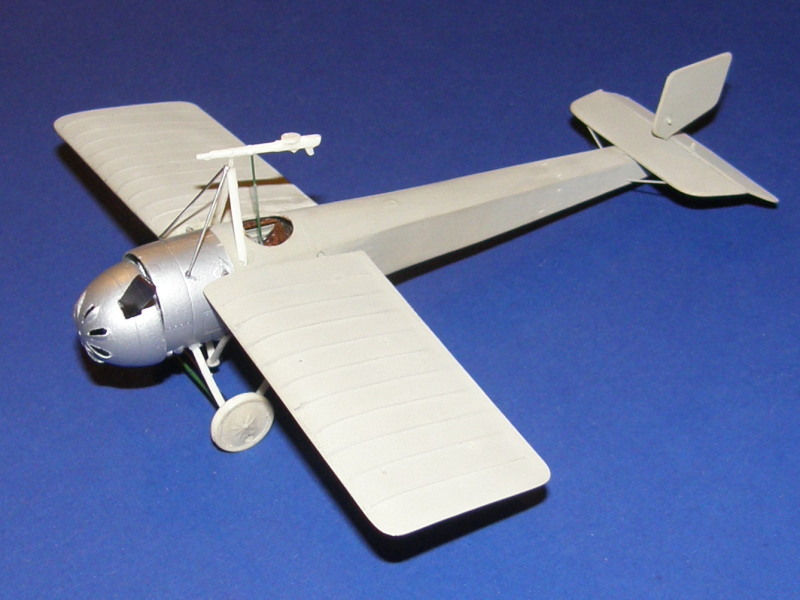
Spin Models do resin kits of obscure Great War aircraft, and this one is about as obscure as they get. The kit is very basic, as are the instructions. Beginning modellers need not apply.

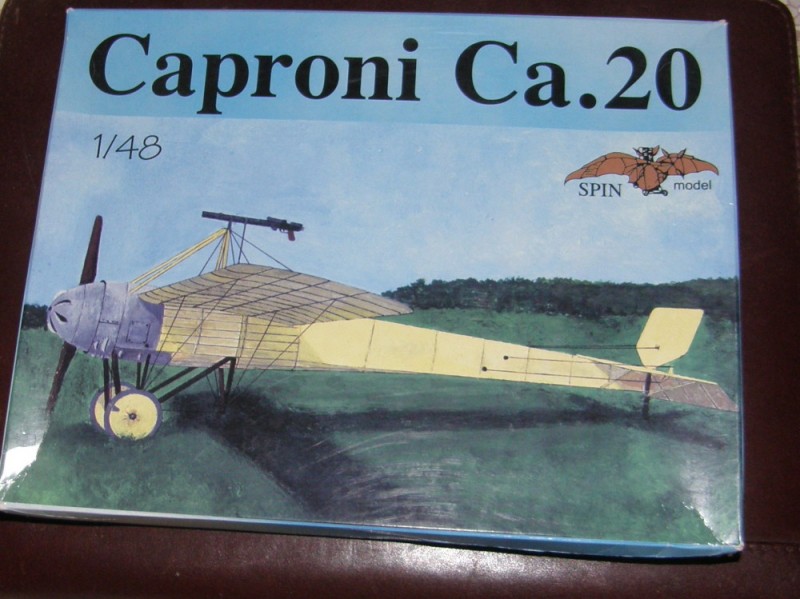
The contents of the kit rattle around in the box, but at least they're safely sealed into separate plastic pouches to keep the rather brittle thin resin parts from being damaged.

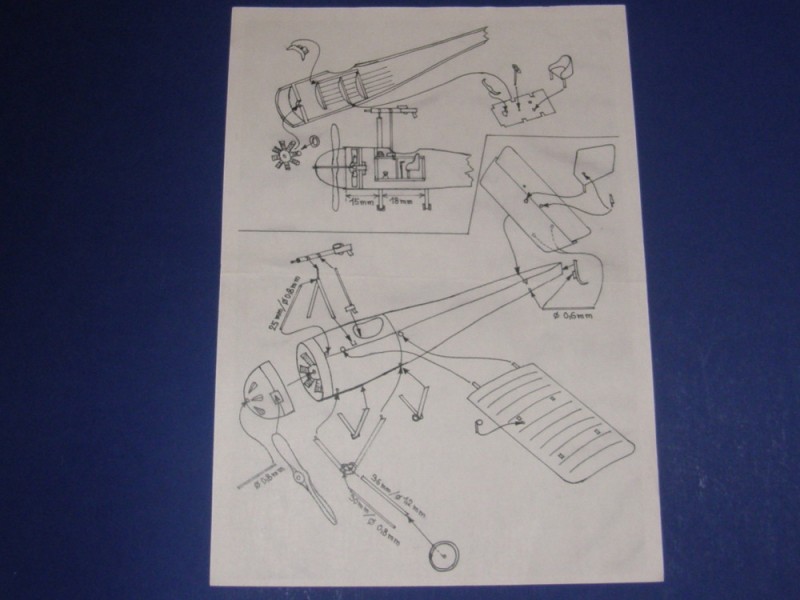
The instructions, as mentioned, are pretty basic


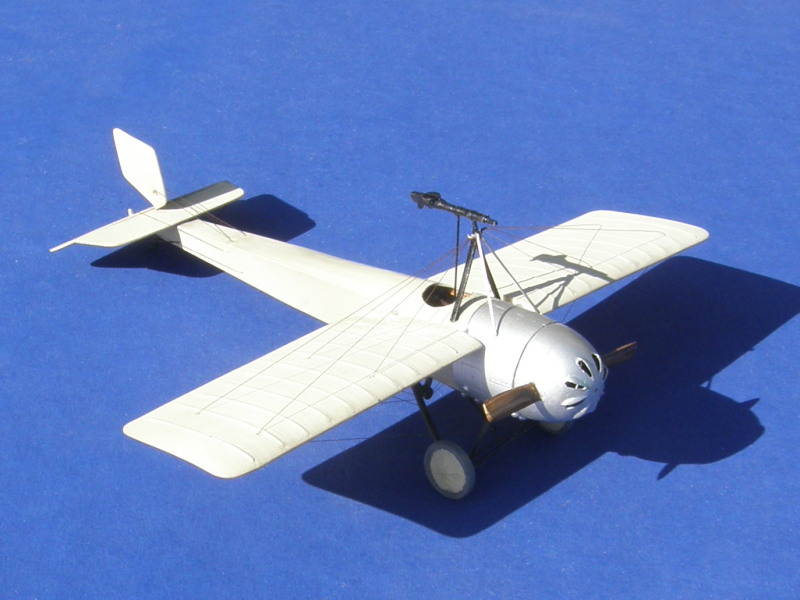
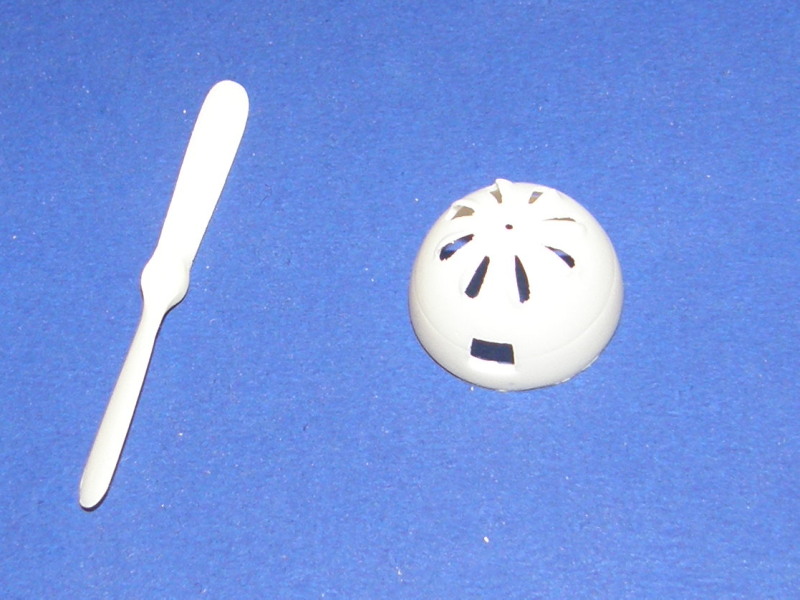
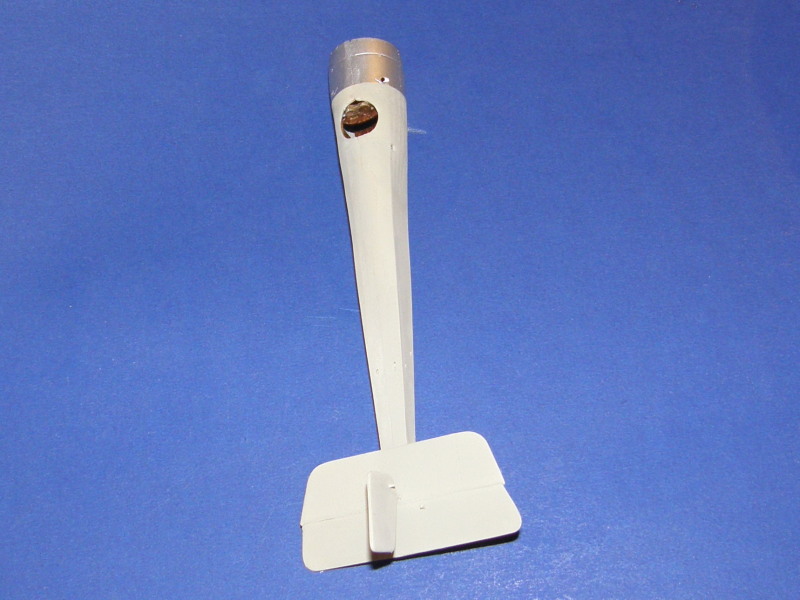
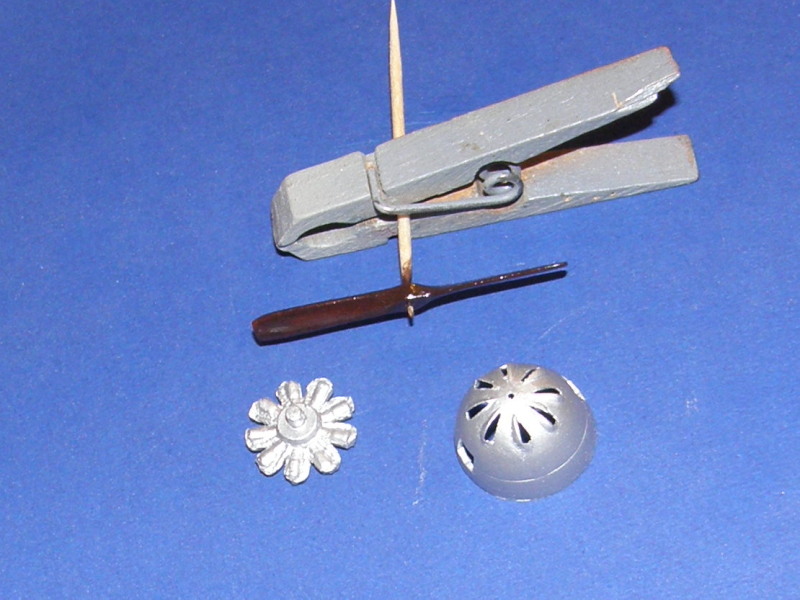
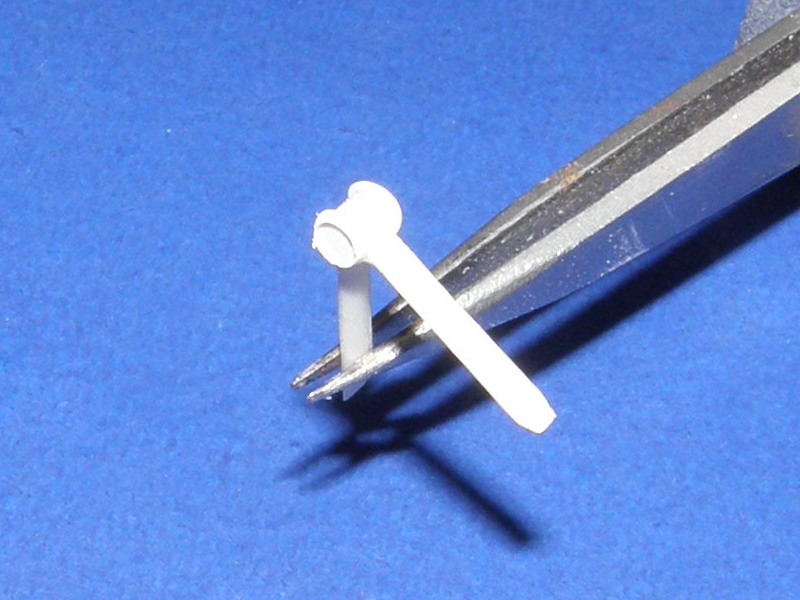
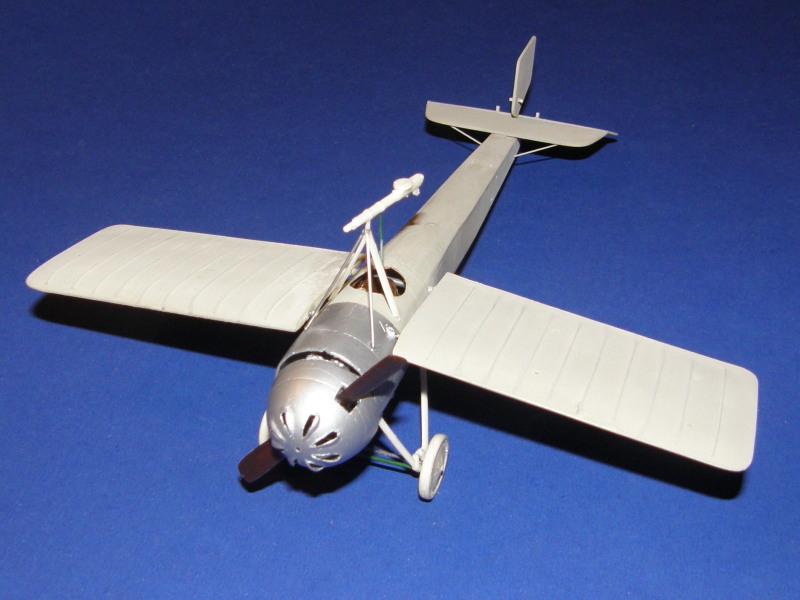
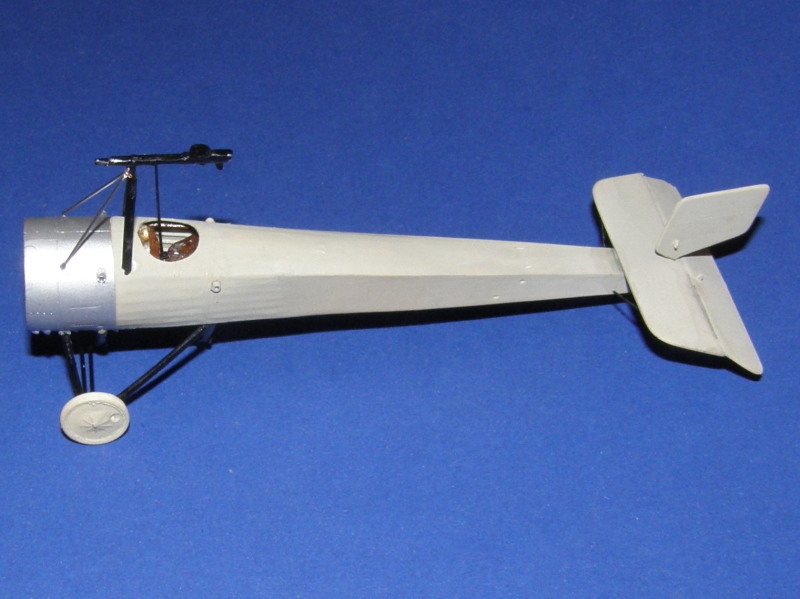
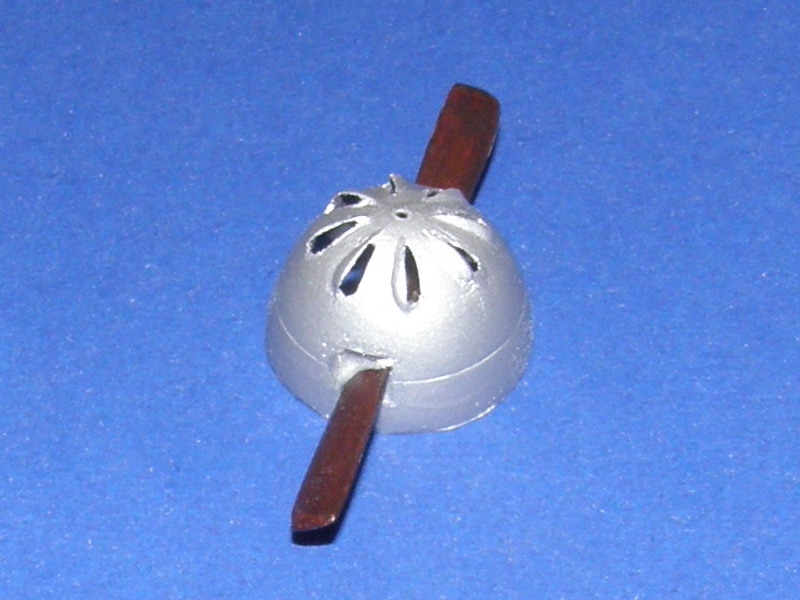
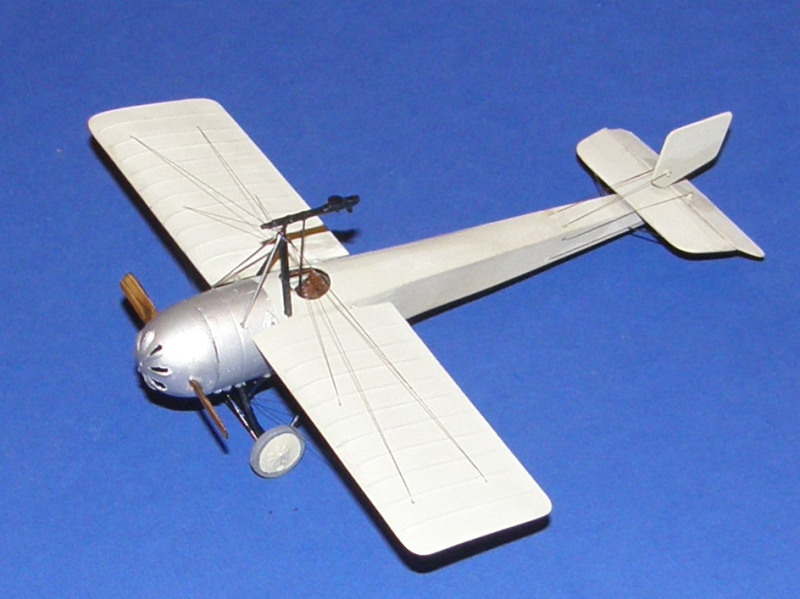
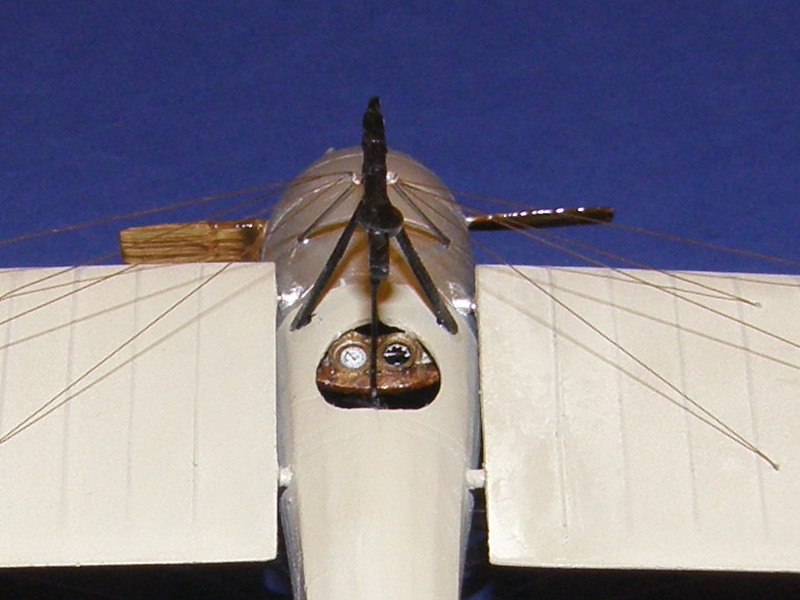
This one is going to take some TLC to do properly. I really don't know how I'm going to get the propeller into the spinner. I'll likely need to cut off at least one blade (if not both) and then glue it back together once I've fed it into the spinner.
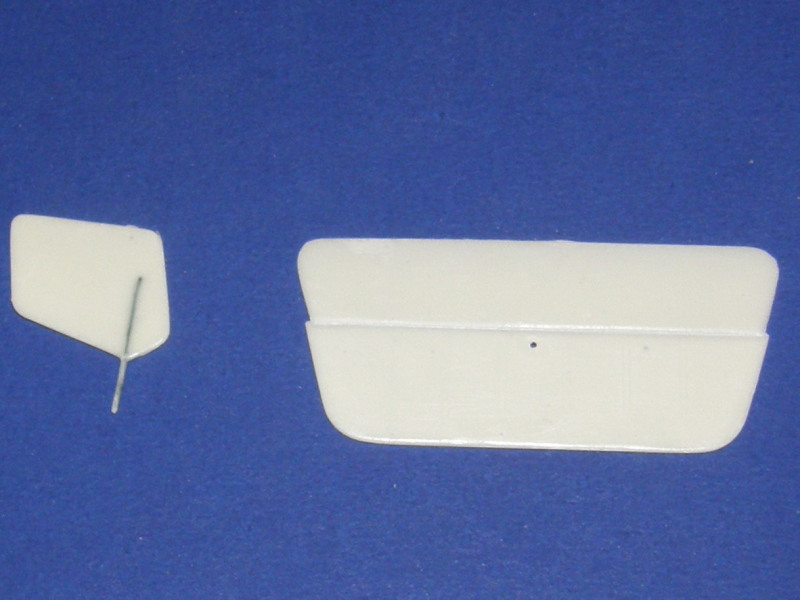
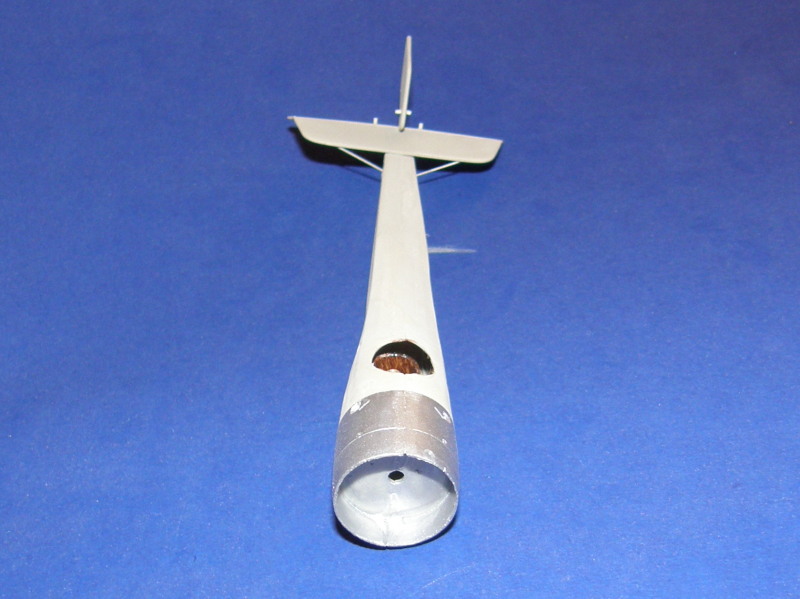
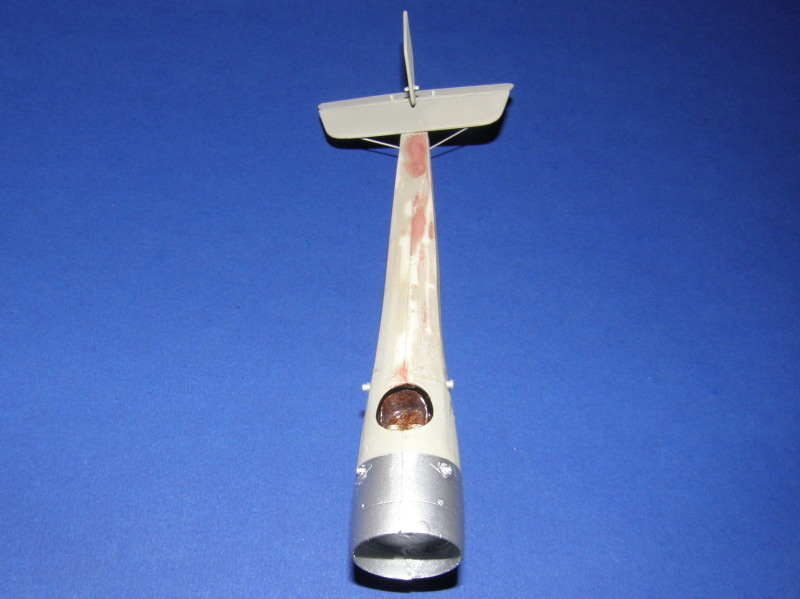
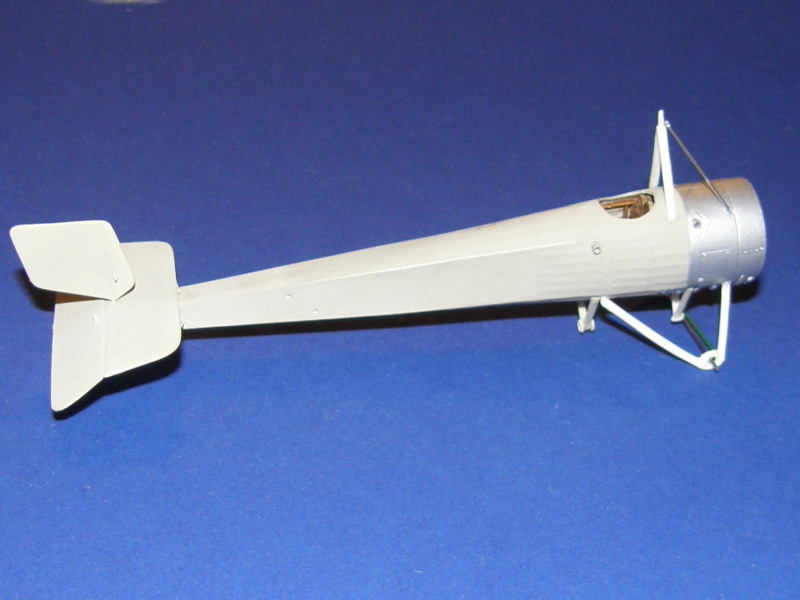
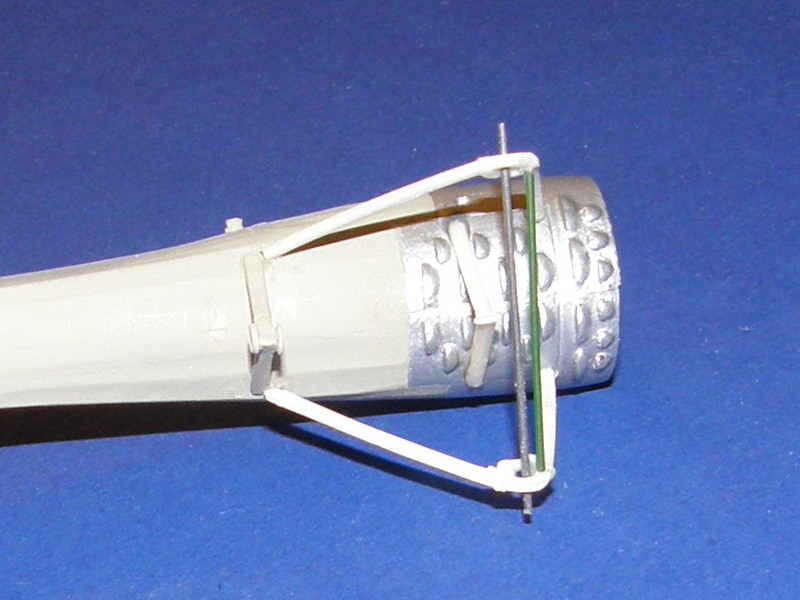
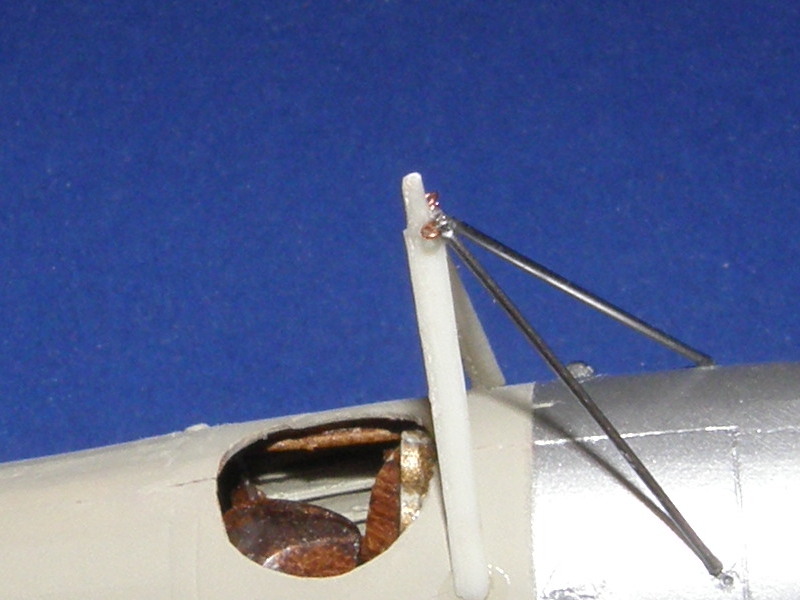
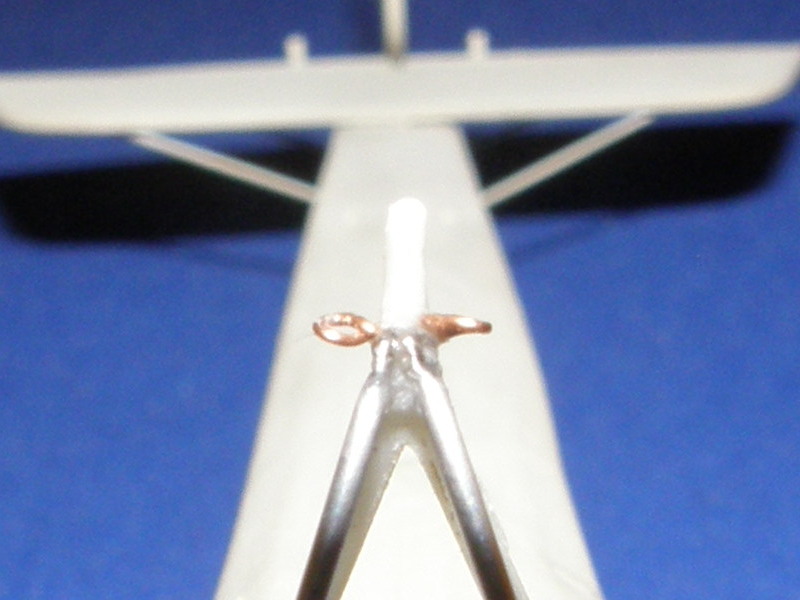
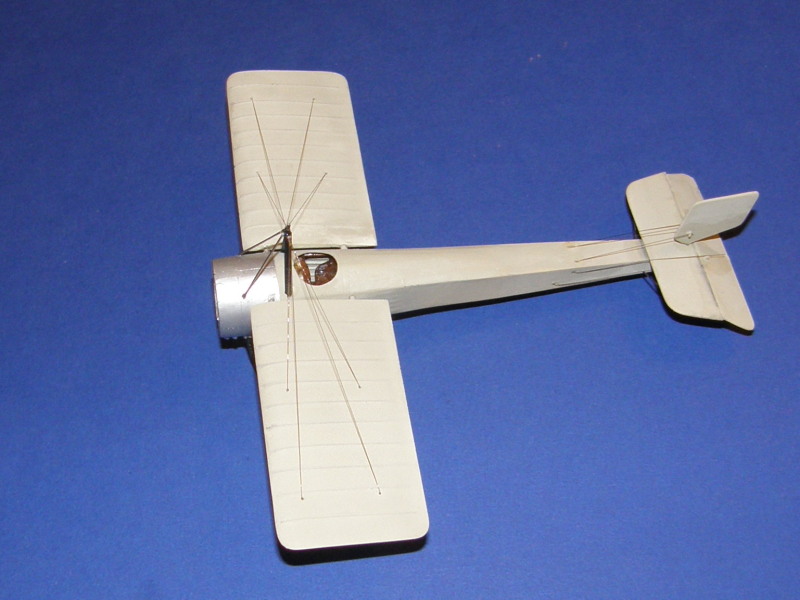
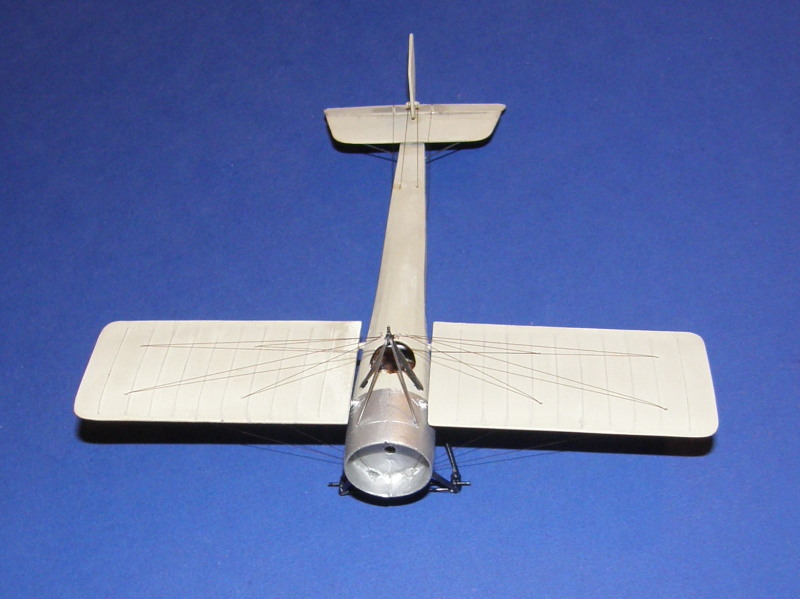
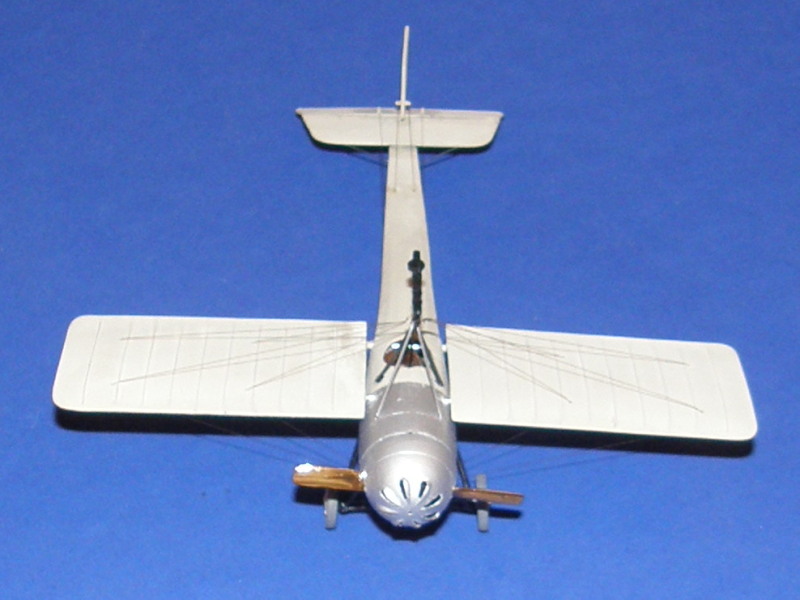
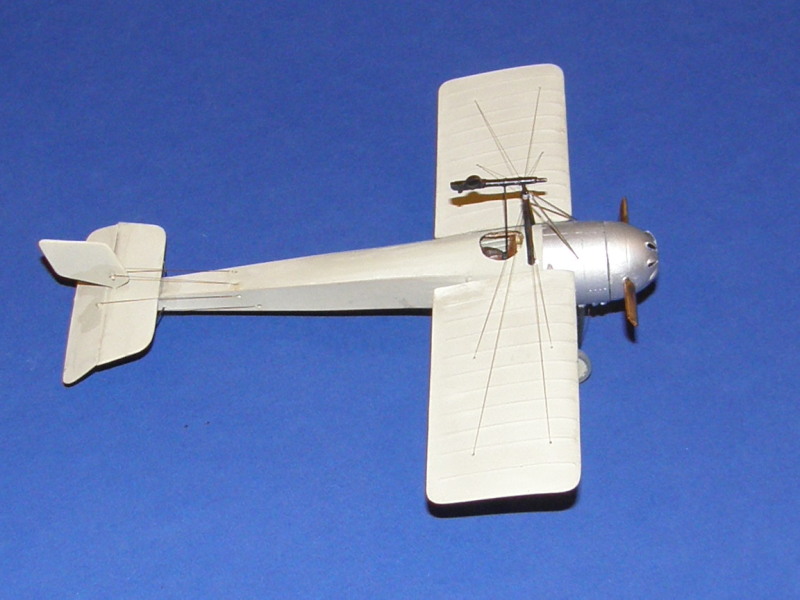
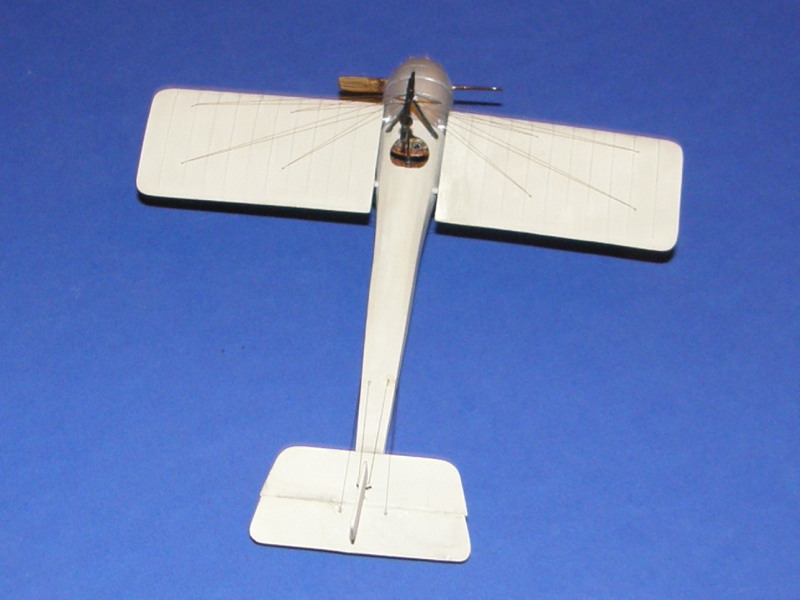
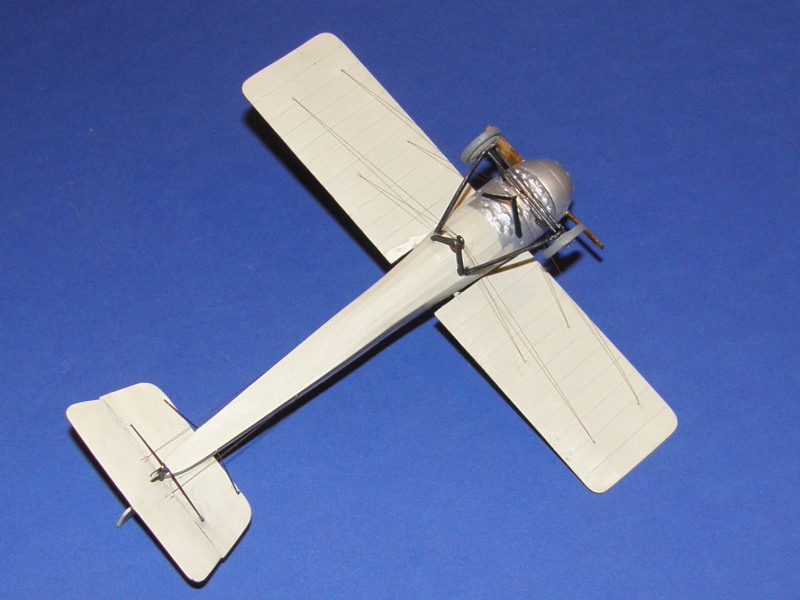
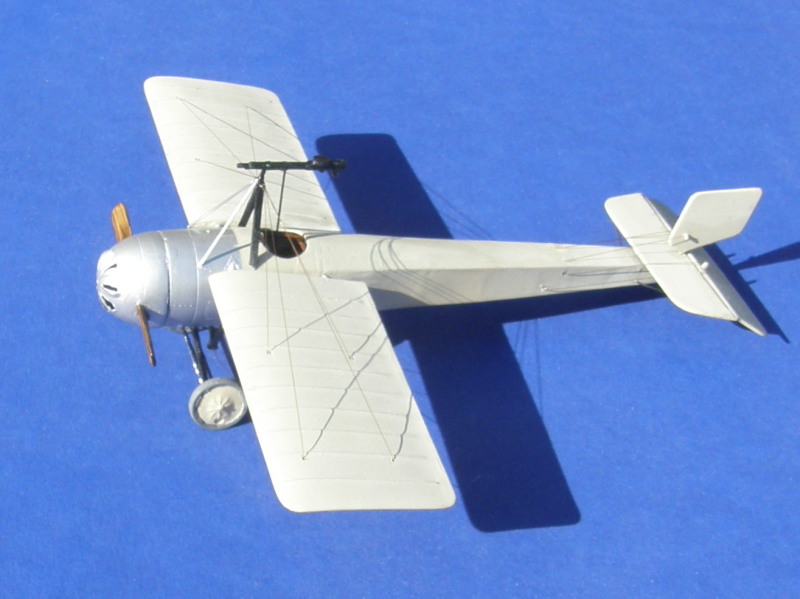
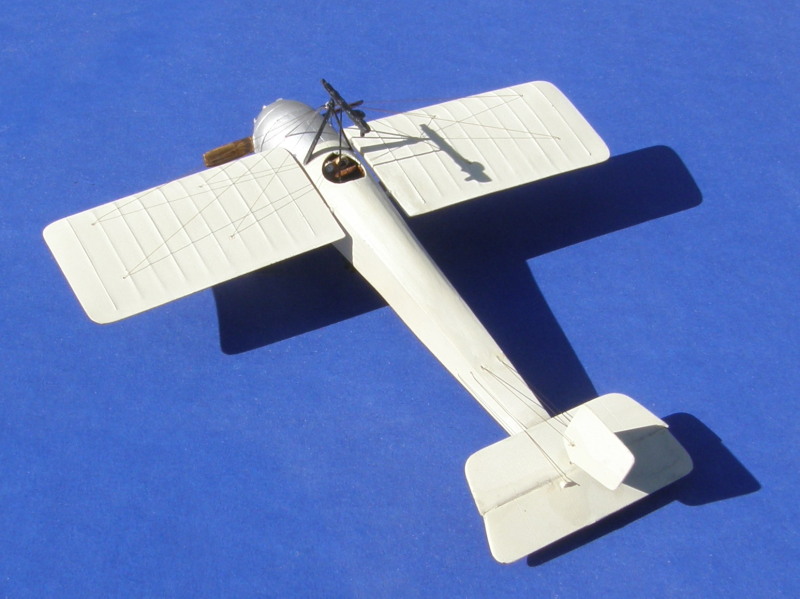
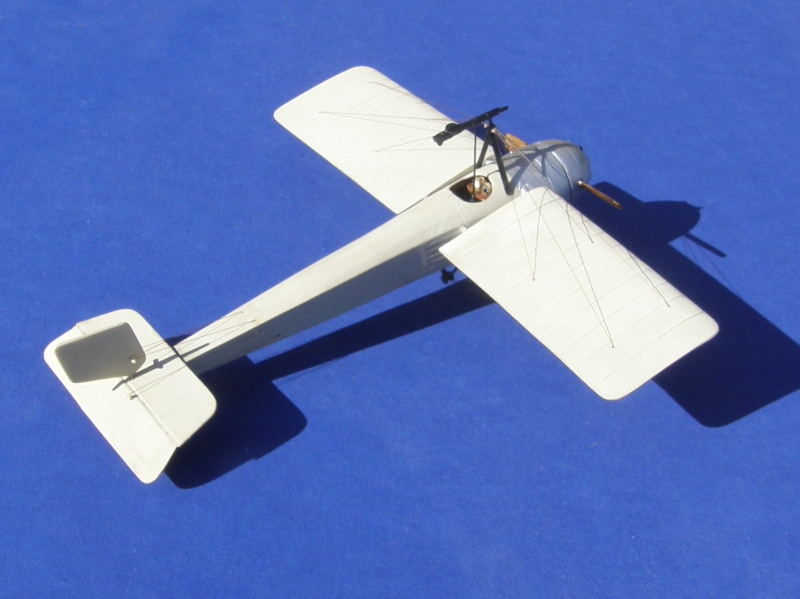
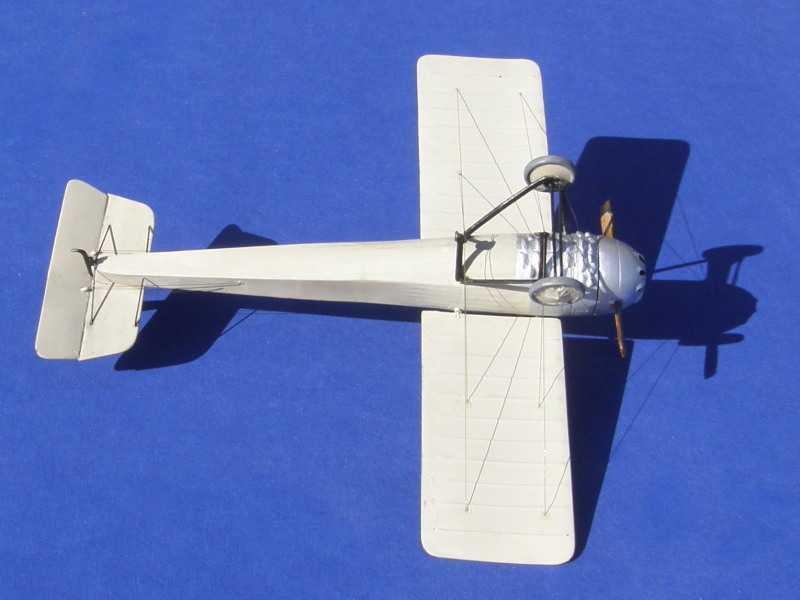
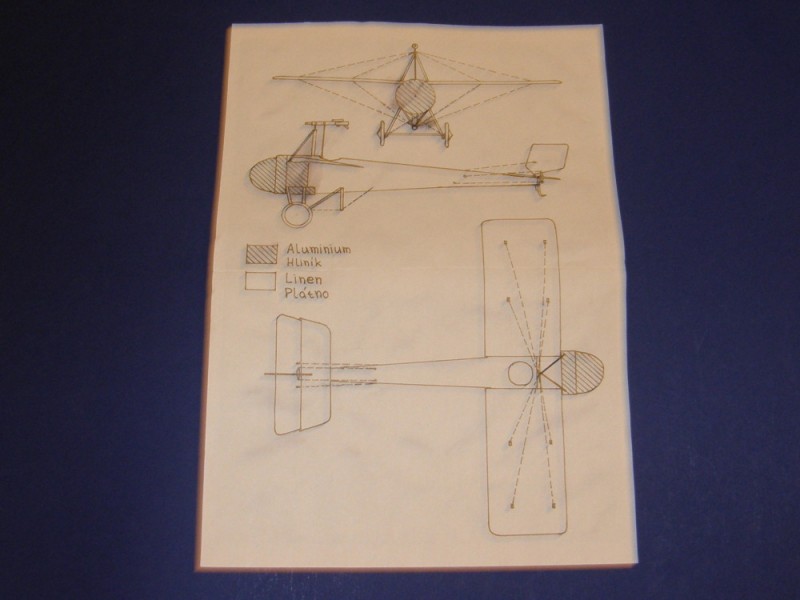
edoardo
_VISITCOMMUNITY
Milano, Italy
Joined: November 30, 2007
KitMaker: 642 posts
AeroScale: 382 posts
Posted: Sunday, January 11, 2015 - 08:09 PM UTC
Hi Jessica!
What an interesting piece of history!
It is amazing how personal genius can be obscured by burocrats! A situation still very present in today's Italy...

Resin kits are off limits to me: as they scare the hell out of me.... so, I'll whatch your build closely!
ciao
Edo
frka11
_VISITCOMMUNITY
Croatia Hrvatska
Joined: March 13, 2014
KitMaker: 13 posts
AeroScale: 13 posts
Posted: Monday, January 12, 2015 - 11:55 AM UTC
Well, this will be a real challenge! Not just because of its obscure history but also to realistically represent the canvas covered rib structure! Thumbs up Jessica!!!
Jessie_C
_VISITCOMMUNITY
British Columbia, Canada
Joined: September 03, 2009
KitMaker: 6,965 posts
AeroScale: 6,247 posts
Posted: Sunday, January 18, 2015 - 06:49 AM UTC
I begin by giving the major parts a cleaning up. Careful sanding and carving is needed to avoid breaking the resin. Despite my caution, I managed to break one of the wing spars, so it was replaced by a piece of straight pin.

The empennage

Propeller and spinner

It fits!

I gave the interior a base coat of Tamiya Deck Tan to prepare it for the oil paint wood effect to come.

Now to let that cure.
Jessie_C
_VISITCOMMUNITY
British Columbia, Canada
Joined: September 03, 2009
KitMaker: 6,965 posts
AeroScale: 6,247 posts
Posted: Sunday, January 18, 2015 - 08:39 AM UTC
Some burnt sienna oil paint for the first bit of the woodgrain paint
Jessie_C
_VISITCOMMUNITY
British Columbia, Canada
Joined: September 03, 2009
KitMaker: 6,965 posts
AeroScale: 6,247 posts
Posted: Sunday, January 25, 2015 - 04:02 AM UTC
Once the oils in the interior dried, I could get going on the building. It's a simple little model, but of course because of that there's so much potential for things to go wrong. I've got the first coat of paint on to see how it looks

Does this make my tail look big?

Where the engine will live

No matter how much care you take with resin kits, it's inevitable that you'll hear that sad little *snap*. I test fit the wings to show how it will look, and the front left spar snapped off. I'll need to very carefully drill and replace it. However, the model is beginning to look like an airplane now

And now those whirly-around bits what keep the pilot cool. Available photos show that the propeller tips were squared off, so I nipped them short, sanded and repainted.
Jessie_C
_VISITCOMMUNITY
British Columbia, Canada
Joined: September 03, 2009
KitMaker: 6,965 posts
AeroScale: 6,247 posts
Posted: Tuesday, February 10, 2015 - 10:57 AM UTC
I've solved the wing spar problem with a couple of sections of aluminium tubing and some chopped-off pins. The wings get the pins

While the fuselage gets the tubes

There's evidence of recent filling visible

This lower kingpost had more air bubble than pulley, so I sanded the offending ones off and replaced them with punched styrene discs. Of course, after having done that, I realised that it ought to have gone where I glued the other one and that one ought to be farther forward. Oops. Time for a little debonder or some judicious prying...

If you squint, and pretend really hard, you just might convince yourself that there's an airplane somewhere in this picture
Bigrip74
_VISITCOMMUNITY
Texas, United States
Joined: February 22, 2008
KitMaker: 5,026 posts
AeroScale: 2,811 posts
Posted: Tuesday, February 10, 2015 - 09:51 PM UTC
Jesse, nice looking a/c and I am impressed with all of the flash that you have removed.

Bob
Jessie_C
_VISITCOMMUNITY
British Columbia, Canada
Joined: September 03, 2009
KitMaker: 6,965 posts
AeroScale: 6,247 posts
Posted: Saturday, February 14, 2015 - 11:49 AM UTC
Most of the preliminary work is done. I'll need to paint the undercarriage legs and other bits semi-gloss black and that will be the last of the painting to be done. Then assembly and rigging. Here's the fuselage as it strands

And a look underneath

Hanging together by friction isn't really a good idea

But it's definitely looking much more like an airplane now
Jessie_C
_VISITCOMMUNITY
British Columbia, Canada
Joined: September 03, 2009
KitMaker: 6,965 posts
AeroScale: 6,247 posts
Posted: Sunday, February 22, 2015 - 05:25 AM UTC
I spent much of the last week thinking through the rigging and how I was planning to get it attached. I finally decided to attach two of my twisted wire loops to the upper kingpost. Since taking these pictures, I've painted all the struttery semi-gloss black, but watching paint dry is boring so I haven't got any pictures of that.

Jessie_C
_VISITCOMMUNITY
British Columbia, Canada
Joined: September 03, 2009
KitMaker: 6,965 posts
AeroScale: 6,247 posts
Posted: Sunday, February 22, 2015 - 09:12 AM UTC
Now the black is dry, and I've got the very first bits of rigging done, on the landing gear legs


Looking closely at pictures of the spinner reveals that there aren't huge gaping square holes for the propeller to fit through. There are very close fitting covers instead, so I have to fill the gaping holes. First step is some gap filling superlue
Merlin
Staff MemberSenior Editor
AEROSCALE
#017
_VISITCOMMUNITY
United Kingdom
Joined: June 11, 2003
KitMaker: 17,582 posts
AeroScale: 12,795 posts
Posted: Sunday, February 22, 2015 - 01:00 PM UTC
Hi Jessie

Nice work - looking good! Sod's Law usually dictates we spot a thing like that spinner after it would have been much easier to deal with.

Once I get things back into some semblance of normality at home, I'm looking forward to getting on with my Falcons entry again.

All the best

Rowan
Jessie_C
_VISITCOMMUNITY
British Columbia, Canada
Joined: September 03, 2009
KitMaker: 6,965 posts
AeroScale: 6,247 posts
Posted: Sunday, February 22, 2015 - 09:05 PM UTC
In my defence, the "instructions" clearly show the gaping hole. I shouldn't have followed them...
Merlin
Staff MemberSenior Editor
AEROSCALE
#017
_VISITCOMMUNITY
United Kingdom
Joined: June 11, 2003
KitMaker: 17,582 posts
AeroScale: 12,795 posts
Posted: Monday, February 23, 2015 - 12:29 AM UTC

Quoted Text

In my defence, the "instructions" clearly show the gaping hole. I shouldn't have followed them...


Hi Jessie

For all their simplicity, at least the drawings matched the parts as supplied.

All the best

Rowan
Jessie_C
_VISITCOMMUNITY
British Columbia, Canada
Joined: September 03, 2009
KitMaker: 6,965 posts
AeroScale: 6,247 posts
Posted: Saturday, February 28, 2015 - 08:45 AM UTC
Winged and rigged

Jessie_C
_VISITCOMMUNITY
British Columbia, Canada
Joined: September 03, 2009
KitMaker: 6,965 posts
AeroScale: 6,247 posts
Posted: Monday, March 02, 2015 - 11:45 AM UTC
It's finished!


A couple of Airscale WW I instruments make the office much more liveable
JClapp
#259
_VISITCOMMUNITY
Massachusetts, United States
Joined: October 23, 2011
KitMaker: 2,265 posts
AeroScale: 1,715 posts
Posted: Monday, March 02, 2015 - 12:45 PM UTC
That's delightful! Nice wire work!

Sr. Caproni was one of the great geniuses of the 20th century.
MichaelSatin
Staff MemberCampaigns Administrator
AEROSCALE
_VISITCOMMUNITY
Colorado, United States
Joined: January 19, 2008
KitMaker: 3,909 posts
AeroScale: 2,904 posts
Posted: Monday, March 02, 2015 - 06:22 PM UTC
Beautiful Jessi!!

Michael
Bink123
_VISITCOMMUNITY
Quebec, Canada
Joined: June 23, 2008
KitMaker: 414 posts
AeroScale: 364 posts
Posted: Tuesday, March 03, 2015 - 01:03 AM UTC
Very nice. I think the construction required a lot of patience and lightness of touch. well done. Sr. Caproni would be pleased and Mr. Miyazaki would be fascinated.
Jessie_C
_VISITCOMMUNITY
British Columbia, Canada
Joined: September 03, 2009
KitMaker: 6,965 posts
AeroScale: 6,247 posts
Posted: Saturday, March 07, 2015 - 12:51 AM UTC
I took advantage of our beautiful Left Coast weather to get some naturally sunlit shots. I like what the shadows of the rigging are doing


linkname
Merlin
Staff MemberSenior Editor
AEROSCALE
#017
_VISITCOMMUNITY
United Kingdom
Joined: June 11, 2003
KitMaker: 17,582 posts
AeroScale: 12,795 posts
Posted: Saturday, March 07, 2015 - 10:50 PM UTC
Hi Jessie

Beautiful crisp light! It really does highlight the detail on a fine build.

There's definitely a sense of Spring in the air here on the Island too, and the evenings are beginning to draw out - I'm looking at a lovely sunset over the Solent as I write.

All the best

Rowan
 _GOTOTOP