The box art

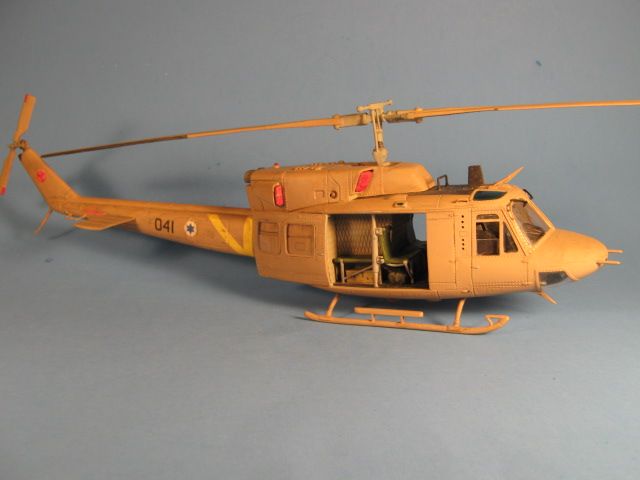
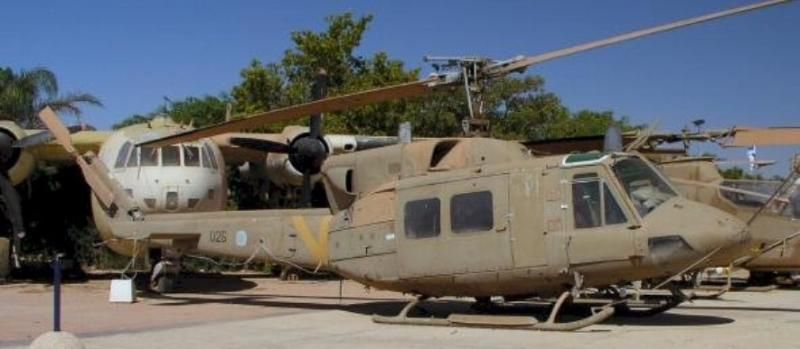
This is what I am going for. It is from the early '80s with an all grey interior.
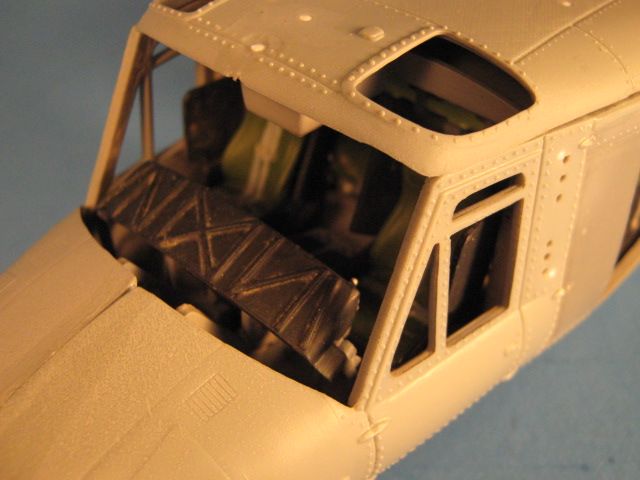
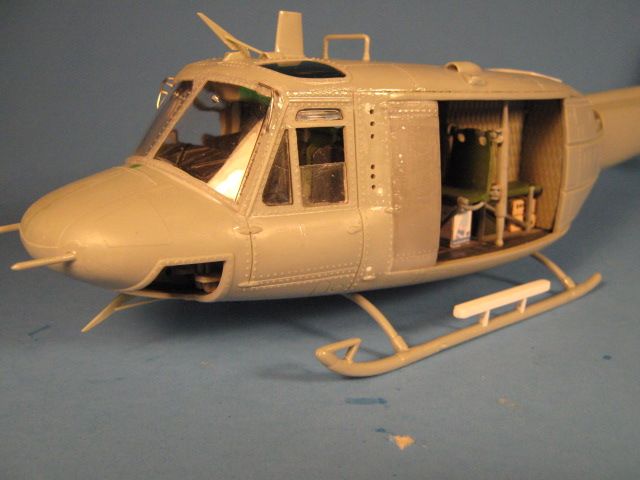
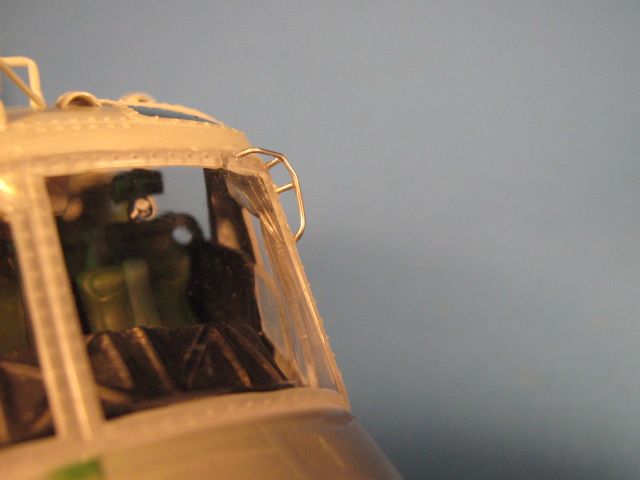
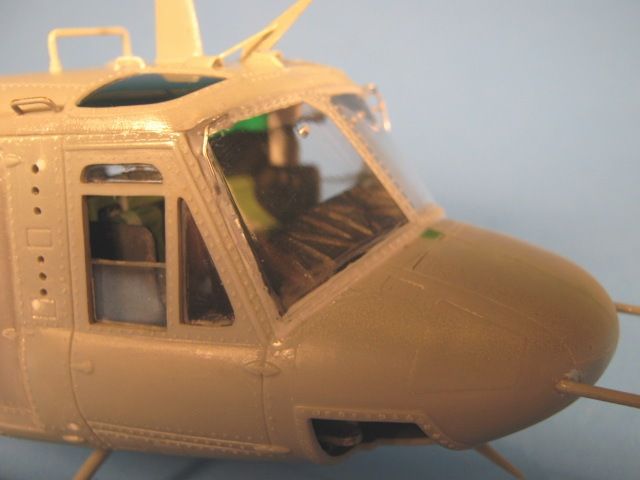
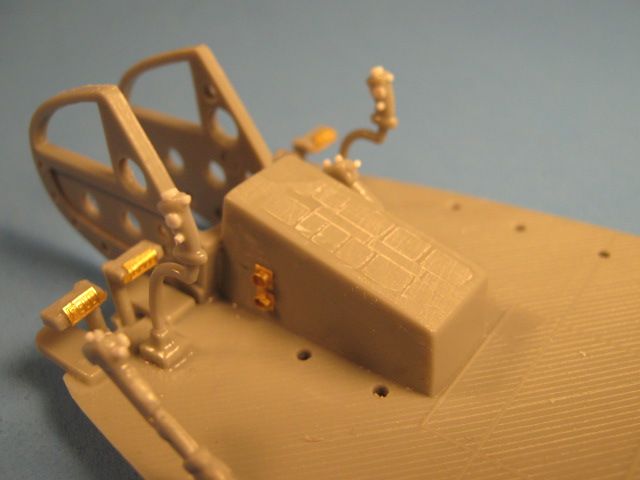
I started with the cockpit by adding knobs to the cyclic and collective handles. The PE in this pic is from the kit.
On the floor and roof, I filled in the holes for the vertical stanchions that hold the troop seat. They are too far inboard. I drilled new holes about 1/8 inch farther outboard on both sides; top and bottom.

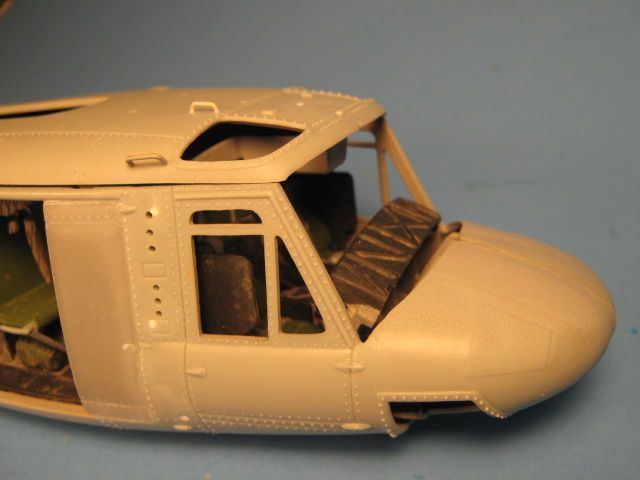
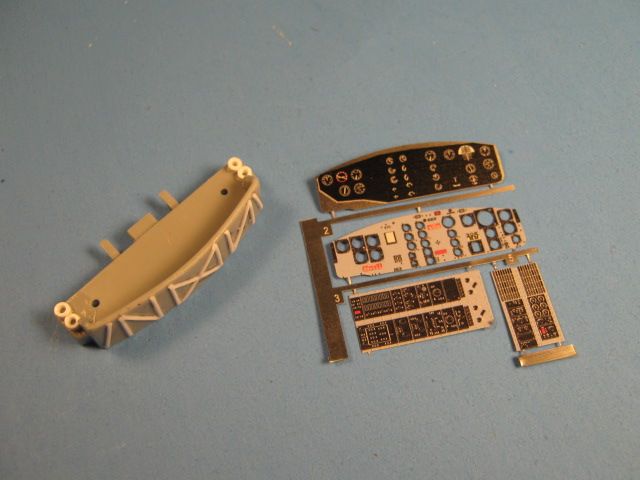
I added details to the IP such as the ribbing on top of the anti-glare panel and air vents on each side. I will be using the pre-printed IP and control panels from the earlier USMC UH-1N release as the kit PE is weak and not pre-printed.
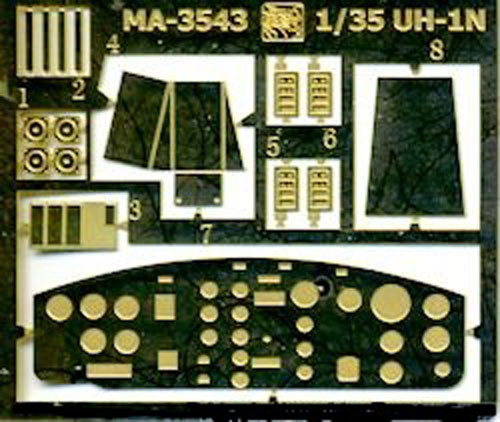
This is the crappy PE that comes in the kit.
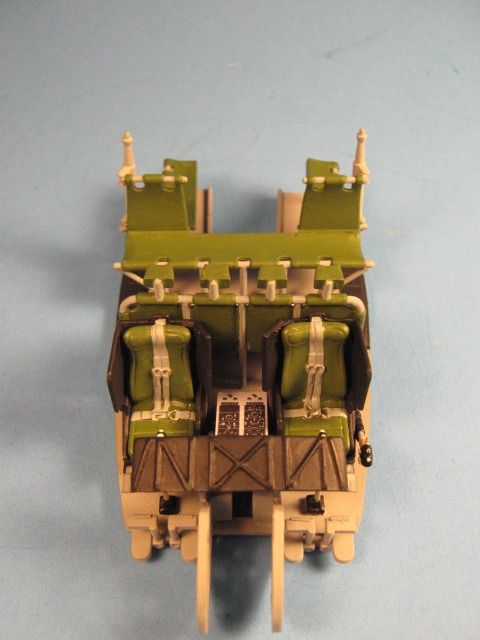
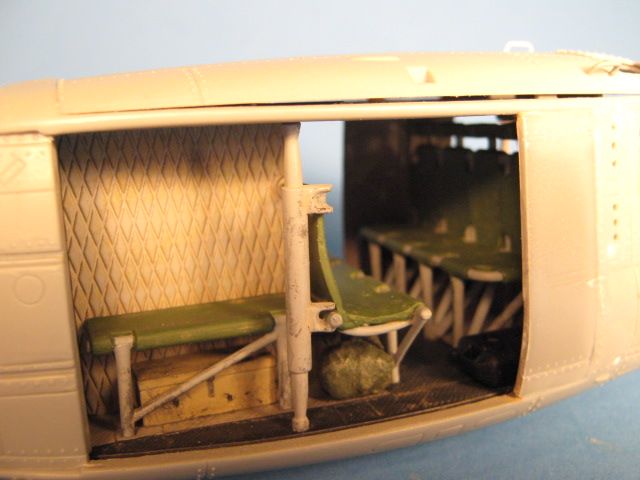
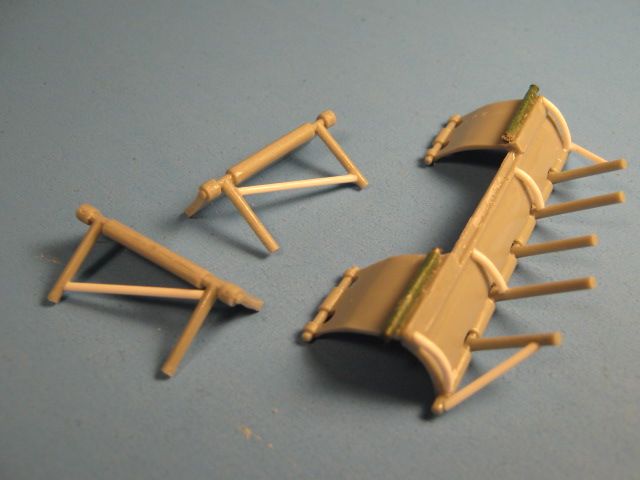
I added cross supports to the seat legs and reworked the back troop seat to have the curved lower supports and I removed part of the lower back section to allow it to sit all the way back against the rear wall properly.
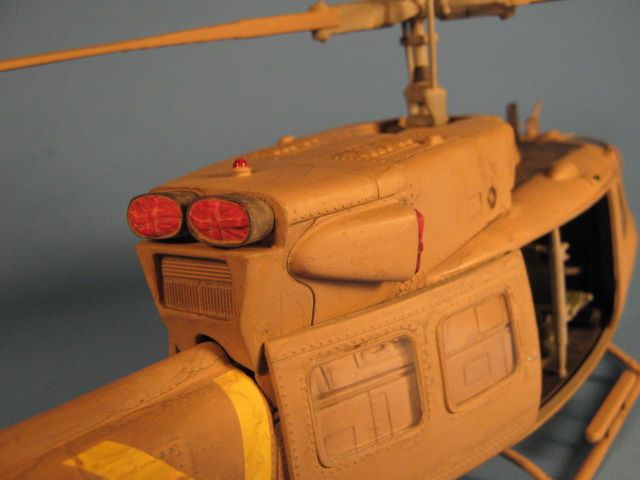
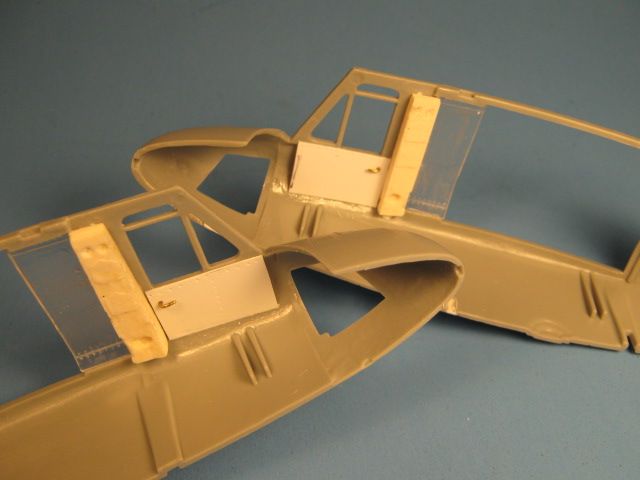
I added interior door panels from sheet styrene and handles from wire. I also used a couple of Cobra Company B pillar resin pieces. I sanded smooth the jump doors to remove the windows as IAF 212s have the solid doors as opposed to ones with windows.
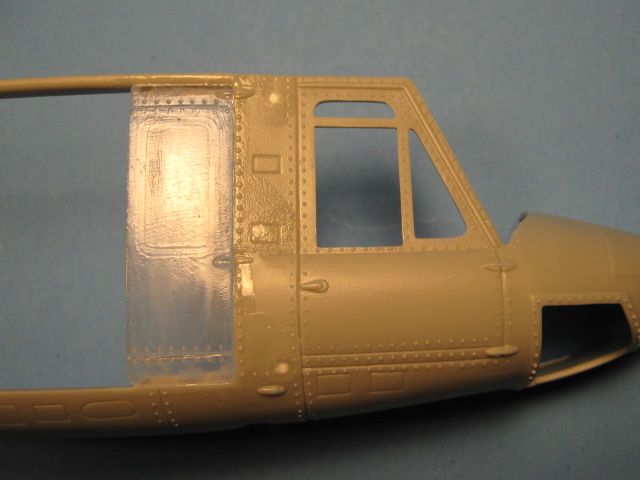
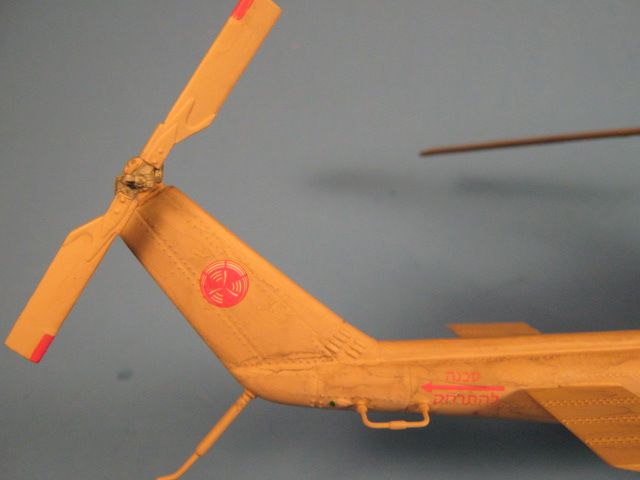
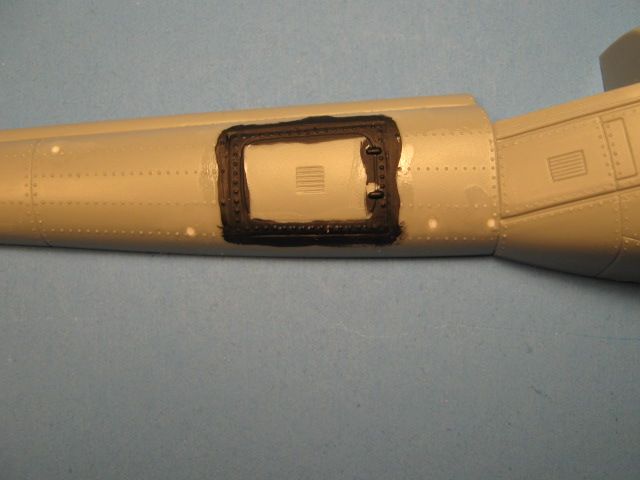
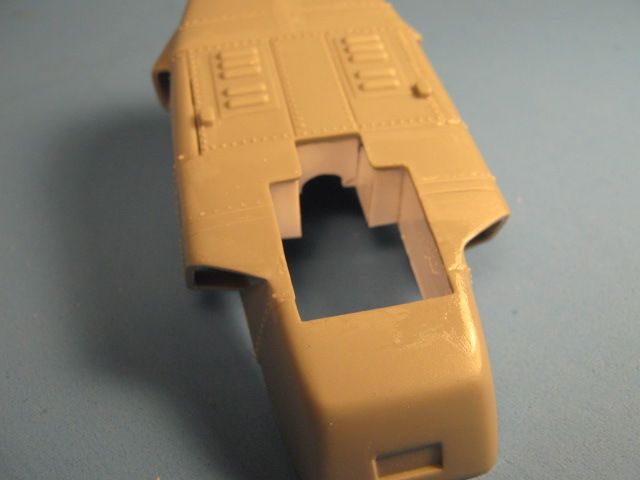
You can also see above and below where I filled in the holes that I will not be using that are intended for various antennas not used on this version. Also note that I used the tail boom insert with the cargo door (part B23). All civilian and export Bell 212s have this cargo compartment. US military UH-1Ns do not have this compartment.
Lastly, I added interior side walls to the main rotor transmission compartment.
That is all for tonight. Hopefully I can get some paint on it soon.