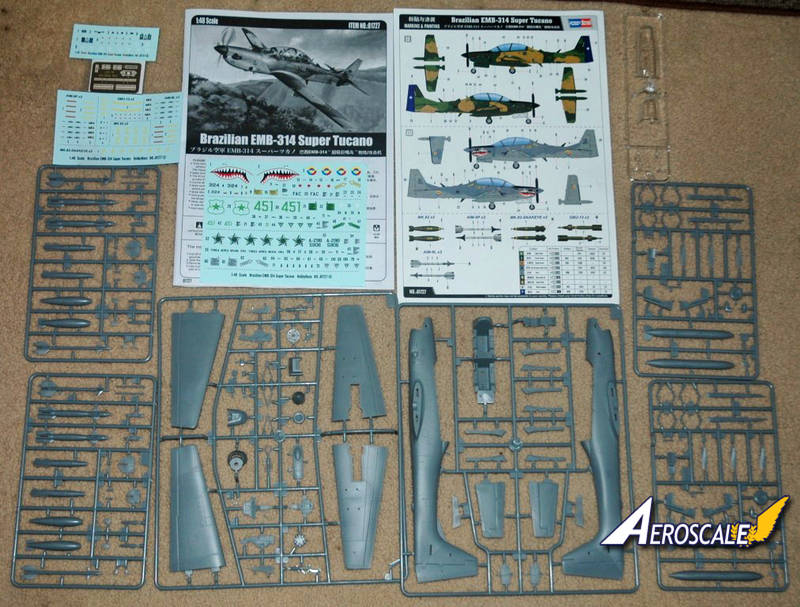
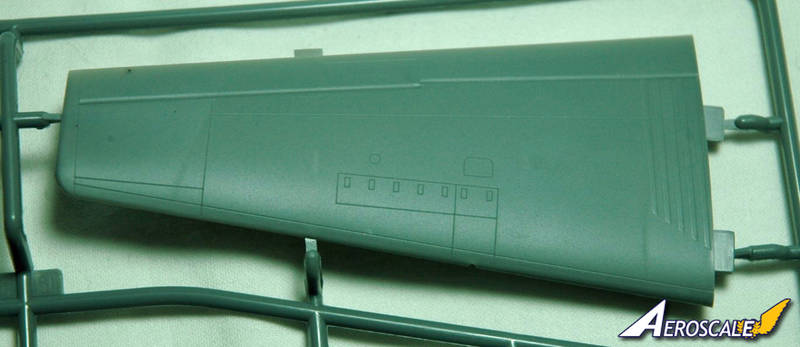
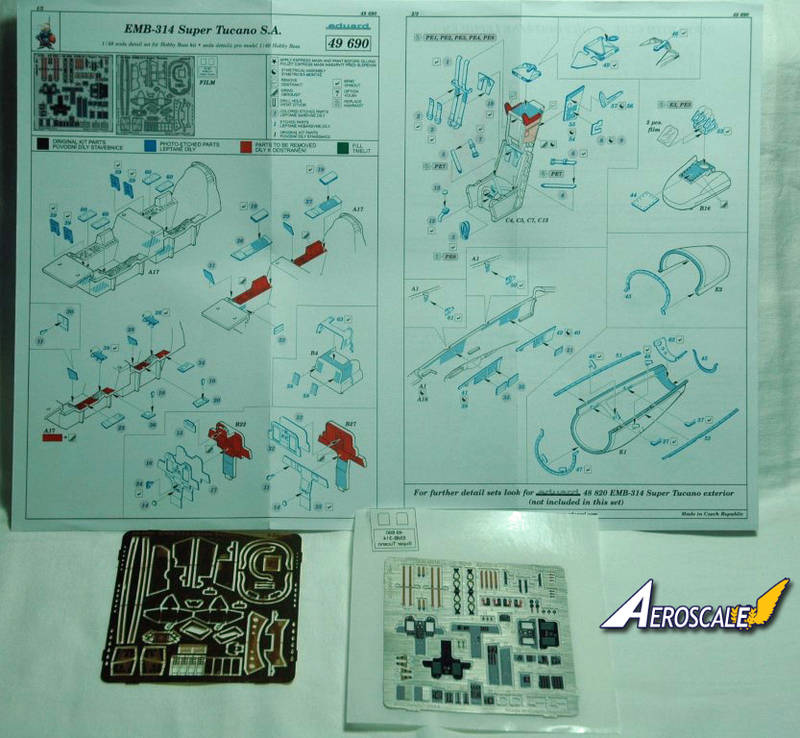
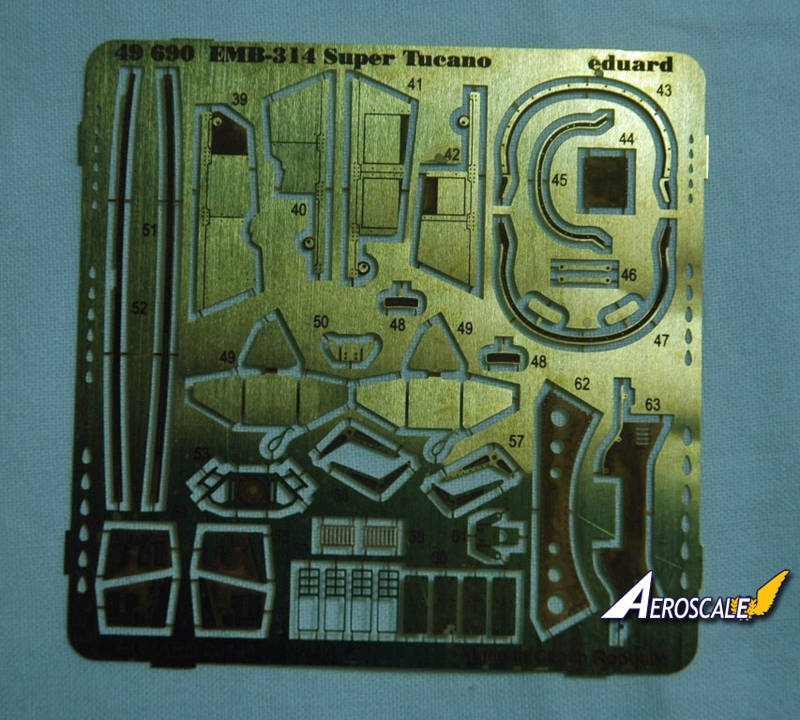
Well I have started a build blog for the first time in years.
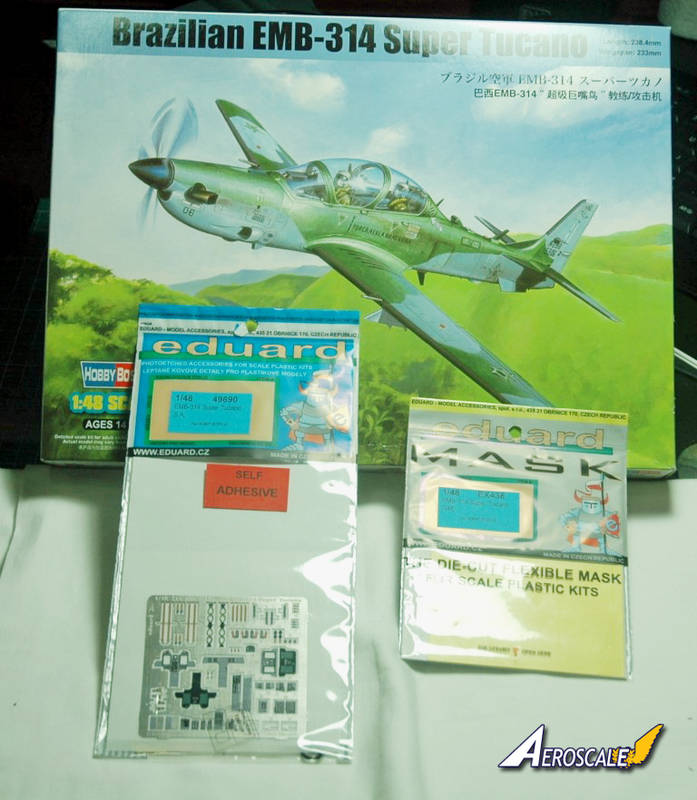
I am going to build Hobby Bosses 1/48th EMB-314 Super Tucano.
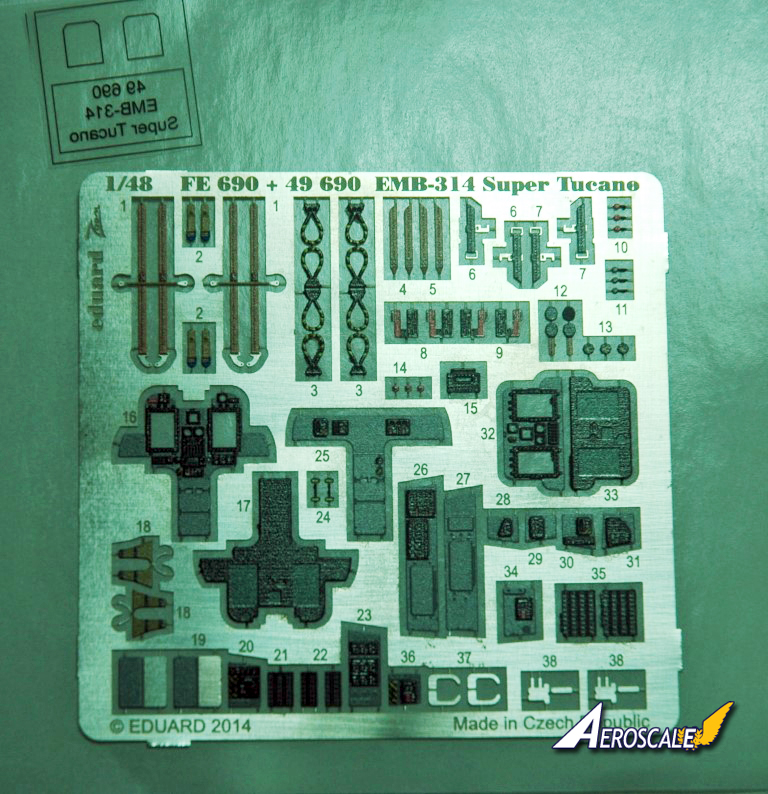
I will be adding an Eduard Self Adhesive interior set, and using Eduard's mask set for the canopy.
Hopefully this will be a quickish build.
A quick look at the parts.
Andy
Hosted by Jim Starkweather
EMB-314 Super Tucano
Posted: Tuesday, February 24, 2015 - 02:02 PM UTC
Posted: Tuesday, February 24, 2015 - 09:22 PM UTC
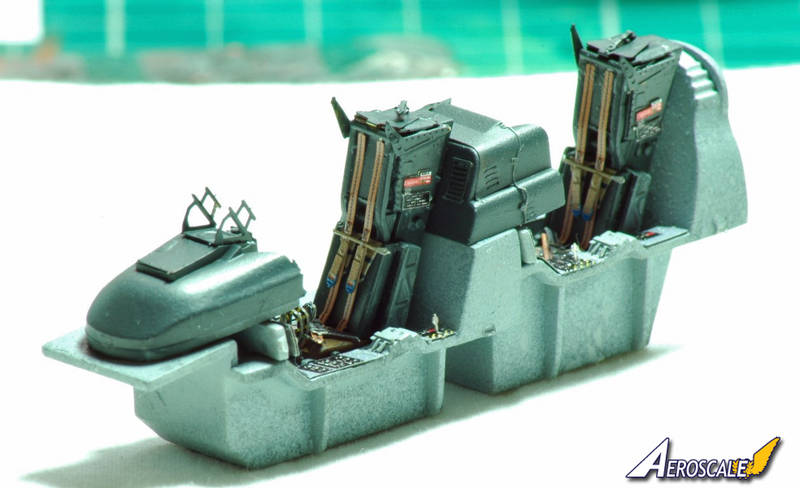
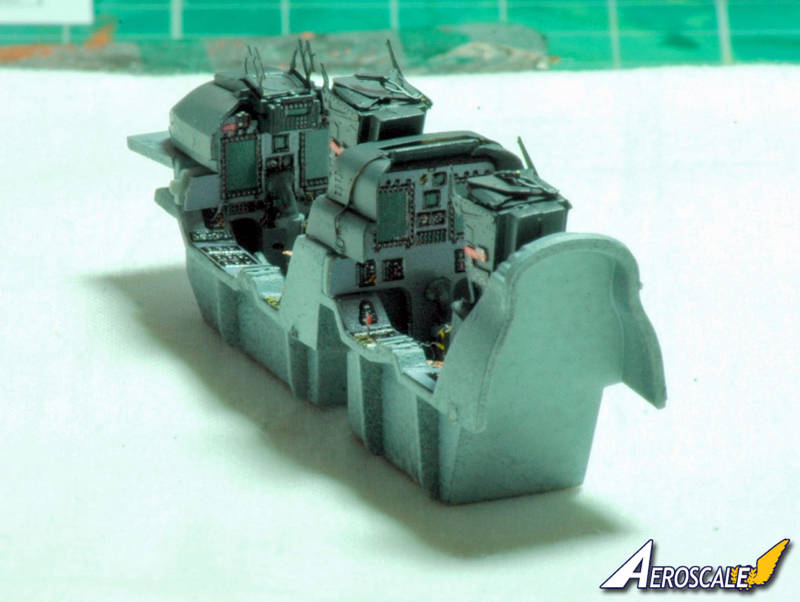
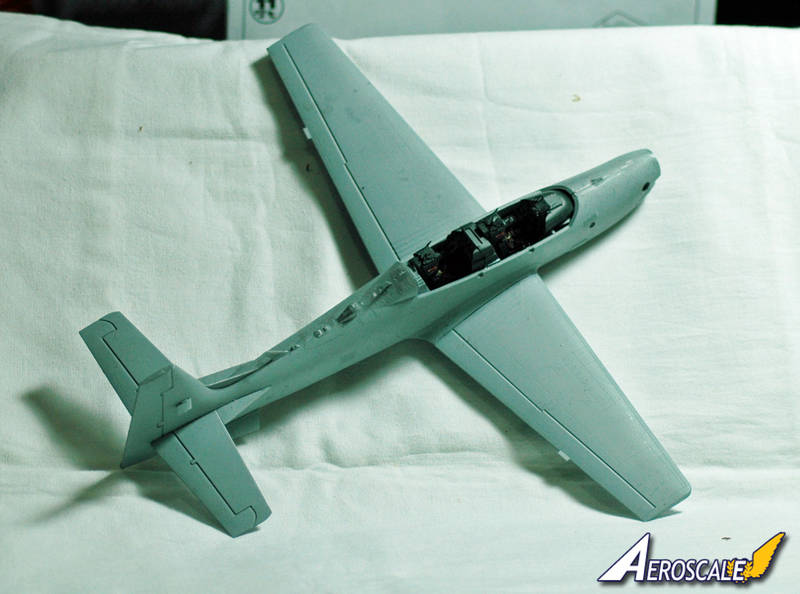
Well the cockpit is done. Eduard have you replace most of the moulded on details for the new etch set, and for once the self adhesive worked .
Eduard supply 19 parts for each ejection seat.
I have a few P.E parts to go onto the cockpit side walls, the nose bay assembly to build, and then I can close up the fuselage, which I'm planning to get done tonight.
Andy
Eduard supply 19 parts for each ejection seat.
I have a few P.E parts to go onto the cockpit side walls, the nose bay assembly to build, and then I can close up the fuselage, which I'm planning to get done tonight.
Andy
Joel_W
Associate Editor
New York, United States
Joined: December 04, 2010
KitMaker: 11,666 posts
AeroScale: 7,410 posts
Joined: December 04, 2010
KitMaker: 11,666 posts
AeroScale: 7,410 posts
Posted: Wednesday, February 25, 2015 - 01:06 AM UTC
Andy,
Excellent choice of kit. I'll be following right along with your build. Your cockpit and seats really do look quite good.
Joel
Excellent choice of kit. I'll be following right along with your build. Your cockpit and seats really do look quite good.
Joel
Posted: Wednesday, February 25, 2015 - 02:05 AM UTC
Quoted Text
Andy,
Excellent choice of kit. I'll be following right along with your build. Your cockpit and seats really do look quite good.
Joel
Thanks Joel.
Its a kit I have been after for a while, and as my desk was clear of a very, very long build I finally finished I thought I would throw this one together.
Andy
magnusf
Stockholm, Sweden
Joined: May 02, 2006
KitMaker: 1,953 posts
AeroScale: 1,902 posts
Joined: May 02, 2006
KitMaker: 1,953 posts
AeroScale: 1,902 posts
Posted: Wednesday, February 25, 2015 - 03:34 AM UTC
Andy! Even if you haven't been blogging you have kept your skills! Nice looking cockpit!
Magnus
Magnus
Posted: Thursday, February 26, 2015 - 01:40 AM UTC
Quoted Text
Andy! Even if you haven't been blogging you have kept your skills! Nice looking cockpit!
Magnus
Hi,
Thanks, but all I did was stick it together, I have Eduard to thank for the detail.
Well the Tucano is looking more like a plane now.
Next up is some filling of a few seam lines then start spraying the main camo.
Andy
magnusf
Stockholm, Sweden
Joined: May 02, 2006
KitMaker: 1,953 posts
AeroScale: 1,902 posts
Joined: May 02, 2006
KitMaker: 1,953 posts
AeroScale: 1,902 posts
Posted: Thursday, February 26, 2015 - 01:58 AM UTC
"Those aircraft" (there is a bunch of them like the Pilatus and Tucano and maybe some more) aren't that attractive but I like them anyway for some reason! I've yet to do an Airfix RAF Tucano...
Magnus
Magnus
Posted: Thursday, February 26, 2015 - 02:17 AM UTC
Quoted Text
"Those aircraft" (there is a bunch of them like the Pilatus and Tucano and maybe some more) aren't that attractive but I like them anyway for some reason! I've yet to do an Airfix RAF Tucano...
Magnus
I know how you feel, there is just something about them I like.
I might have to get the Airfix one at some point.
Andy
Posted: Thursday, February 26, 2015 - 02:53 AM UTC
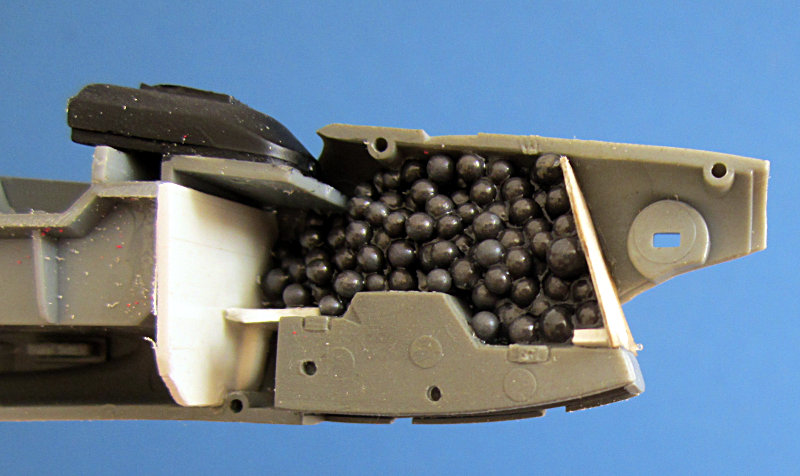
I hope you have included plenty (I mean PLENTY!!!) of lead in the bow. It cost me my canopy to find out it was too few. This was my first test load
which was doubled before the fuselage was closed. Then I stuffed the spinner with UvdR Lead putty and I had to drill the front and add more lead shot (which I stupidly tried to fix with super glue). Kit was oob and is done but is open topped at the moment...
This is before I found out what I did wrong...
all the best
Steffen
Posted: Thursday, February 26, 2015 - 10:57 PM UTC
Hi Stteffen,
I have put as much weight in the front end as I can, hopefully it will be enough.
It is amazing how much of a tail sitter it is.
I see you have done the scheme I'm planning on doing.
Andy
I have put as much weight in the front end as I can, hopefully it will be enough.
It is amazing how much of a tail sitter it is.
I see you have done the scheme I'm planning on doing.
Andy
Posted: Thursday, February 26, 2015 - 11:48 PM UTC
Yes I built it when the soccer WM was running, so Brazil was a perfect scheme. Though I really like some others too (not in the box), e.g. Mauretania.
all the best
Steffen
all the best
Steffen
Posted: Friday, February 27, 2015 - 12:30 AM UTC
Following along Andy, that Eduard set brings the cockpit alive.
Steffen thanks for the advice about how much weight is needed, I'll keep that in mind for when I get around to doing mine. I may opt for a set of metal landing gear just for that bit of extra weight (and strength) they will give on top of all the nose weight.
Posted: Monday, March 02, 2015 - 01:23 PM UTC
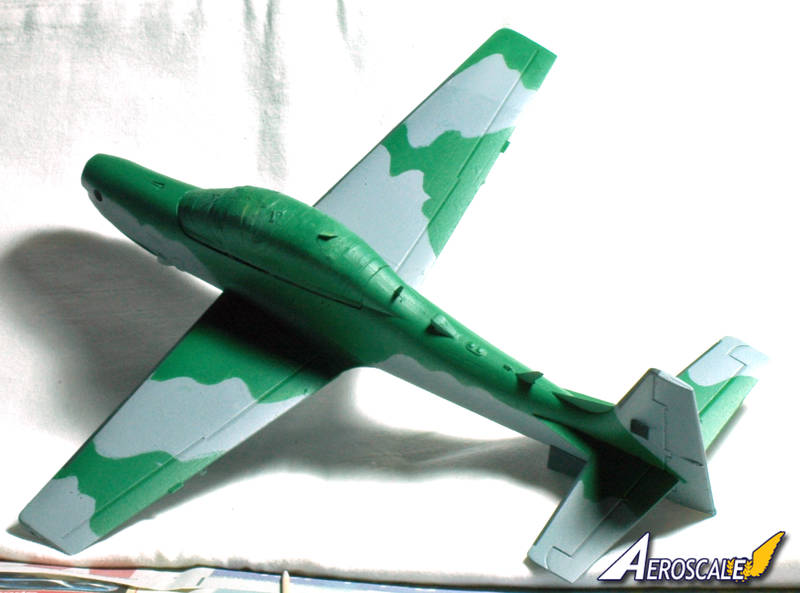
Well the camo is on.
Gloss coat about to be applied ready for decaling.
Andy
Gloss coat about to be applied ready for decaling.
Andy
Joel_W
Associate Editor
New York, United States
Joined: December 04, 2010
KitMaker: 11,666 posts
AeroScale: 7,410 posts
Joined: December 04, 2010
KitMaker: 11,666 posts
AeroScale: 7,410 posts
Posted: Monday, March 02, 2015 - 08:04 PM UTC
Andy,
Nice job on the Camo paint scheme. It looks really good.
Joel
Nice job on the Camo paint scheme. It looks really good.
Joel
Posted: Sunday, March 08, 2015 - 11:17 PM UTC
Thanks Joel.
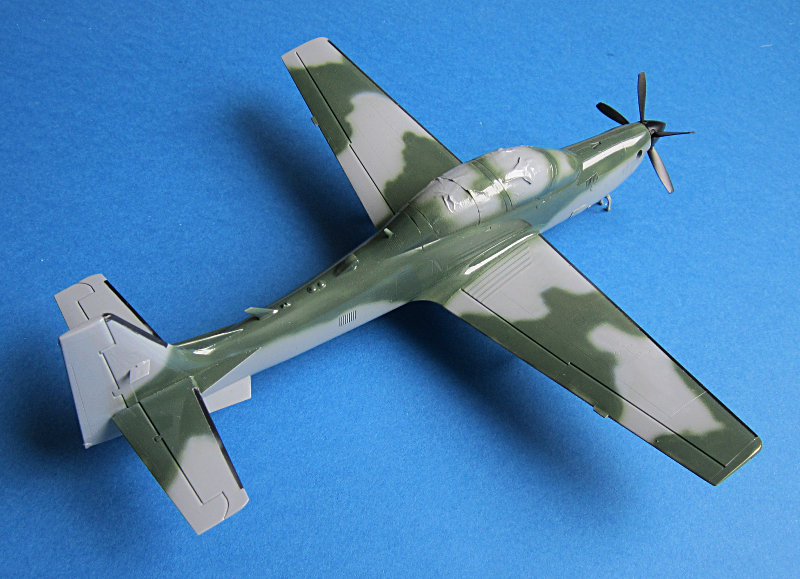
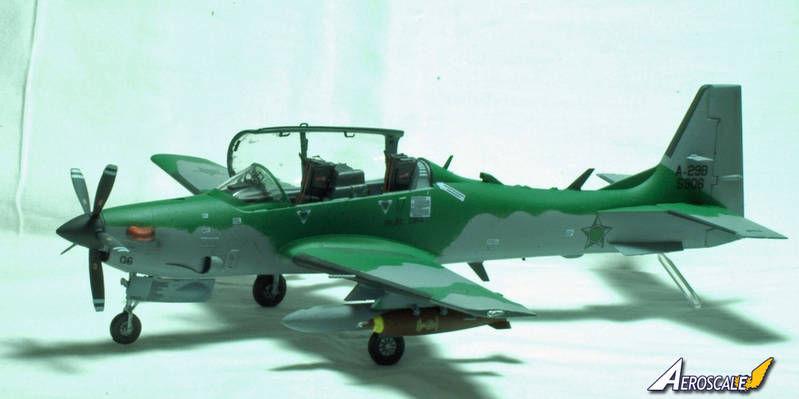
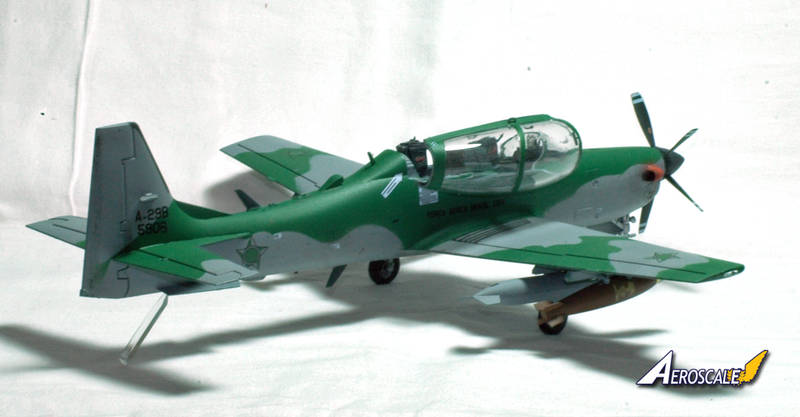
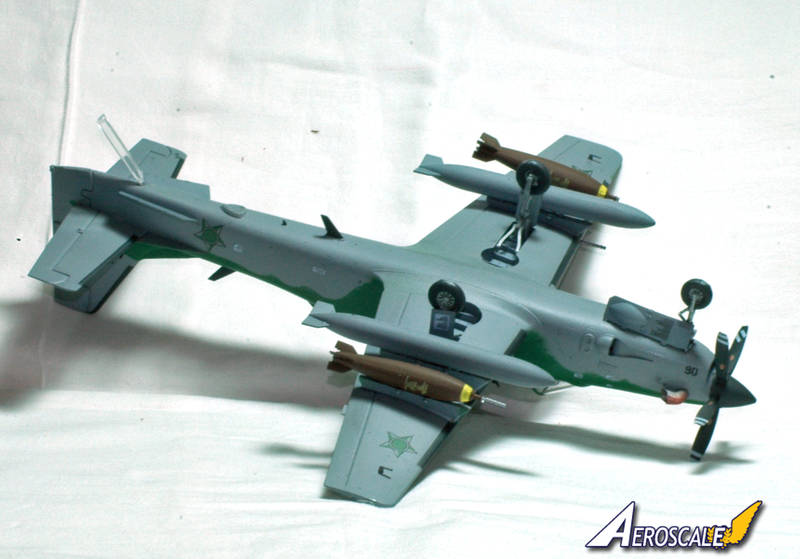
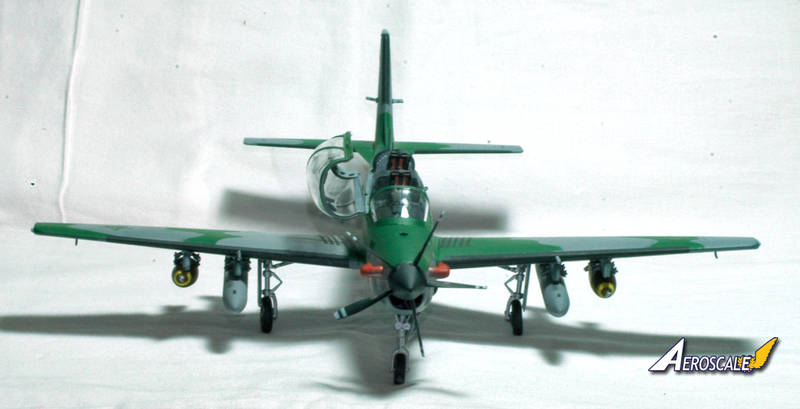
Well its finished.
I am impressed with the Eduard cockpit, it adds so much more detail then the kits parts, and is well worth the effort, as it is a big open space for all to see.
The decals are a pain in the proverbial, they spent more time in the water unfolding themselves then they did to get them off the backing paper.
I stuffed the nose full of weight but its still a tail sitter, hence the clear sprue at the back .
Thanks everyone for your comments, they are appreciated.
Andy
Joel_W
Associate Editor
New York, United States
Joined: December 04, 2010
KitMaker: 11,666 posts
AeroScale: 7,410 posts
Joined: December 04, 2010
KitMaker: 11,666 posts
AeroScale: 7,410 posts
Posted: Monday, March 09, 2015 - 01:49 AM UTC
Andy,
A most impressive build. Excellent camo paint scheme. I've had that not enough wt. issue a few times, and it's a real bummer, but sometimes there just doesn't seam like enough room to house all the weight needed.
Joel
A most impressive build. Excellent camo paint scheme. I've had that not enough wt. issue a few times, and it's a real bummer, but sometimes there just doesn't seam like enough room to house all the weight needed.
Joel