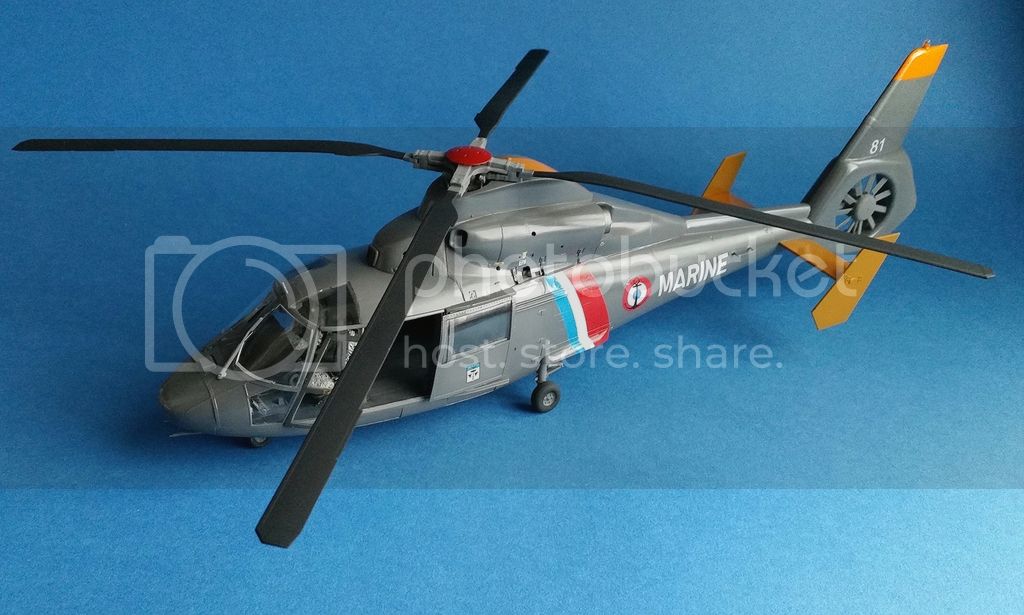
This seemed like a good kit for me to build as it would take me away from the worn and weathered aircraft I normally produce. To build a pristine well looked after Helo would be a change of direction.
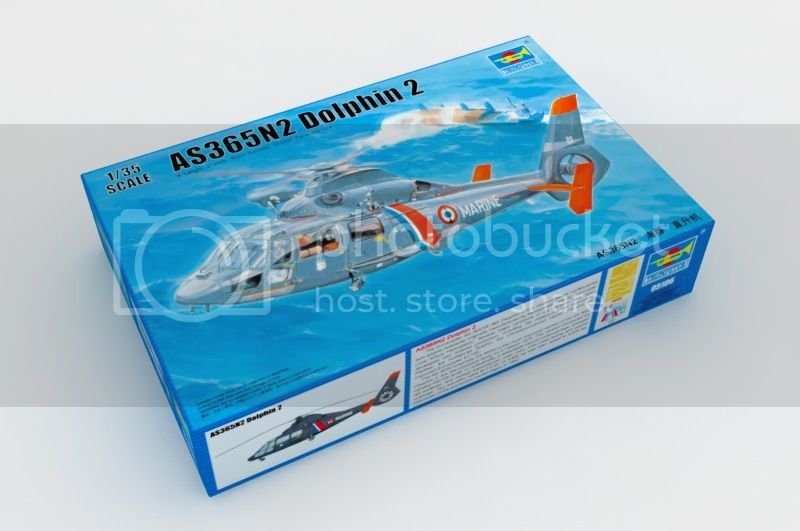
Upon opening the box and inspecting the contents I did notice a few odd mistakes. Looking back at the box art you will see this French Navy Dolphin is fitted with a winching system and hung from the belly is a Night Sun search light.
Neither of these are actually supplied in the kit? Also I noticed that the crew compartment was chock full of seats, unlike the fairly empty space a Navy Helo would have. It's obvious that the reference aircraft Trumpeter got their hands on was a passenger variant. So bearing these things in mind I pushed ahead and got stuck in.
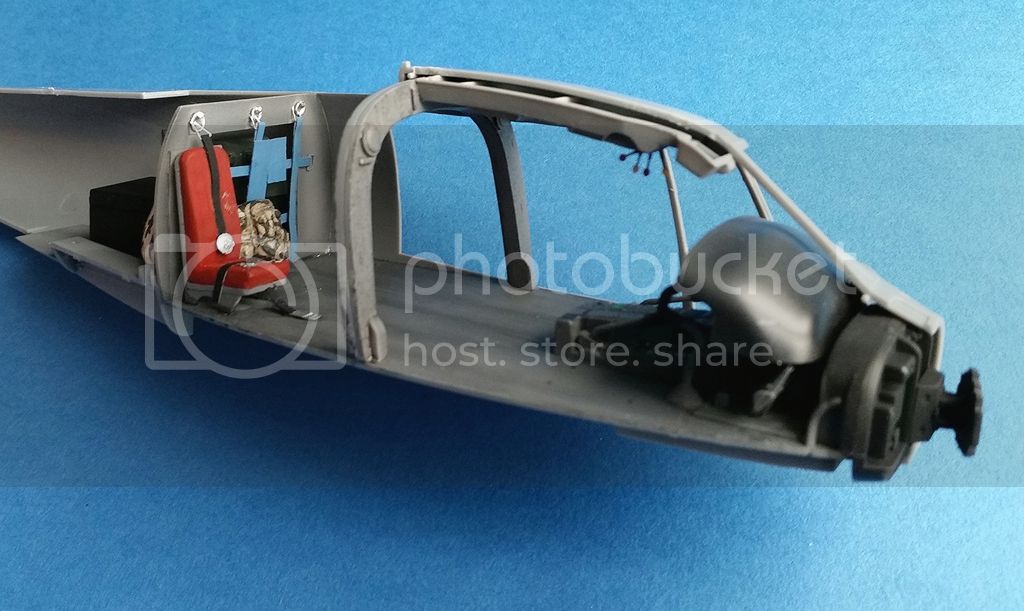
The first thing I tackled was the cockpit/crew compartment. I decide to stray slightly from the instructions for this. I'm supposed to use a solid bulkhead for the rear of the compartment, but two types are provided in the kit, a solid one and one with a large section cut out of it. It's this latter one I used as the Navy variant carries supplies and equipment in the tail section. I also only fitted one of the eleven seats provided. This one is for the Medic, Diver or Winchman. I left the rest of the compartment empty.
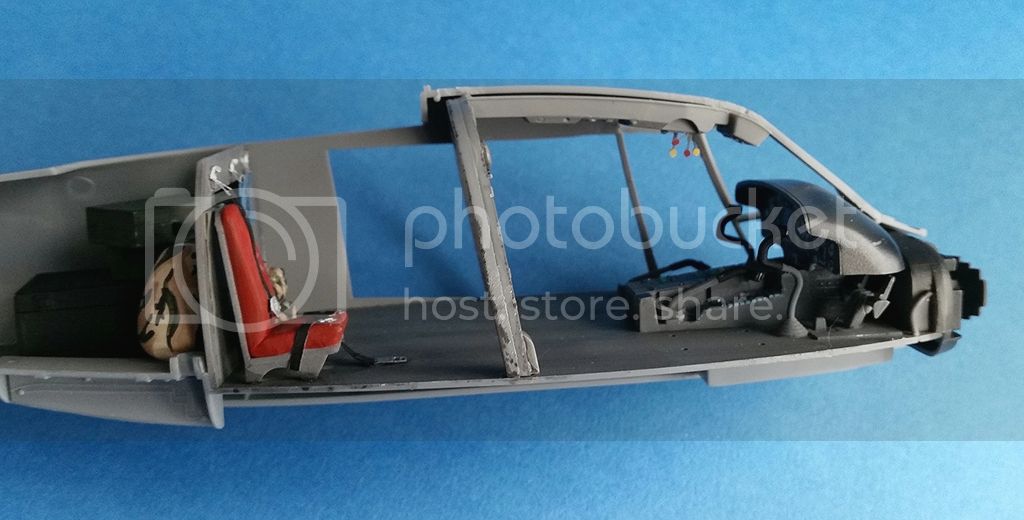
The cockpit was straightforward and quite nicely detailed. The instrument dials are provided as decals and with a little care and some setting solution they go down quite well. The only extras I scratch built for the interior were a cargo net and attachment points, some levers for the overhead console, a harness for the rear seat, some sheepskins and a couple of metal grabs for the tops of the Pilot and Co-pilots seats. I also added some stowage in the tail section.
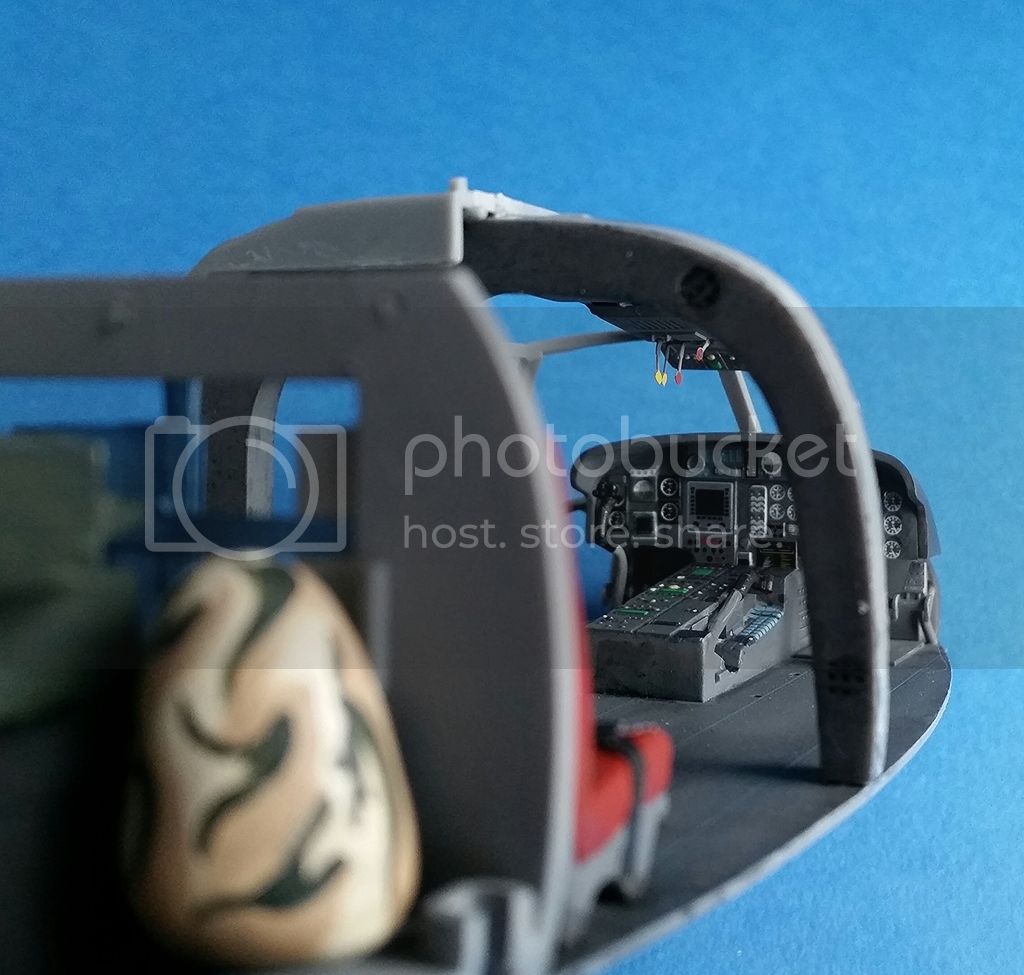
The whole compartment was airbrushed dark sea grey with a little pre-shading on the rear compartment floor.
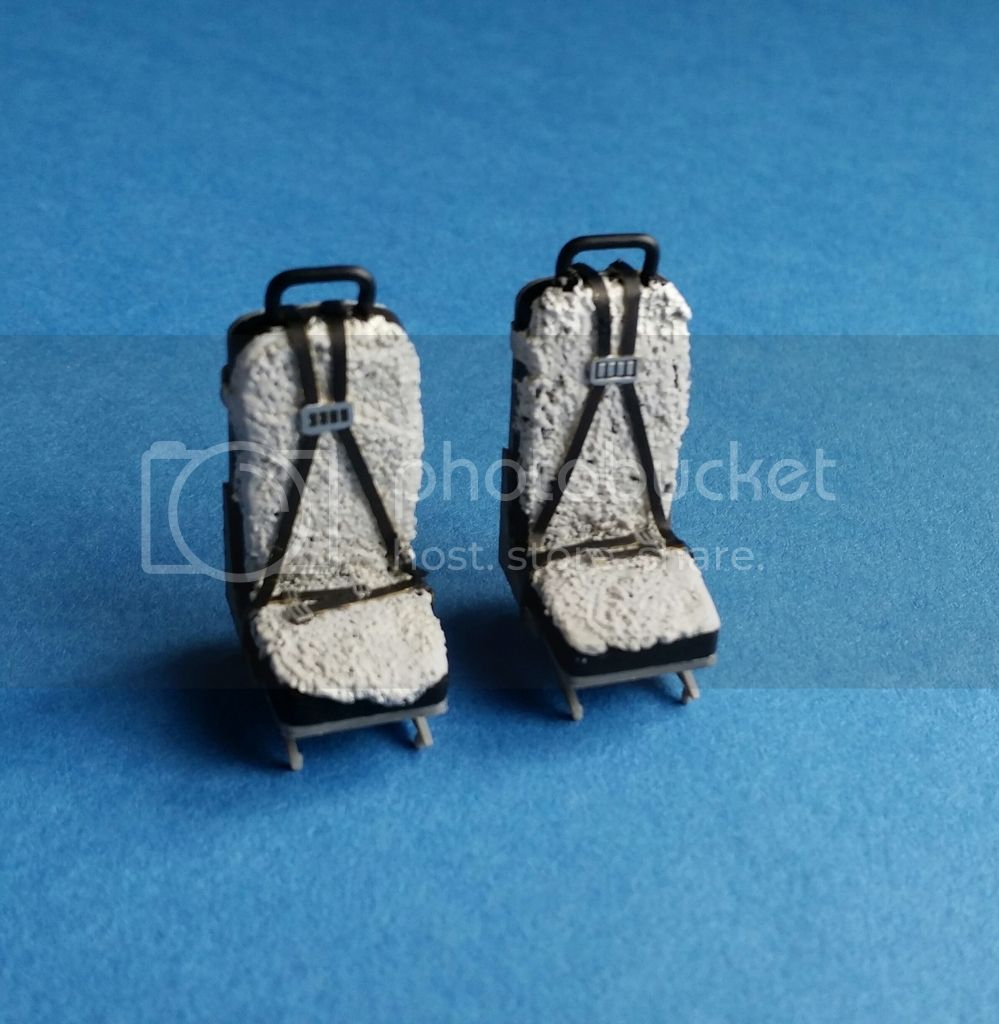
Next up was the engines and as is sometimes the way with Trumpeter these are a little over engineered as each turbine has eight parts to it. I'm pretty sure they could get away with four. But I guess it all adds to the modelling experience. I didn't paint the finished assembly as this Helo will have all its panels buttoned up.
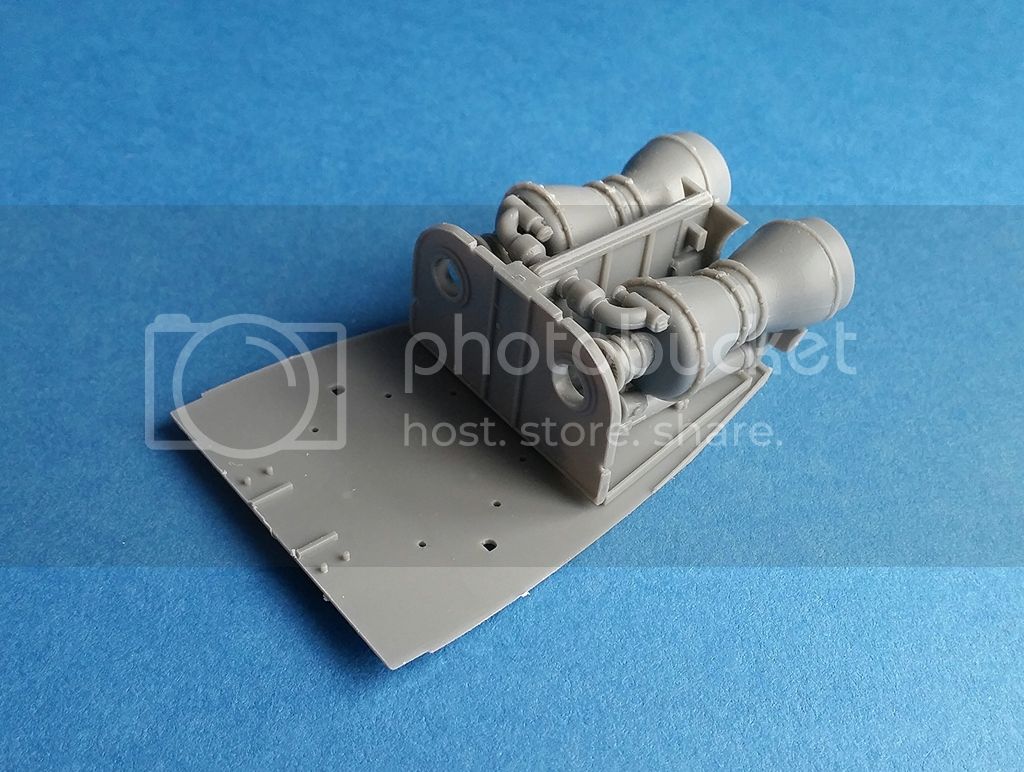
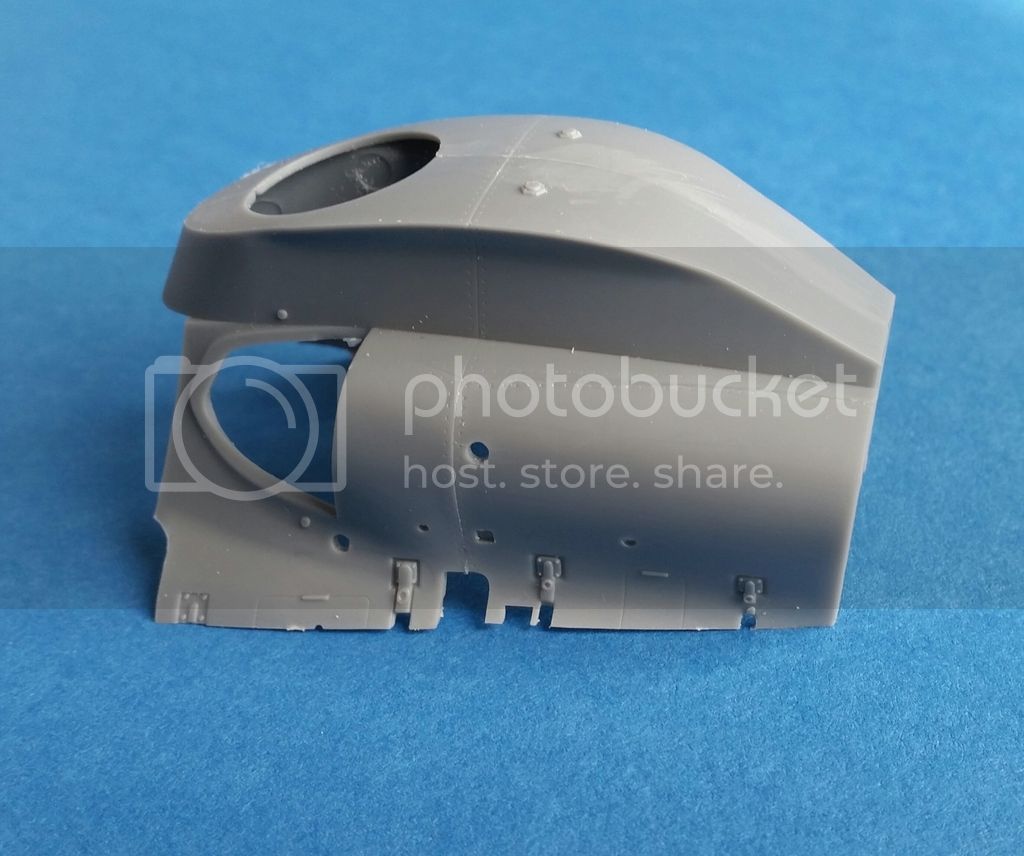
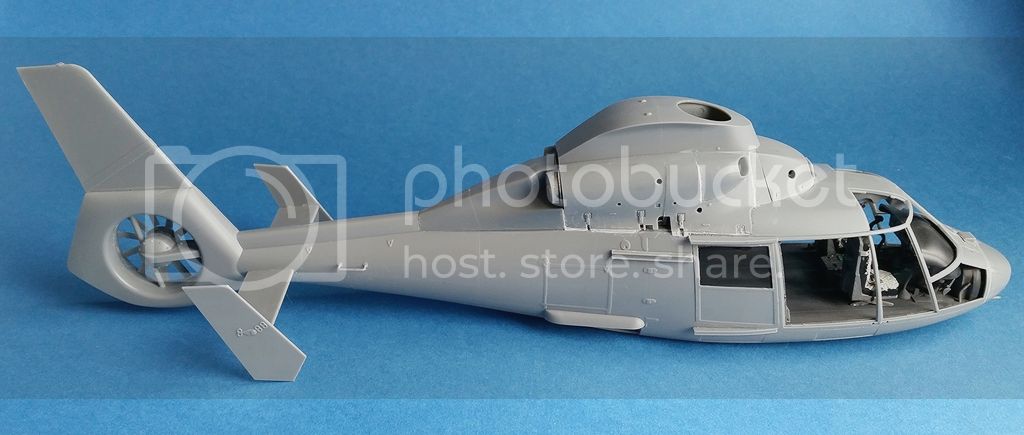
Once I had the enclosed tail rotor built and installed (as on the Dolphin, it's enclosed) the fuselage was put together. Then the turbine assembly was glued in place. On to the engine covers and these are a little tricky as there are six parts and they all have to line up with each other and still fit without gaps to the upper part of the fuselage. Once all the seams were filled and sanded I started painting. I used low tack tape in all the doorways and windows as the glass would be added last. The main colour is dark sea grey but there are decals provided for the stripes on the sides of the fuselage. I didnít use these as I think it is easier to mask and paint them.
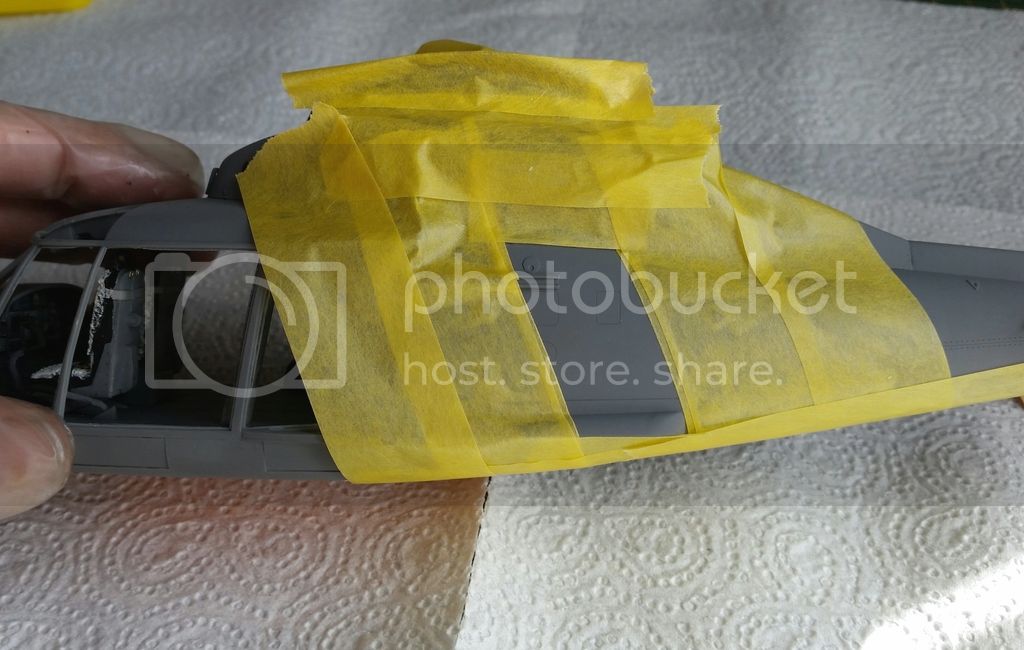
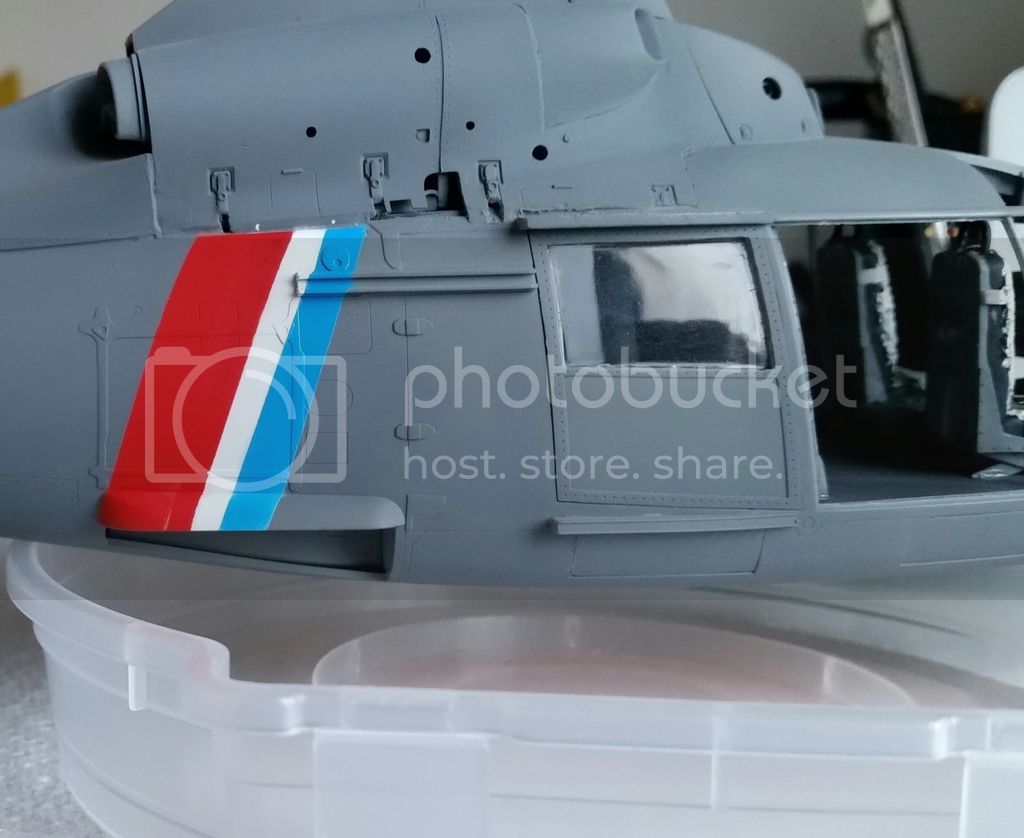
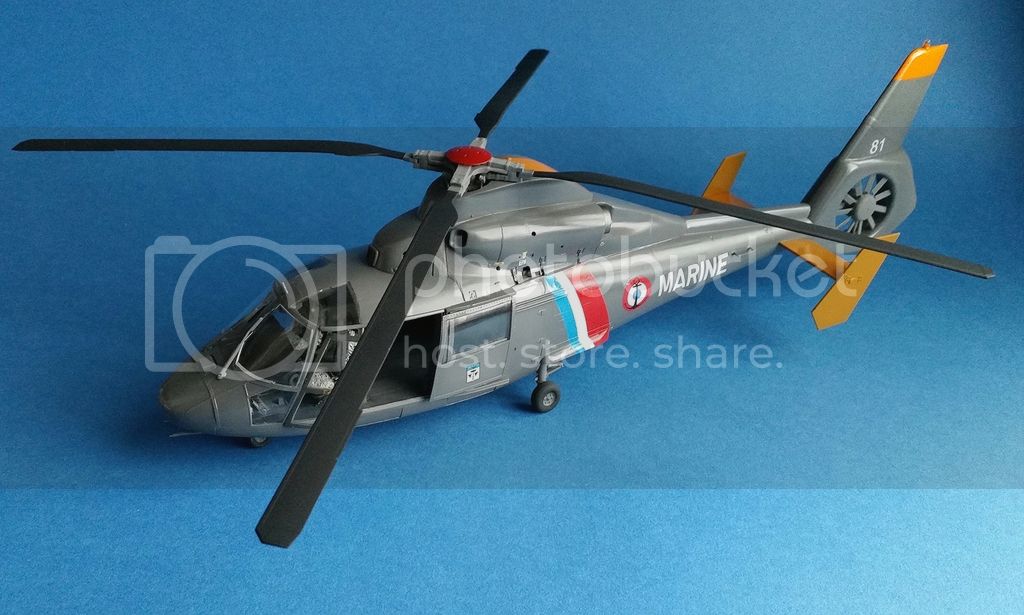
The horizontal stabilisers are painted orange, as is the rotor head and the top of the rotor assembly. Once everything was painted I gave the Helo a couple of coats of clear. As this is a well maintained machine I left it with a gloss finish. Next I added the decals which are quite nice and bedded down well. Another coat of gloss to seal them and I moved on to the rotors.
As I've said this Helo is well looked after so weathering was kept to a minimum, just tyres and the odd grease stain.
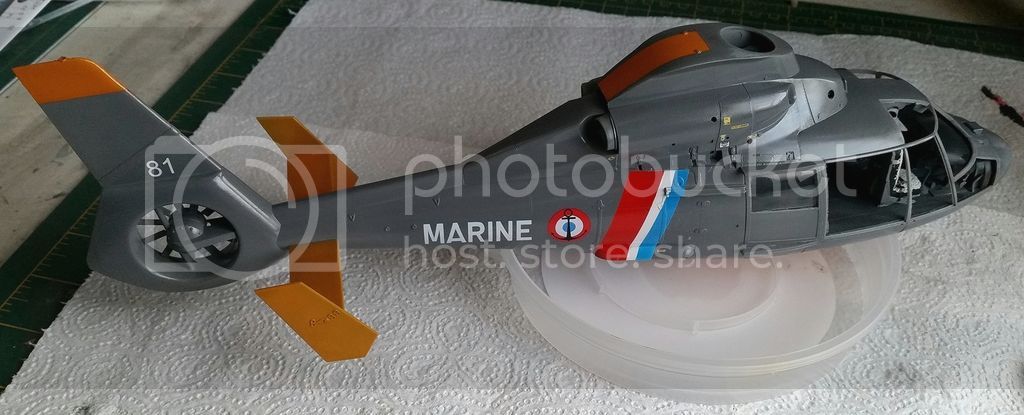
Lastly I added the glass which in some places just clips in so I didn't have to trouble myself with glue - and that is it.
This is a good kit with a few small silly mistakes. It does build into a good looking Helicopter. I'm sure for the person that has a love for super-detailing, this would be a stunning kit.
 [/URL
[/URL[URL=http://s1240.photobucket.com/user/Animalmother70/media/Mobile%20Uploads/IMG_20150503_182035_zpsxmzzktfo.jpg.html]

