_GOTOBOTTOM
Modern (1975-today)
Discuss the modern aircraft age from 1975 thru today.
Kopro 1/48th scale Su-25K
jugjunkie
_VISITCOMMUNITY
South Africa
Joined: January 20, 2009
KitMaker: 140 posts
AeroScale: 84 posts
Posted: Sunday, June 28, 2015 - 12:47 PM UTC
Well the Phantom is on a holding pattern awaiting decals from a very kind soul in the UK (nudge, nudge, wink, wink Ian) so I decided to unpack something that I have been meaning to get to for a very, very long time. First impressions are not too good. The surface detail is very soft and disappears in places and - reminds me a lot of early Italeri (ala Phantom). Fit seems to be OK'ish but I do foresee the need for some elbow grease ahead.

I started this one completely different to the usual cockpit. I was a bit perturbed by way everything goes together and I can see that the engine nacelles, wing, and engine internals are going to make for some fun. The engineering of this assembly is plain bloody daft. So after reading the instructions thoroughly and wrapping my head some potential issues I decided to deviate completely from the plan an instead of assembling the internal engine as a unit, I decided to assemble one half of the inlet onto the fuselage on both sides, and assemble the other half of the nacelle onto the wings. I opted to spray the engine intake with Alclad dark Aluminium at this stage.


I then sprayed the compressor blades in Alclad Durallium, and fitted them. Then I attached the second half of the engine and attached the wing section to the fuselage section and this worked out sort of OK....


At this stage I realised I should perhaps have assembled the engine section complete first and then attached it to the fuselage because now the fixing of the seam is going to a bit more difficult in-situ. At this point I saw the intake looked like crap and this is the way it is!!! There is nothing else to add!! Looking at Photos of the plane, the opening of the intakes are very rounded and not squared off as this is. Logic tells me that Kopro really should have made decent intake rings to be added at this stage to give that proper rounded effect but alas! So I had to create that by building up the lip with some plastic sprue and then sanding it to shape.


Just a comparative shot - original and reworked together...


and that's where we are at for now.
Joel_W
Staff MemberAssociate Editor
AUTOMODELER
_VISITCOMMUNITY
New York, United States
Joined: December 04, 2010
KitMaker: 11,666 posts
AeroScale: 7,410 posts
Posted: Sunday, June 28, 2015 - 06:44 PM UTC
Geoff,
Sure looks like you've got your hands full with this build. The added rings to the intakes are very nicely done.
Joel
eclarson
_VISITCOMMUNITY
Ohio, United States
Joined: February 22, 2010
KitMaker: 171 posts
AeroScale: 166 posts
Posted: Sunday, June 28, 2015 - 11:41 PM UTC
Geoff,

I built Eduard's reboxing of this kit a few years ago and there were separate intake rings included. Assuming Eduard didn't renumber the parts, they are #102.

http://www.eduard.com/store/out/media/1150.pdf

Seeing as you made your own, it's a moot point but if your kit is missing them, hopefully that doesn't mean other parts are as well. By the way, the kit intake lips needed work to look right anyway so probably required as much work as making your own!

Cheers,
Eric
jugjunkie
_VISITCOMMUNITY
South Africa
Joined: January 20, 2009
KitMaker: 140 posts
AeroScale: 84 posts
Posted: Monday, June 29, 2015 - 11:22 AM UTC
Thanks for interest guys. Eric I checked and referred again back to the instructions and there is in fact plastic bits for those rings on the sprue but I cannot find it in the instructions. Anyway I tested the ring and you agree right the amount of work to get that ring to fit properly is going to require as much work as re-creating one, so i'll rather just do my own thing again. Thanks for the heads up.

I would lie if I said I was impressed with this kit. I have always had a negative perception of East European manufacturers until Eduard came along. I think Kopro make great subjects and they have a huge amount of surface detail there (more than most I would say) but the quality is crap. I have recently heard about the new stuff Zvesda are producing and I think I need to check it out. I had an older Zvesda Su 30 some time back and it was rubbish so I have tended to avoid the brand but I think i'll check them out again.

Anyway.....I turned my attention to the stores on the Su-25 and again, not impressive. Starting with the rocket launchers. They are simple 3 piece affairs and after glueing the two haves of the main body together, it was apparent that here again I would need to expend a bit of effort to make them half acceptable.


That's it - just an empty tube! The actual pod has a baffle plate at the rear which is a bear minimum for goodness sake KOPRO!! It would be so easy to create a small round plastic bit with a few holes in it!!! So first step is to thin out the rear section and properly define the surface details and holes - lots of holes!


The front housing also benefits from a visit by the finger drill....


Stay tuned......
SgtSnake
_VISITCOMMUNITY
Texas, United States
Joined: September 10, 2004
KitMaker: 41 posts
AeroScale: 8 posts
Posted: Monday, June 29, 2015 - 08:49 PM UTC
Wow, you've got some work ahead of you, but I think you'll have a winner when you're finished. I agree with you on the older Eastern European kits, they look passable in the box but fit issues soured me, too. I had a 1/72 scale Bear in the '80's from a company known as VEB Plasticart(East Germany, I think). Hard white plastic, NO detail at all, incomplete molding on those loooong wings at the tips, a fit so bad I swore the fuselage halves were made at two separate companies...I could go on and on about it, but I sold it at a model contest I went to for more than I paid for it(either a deep pocket collector, a real sucker, or probably both LOL) Stick with it, buddy, I can't wait to see it finished!
jugjunkie
_VISITCOMMUNITY
South Africa
Joined: January 20, 2009
KitMaker: 140 posts
AeroScale: 84 posts
Posted: Monday, July 13, 2015 - 01:31 PM UTC
Thanks Guys, Baffle plates on the rocket pods done....

Armored76
_VISITCOMMUNITY
Bayern, Germany
Joined: September 30, 2013
KitMaker: 1,615 posts
AeroScale: 51 posts
Posted: Tuesday, February 16, 2016 - 05:43 PM UTC
Was there any progress on this since your last post? This is a very special subject and I was considering the reboxed Smer kit as it is the only alternative in this scale you can still get. Your blog would be a great source of inspiration, for sure!
jugjunkie
_VISITCOMMUNITY
South Africa
Joined: January 20, 2009
KitMaker: 140 posts
AeroScale: 84 posts
Posted: Monday, March 21, 2016 - 12:56 PM UTC
Hi Cristian, I replied to your PM, thanks for checking in here, I will be starting this one up again within a week or two.
jugjunkie
_VISITCOMMUNITY
South Africa
Joined: January 20, 2009
KitMaker: 140 posts
AeroScale: 84 posts
Posted: Thursday, July 21, 2016 - 12:39 PM UTC
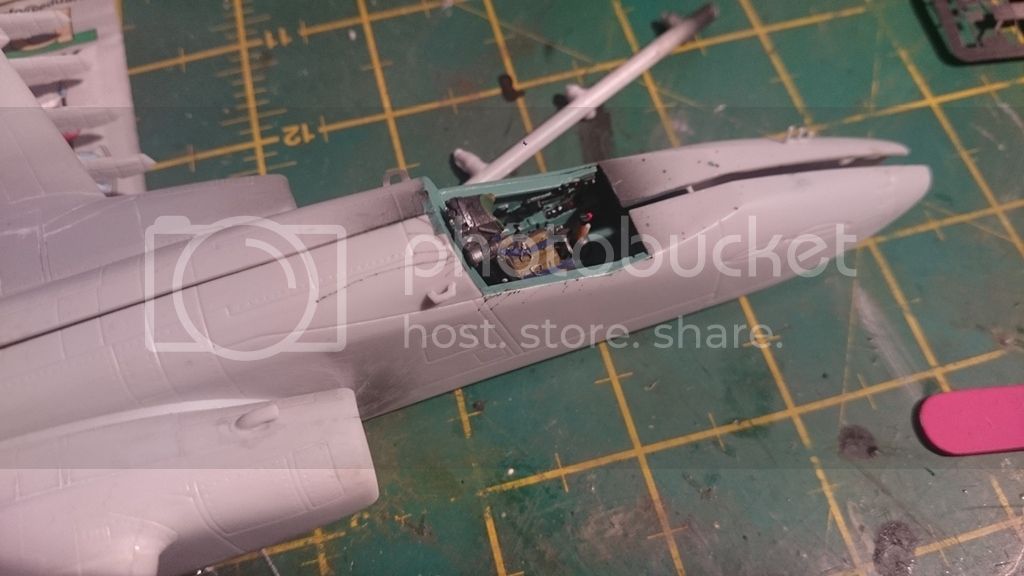
Picking this one up again after far too long. Completed the cockpit, the kit seat is not the worst i have ever seen but just to add something more, I used the beautiful Quick Boost seat - very happy camper with the result. Dry run on joining the fuselage halves and there will be some filling and tweaking.


jugjunkie
_VISITCOMMUNITY
South Africa
Joined: January 20, 2009
KitMaker: 140 posts
AeroScale: 84 posts
Posted: Friday, July 22, 2016 - 01:26 AM UTC
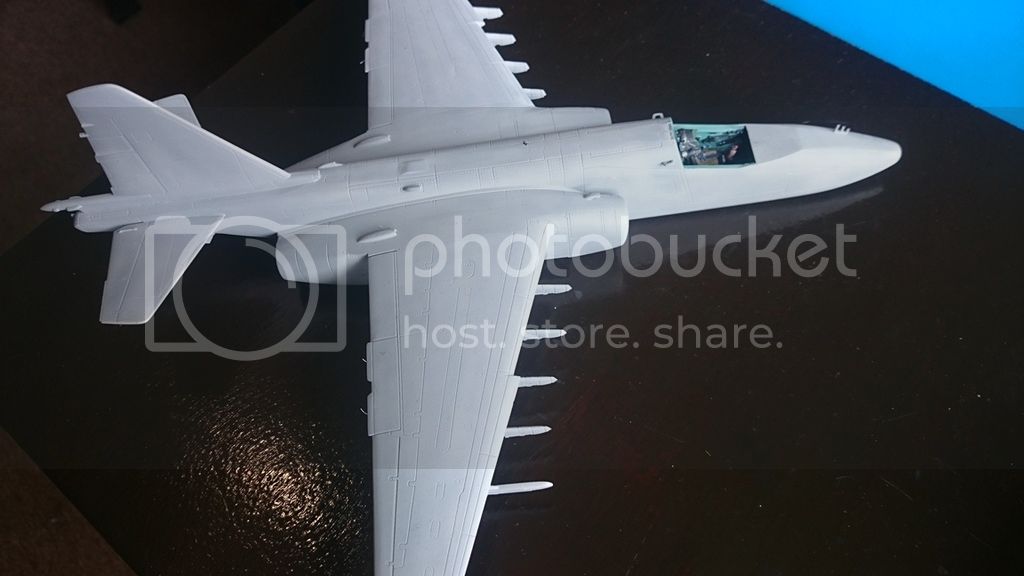
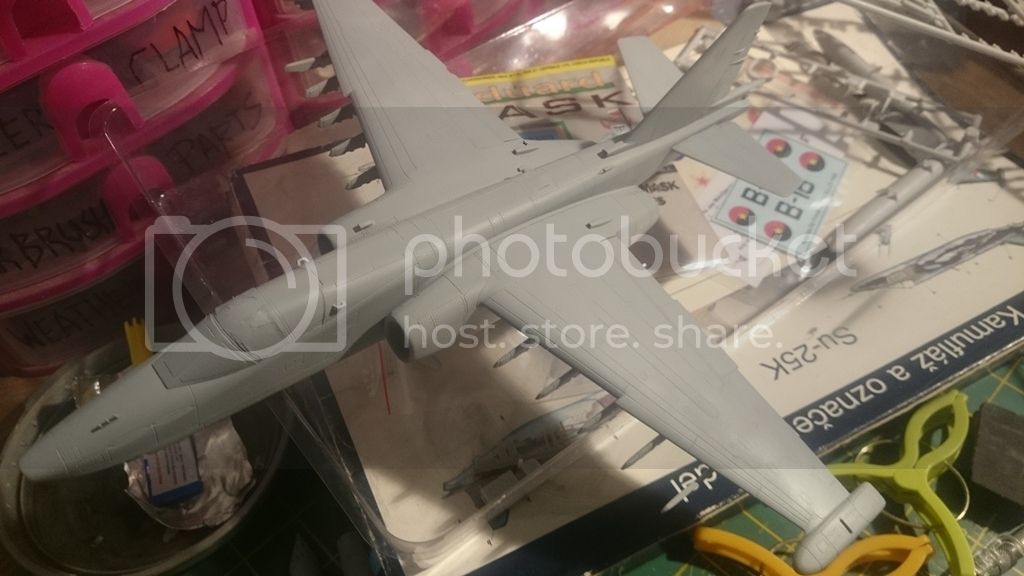
Stitched up the fuselage now and repaired the seam...


jugjunkie
_VISITCOMMUNITY
South Africa
Joined: January 20, 2009
KitMaker: 140 posts
AeroScale: 84 posts
Posted: Friday, July 22, 2016 - 10:50 PM UTC
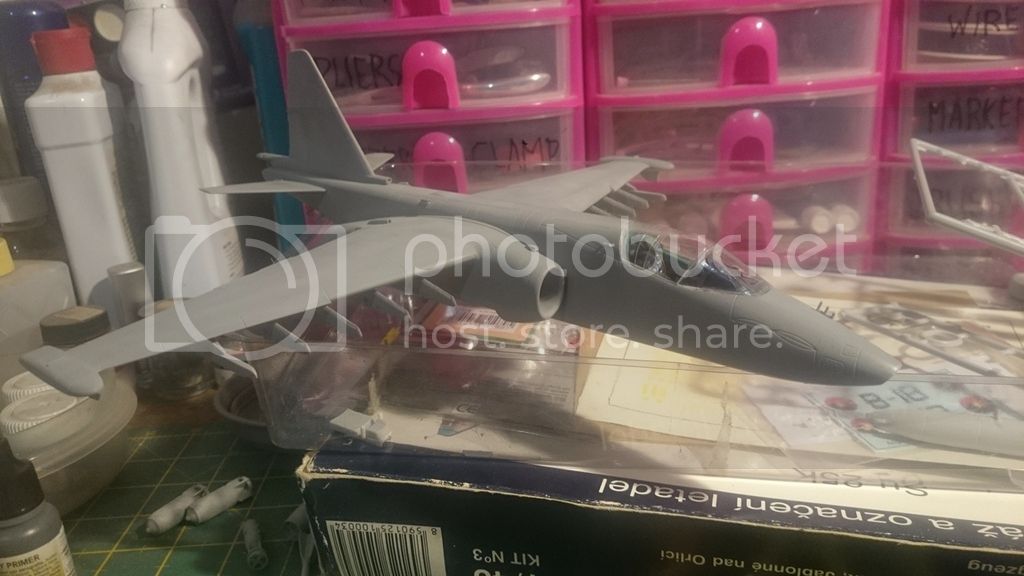
Canopy on as well as base colour


jugjunkie
_VISITCOMMUNITY
South Africa
Joined: January 20, 2009
KitMaker: 140 posts
AeroScale: 84 posts
Posted: Saturday, July 23, 2016 - 11:15 AM UTC
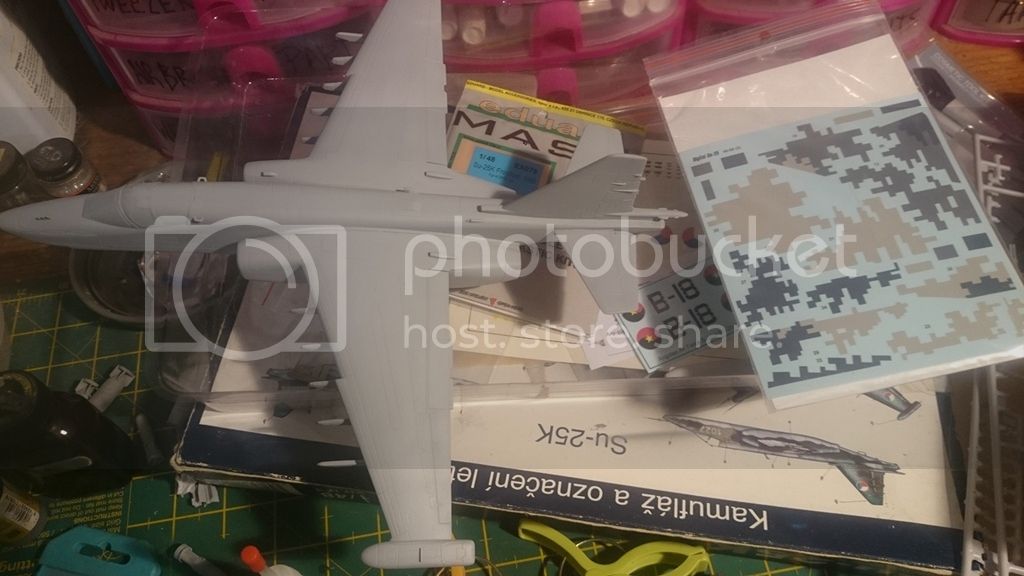
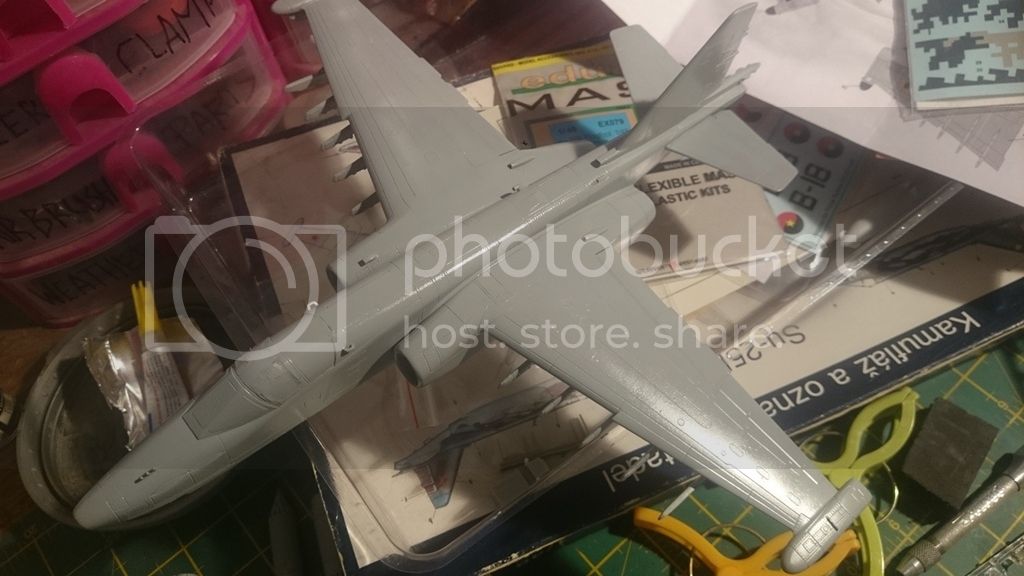
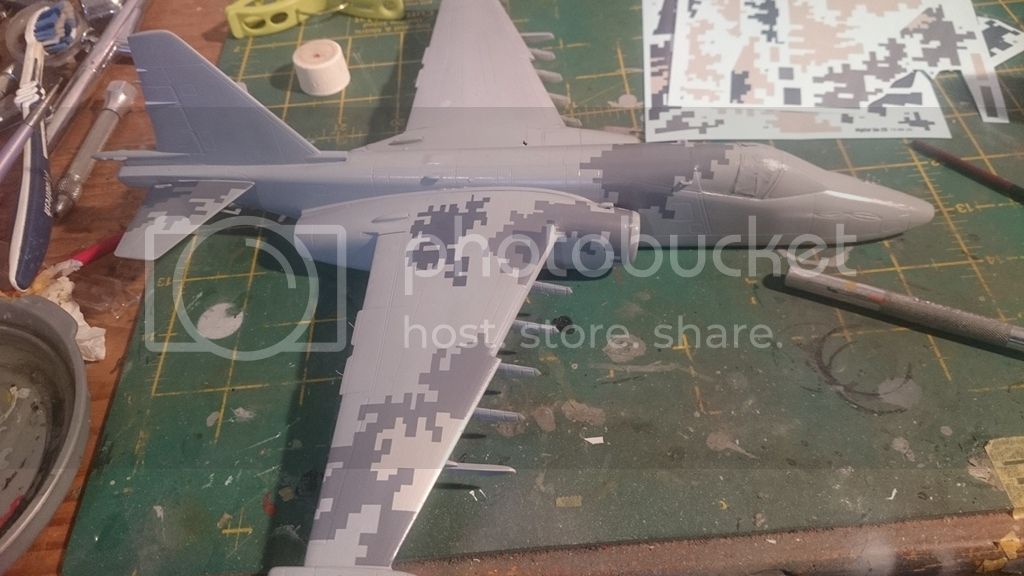
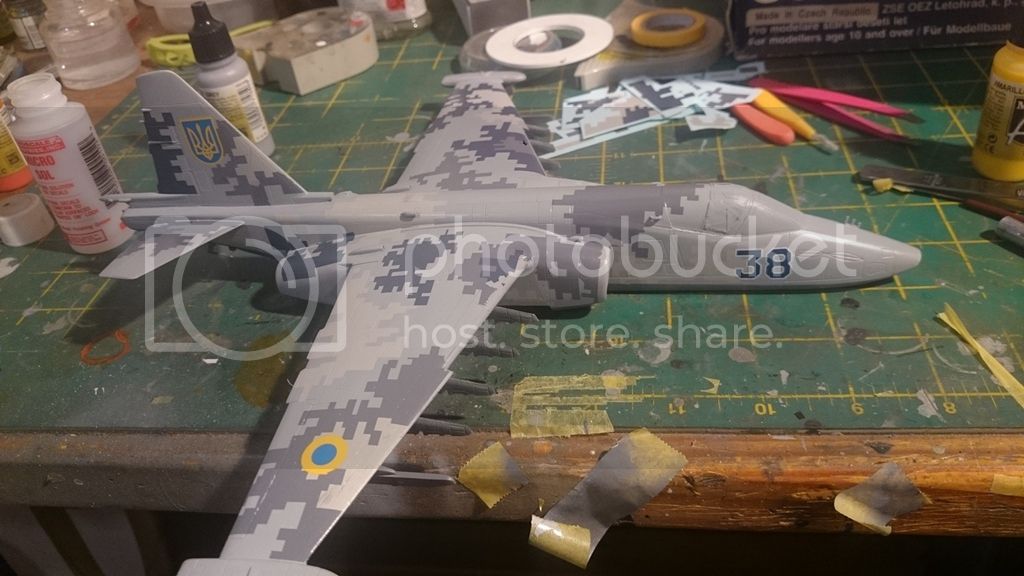
Gloss coat on (never using anything else but Alclad Gloss again, this stuff rocks.) and started decaling - man this is going to take a lot of patience and is soooo slow going. Just luck that I haven't destroyed any yet but there have been a few very close calls...


Joel_W
Staff MemberAssociate Editor
AUTOMODELER
_VISITCOMMUNITY
New York, United States
Joined: December 04, 2010
KitMaker: 11,666 posts
AeroScale: 7,410 posts
Posted: Sunday, July 24, 2016 - 04:11 AM UTC
Geoff,
Nicely done getting to the decaling stage. That Quickboost seat with Belts and Harness looks great. You're a braver man then I to tackle those decals. Just take your time. So far you're doing a 1st rate job applying them.
Joel
jugjunkie
_VISITCOMMUNITY
South Africa
Joined: January 20, 2009
KitMaker: 140 posts
AeroScale: 84 posts
Posted: Friday, July 29, 2016 - 08:28 PM UTC
Thanks Joel, One side complete without any lost decals - wonders never cease!

jonvan
_VISITCOMMUNITY
Florida, United States
Joined: August 23, 2015
KitMaker: 170 posts
AeroScale: 109 posts
Posted: Friday, July 29, 2016 - 08:59 PM UTC
Wow! Beautiful job on a wild looking camo scheme! I am a big fan of the U.S. version of this, the A-10. Your build is coming along beautifully, I have built KOPRO kits and they are challenging but do look the part. This Frogfoot almost looks like a dead ringer for the A-10s loser in the competition, the Northrop A-9. Will be keeping my eye on this beauty.---John
jugjunkie
_VISITCOMMUNITY
South Africa
Joined: January 20, 2009
KitMaker: 140 posts
AeroScale: 84 posts
Posted: Tuesday, August 02, 2016 - 01:27 AM UTC
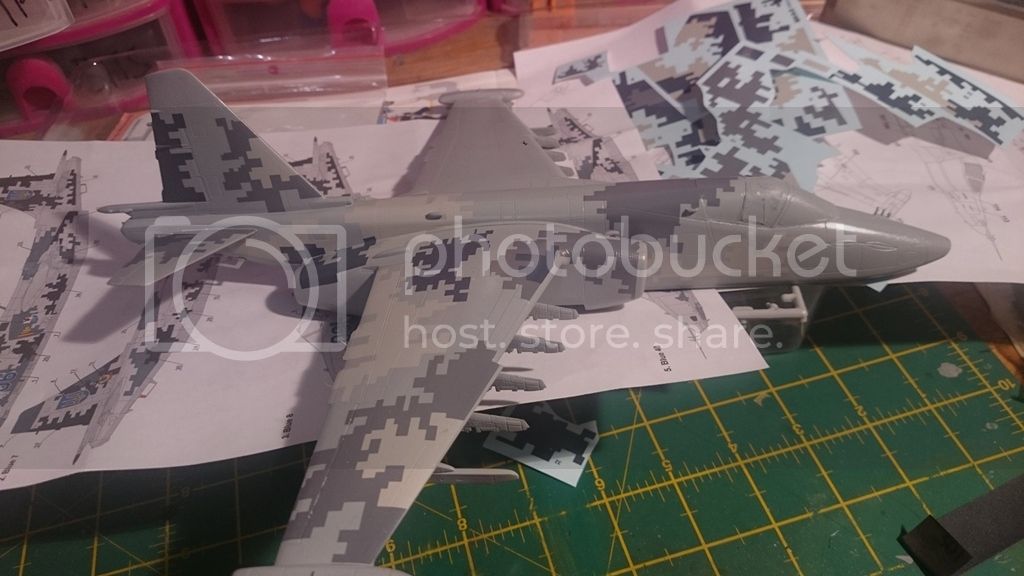
Thanks John, Well thank goodness the digital decals are almost done, some small areas of damage that needs repairs but on the whole it went OK.

Joel_W
Staff MemberAssociate Editor
AUTOMODELER
_VISITCOMMUNITY
New York, United States
Joined: December 04, 2010
KitMaker: 11,666 posts
AeroScale: 7,410 posts
Posted: Wednesday, August 03, 2016 - 05:45 AM UTC
Geoff,
What an impressive camo pattern. Very nicely done.
Joel
jugjunkie
_VISITCOMMUNITY
South Africa
Joined: January 20, 2009
KitMaker: 140 posts
AeroScale: 84 posts
Posted: Monday, August 08, 2016 - 02:31 AM UTC
Thank you for kind comments, well the marathon decal session is over and the wash is done, getting to the end just need to fis a few of the decals luckily there is quite a few spare bits left....


SGTJKJ
#041
_VISITCOMMUNITY
Kobenhavn, Denmark
Joined: July 20, 2006
KitMaker: 10,069 posts
AeroScale: 3,788 posts
Posted: Monday, August 08, 2016 - 06:59 PM UTC
Awesome work, Geoff! That decalling looks great!

Looking forward to see more.
Joel_W
Staff MemberAssociate Editor
AUTOMODELER
_VISITCOMMUNITY
New York, United States
Joined: December 04, 2010
KitMaker: 11,666 posts
AeroScale: 7,410 posts
Posted: Wednesday, August 10, 2016 - 01:16 AM UTC
Geoff,
Outstanding finish with those decals. It certainly is impressive looking to say the least.

Joel
jugjunkie
_VISITCOMMUNITY
South Africa
Joined: January 20, 2009
KitMaker: 140 posts
AeroScale: 84 posts
Posted: Monday, August 15, 2016 - 12:04 PM UTC
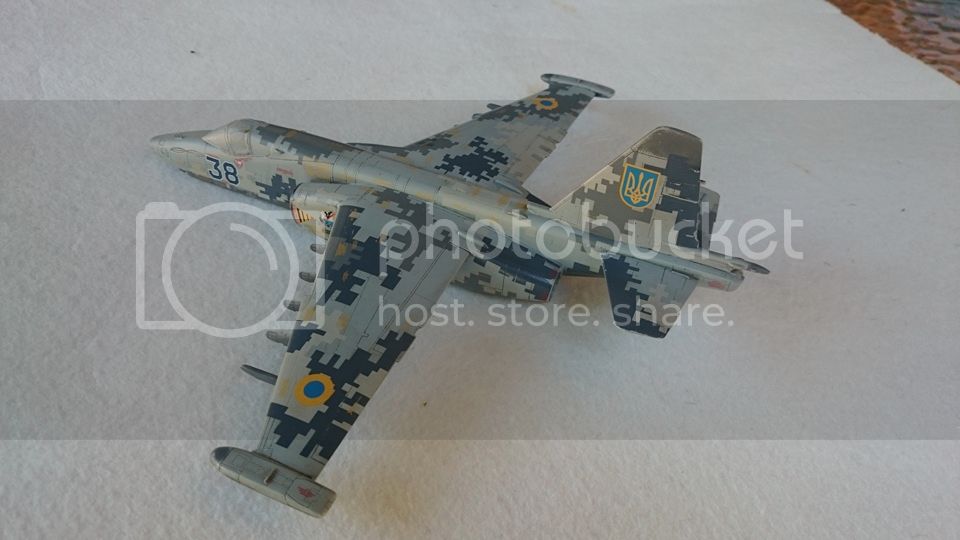
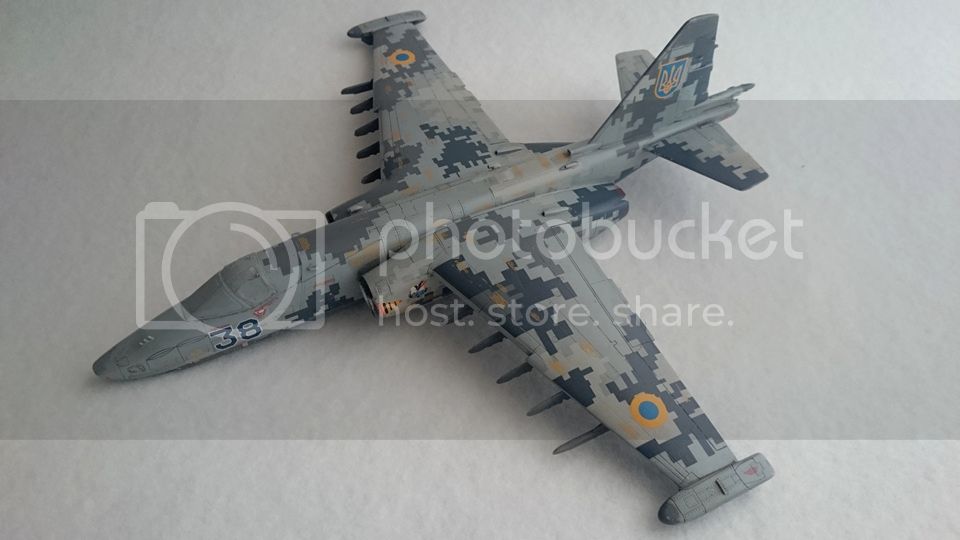
Thanks for kind comments guys, just a little up date - all the under wing stores are done....

GazzaS
#424
_VISITCOMMUNITY
Queensland, Australia
Joined: April 23, 2015
KitMaker: 4,648 posts
AeroScale: 1,938 posts
Posted: Monday, August 15, 2016 - 12:43 PM UTC
Geoff,
That looks really outstanding! What a change from the original!

Gaz
Kilo_Uniform
_VISITCOMMUNITY
Gauteng, South Africa
Joined: July 03, 2015
KitMaker: 280 posts
AeroScale: 141 posts
Posted: Monday, August 15, 2016 - 02:39 PM UTC
Hi Geoff

Awesome work!! Looking forward to seeing it.

Regards,
Kobus
jugjunkie
_VISITCOMMUNITY
South Africa
Joined: January 20, 2009
KitMaker: 140 posts
AeroScale: 84 posts
Posted: Thursday, August 25, 2016 - 11:22 AM UTC
On her own legs now....

GazzaS
#424
_VISITCOMMUNITY
Queensland, Australia
Joined: April 23, 2015
KitMaker: 4,648 posts
AeroScale: 1,938 posts
Posted: Thursday, August 25, 2016 - 01:23 PM UTC
Geoff,
I have to admit I'm impressed! You've turned it into a really attractive looking war machine.

Well done!

Gaz
 _GOTOTOP