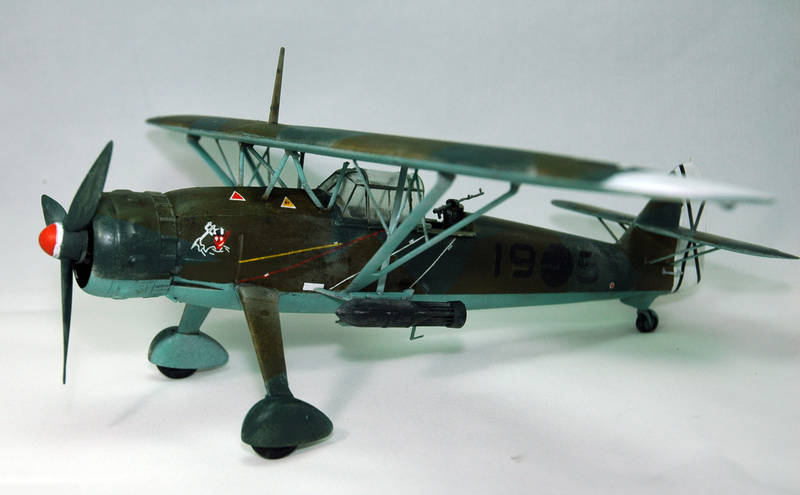
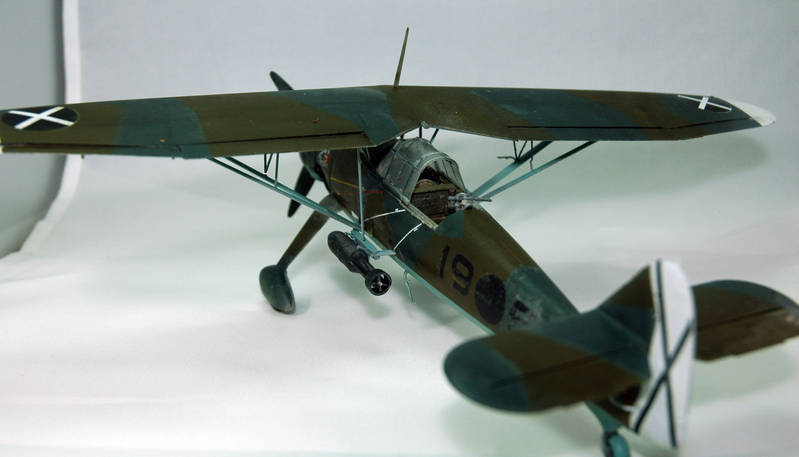
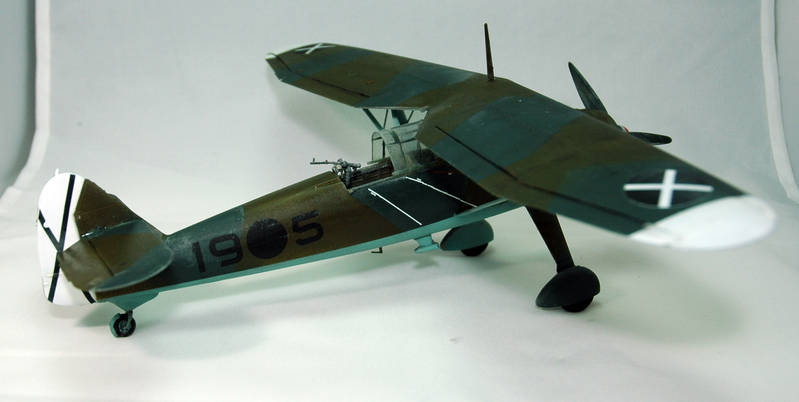
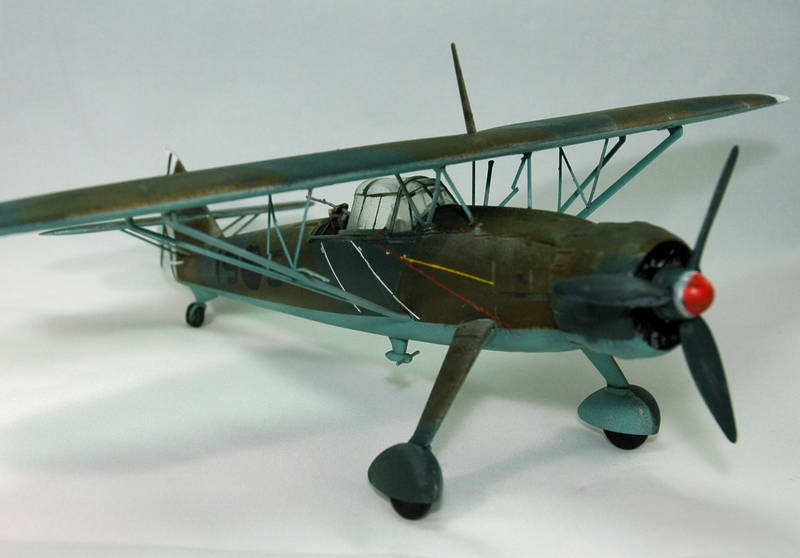
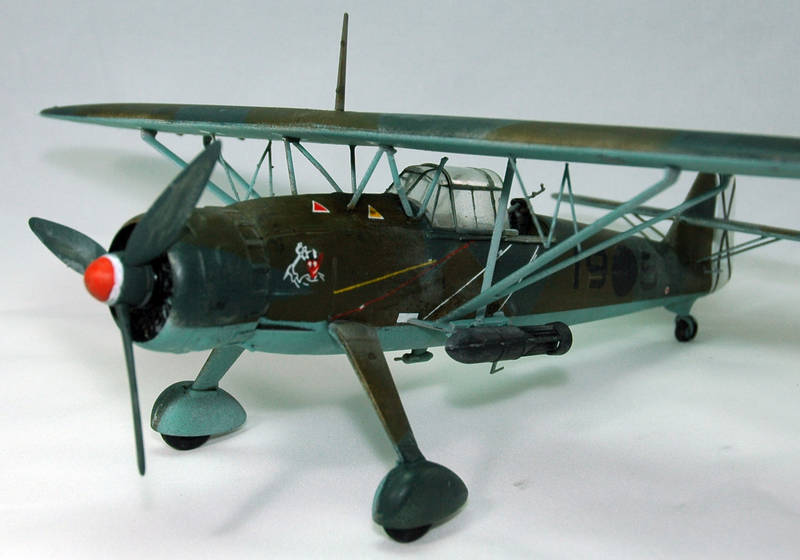
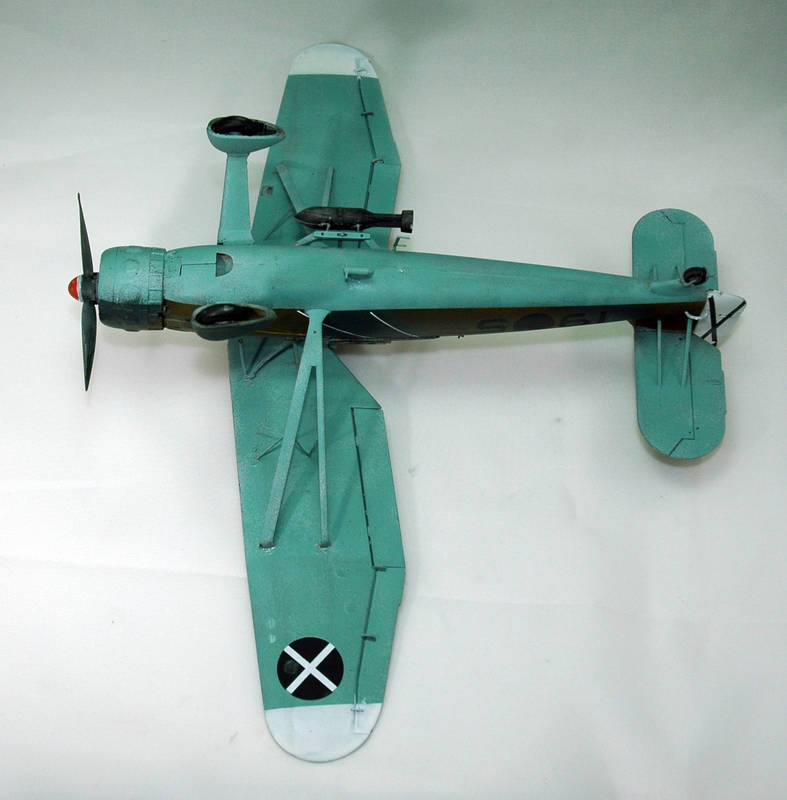
Well I started this kit about four weeks ago, and have been struggling with it to tell the truth.
The detail is very good with some nice panel line detail, a well detailed cockpit and a near enough full engine. Well that's the good part,
the bad parts is the plastic is very soft, so any parts that are not already broken, break as soon as you get them off the sprues, mainly any parts that are thin, such as the engine mounts, and the wing supports.
The instructions although adequate are a little vague in places and the guide for the two tone camo scheme for painting and decaling is just a dark shape of the plane.
But I have cracked on with this, and fudged my way through certain parts.
All the engine mounts have broke, so the engine was fitted into the cowling and then stuck onto the front end, as it was the only way it would stay on.
The majority of the build complete, with only a little filler needed on the fuselage seams.
First camo sprayed on.
Camo on and ready for decals.
Andy
World War II
Discuss WWII and the era directly before and after the war from 1935-1949.
Hosted by Rowan Baylis
ICM Hs 126A=1
Posted: Saturday, August 08, 2015 - 03:01 PM UTC
Joel_W
Associate Editor
New York, United States
Joined: December 04, 2010
KitMaker: 11,666 posts
AeroScale: 7,410 posts
Joined: December 04, 2010
KitMaker: 11,666 posts
AeroScale: 7,410 posts
Posted: Saturday, August 08, 2015 - 07:07 PM UTC
Andy,
A really nice build so far. The pictures are a little dark but the camo paint scheme looks good from what I can see.
As for the broken parts, I've struggled at times with the same issues on most kits with small parts. The parts snap because when you cut them you're pushing the parts in two opposite directions up against fixed solid sprue trees. So the parts usually snap before you complete the cut. To avoid this I do either of two things: I completely cut the sprues surrounding the parts so that it's separate from the tree, or my 1st option is to cut the sprue tree on each side of the part so that when I go to cut it, there is no resistance to the moving part.
As for how I cut the parts. For delicate parts I use a fine saw blade, not a pair of cutters or even a Exacto knife.
Joel
Posted: Saturday, August 08, 2015 - 10:52 PM UTC
Hi Andy
Nice going. The interior looks very good. I've always liked the Hs 126, so I'm looking forward to seeing this one finished.
All the best
Rowan
Nice going. The interior looks very good. I've always liked the Hs 126, so I'm looking forward to seeing this one finished.
All the best
Rowan
Posted: Saturday, August 22, 2015 - 08:20 PM UTC
Thanks guys.
Great tips Joel, I will try them the next time I encounter this issue.
The build is now finished.
Hindsight is a wonderful thing, as I attached all the wing supports to the fuselage and attached the wing after painting and decaling, nothing lined up very well and I ended up breaking one of the central wing supports (again).
If I was too build this again (which I wont be lol) I would attach the supports to the wing, it might line up better that way round.
The only other hiccup I had, which had nothing to do with the kit I might add, was the Humbrol flatcoat decided to go whiteish in places and naffed up one of the underside wing decals so much it stuck to my finger and ripped itself off the wing, hence only the one underside wing marking.
The kit will probably go in the bin as I am not at all happy with it.
All comments welcome.
Andy
Posted: Saturday, August 22, 2015 - 11:09 PM UTC
Andy,
You've done well on a frustrating sounding project! I've got an ICM kit in my stash whose landing gear parts are so fine (one already broken) that I'm either going to make it 'gear-up' or replace 60% of them with soldered brass rod. Truly, some of the moulded struts are less than .5mm thick and are attached to the sprue in four places. All that negative stuff aside, it's good to have some rarer aircraft available in kit form.
Gary
jphillips
Arizona, United States
Joined: February 25, 2007
KitMaker: 1,066 posts
AeroScale: 214 posts
Joined: February 25, 2007
KitMaker: 1,066 posts
AeroScale: 214 posts
Posted: Sunday, August 23, 2015 - 01:19 AM UTC
No, don't put it into the bin! I think it looks pretty good. Maybe if you build another one, you can take what you've learned and avoid previous mistakes. And if a part is missing or damaged, you can take one from this plane to finish the new one.
Joel_W
Associate Editor
New York, United States
Joined: December 04, 2010
KitMaker: 11,666 posts
AeroScale: 7,410 posts
Joined: December 04, 2010
KitMaker: 11,666 posts
AeroScale: 7,410 posts
Posted: Sunday, August 23, 2015 - 07:01 PM UTC
Andy,
You got it across the finish line, and that's what counts in the end. Nice job on a very difficult kit.
As for binning it or not, I'm going to be honest about it, and speak right up. I've binned more models at various stages to completed then I care to admit. But I'm the one who has to look at it every time I look at my display case. So if the final result isn't what you want and you see no value in it, do with it as you deem fit.
Joel
Posted: Sunday, August 23, 2015 - 07:47 PM UTC
Quoted Text
The kit will probably go in the bin as I am not at all happy with it.
All comments welcome.
Don't forget hurling it against a cement floor or wall as an option. It's been a long time since I've done that, but there are times where it is sooooo satisfying. {This isn't to say that I have not also experienced failures in the recent past: Finescale Oscar and a Hobbycraft P-35A.]
I am disappointed to hear about the poor plastic quality in the kit struts. I have one in my stash. Looking to build it one day as "Battle of France" fodder for my Curtiss H-75A-3 in French markings--many French aces scored against these.
Posted: Sunday, August 23, 2015 - 07:48 PM UTC
Quoted Text
The kit will probably go in the bin as I am not at all happy with it.
All comments welcome.
Don't forget hurling it against a cement floor or wall as an option. It's been a long time since I've done that, but there are times where it is sooooo satisfying. [This isn't to say that I have not also experienced failures in the recent past: Fine Molds Oscar II and a Hobbycraft P-35A.]
I am disappointed to hear about the poor plastic quality in the kit struts. I have one in my stash. Looking to build it one day as "Battle of France" fodder for my Curtiss H-75A-3 in French markings. Many French aces scored against these.
Posted: Monday, August 24, 2015 - 08:08 PM UTC
Quoted Text
Andy,
Truly, some of the moulded struts are less than .5mm thick and are attached to the sprue in four places. All that negative stuff aside, it's good to have some rarer aircraft available in kit form.
Gary
Thanks Gary.
That was the problem with most of the small thin parts, multiple attachment points, and most of them broke, which caused fit issues, especially with the wing.
I do tend to like the rarer aircraft, as most of them are butt ugly lol.
Quoted Text
No, don't put it into the bin! I think it looks pretty good. Maybe if you build another one, you can take what you've learned and avoid previous mistakes. And if a part is missing or damaged, you can take one from this plane to finish the new one.
Thanks.
Well it hasn't gone in the bin yet, but it is on the bottom shelf hidden behind the sofa lol.
I would swap parts with another kit (if I had one lol) but most of the parts that I would need are already broke lol.
Quoted Text
Andy,
You got it across the finish line, and that's what counts in the end. Nice job on a very difficult kit.
As for binning it or not, I'm going to be honest about it, and speak right up. I've binned more models at various stages to completed then I care to admit. But I'm the one who has to look at it every time I look at my display case. So if the final result isn't what you want and you see no value in it, do with it as you deem fit.
Thanks Joel.
I don't like binning models even if I do cock them up at some stage. I tend to keep them as practice kits for spraying and new ideas.
Quoted Text
Don't forget hurling it against a cement floor or wall as an option. It's been a long time since I've done that, but there are times where it is sooooo satisfying. {This isn't to say that I have not also experienced failures in the recent past: Finescale Oscar and a Hobbycraft P-35A.]
I am disappointed to hear about the poor plastic quality in the kit struts. I have one in my stash. Looking to build it one day as "Battle of France" fodder for my Curtiss H-75A-3 in French markings--many French aces scored against these.
Thanks Brian.
I have thrown a Huey helicopter against a wall before (many years ago)and that was very satisfying lol.
Looking forward to your build of this kit.
Andy
Posted: Tuesday, August 25, 2015 - 02:13 AM UTC
Hi Andy
It's a shame that you're unhappy with the result this time. I'd say it's well worth salvaging, but I know what you mean about the satisfaction of sending a kit that's caused you grief to its doom! Guy Fawkes night isn't too far off - that was always a favourite of mine for ceremonial sacrifices. There's nothing like a few bangers get a frustrating build out of your system!
All the best
Rowan