_GOTOBOTTOM
Early Aviation
Discuss World War I and the early years of aviation thru 1934.
1/48 Voisin 10 Ca2 Hi-Tech kit
Louis
_VISITCOMMUNITY
Bas-Rhin, France
Joined: May 21, 2006
KitMaker: 472 posts
AeroScale: 471 posts
Posted: Monday, August 17, 2015 - 01:23 AM UTC
Hello,

I want to make this Voisin since long time ... in fact since I saw the magnificent Voisin from "Cage à poules" here:


http://fighters.forumactif.com/t34885-voisin-10-lar-hi-tech-au-48eme?highlight=voisin

http://www.theaerodrome.com/forum/showthread.php?t=19848

I searched a long time on the internet, but they are not a lot of information regarding the "Voisin X lar"

So I decided to make a Voisin 10 Ca2 armed with a gun. Now I no longer need to look for photos, they are there:

http://memorial.flight.free.fr/Voisin10uk.html

As the manual said, the Hi-Tech kit is not ACCUTAMYGAWA ...

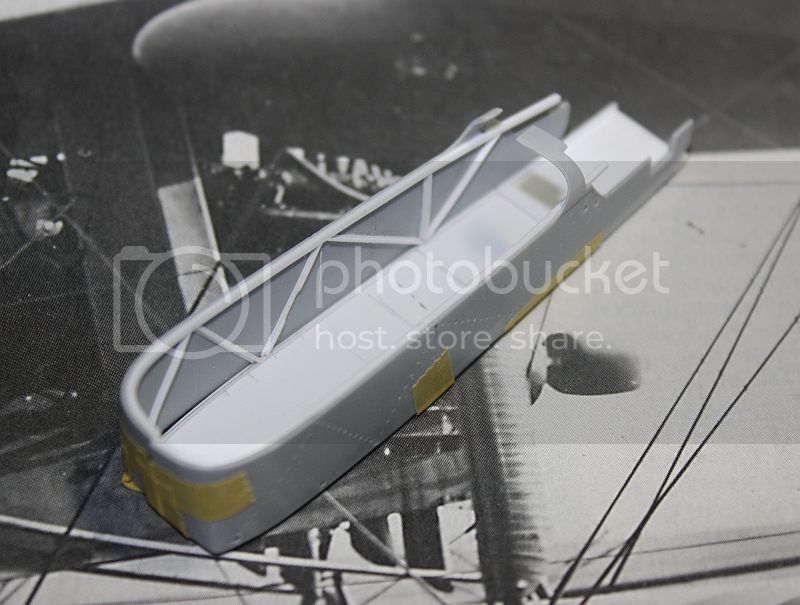
The cockpit must be done:

I deleted the floor to have a flat on and to have well flat walls.


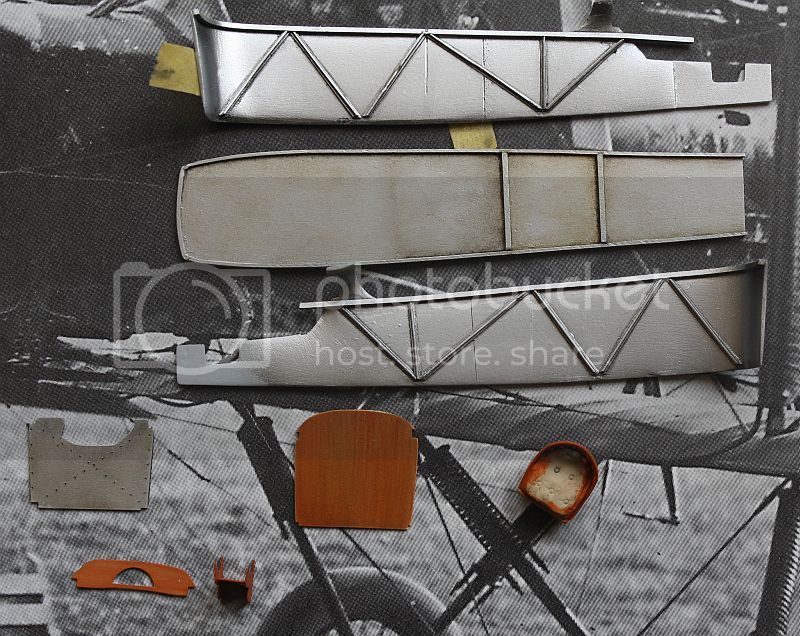
Hi-Tech has had the good idea to provide "opening" of the cockpit for a version other than that of the box (the bottom part of the picture).

Amounts are cut into sections "evergreen" 0.25 X 0.75 and glued to the stems T

The edge of the cabin and floor profiles are 0.5 X 0.5. and 1x1.

Everything is painted in aluminum and will be skated. I started but I did not used to work the aluminum. I grope ...


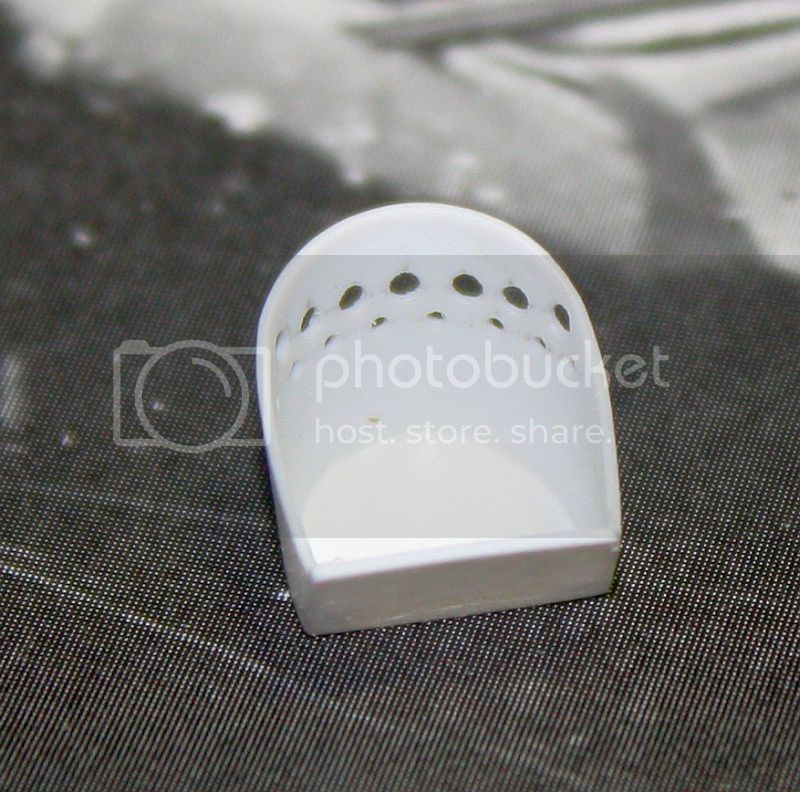
The seat is photoetched part but does not suit me. It is redesigned to resemble that seen in "memorial flight", not forgetting the big cushion. it will add the belts.


The dashboard will host the big compass. It will be placed in the hole in "half circle" on the shelf made for the occasion.
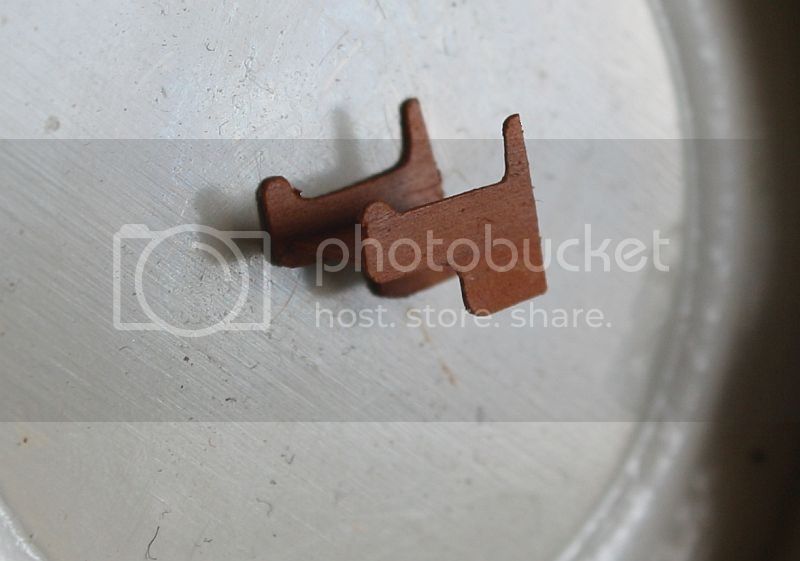


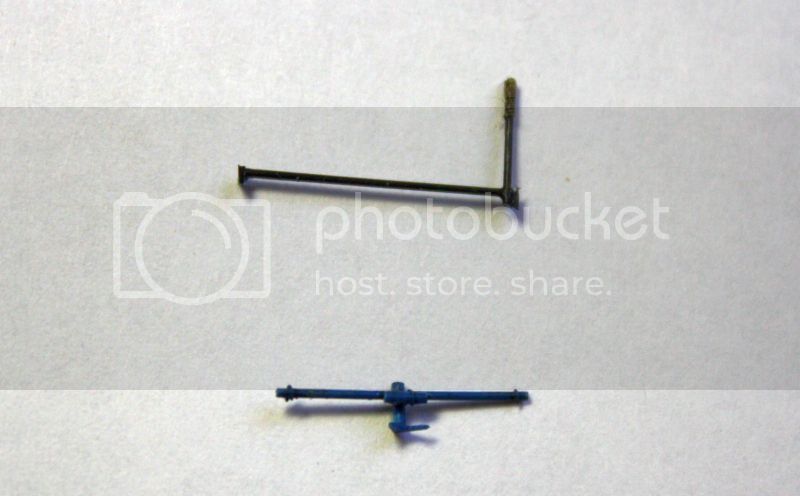
The steering wheel is redone from the kit by rounding the corners with a round file (in red). It's a bit long to do ...
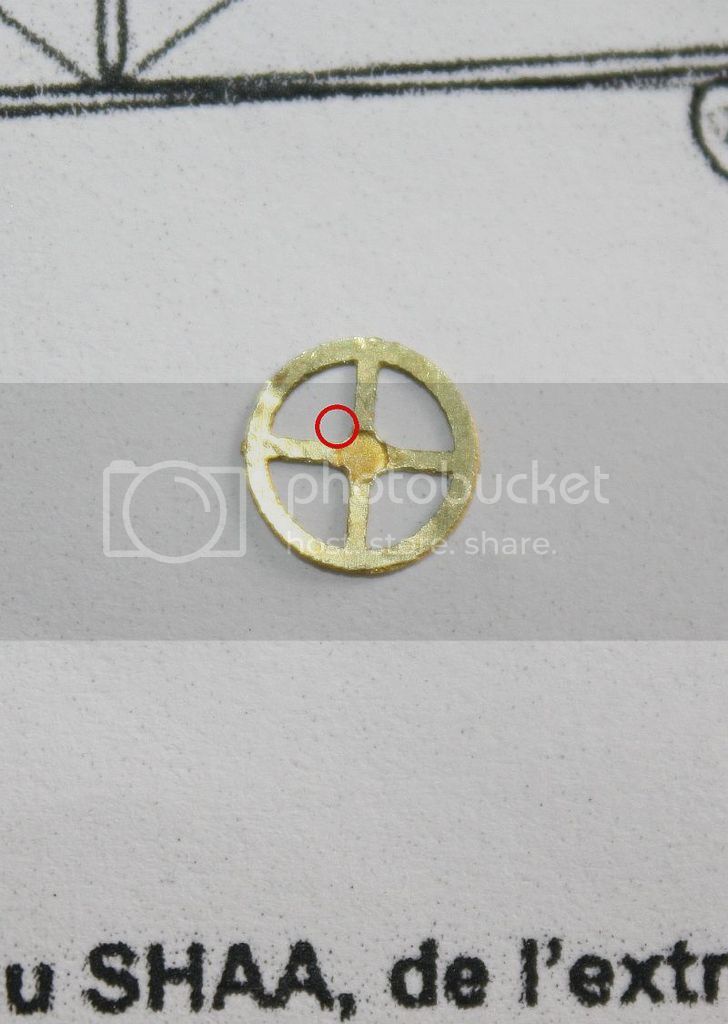
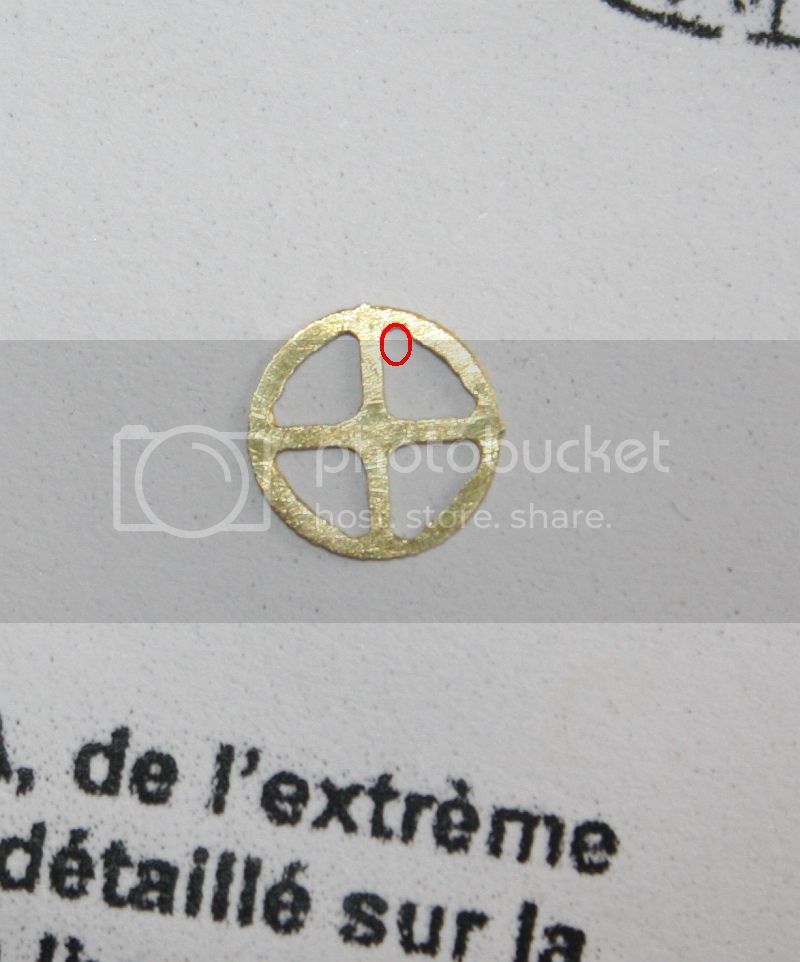
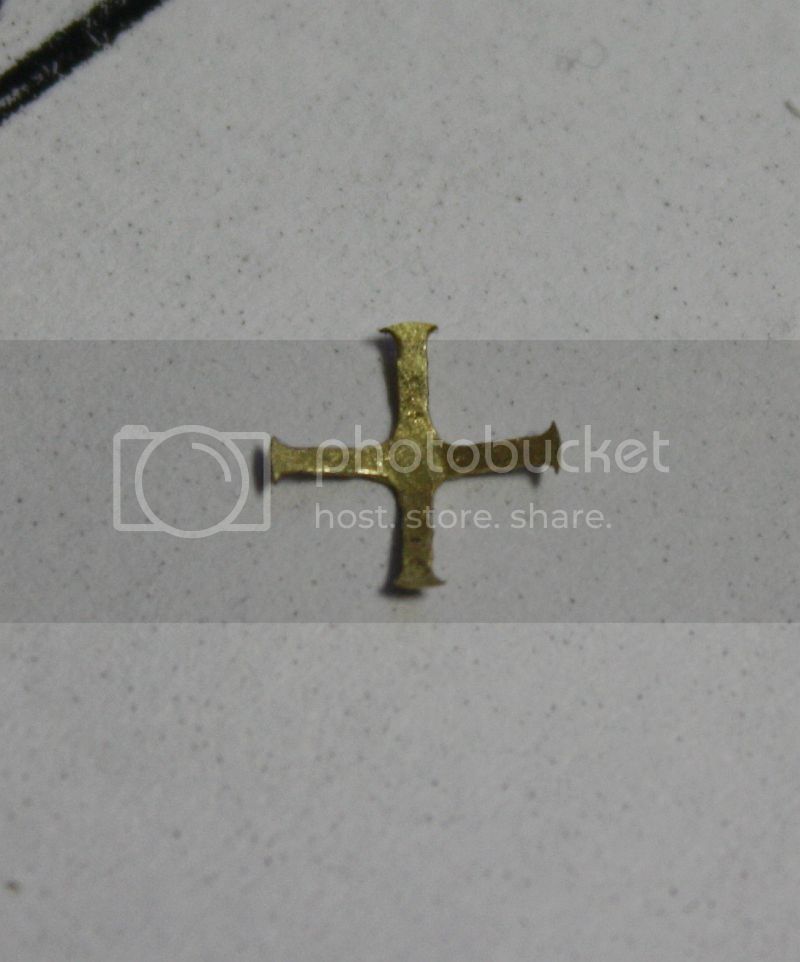

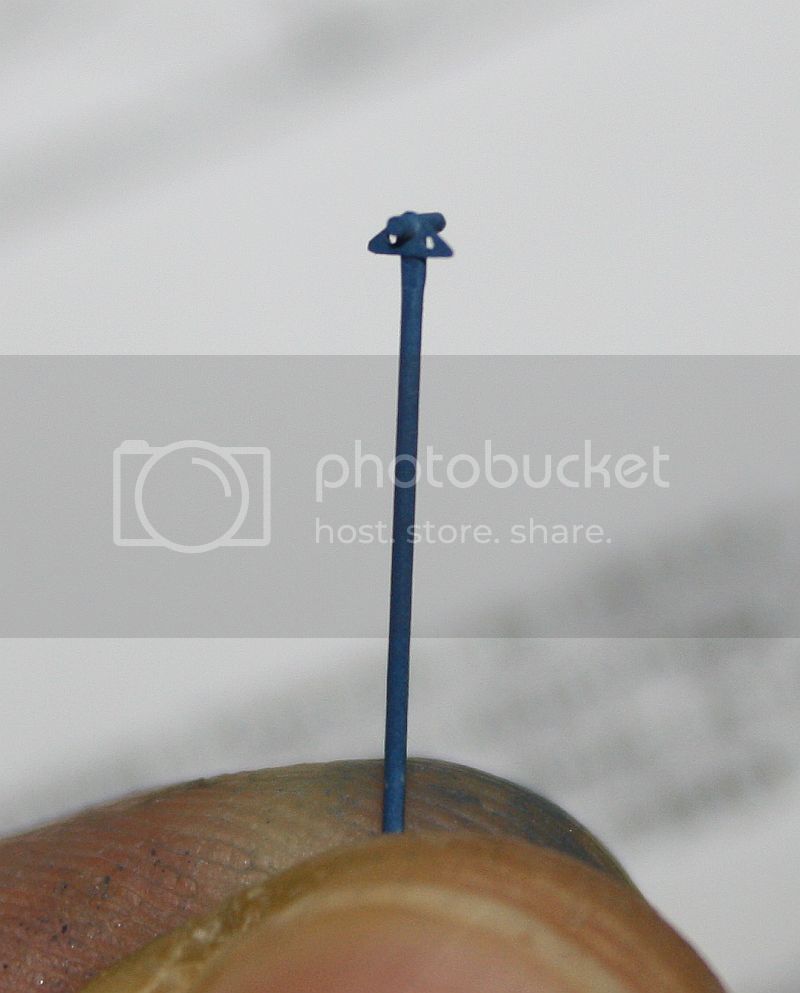


The two blocks down the handle are those of the kit, the top of the handle toothed wheel is made from a "trap" photoeched of the board of DV eduard (I have no punch to make records so small ..).


It lacks the chain and cables.


The rudder and the handle close to the seat:
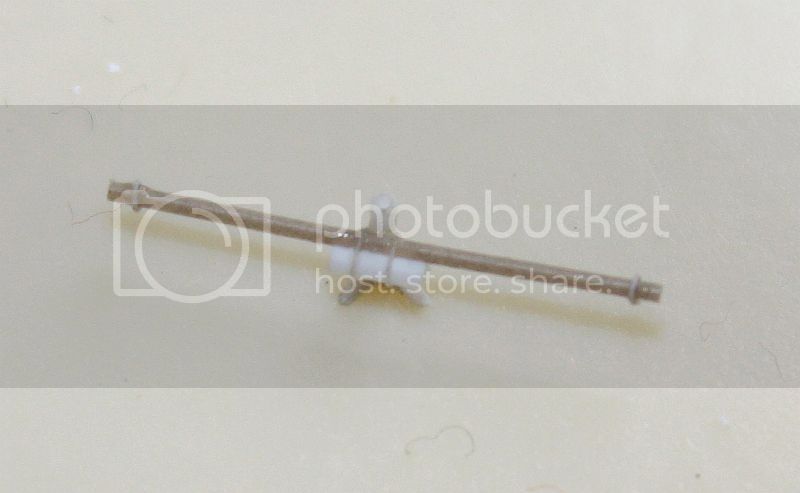


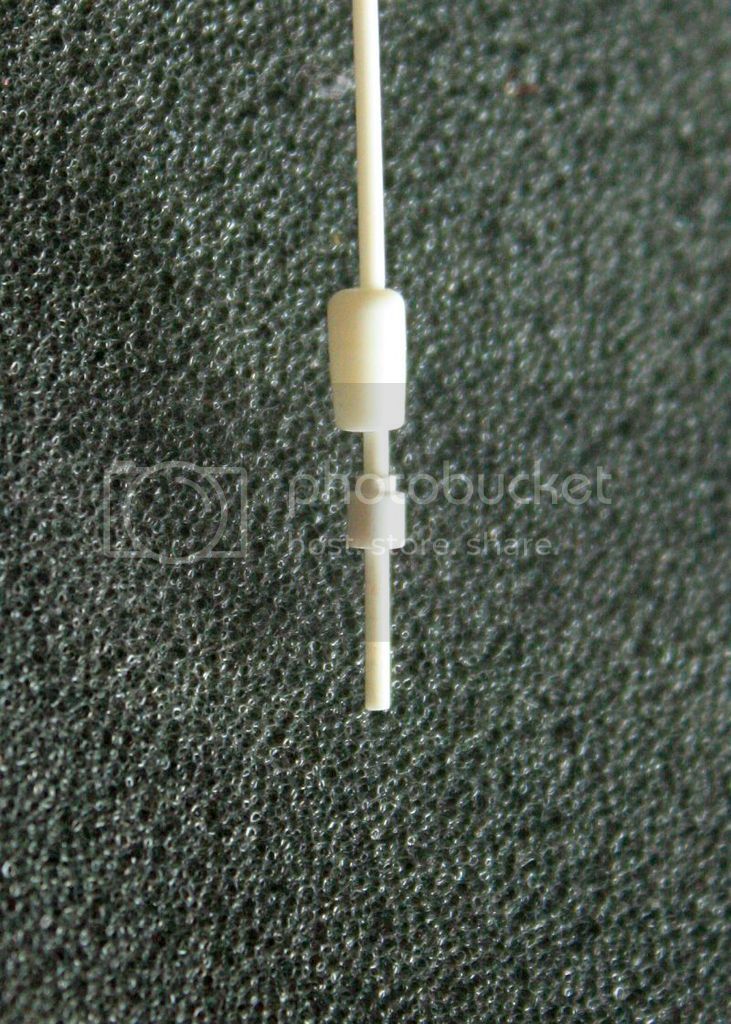
3 switches on the dashboard, turned on a lathe with one plastic rod (diameter 1mm) and a selector (?) on the left side.


The dual throttle. The circular arc is a piece of lead wire crushed with a ruler on a glass plate.
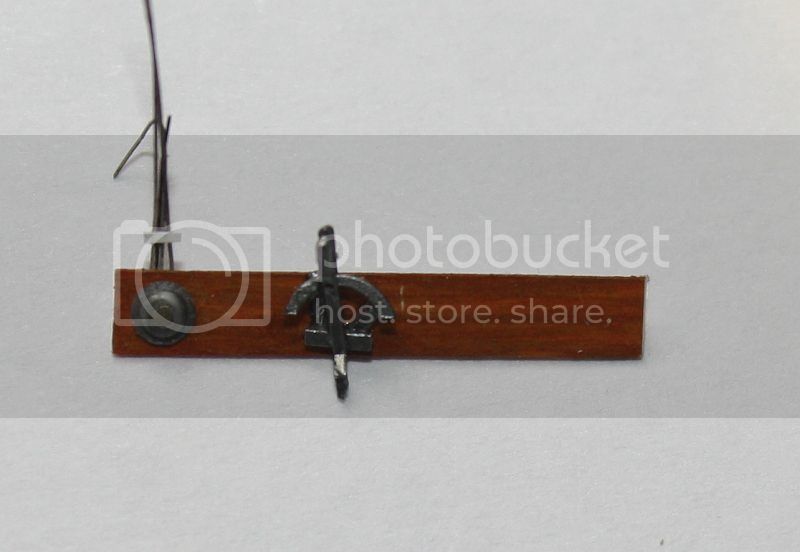


The handles are made of plastic.
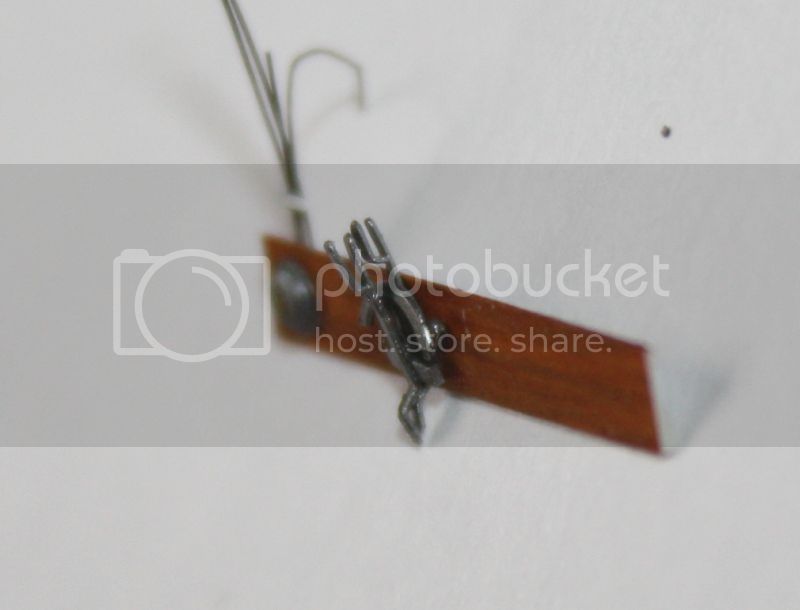


Both sides of the cab are glued and must be abraded copiously...

[img width=600 height=466]http://i358.photobucket.com/albums/oo21/louisetcie/voisin%20X/IMG_0729_zpsxewo4xff.jpg[/img]

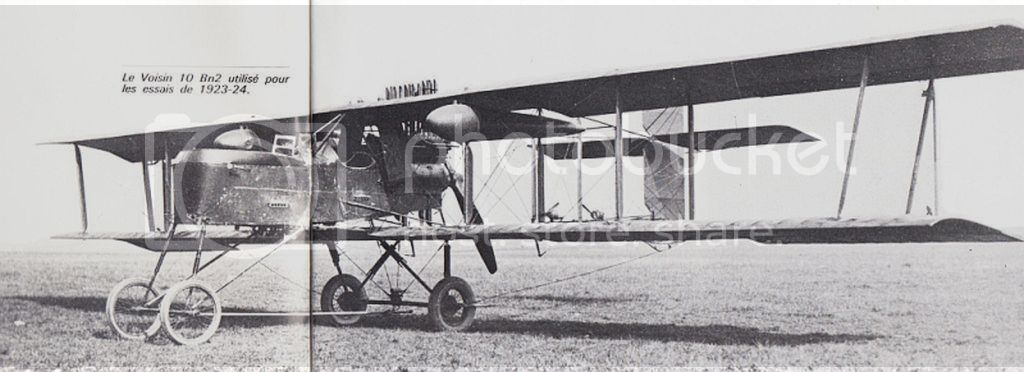
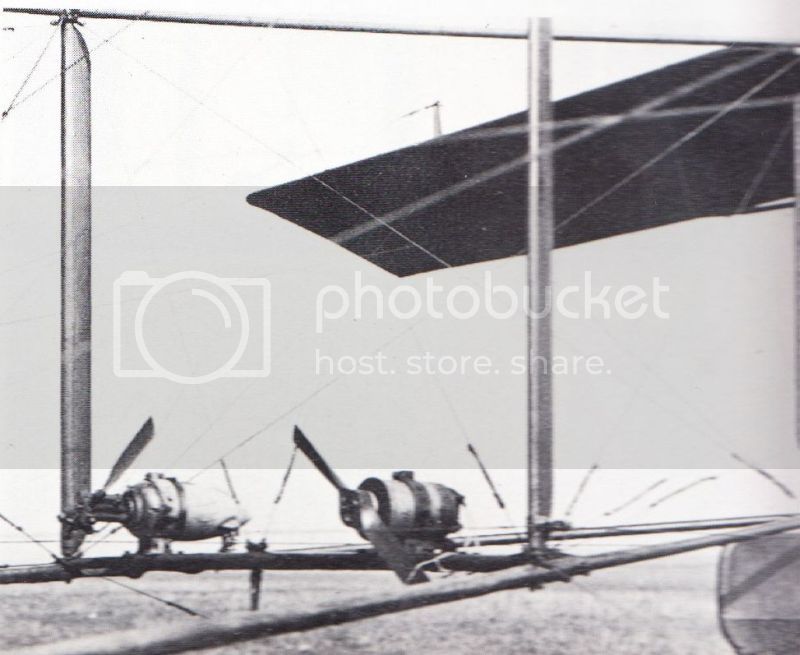
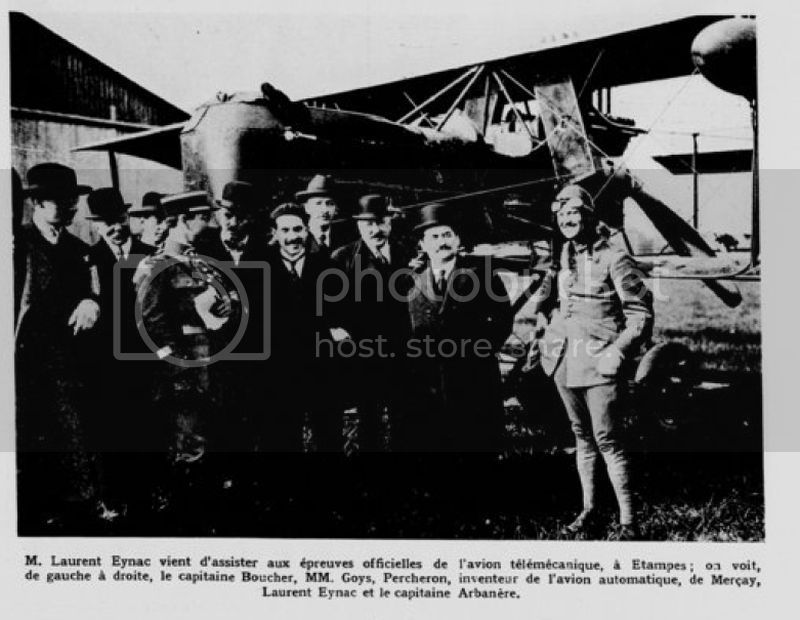
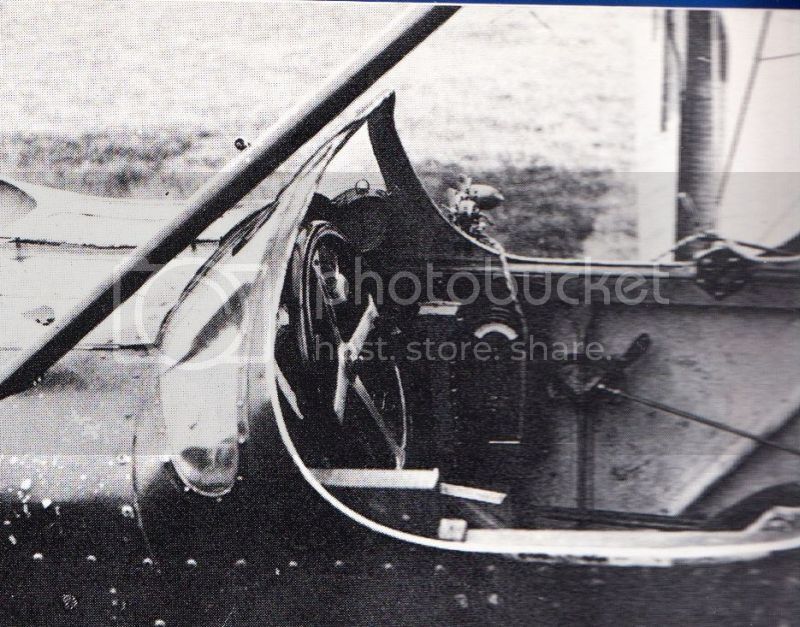
Some pictures showing the airplane Voisin Ca2 before restoration ( Musée de l'Air et de l'Espace / Memorial Flight).

The aircraft had been modified to fly without the pilot.

1923-1924


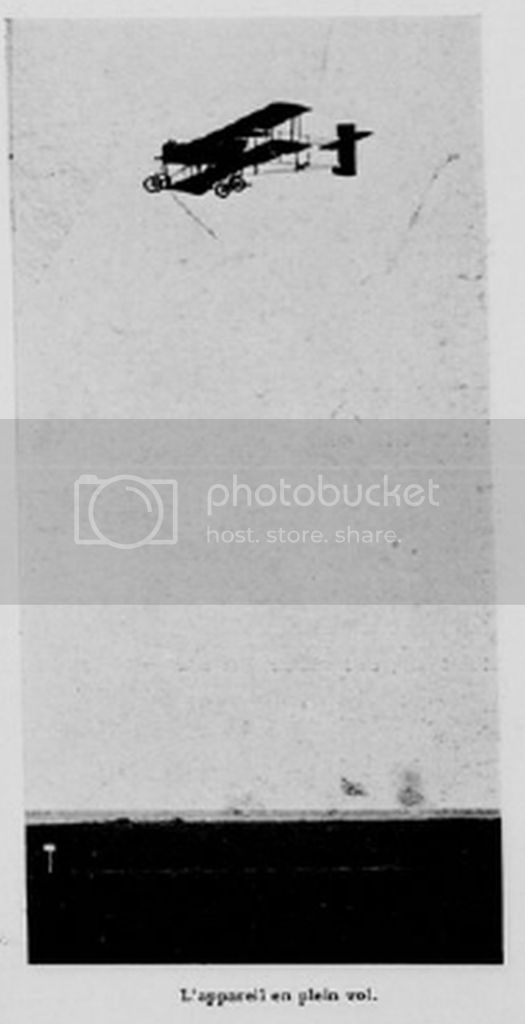
And drawings ....

http://www.techno-science.net/?onglet=news&news=3957


"Le monde illustré avril 1923"


The windshield is not beautiful, it is full of bubbles and not transparent at all. Its central part is too short and I think I'll have to cut it to enlarge a little.
In addition I split ... misery.


In front of the windscreen there are two components that can (for real) open and which are partly transparent. So I just removed to replace with a piece of transparent plastic. It's a little too flat now ... I'll stick can be above the two components to put a little thick.


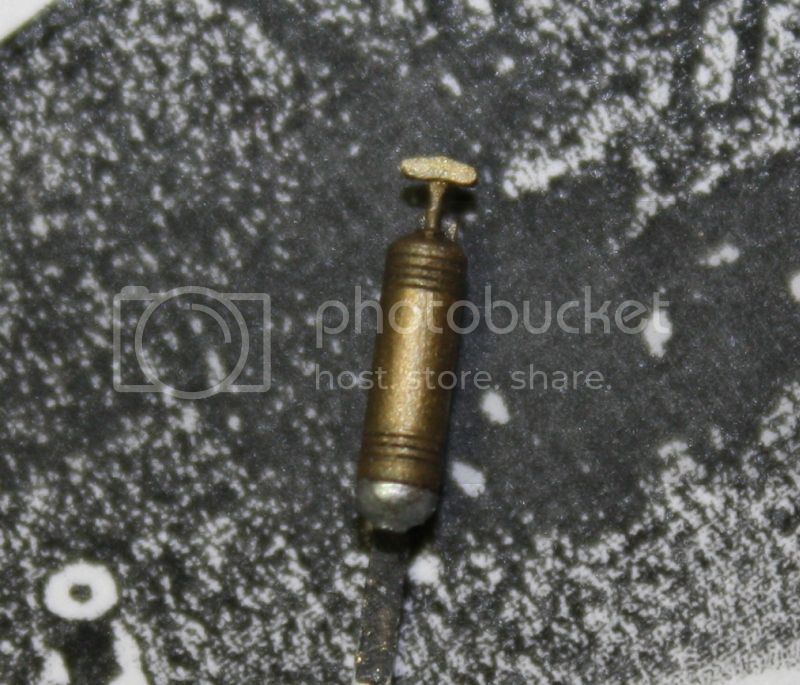
I made a fire extinguisher to put next to the cannon (shot plastic).


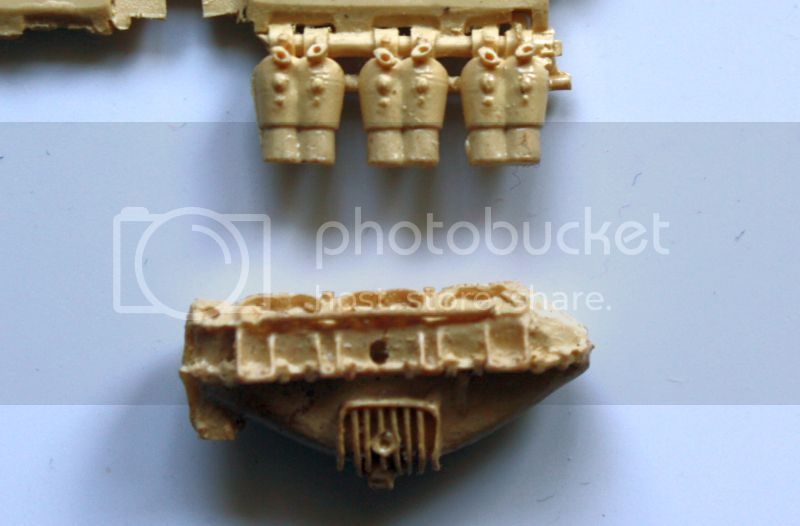
The engine does not please me. It's a shame it's all there but everything is crooked.


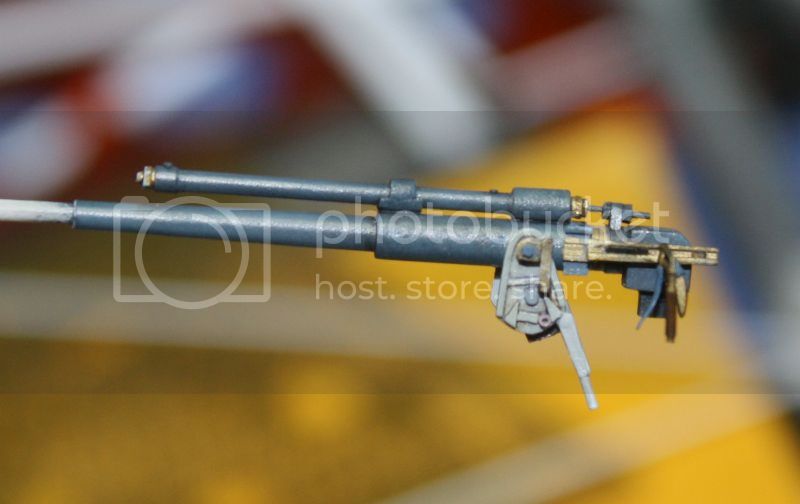
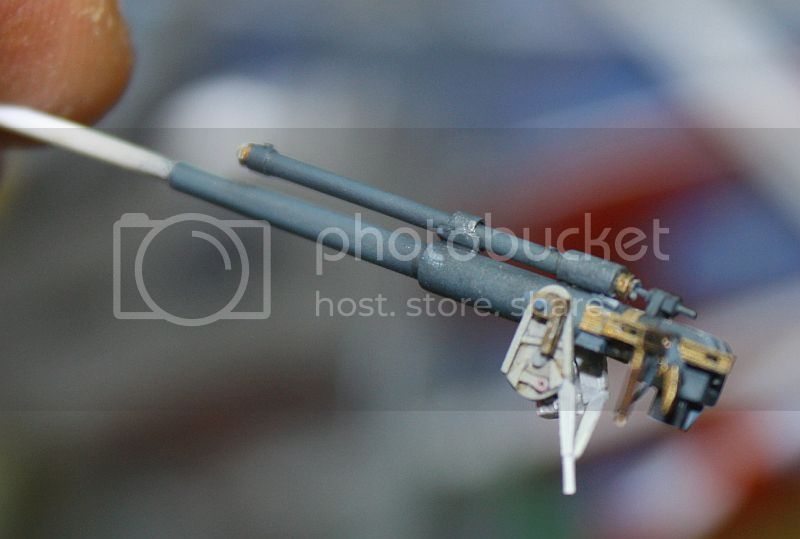
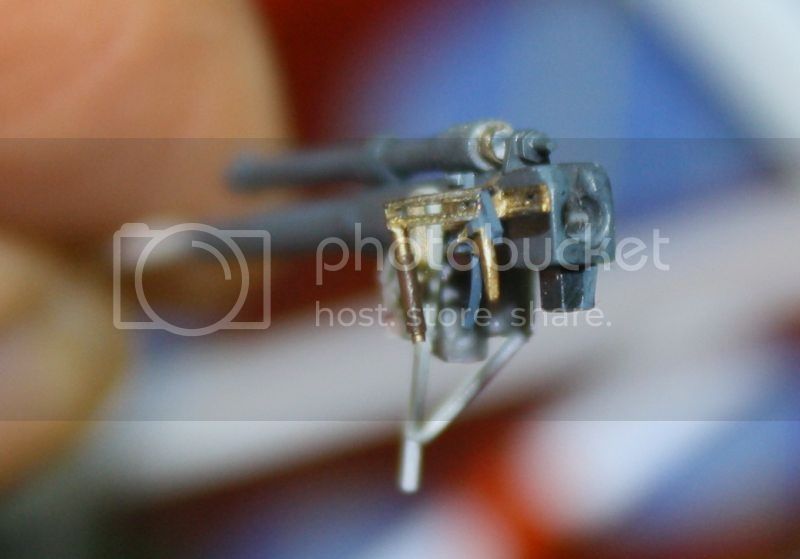
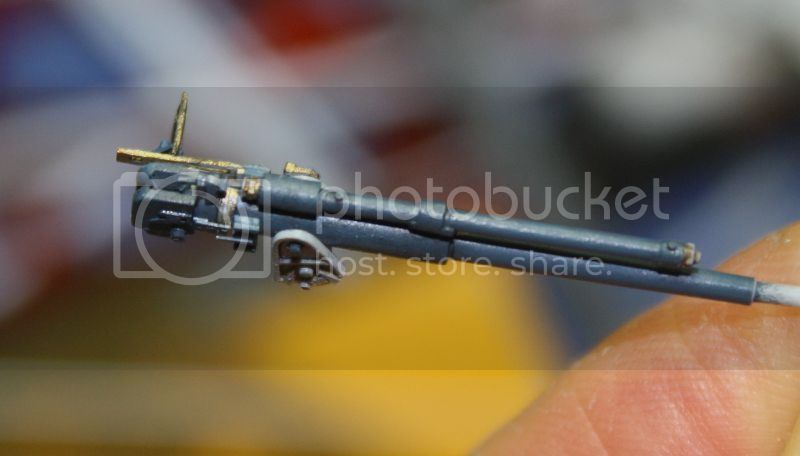
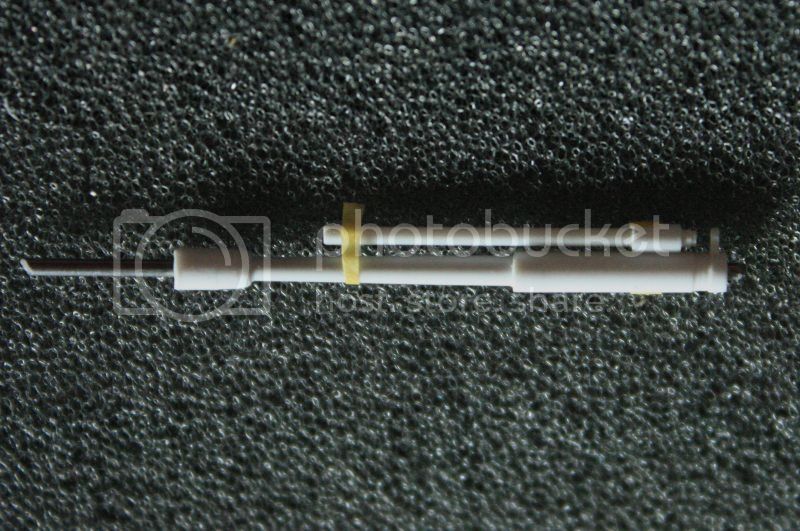
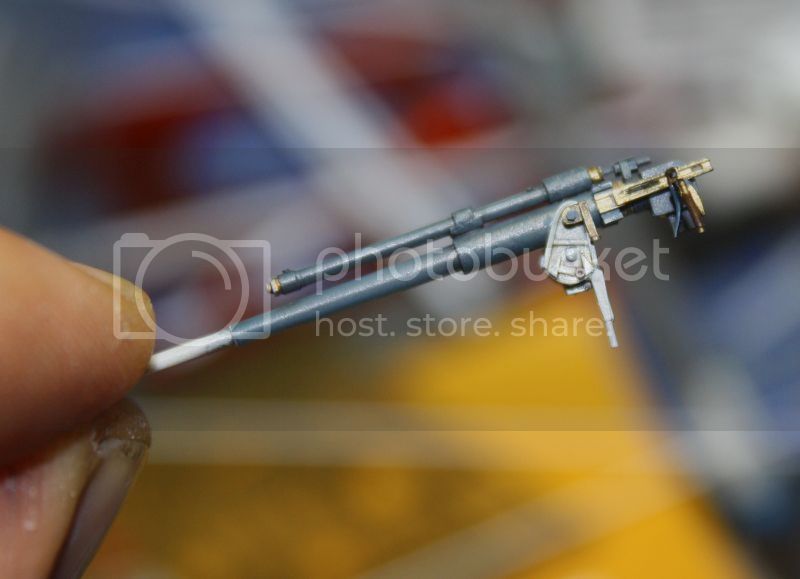
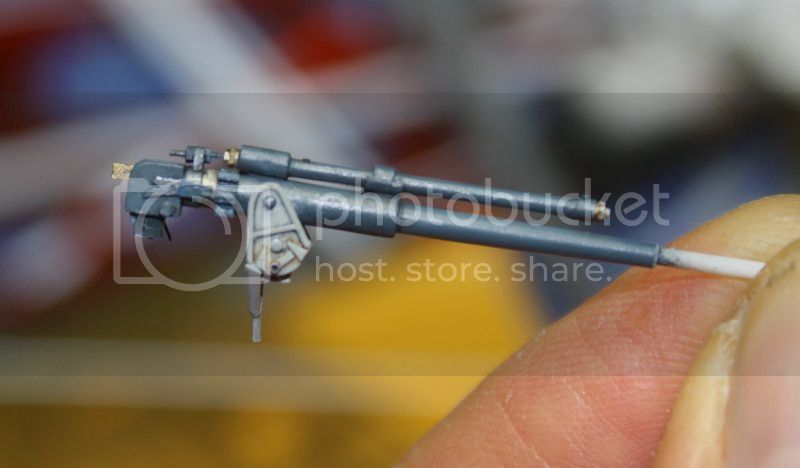
I bought a machine gun Hotchkiss M 1914 models directly from GasPatch, delivered in 4 days. I let you judge the pictures the quality of their work:
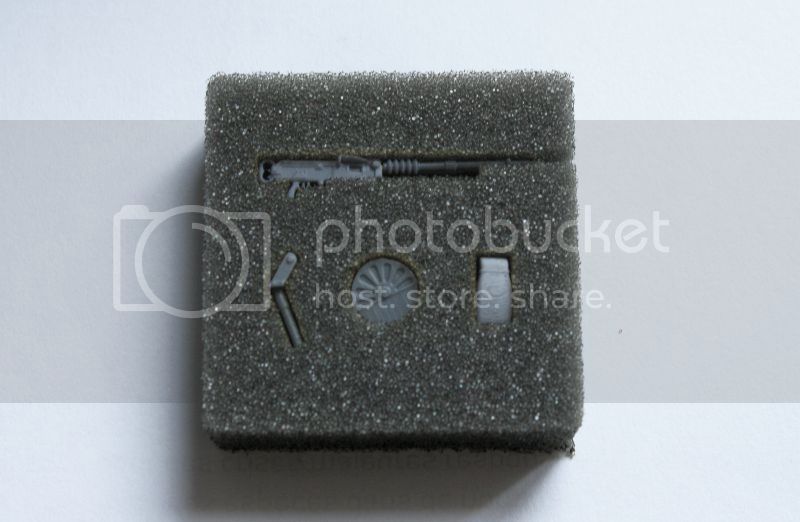
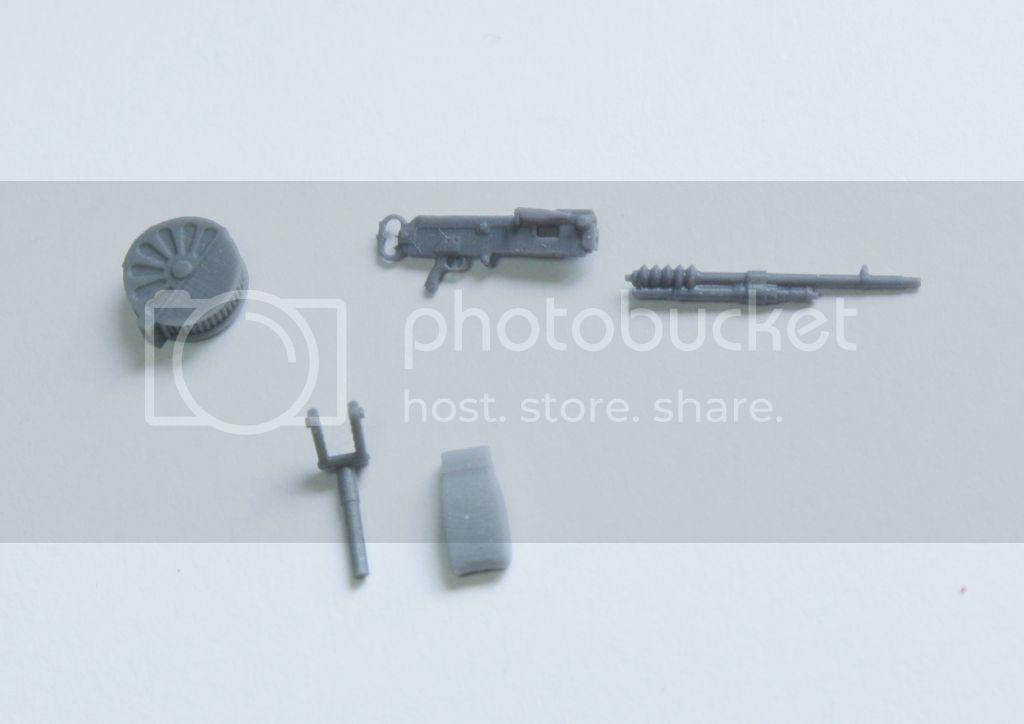


http://www.gaspatchmodels.com/accessories/


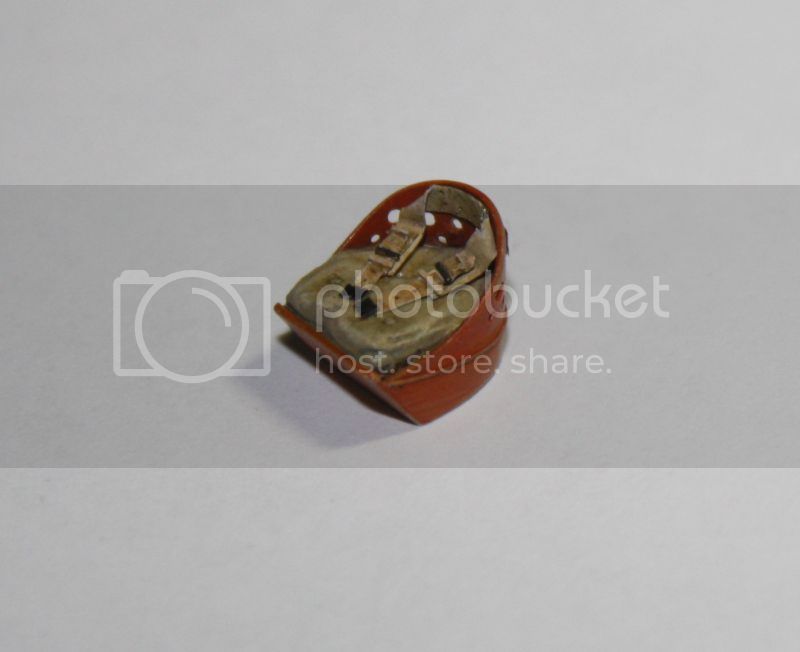
- The seat is finished.


evergreen 2.4mm tube.
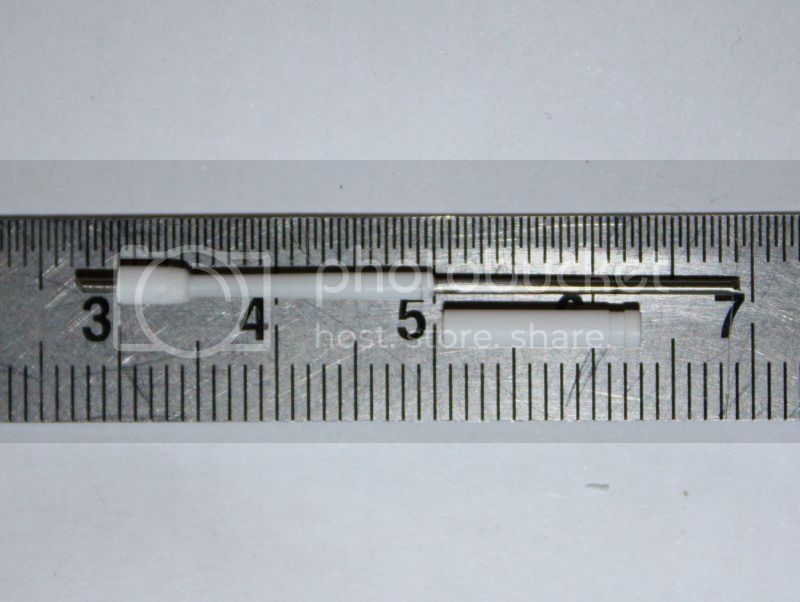


Evergreen 1mm:


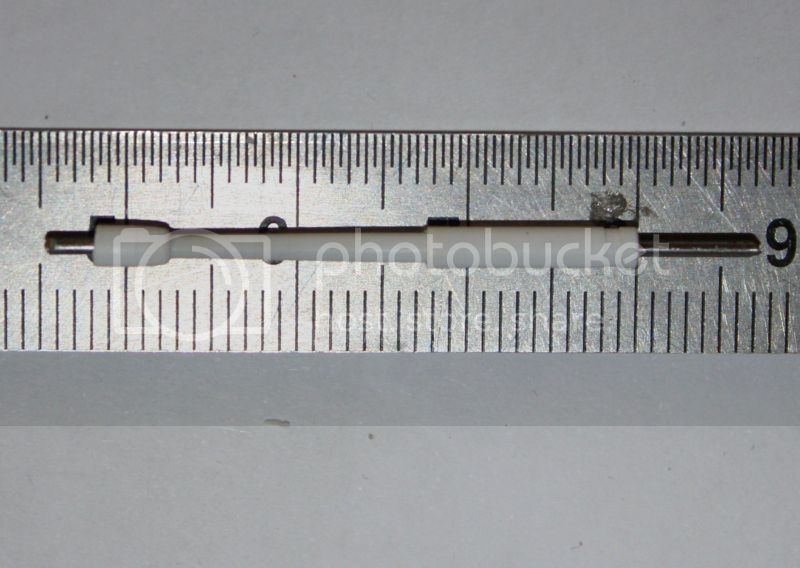
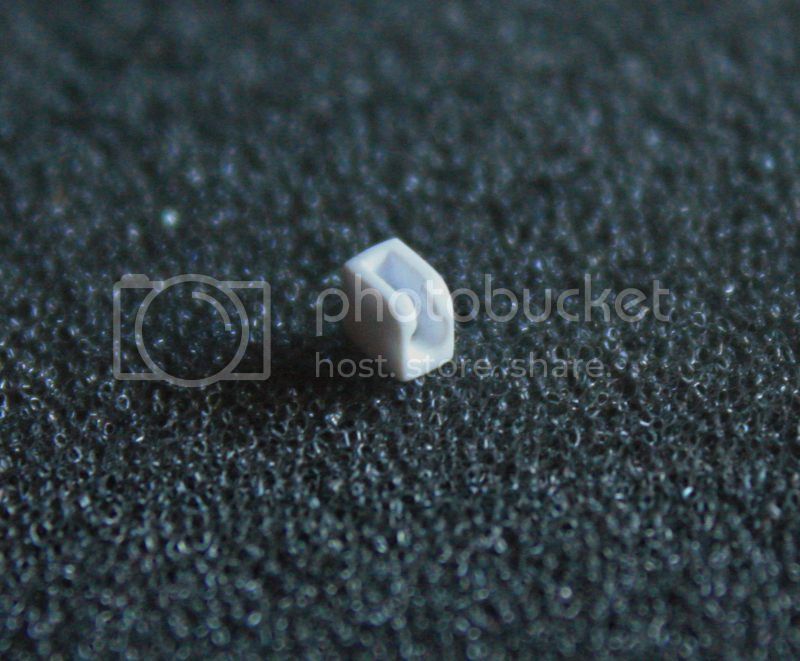
The breech:


Regards
Louis
_VISITCOMMUNITY
Bas-Rhin, France
Joined: May 21, 2006
KitMaker: 472 posts
AeroScale: 471 posts
Posted: Monday, August 17, 2015 - 02:06 AM UTC
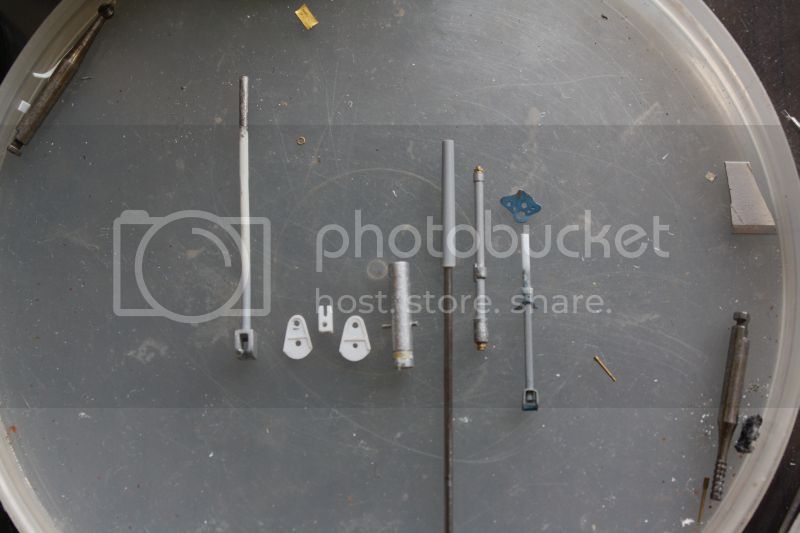
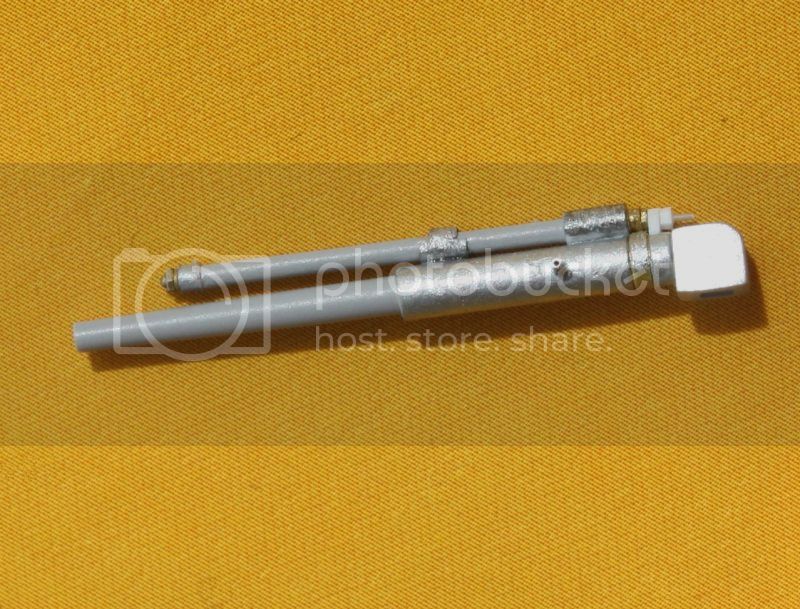
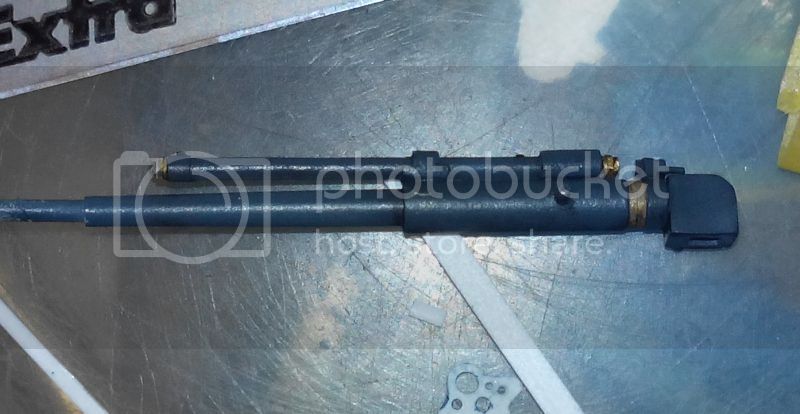
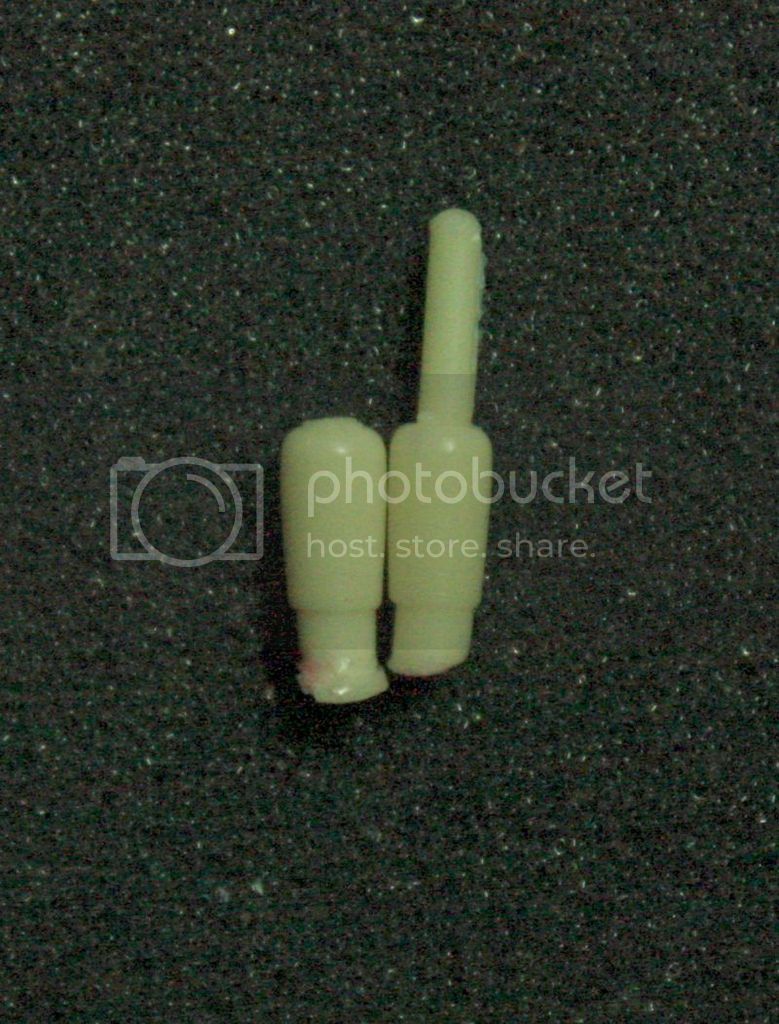
The biggest parts of the gun ready to stick...


The two parts glued together ... of course the wrong place.


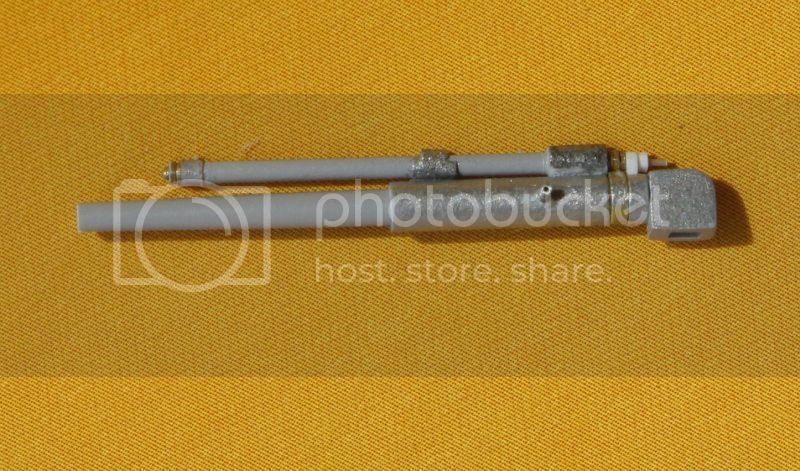
The good one and XF18 Tamiya:


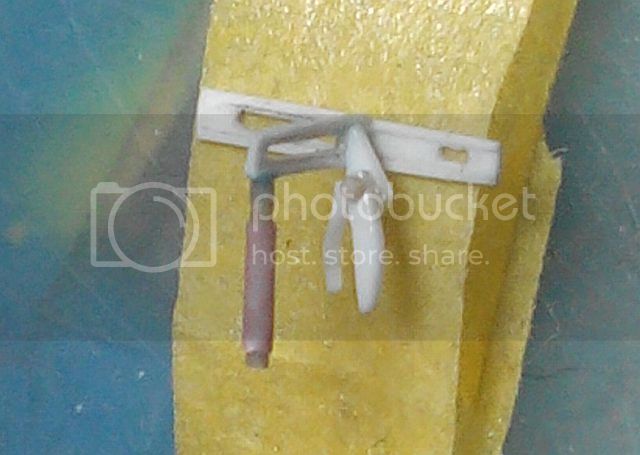
The handle of the gun and the trigger.


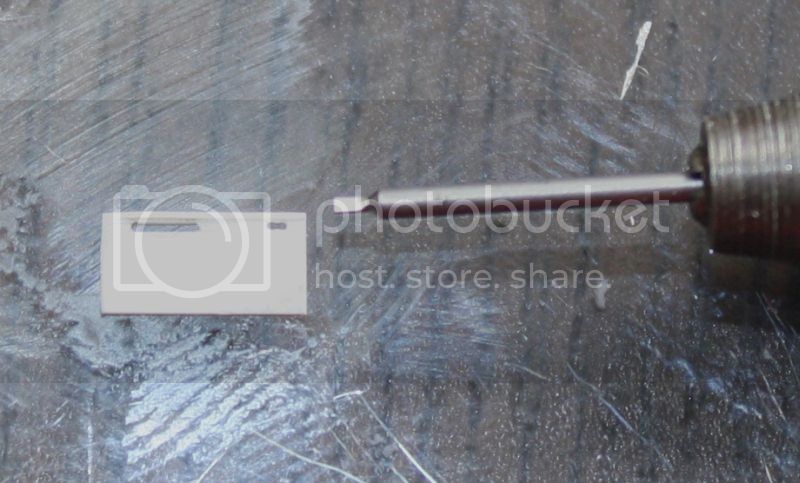
The groove is engraved with small tool shaped screwdriver.


Regards.
GazzaS
#424
_VISITCOMMUNITY
Queensland, Australia
Joined: April 23, 2015
KitMaker: 4,648 posts
AeroScale: 1,938 posts
Posted: Monday, August 17, 2015 - 02:25 AM UTC
Louis,
Excellent scratch build detail!

Gary
JClapp
#259
_VISITCOMMUNITY
Massachusetts, United States
Joined: October 23, 2011
KitMaker: 2,265 posts
AeroScale: 1,715 posts
Posted: Monday, August 17, 2015 - 02:44 AM UTC
Very interesting subject.

Very nice handiwork!
tinbanger
_VISITCOMMUNITY
Ontario, Canada
Joined: February 04, 2008
KitMaker: 2,507 posts
AeroScale: 1,814 posts
Posted: Monday, August 17, 2015 - 03:21 AM UTC
Great workmanship Louis!
Merlin
Staff MemberSenior Editor
AEROSCALE
#017
_VISITCOMMUNITY
United Kingdom
Joined: June 11, 2003
KitMaker: 17,582 posts
AeroScale: 12,795 posts
Posted: Tuesday, August 18, 2015 - 12:28 AM UTC
Hi Louis

Wow! This looks set to be another stunner! I'll be following keenly.

All the best

Rowan
SGTJKJ
#041
_VISITCOMMUNITY
Kobenhavn, Denmark
Joined: July 20, 2006
KitMaker: 10,069 posts
AeroScale: 3,788 posts
Posted: Tuesday, August 18, 2015 - 12:15 PM UTC
Stunning work! I cannot wait to see more.
Louis
_VISITCOMMUNITY
Bas-Rhin, France
Joined: May 21, 2006
KitMaker: 472 posts
AeroScale: 471 posts
Posted: Thursday, August 20, 2015 - 03:45 AM UTC
Thank you very much!

that's all there ... except for the sight too fragile, the cable from the trigger and a bit of paint retouching.


Regards
Merlin
Staff MemberSenior Editor
AEROSCALE
#017
_VISITCOMMUNITY
United Kingdom
Joined: June 11, 2003
KitMaker: 17,582 posts
AeroScale: 12,795 posts
Posted: Friday, August 21, 2015 - 02:10 AM UTC
Hi Louis

Fantastic work!

All the best

Rowan
MichaelSatin
Staff MemberCampaigns Administrator
AEROSCALE
_VISITCOMMUNITY
Colorado, United States
Joined: January 19, 2008
KitMaker: 3,909 posts
AeroScale: 2,904 posts
Posted: Friday, August 21, 2015 - 04:35 AM UTC
Fantastic work Louis! In case you're interested, this certainly looks like it would qualify for the Canvas Falcons I Campaign.

Michael
Louis
_VISITCOMMUNITY
Bas-Rhin, France
Joined: May 21, 2006
KitMaker: 472 posts
AeroScale: 471 posts
Posted: Saturday, August 22, 2015 - 12:15 AM UTC
Thank you very much!

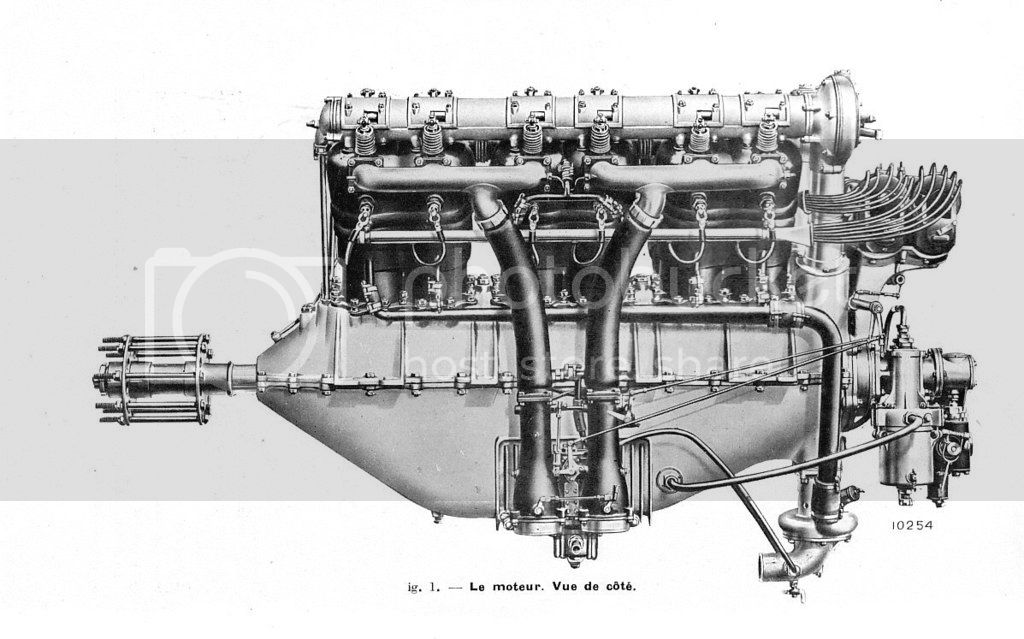
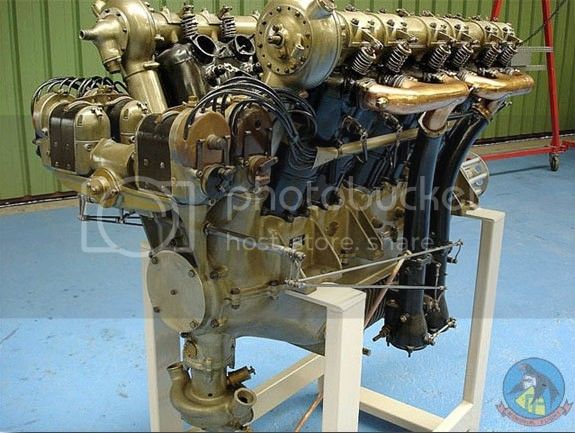
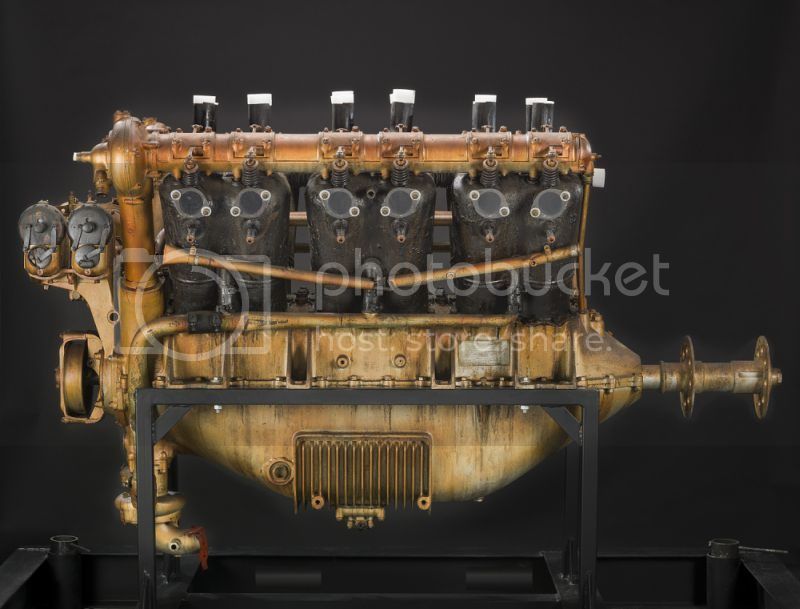
The engine: "blueprint"


http://www.master194.com/forum/viewtopic.php?f=4&t=88141&sid=ad828d32404b0e232265bd37f28eaa3b&start=25

regards
Louis
_VISITCOMMUNITY
Bas-Rhin, France
Joined: May 21, 2006
KitMaker: 472 posts
AeroScale: 471 posts
Posted: Friday, September 04, 2015 - 01:30 AM UTC
Thank you Martin!

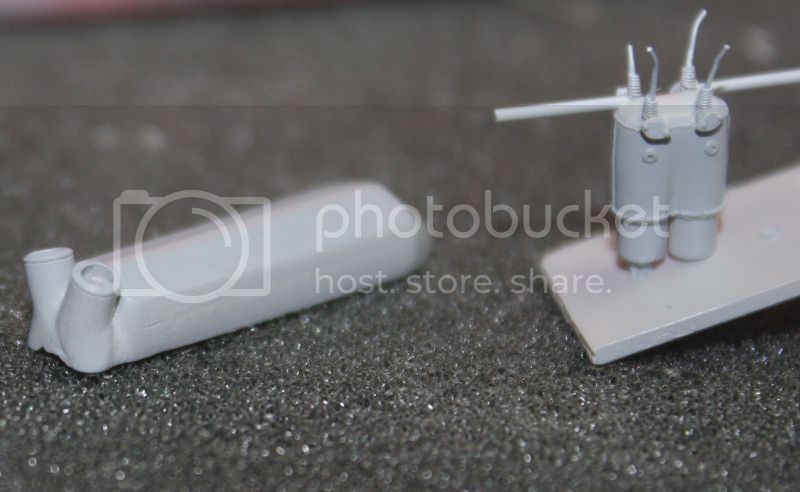
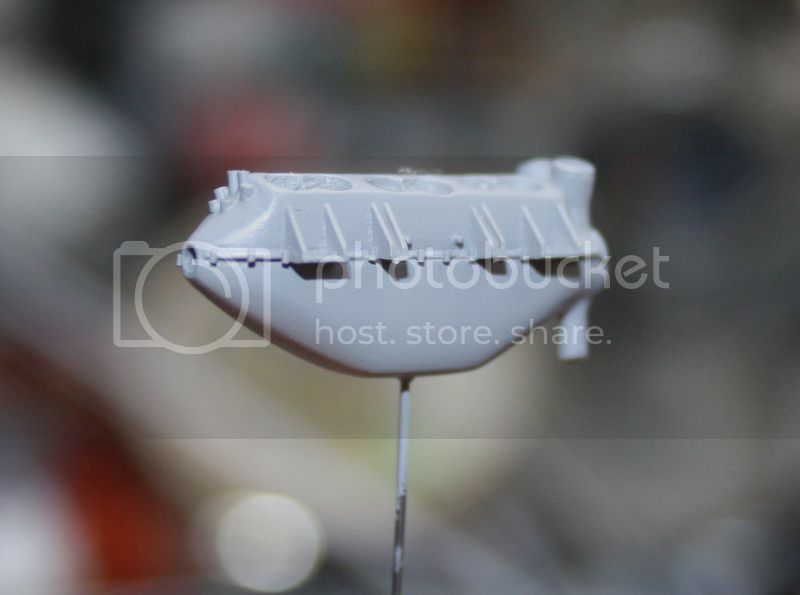
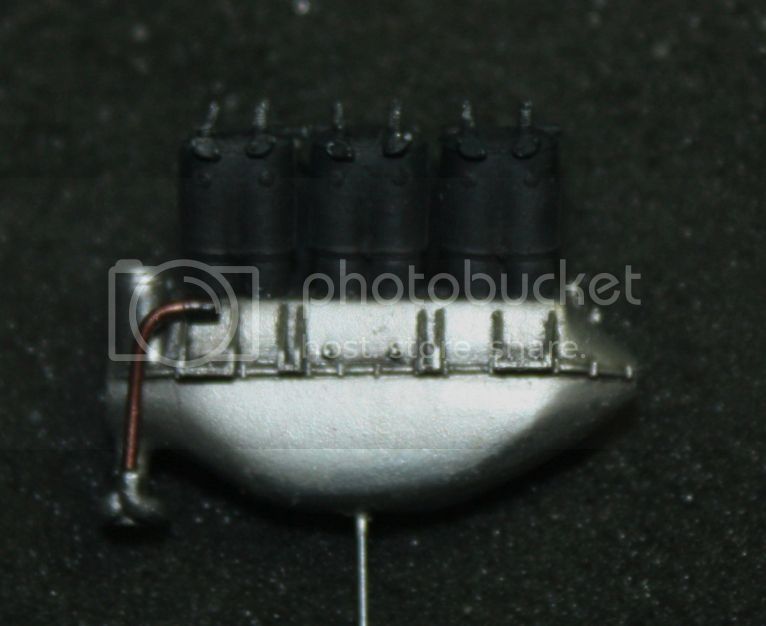
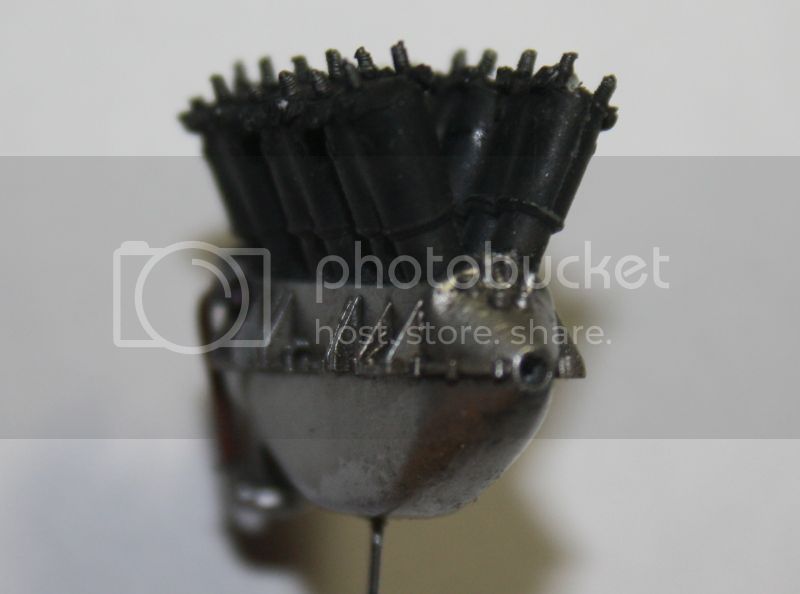
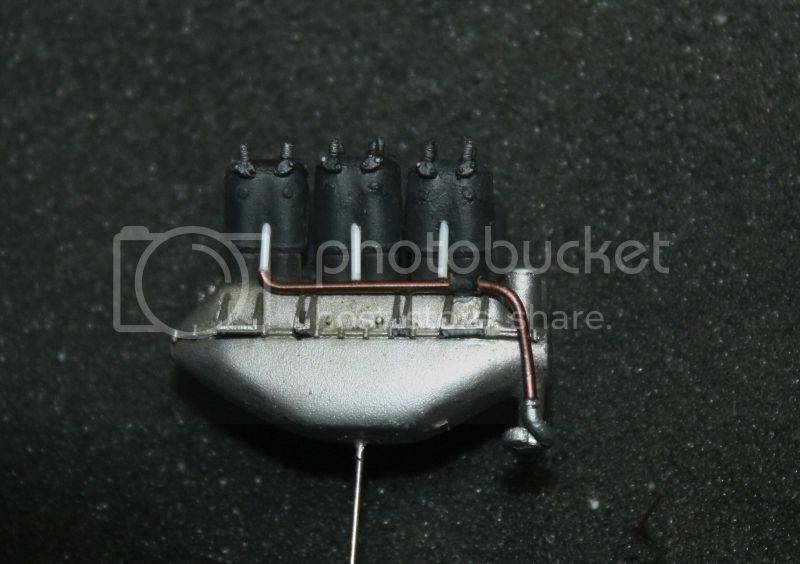
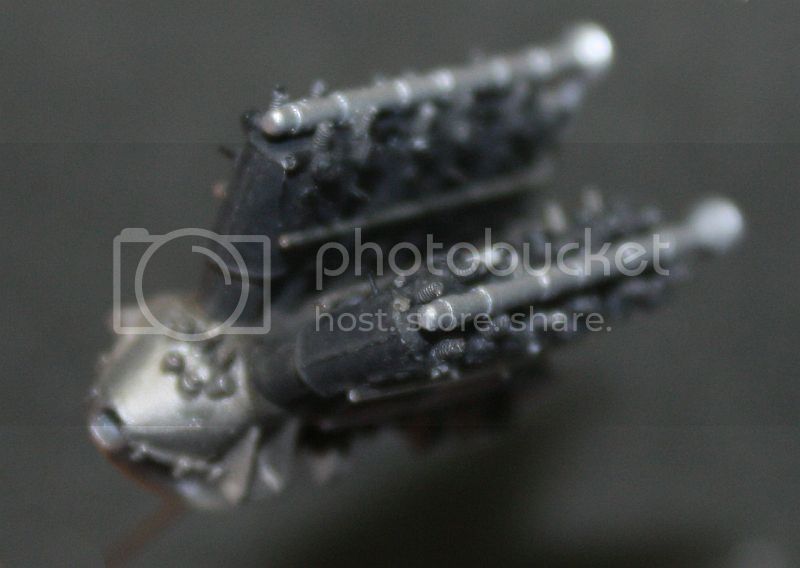
The engine is started:


I made it in two parts to be able to easily put the binding that connects the two parts.
The lengths are calculated from the plan with more or less accuracy ... Ditto for the general shape of the engine block.

You can find the plan here:


http://img11.hostingpics.net/pics/443899Renault12FeFi0003.jpg


http://www.hostingpics.net/viewer.php?id=205134RenaultV12220hpEndX.jpg


http://www.hostingpics.net/viewer.php?id=797815Renault12FeFi0001.jpg


http://www.hydroretro.net/etudegh/renault.pdf


The top of the cylinder head is flat:


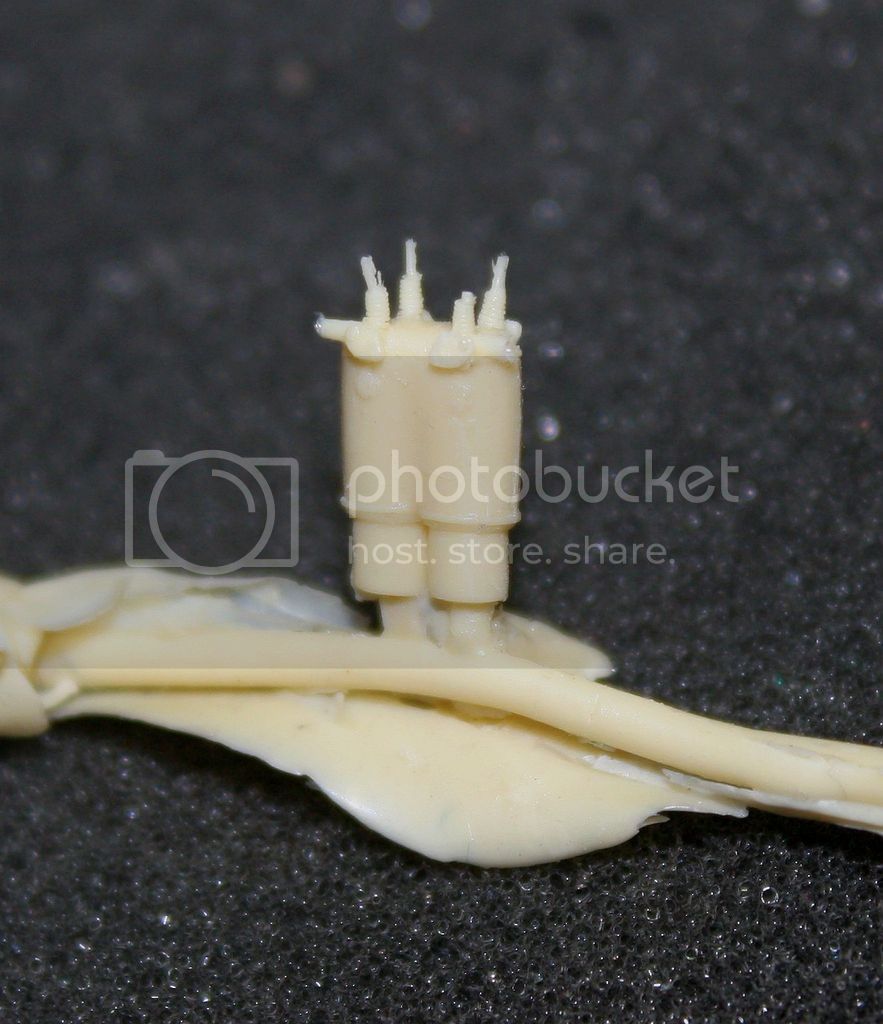
The cylinders will be glued in pairs. we must also make a mold, making the two cylinders, gluing, sanding, decorate, remould them etc, etc ...


Regards
Louis
_VISITCOMMUNITY
Bas-Rhin, France
Joined: May 21, 2006
KitMaker: 472 posts
AeroScale: 471 posts
Posted: Friday, September 04, 2015 - 02:35 AM UTC


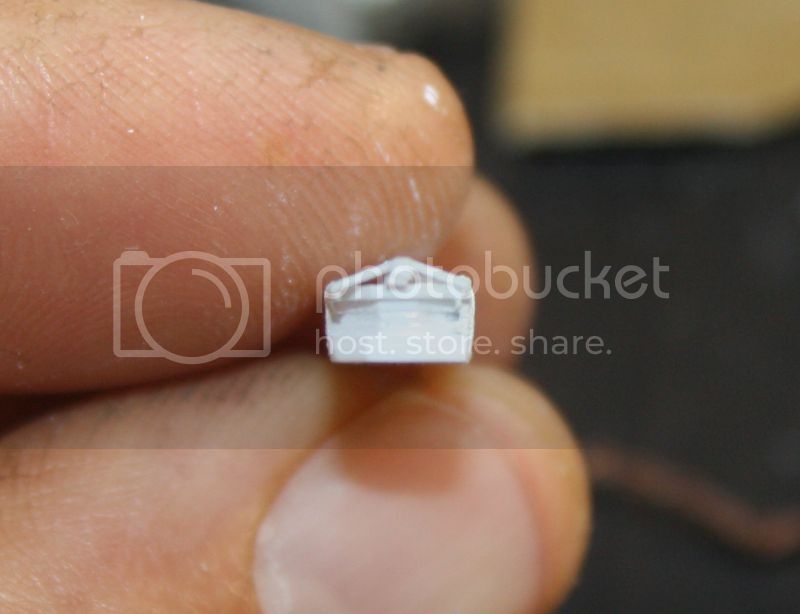
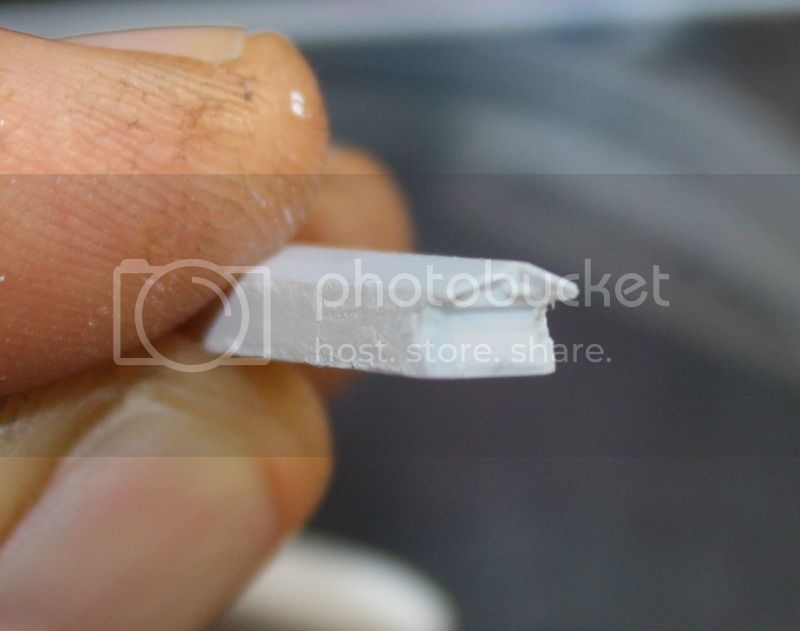
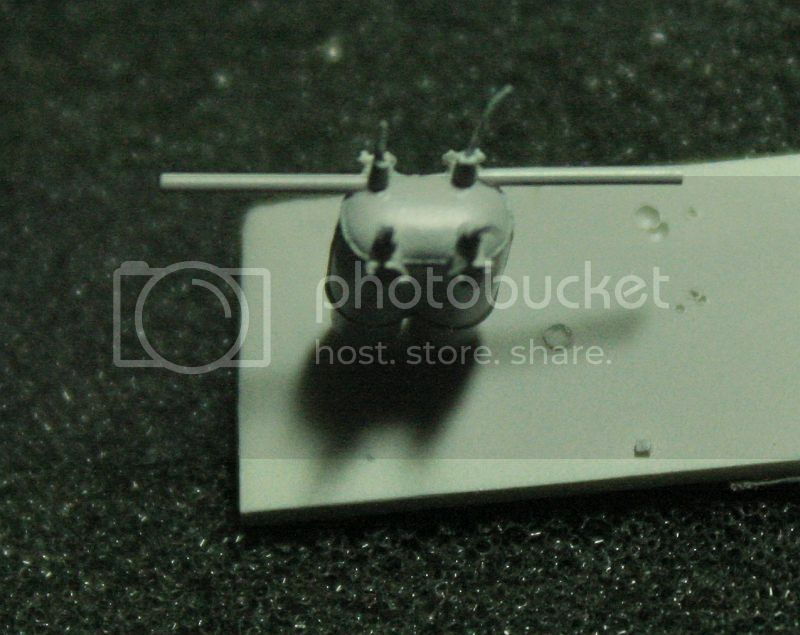
The four openings on the cylinders are cut into 1mm diameter rod:


Regards
Louis
_VISITCOMMUNITY
Bas-Rhin, France
Joined: May 21, 2006
KitMaker: 472 posts
AeroScale: 471 posts
Posted: Friday, September 25, 2015 - 06:15 PM UTC
Thank you !!!


Hi !

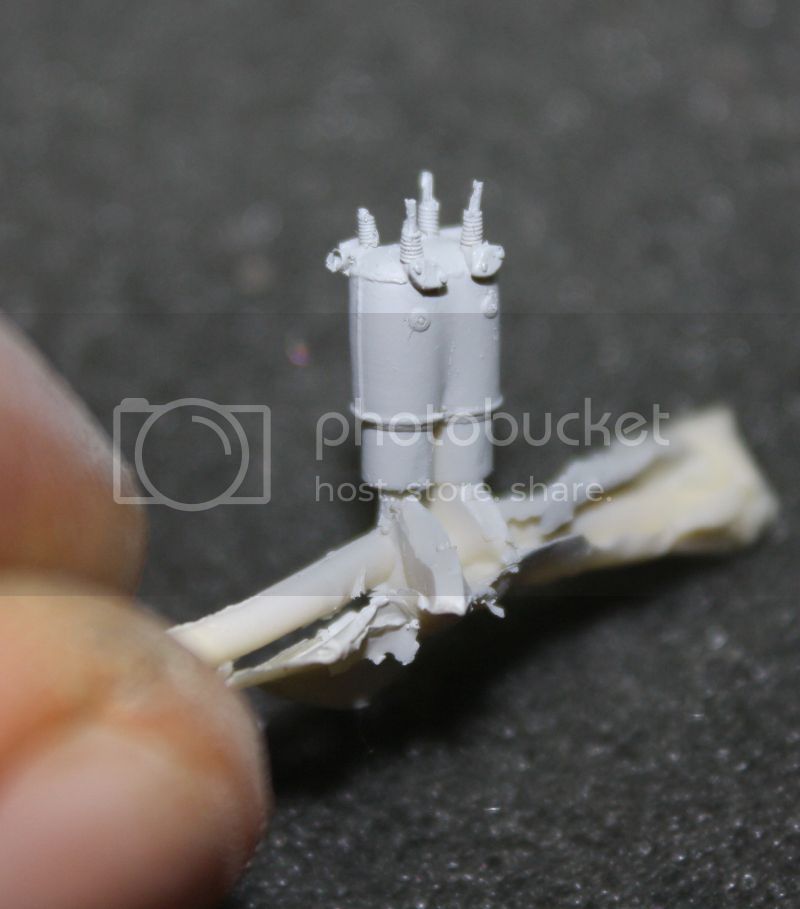
I remade the cylinders entirely with evergreen plastic, I could not stick the small parts cleanly with superglue on the resin parts, and their foot was too short. It was long and painful ...


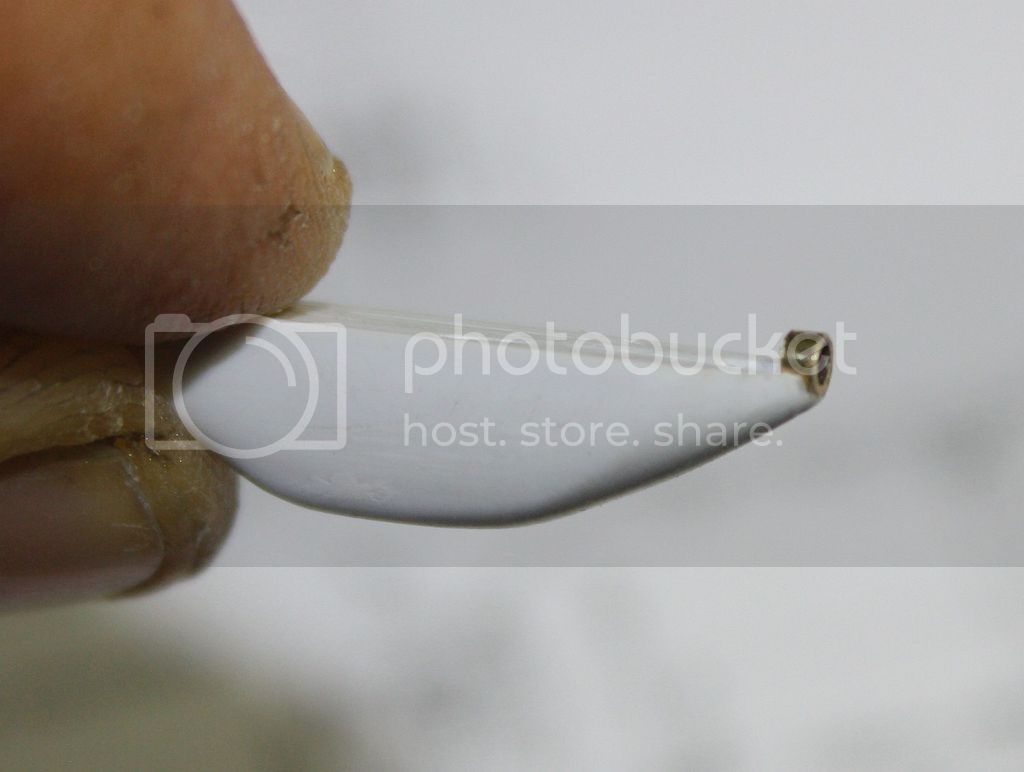
The springs are made of copper wire (gold), found in "fly fishing" shop. It is thinner than the wire.

I wanted to make them conical. Well... believe me it is difficult to find the point suitable for winding the wire over.

Finally I 'm using an old needle (fine) my airbrush (Pasch).


Everything is covered with "surfacer".


Welds are plastic yarn stuck to the liquid adhesive and crushed with the back of the tweezers


The shape could have been crowned at the top ... but I do not want to start over.

Tomorrow I make the mold.

Regards
Merlin
Staff MemberSenior Editor
AEROSCALE
#017
_VISITCOMMUNITY
United Kingdom
Joined: June 11, 2003
KitMaker: 17,582 posts
AeroScale: 12,795 posts
Posted: Saturday, September 26, 2015 - 01:39 AM UTC
Hi Louis

Simply amazing work!

All the best

Rowan
Redhand
#522
_VISITCOMMUNITY
New Jersey, United States
Joined: January 20, 2013
KitMaker: 1,460 posts
AeroScale: 1,443 posts
Posted: Saturday, September 26, 2015 - 04:49 AM UTC
All I can do is add my own words of praise and wish I was half as good!
Louis
_VISITCOMMUNITY
Bas-Rhin, France
Joined: May 21, 2006
KitMaker: 472 posts
AeroScale: 471 posts
Posted: Friday, October 30, 2015 - 03:49 AM UTC

Thank you!

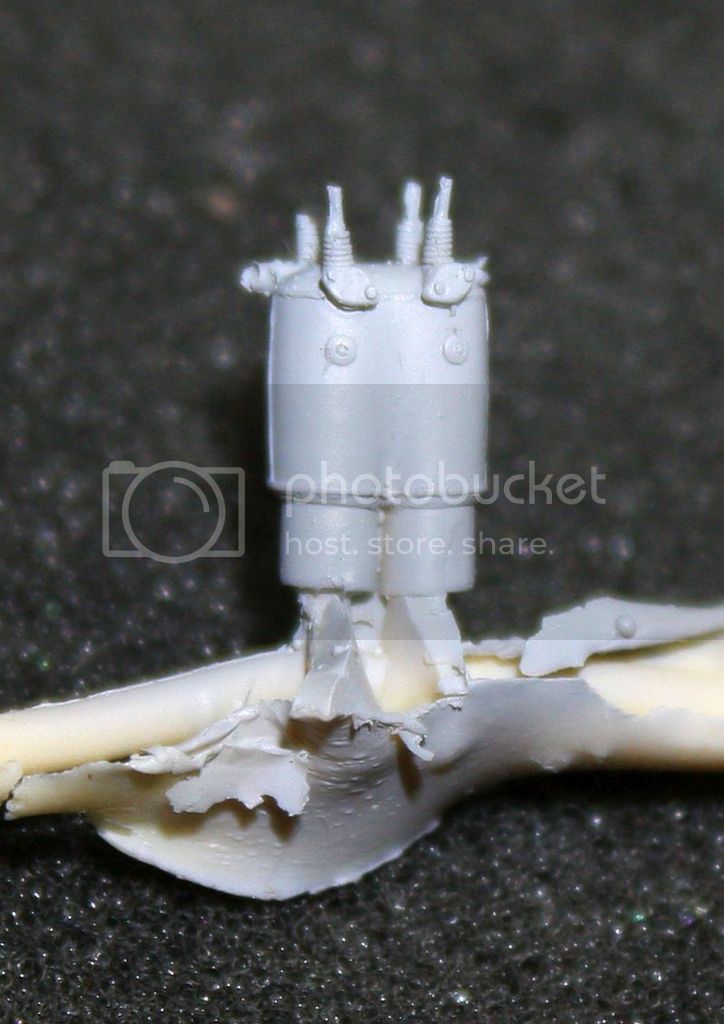
After two molds ... and half the prints unusable, I managed to make 6 pairs of cylinders I needed. They are far from perfect.
The base of the cylinder is not flat and I can not sanded properly for they become. So I had to drill holes in the top of the engine block so I can place them correctly. .

It's long to do ...


This one is the most successful of the entire series.


The mold is made of a single piece of silicon, cut with a scalpel only at the base of the cylinders to limit the track joint.
Of course there are lots of bubbles in the resin.


Rest sanding.
JackFlash
_VISITCOMMUNITY
Colorado, United States
Joined: January 25, 2004
KitMaker: 11,669 posts
AeroScale: 11,011 posts
Posted: Saturday, November 07, 2015 - 10:32 AM UTC
A diamond in the rough gets polished in your hands.
Louis
_VISITCOMMUNITY
Bas-Rhin, France
Joined: May 21, 2006
KitMaker: 472 posts
AeroScale: 471 posts
Posted: Tuesday, November 24, 2015 - 03:35 AM UTC
Thank you!

Hello,


Someone can tell us if the "yellowish varnishes" which seems to cover these engines were applied consistently? I do not remember seeing it on other engines ...


regards
Louis
_VISITCOMMUNITY
Bas-Rhin, France
Joined: May 21, 2006
KitMaker: 472 posts
AeroScale: 471 posts
Posted: Wednesday, December 30, 2015 - 04:13 AM UTC
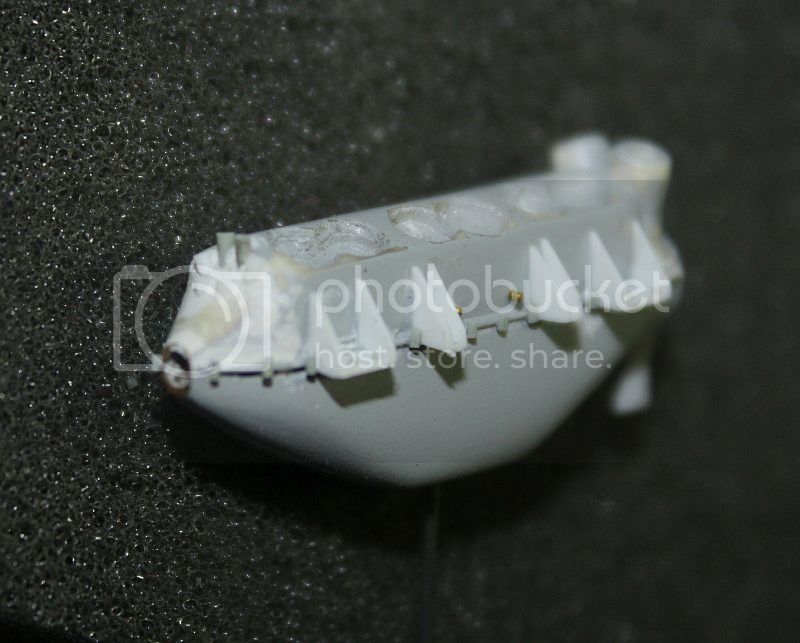
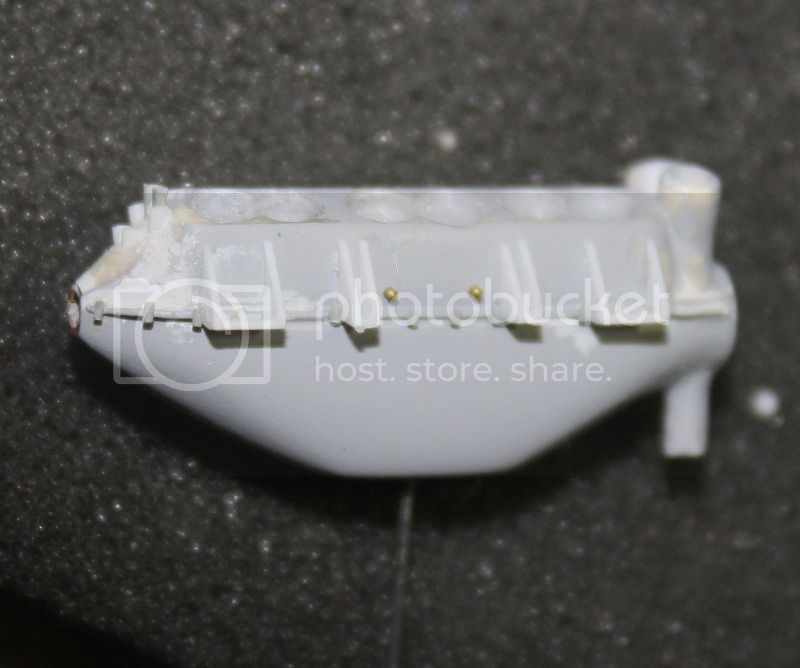
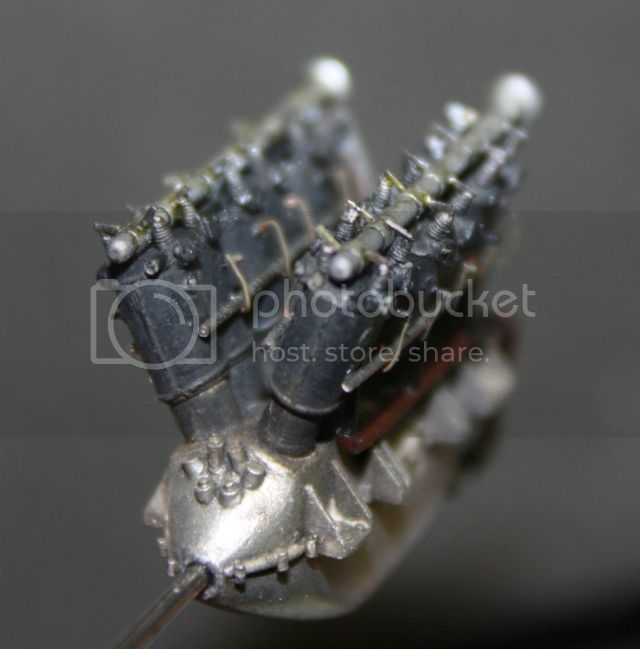
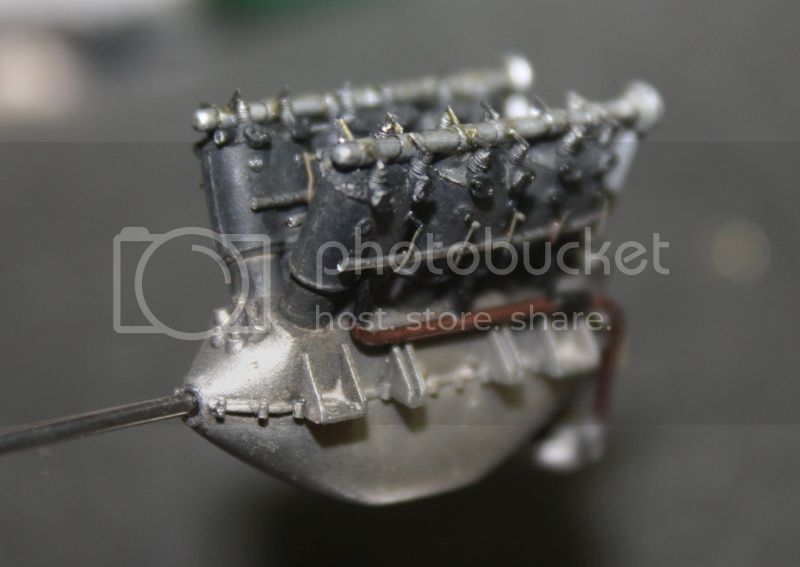
Hello!

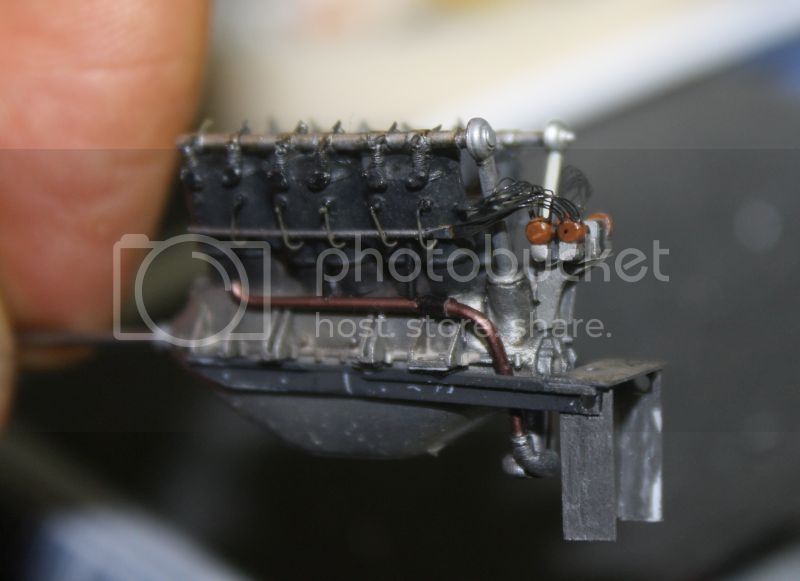
The engine mounting ends slowly ...
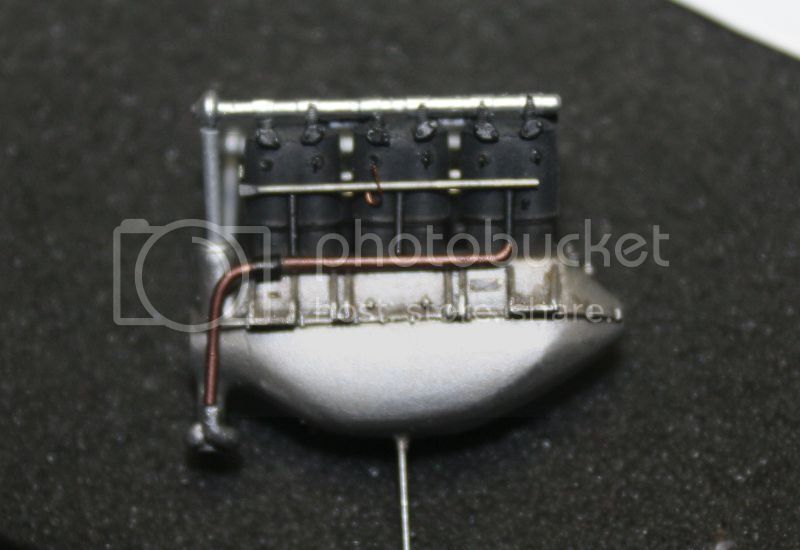
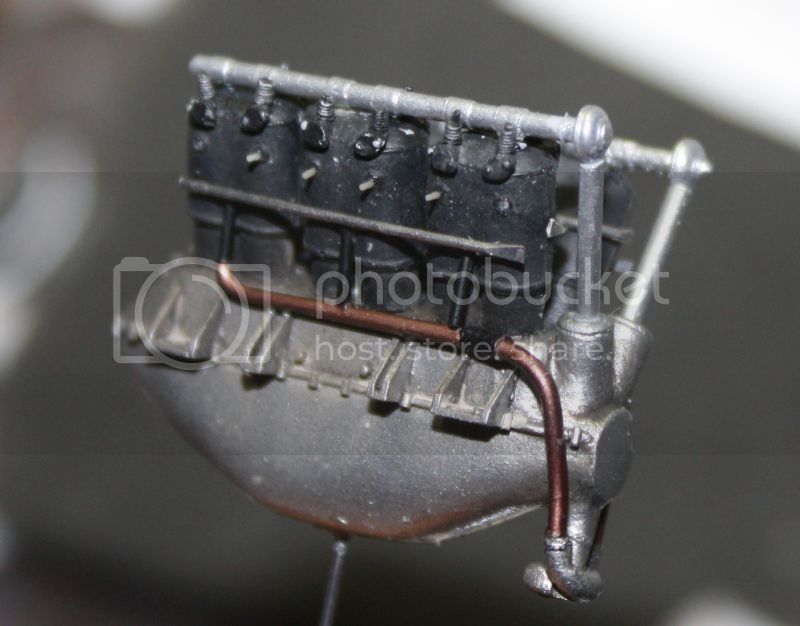
The cylinders are glued in the holes. Missing bolts at the base of the cylinders.


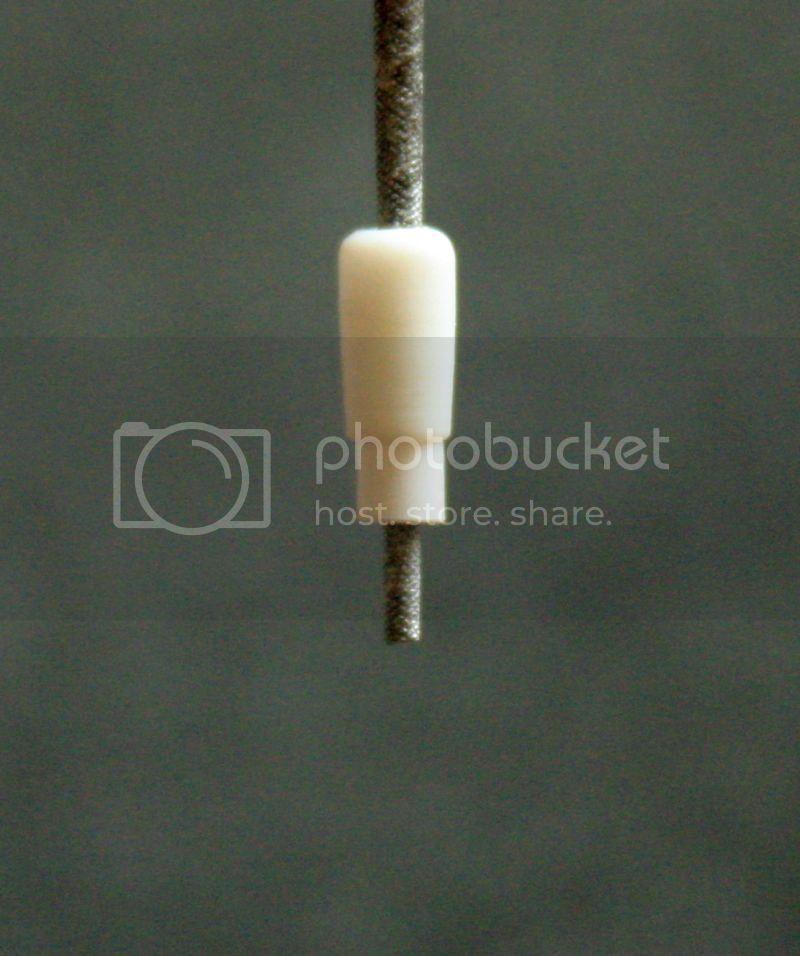
Pipes are plastic, the collars are made of "cotton bud" stretched.


The copper tubing is stretched plastic.


24 candles are stretched plastic. I lost a few along the way. I also lost valve springs ...

The vertical rod at the back should be against the last cylinder. Too bad for her.
The aluminum structure is a cylinder on evergreen 1 mm rod with rings of metal tape.


The engine block is in "white aluminum" Alclad but it shines too. The matt varnish is nothing changed. Cylinders and are skated with him "engine grime" from AK.


Regards.
Louis
_VISITCOMMUNITY
Bas-Rhin, France
Joined: May 21, 2006
KitMaker: 472 posts
AeroScale: 471 posts
Posted: Saturday, January 02, 2016 - 02:26 PM UTC


Well...

24 rocker arms and 20 of wire plugs (missing the 4 front).

... I see you coming, rockers arms are not well "settled".


Well too bad !!!


Happy new year!

Regards.
GazzaS
#424
_VISITCOMMUNITY
Queensland, Australia
Joined: April 23, 2015
KitMaker: 4,648 posts
AeroScale: 1,938 posts
Posted: Saturday, January 02, 2016 - 02:41 PM UTC
Great looking engine!
Louis
_VISITCOMMUNITY
Bas-Rhin, France
Joined: May 21, 2006
KitMaker: 472 posts
AeroScale: 471 posts
Posted: Tuesday, January 12, 2016 - 03:33 AM UTC
Thank you very much.

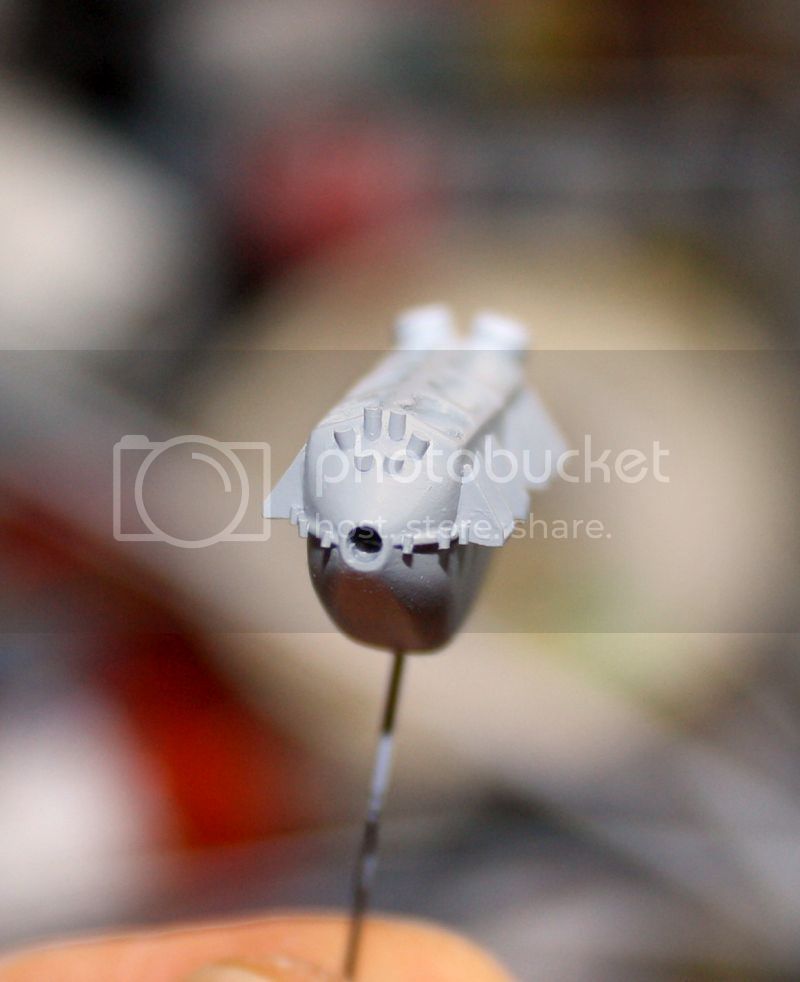
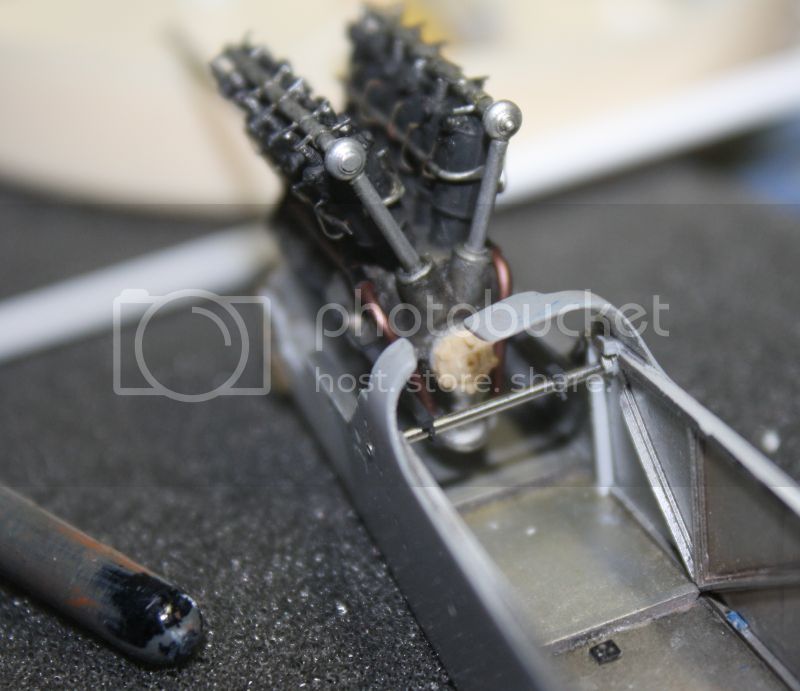
Hello.

Fixing the motor (syringe)


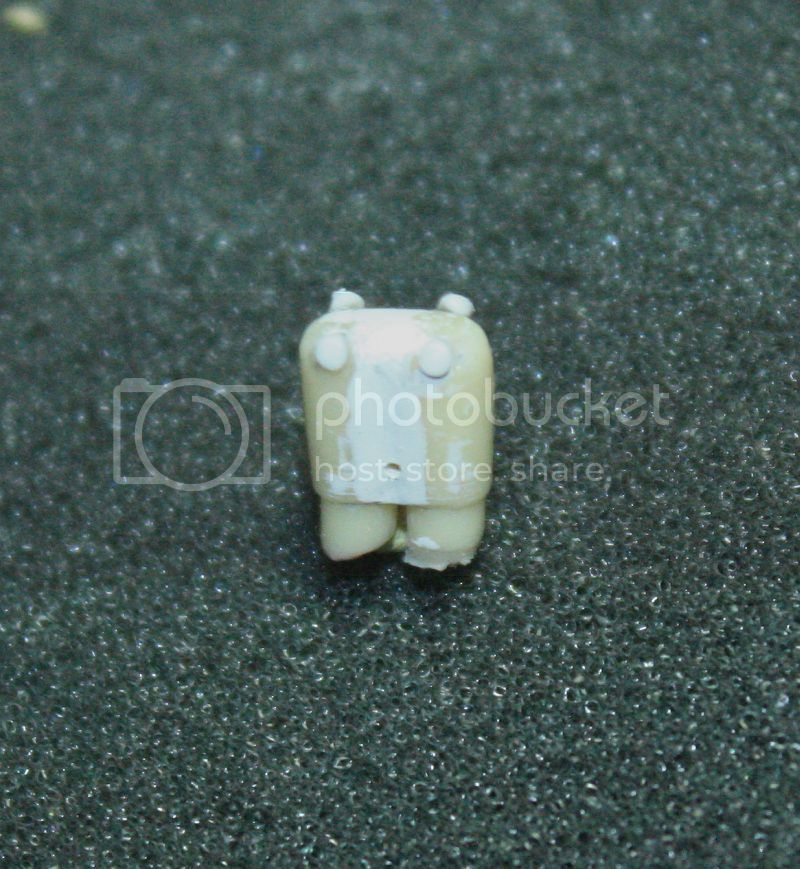
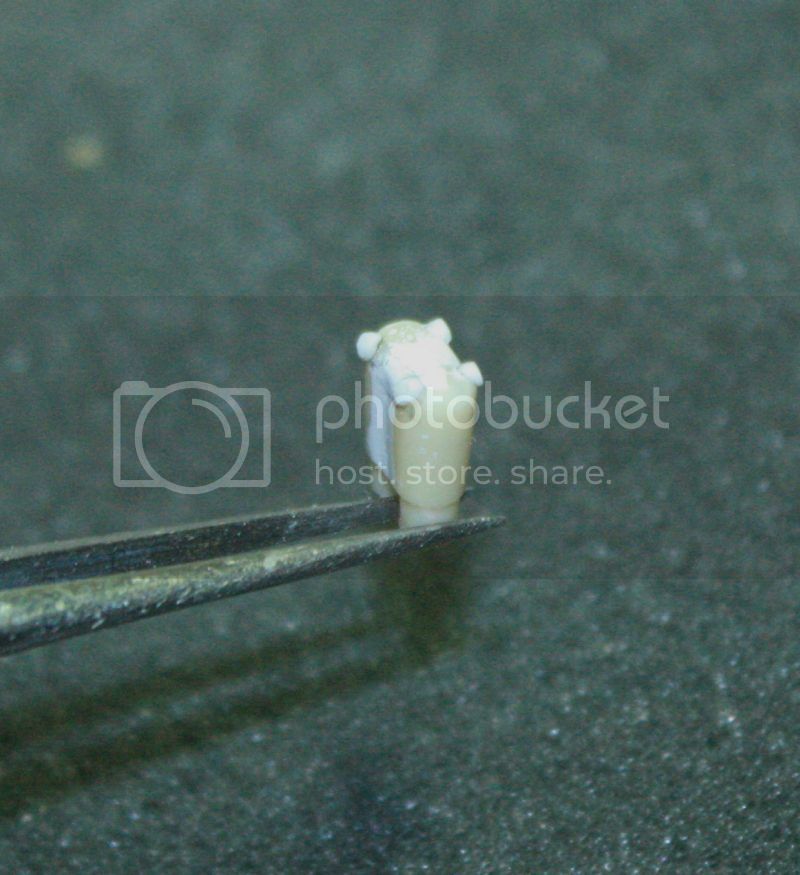
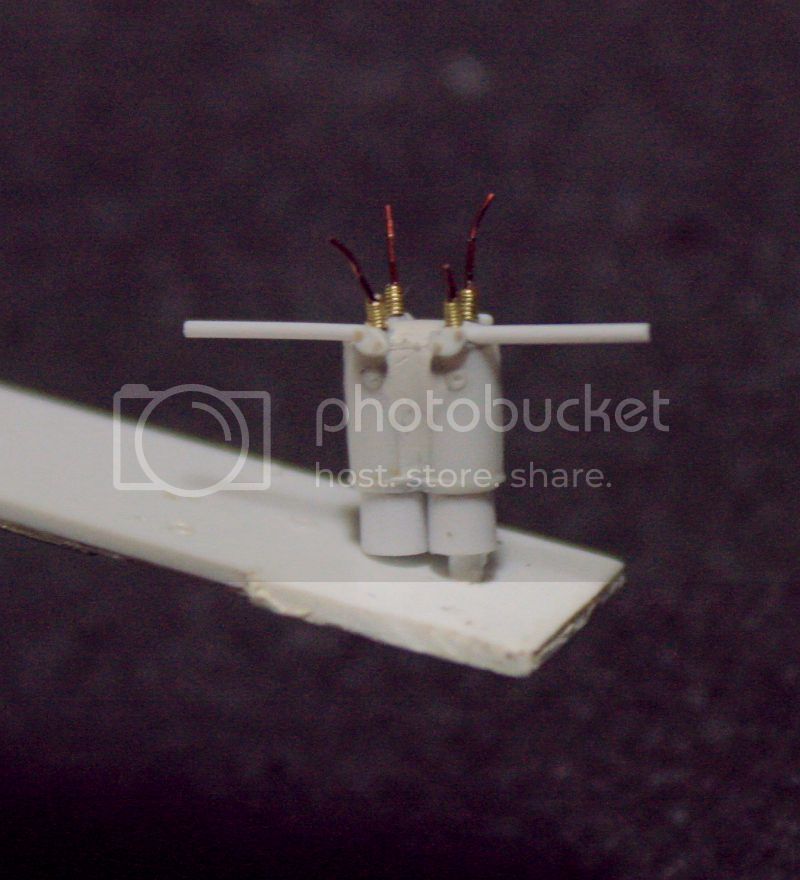
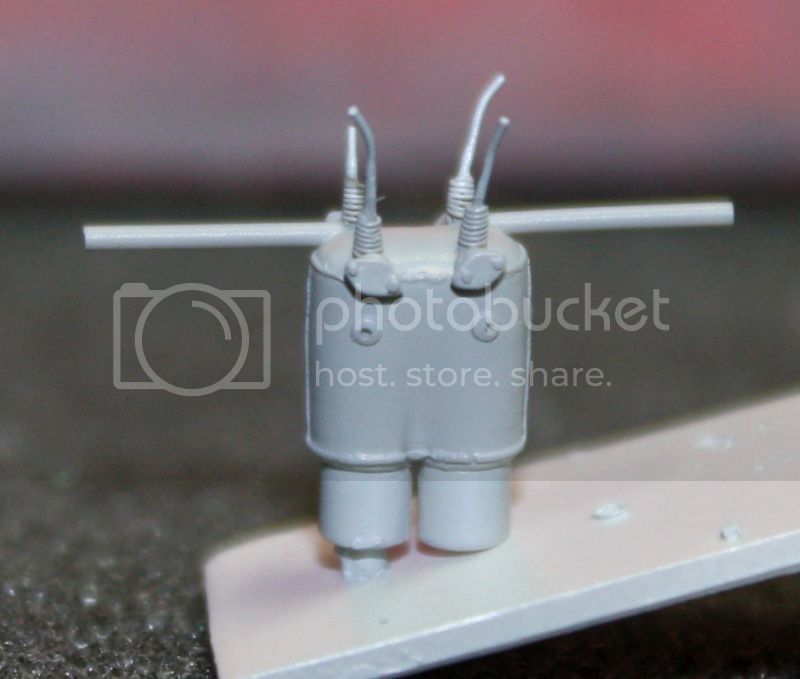
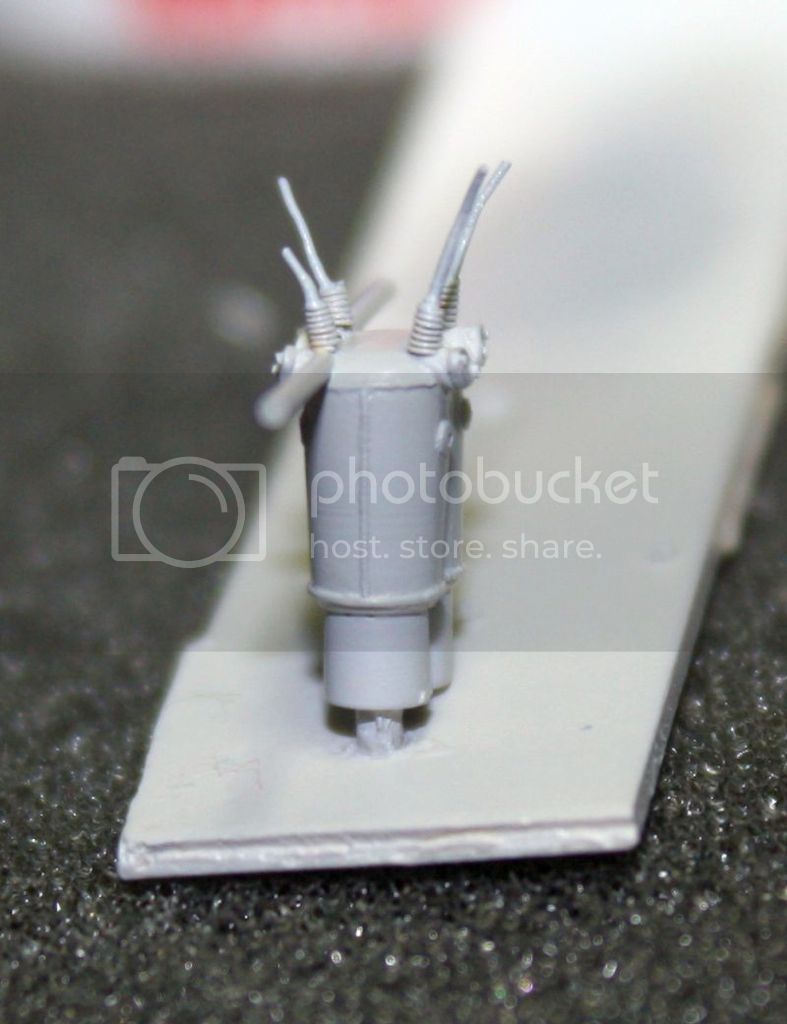
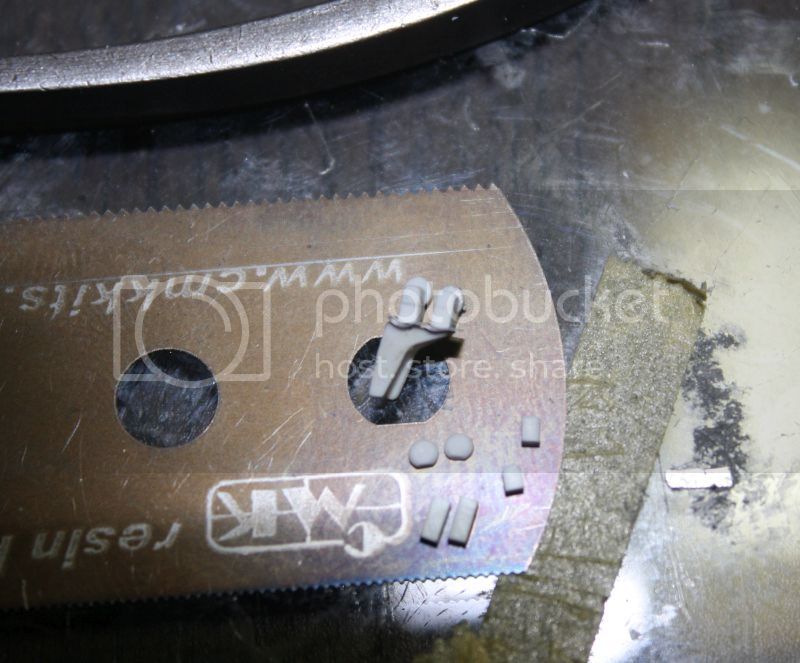
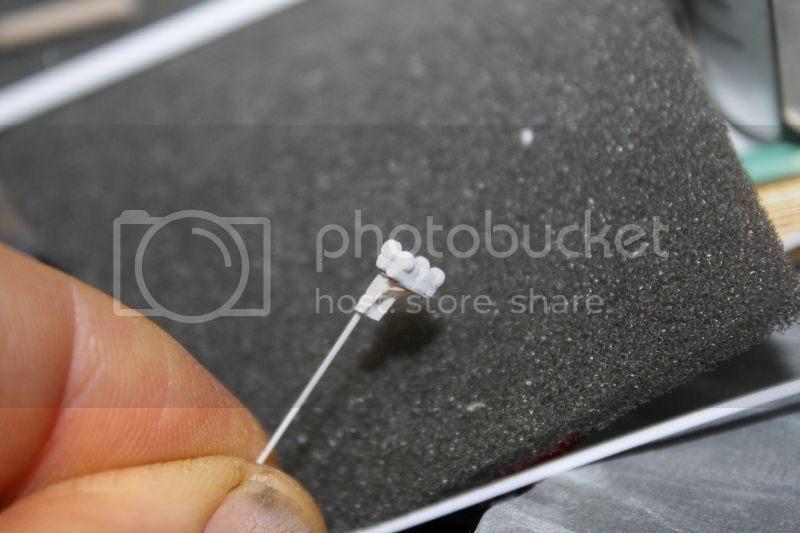
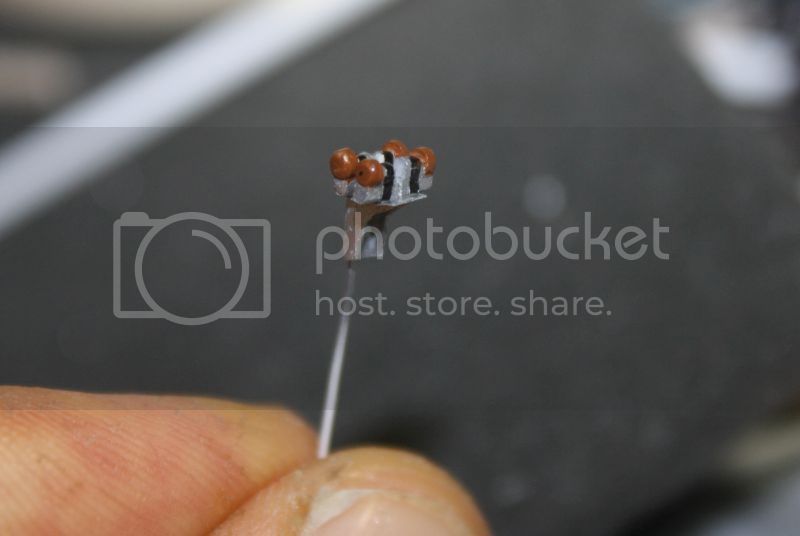
4 ignition coils:


The candles cables, will merit a little color.


Regards.
GazzaS
#424
_VISITCOMMUNITY
Queensland, Australia
Joined: April 23, 2015
KitMaker: 4,648 posts
AeroScale: 1,938 posts
Posted: Tuesday, January 12, 2016 - 11:03 AM UTC
I like it! I'm inspired to do do more engine work on my future WWI birds.
Louis
_VISITCOMMUNITY
Bas-Rhin, France
Joined: May 21, 2006
KitMaker: 472 posts
AeroScale: 471 posts
Posted: Tuesday, February 09, 2016 - 02:01 AM UTC
Thank you!!

Hello,

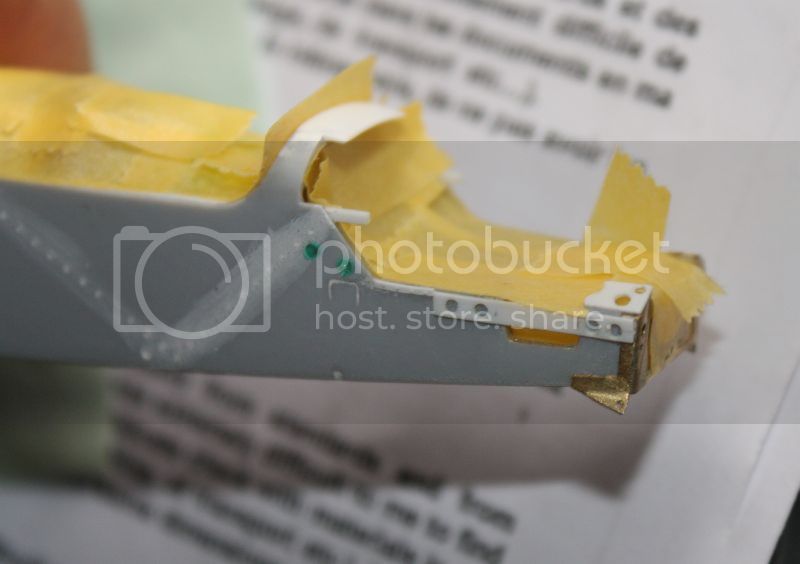
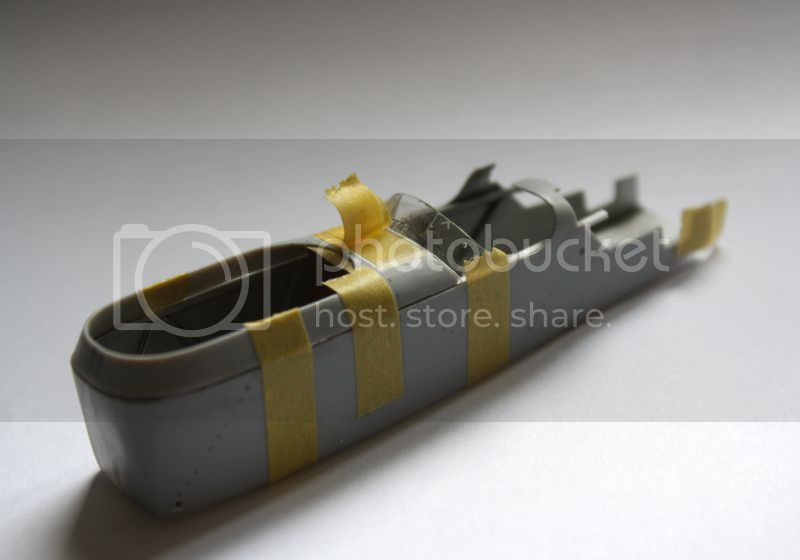
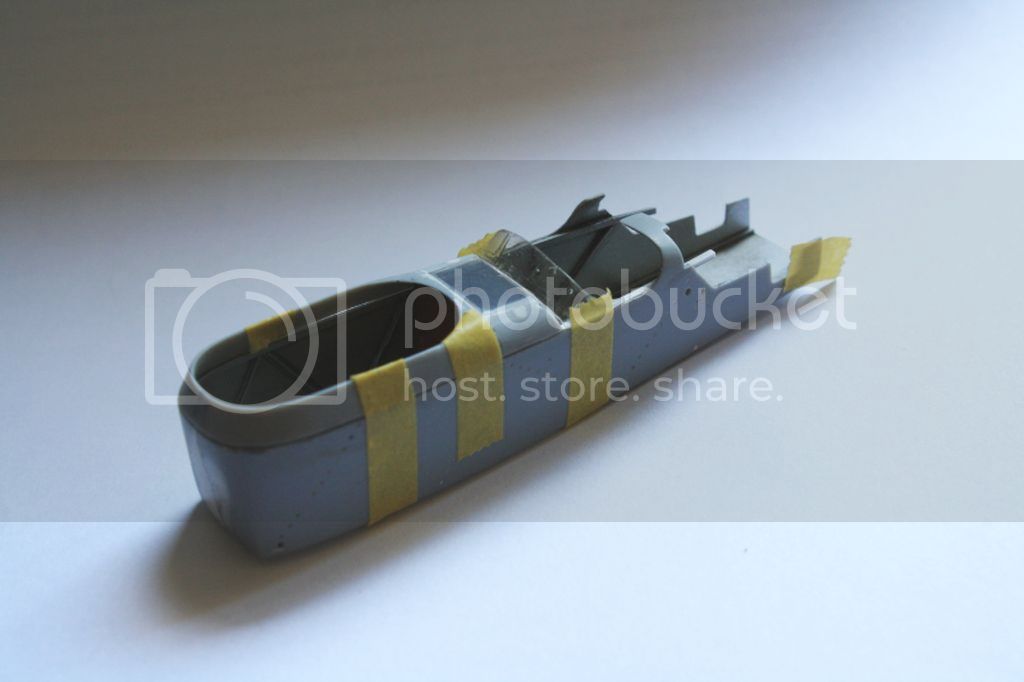
The cabin is closed.
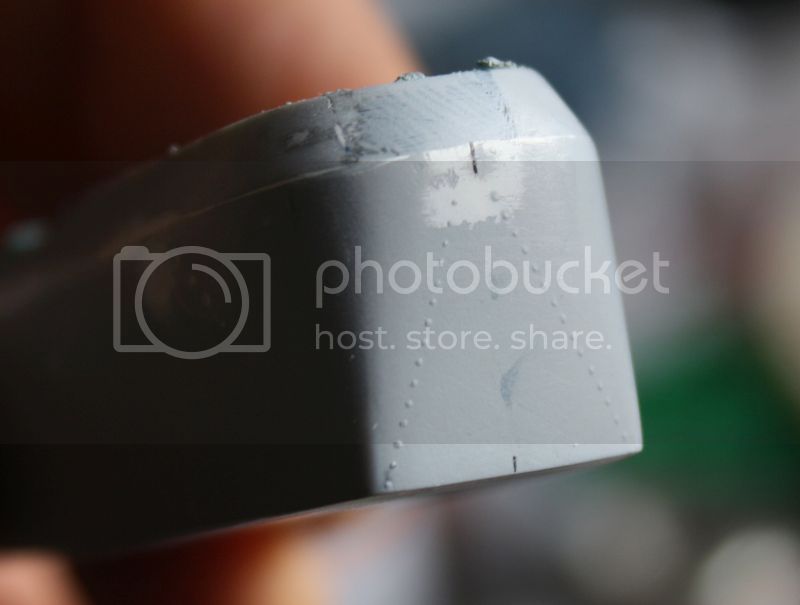
The rivets of the kits are too big (white) ...


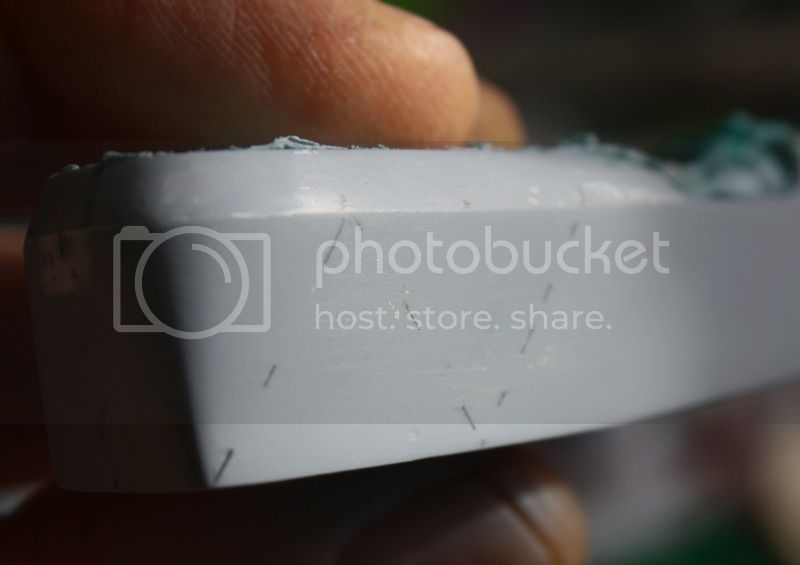
I have plugged and sanded. I redid them with "surfacing" and with a stencil. If it does not work I will use rivets decals but it's not cheap ...


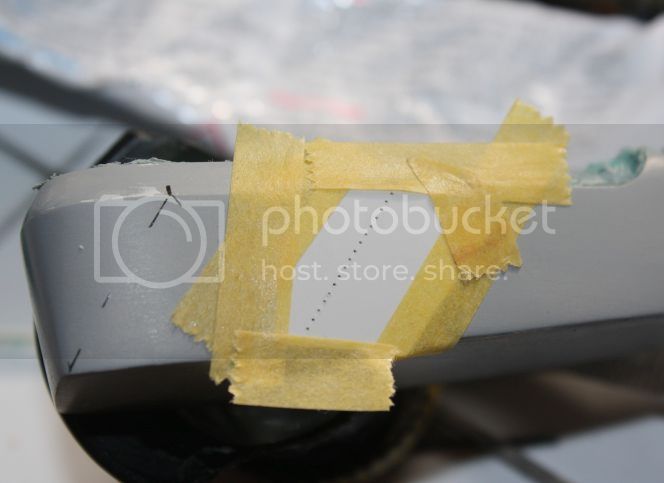
The stencil used on the flank are thinner and are pierced with a needle in an aluminum foil (food tray). Once pierced I sand a little stencil to remove the bulges around the holes. as the holes have a rounded shape.


Not sure we see them after painting ...


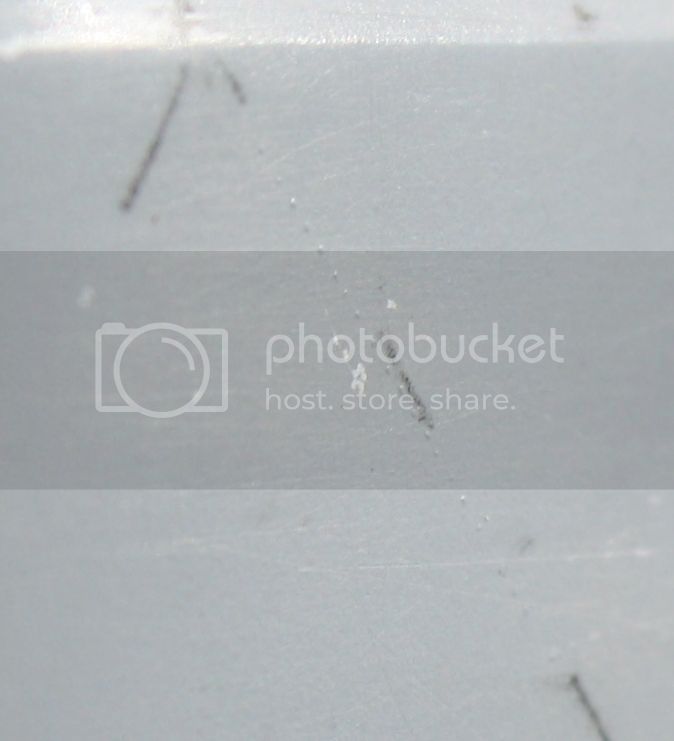
Stencils on the picture (plastic 0.2 mm) are those used in front of the plane, the holes are drilled with a drill 0.3mm. Several passages (7 or 8?) Airbrush are needed to obtain enough rivets marked. As it dries very quickly this is done quickly.
The smoother side of the stencil is brought in contact with the flank of the aircraft.


- The stencil aluminum is easy to clean and reuse the rivet but remains flat.

- The plastic it deforms quickly because the diluent.

- With a transparent stencil it would be easier to position.

- It works much better with a new stencil, clean.


A +
 _GOTOTOP