In this Blog I will build the HK Models 1/32 scale Mosquito B Mk.IV
This will be a long build not to be rushed!
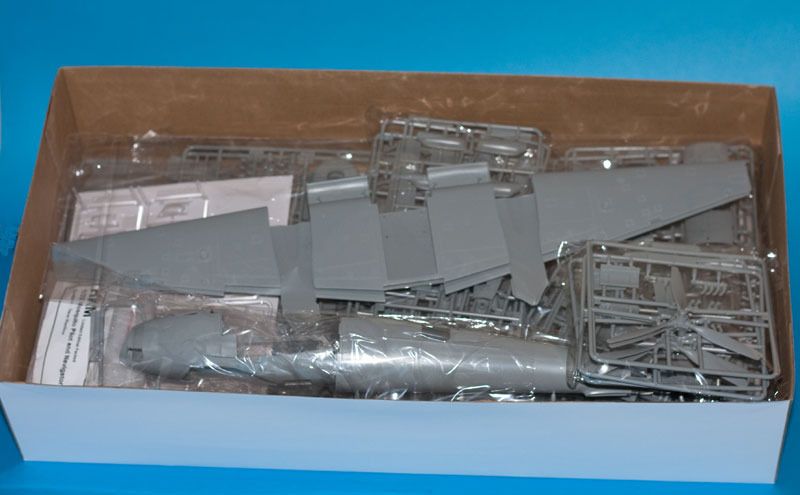
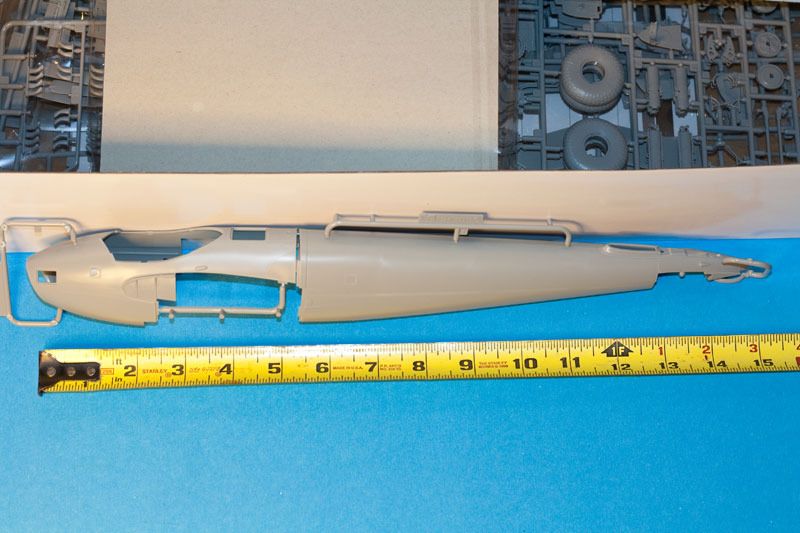
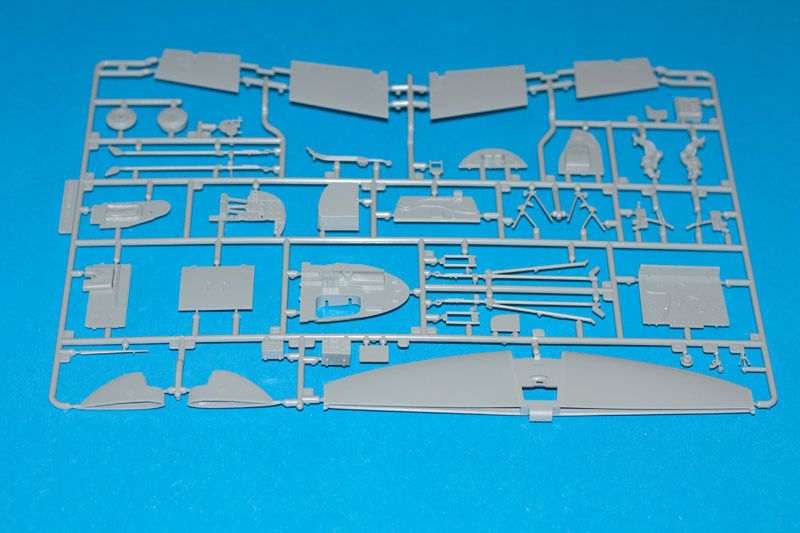
We start with some box photos and main parts next to a tape measure to give some idea of the size of this model.
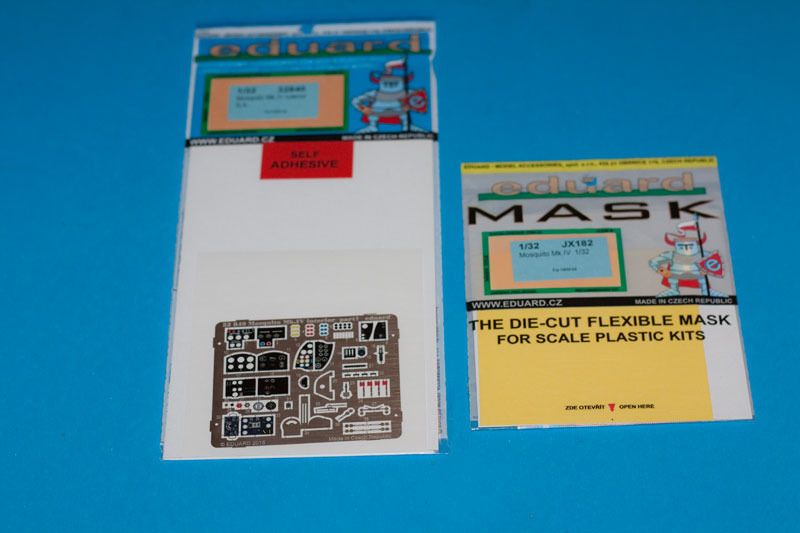
I will be using the Eduard interior set #32840
For the markings and camo I will be using masks supplied by Miracle Masks :
As you can see I had a hard time getting a photo of the whole wing due to the size of it!
Hosted by Rowan Baylis
HK Models De Havilland Mosquito B Mk.IV
Posted: Monday, August 31, 2015 - 05:37 AM UTC
Posted: Monday, August 31, 2015 - 09:49 AM UTC
Can't wait to see how the build goes. The Mosssie is my favorite aircraft. I am going to follow this build with interest.
Posted: Monday, August 31, 2015 - 11:29 AM UTC
Hi Richard,
You are in for a treat, I have just got the wing control surfaces attached and today I will be adding the completed nacells along with the under carriage and engines.
The masks are "Miracle Masks" (not Mal's masks), but yes, they are produced by me.
You are in for a treat, I have just got the wing control surfaces attached and today I will be adding the completed nacells along with the under carriage and engines.
The masks are "Miracle Masks" (not Mal's masks), but yes, they are produced by me.
Posted: Monday, August 31, 2015 - 11:52 AM UTC
"The masks are "Miracle Masks" (not Mal's masks), but yes, they are produced by me."
Post corrected!
Thank's Mal!
Post corrected!
Thank's Mal!
Joel_W
Associate Editor
New York, United States
Joined: December 04, 2010
KitMaker: 11,666 posts
AeroScale: 7,410 posts
Joined: December 04, 2010
KitMaker: 11,666 posts
AeroScale: 7,410 posts
Posted: Monday, August 31, 2015 - 08:02 PM UTC
Richard,
What a great choice as all the builds I've been following are the Tamiya kit. Like you said, it will be long build, but certainly one that I will enjoy following to its completion.
Joel
What a great choice as all the builds I've been following are the Tamiya kit. Like you said, it will be long build, but certainly one that I will enjoy following to its completion.
Joel
Posted: Monday, August 31, 2015 - 11:24 PM UTC
Hi Joel!
Yes this will be a slow and steady build.
I will build this as a diorama,I have reference books and the web to go to for photos of the engines and a least one with have the covers off.
I am on the look out for a few RAF mechanics to go along with the two airmen that came with the model.
The Tamiya release is in the review build stage as far as I know for Aeroscale.
Thanks for stopping by.
Posted: Sunday, September 06, 2015 - 08:26 PM UTC
And now to start building!
I will post at each step so first up is step 1.
Seats and bomb bay wall, I will be building the bulged version.
Sprue T has the parts needed:
I will post at each step so first up is step 1.
Seats and bomb bay wall, I will be building the bulged version.
Sprue T has the parts needed:
SaxonTheShiba
United States
Joined: February 01, 2009
KitMaker: 1,233 posts
AeroScale: 663 posts
Joined: February 01, 2009
KitMaker: 1,233 posts
AeroScale: 663 posts
Posted: Sunday, September 06, 2015 - 09:05 PM UTC
Oh my.....a 32 scale Plywood Wonder! I hope you have a big shelf.....looking forward to your build.
Best wishes,
Ian
Best wishes,
Ian
Posted: Sunday, September 06, 2015 - 09:42 PM UTC
Quoted Text
Oh my.....a 32 scale Plywood Wonder! I hope you have a big shelf.....looking forward to your build.
Best wishes,
Ian
Hi Ian
Yes I have the top shelf in my display cabinet set aside.
bdanie6
New Hampshire, United States
Joined: November 09, 2008
KitMaker: 615 posts
AeroScale: 459 posts
Joined: November 09, 2008
KitMaker: 615 posts
AeroScale: 459 posts
Posted: Monday, September 07, 2015 - 04:20 AM UTC
Richard, thank you for posting this build. I will be watching with great interest. The Mossie has always been a favorite of mine. I have 6 Monogram and a like number of Tamiya kits in my collection.
I actually have always hoped someone would do a Mossie with 2 stage superchargers and a bulged bomb bay.
Later
I actually have always hoped someone would do a Mossie with 2 stage superchargers and a bulged bomb bay.
Later
Posted: Monday, September 07, 2015 - 04:45 AM UTC
Welcome to the build Bruce.
SaxonTheShiba
United States
Joined: February 01, 2009
KitMaker: 1,233 posts
AeroScale: 663 posts
Joined: February 01, 2009
KitMaker: 1,233 posts
AeroScale: 663 posts
Posted: Monday, September 07, 2015 - 05:57 AM UTC
Richard, do you have your markings and squadron picked out yet?
Best wishes,
Ian
Best wishes,
Ian
Posted: Thursday, September 10, 2015 - 03:00 AM UTC
Hi Ian.
Miracle Masks is make in the masks for this one for me:
SaxonTheShiba
United States
Joined: February 01, 2009
KitMaker: 1,233 posts
AeroScale: 663 posts
Joined: February 01, 2009
KitMaker: 1,233 posts
AeroScale: 663 posts
Posted: Thursday, September 10, 2015 - 03:51 AM UTC
105 Squadron......great choice and great unit.
Best wishes,
Ian
Best wishes,
Ian
Posted: Thursday, September 10, 2015 - 06:05 AM UTC
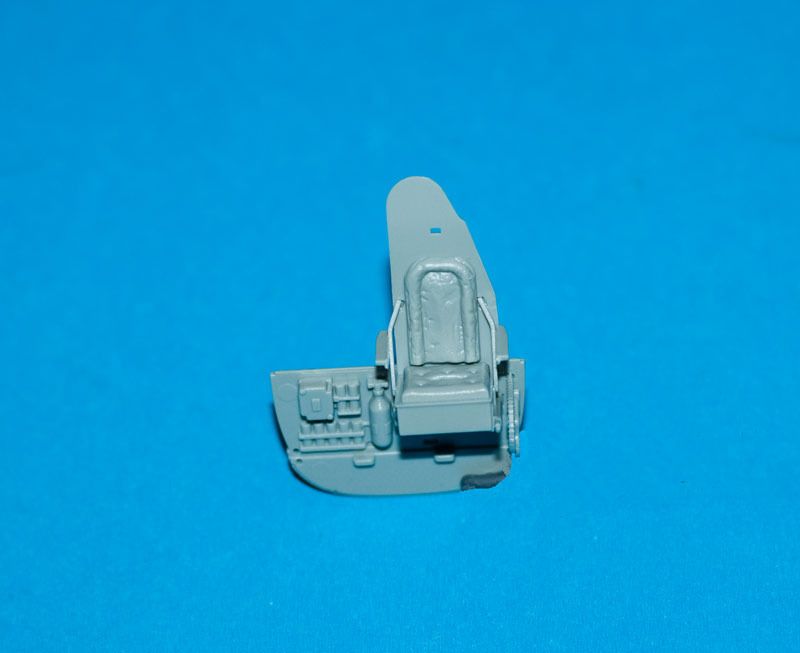
Step 1 complete except for the PE seat belts which will be added after paint work:
Joel_W
Associate Editor
New York, United States
Joined: December 04, 2010
KitMaker: 11,666 posts
AeroScale: 7,410 posts
Joined: December 04, 2010
KitMaker: 11,666 posts
AeroScale: 7,410 posts
Posted: Thursday, September 10, 2015 - 07:06 PM UTC
Richard,
The start of the cockpit is looking good so far. I'm some what surprised that they went with so much molded on detail rather then separate parts. Detail painting now becomes a real effort. As an example, it would have been so much easier to paint and weather the fire extinguisher as a separate part then trying to accomplish that in the tight quarters it is located in.
Joel
Posted: Thursday, September 10, 2015 - 09:02 PM UTC
Hi Joel
There is also the Flares moulded on as well!
I will have to get the mag glass out.
There is also the Flares moulded on as well!
I will have to get the mag glass out.
Posted: Sunday, September 20, 2015 - 01:13 AM UTC
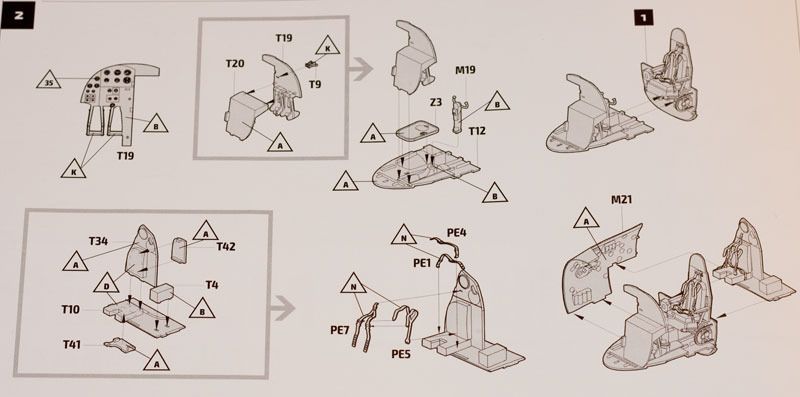
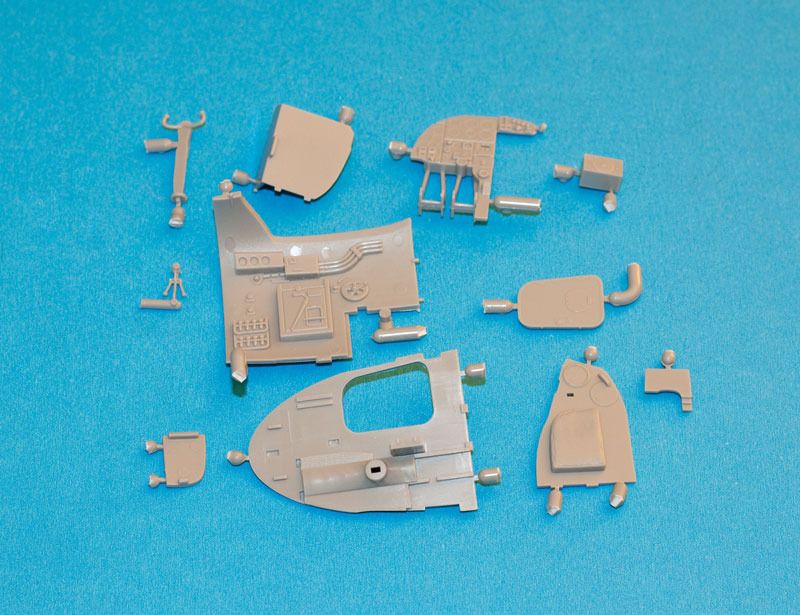
Moving onto step two of the instruction book:
I will build sub-assembles and then prime before final step assembly.
The control panel will have details removed and Eduard panels added.
I will build sub-assembles and then prime before final step assembly.
The control panel will have details removed and Eduard panels added.