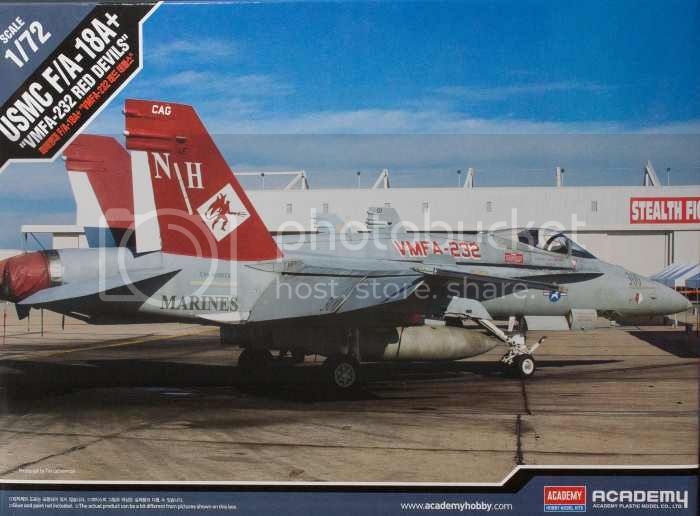
My Kit Review, https://youtu.be/IdRv_5klsYk
Carrier Ops, https://youtu.be/wTZbY06U0qk
Hornet Ball 2014, https://youtu.be/PSN9ipE4VoI
I thought this kit would be a bit of a challenge for me as I mainly work on 1/32 aircraft. The transition to 1/72 would, I thought, be a bit of a shock to the system, how wrong I was.
On initial inspection of the kit parts I was quite surprised at the amount of detail that had been crammed into them. No flash was evident on any of the plastic and the mold lines were miniscule.
Now I do like my aftermarket parts but as an experiment I decided to build this right out of the box, just to see what I would end up with and I'm very pleased I did.
As is the norm, I started with the Cockpit. After painting the instrument panel black I added the Decals for the touch screens. I gave them a coat of Micro Sol to bed them down. Decals where provided for the side consoles but they were just black squares with no detail so I decided just to paint the consoles and pick out the details with some dry brushing. The Ejection Seat was quite basic but looked ok when painted.
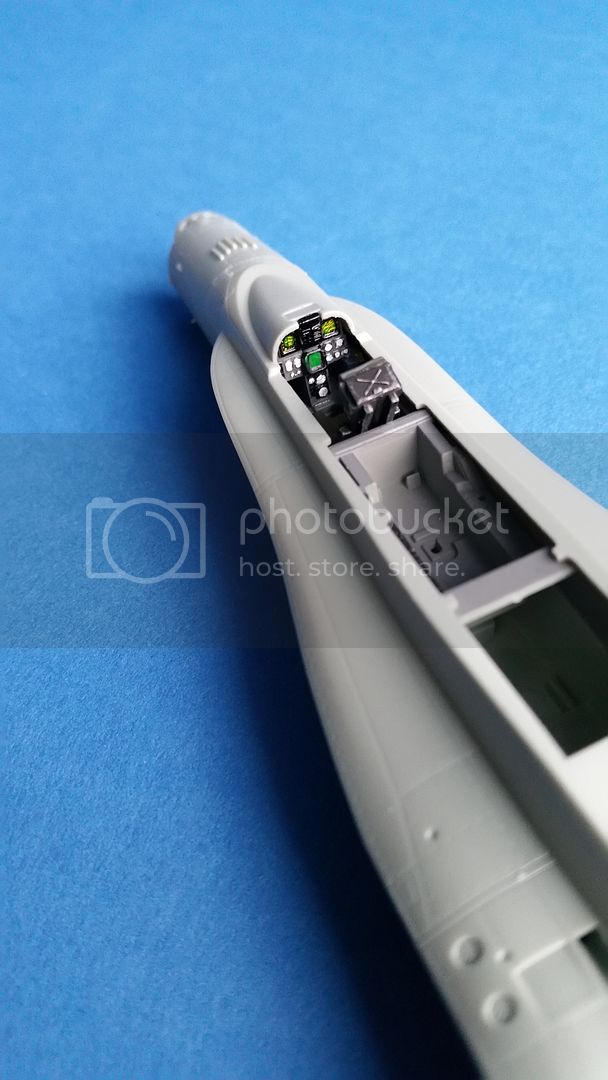
Next came the Fuselage halves, or more correctly the Fuselage quarters, as it comes with a bottom, top and two sides. Some care is to be taken here to get everything square.


The Intakes were next and were a little disappointing as there is no ducting provided, instead they are just blanked off. So you may want to paint these blanked off areas as F,O,D. covers.
After this the wings were added and fit very loosely. I had to set their position and leave them overnight to dry. Later I used a little filler at the base of the wing roots.
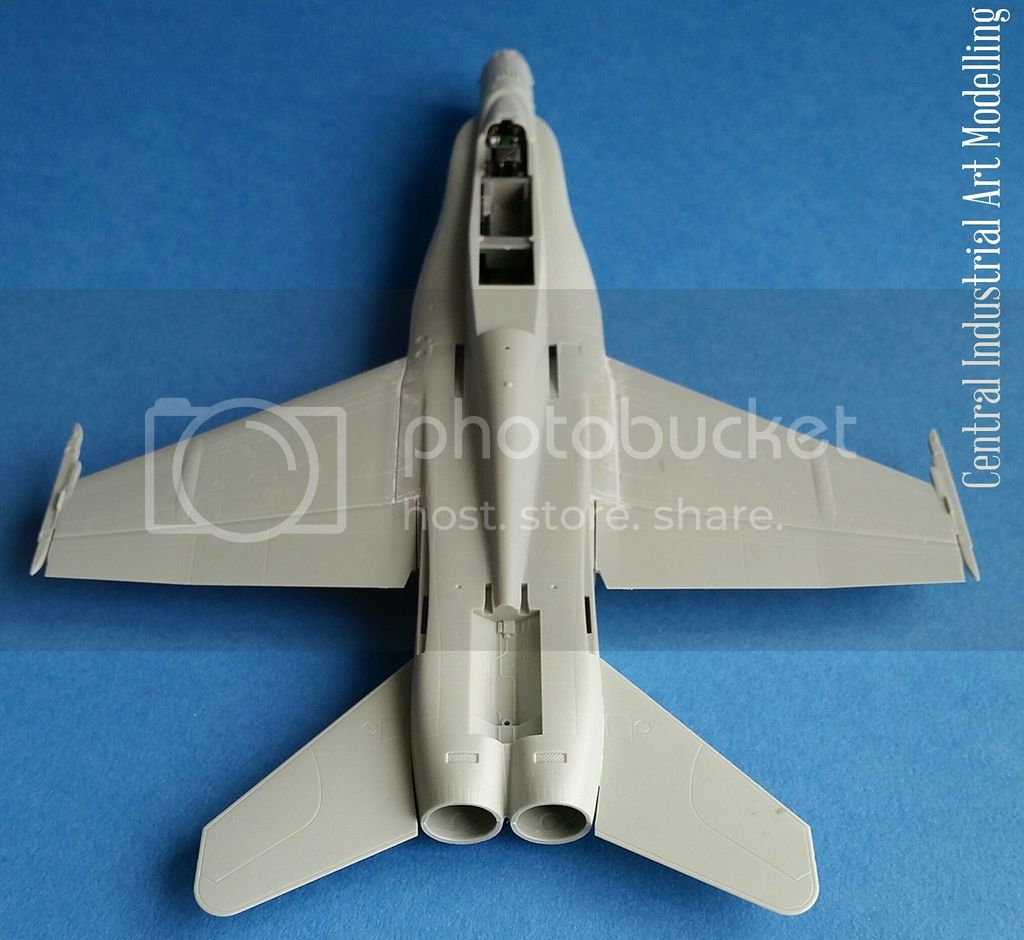
The nose cone, (remembering the nose weight), vertical and horizontal stabilisers were the next parts to add.
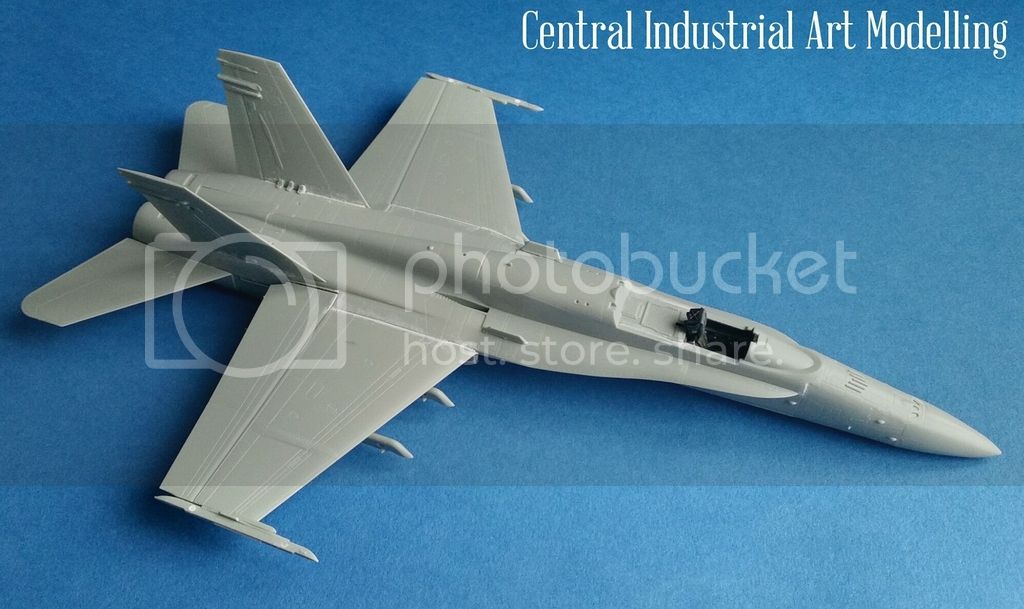
After this I began pre-shading and followed with a couple of light coats of Light Ghost Gray. After the initial coat I added a couple of drops of white to the gray in my colour cup just to lighten it slightly to represent fading. I then masked off the lower section of the airframe so I could spray the upper surfaces with Dark Ghost Gray repeating the fading process.
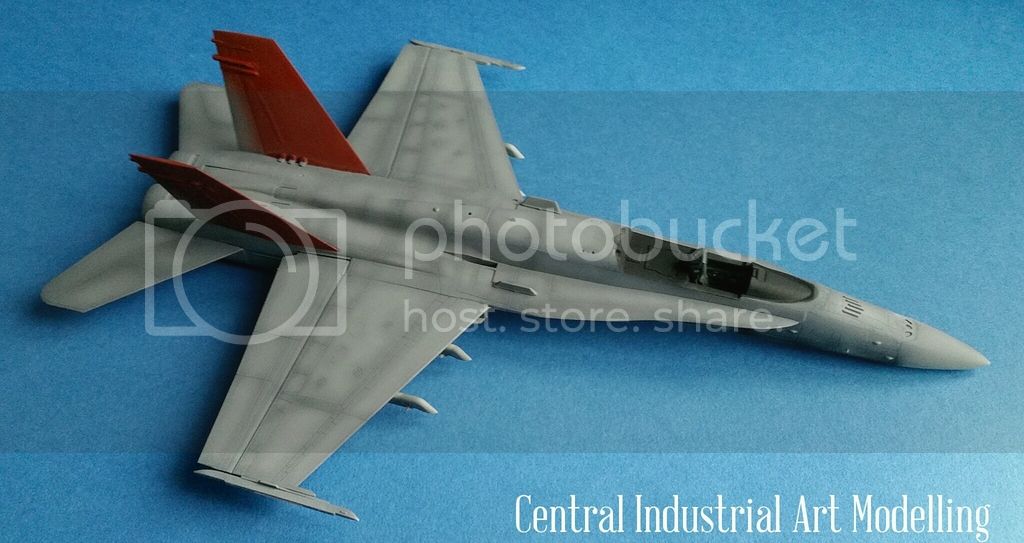
The vertical stabilisers were then painted red and the rudders picked out in white.
Once everything was dry two gloss coats where sprayed on in readiness for the Decals and there are plenty of them.
Now with this being a 1/72 aircraft I had intended to add all the Decals but I found that some of the smaller gray stencil data decals could not be seen on the gray paint, unless you hunted long and hard for them, so I decided to leave them off.
At this point I should say that I had intended to paint the gray walkway strips either side of the cockpit but I thought I'd give the Decals a chance and after a couple of coats of micro-sol they bedded down really well (even the 1/72 recessed rivets sucked the decal into them -awesome). Once the Decals were on and set, another coat of gloss was added followed by a coat of flat matt.

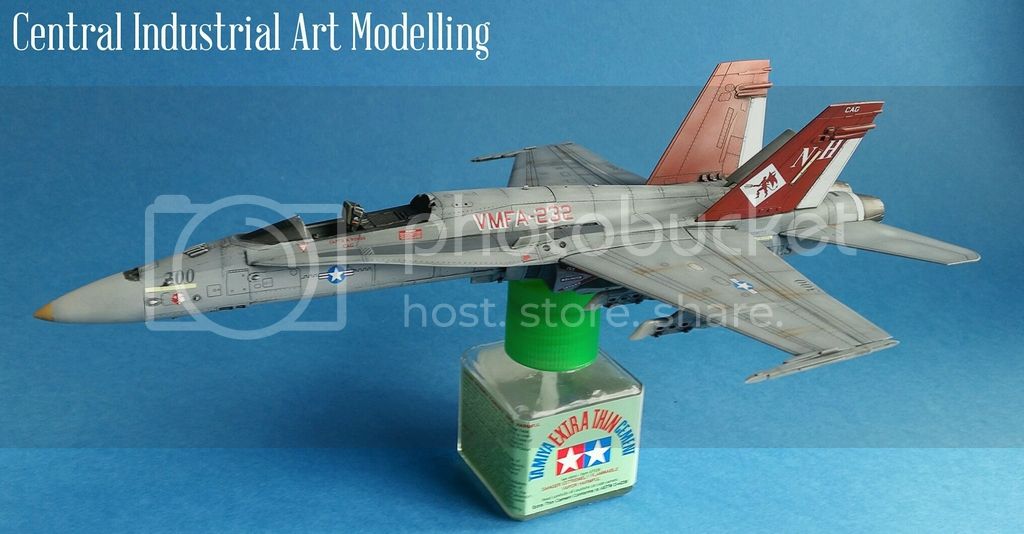
As this is a CAG bird I didn't want to go totally overboard on the weathering, so I picked out certain panels to lighten or darken. Finally I added a few streaks here and there to represent hydraulic oil leaks.
The undercarriage was added next, followed by the blade antennas and that is it.
The only aftermarket part I bought was the scenic carrier base to stand the finished aircraft on, this was from Coastal Kits.
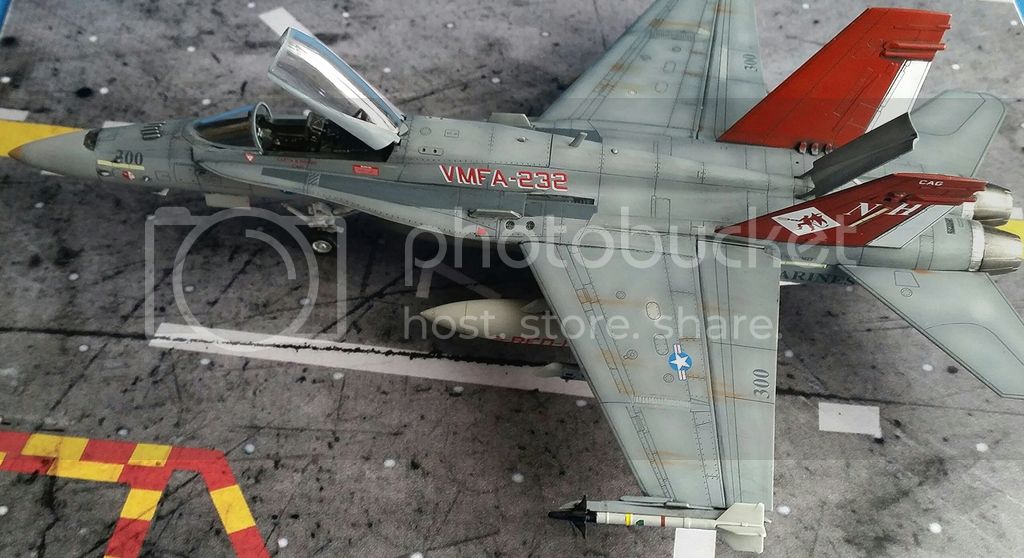
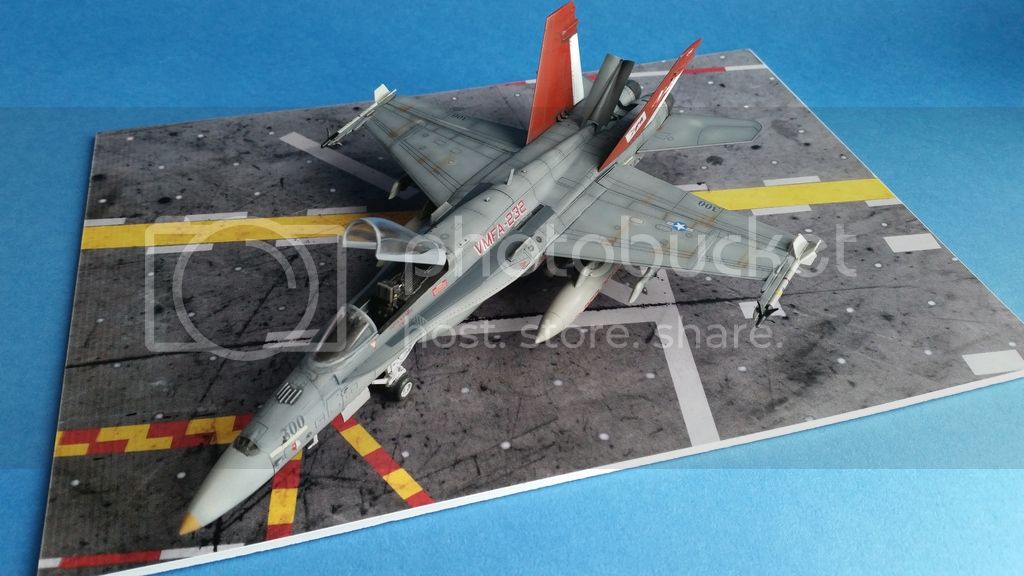

In conclusion I would like to say that this kit in many ways restored my faith in model making. I had spent so many years adding Resin and Photo Etch to kits I had forgotten how much fun it is just building something out of the box. An excellent kit with no real fit issues, I wouldn't hesitate to recommend it to anyone.


