As i needed a break from my S-55 after the troubles with the matt varnish, i decided to start on my 'MikroMiG'.
Subject of this build is Eduards Mig21MFN in 1/144 scale which will be build in a Czech Airforce Tiger outfit:
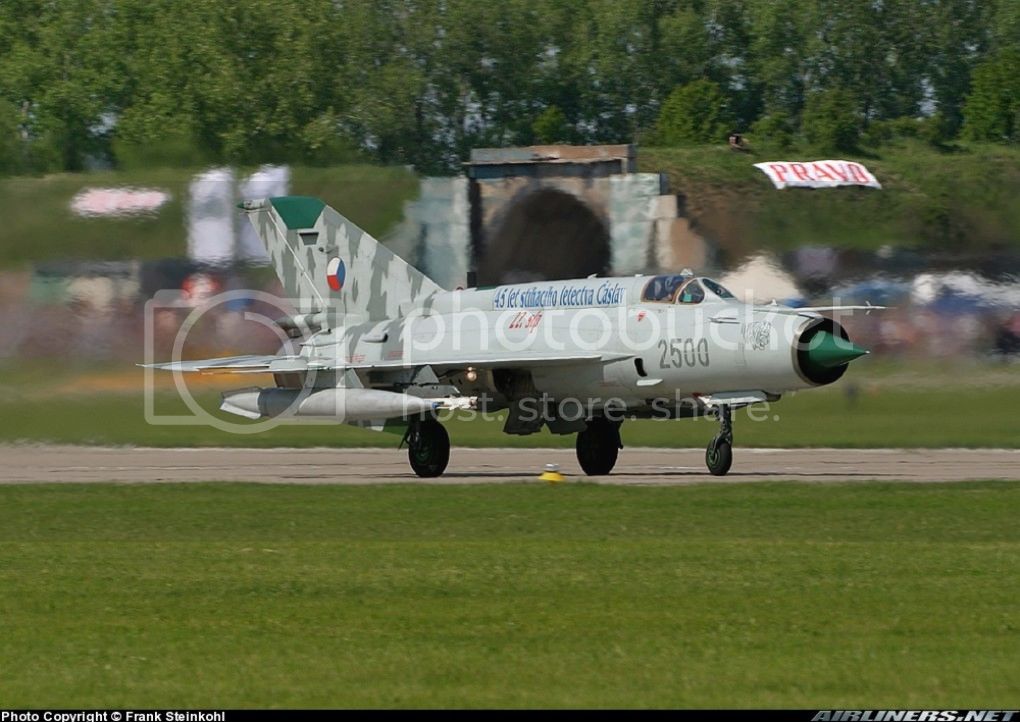
More pictures of this machine are available here:
http://czechairspotters.com/search.php?registration=2500
I will add some extra detail by means of two Brengun PE sets:
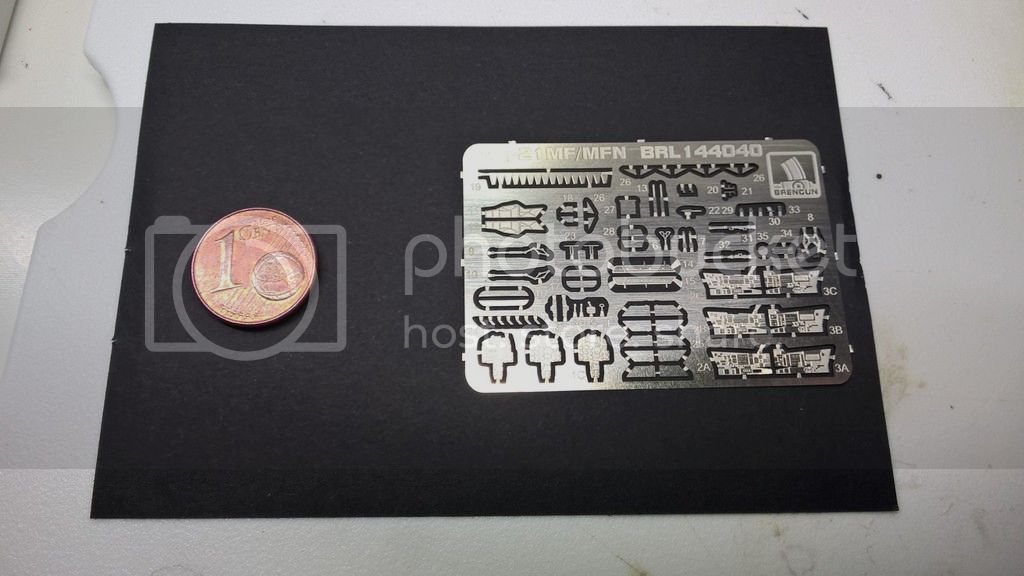
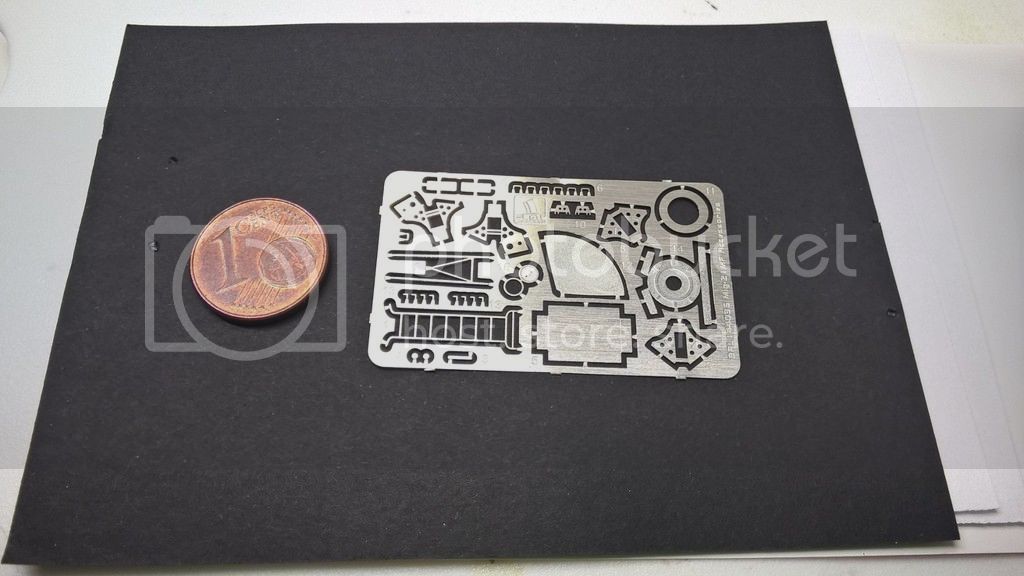
The first set is detail for the MiG21 and the second will provide me some stuff for a small display.
I even bought a Mig21 pilot, also from Brengun.
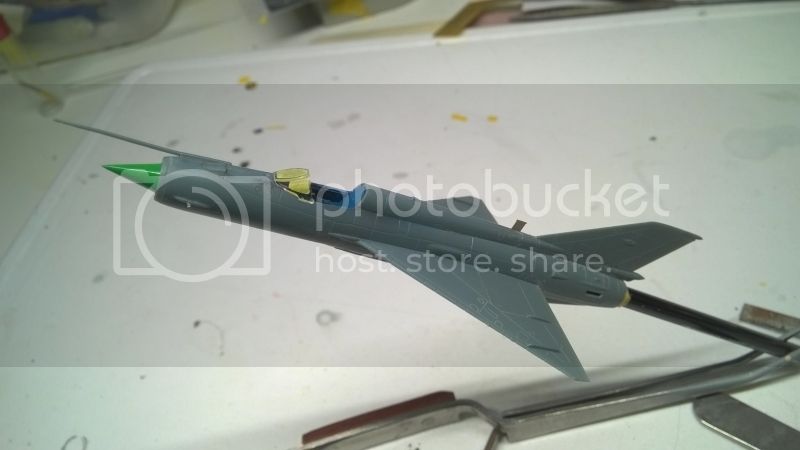
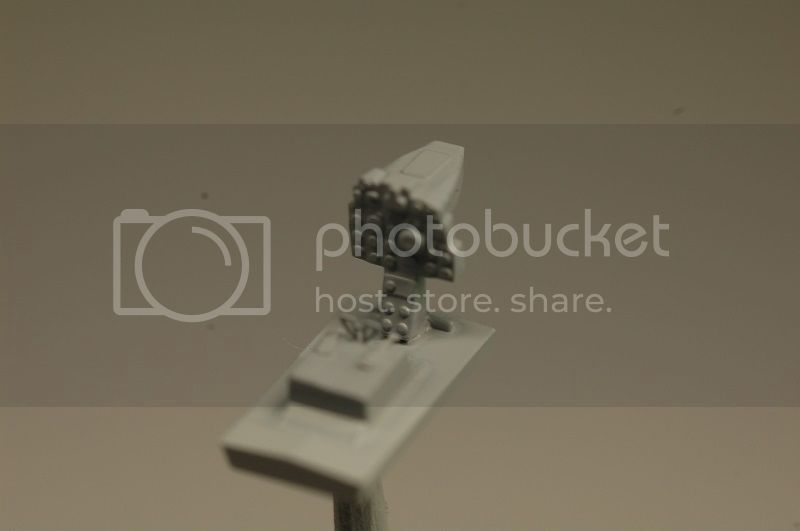
First step in this build are building the interior parts, like the cockpit and seat.
I won't use the Brengun IP (they provide three different ones!), as the Eduard IP is fine enough.
After priming with Tamiya Fine Surface primer from the can, the IP was painted black and then I colored the IP by applying a wash of the main color on the IP. The wash settled very well around the dials.
Other detail was painted as well with this being the final result:
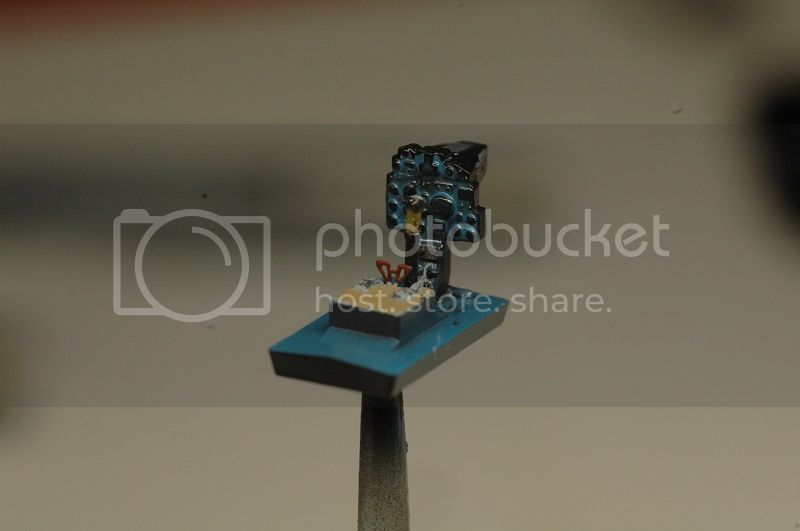
From the Brengun set, I used the side consoles.
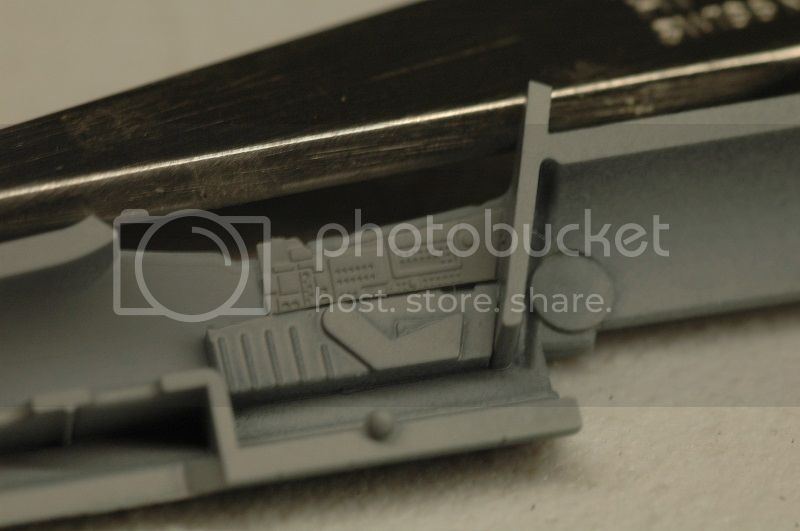
The side consoles (which again were provided for three types by Brengun) are actually the ones for a 'late'MiG21MF, as this was the initial plan (the Czech airforce Mig21 with splinter camo, will do that one later). but this stuff is so small and not very visible, so nobody will spot the difference.
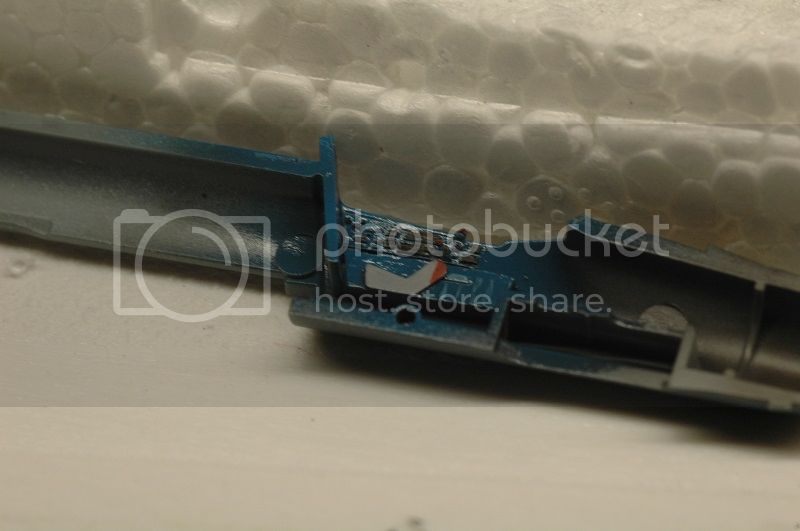
The side consoles were also painted, but after airbrushing a black base, I now airbrushed the main color instead of using a wash. The various details were brush painted, but not everything is painted the correct way. However, i am happy with the result.
 [/URL]
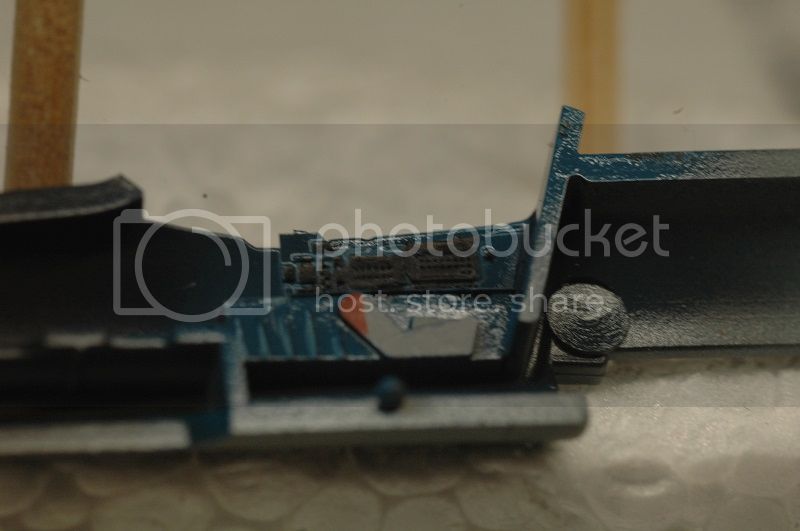
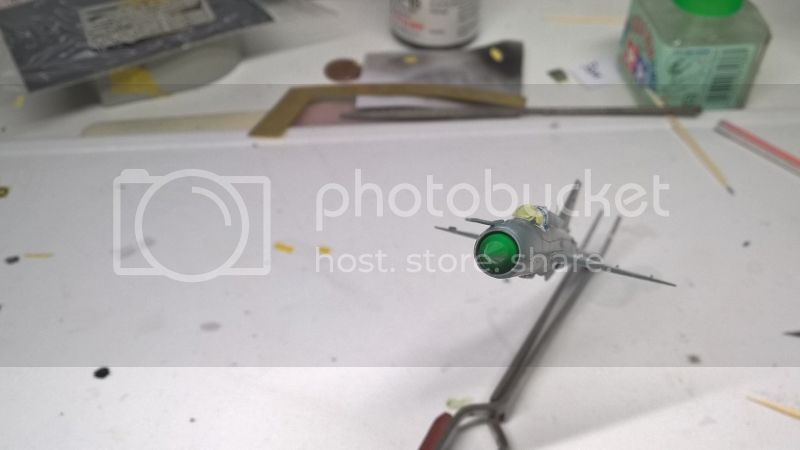
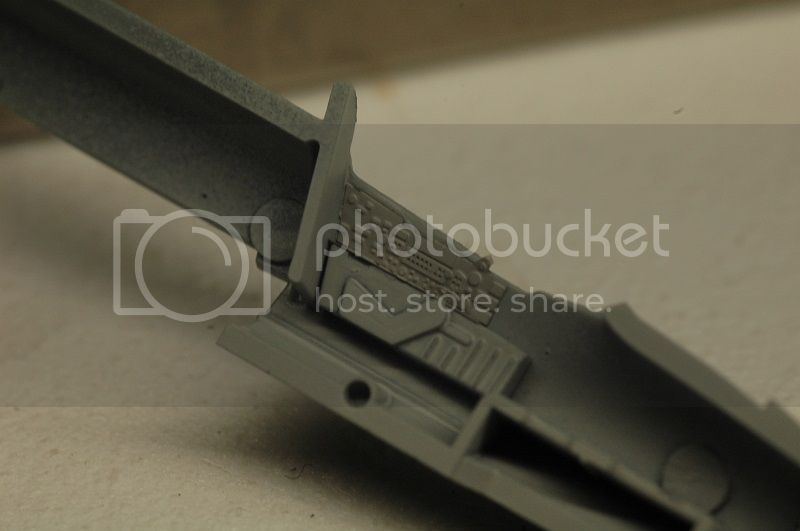
The black panels contain small dents representing the switches and these are highlighted with a white wash, but this is not very visible in the photo's.
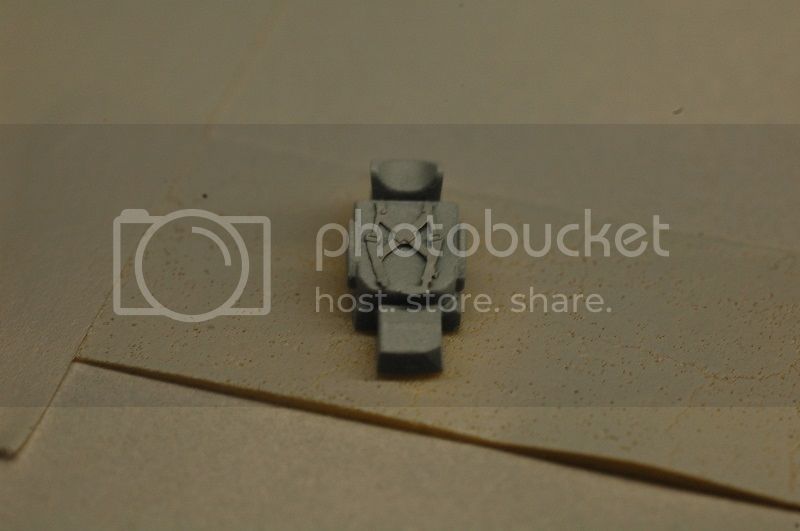
Eduard provides two types of seats; one seat with the canopy closed and one with the canopy open. The latter sits a bit higher, but I don't know why.
Brengun provided me the seatbelts and the seat was again primed, sprayed black and brush was used for the colors.
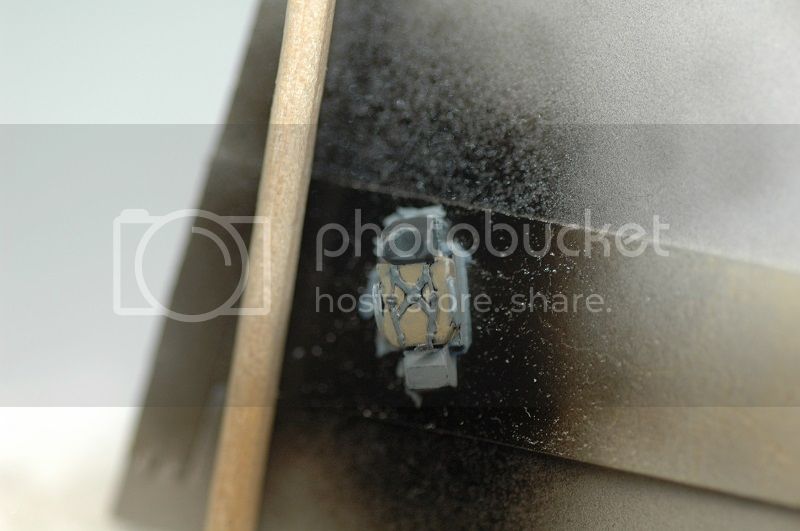
More will follow soon.

Jelger