_GOTOBOTTOM
World War II: Great Britain
Aircraft of Great Britain in WWII.
Hosted by Rowan Baylis
Armstrong Whitworth Whitley Mk.I. 1/72 Fly
EmperoR
_VISITCOMMUNITY
Sofiya, Bulgaria
Joined: October 06, 2008
KitMaker: 67 posts
AeroScale: 61 posts
Posted: Saturday, January 02, 2016 - 03:36 PM UTC
Hello,
this is my current project and recently I uploaded part I of my build video in YouTube, if you are interested please visit the link and don't forget to subscribe: AW Whitley video build

It has been a so so build do far, while its not Tamiya the kit goes together halfway decent, given it is limited run kit thats ok.
The inbox review is here: AW Whitley Inbox Review

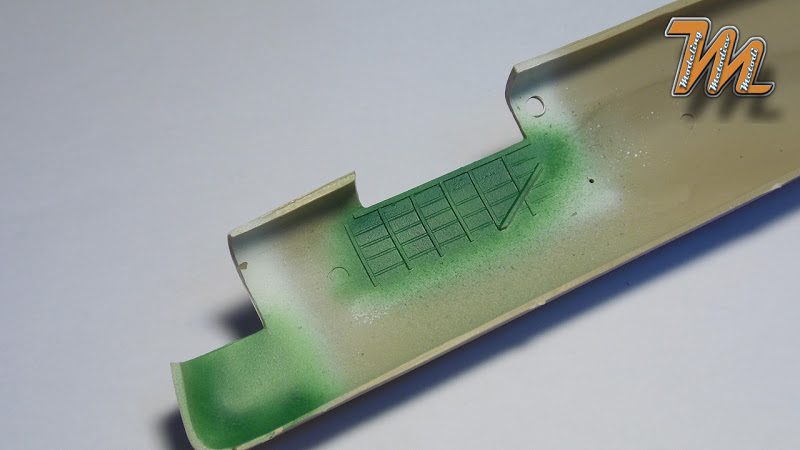
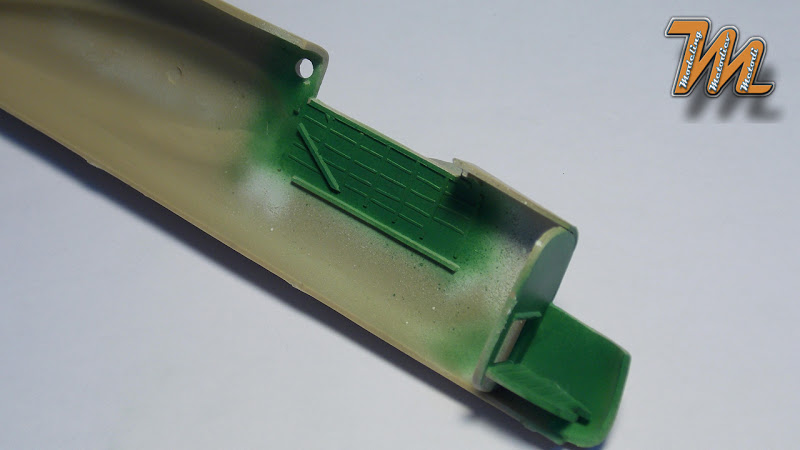
I started the build from the wings and wheel wells assemblies because they seem the most difficult part of the build...time will show
some more work is needed here.


What I think I learned about that aircraft is that MK.Is had two control columns so I build one myself as there was only one in the kit. I think it'll do the job.


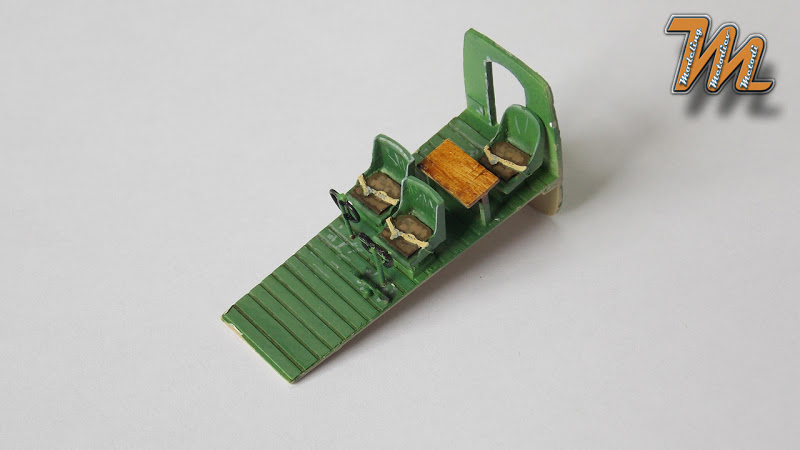
Got the cockpit together


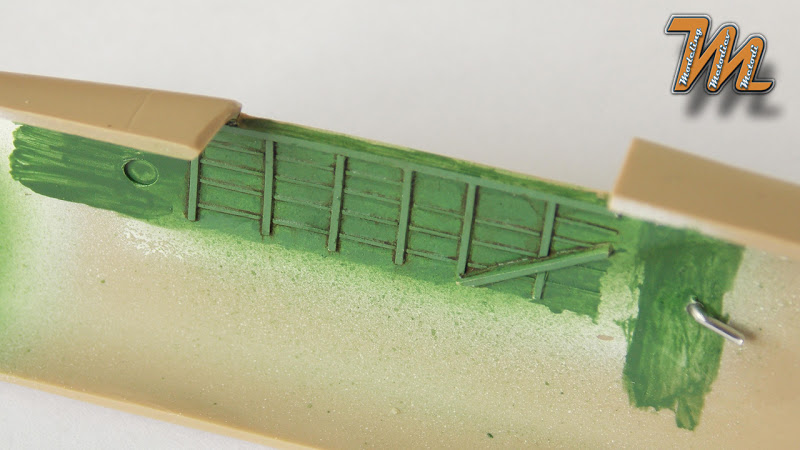
I am going to build the turret-less version but from the bombers window there will be some visibility towards the interior so I installed those parts too. Whats more they'll help with fuselage halves assembly.


I thinned the trailing edges of the horizontal stabilizers


And moved the control surface a bit


I also cut and built the housing for the landing lights


Well that's it for now, all comments are welcome.
Best regards
Metodi
Joel_W
Staff MemberAssociate Editor
AUTOMODELER
_VISITCOMMUNITY
New York, United States
Joined: December 04, 2010
KitMaker: 11,666 posts
AeroScale: 7,410 posts
Posted: Saturday, January 02, 2016 - 10:29 PM UTC
Metodi,
Certainly an interesting build. Your corrections and modifications are really quite well done. The homemade control column looks much better then the kit one, why not make a 2nd one so they look the same?

Your modifications to the horizontal stabilizer really makes quite a difference. It looks like you slightly sanded the fabric surfaces so that the ribs aren't so prominent, and lowered it by deeply scribing the recessed separation line that was way to shallow.

Looking forward to your next update.

Joel
EmperoR
_VISITCOMMUNITY
Sofiya, Bulgaria
Joined: October 06, 2008
KitMaker: 67 posts
AeroScale: 61 posts
Posted: Sunday, January 03, 2016 - 12:05 AM UTC
Thanks Joel,

The control columns will be hardly visible so I decided that they'll do like that. After spending lots of time and effort on detailing my previous builds, only to realize that part of my work cannot be seen, I am reluctant to put stuff that will not matter after assembly.

As for the control surfaces you are completely right. I reduced the ribbing only because I needed to sand the trailing edges but it is not as prominent as on the picture.

Best regards
Metodi
EmperoR
_VISITCOMMUNITY
Sofiya, Bulgaria
Joined: October 06, 2008
KitMaker: 67 posts
AeroScale: 61 posts
Posted: Saturday, January 09, 2016 - 09:42 PM UTC
Hello lads
I made some slight progress over the past week so decided to share it.

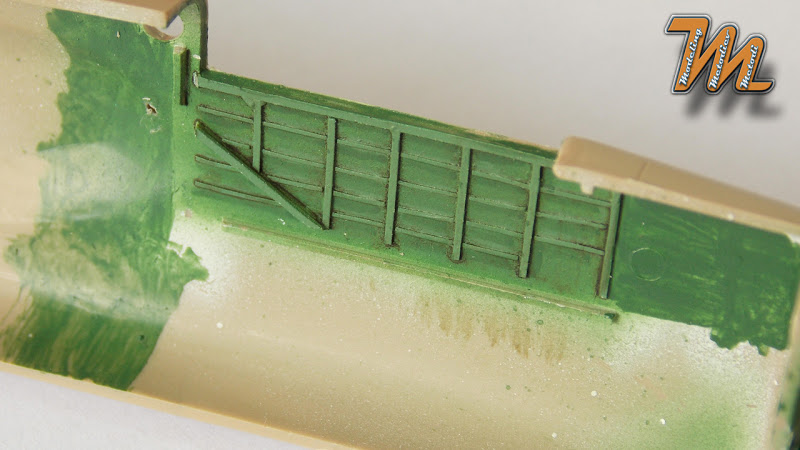
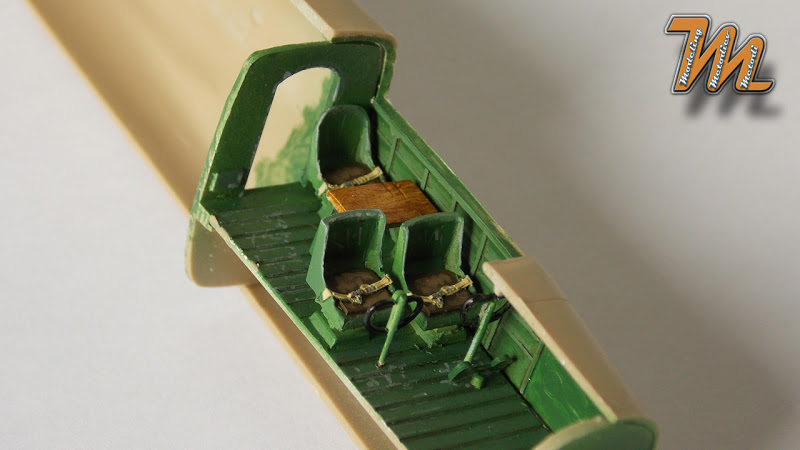
I primed the interior, the wheel wells and various other parts with AK white primer, then painted them with interior green (mixture of LifeColor interior green and some gray)


Then I highlighted the raised details with lighter shade of the base color and painted the details. Later I did pin wash with MIG dark green-grey panel line wash.


I painted the instrument panel with flat black and then drybrushed it.


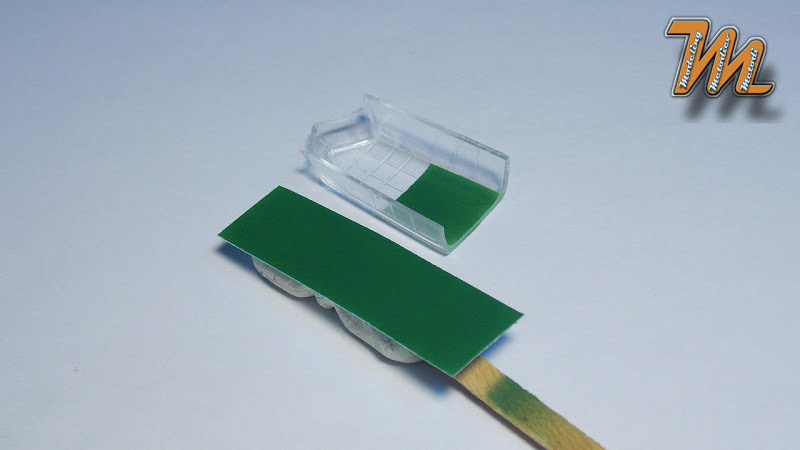
I decided to try a new approach to painting the canopy. I always paint the internal part and its almost always PITA. This time painted only a portion which was easy and fast to mask and painted a piece of leftover white decal with the interior color. To "paint" the frames I cut thin stripes of decal and applied them. I haven't done the whole canopy yet but I am happy with the method so far.


That's all for now. All comments are appreciated.
Best regards
Metodi
EmperoR
_VISITCOMMUNITY
Sofiya, Bulgaria
Joined: October 06, 2008
KitMaker: 67 posts
AeroScale: 61 posts
Posted: Thursday, January 14, 2016 - 01:52 PM UTC
Hi there.

Here it is - part II of the video build:

Building the Whitley - video blog

Hope you enjoy watching it and don't forget to subscribe

Best regards
Metodi
EmperoR
_VISITCOMMUNITY
Sofiya, Bulgaria
Joined: October 06, 2008
KitMaker: 67 posts
AeroScale: 61 posts
Posted: Monday, March 21, 2016 - 01:03 PM UTC
Hi there, it's been a while.
Well a lot of boring panel line work and sanding has been done but finally the Whitley is ready for paint.
As I said, quite a lot of work hours went on deepening every single panel line and then sanding the complete model to get rid of the shiny finish and give some grip to help the primer.
I employed almost every filling method I know - regular putty, dissolved putty, milliput, CA glue and plastic strips were used to fill or blend areas of trouble.
Major PITA in this kit is wings to fuselage assembly so I made myself some reinforcement/location pins from paperclips.
The landing lights were scratch-built as mentioned in earlier posts.. I made video tutorial on that:
[color="#0000FF"]Making landing lights from scratch - video tutorial[/color]

Part III of the video build is also ready and you can see it here: [color="#0000FF"]AW Whitley 1/72 - video build part III[/color]
Now some pictures:


This picture made me realize that I have misplaced one of the oil coolers... that was remedied later.


It is finally ready for paint
That will be for the next episode.

Best regards
Metodi
EmperoR
_VISITCOMMUNITY
Sofiya, Bulgaria
Joined: October 06, 2008
KitMaker: 67 posts
AeroScale: 61 posts
Posted: Monday, April 25, 2016 - 10:47 AM UTC
Hello everyone.
My fourth and final part of the video build log is online and you can see it here:
AW Whitley Mk.I video build

I had issues with the "primer" I used and if you want to read about them you can do it here:
Primer Fail

It was not the easiest build but I am pleased with the final result. This build will be featured in MENG AIR Modeller at some point so I will upload just a few pictures here, when it gets published I'll do a proper article on my website.
Here is the finished model:


All comments are welcome.
Best regards
Metodi
Dangeroo
#023
_VISITCOMMUNITY
Zurich, Switzerland
Joined: March 13, 2009
KitMaker: 2,058 posts
AeroScale: 67 posts
Posted: Monday, April 25, 2016 - 10:56 AM UTC
Hi Metodi

Just stumbled upon this build. It really turned our nicely, though I must say, the Whitley is not the best looking machine I've seen...

Cheers!
Stefan
EmperoR
_VISITCOMMUNITY
Sofiya, Bulgaria
Joined: October 06, 2008
KitMaker: 67 posts
AeroScale: 61 posts
Posted: Monday, April 25, 2016 - 11:31 PM UTC
Thanks Stefan. I agree, but without the turrets it looks much much better.

M.
EmperoR
_VISITCOMMUNITY
Sofiya, Bulgaria
Joined: October 06, 2008
KitMaker: 67 posts
AeroScale: 61 posts
Posted: Monday, December 05, 2016 - 10:06 PM UTC
Hello, the Whitley build was published in AIR Modeller and now I can share the build article that I did for my website. You can find it here:

AW Whitley step by step build article.

Best regards.
M.
Mikesaw
_VISITCOMMUNITY
Texas, United States
Joined: December 06, 2016
KitMaker: 7 posts
AeroScale: 7 posts
Posted: Monday, December 05, 2016 - 10:09 PM UTC
Beautiful job on this kit. What a strange looking aircraft though. Typical British design.
EmperoR
_VISITCOMMUNITY
Sofiya, Bulgaria
Joined: October 06, 2008
KitMaker: 67 posts
AeroScale: 61 posts
Posted: Wednesday, December 14, 2016 - 05:18 PM UTC
Thanks Mike! Yes it looks odd.
 _GOTOTOP