Hosted by Rowan Baylis
PT17 Stearman
Borntman
United States
Joined: May 23, 2012
KitMaker: 33 posts
AeroScale: 13 posts
Joined: May 23, 2012
KitMaker: 33 posts
AeroScale: 13 posts
Posted: Tuesday, March 08, 2016 - 05:36 PM UTC
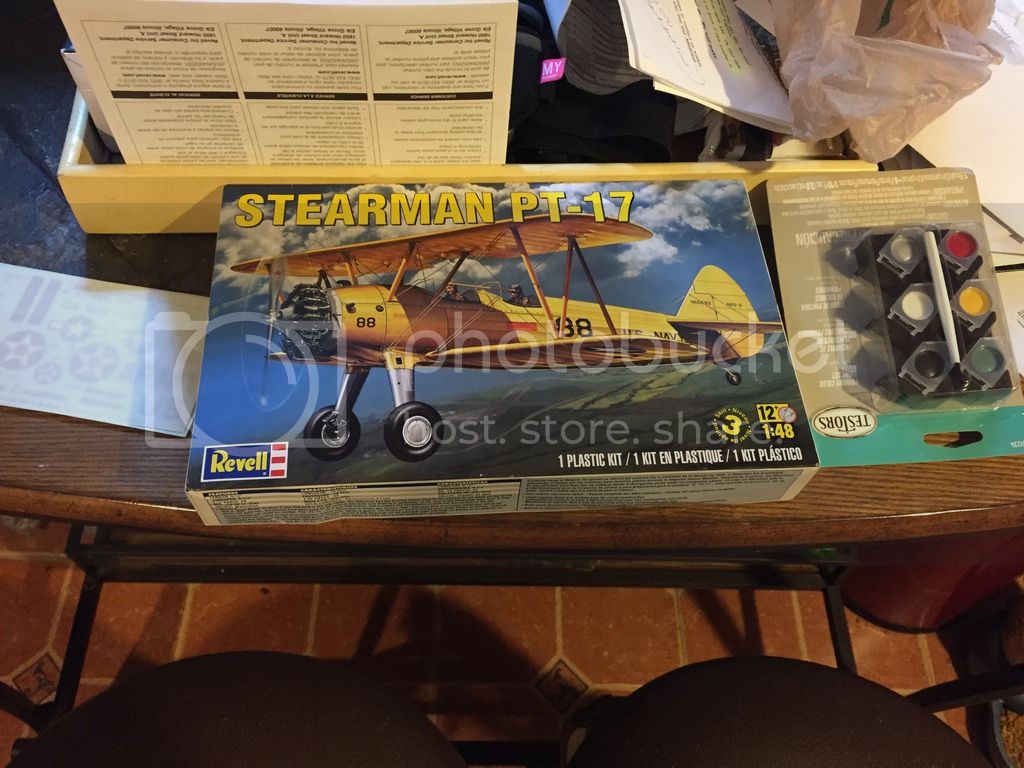
Box and instruction sheet.
More to come as I build it.
Joel_W
Associate Editor
New York, United States
Joined: December 04, 2010
KitMaker: 11,666 posts
AeroScale: 7,410 posts
Joined: December 04, 2010
KitMaker: 11,666 posts
AeroScale: 7,410 posts
Posted: Tuesday, March 08, 2016 - 09:47 PM UTC
Scott,
I'll be following your build, as the PT17 Stearman is another one of my many personal favorites.
Joel
I'll be following your build, as the PT17 Stearman is another one of my many personal favorites.
Joel
Borntman
United States
Joined: May 23, 2012
KitMaker: 33 posts
AeroScale: 13 posts
Joined: May 23, 2012
KitMaker: 33 posts
AeroScale: 13 posts
Posted: Tuesday, March 08, 2016 - 10:24 PM UTC
Having opened up the box to look at instructions and parts I was pleasantly surprised that the kit was very detailed. It's not very big but it has a full interior frame structure. And that paint kit has almost all of the colors I need. I would have paid 2 or 3 times the money I did and still been happy.
Edit it was also the only one in the store.
rdt1953
New Jersey, United States
Joined: February 06, 2015
KitMaker: 1,098 posts
AeroScale: 900 posts
Joined: February 06, 2015
KitMaker: 1,098 posts
AeroScale: 900 posts
Posted: Tuesday, March 08, 2016 - 10:58 PM UTC
Scott - I'll be following this with much interest. I've got one in my stash. Nice to see what a US company can do at such a reasonable price. While the detail is very good indeed straight out of the box this kit is just screaming for an a top of the line resin engine since it hangs out front naked for all the world to see. Does anyone offer one ? I believe it is a Continental but not certain. Cheers - Richard
Borntman
United States
Joined: May 23, 2012
KitMaker: 33 posts
AeroScale: 13 posts
Joined: May 23, 2012
KitMaker: 33 posts
AeroScale: 13 posts
Posted: Wednesday, March 09, 2016 - 01:09 AM UTC
Quoted Text
Scott - I'll be following this with much interest. I've got one in my stash. Nice to see what a US company can do at such a reasonable price. While the detail is very good indeed straight out of the box this kit is just screaming for an a top of the line resin engine since it hangs out front naked for all the world to see. Does anyone offer one ? I believe it is a Continental but not certain. Cheers - Richard
I did some research and found one. However this is going to be an out of the box build. The engine detail is quite nice as well.
Edit The engine is a continental R670
Borntman
United States
Joined: May 23, 2012
KitMaker: 33 posts
AeroScale: 13 posts
Joined: May 23, 2012
KitMaker: 33 posts
AeroScale: 13 posts
Posted: Wednesday, March 09, 2016 - 02:40 AM UTC
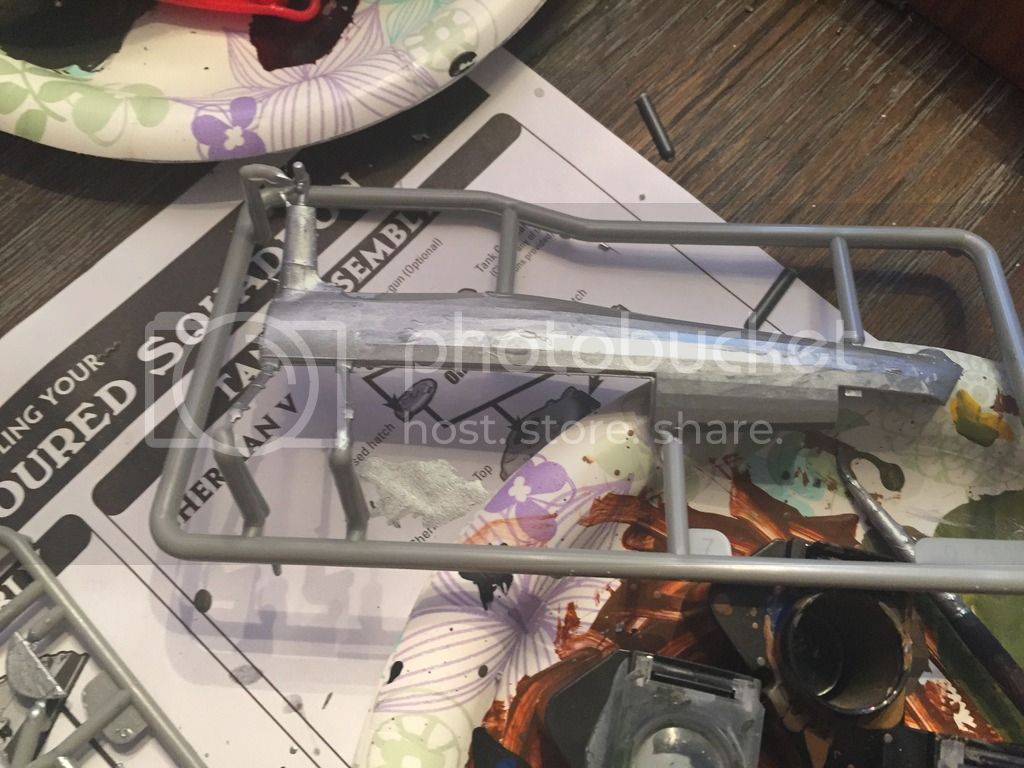
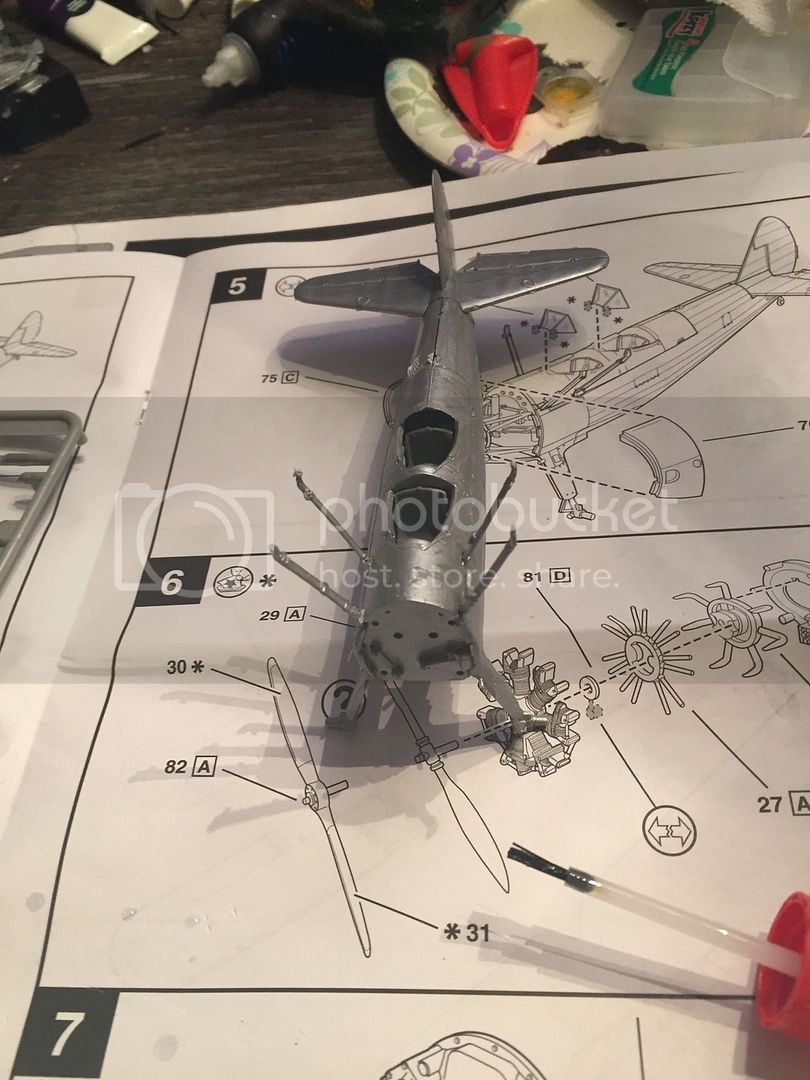
Painted a silver base coat.
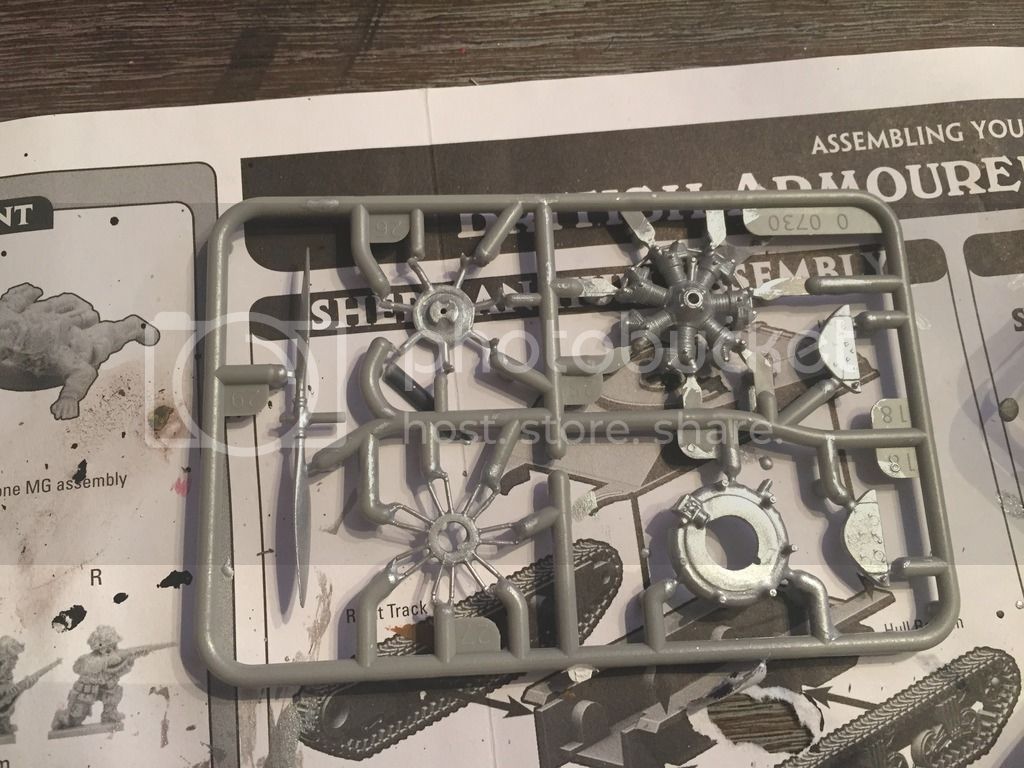
The engine and metal propellor.
Side of fuselage.
The engine and metal propellor.
Side of fuselage.
Joel_W
Associate Editor
New York, United States
Joined: December 04, 2010
KitMaker: 11,666 posts
AeroScale: 7,410 posts
Joined: December 04, 2010
KitMaker: 11,666 posts
AeroScale: 7,410 posts
Posted: Wednesday, March 09, 2016 - 02:41 AM UTC
Quoted Text
Scott - I'll be following this with much interest. I've got one in my stash. Nice to see what a US company can do at such a reasonable price. While the detail is very good indeed straight out of the box this kit is just screaming for an a top of the line resin engine since it hangs out front naked for all the world to see. Does anyone offer one ? I believe it is a Continental but not certain. Cheers - Richard
Richard,
From the looks of this picture, the engine is very nicely molded.
It's easy enough to add details that will really take the engine to the next level like spark plug wires, and valve push rod tubes.
Joel
rdt1953
New Jersey, United States
Joined: February 06, 2015
KitMaker: 1,098 posts
AeroScale: 900 posts
Joined: February 06, 2015
KitMaker: 1,098 posts
AeroScale: 900 posts
Posted: Wednesday, March 09, 2016 - 03:45 AM UTC
Joel - The kit engine is indeed very nice . Also, I had forgotten that the Continental had the ring cams and therefore the pushrods and tubes on the back so less to be seen. The only resin Continental seems to be Engines and Things offering and,while I have not seen their products in person ,they get mixed reviews so the kit engine way be the best choice after all. Thanks for the input. Cheers - Richard
Borntman
United States
Joined: May 23, 2012
KitMaker: 33 posts
AeroScale: 13 posts
Joined: May 23, 2012
KitMaker: 33 posts
AeroScale: 13 posts
Posted: Wednesday, March 09, 2016 - 03:08 PM UTC
Interior done in silver with gray primed seats.
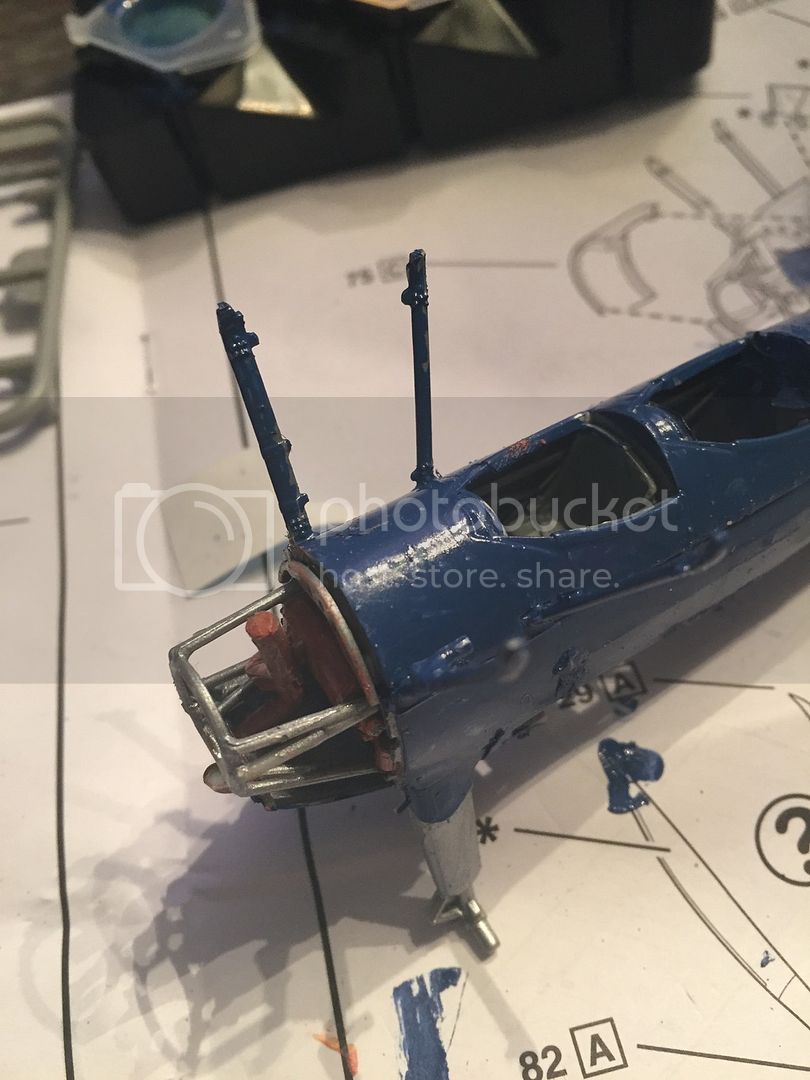
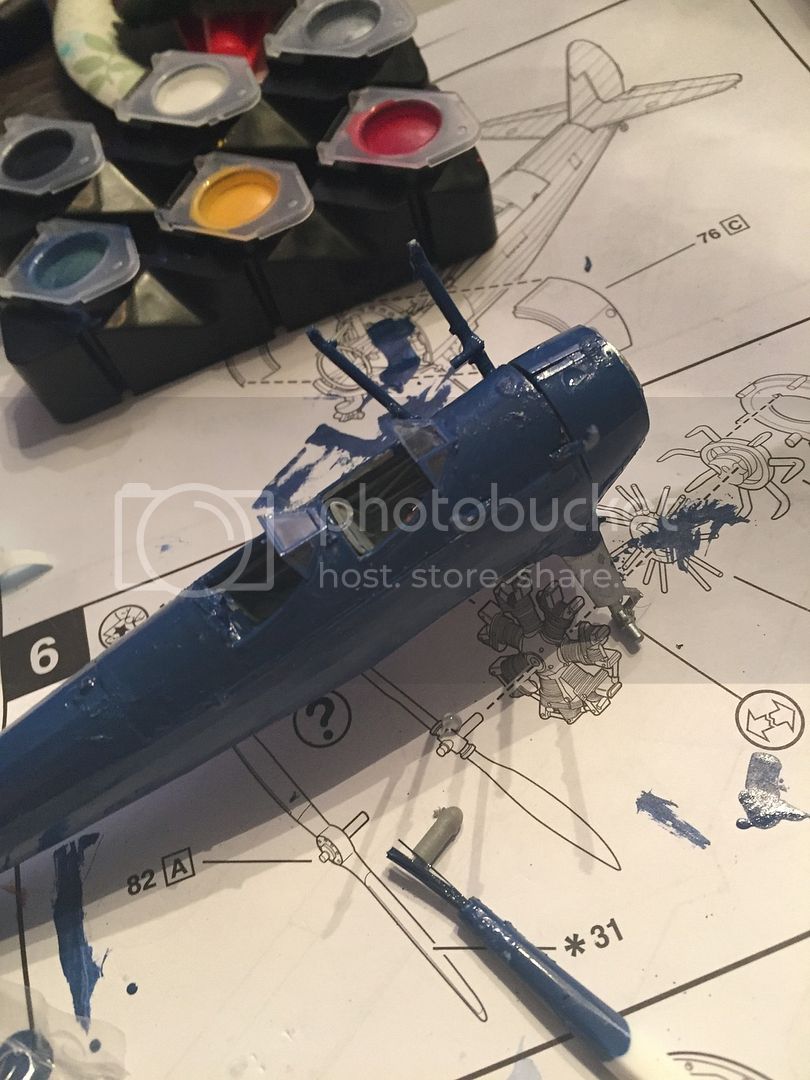
Completed fuselage and tail assembly. Before the coat of Flat Blue paint.
Engine mounting with exhaust done.
nico37
Indre-et-Loire, France
Joined: May 23, 2011
KitMaker: 651 posts
AeroScale: 181 posts
Joined: May 23, 2011
KitMaker: 651 posts
AeroScale: 181 posts
Posted: Wednesday, March 09, 2016 - 03:14 PM UTC
Hi,
it's much more detailed than the 1/72 !
Good job so far , i'll look forward
cheers
nico
it's much more detailed than the 1/72 !
Good job so far , i'll look forward
cheers
nico
Borntman
United States
Joined: May 23, 2012
KitMaker: 33 posts
AeroScale: 13 posts
Joined: May 23, 2012
KitMaker: 33 posts
AeroScale: 13 posts
Posted: Wednesday, March 09, 2016 - 03:15 PM UTC
I actually complete the build last night.
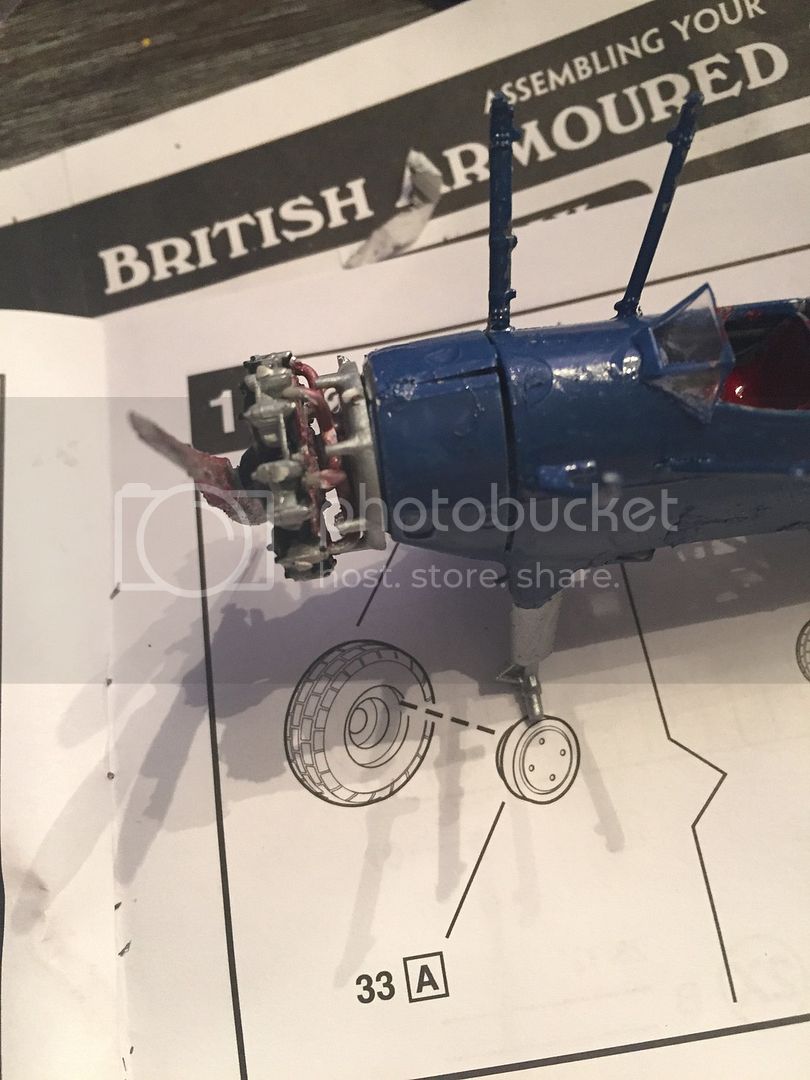
Canopies and engine mount covers installed. I actually didn't screw up on the windscreen for once.
Engine and wooden prop installed. Not ashamed of results but feel I could do better. Fit was a small issue here but this was the only problem area in terms of fit.
I don't have any more pictures of assembly as the wings were pretty straightforward. But here is the finished product.