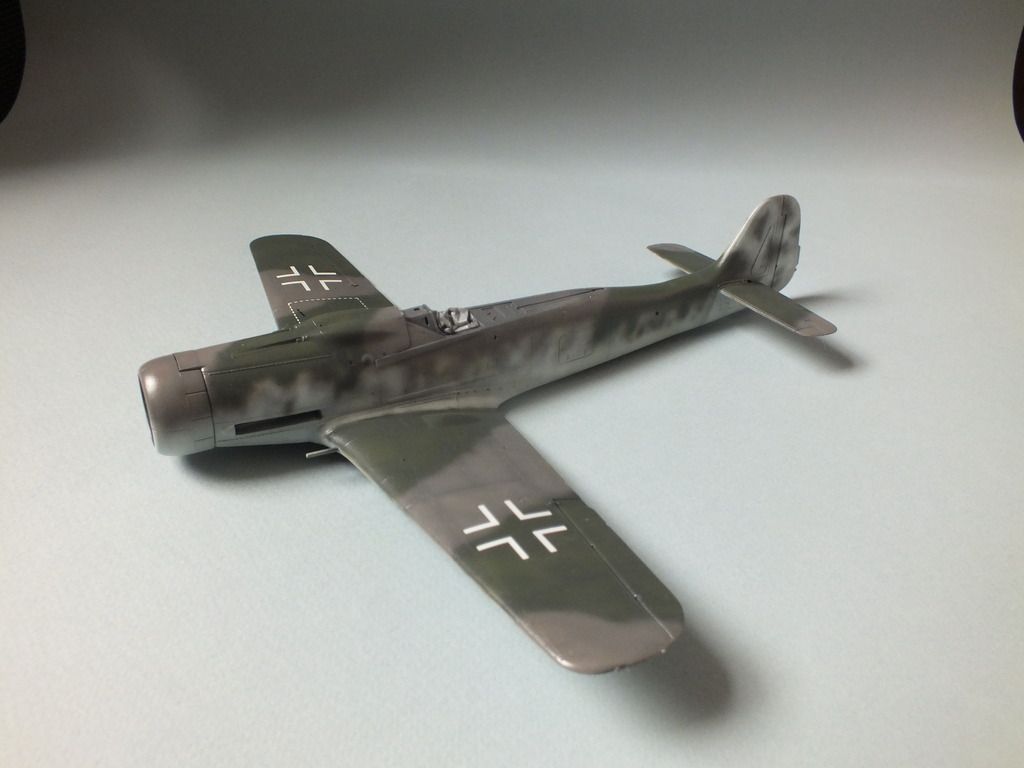
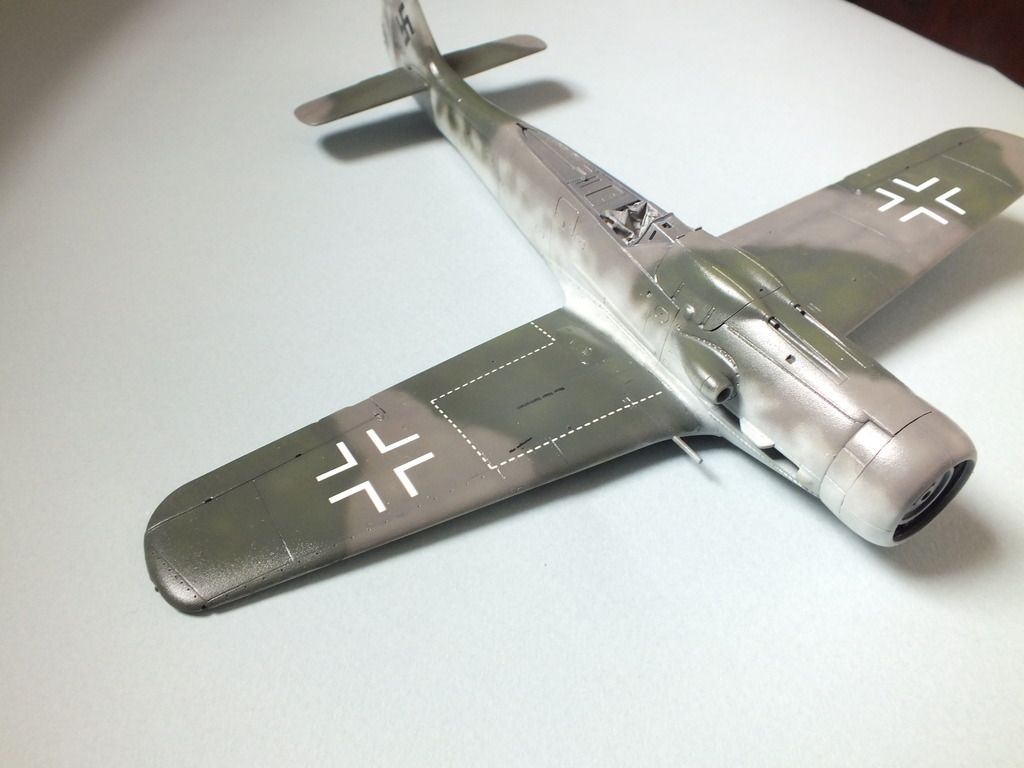
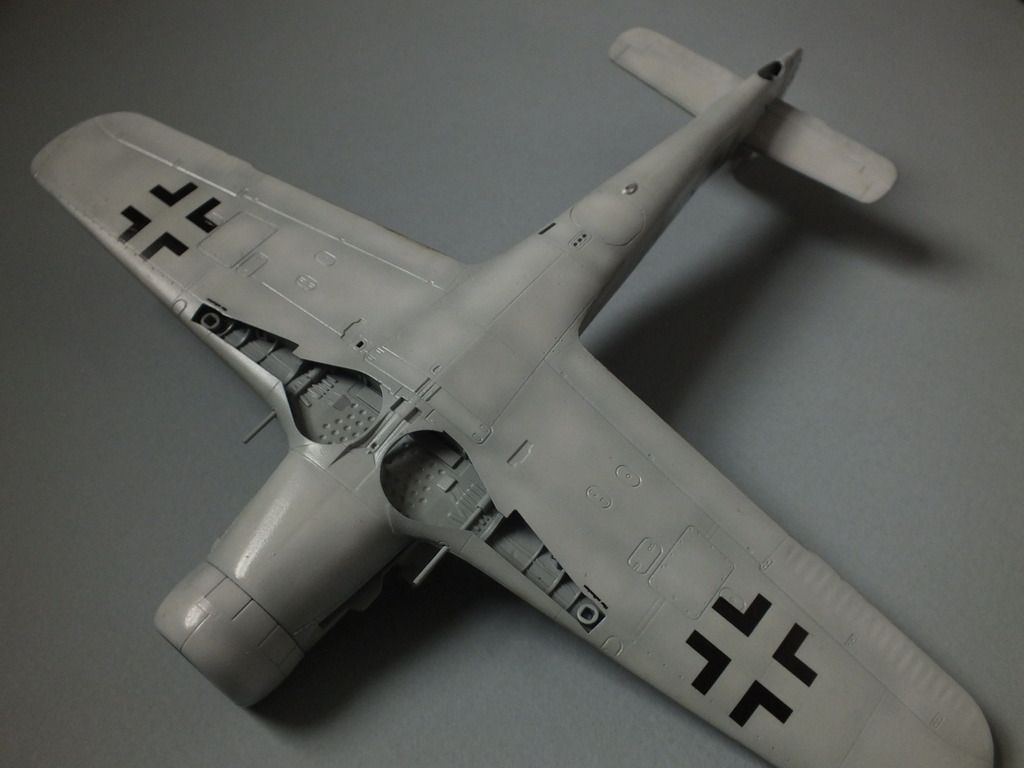
hey guys, long time no post, been getting to grips with the new airbrush. Here is tamiyas 1/48 dora. excuse the bad photos, looking for constructive crit on build quality and paint job, not necessarily accuracy.
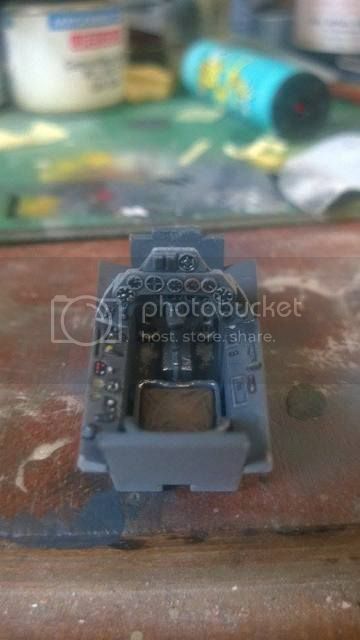
here is the tub.
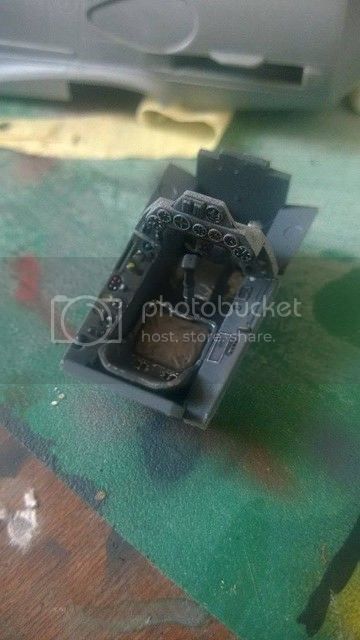
closer shot of the dials
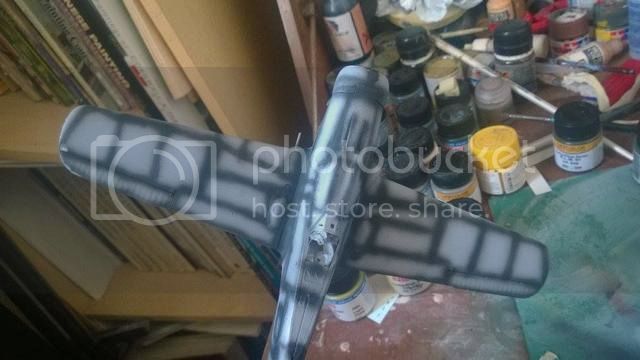
preshading on upper surfaces
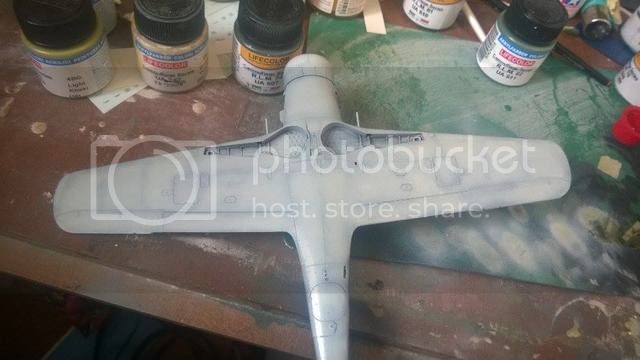
rlm 76 basecoat on undersurfaces
Hosted by Rowan Baylis
1/48Fw-190-d9 WIP
lespauljames
England - South West, United Kingdom
Joined: January 06, 2007
KitMaker: 3,661 posts
AeroScale: 369 posts
Joined: January 06, 2007
KitMaker: 3,661 posts
AeroScale: 369 posts
Posted: Wednesday, June 01, 2016 - 02:46 AM UTC
rochaped
Lisboa, Portugal
Joined: August 27, 2010
KitMaker: 679 posts
AeroScale: 669 posts
Joined: August 27, 2010
KitMaker: 679 posts
AeroScale: 669 posts
Posted: Wednesday, June 01, 2016 - 04:20 AM UTC
Looking good Les! Nice cockpit
Cheers
Pedro
Cheers
Pedro
lespauljames
England - South West, United Kingdom
Joined: January 06, 2007
KitMaker: 3,661 posts
AeroScale: 369 posts
Joined: January 06, 2007
KitMaker: 3,661 posts
AeroScale: 369 posts
Posted: Friday, June 03, 2016 - 04:50 PM UTC
Pedro, thankyou. The mottling is my only concern with this build. Fairly new to airbrushing !
lespauljames
England - South West, United Kingdom
Joined: January 06, 2007
KitMaker: 3,661 posts
AeroScale: 369 posts
Joined: January 06, 2007
KitMaker: 3,661 posts
AeroScale: 369 posts
Posted: Saturday, June 04, 2016 - 02:32 AM UTC
Posted: Saturday, June 04, 2016 - 03:06 AM UTC
James,
Fantastic looking cockpit detail and paint job!
Gaz
Fantastic looking cockpit detail and paint job!
Gaz
lespauljames
England - South West, United Kingdom
Joined: January 06, 2007
KitMaker: 3,661 posts
AeroScale: 369 posts
Joined: January 06, 2007
KitMaker: 3,661 posts
AeroScale: 369 posts
Posted: Sunday, June 05, 2016 - 09:12 PM UTC
Gary, thankyou, I have a bit more to go on this build. One question I have is I seem to not be getting a fine spray and am getting too much overspray with the mottling. Less pressure and move in closer? Using lifecolour
Posted: Sunday, June 05, 2016 - 11:33 PM UTC
Thinner paint, less pressure, move in closer, adjust your AB as fine as you can get it. I always keep a clean sheet of paper handy to test on before paint hits plastic.
Cheers,
Gaz
Cheers,
Gaz
lespauljames
England - South West, United Kingdom
Joined: January 06, 2007
KitMaker: 3,661 posts
AeroScale: 369 posts
Joined: January 06, 2007
KitMaker: 3,661 posts
AeroScale: 369 posts
Posted: Thursday, June 09, 2016 - 01:00 PM UTC
hey all, the dora is coming along nicely, although i have had a few hiccups. i kept having to touch up the paintjob due to colours rubbing off, and i had a big bmess up with the defense of the reich stripes that i decided to mask, they peeled off and ruined the tail section. so here she is mid decalling, without defense stripes and ill give you my bad photography free of charge. first luftwaffe mottle, quite pleased.
lespauljames
England - South West, United Kingdom
Joined: January 06, 2007
KitMaker: 3,661 posts
AeroScale: 369 posts
Joined: January 06, 2007
KitMaker: 3,661 posts
AeroScale: 369 posts
Posted: Thursday, June 09, 2016 - 11:15 PM UTC
Was the propeller wooden or metal? Also the blades were Schwarzgrun, was the spinner black or schwarzgrun?
Posted: Friday, June 10, 2016 - 02:04 AM UTC
I've seen pictures of shattered wooden late-war propellers on crashed fighters as raw materials were becoming short.
I typed fw-190 wooden propeller into my browser, and among the images to pop up was a d9 with it's blades mostly broken off.
Painting looks great!
Gaz
I typed fw-190 wooden propeller into my browser, and among the images to pop up was a d9 with it's blades mostly broken off.
Painting looks great!
Gaz
Joel_W
Associate Editor
New York, United States
Joined: December 04, 2010
KitMaker: 11,666 posts
AeroScale: 7,410 posts
Joined: December 04, 2010
KitMaker: 11,666 posts
AeroScale: 7,410 posts
Posted: Friday, June 10, 2016 - 07:22 PM UTC
James,
I just found your build thread. the "pit" really looks quite good especially the seat.
While I'm not a big fan of pre-shading, it does look rather good especially on the top side.
As for your question about life color paints, I've been slowly moving over to them as my endless supply of Tamiya paints slowly is used up. I find that the Life Color paints are much thinner then the Tamiya paints to start with. I did invest in their thinner, and only use it for that purpose as it's rather expensive. I clean the airbrush with plain old tap water, followed by a little Iwata Air Brush cleaner.
I thin the Life Color paints 2:3 and airbrush at a flow rate of 15-16 psi. With that mix it usually takes several passes to get good coverage, but it's thinner with almost no over spray. If I really need to get in close then I go with my detailing AB; the Iwata M1 Revolution while the M2 is my usual AB of choice. I thin the Life Color paints 1:3 drop the flow psi to around 12-13 psi and adjust from there. A spotless needle & cone is an absolute or you'll get spurting no matter what you do.
Joel
lespauljames
England - South West, United Kingdom
Joined: January 06, 2007
KitMaker: 3,661 posts
AeroScale: 369 posts
Joined: January 06, 2007
KitMaker: 3,661 posts
AeroScale: 369 posts
Posted: Saturday, June 11, 2016 - 02:33 AM UTC
Thanks guys for your kind words and advice, unfortunately after an accident with cellulose and subsequent layers I'm going to retire this one and chalk it down to experience.
Posted: Saturday, June 11, 2016 - 03:43 AM UTC
James,
Sorry to hear about your accident, I was enjoying your progress. But I understand.
Looking forward to your next effort!
Gaz
Sorry to hear about your accident, I was enjoying your progress. But I understand.
Looking forward to your next effort!
Gaz
lespauljames
England - South West, United Kingdom
Joined: January 06, 2007
KitMaker: 3,661 posts
AeroScale: 369 posts
Joined: January 06, 2007
KitMaker: 3,661 posts
AeroScale: 369 posts
Posted: Saturday, June 11, 2016 - 04:35 AM UTC
Got a hobbyboss 262 ready for take off.
lentorpe
Alava, Spain / Espaņa
Joined: August 12, 2010
KitMaker: 104 posts
AeroScale: 37 posts
Joined: August 12, 2010
KitMaker: 104 posts
AeroScale: 37 posts
Posted: Saturday, June 11, 2016 - 05:45 PM UTC
So sorry! It was coming up nicely... Good luck with the 262.