I want to try and up the quality of my paint jobs so I'm really going to put time into the details of this one.
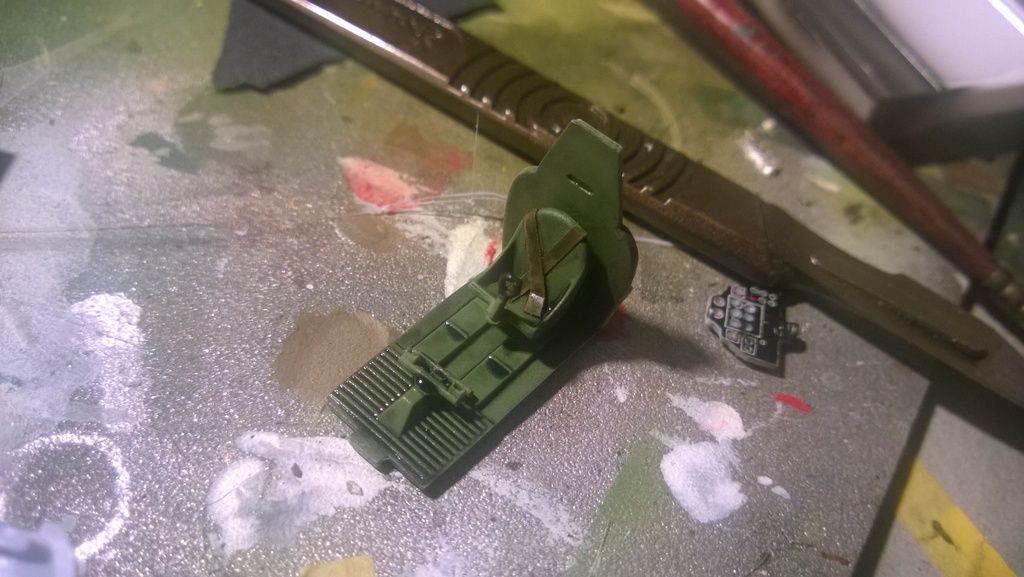
the cockpit is nicely detailed but i added some stretched sprue and styrene strip to make it look more busy. THe contol panel i wanted to add a little more detail to, so I stuck the decal under a clearcoat and drilled out the bigger dials, before filling the holes with PVA glue to look a bit more like glass dials, At this scale and with the aperture of the cockpit i dont think many people are going to take much notice so the small modification will do for now!
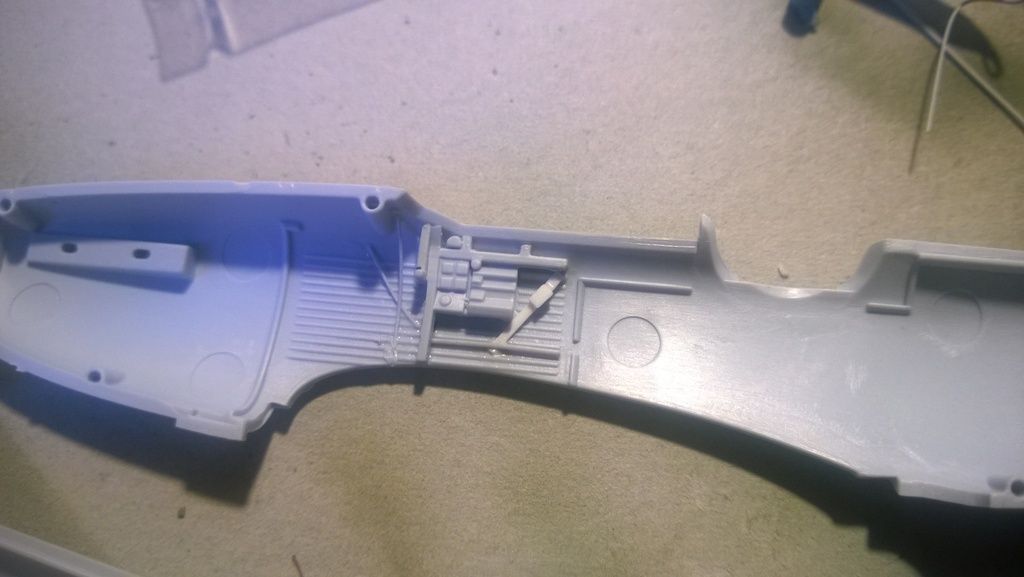
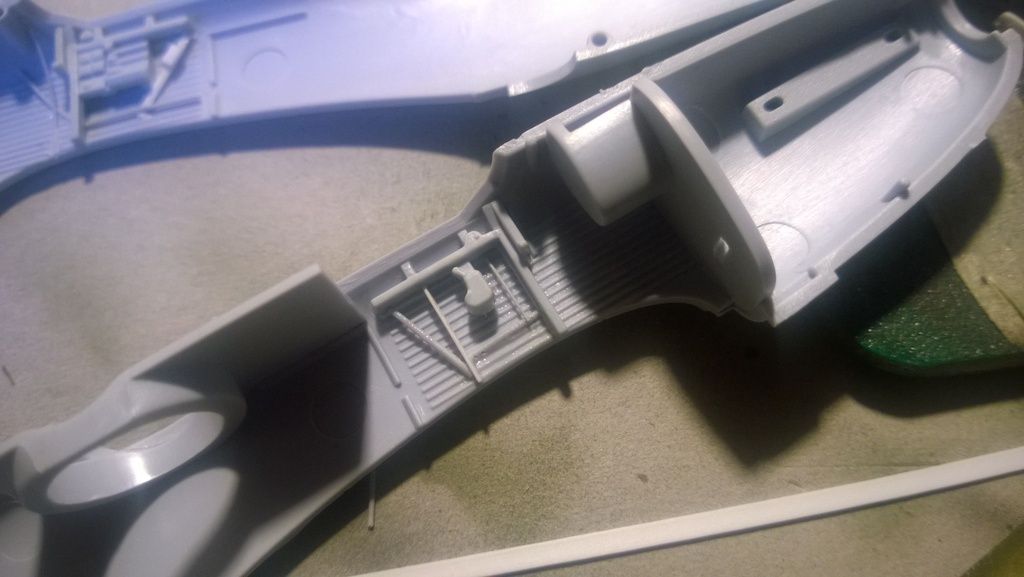
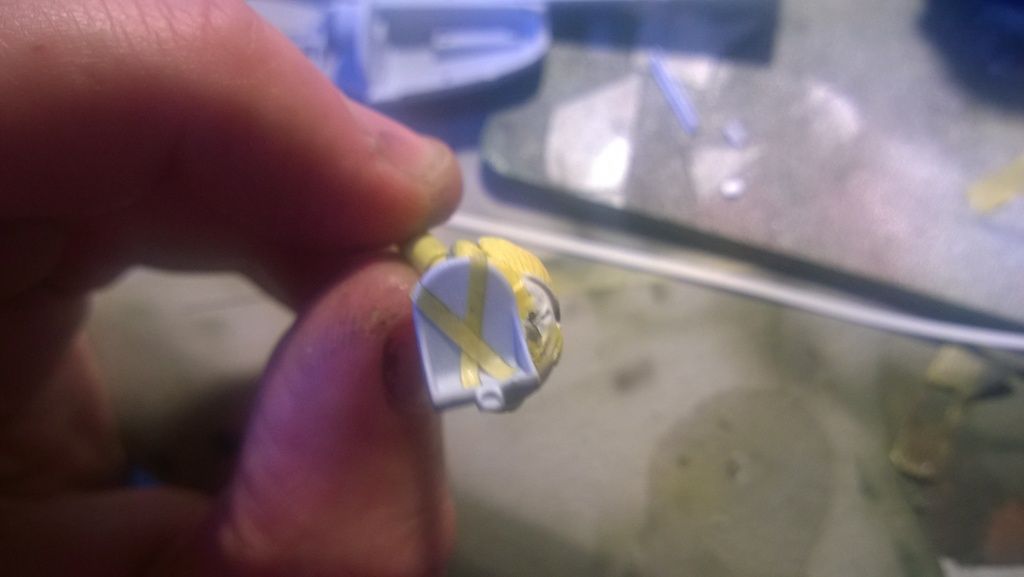
Tamiya tape seatbelts
Preshade, cockpit green, detail painting then some detail painting with vallejo. I followed up with an oil wash, a little tip i picked up from painting paintings is to not use black as it can be a dead colour, i opted for a wash of ultramarine blue and burnt umber mixed about 50/50 i shift the ratios more towards blue for oil, and more towards brown for dirty grime,.
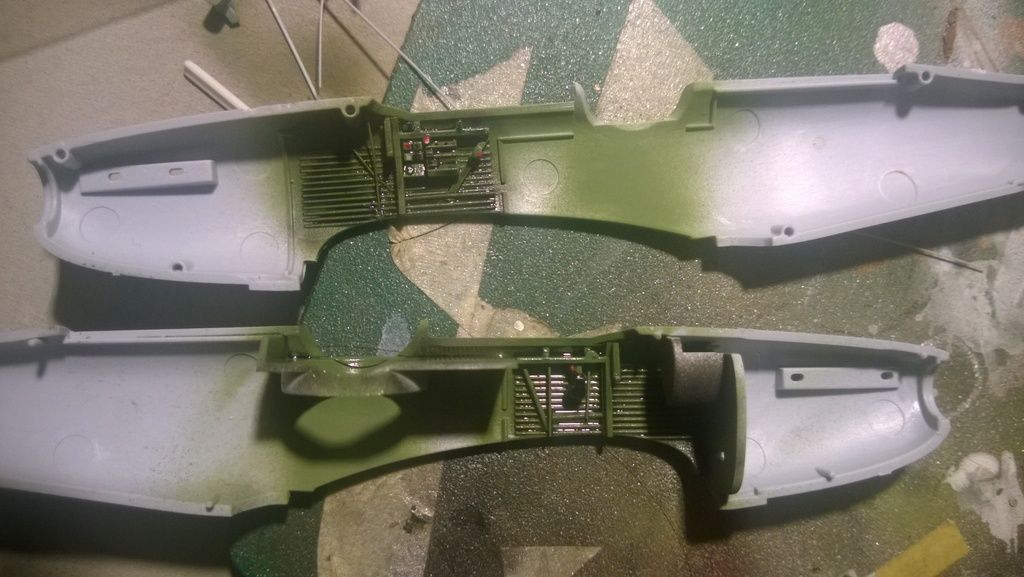
Thats all for now. as of thismorning, the fuselage halves were glued last night and left for the mek to fully cure before i tidy up the seams.
Happy modelling.
James


