_GOTOBOTTOM
World War II
Discuss WWII and the era directly before and after the war from 1935-1949.
Hosted by Rowan Baylis
Eduard Fw190A-8/R2 bare build
betheyn
Staff MemberSenior Editor
AEROSCALE
#019
_VISITCOMMUNITY
England - South East, United Kingdom
Joined: October 14, 2004
KitMaker: 4,560 posts
AeroScale: 2,225 posts
Posted: Tuesday, July 19, 2016 - 10:12 PM UTC
Well here is my next bare build, Eduard's lovely little 1/72nd Weekend Edition Fw190A-8/R2.
Item No - 7430
Price - £9.99 (Hannants)
Fw190A-8/R2


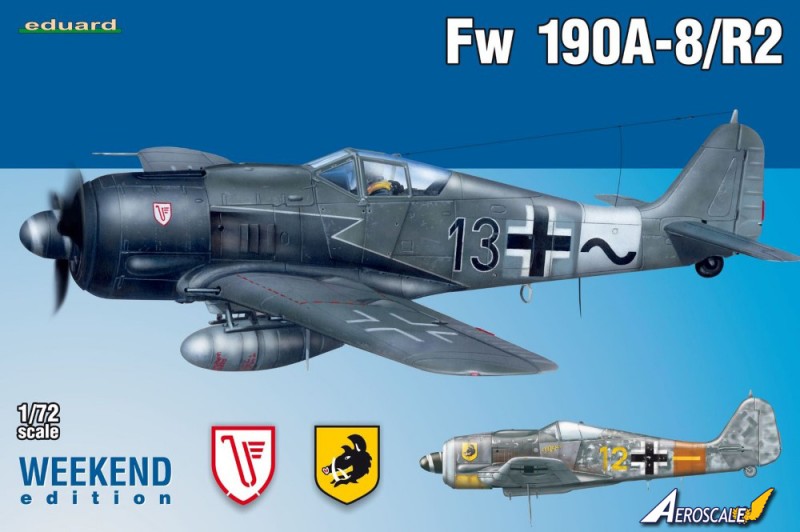
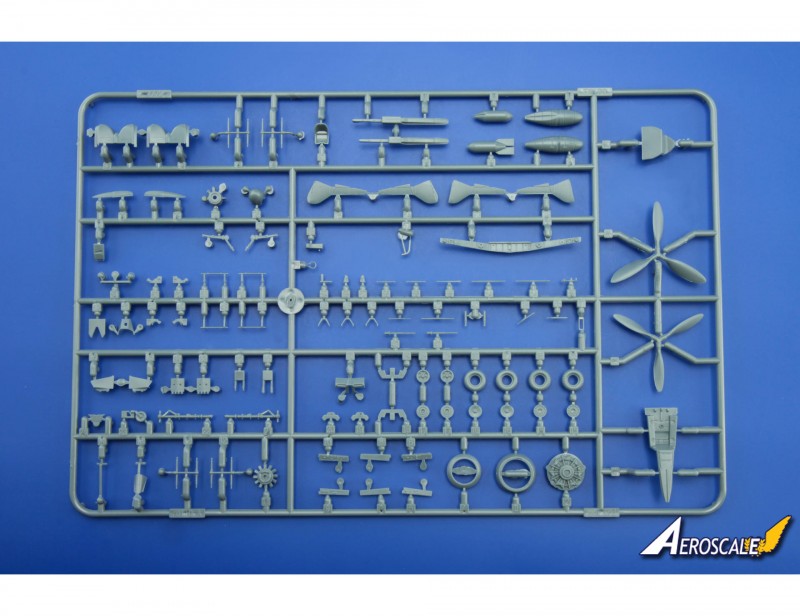
Having started Eduard's first 190 1/72nd kit a while back (must finish that one day), I thought I would throw their weekend edition kit together and see how well this goes together.
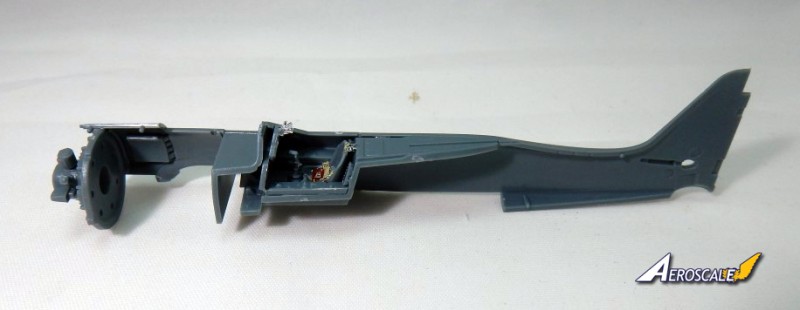
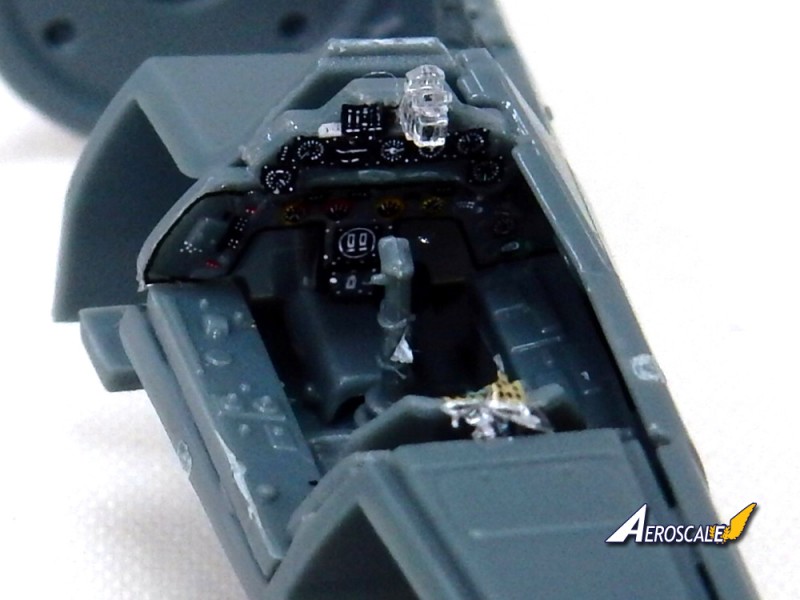
Well as normal the cockpit is up first.
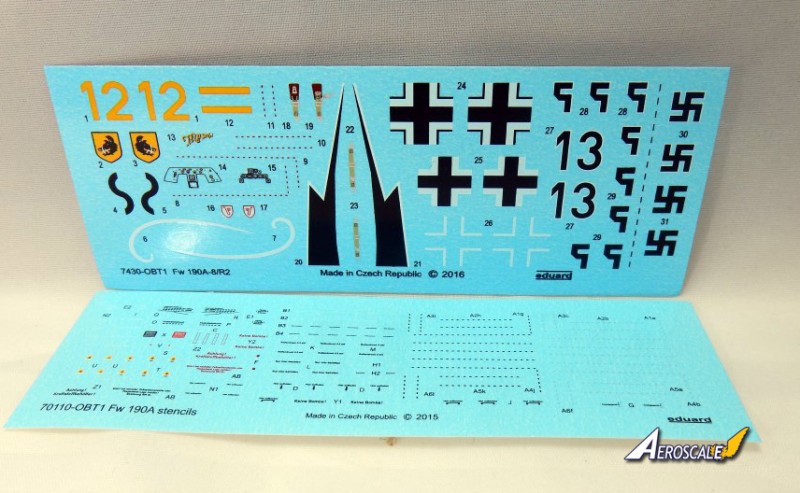
There is a choice of raised detail instrument dials or a flat panel. You can use the decals that are supplied on either, even though the instructions only state to use the raised detail panels.
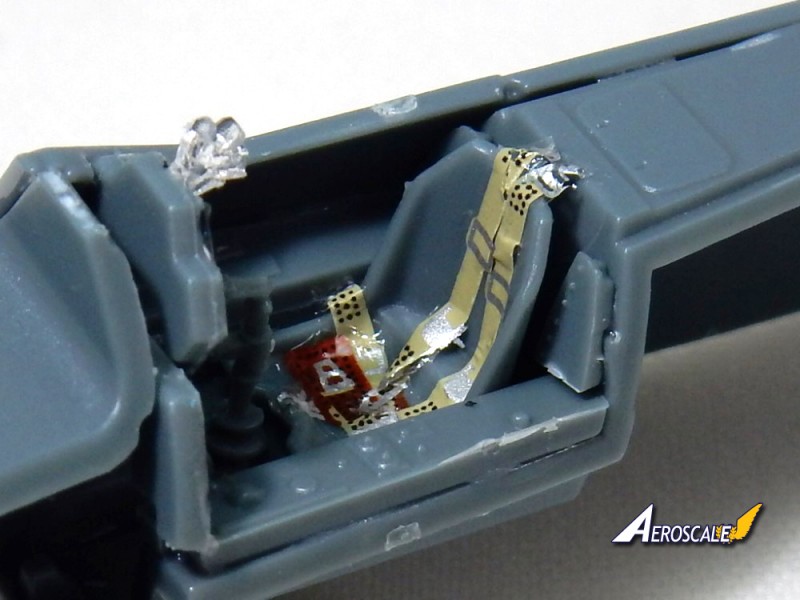
Another goodish point is that the seat harness is supplied as a decal. There is a slight typo with the lap belts as it says use decal 16 and 18, where in fact it is decals 18 and 19.
Anyhoo it all goes together quite easy, even if the parts are pretty small.


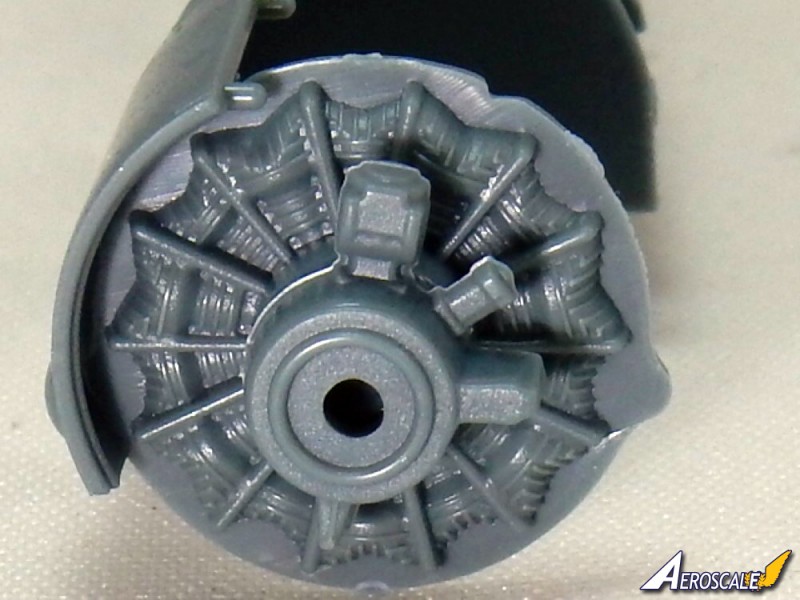
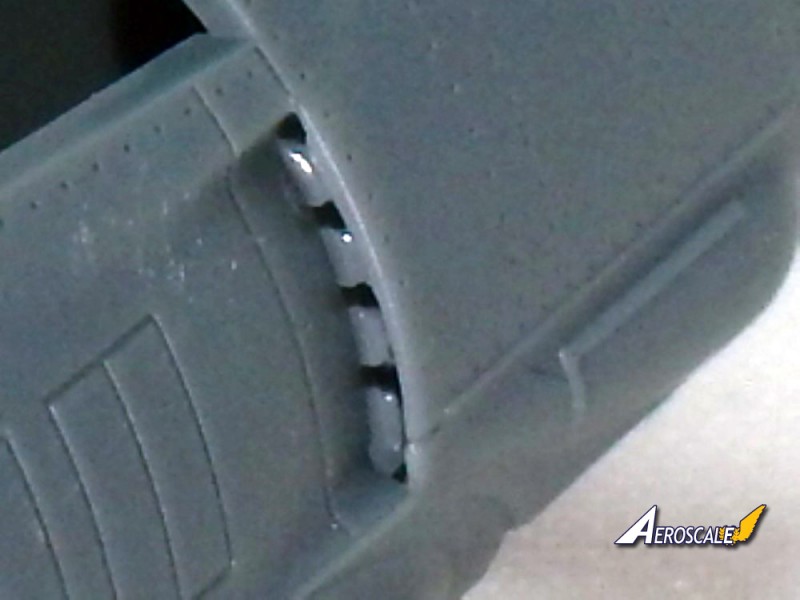
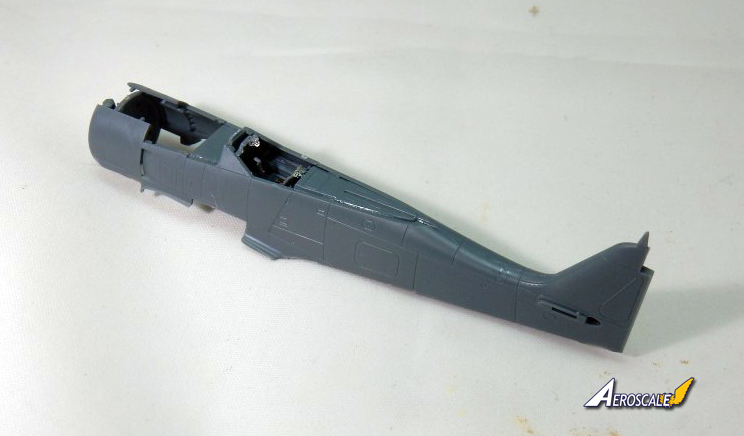
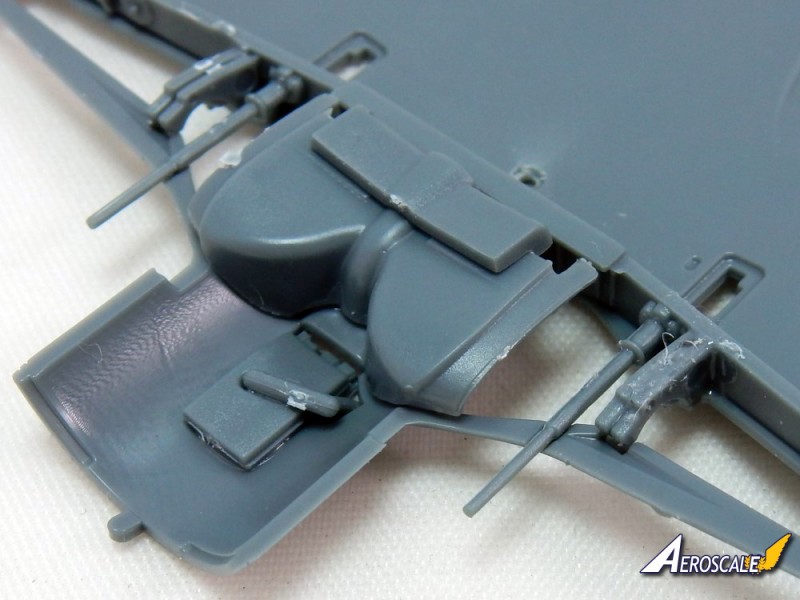
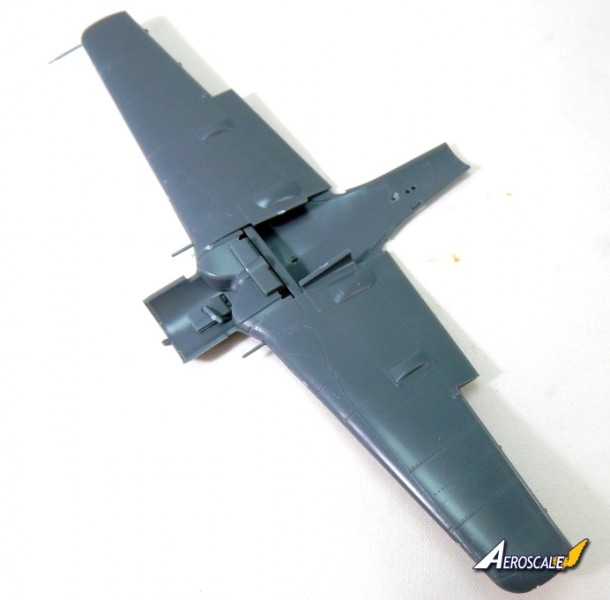
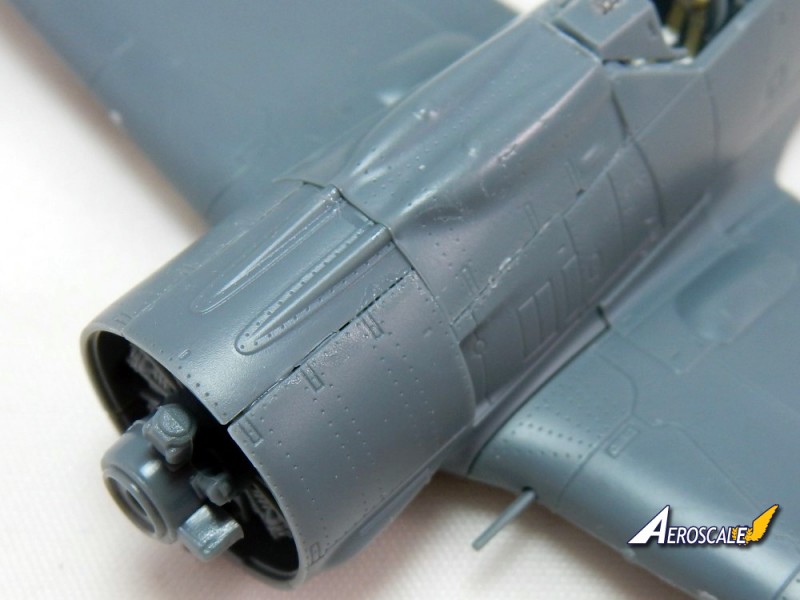
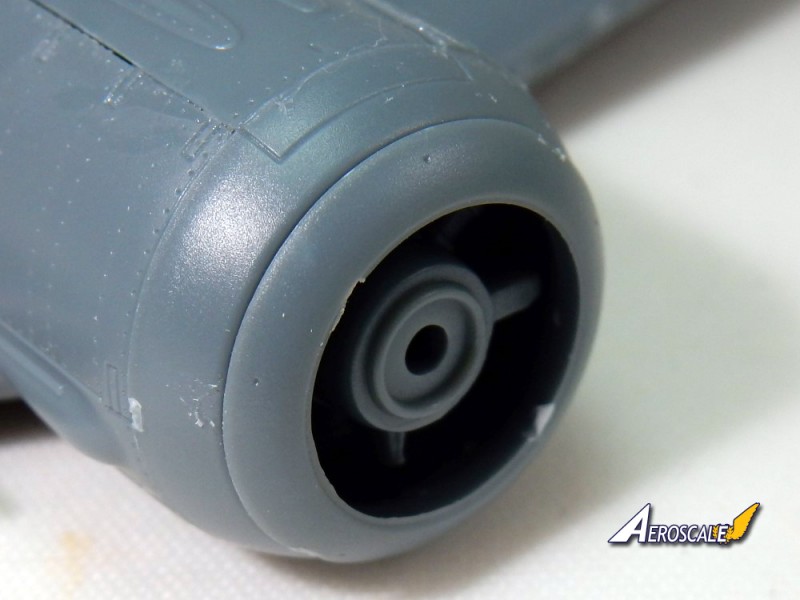
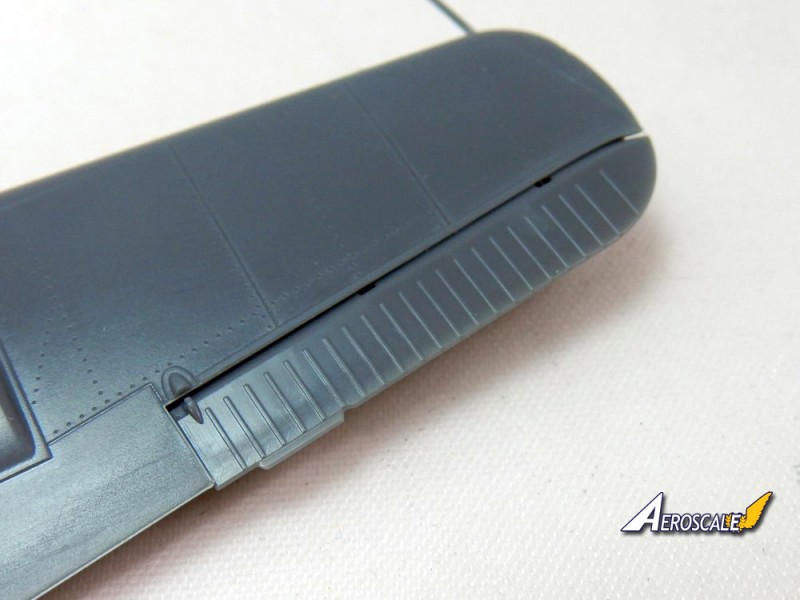
Adding the rest of the parts to the fuselage halves next.
Andy
betheyn
Staff MemberSenior Editor
AEROSCALE
#019
_VISITCOMMUNITY
England - South East, United Kingdom
Joined: October 14, 2004
KitMaker: 4,560 posts
AeroScale: 2,225 posts
Posted: Wednesday, July 20, 2016 - 04:10 AM UTC
The engine cylinder face is made up of two parts, and fits straight into the fuselage halves. Once the prop goes on you won't see a lot of it.

Both sides need the exhausts slotting in from inside the fuselage, and these are tiny (picture has been magnified quite a bit).

The cockpit along with the firewall finish off furnishing the inside, before the fuselage is closed up.
Fit is fantastic and only a minor sand along the seams is necessary.


Next up is the wing and undercarriage bays assembly.
Andy
betheyn
Staff MemberSenior Editor
AEROSCALE
#019
_VISITCOMMUNITY
England - South East, United Kingdom
Joined: October 14, 2004
KitMaker: 4,560 posts
AeroScale: 2,225 posts
Posted: Thursday, July 21, 2016 - 01:30 AM UTC
there is quite a few parts to make up the undercarriage bays, along with the machine gun barrels (this is one area which could do with some brass replacements).
It all fits well.

The detail I exceptional in this small scale.

Top of the wings on, the fit is good, but clamps are needed just to pin them down whilst the glue sets.
The pitot on the wing is moulded onto the upper wing, and you have to take care not to break it off (which I haven't yet amazingly lol).

Next up is adding the tail sections, control surfaces and cowling.
Andy
betheyn
Staff MemberSenior Editor
AEROSCALE
#019
_VISITCOMMUNITY
England - South East, United Kingdom
Joined: October 14, 2004
KitMaker: 4,560 posts
AeroScale: 2,225 posts
Posted: Friday, July 22, 2016 - 11:48 PM UTC
Well work got in the way for a couple of days, but I got a bit done.
The horizontal stabilisers and the rudder fit straight in and don't need any filler.

You have a choice of engine/gun cowling, for the two different marking options.
Marking A has uncovered gun troughs whilst B has covered troughs. This is fitted along with the rear upper gun panel.
A swipe of filler is needed, but the pic does exaggerate the gap a tad.


A two part front engine cowling finishes the front end off, minus the prop of course.

Ailerons just slot into place and are not really movable from the neutral position.

Work on the underside next.
Andy
Joel_W
Staff MemberAssociate Editor
AUTOMODELER
_VISITCOMMUNITY
New York, United States
Joined: December 04, 2010
KitMaker: 11,666 posts
AeroScale: 7,410 posts
Posted: Saturday, July 23, 2016 - 07:00 AM UTC
Andy,
Excellent progress to date. Looking forward to seeing your build ready for paint.
Joel
 _GOTOTOP