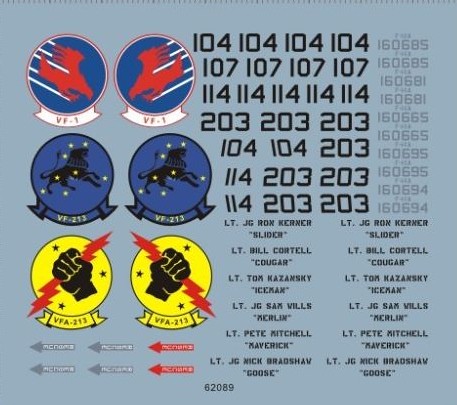
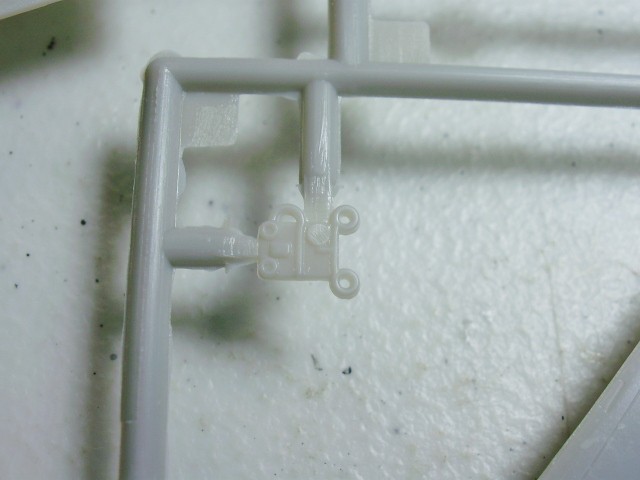
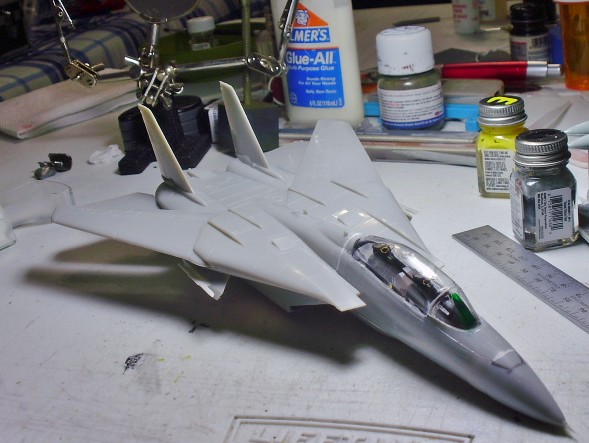
I am at the point where I am ready to mask and paint. This has been on hold for a while and I now have paints to finish it. It's the old AMT 1/72 F-14A. I am using aftermarket for Maverick and Goose's plane from the 1980's era movie. I am masking the canopy area tomorrow and doing it a dark gray then the overall air frame is going to be ghost gray. It was mentioned to me that it might have been TPS paint scheme but it looks like overall dark gull gray, so be it!---John
Tomcat 17 by jvandeu53, on Flickr
Tomcat 3 by jvandeu53, on Flickr
Modern (1975-today)
Discuss the modern aircraft age from 1975 thru today.
Hosted by Jim Starkweather
1/72 F-14A Top Gun
jonvan
Florida, United States
Joined: August 23, 2015
KitMaker: 170 posts
AeroScale: 109 posts
Joined: August 23, 2015
KitMaker: 170 posts
AeroScale: 109 posts
Posted: Sunday, July 24, 2016 - 05:05 AM UTC
jonvan
Florida, United States
Joined: August 23, 2015
KitMaker: 170 posts
AeroScale: 109 posts
Joined: August 23, 2015
KitMaker: 170 posts
AeroScale: 109 posts
Posted: Sunday, July 24, 2016 - 07:16 AM UTC
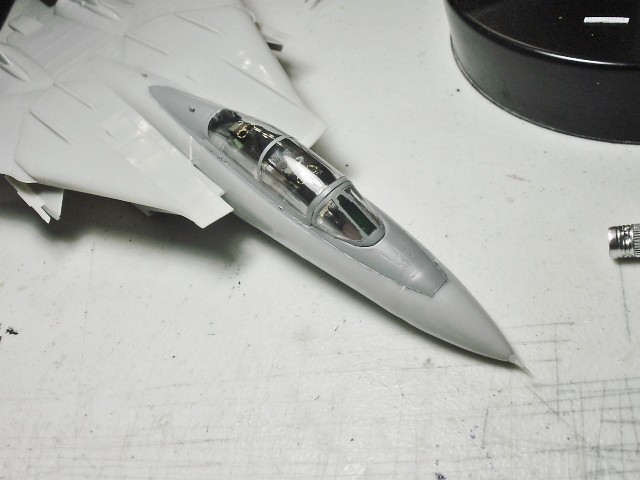
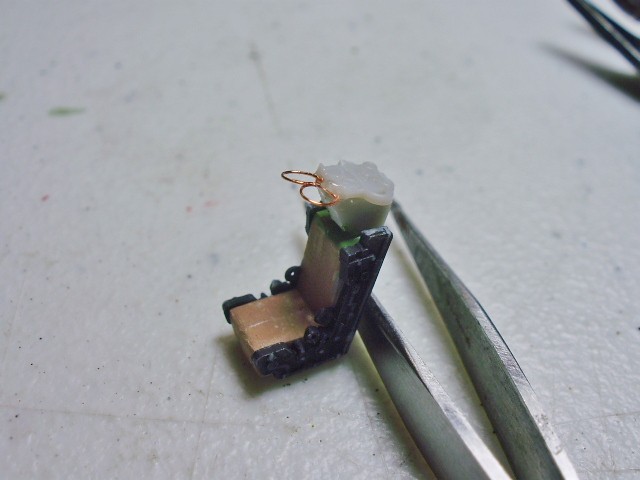
I think I should add some of the build pictures as this is a build blog. I didn't do too much to add to the kit except scratch build pull rings for the ejection seats, AMTs were grossly undersized. I used the kit seat belt decals. The only other straying from the instructions was I put the left tail on the right side and the right tail on the left side. AMT had them swapped, I noticed it looking at this very kit I built a few years ago as a Kadaffy "Line Of Death" Mig killer I built. I also painted the center panel of the wind screen transparent green.For weapons I am using the shoulder pylons with Sidewinders and Sparrow missiles. The kit does have a nice tarps pod but thats not used in this version. The only other external parts are the drop tanks.---Jphn
OLYMPUS DIGITAL CAMERA by jvandeu53, on Flickr
Tomcat 6 by jvandeu53, on Flickr
OLYMPUS DIGITAL CAMERA by jvandeu53, on Flickr
Tomcat 6 by jvandeu53, on Flickr
jonvan
Florida, United States
Joined: August 23, 2015
KitMaker: 170 posts
AeroScale: 109 posts
Joined: August 23, 2015
KitMaker: 170 posts
AeroScale: 109 posts
Posted: Sunday, July 24, 2016 - 07:23 AM UTC
Posted: Sunday, July 24, 2016 - 05:33 PM UTC
John,
Cool project.
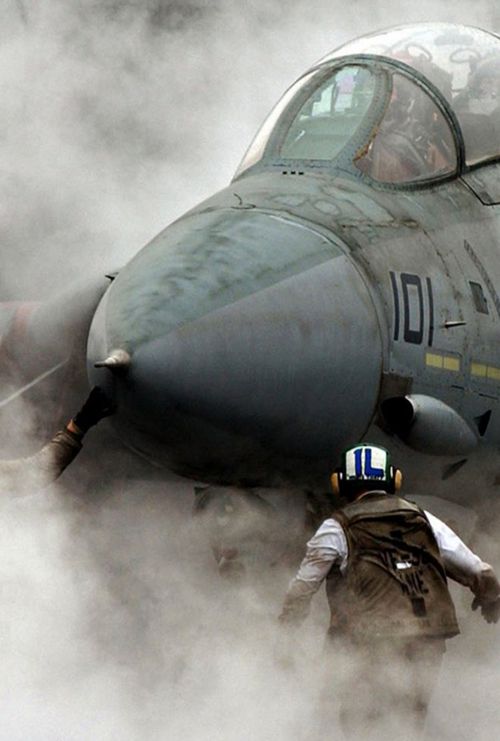
To me the tint on that center windscreen panel looks awfully dark--it should be barely noticeable:
Cool project.
To me the tint on that center windscreen panel looks awfully dark--it should be barely noticeable:
jonvan
Florida, United States
Joined: August 23, 2015
KitMaker: 170 posts
AeroScale: 109 posts
Joined: August 23, 2015
KitMaker: 170 posts
AeroScale: 109 posts
Posted: Sunday, July 24, 2016 - 09:19 PM UTC
Mark, please let me know where I can get light transparent green
paint. This is all Tamiya sells. Who sells a lighter shade?---John
Posted: Sunday, July 24, 2016 - 09:34 PM UTC
John,
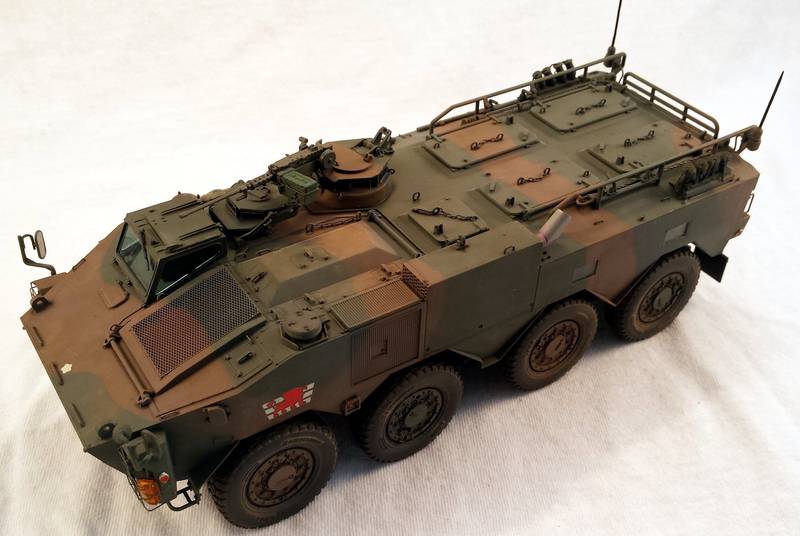
There are a variety of techniques, one of the most popular being to add a drop or two of blue food color and a drop or two of green (have to experiment to get the shade you want) to Future floor polish. I use the clear paints instead of food color when I do tinted windows, but the principle is the same. The fundamental idea is to use some sort of carrier so you can build up the pigment in a controlled fashion until you get the level of tinting you desire.
The angle on this photo isn't the best for illustrating, but you can just make out how subtle an effect you can get with this technique:
There is definitely some trial and error involved in arriving at a technique that works well for you.
Good luck!
jonvan
Florida, United States
Joined: August 23, 2015
KitMaker: 170 posts
AeroScale: 109 posts
Joined: August 23, 2015
KitMaker: 170 posts
AeroScale: 109 posts
Posted: Sunday, July 24, 2016 - 11:16 PM UTC
Wow that's nice.I will stick with my Tamiya paint, but you get nice results.---John
Posted: Sunday, July 24, 2016 - 11:35 PM UTC
Thanks for the kind words. There's nothing wrong with Tamiya paints, but if you can hit on a means of thinning them properly I think you'll be pleased with the result.
jonvan
Florida, United States
Joined: August 23, 2015
KitMaker: 170 posts
AeroScale: 109 posts
Joined: August 23, 2015
KitMaker: 170 posts
AeroScale: 109 posts
Posted: Sunday, July 24, 2016 - 11:40 PM UTC
I masked, painted and unmasked canopy. I use Tamiya tape, it seems to be almost trouble free for me. I am using Tamiya spray cans for this project. This was Neutral Gray AS-7.Mark---next aircraft I will give your idea a try, I have some acrylic thinner, will see if I can lighten it a bit.---John
Tomcat 18 by jvandeu53, on Flickr
jonvan
Florida, United States
Joined: August 23, 2015
KitMaker: 170 posts
AeroScale: 109 posts
Joined: August 23, 2015
KitMaker: 170 posts
AeroScale: 109 posts
Posted: Monday, July 25, 2016 - 12:00 AM UTC
jonvan
Florida, United States
Joined: August 23, 2015
KitMaker: 170 posts
AeroScale: 109 posts
Joined: August 23, 2015
KitMaker: 170 posts
AeroScale: 109 posts
Posted: Monday, July 25, 2016 - 09:41 PM UTC
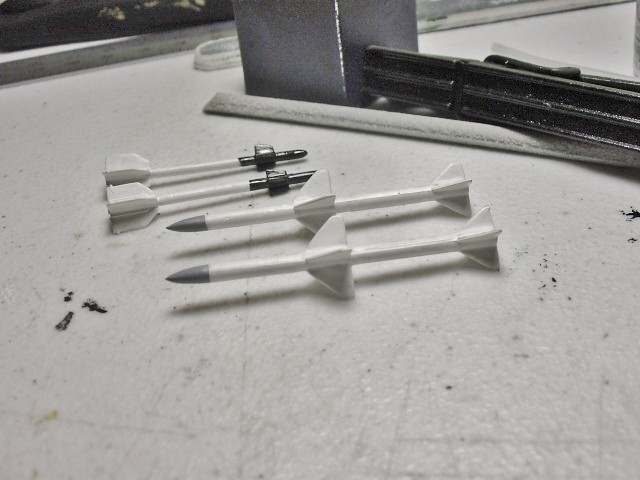
The weapons, I am using the kits' missiles, the Sparrows are passable but the Sidewinders are not that good. I painted them colors I had seen from Fast Eagle 102 in 1981. Seems every photo from that era had a hodge podge of different colors for missiles, and the war head on the Sidewinder is NOT black, its' a graphite metallic color. One note, this is actually an ESCI kit repopped by AMT.---John
Tomcat 20 by jvandeu53, on Flickr
jonvan
Florida, United States
Joined: August 23, 2015
KitMaker: 170 posts
AeroScale: 109 posts
Joined: August 23, 2015
KitMaker: 170 posts
AeroScale: 109 posts
Posted: Monday, July 25, 2016 - 09:52 PM UTC
Here's a picture of "Iceman's" F-14A from the movie. It almost does look like a severely faded TPS scheme. The Sparrow has some kind of markings on the fins, not sure what that's about.---John
Iceman and Slider's F-14A (640x343) by jvandeu53, on Flickr
jonvan
Florida, United States
Joined: August 23, 2015
KitMaker: 170 posts
AeroScale: 109 posts
Joined: August 23, 2015
KitMaker: 170 posts
AeroScale: 109 posts
Posted: Wednesday, July 27, 2016 - 01:41 AM UTC
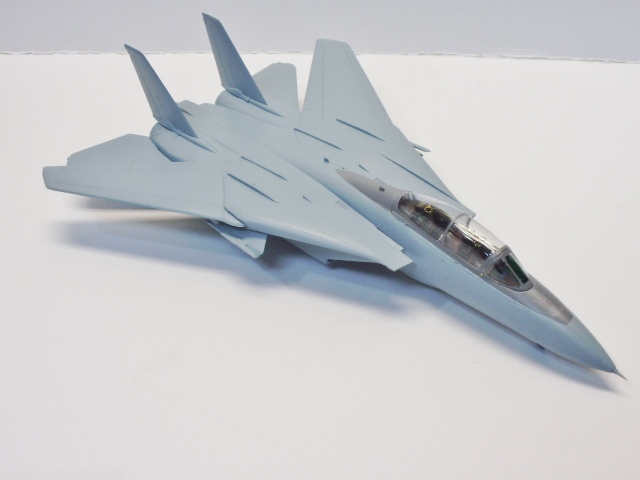
I masked and painted the airframe gray. I wanted dark ghost gray but only had Tamiya light ghost gray. It worked out that Tamiya's mix is darker than it should be so all is well. I used Tamiya spray can AS-26 Light Ghost Gray. Now to paint the wing seal, metallic burner can area and wheel wells. Then on to more construction.---John
OLYMPUS DIGITAL CAMERA by jvandeu53, on Flickr
jonvan
Florida, United States
Joined: August 23, 2015
KitMaker: 170 posts
AeroScale: 109 posts
Joined: August 23, 2015
KitMaker: 170 posts
AeroScale: 109 posts
Posted: Thursday, July 28, 2016 - 06:44 AM UTC
jonvan
Florida, United States
Joined: August 23, 2015
KitMaker: 170 posts
AeroScale: 109 posts
Joined: August 23, 2015
KitMaker: 170 posts
AeroScale: 109 posts
Posted: Monday, August 01, 2016 - 12:51 AM UTC
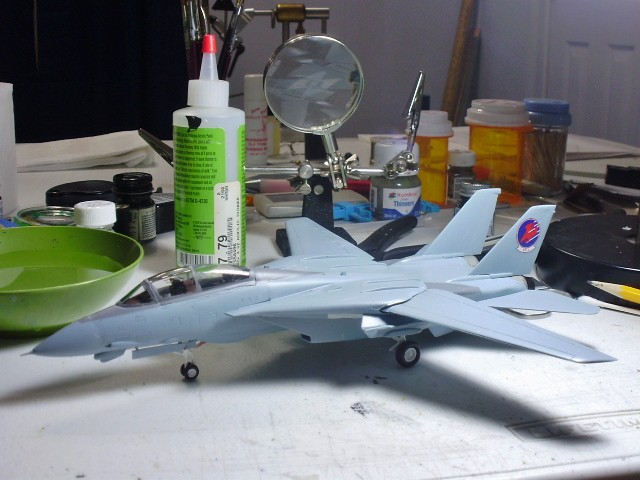
It's finally making headway. I have the metallic burner can area painted, burner cans installed, wing seal area painted, landing gear and tires on, and tail hook painted and installed.
Next is painting red edges of gear doors then their installation.---John
OLYMPUS DIGITAL CAMERA by jvandeu53, on Flickr
Next is painting red edges of gear doors then their installation.---John
OLYMPUS DIGITAL CAMERA by jvandeu53, on Flickr
jonvan
Florida, United States
Joined: August 23, 2015
KitMaker: 170 posts
AeroScale: 109 posts
Joined: August 23, 2015
KitMaker: 170 posts
AeroScale: 109 posts
Posted: Monday, August 01, 2016 - 09:42 PM UTC
The nose gear doors are trimmed red and on. I tried 4 decals and they are a bit shiney and don't like to move much after they hit the plastic, had to "tug" them to their correct positions. I have some spare Hasegawa F-14A decals for low- vis markings for the standard insignia and maintenance markings as these decals contain only the squadron related markings.---John
Tomcat 24 by jvandeu53, on Flickr
jonvan
Florida, United States
Joined: August 23, 2015
KitMaker: 170 posts
AeroScale: 109 posts
Joined: August 23, 2015
KitMaker: 170 posts
AeroScale: 109 posts
Posted: Tuesday, August 02, 2016 - 07:02 AM UTC
jonvan
Florida, United States
Joined: August 23, 2015
KitMaker: 170 posts
AeroScale: 109 posts
Joined: August 23, 2015
KitMaker: 170 posts
AeroScale: 109 posts
Posted: Wednesday, August 03, 2016 - 04:33 AM UTC