another build this year is the little kit from R.V aircraft MIG-23 MS
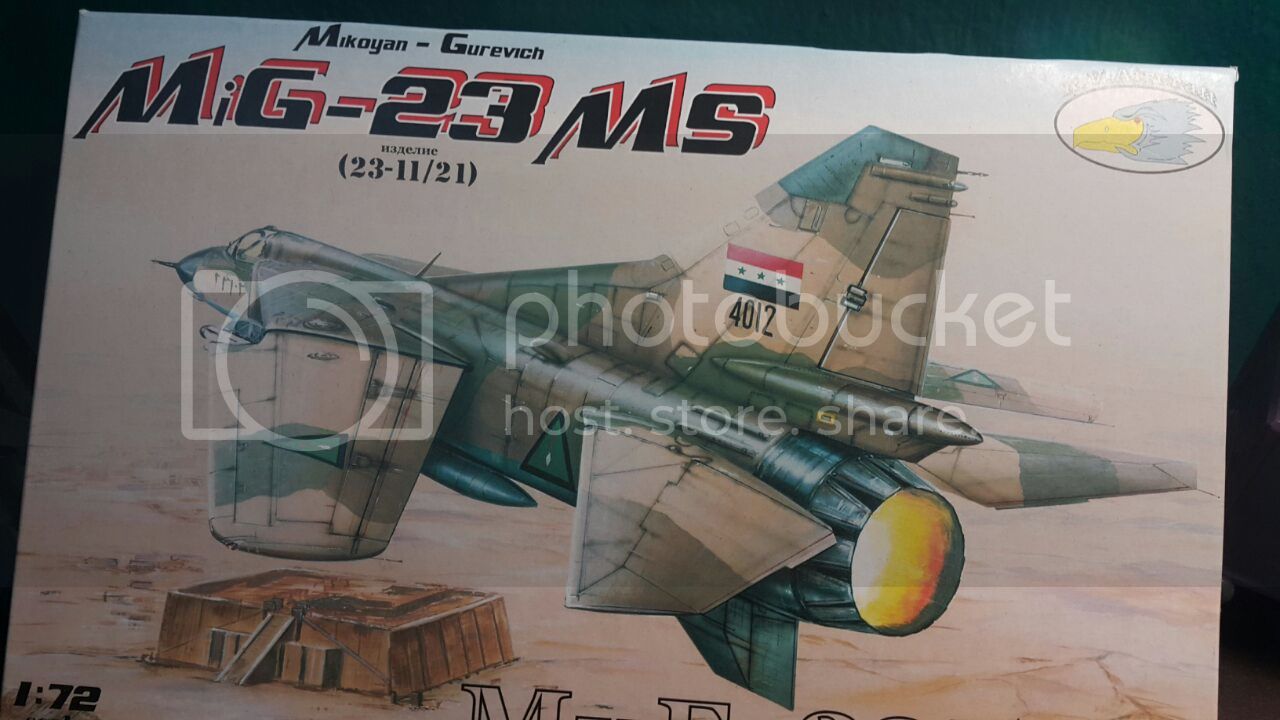
This is also my first deviation from the normal japanese company. I decided to give it a try with kit from RV. Read it on the net that this is the most 'OK' mig-23 available in 1/72 scale. Well, let begin.
The kit is very simple. Fewer parts.. i lost the photos of the in box contents but there are plenty of review site that have the photos. Instructions manual is just a two pages separated sheet.
No locating point.
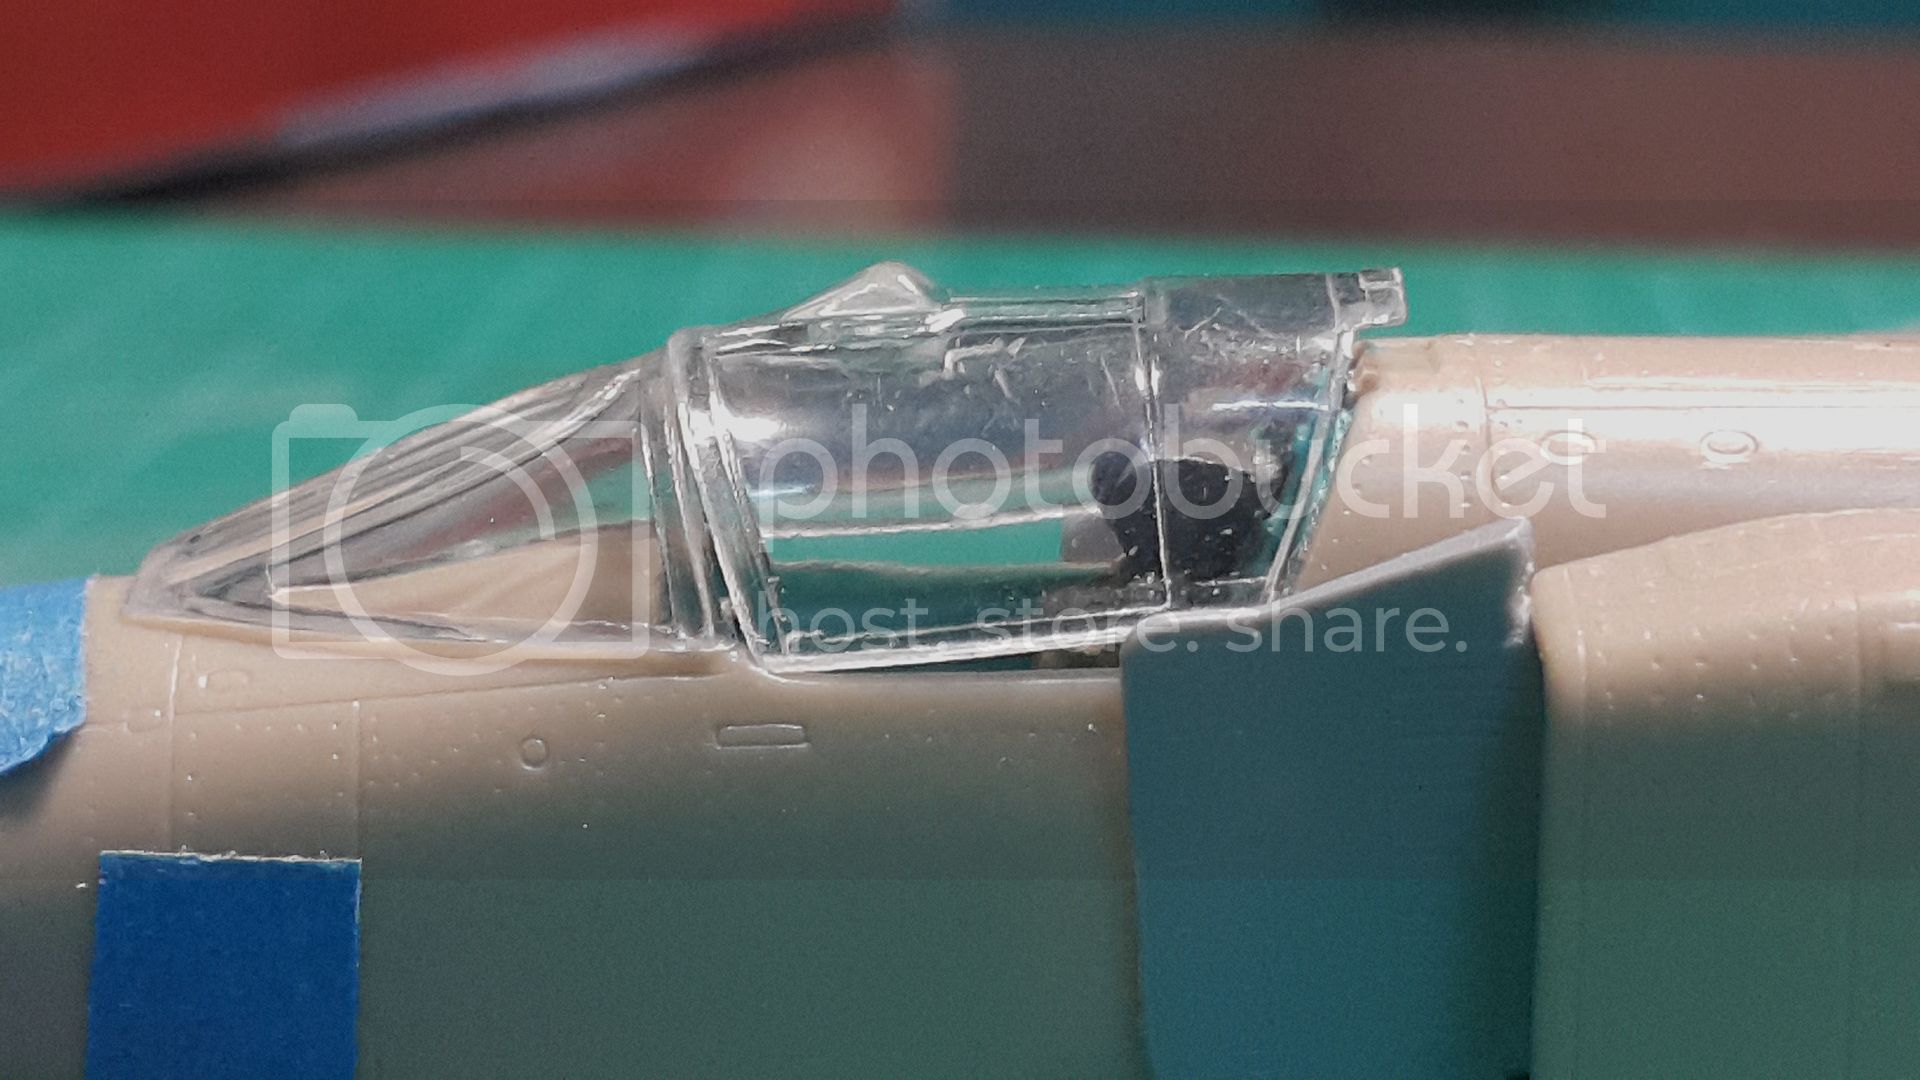
The step begin with the cockpit. I will adress the cocpit later. But i will build the rear fuselage and the wing .
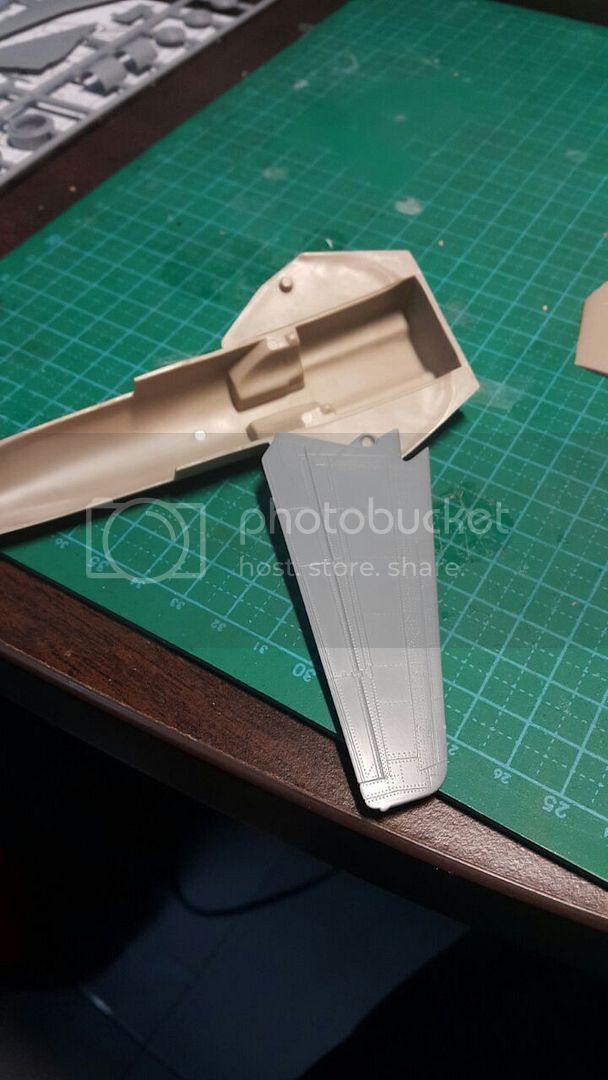
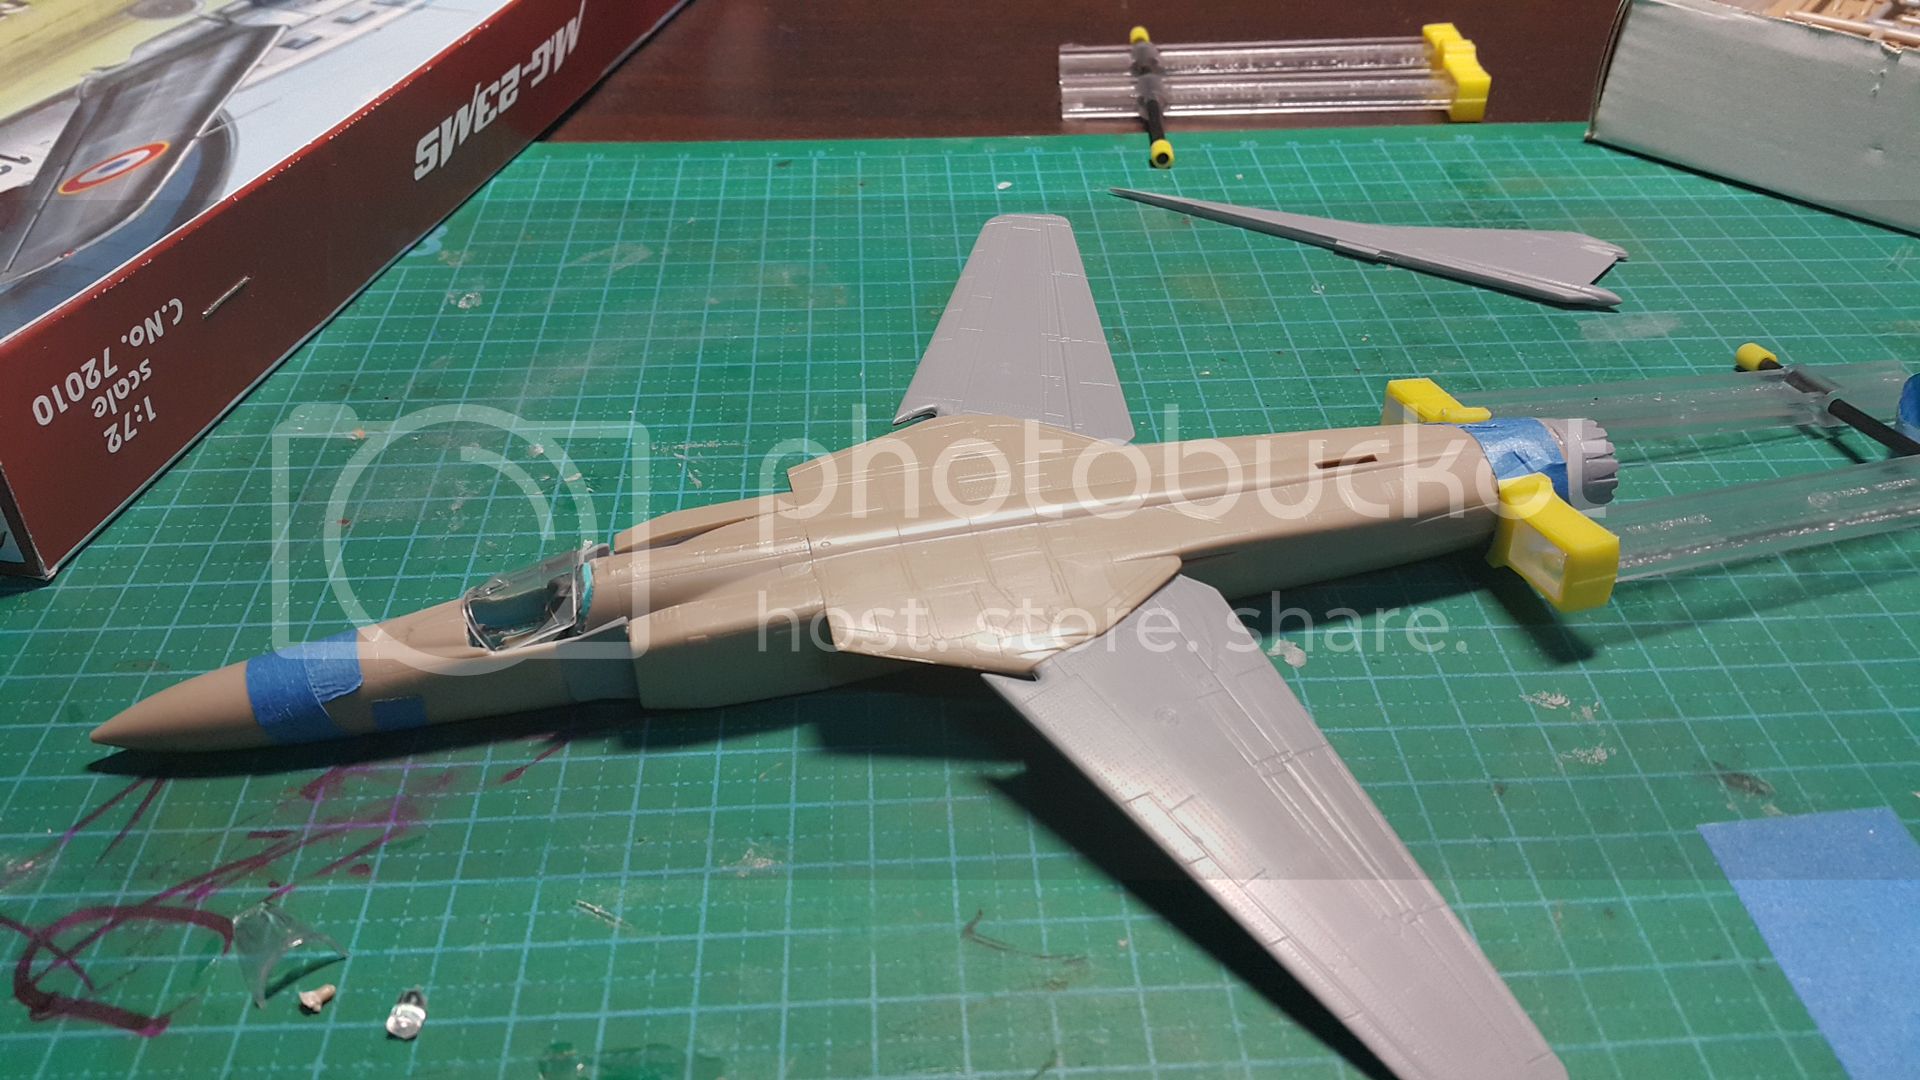
The wing consist of just one part each side. Very simple. Details are good. But there is no mechanism to ensure the wings swept in sync. (just like hasegawa f-14 wing)... so using some math and common sense i just glue the wing through the pin locator and using my old eyes to balance both side.
The rear fuselage consist of 2 upper n lower half and the wings are sandwiched in between. I have to shape some parts of the wing inside the fuselage to ensure good fit.
During dry fitting i anticipated these join to be very very bad.
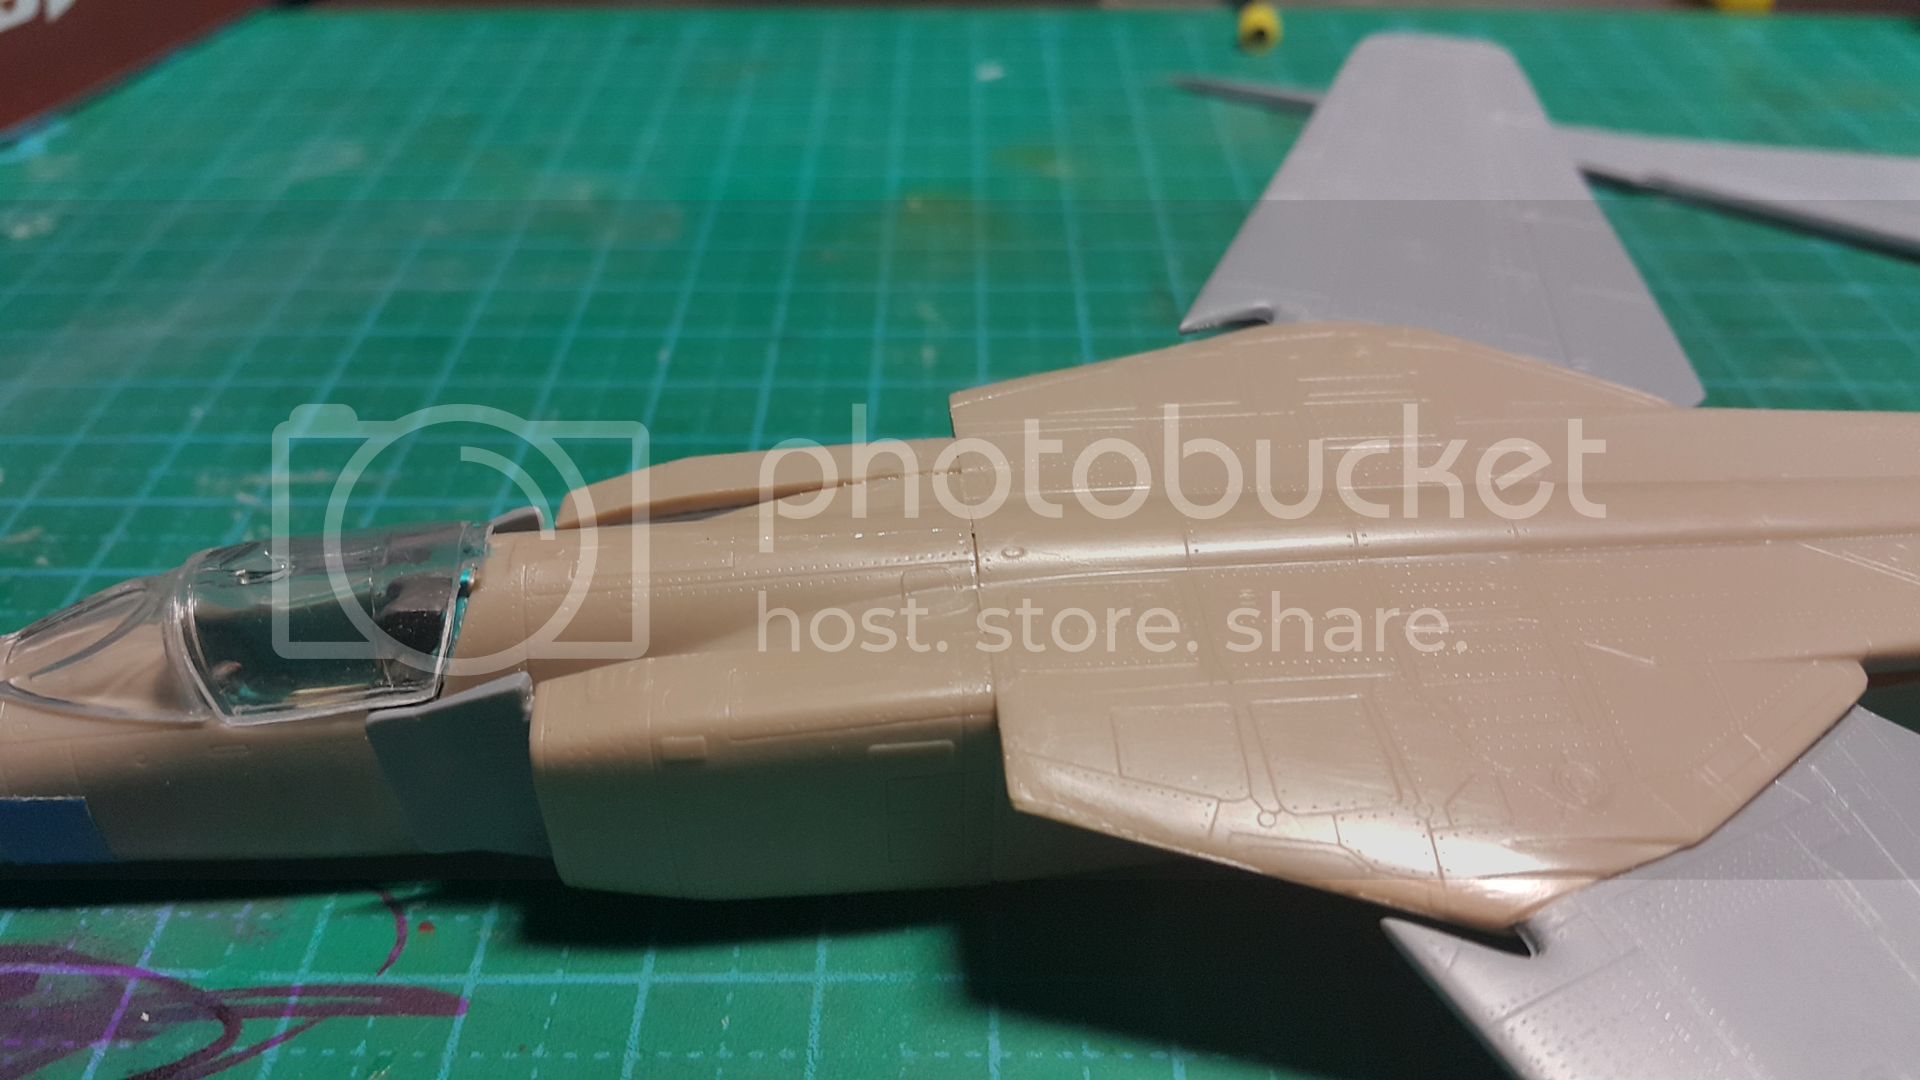
There is no locating pin so what i did was to clamp and glue (tamiya xtra fine) one section at a time. Let them dried overnight and continued another section. There are 4 section (rear near exhaust L and R, just rear of the wing L and R).. so almost 4 days required for me to complete the rear fuselage join.
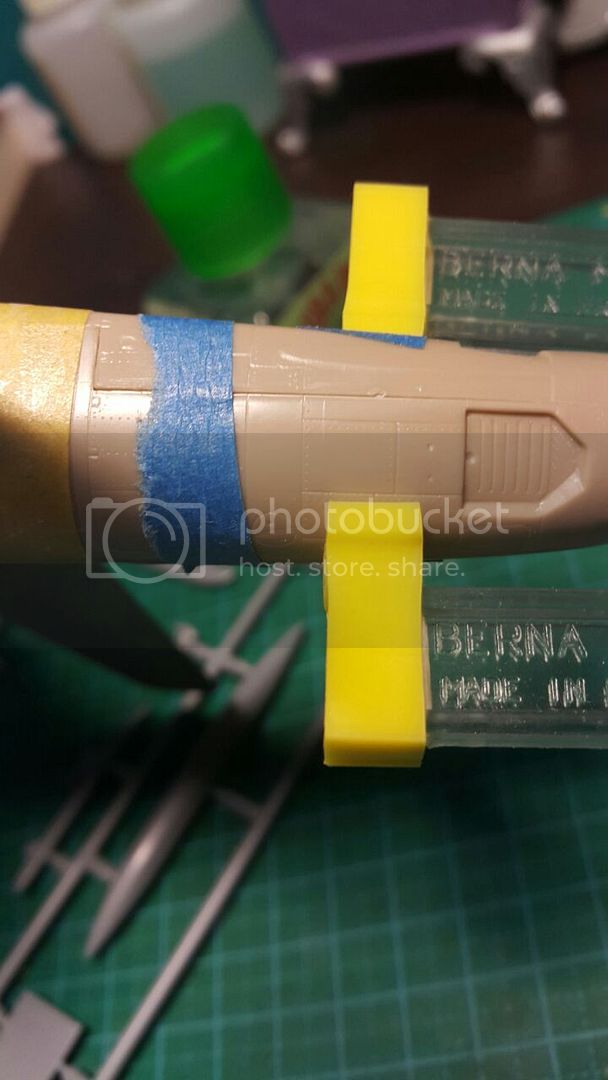
above photo is the port side rear join.
starboard side join are below
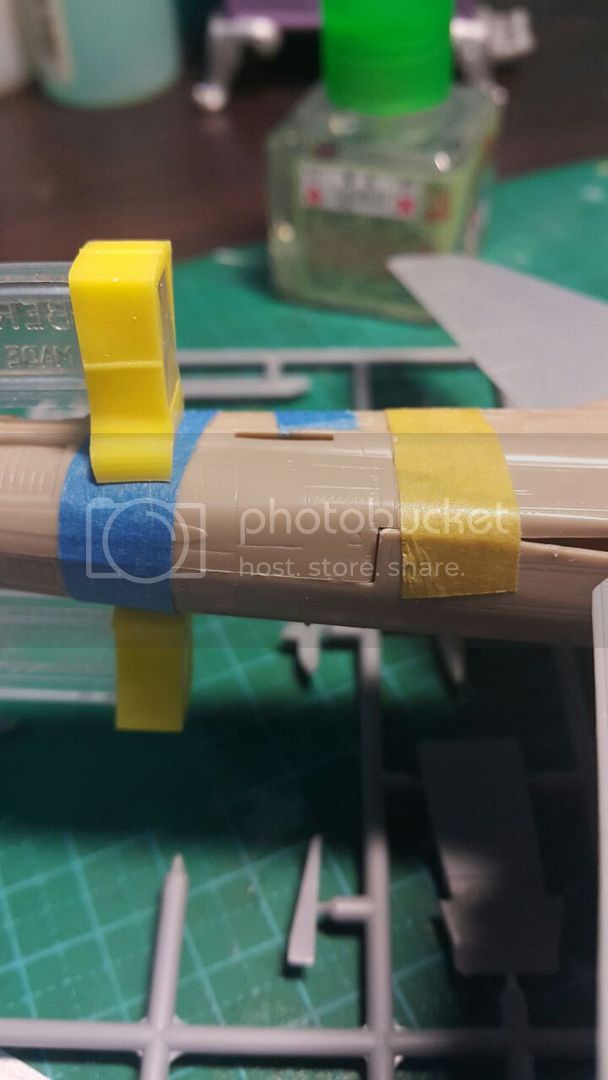
look carefully and you will understand how serious is this kit. It's just like assembling zhendengfu kit with the price of tamiya

The exhaust cone is also a problem. Will take photos soon.
THis is a big challenge for me now... works should be very very slow with this...
thanks for looking
Sil


