New Jersey, United States
Joined: June 02, 2006
KitMaker: 1,212 posts
AeroScale: 468 posts
Posted: Monday, October 17, 2016 - 12:41 AM UTC
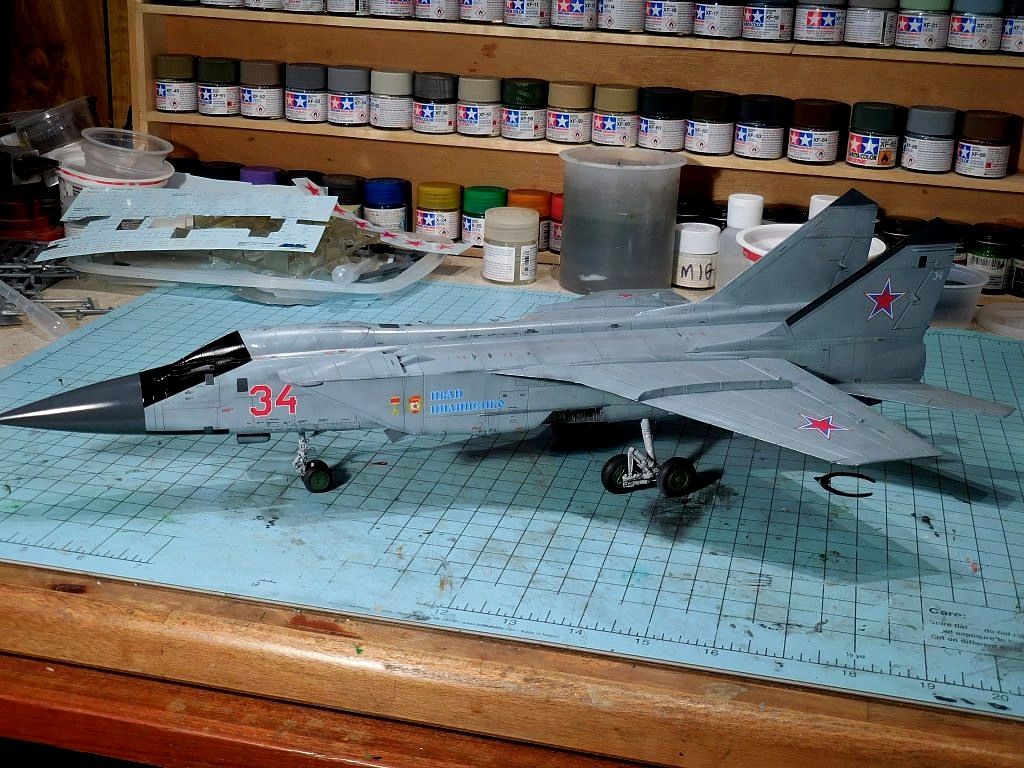
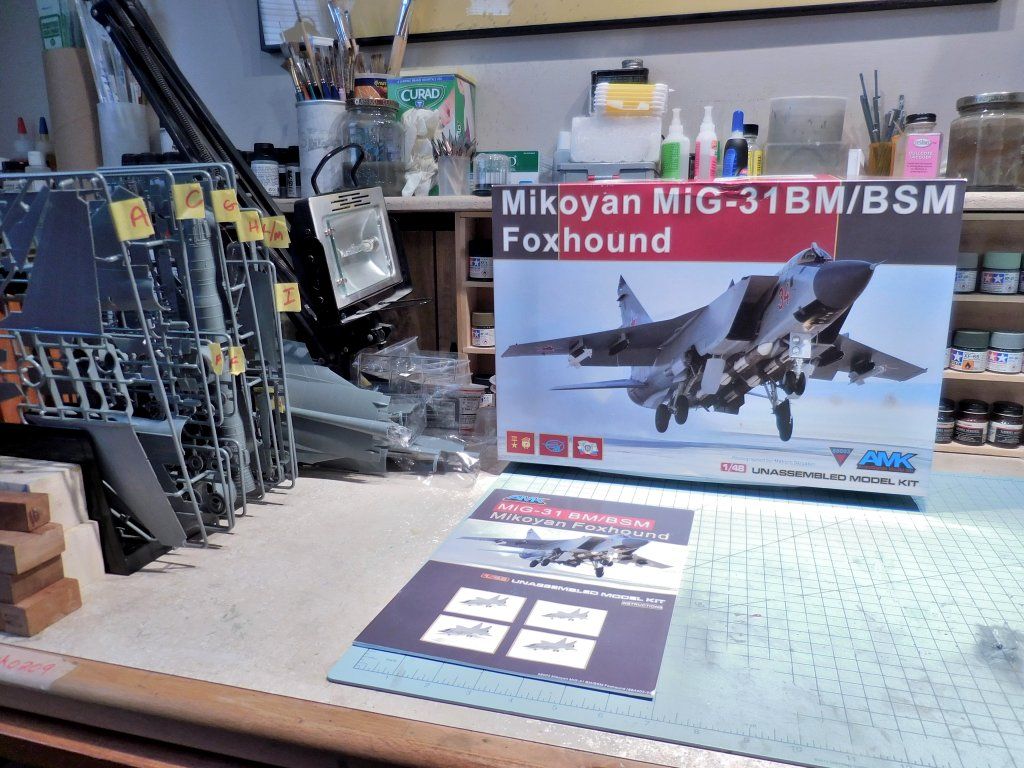
Gary aka GazzaS was kind enough to offer this up as one of the prizes for the July/August MoM. being the recipient of this fine kit it's time to get 'er goin'.
And it begins. A major bench clean up and paint organization. Sprues all organized and ready for action.
North Carolina, United States
Joined: June 06, 2006
KitMaker: 4,691 posts
AeroScale: 238 posts
Posted: Monday, October 17, 2016 - 01:15 AM UTC
Didn't realize it was prize,extra nice.

#424
Queensland, Australia
Joined: April 23, 2015
KitMaker: 4,648 posts
AeroScale: 1,938 posts
Posted: Monday, October 17, 2016 - 01:29 AM UTC
Marc,
Looking forward to seeing you bring this together. FYI there are words floating about that AMK is going to do the MiG-25.
After all the bad I've heard about every other Foxbat kit, I'll be looking forward to one with AMK's quality molding.
Gaz
"Artillery adds dignity, to what would otherwise be an ugly brawl."
Frederick The Great
Germany
Joined: September 07, 2005
KitMaker: 5,609 posts
AeroScale: 5,231 posts
Posted: Monday, October 17, 2016 - 01:32 AM UTC
Hi Marc,
I am watching with interest!
all the best
Steffen
DULCE ET DECORUM EST PRO HOBBY MORI
New Jersey, United States
Joined: June 02, 2006
KitMaker: 1,212 posts
AeroScale: 468 posts
Posted: Sunday, October 23, 2016 - 04:16 AM UTC
Glad you're all along for the ride.
Slow progress.
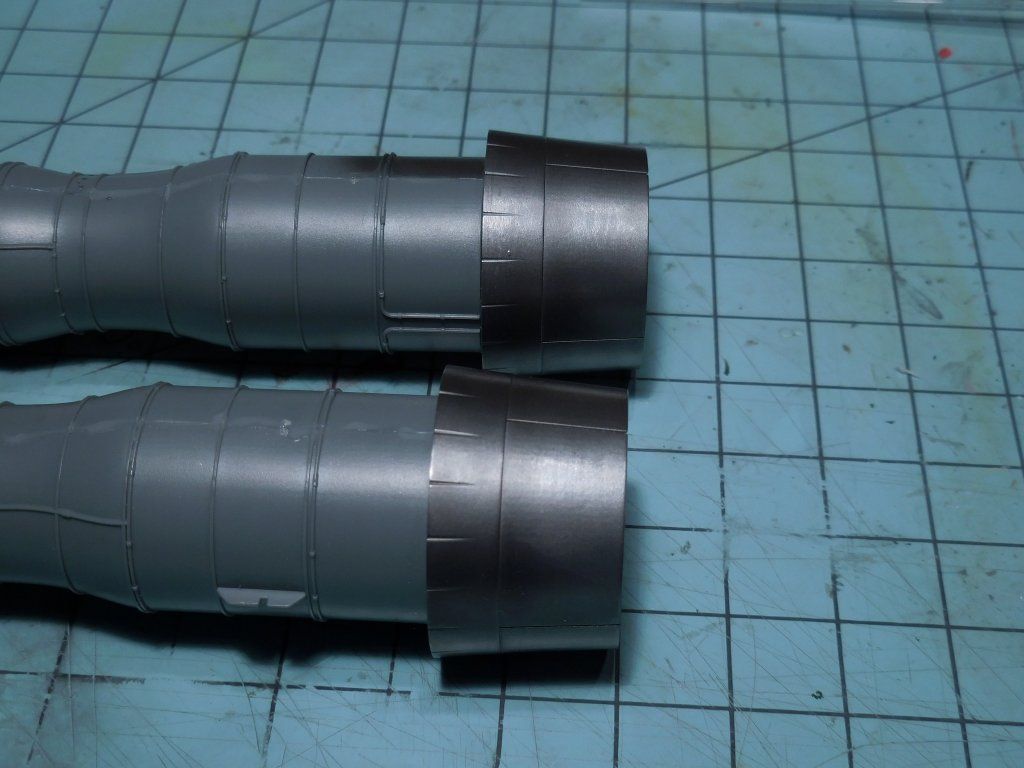
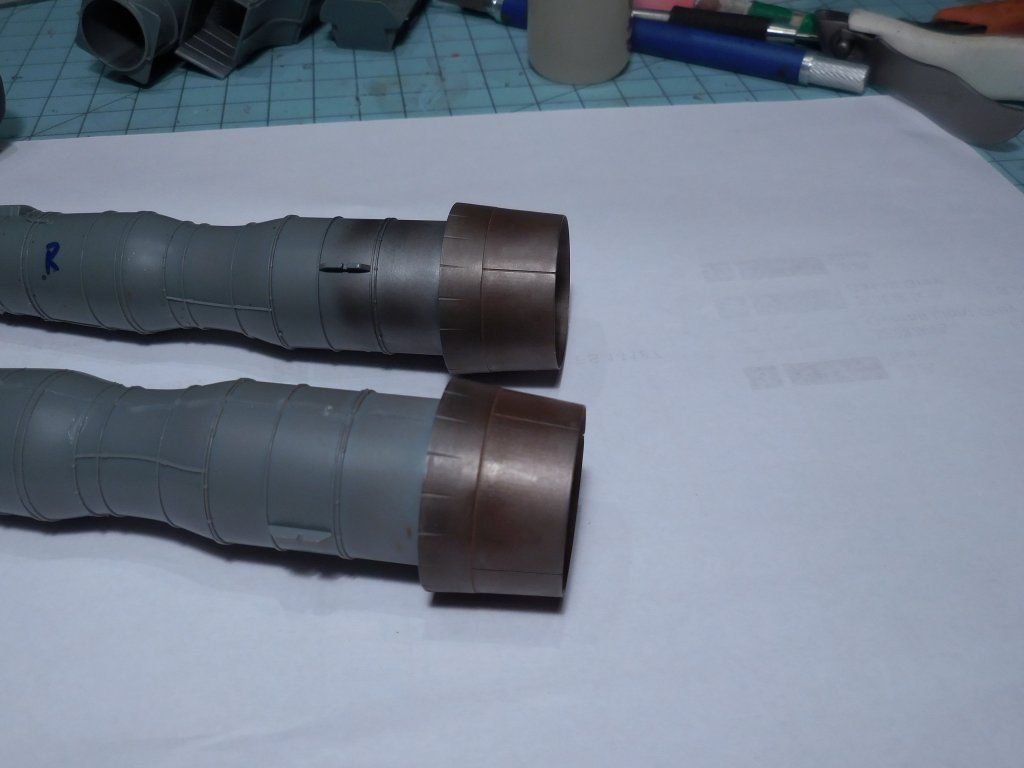
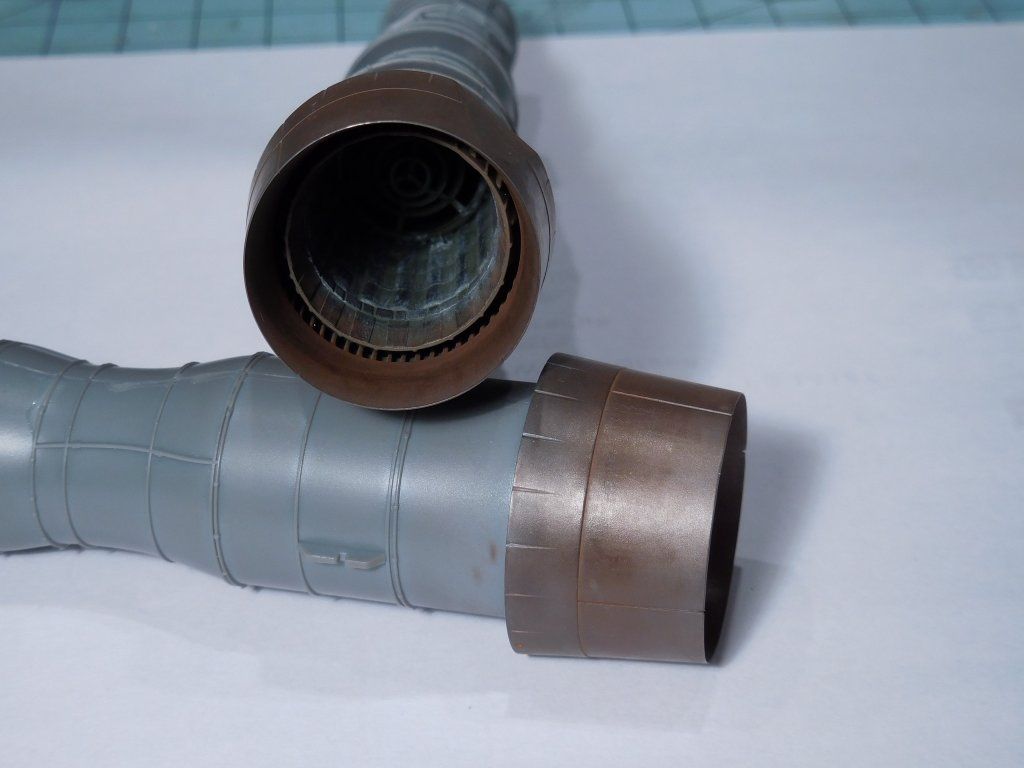
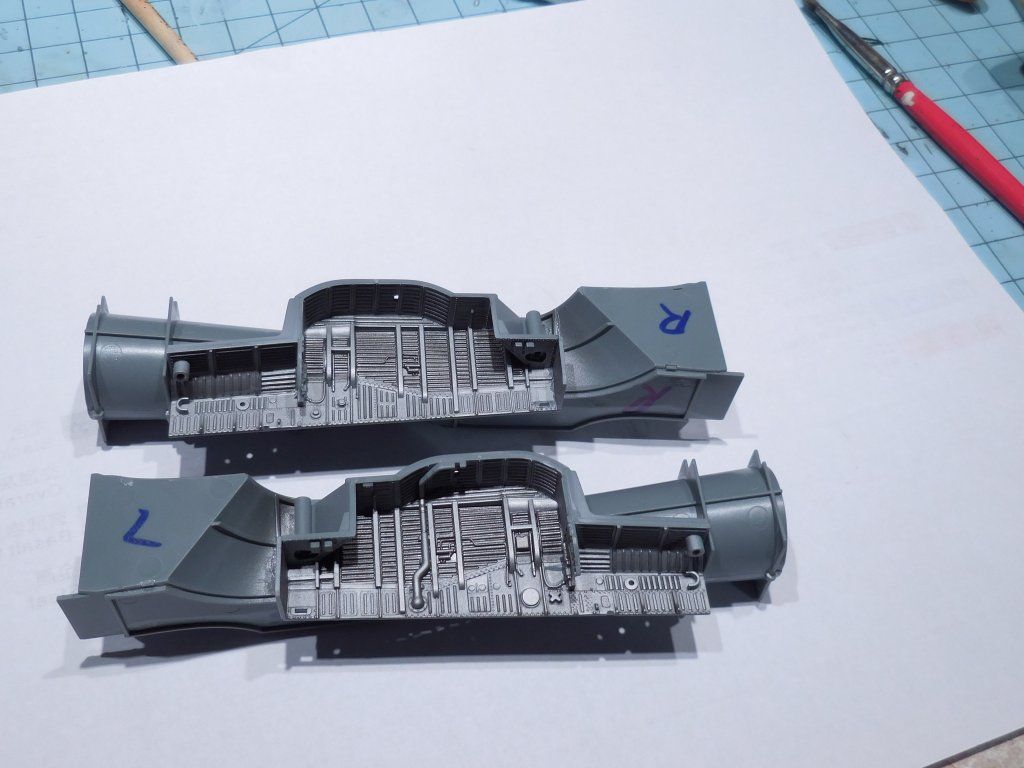
Following the steps in the book. Engines getting done as are the landing gear bay. So far the fit has been exemplary. Found a tip online to swap parts G11 & G12, the little parts that make the 90 degree corner at the intake end. That puts the 2 big ejector pin marks in the noseeum zone.
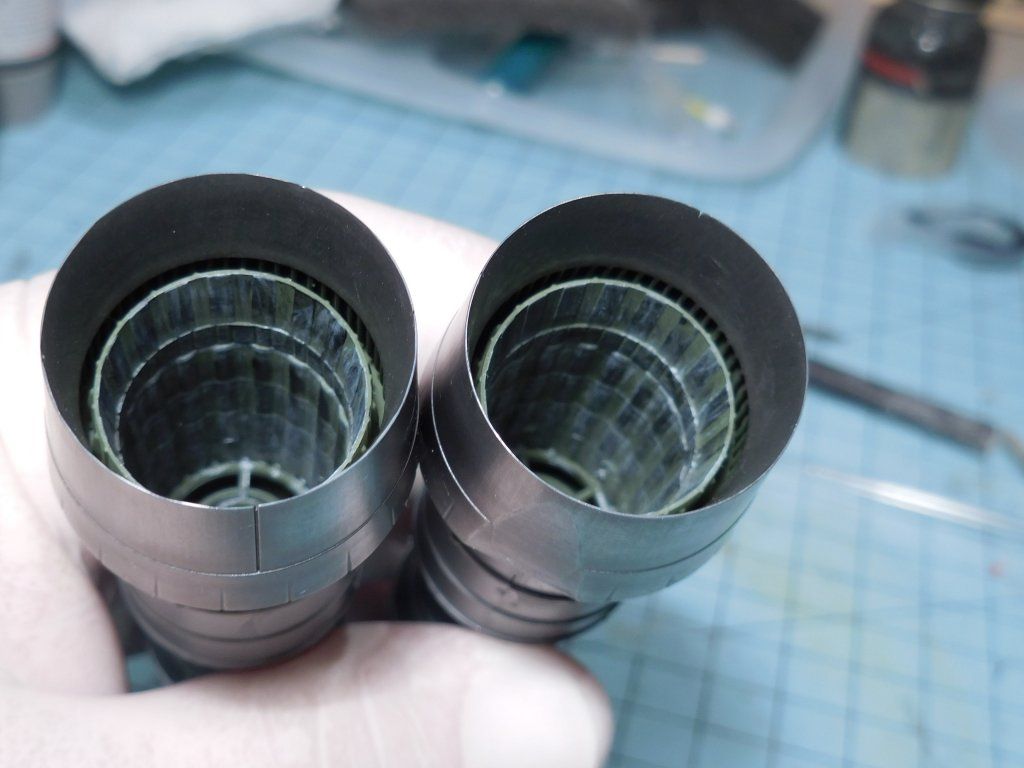
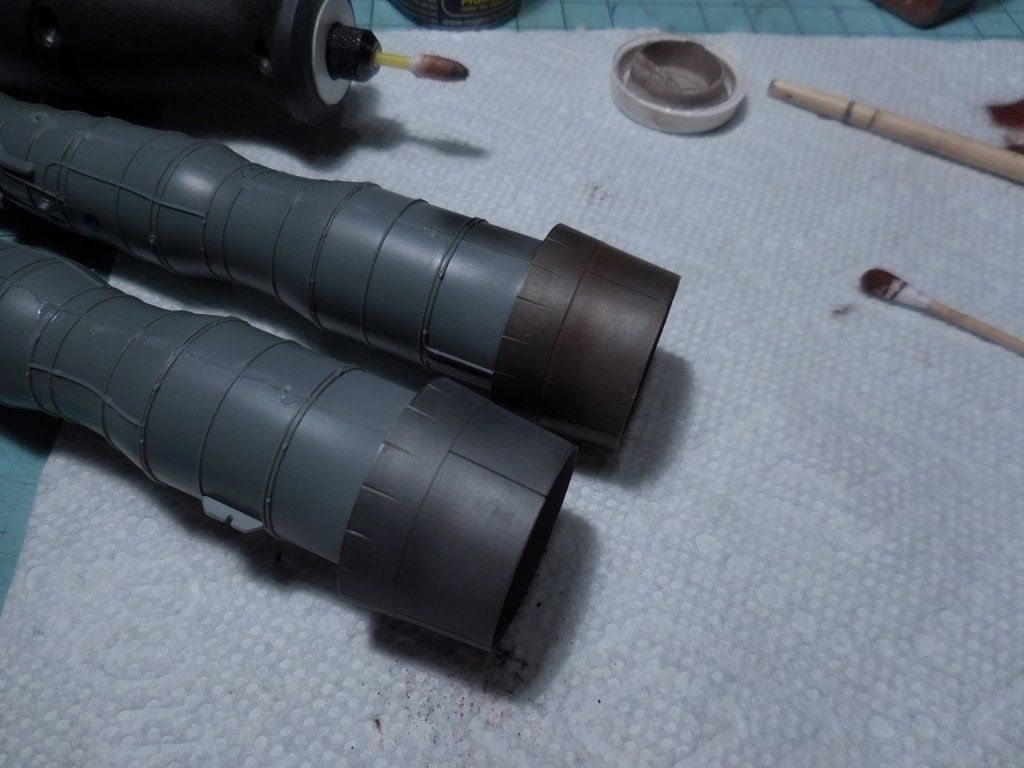
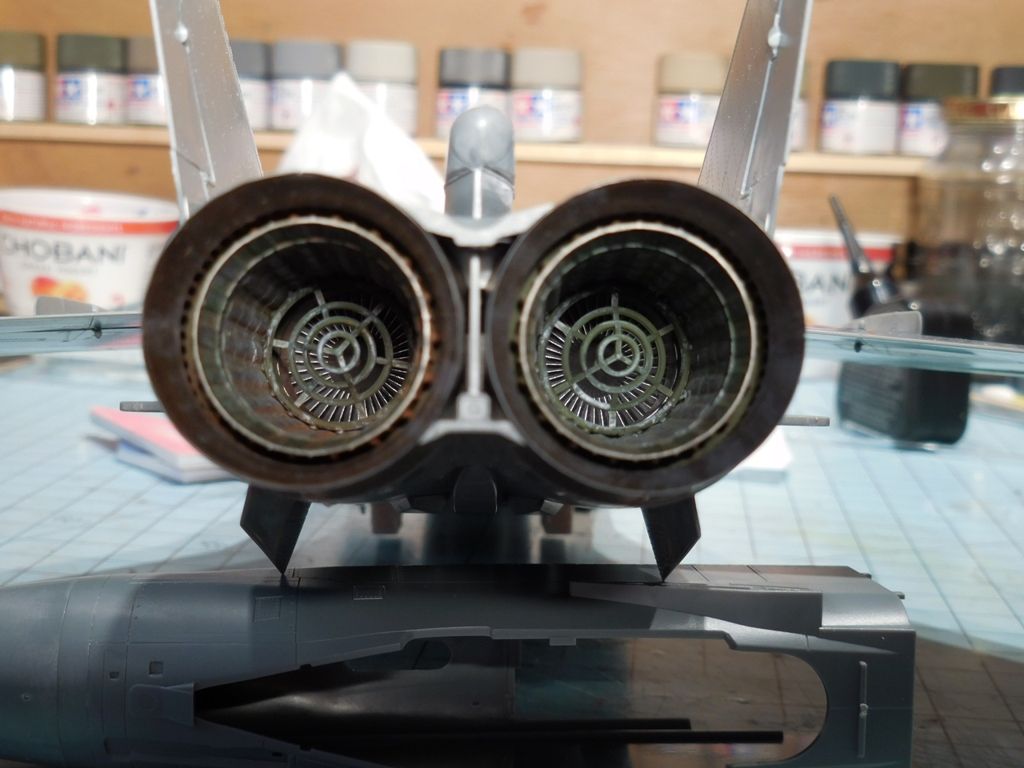
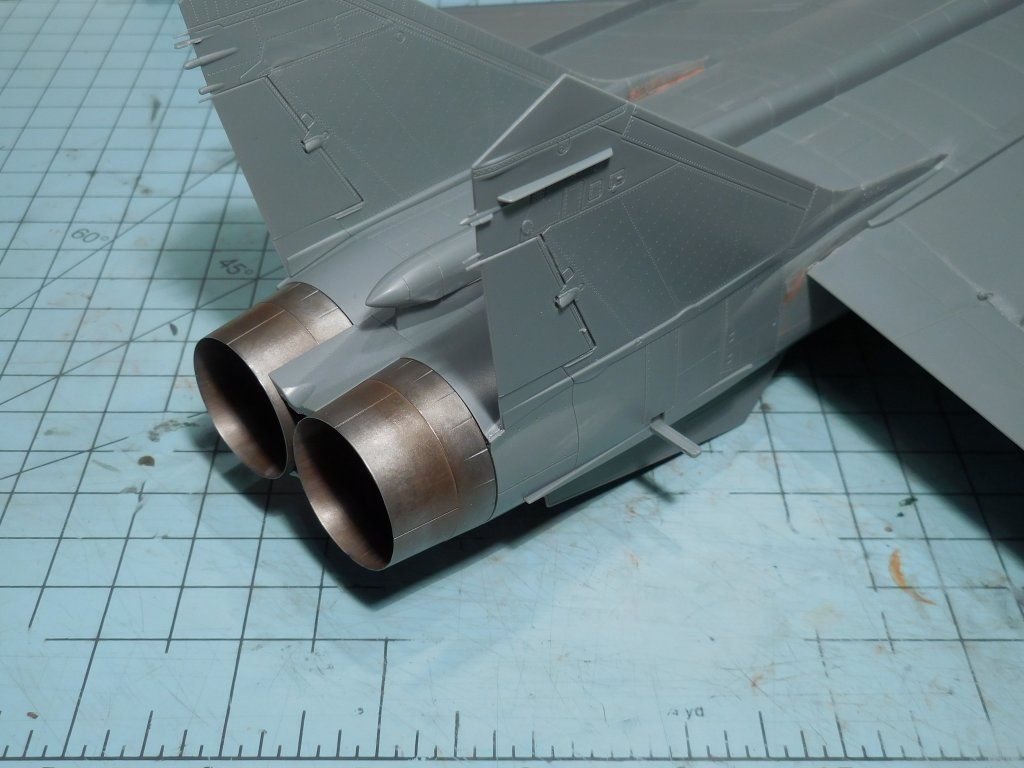
The burner cans got MM Metalizers, buffed with the Dremel/Q-Tip then some pigment buffed into that. Gonna put a very thin layer of metalizers over this and buff it out 1 more time

#424
Queensland, Australia
Joined: April 23, 2015
KitMaker: 4,648 posts
AeroScale: 1,938 posts
Posted: Sunday, October 23, 2016 - 06:59 AM UTC
Marc,
Nice work on the exhausts. Love the wheel-well detail...what a great kit!
BTW, your avatar doesn't show up for me on either my Desk PC nor my IPad.
Gaz
"Artillery adds dignity, to what would otherwise be an ugly brawl."
Frederick The Great
New Jersey, United States
Joined: June 02, 2006
KitMaker: 1,212 posts
AeroScale: 468 posts
Posted: Sunday, October 23, 2016 - 03:50 PM UTC
Thanks Gaz. I just did a test fit of he intakes into the fuselage. Thought I had done something wrong cuz I couldn't get them in. Once I figured out the correct "angle" to insert them they dropped in place. PHEW!

Hadn't noticed the avatar missing, thanks again.
New Jersey, United States
Joined: June 02, 2006
KitMaker: 1,212 posts
AeroScale: 468 posts
Posted: Saturday, November 05, 2016 - 03:35 AM UTC
North Carolina, United States
Joined: June 06, 2006
KitMaker: 4,691 posts
AeroScale: 238 posts
Posted: Saturday, November 05, 2016 - 03:44 AM UTC
Nice cans Marc,looking good.
New Jersey, United States
Joined: June 02, 2006
KitMaker: 1,212 posts
AeroScale: 468 posts
Posted: Monday, November 07, 2016 - 06:22 AM UTC
European Union
Joined: September 28, 2004
KitMaker: 2,186 posts
AeroScale: 1,587 posts
Posted: Monday, November 07, 2016 - 01:50 PM UTC
Those exhausts just look perfect
The mission: Beat the stash.
Almost conquered: MIG-29, Blackhawk, Skyray, Skyraider, fouga
Main battle:Demon, Skyhawk, F-14, CH-53
Stash reserve:Blackhawk, CH-46, 47 en 53; SU-7, Eurofighter, mohawk, hellcat, F-16D, 6x Fouga Magister, Voodoo
New Jersey, United States
Joined: June 02, 2006
KitMaker: 1,212 posts
AeroScale: 468 posts
Posted: Tuesday, November 08, 2016 - 08:34 PM UTC

#424
Queensland, Australia
Joined: April 23, 2015
KitMaker: 4,648 posts
AeroScale: 1,938 posts
Posted: Tuesday, November 08, 2016 - 10:35 PM UTC
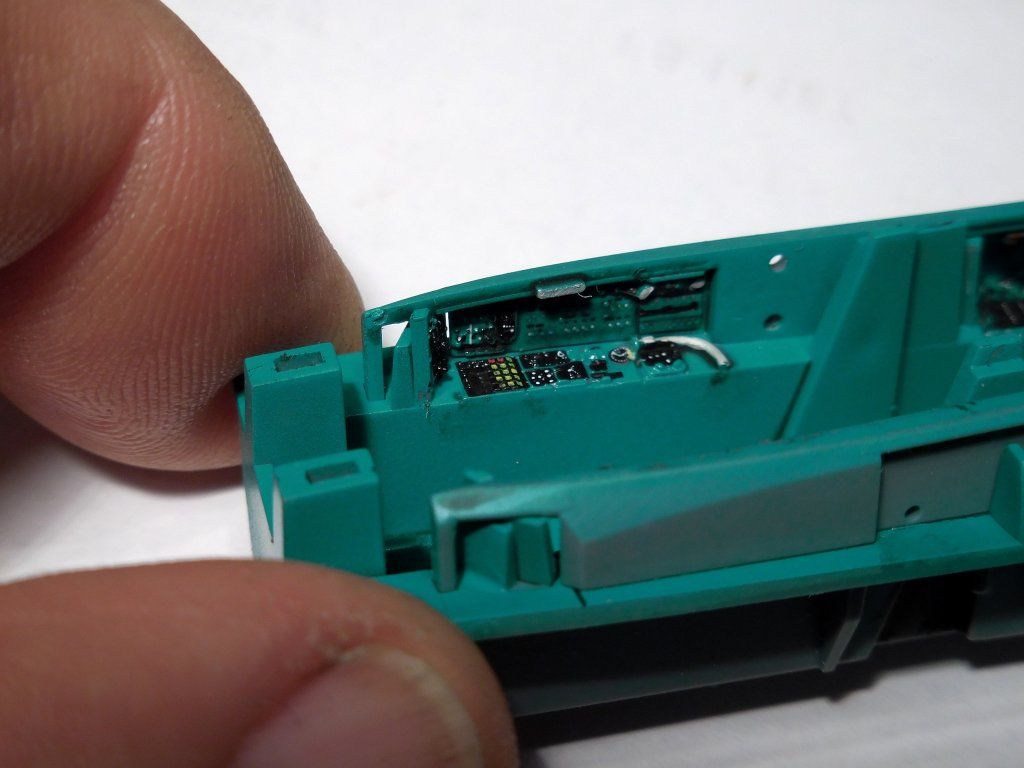
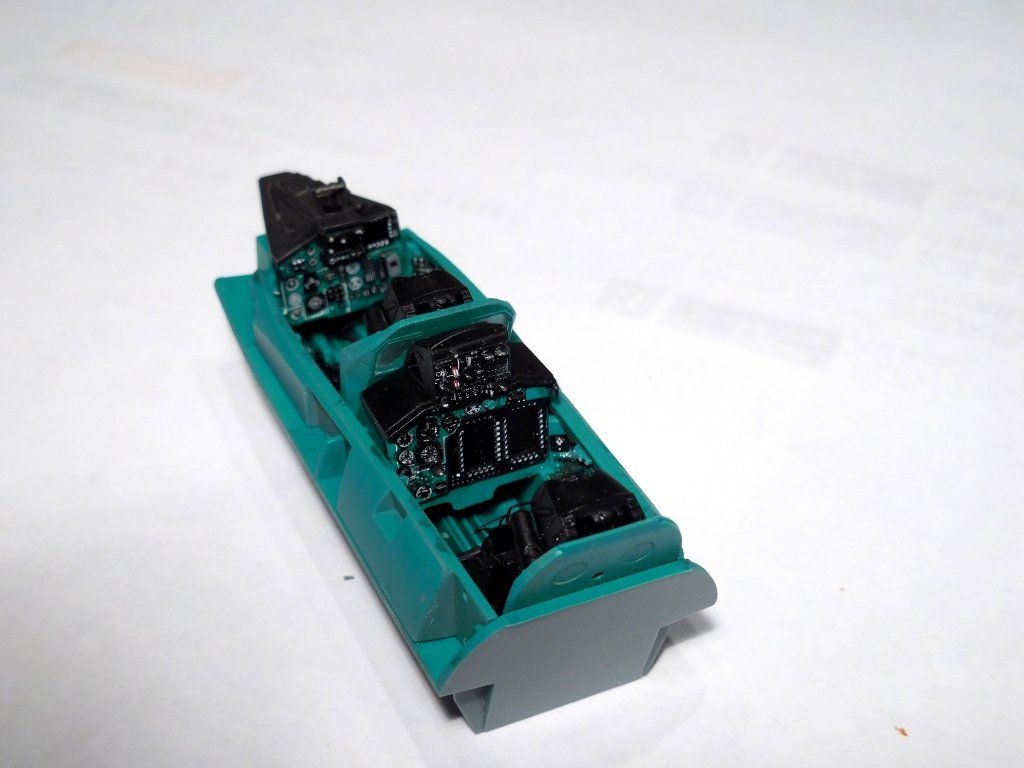
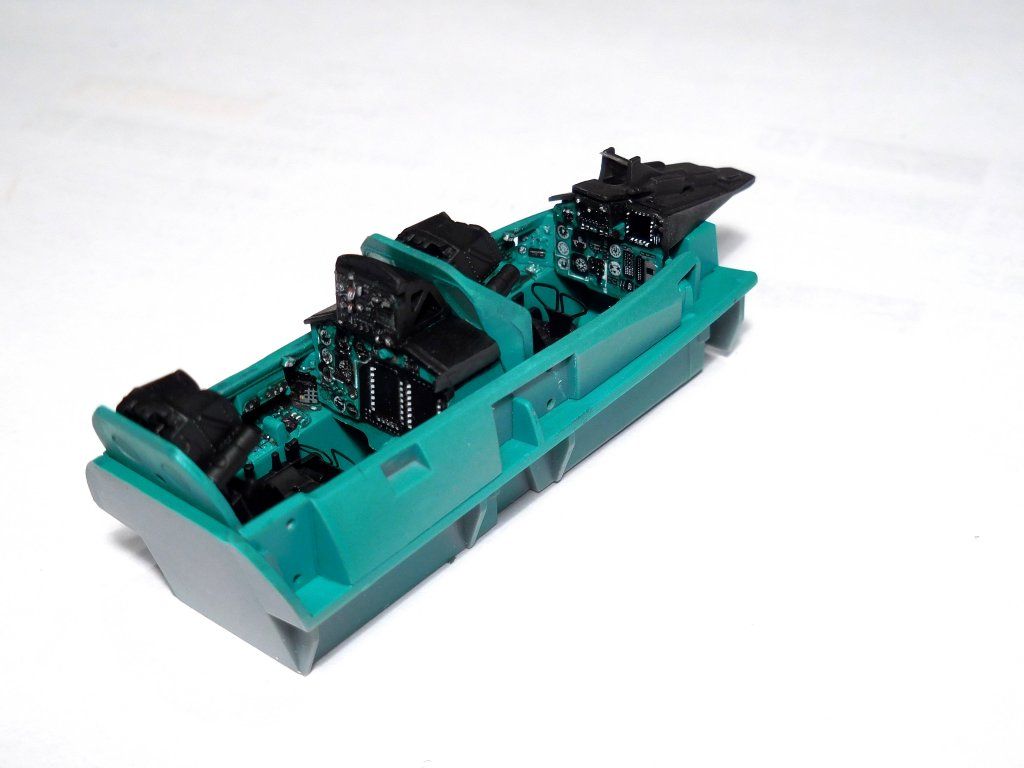
Those cockpits look great! Those decals are sweet!
"Artillery adds dignity, to what would otherwise be an ugly brawl."
Frederick The Great
Germany
Joined: September 07, 2005
KitMaker: 5,609 posts
AeroScale: 5,231 posts
Posted: Wednesday, November 09, 2016 - 02:42 AM UTC
Jep, great cockpit!
What paint / colour did you use .. I like it and while the real turquois (IMO) looks even more toxic and unpleasing to the eye this is a really good scale representation!
all the best
Steffen
DULCE ET DECORUM EST PRO HOBBY MORI
New Jersey, United States
Joined: June 02, 2006
KitMaker: 1,212 posts
AeroScale: 468 posts
Posted: Wednesday, November 09, 2016 - 03:53 AM UTC
Gaz, Steffen... thanks gents.
Steffen, the Mig Russian turquoise. product # A.MIG-223
New Jersey, United States
Joined: June 02, 2006
KitMaker: 1,212 posts
AeroScale: 468 posts
Posted: Saturday, November 26, 2016 - 09:51 PM UTC
Back from the tryptophan/bourbon coma. Hope the folks that celebrated that day had a good one.
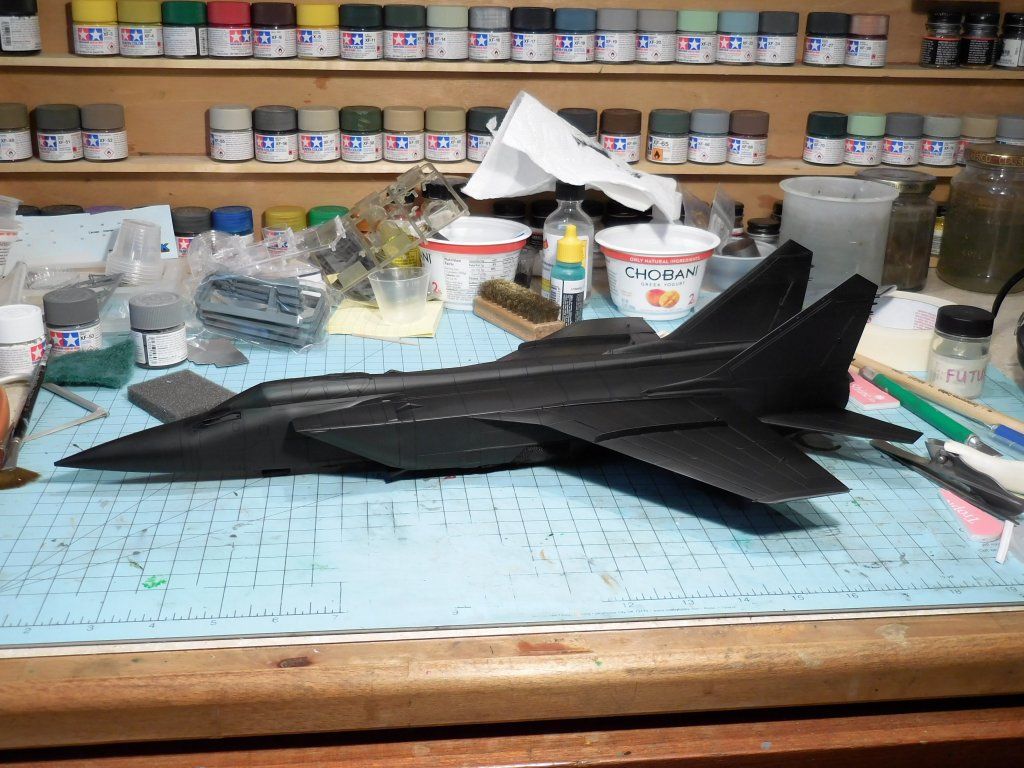
Finally got to the point the primer could be laid down. I was aghast when I realized that I had just thinned nearly a full jar Mr. Surfacer 1500 black with Home Depot lacquer thinner, instead of Mr Paint Leveling Thinner THE HORROR!. It was fine, nice and smooth.
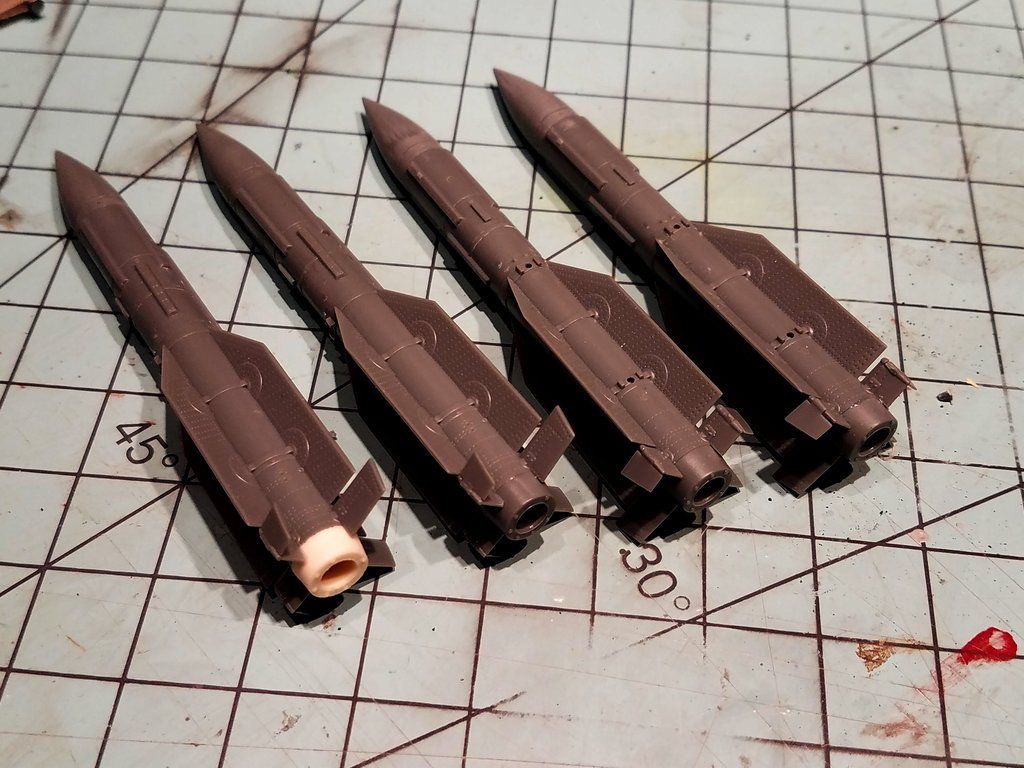
Waiting for the primer to dry I started cleaning up the R-33's. Don't be fooled by the 1 piece molding... plenty of mold lines to cleaned up. One rocket nozzle was missing from 1 of the sprues. I noticed it before I opened the plastic bag so I know I did not loose it... for a change. Hey, it happens. RTV mold and Alumilite to the rescue. Way faster than trying to contact AMK.

#424
Queensland, Australia
Joined: April 23, 2015
KitMaker: 4,648 posts
AeroScale: 1,938 posts
Posted: Sunday, November 27, 2016 - 03:47 AM UTC
Marc,
Nice work in that nozzle fix. The rockets look impressively molded. The plane certainly looks sleek in black.
Was there much call for putty or sanding?
Gaz
"Artillery adds dignity, to what would otherwise be an ugly brawl."
Frederick The Great
New Jersey, United States
Joined: June 02, 2006
KitMaker: 1,212 posts
AeroScale: 468 posts
Posted: Sunday, November 27, 2016 - 05:37 AM UTC
Thanks gaz. Very small amount of filler and I think some of it may not have been needed if I cleaned some parts better before gluing. A lot of the parts have the mold parting line down the middle of the gluing surface making a ridge or sometimes a vert slight step. With care getting them cleaned and figuring out which is the surface you need to clean to...the high or low side. Overall though a super kit.
New Jersey, United States
Joined: June 02, 2006
KitMaker: 1,212 posts
AeroScale: 468 posts
Posted: Thursday, December 01, 2016 - 03:20 AM UTC
It's been a good bench day but had to get to pulling the masking, most of it anyway. "We don't need no steenking Viagra!"

Marbling and the start of the blend coat

Have to be careful to stop before you cover up a long paint session.

New Jersey, United States
Joined: June 02, 2006
KitMaker: 1,212 posts
AeroScale: 468 posts
Posted: Thursday, December 15, 2016 - 12:23 AM UTC
litespeed
 News Reporter
England - North West, United Kingdom
Joined: October 15, 2009
KitMaker: 1,976 posts
AeroScale: 1,789 posts
Posted: Thursday, December 15, 2016 - 01:44 AM UTC
Your MiG is looking stunning Marc. I really like your approach to weathering with the marbled/mottled under colour. Really appreciating your updates


tim
North Carolina, United States
Joined: June 06, 2006
KitMaker: 4,691 posts
AeroScale: 238 posts
Posted: Thursday, December 15, 2016 - 03:03 AM UTC
Great job Marc,you got me looking at mine in the box.
New Jersey, United States
Joined: June 02, 2006
KitMaker: 1,212 posts
AeroScale: 468 posts
Posted: Thursday, December 15, 2016 - 03:56 AM UTC
Thanks Tim
Antony... Get it out of the box and on the bench!


#424
Queensland, Australia
Joined: April 23, 2015
KitMaker: 4,648 posts
AeroScale: 1,938 posts
Posted: Thursday, December 15, 2016 - 04:31 AM UTC
"Artillery adds dignity, to what would otherwise be an ugly brawl."
Frederick The Great
New Jersey, United States
Joined: June 02, 2006
KitMaker: 1,212 posts
AeroScale: 468 posts
Posted: Thursday, December 15, 2016 - 07:35 PM UTC
Mercy B Cups


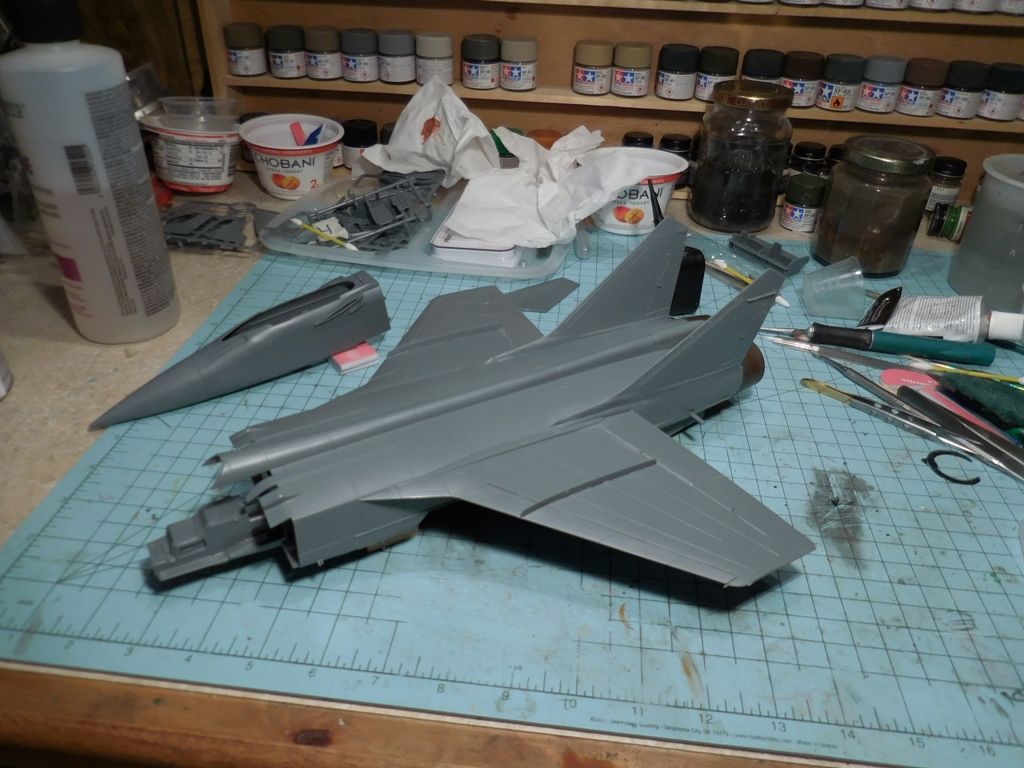
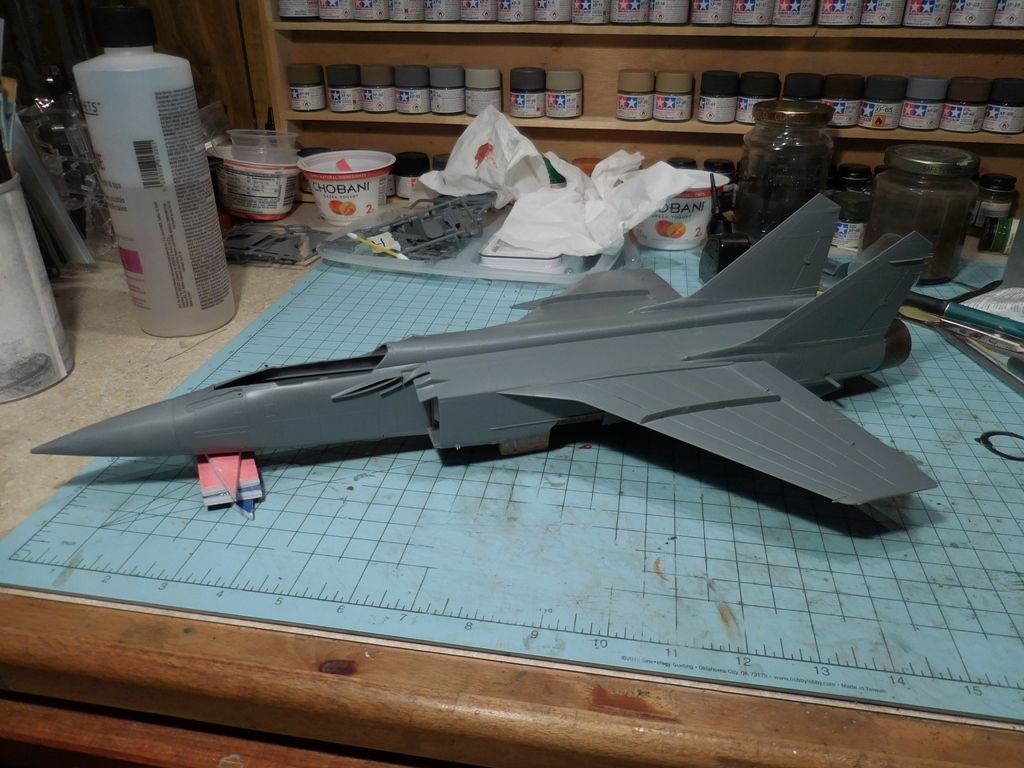


 I replaced the HUD glass with a piece of .010 clear styrene sheet. Seats are primed and ready for detailing.
