_GOTOBOTTOM
World War II: Japan
Aircraft of Japan in WWII.
Hosted by Rowan Baylis
Kayaba ! Meng 1/72
lespauljames
_VISITCOMMUNITY
England - South West, United Kingdom
Joined: January 06, 2007
KitMaker: 3,661 posts
AeroScale: 369 posts
Posted: Thursday, October 27, 2016 - 06:42 PM UTC
OK so I am half way through this one. the build was smooth and simple with few parts and nice detailing, if a bit trenchy.
I painted this kit first time around with mr hobby aqueous. it didnt turn out well, so i stripped it and am on paint job #2
this time i used my trusty tamiya and lifecolour.

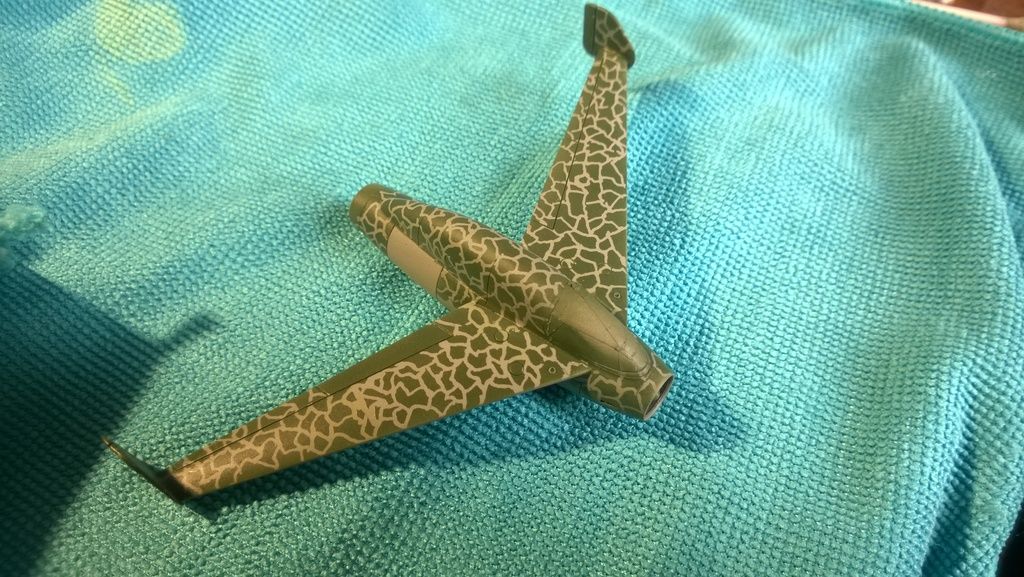
i approached the masking with masking fluid, applied over tamiya grey, with a toothpick, then sprayed lifecolour olivegrun over the top,and lightly buffed away the masking fluid.

I apologise for the poor photos.
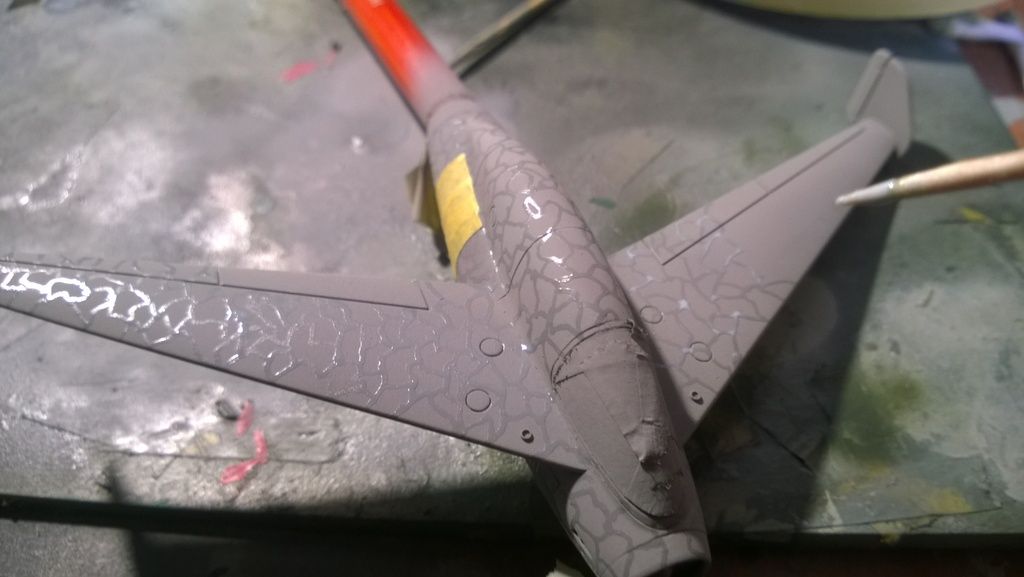


then the green and the peeling
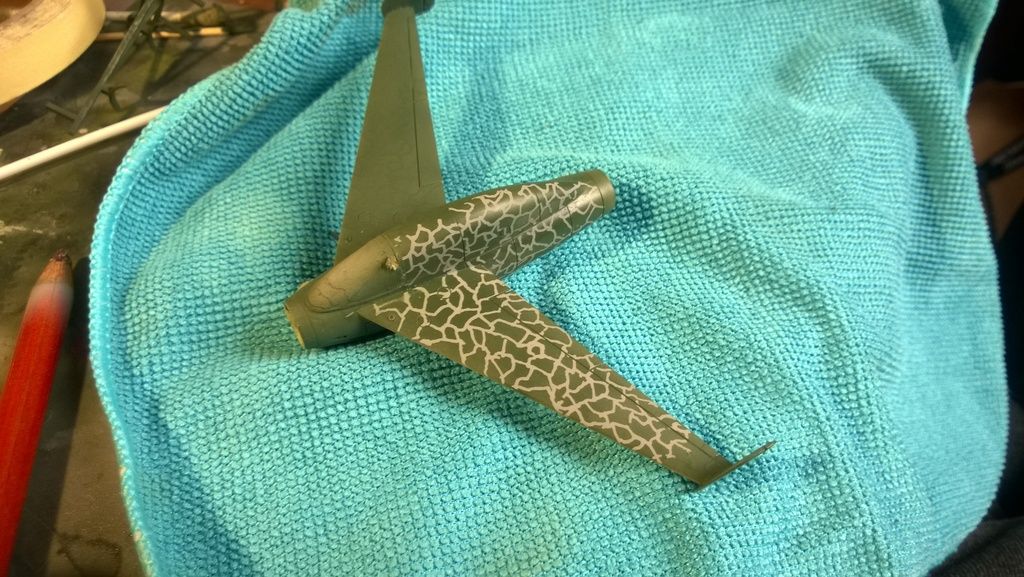


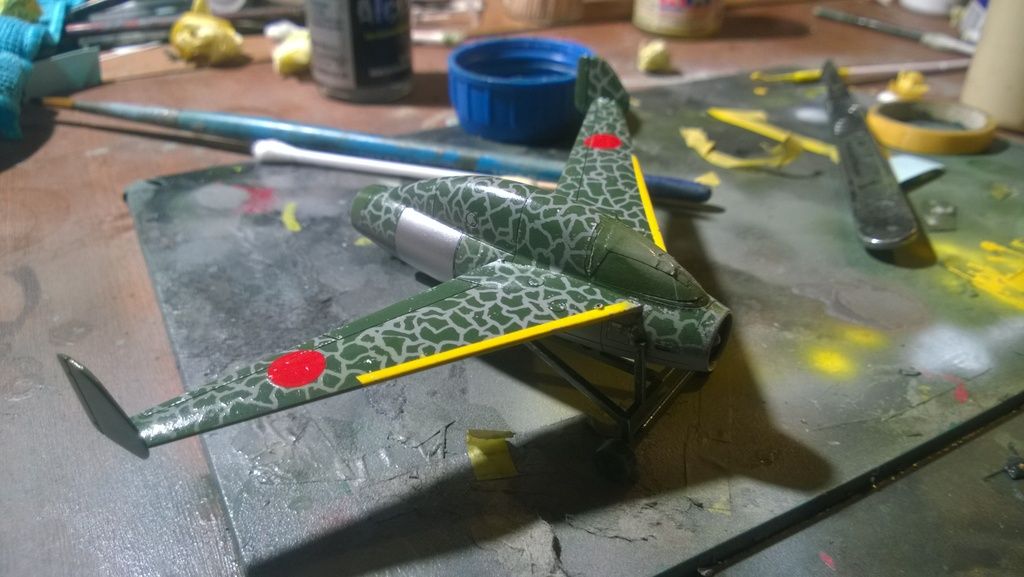
I dont know whether to apply the hironamu over a grey circle, or just pop them on top of the camo.

all the best
James. as ever, feedback and tips are welcome.
Antilles
_VISITCOMMUNITY
Nordrhein-Westfalen, Germany
Joined: March 22, 2015
KitMaker: 671 posts
AeroScale: 614 posts
Posted: Thursday, October 27, 2016 - 07:26 PM UTC
Wow,

the camo comes out really cool! what fluid did You use?

Oliver
lespauljames
_VISITCOMMUNITY
England - South West, United Kingdom
Joined: January 06, 2007
KitMaker: 3,661 posts
AeroScale: 369 posts
Posted: Thursday, October 27, 2016 - 07:33 PM UTC
Hello Oliver !, the masking fluid is pebeo drawing gum. Its cheaper than Windsor and newton and the model stuff. I brought a 120 ml bottle for £12 approx. I was being really lazy and didn't want to hand paint the little blobs, so after thinking of paper masks, hand painting the blobs and hand painting the lines, I thought ! Aha ! And the lazy method worked really well.
lespauljames
_VISITCOMMUNITY
England - South West, United Kingdom
Joined: January 06, 2007
KitMaker: 3,661 posts
AeroScale: 369 posts
Posted: Thursday, October 27, 2016 - 10:47 PM UTC
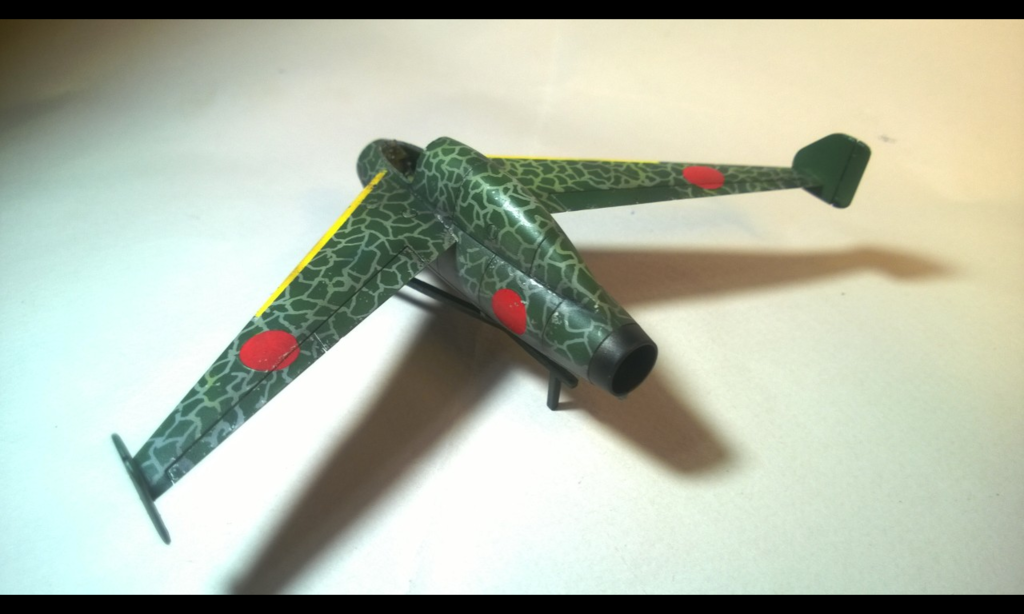
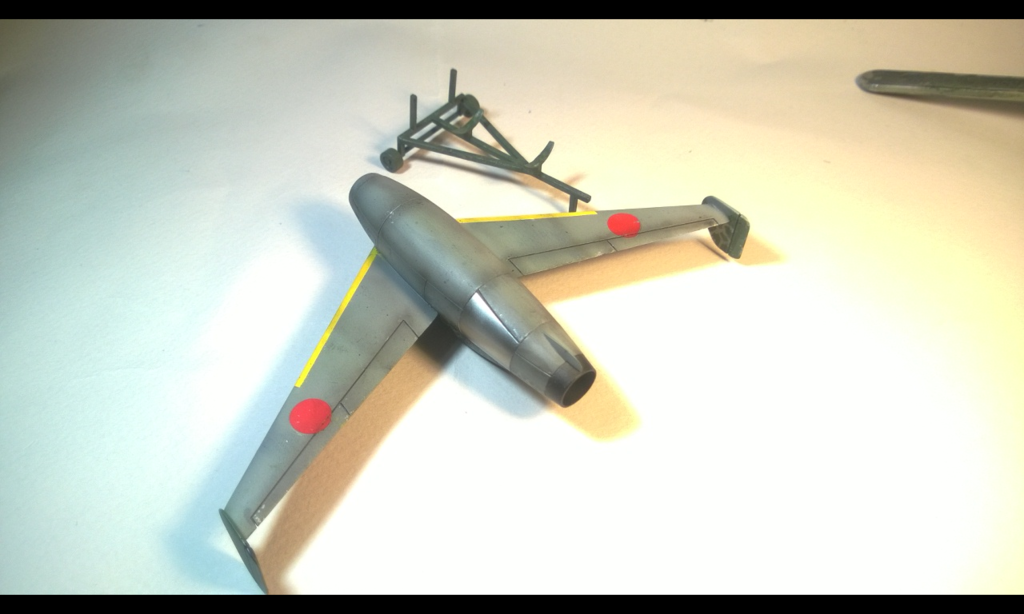
That's me for today. Decals on light coat of future on. Sprayed the rear replacement panel with alclad, and did a little bit of chipping, also masked and sprayed the yellow identification strips I'm hoping the green raised bits will settle down with clear coats. I made sure to do only light passes but still they were slightly proud of the basecoat.

Redhand
#522
_VISITCOMMUNITY
New Jersey, United States
Joined: January 20, 2013
KitMaker: 1,460 posts
AeroScale: 1,443 posts
Posted: Friday, October 28, 2016 - 03:48 AM UTC
No pictures showing, unfortunately.
lespauljames
_VISITCOMMUNITY
England - South West, United Kingdom
Joined: January 06, 2007
KitMaker: 3,661 posts
AeroScale: 369 posts
Posted: Friday, October 28, 2016 - 07:05 PM UTC
Brian, they are showing up on my end !
lespauljames
_VISITCOMMUNITY
England - South West, United Kingdom
Joined: January 06, 2007
KitMaker: 3,661 posts
AeroScale: 369 posts
Posted: Saturday, October 29, 2016 - 02:45 AM UTC
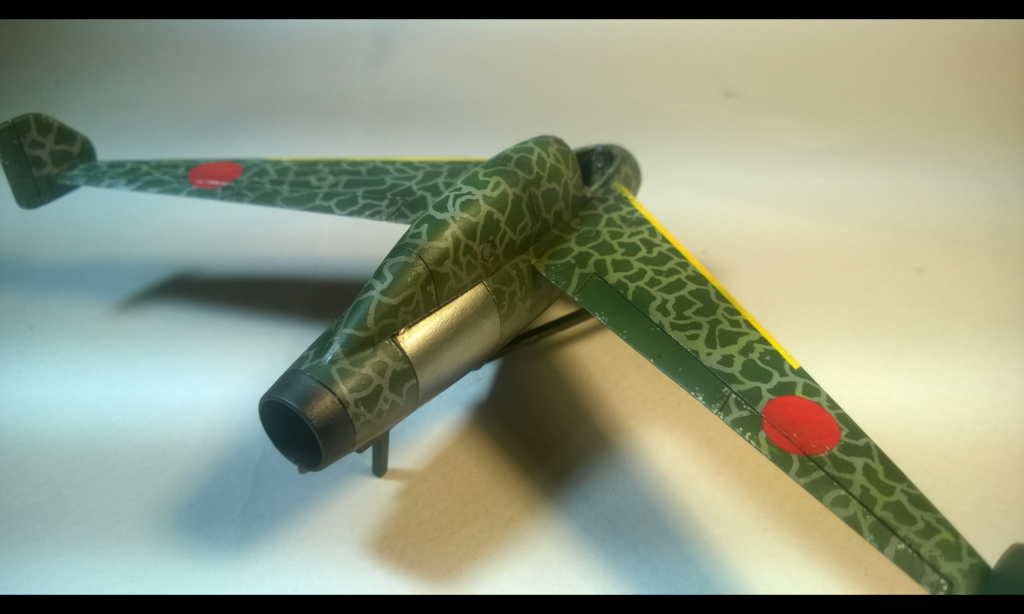
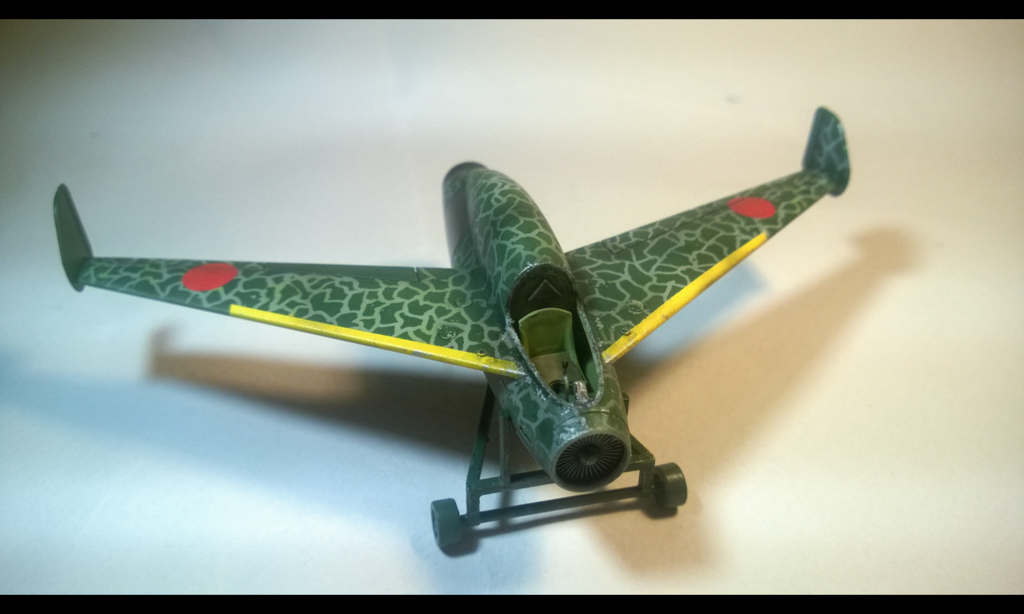
here we are with another update.
chipping,washes and filters done, the canopy has been removed for due to a light fogging.


Redhand
#522
_VISITCOMMUNITY
New Jersey, United States
Joined: January 20, 2013
KitMaker: 1,460 posts
AeroScale: 1,443 posts
Posted: Saturday, October 29, 2016 - 02:56 AM UTC

Quoted Text

Brian, they are showing up on my end !


Yes, I see 'em now. Remarkable camo technique!! Very interesting subject too.
lespauljames
_VISITCOMMUNITY
England - South West, United Kingdom
Joined: January 06, 2007
KitMaker: 3,661 posts
AeroScale: 369 posts
Posted: Saturday, October 29, 2016 - 07:52 PM UTC
Thanks brian not my usual subject but I was away for my birthday and found this and it looked a bit nifty and was a good price.
 _GOTOTOP