Thank you
So far, everything is lining up well. Some fits are quite tight and you have to make sure any tiny remnants of the sprue stubs are sanded down and follow the instructions closely.
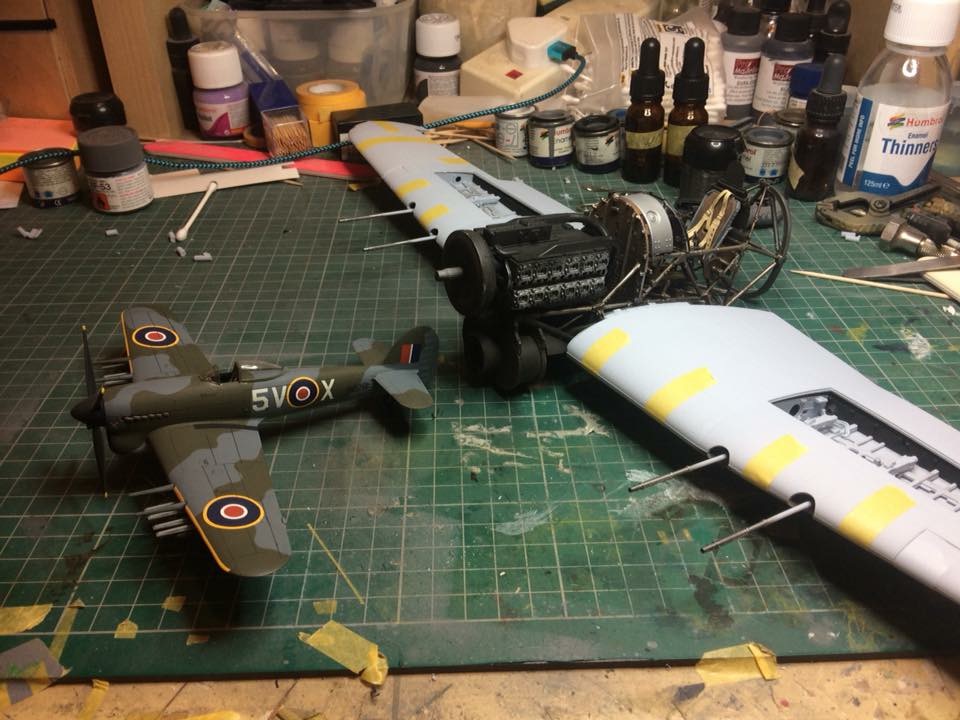
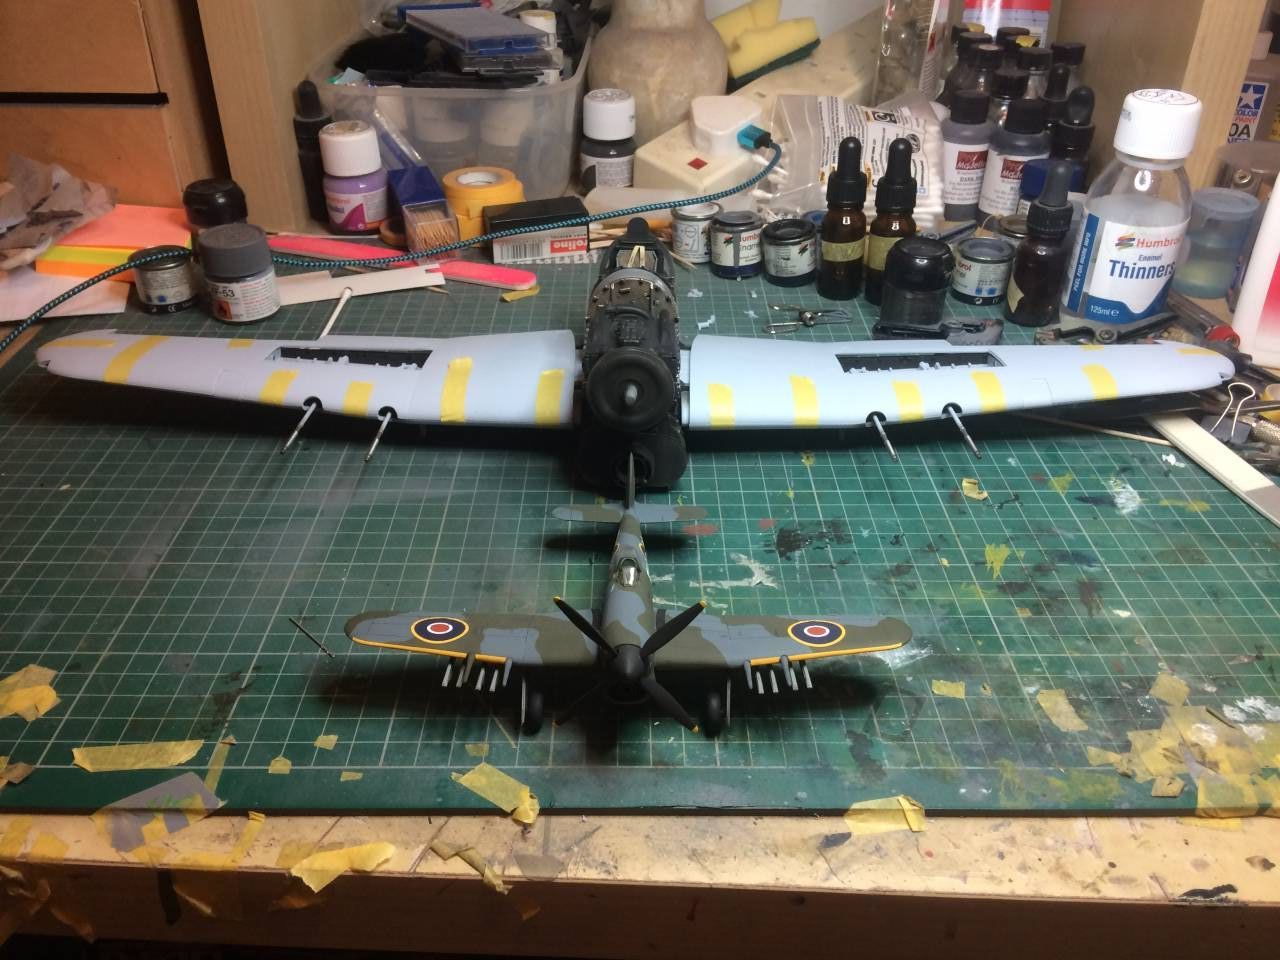
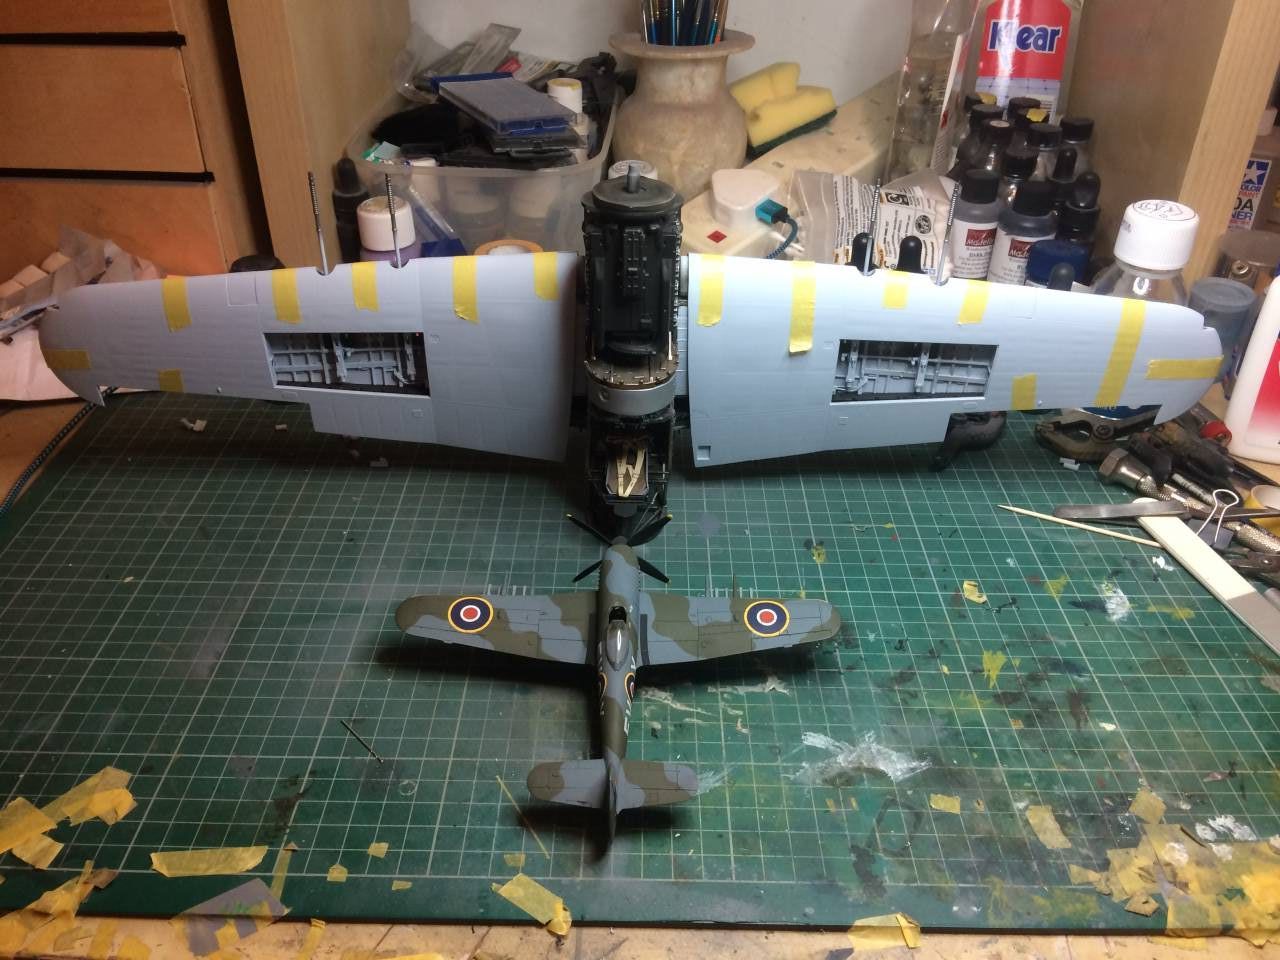
Top sections of the wings are taped in place to check the fit, especially around the wing light blanking areas which may require a bit of fettling before everything is glued down.
A couple of photos with the Airfix 1:72 version for scale.
Hosted by Rowan Baylis
Building the Airfix 1:24th Typhoon
Posted: Wednesday, November 08, 2017 - 03:43 AM UTC
Scrodes
Ontario, Canada
Joined: July 22, 2012
KitMaker: 771 posts
AeroScale: 763 posts
Joined: July 22, 2012
KitMaker: 771 posts
AeroScale: 763 posts
Posted: Wednesday, November 08, 2017 - 05:36 AM UTC
I can't wait to start mine!
I have two, I want to trade one (they're both bubbletops) for a car-door version, but I can't find anyone looking to trade.
Posted: Thursday, November 09, 2017 - 02:08 AM UTC
Quoted Text
A couple of photos with the Airfix 1:72 version for scale.
/>
Very nice work on the 1/72 Typhoon Nigel!
I am currently working on the 1/72 from Airfix and have the 1/24 in the stash. Looking at the size difference, all I can say is: OMG!
Posted: Sunday, January 21, 2018 - 05:53 AM UTC
It’s been a while but time for a progress report.
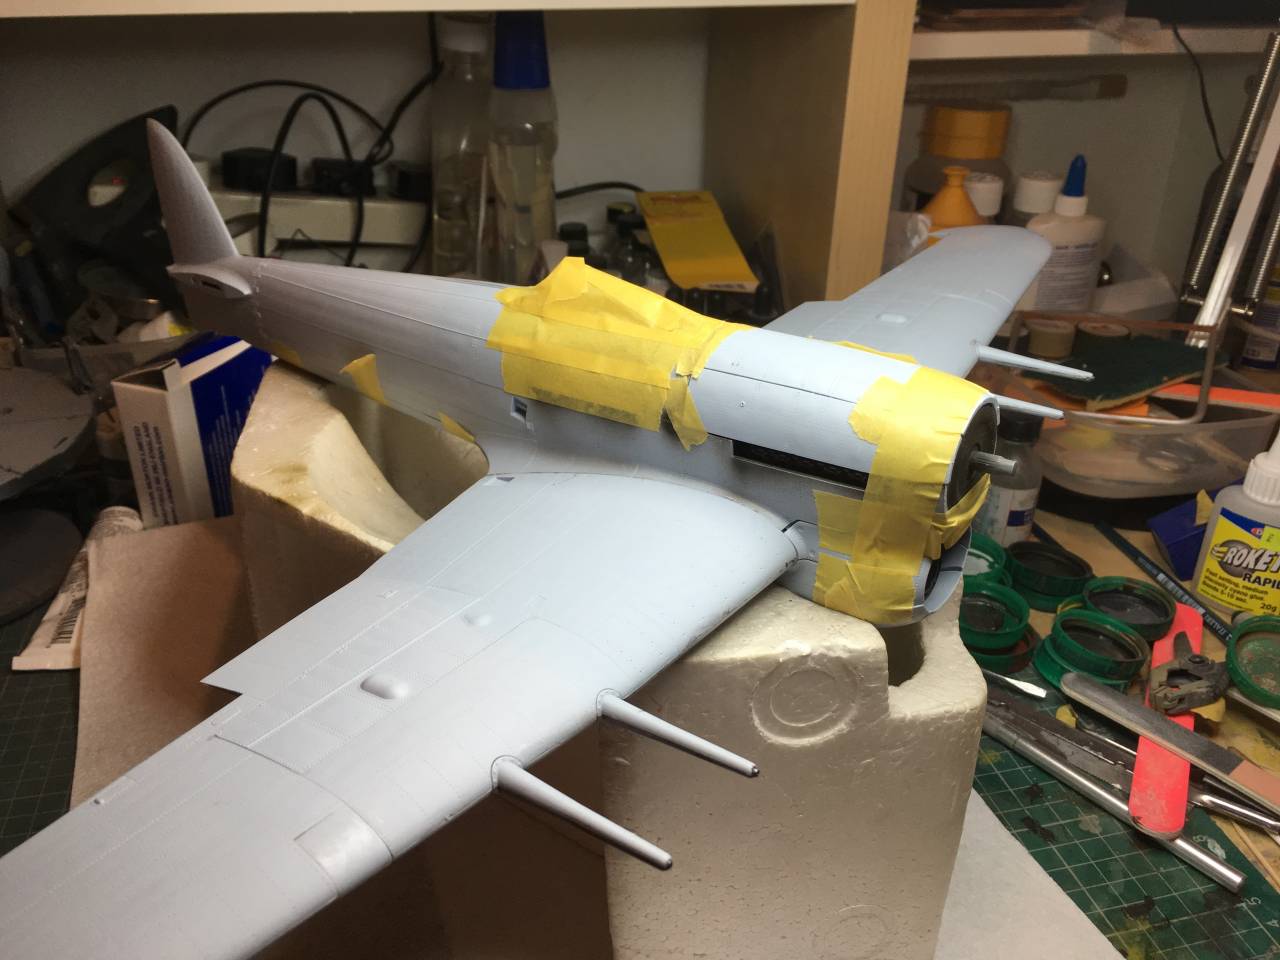
After I joined the fuselage halves together it looked as though I was going to be faced with what’s become a common talking point on these kits and that’s a badly fitting front end.
This resulted in the build becoming a hanger queen for a few months, as I wasn’t enjoying what seemed destined to become more of a hardship than what should actually be a relaxing hobby.
So onto the shelf of doom it went while I concentrated on other less stressful builds.
However, while spending time at the bench recently I’ve picked the Tiffie up a few times and fettled away at it now and again which has resulted in a half hour dedicated to it tonight and shown that the parts which make up the front end panels around the engine are actually not going to be too much of a nightmare after all and dry fitting only throws up a couple of areas which require a bit of work.
Hopefully, this will give me some motivation to get it to the primer stage sooner rather than later.
Posted: Sunday, January 21, 2018 - 06:01 AM UTC
Fantastic news Nige! I've had this beast on my wish list for ages but the price point has always been a stumbling point. Anybody want theirs built but don't want to do it themselves? LOL ..... no?????
Posted: Sunday, January 21, 2018 - 02:46 PM UTC
Nigel, great to see this back on the bench. An awesome kit and you're definitely doing justice to it!
Chris, it's not a cheap kit by far, but well worth it
Joel_W
Associate Editor
New York, United States
Joined: December 04, 2010
KitMaker: 11,666 posts
AeroScale: 7,410 posts
Joined: December 04, 2010
KitMaker: 11,666 posts
AeroScale: 7,410 posts
Posted: Sunday, January 21, 2018 - 11:44 PM UTC
Nige,
Great to see some progress and that you're once again working on it.
Joel
Great to see some progress and that you're once again working on it.
Joel
Posted: Monday, January 29, 2018 - 02:58 AM UTC
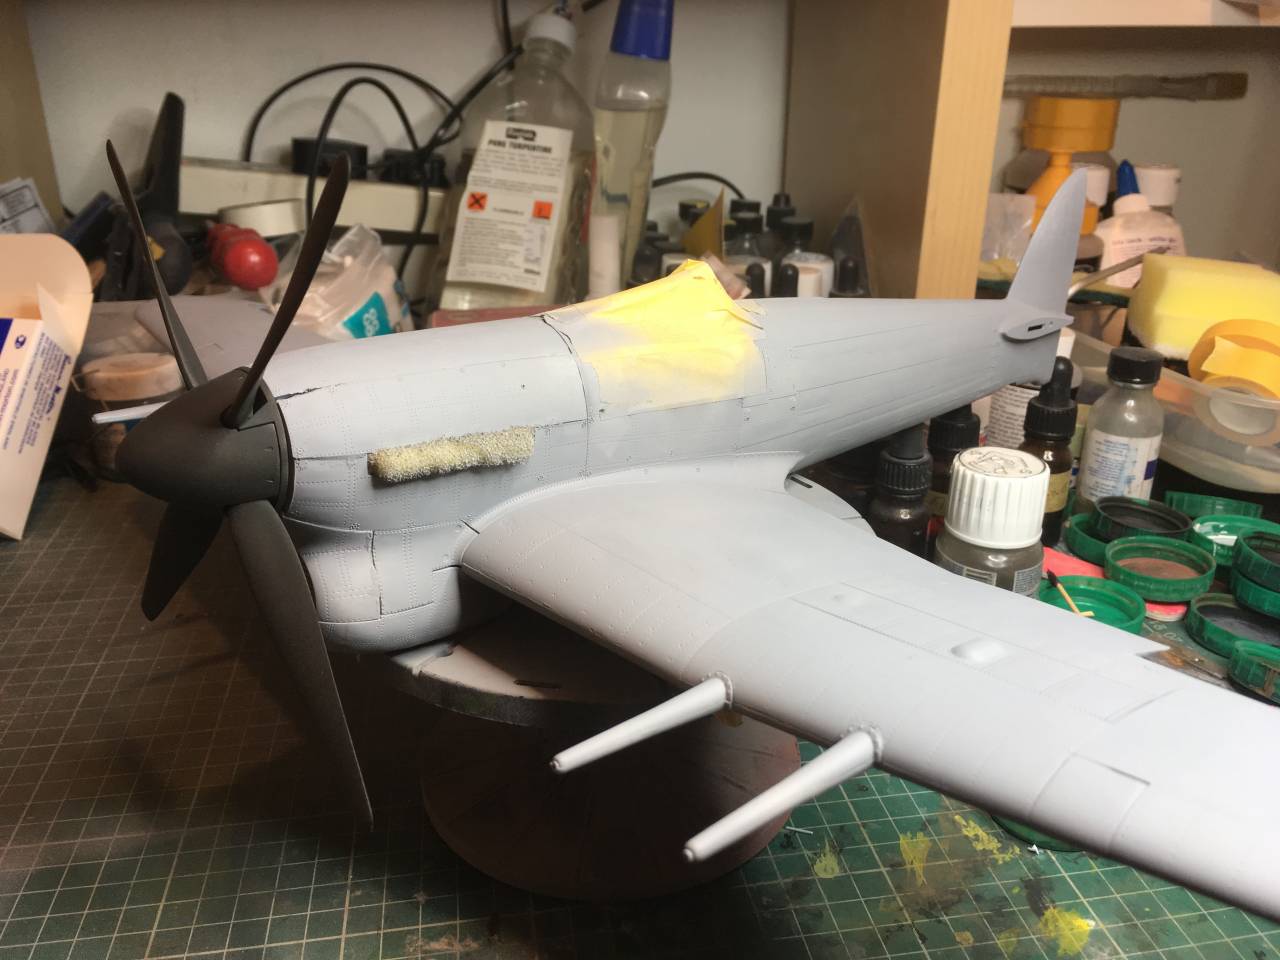
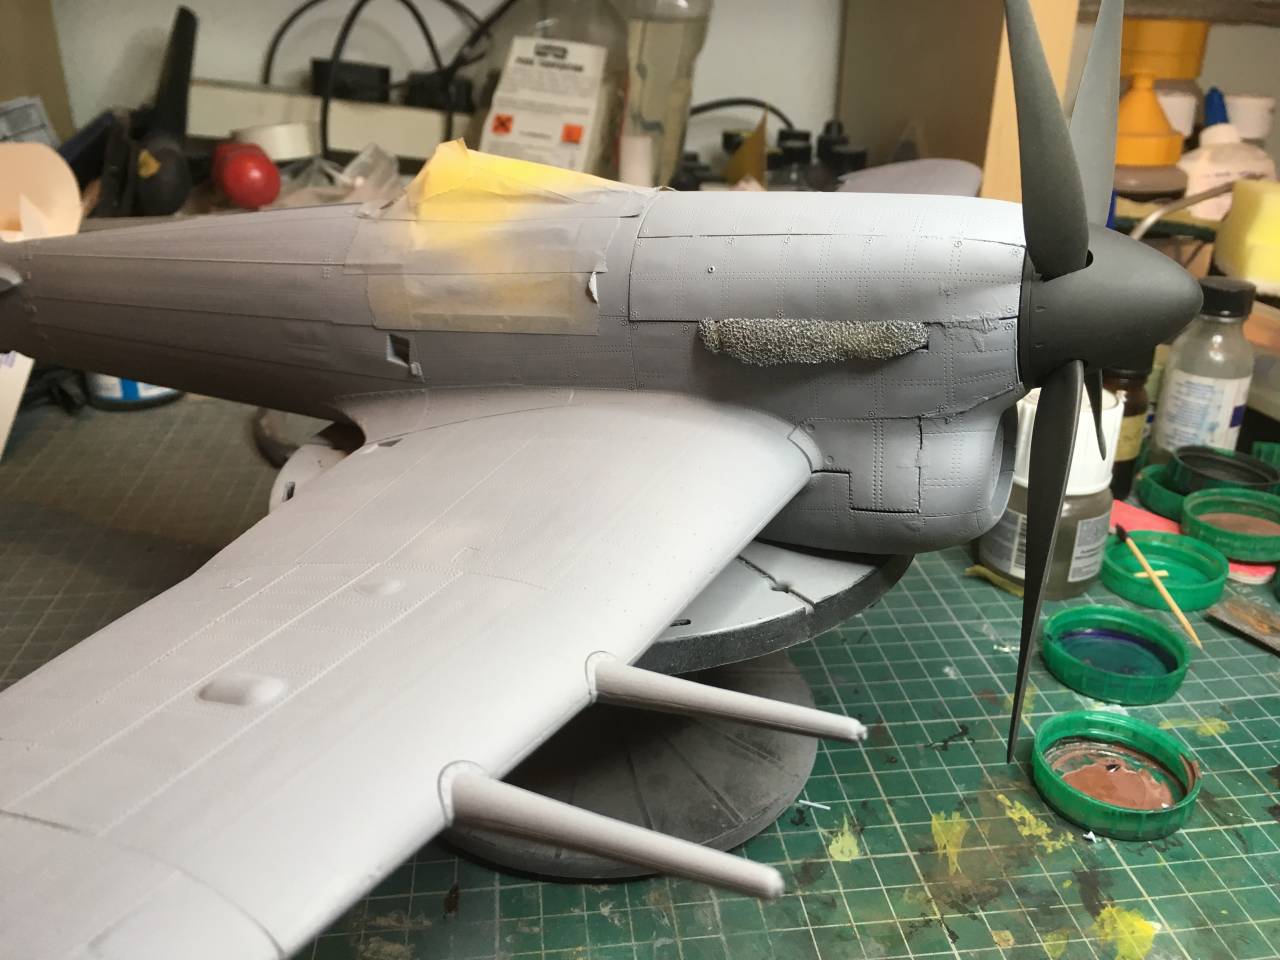
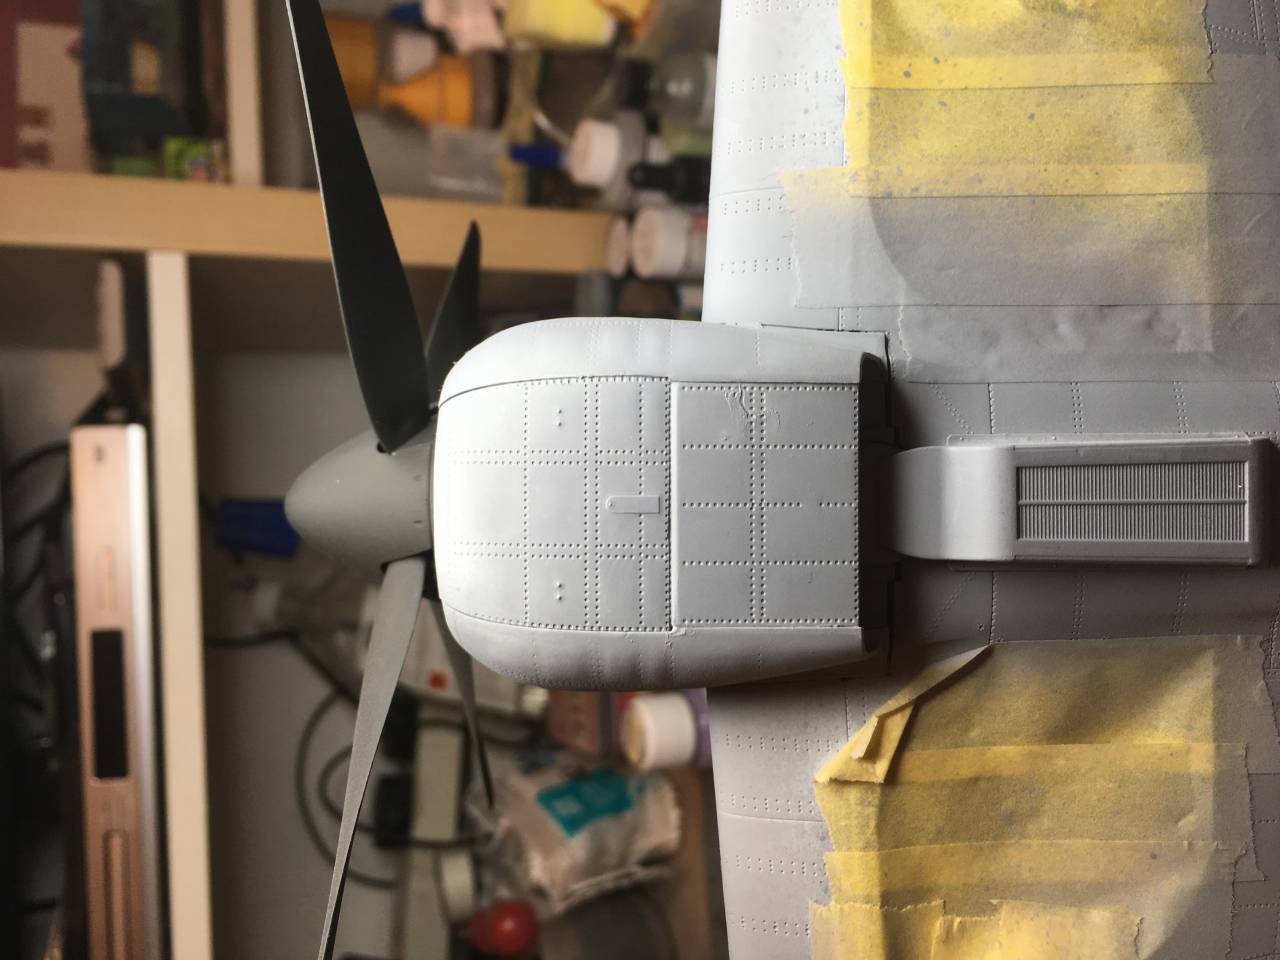
Made some progress on this, and the nose is now together.
It’s not the worst fitting kit in the world, but it’s no shake n bake.
Seems like the amount of filling I have ahead of me is pretty much average from what I’ve seen on the net, although I expect most of it I’ve created for myself.
Next job will be the empennage and then it’ll be time to address all the seams before the fun part!
Joel_W
Associate Editor
New York, United States
Joined: December 04, 2010
KitMaker: 11,666 posts
AeroScale: 7,410 posts
Joined: December 04, 2010
KitMaker: 11,666 posts
AeroScale: 7,410 posts
Posted: Monday, January 29, 2018 - 03:51 AM UTC
Nigel,
Looking real good. You've got the nose clip fitting pretty darn good.
Joel
Looking real good. You've got the nose clip fitting pretty darn good.
Joel
Posted: Monday, January 29, 2018 - 02:06 PM UTC
Looks Awesome Nigel! Nice to see one built up with all the panels closed up. I think that's how I'll build mine when I eventually get around to it.