@Oliver: thank you for the compliments. That is highly appreciated.
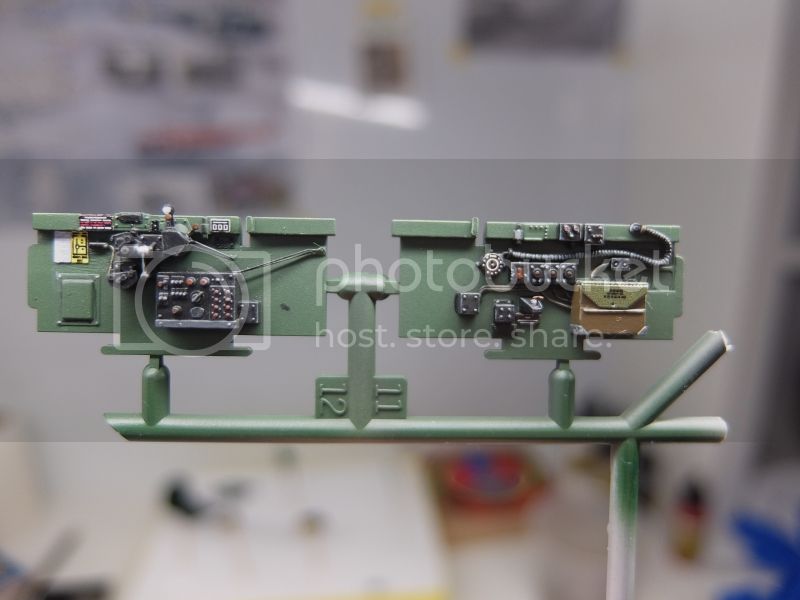
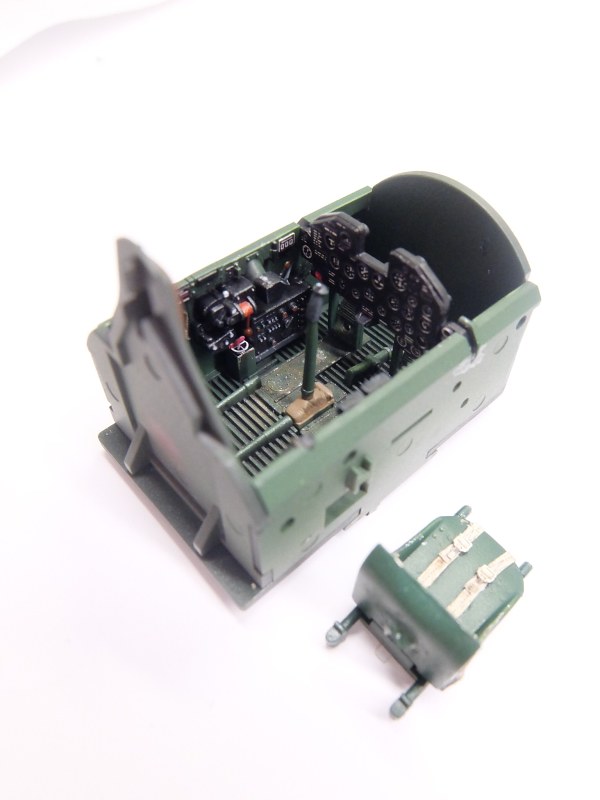
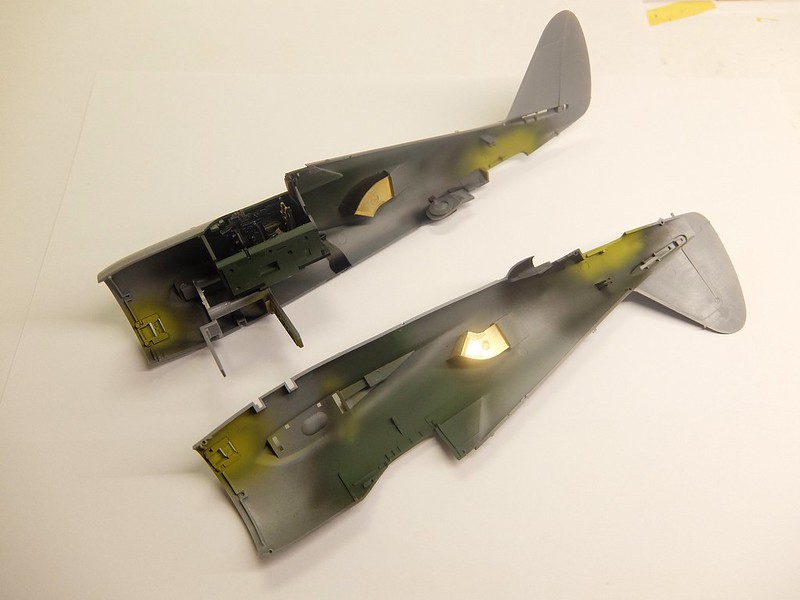
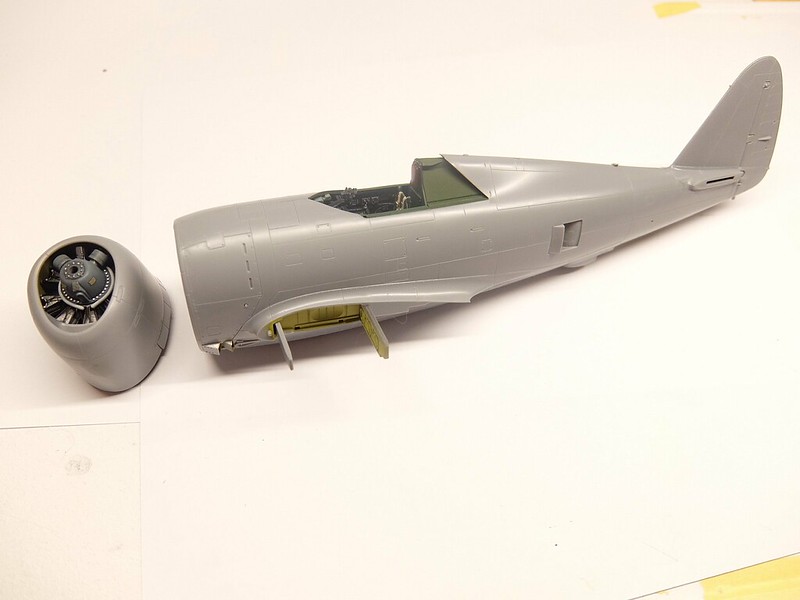
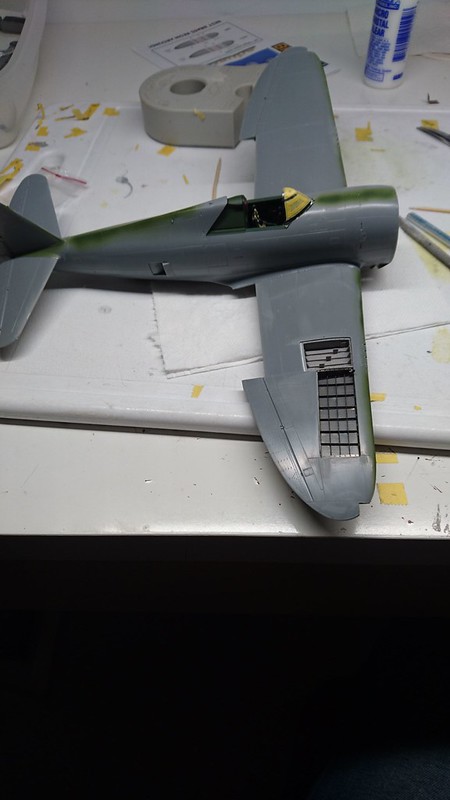
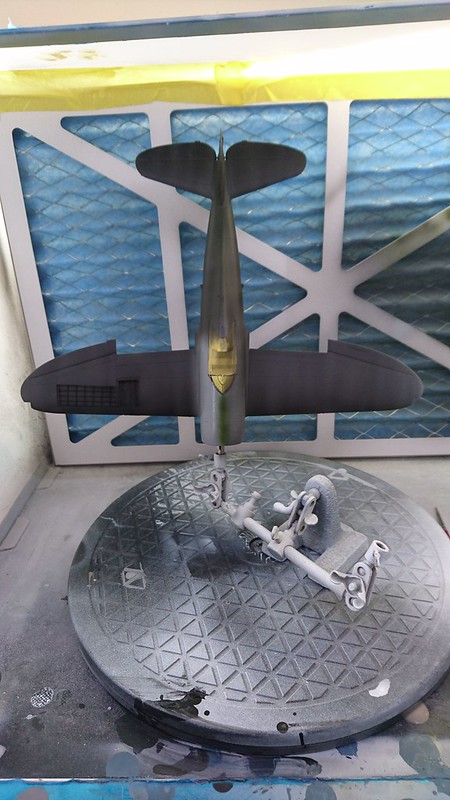
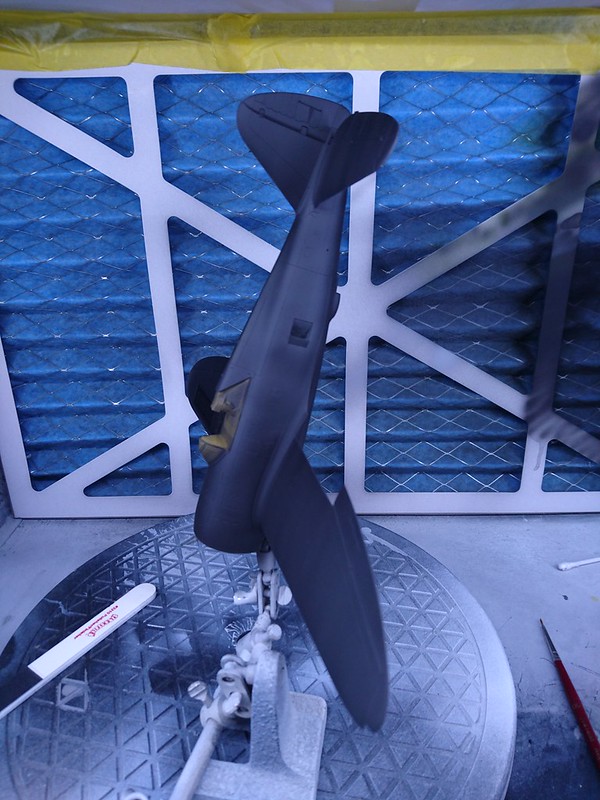
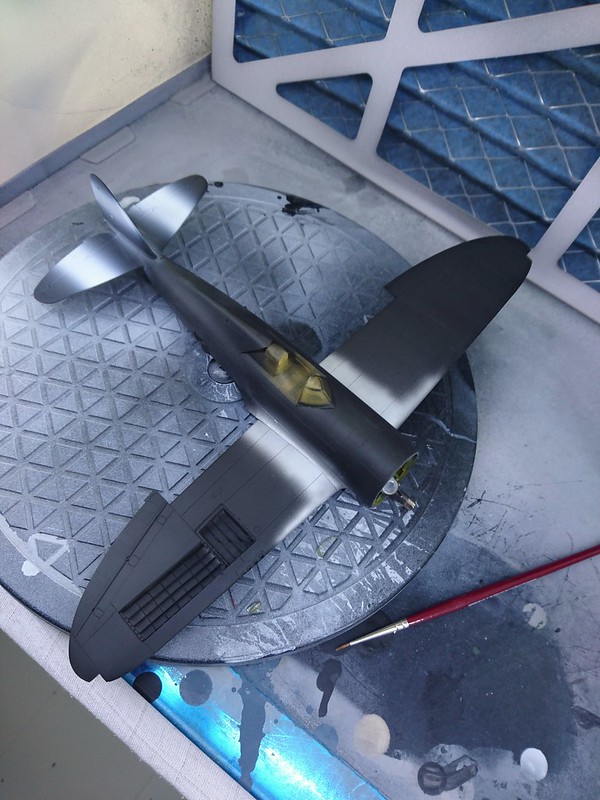
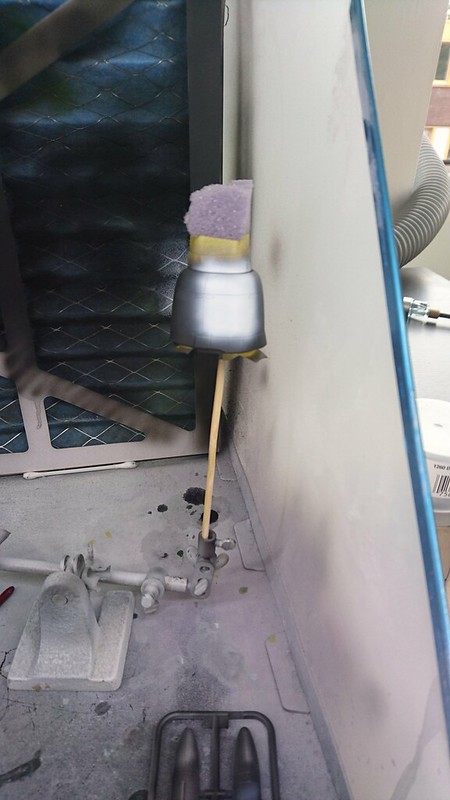
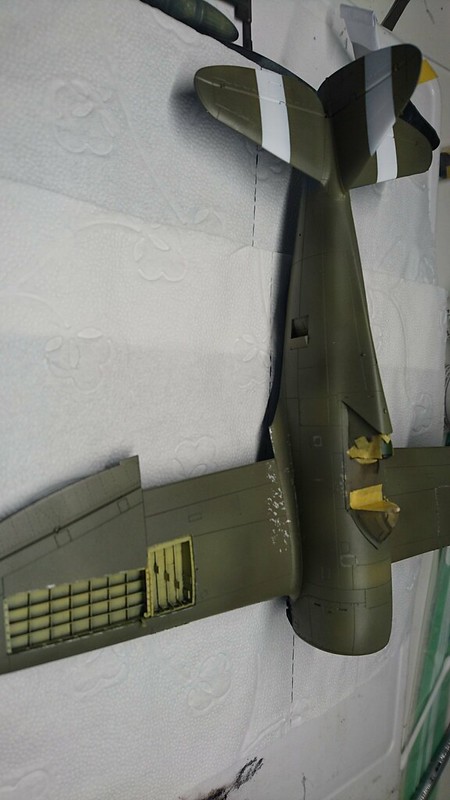
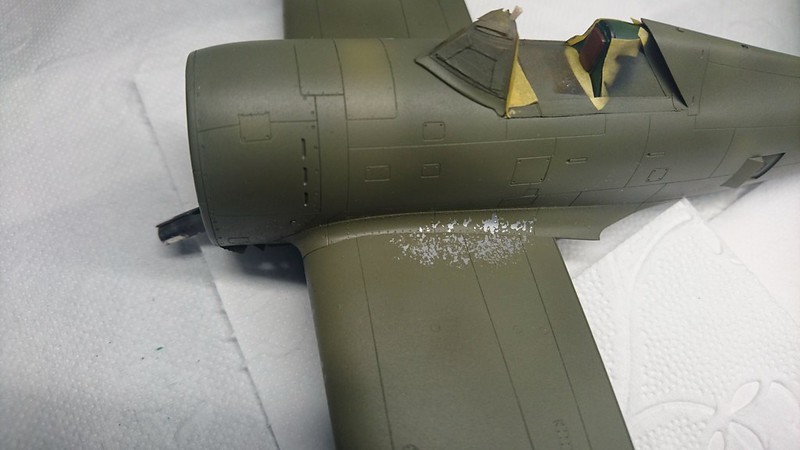
Some more progress on the P-47D.
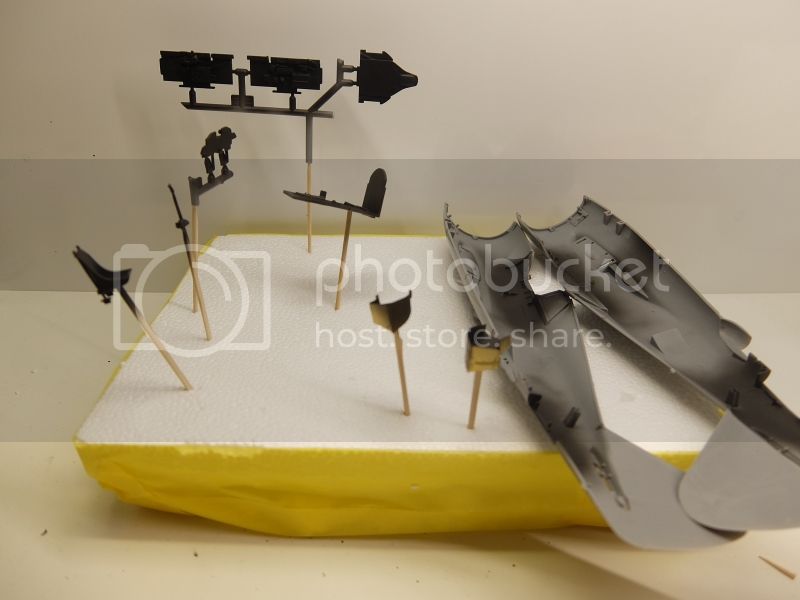
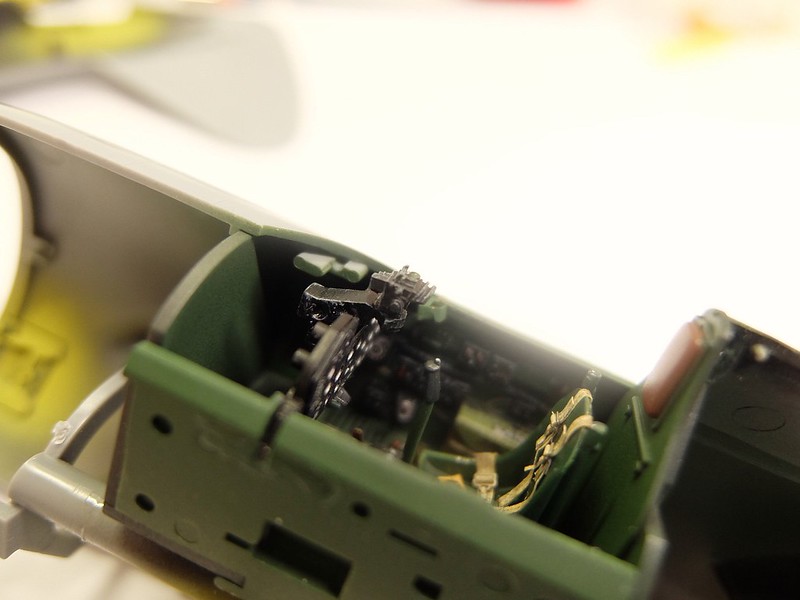
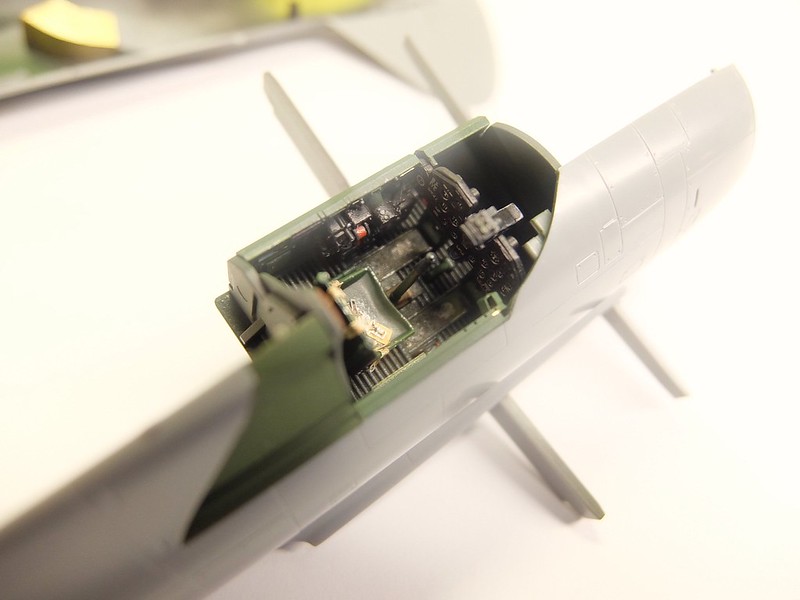
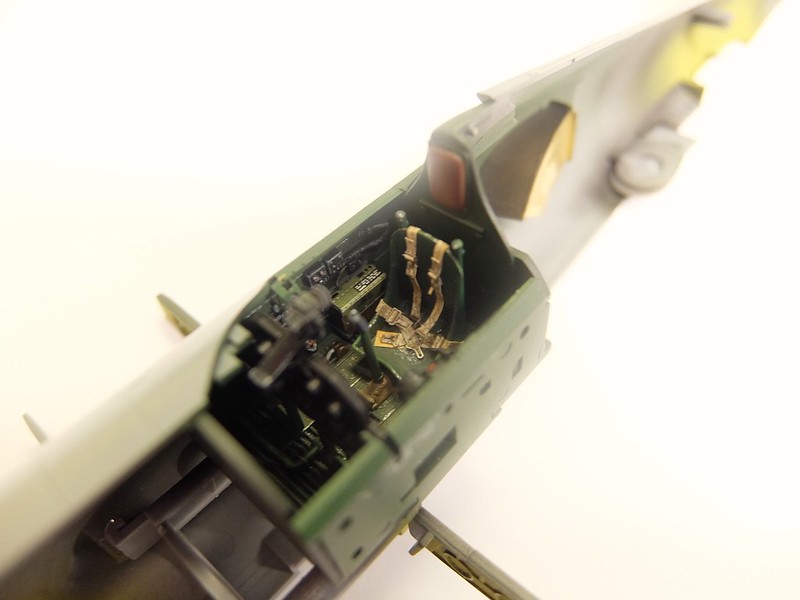
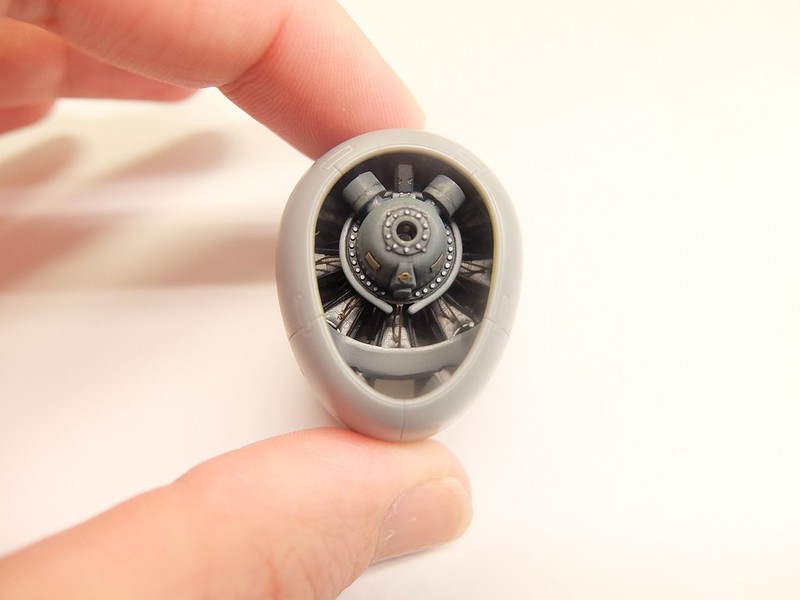
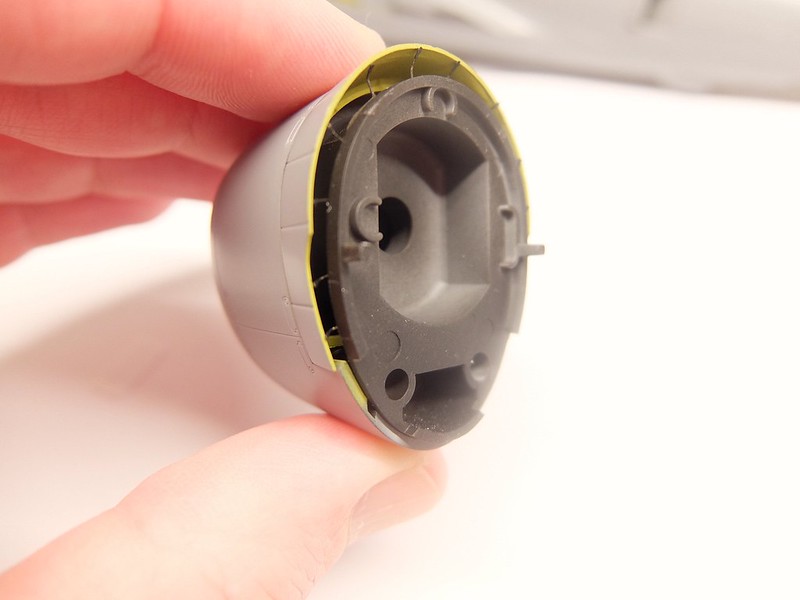
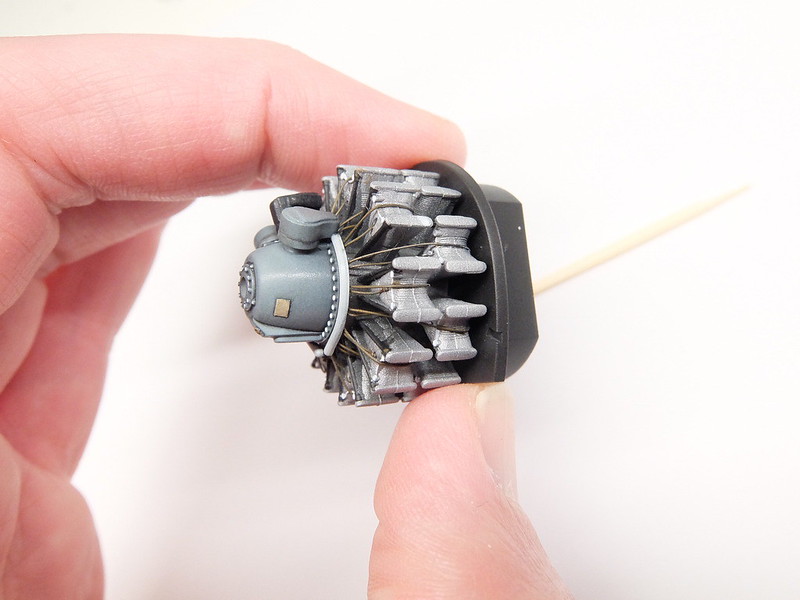
Next project was to build the Double Wasp engine. The kit parts were enhanced by photoetch ingnition wires and some plackards from the Eduard PE set. I didn't bother to remove the seamlines on top of the cilinders as these are not visible from the front.
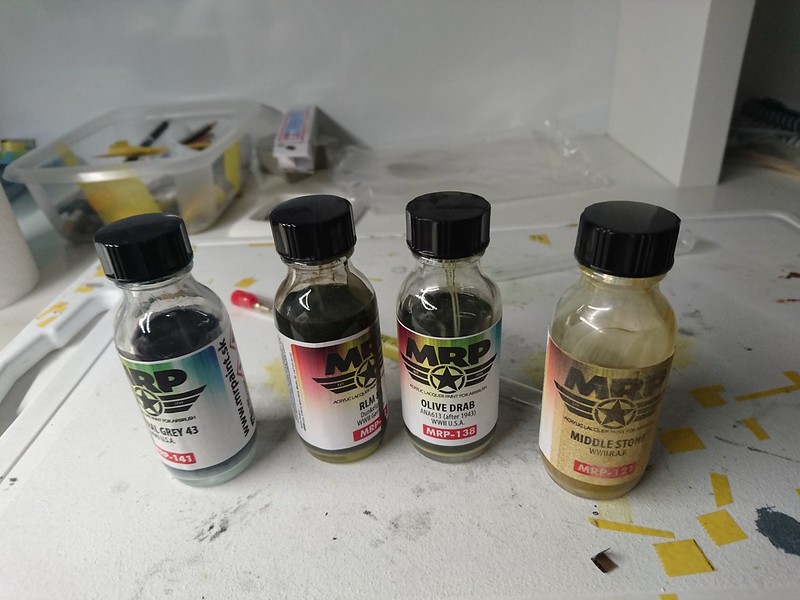
The engine and gearhousing were constructed and painted separately. Both received a coat of Alclad black primer and the engine was painted next with Alclad aluminium color. The ignition wires were first painted black and then brown with Vallejo paint. Some parts on top of each cilinder (the bow shaped things) were painted white for a bit of extra color. From a distance this gives the impression of a lighter metal color.
The gearbox was painted with Tamiya gray paint supplemented with a bit of light blue. All bolts were first painted black and then with a toothpick received a white dot. This gives the bolts a bit more dimension. Finally, Alclad aqua clear was sprayed on it and the gearbox received a black wash. This was covered by Mr Hobby Top Coat matt acrylic varnish, which hopefully is more forgiving when using acrylic paint (instead of the Testor dull coat, which almost ruined my cockpit

).
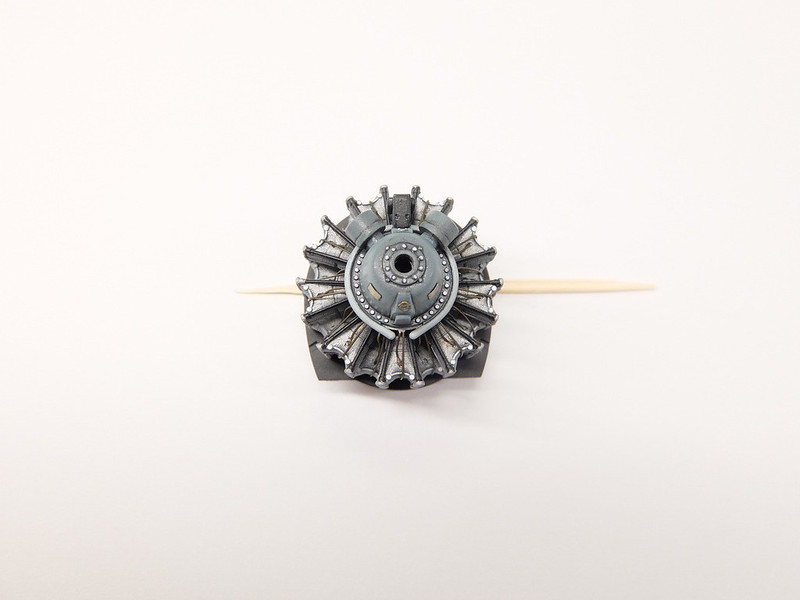
Any tips and tricks to improve my engine building skills are highly appreciated as i have room for improvement.
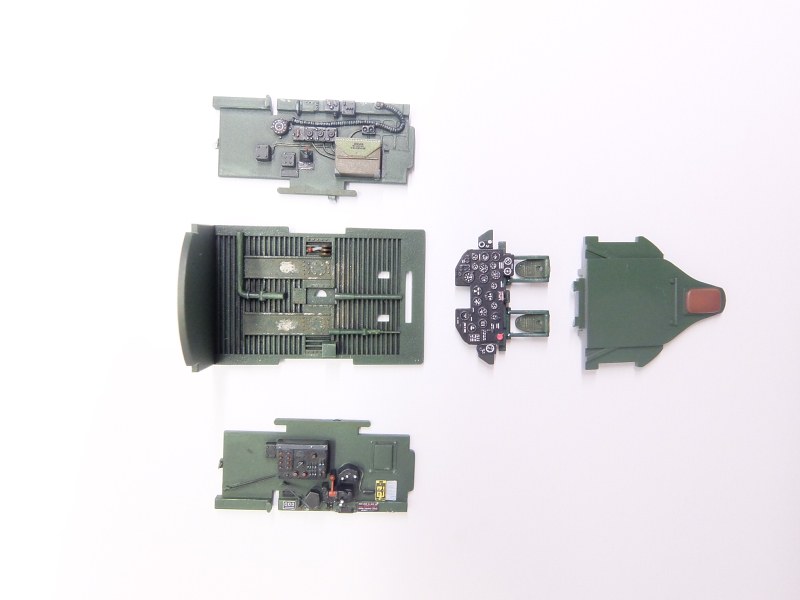
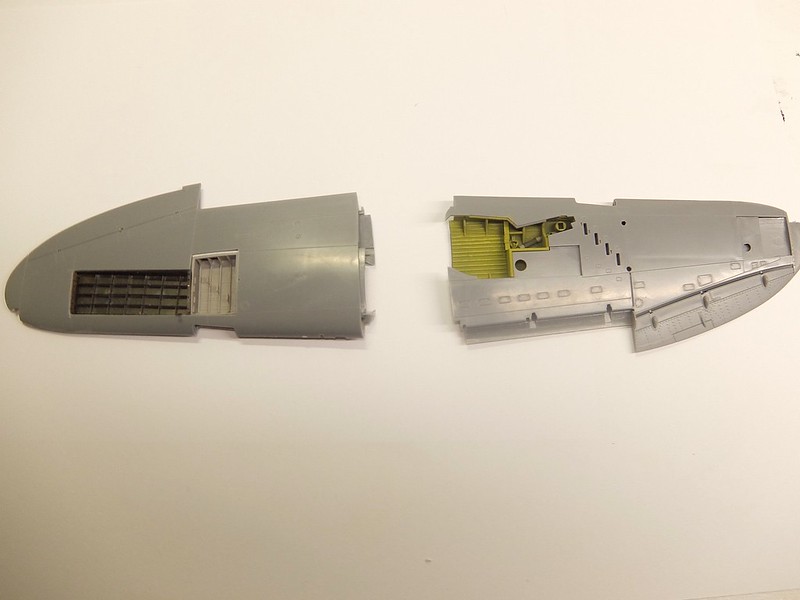
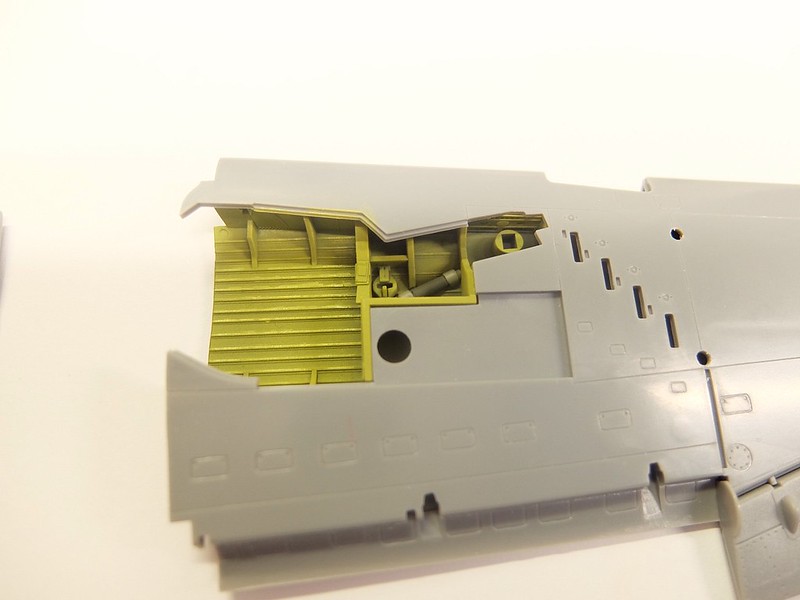
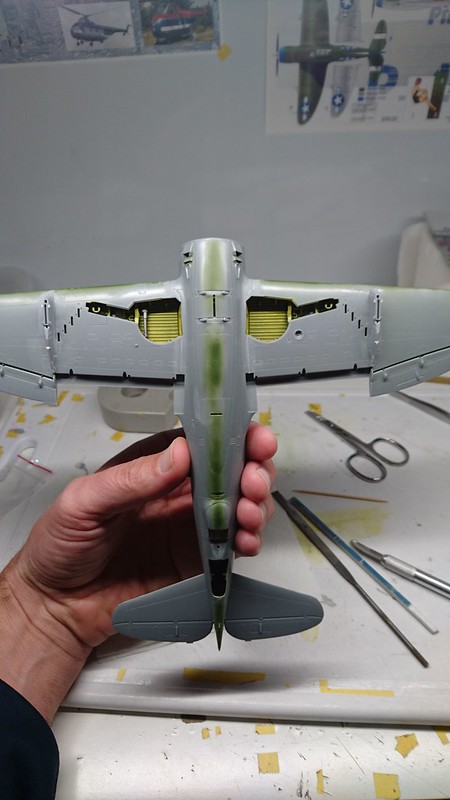
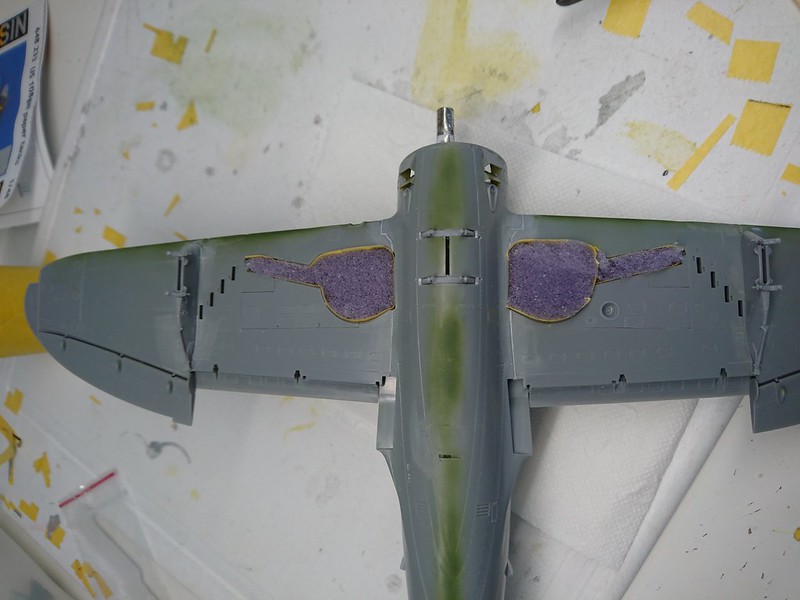
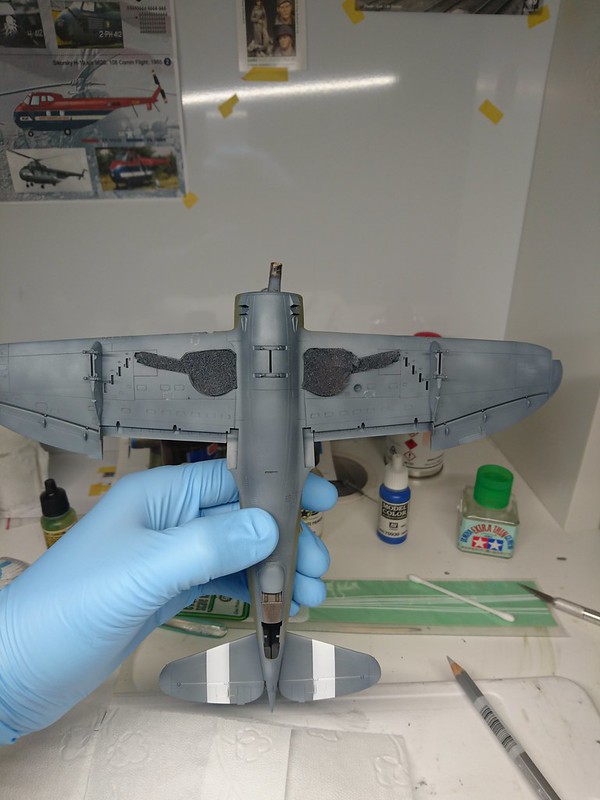
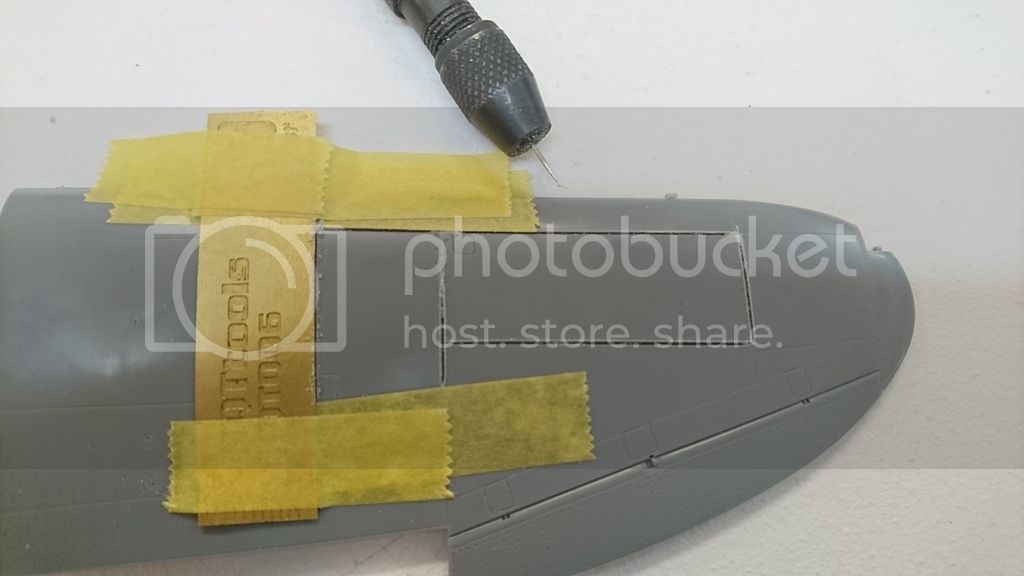
The next subassembly to deal with are the gun and ammo bays, for which i have bought the Aires set. As i don't have experience with cutting panel lines i was reluctant to add the bays as it requires some surgery. I decided only the add the gun and ammo bay to the right or starboard wing, because that saves me a lot of trouble when painting the insignia, which is on the opposite wing.
I first taped a metal ruler next to the panel line and with a sharp needle i made the cuts, which was pretty easy. Finally, each corner was drilled out with a small drill to connect all the cuts.
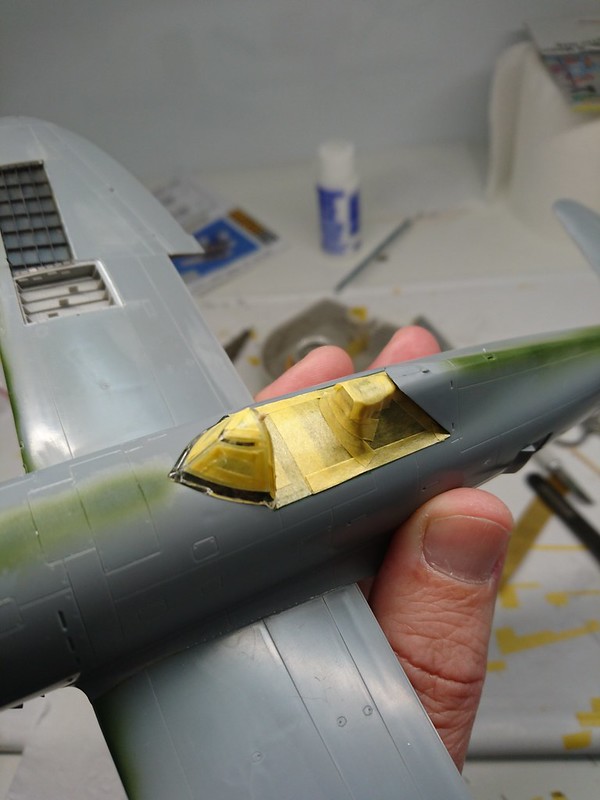
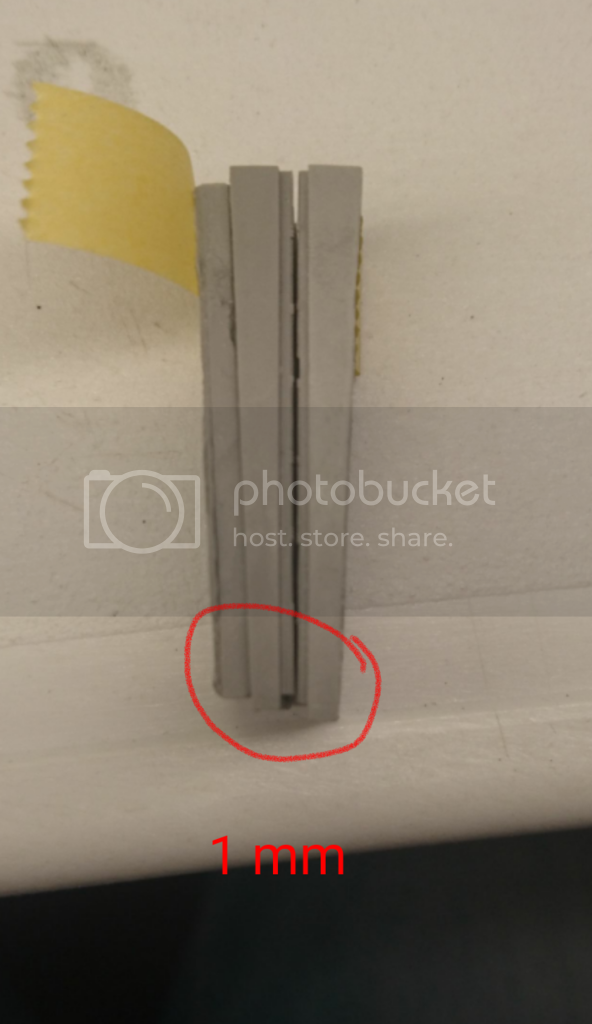
At first, the fit of both bays seemed to be fine, but at closer inspection i noticed that the ammo bay was 1 mm short, leaving a small gap. At closer inspection i also noticed that the cover of the ammo bay is also 1 mm too narrow. The cover for the gun bay seems to be ok. I found out that i was lucky to do only the right wing bays as the left ammo bay is 1 mm shorter than its right wing counter part...
This photo summarizes everything pretty well:
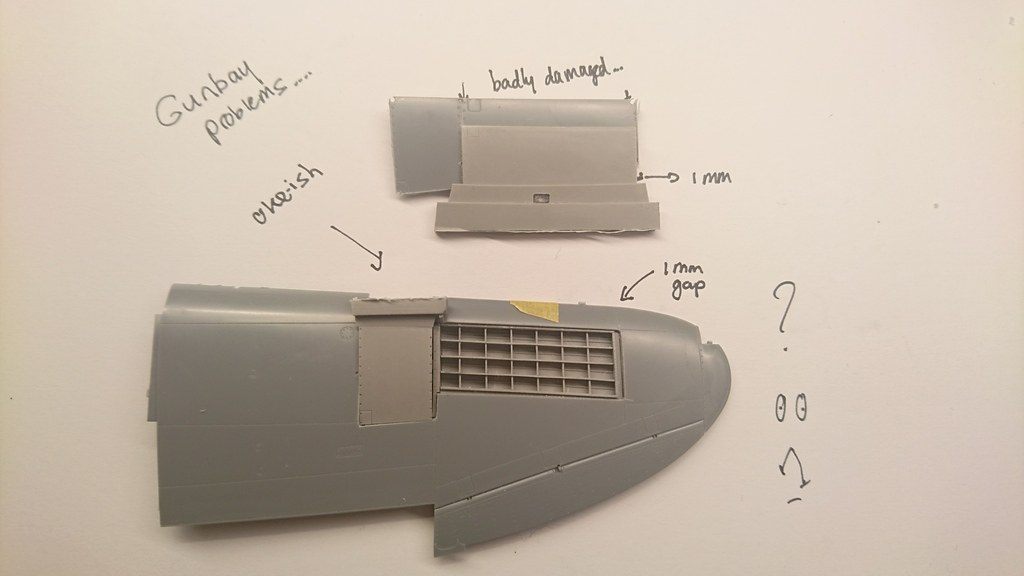
The question is how to deal with this.
I have a few options:
- first of all i will fill the gap between the ammo bay and the wing. That should not be to difficult.
- I can leave the covers off, that hides at least the fact that the covers are too small and also does not attract attention to the fact that the ammo bay is too small.
- I can add the covers and especially glue the cover of the ammo bay exactly in the middle of the bay, leaving half a millimeter on each side. This is rather small and not very obvious.
- Using the original covers from the kit is not an option because i made holes in these to connect the cuts in the corners.
Any thoughts on this are highly appreciated.

Jelger