_GOTOBOTTOM
World War II: USA
Aircraft of the United States in WWII.
Hosted by Rowan Baylis
REPUBLIC P-47D THUNDERBOLT "DOTTIE MAE" - 1/3
elmarriachi
_VISITCOMMUNITY
Baden-Württemberg, Germany
Joined: December 26, 2009
KitMaker: 813 posts
AeroScale: 98 posts
Posted: Sunday, February 19, 2017 - 03:58 PM UTC
Hello,

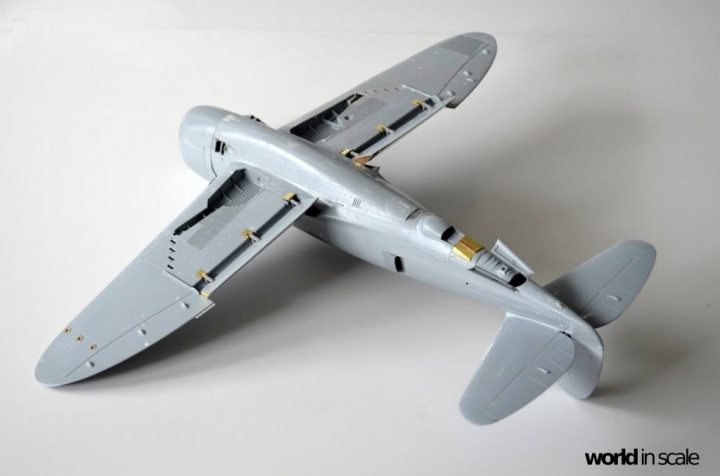
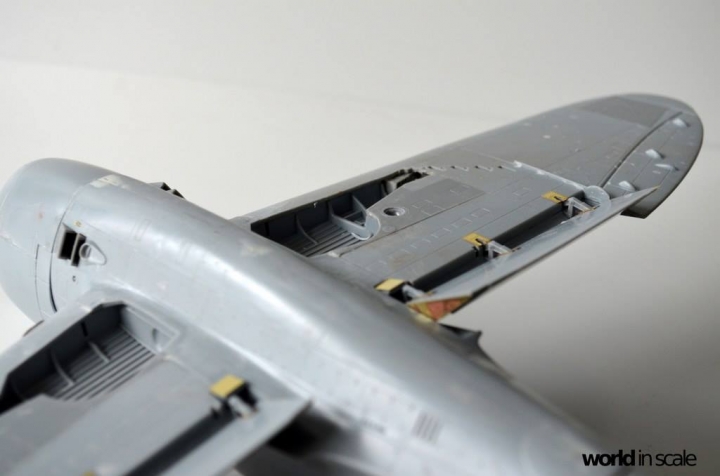
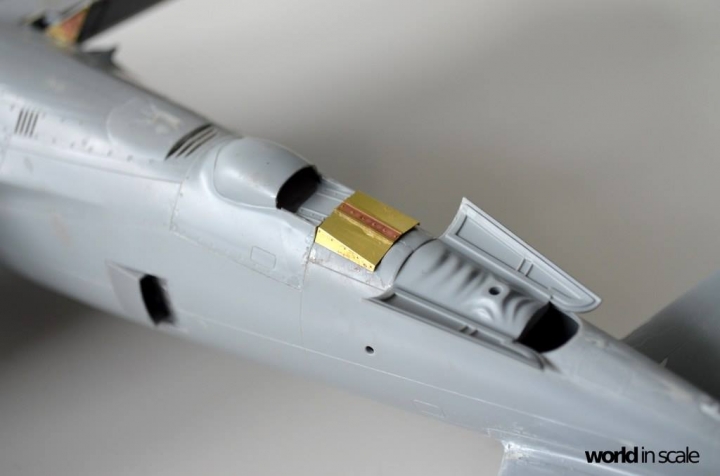
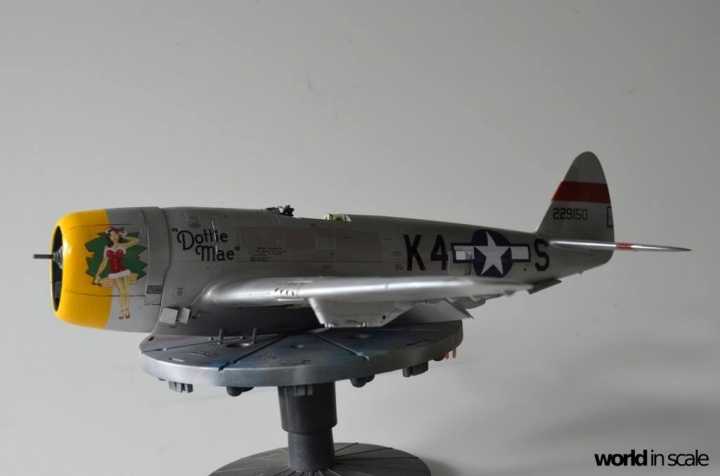
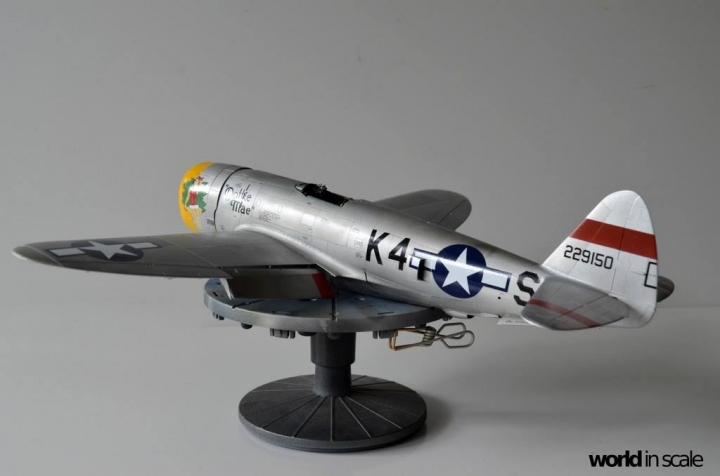
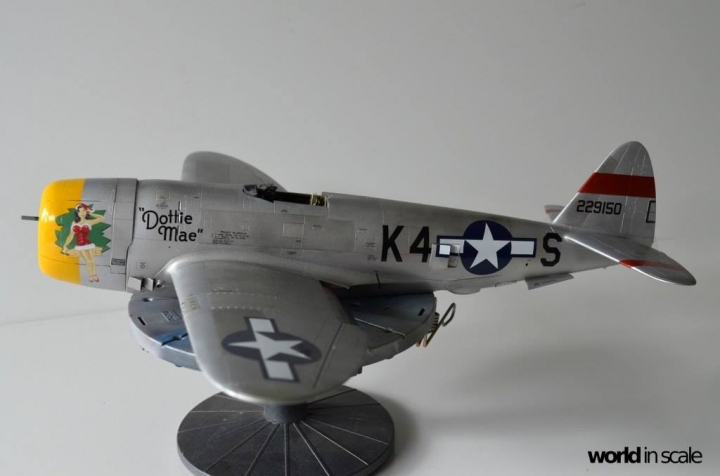
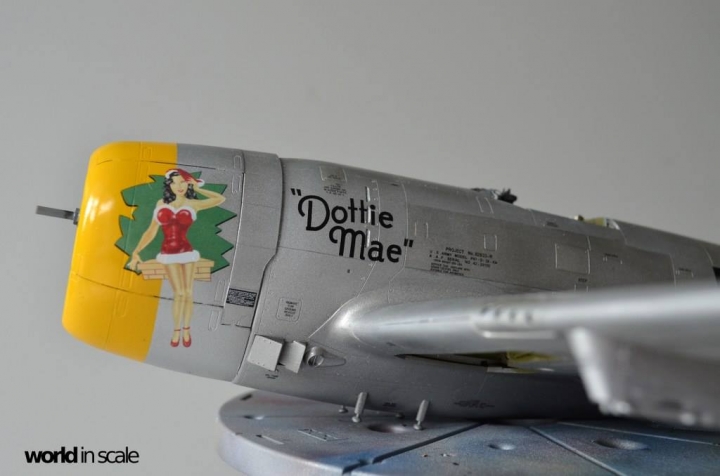
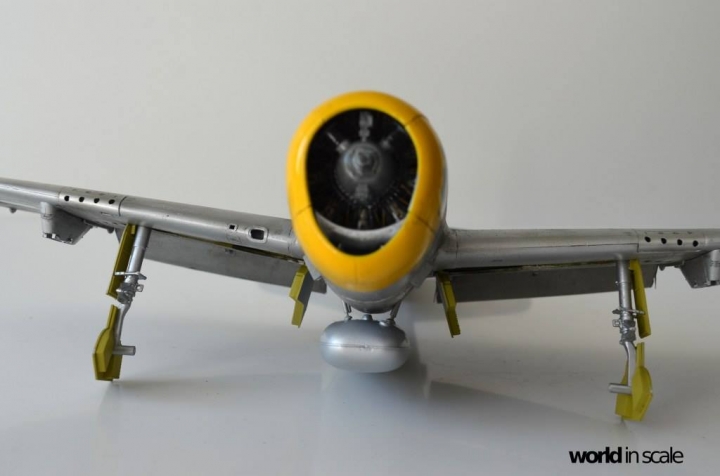
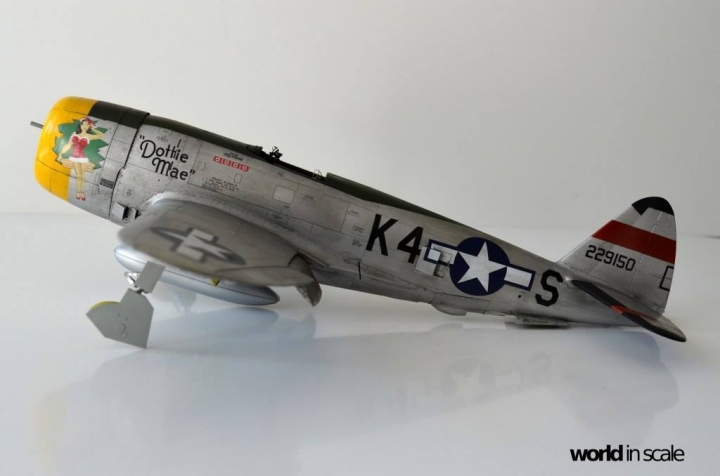
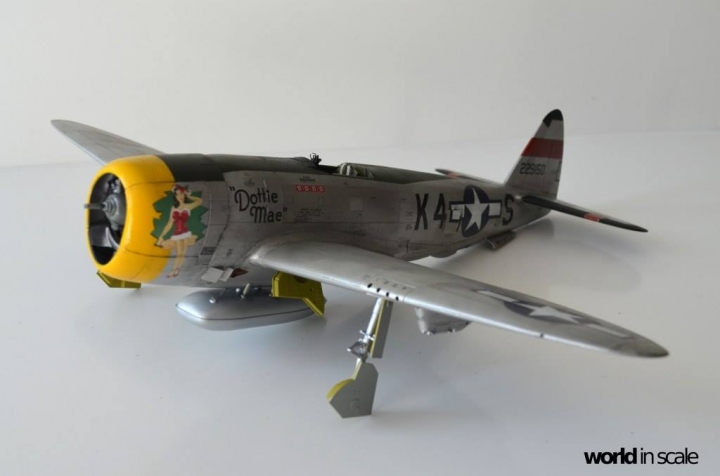
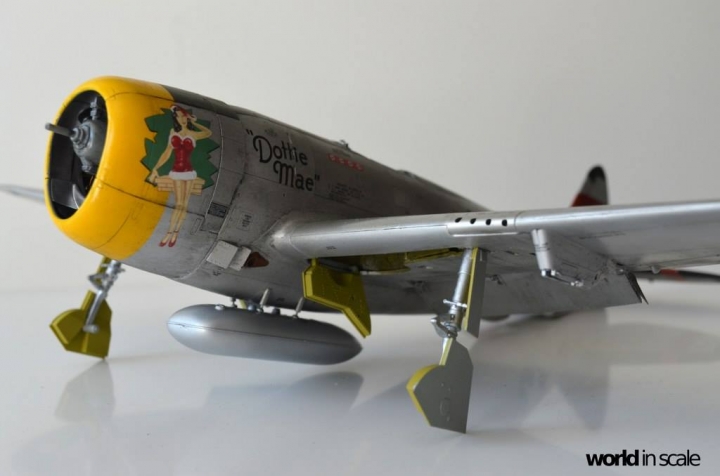
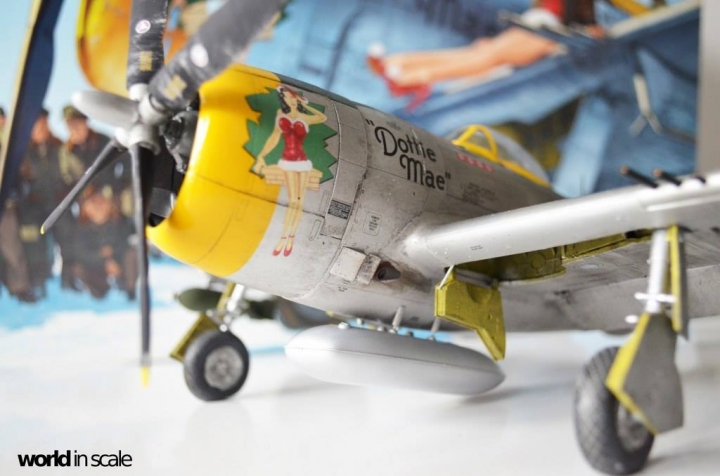
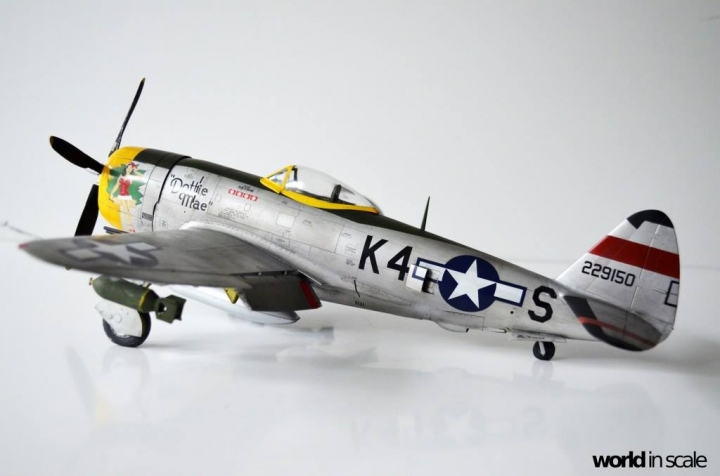
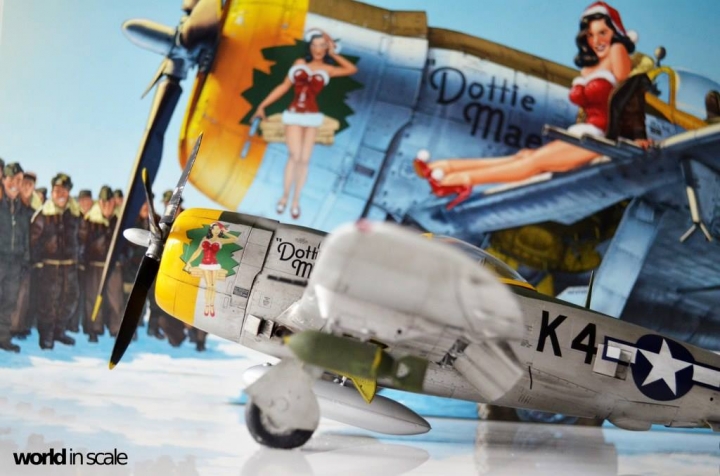
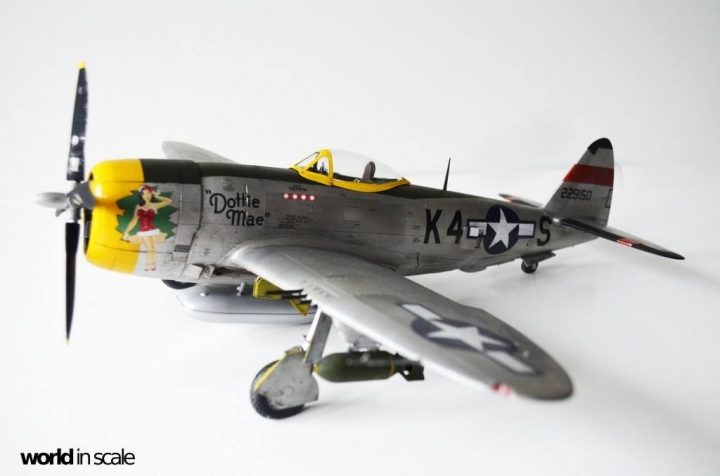
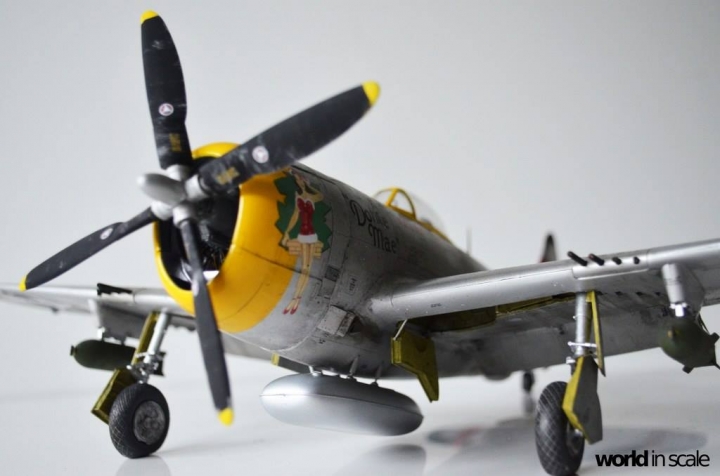
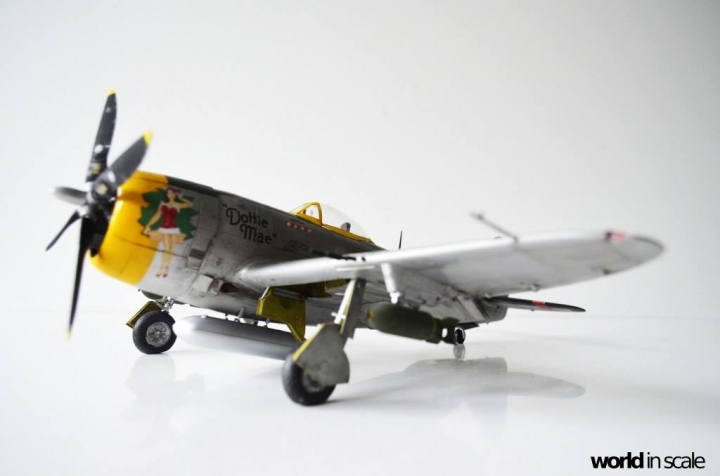
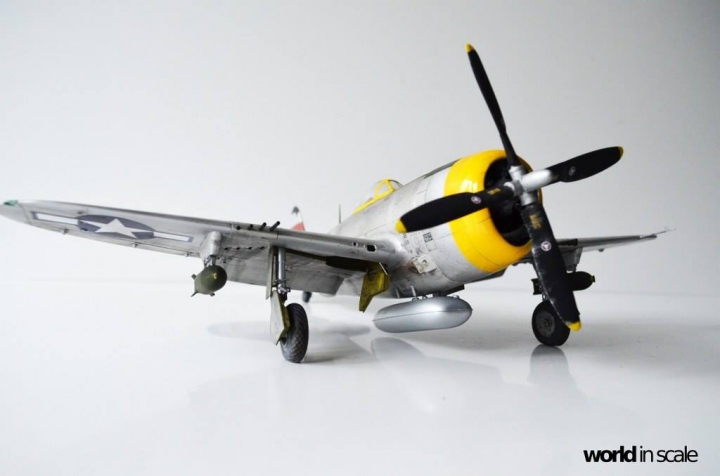
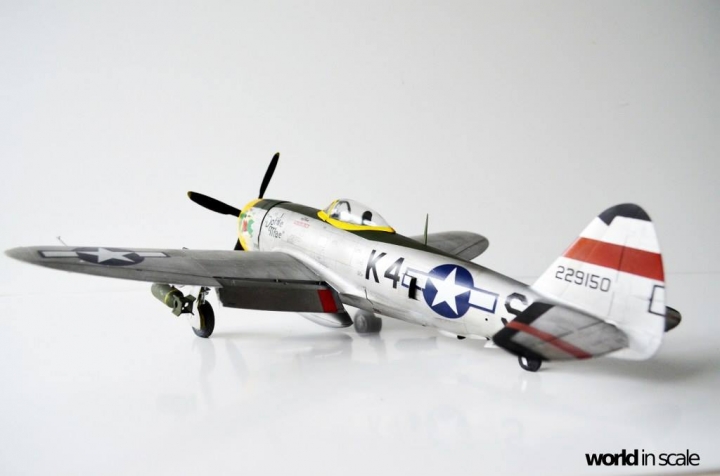
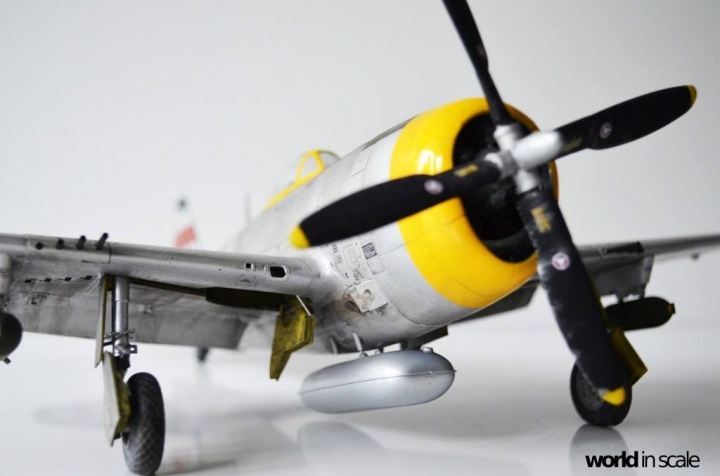
I want to show you another project which I am working on at the moment: The P-47D "Dottie Mae", the limited kit from Eduard. It is the old Hasegawa kit, but including some nice photo etched parts, resin parts, masks and nice decals. And - a great poster of the wonderful drawing on the carton box....

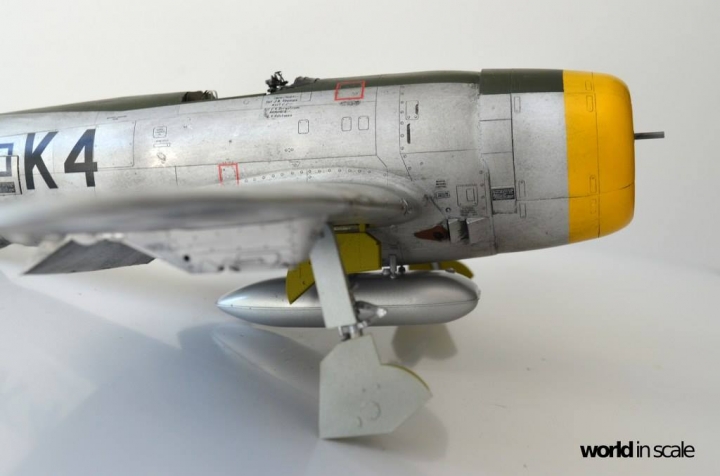
Additionally I am using the resin-cockpit from Aires and the turned brass barrels from Master.

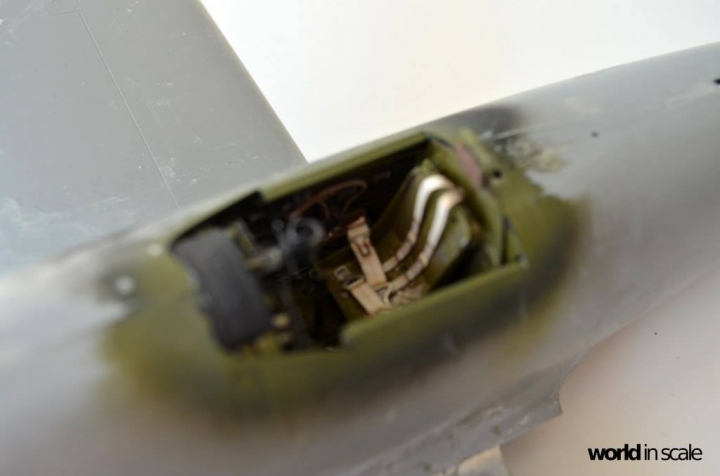
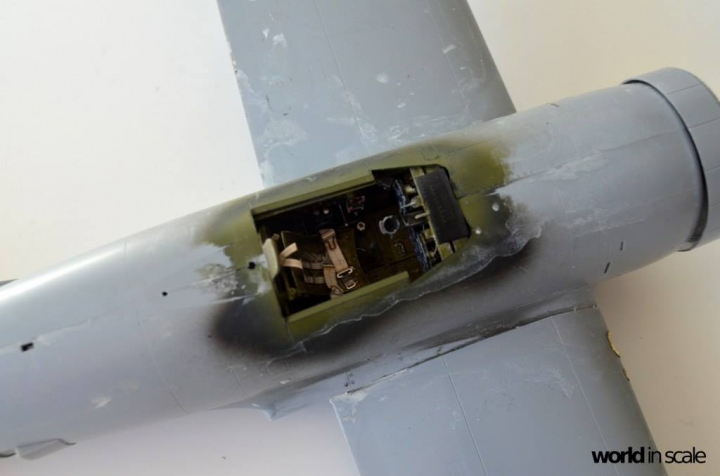
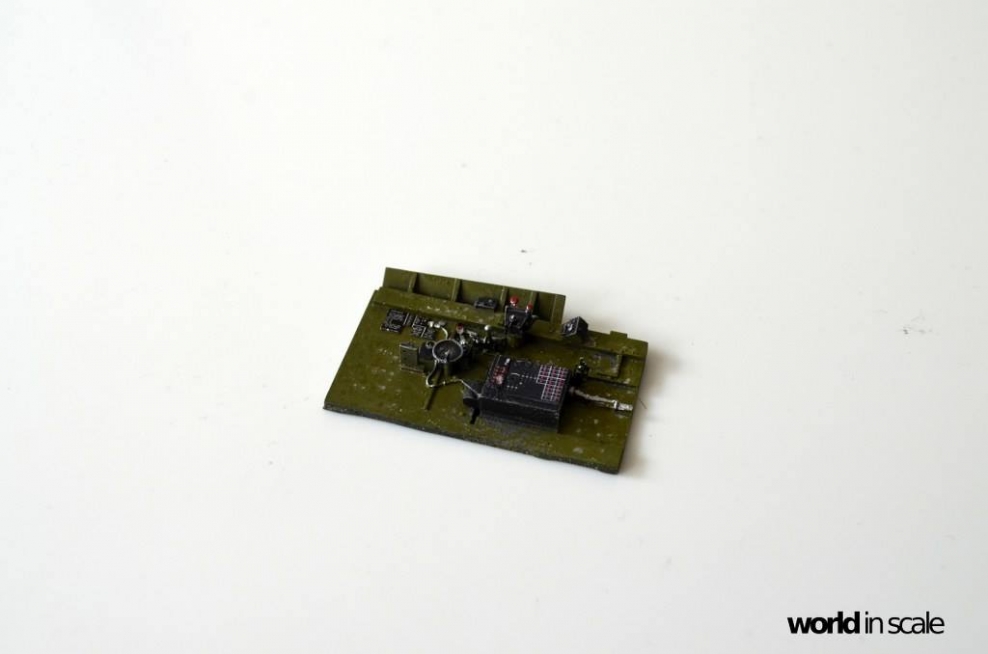
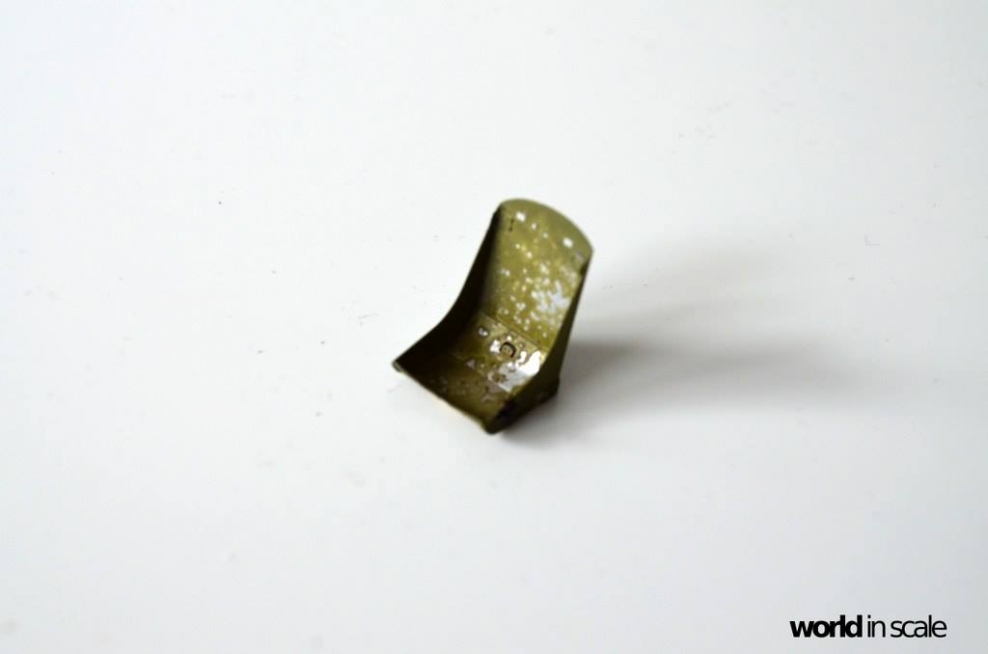
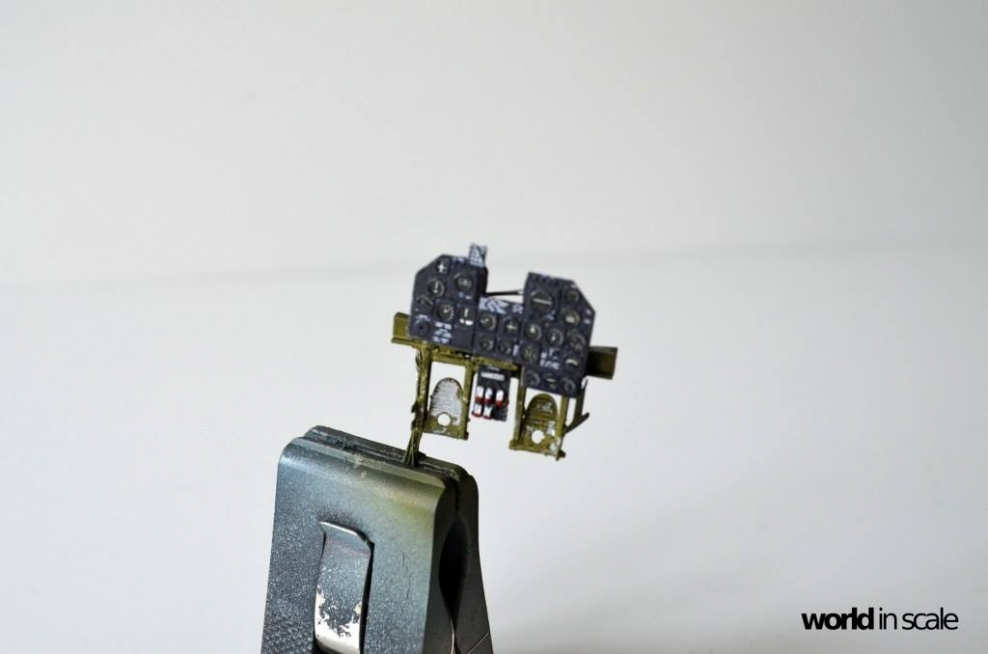
Firstly I have cleaned the resin parts for the cockpit and glued the small parts in place, added some etched parts. Then a black primer and a layer of Aluminium were sprayed over it, followed with some water and a bit of salt.
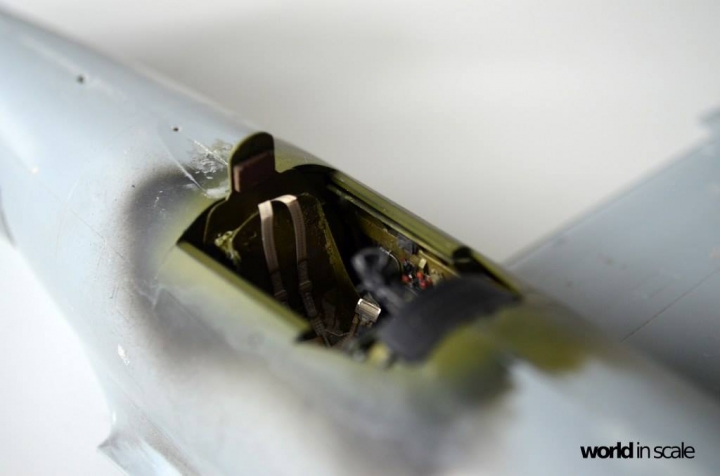
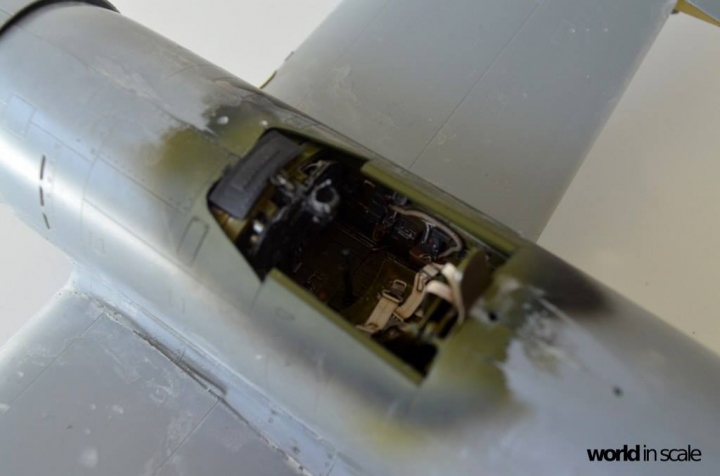
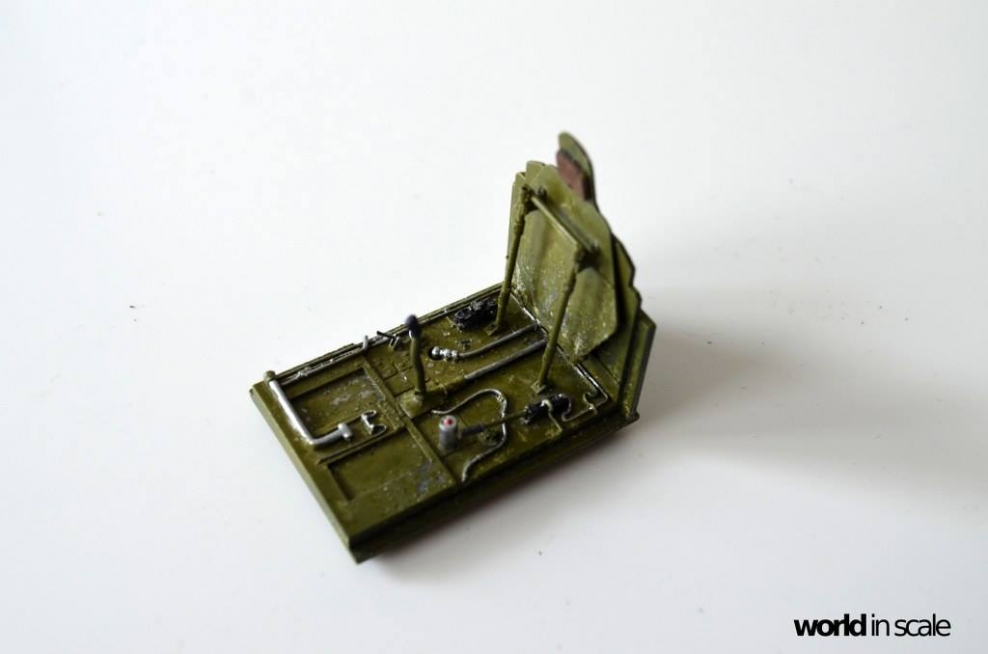
The main color is interior green sprayed on the dry salt. After the paint was dry, the salt removed, then I have painted the small details and added some further colored etched parts.
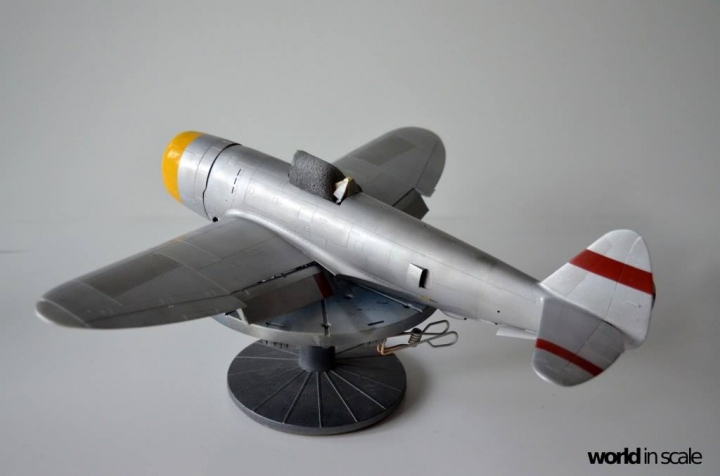
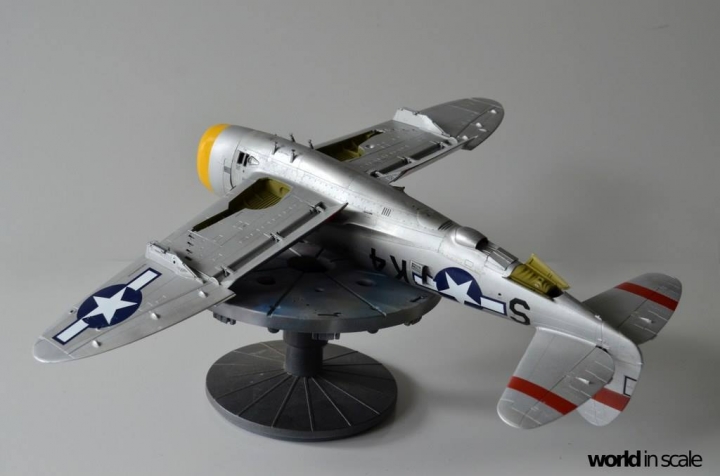
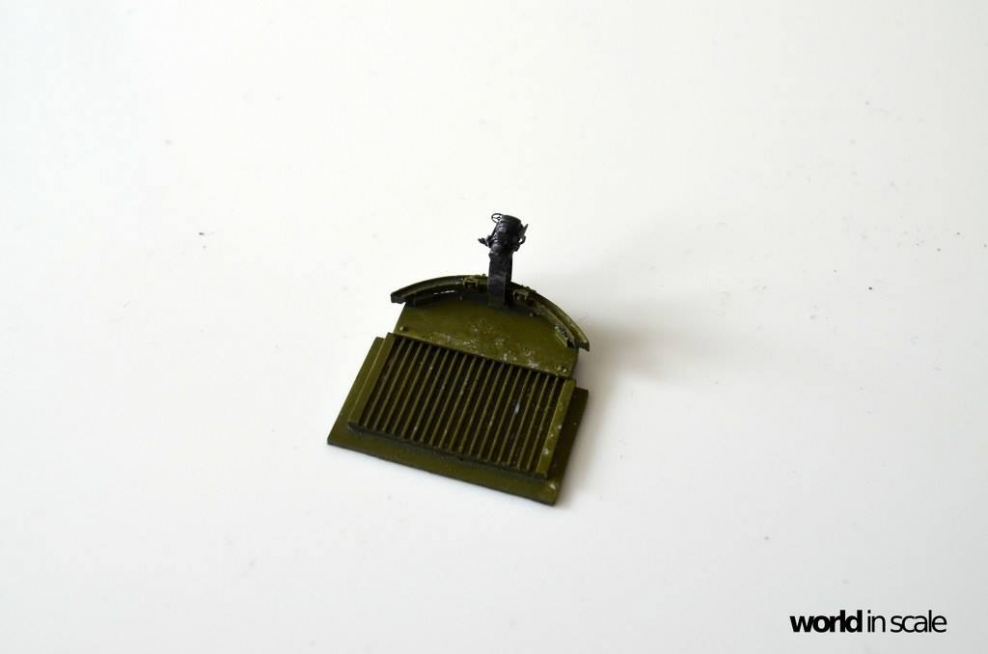
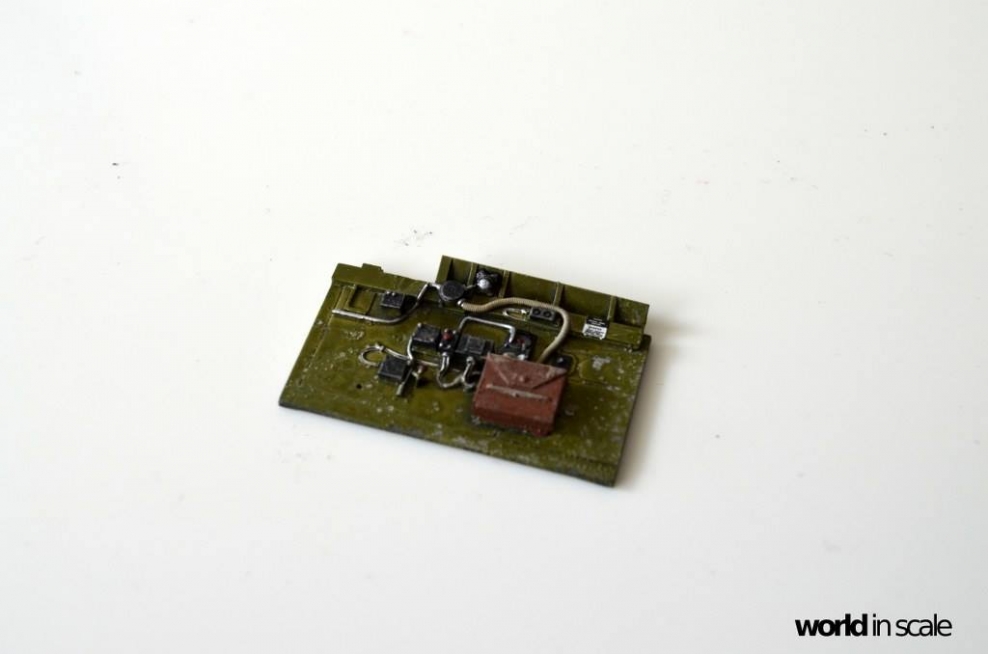
The display received some wiring on the back side, but is not yet painted.
A brown washing and a silver dry brushing followed.... actually it looks like this ...


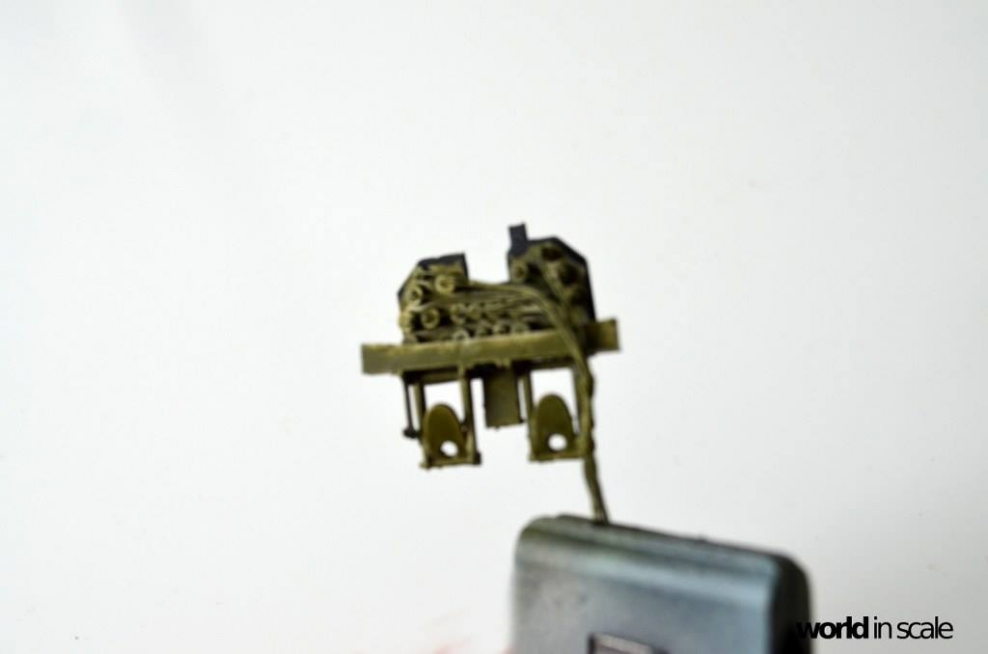
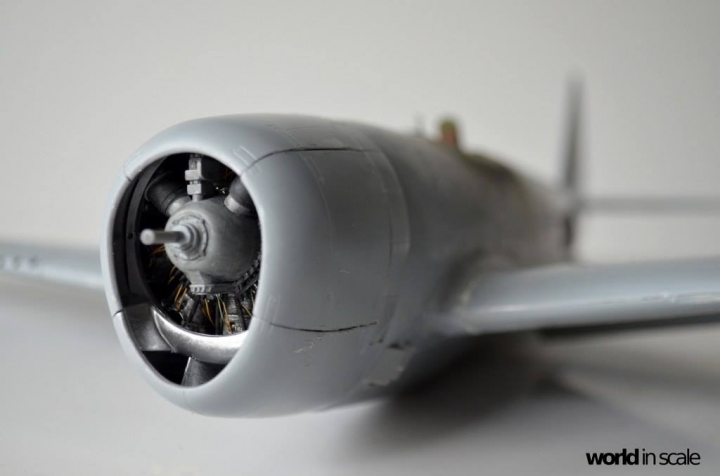
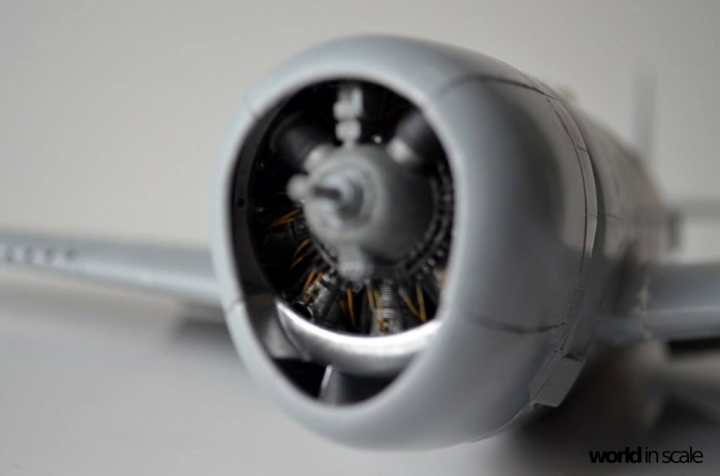
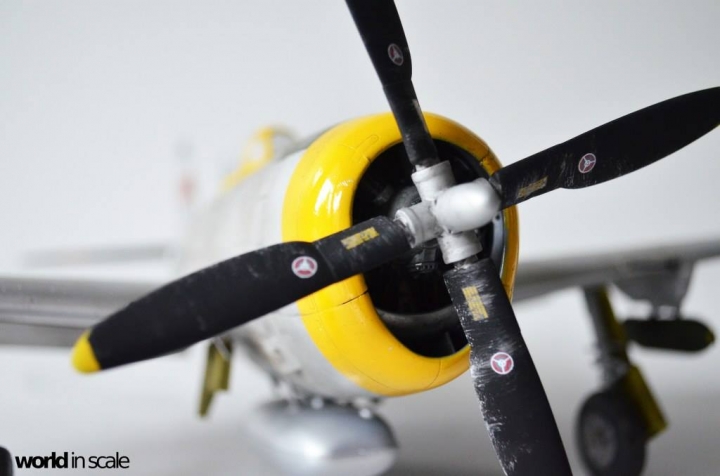
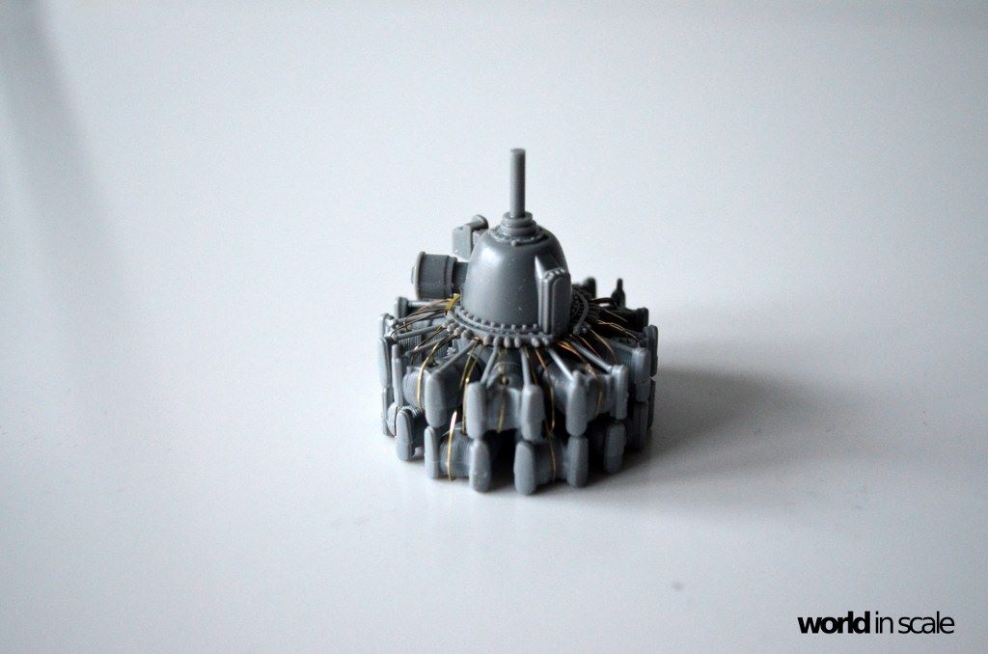
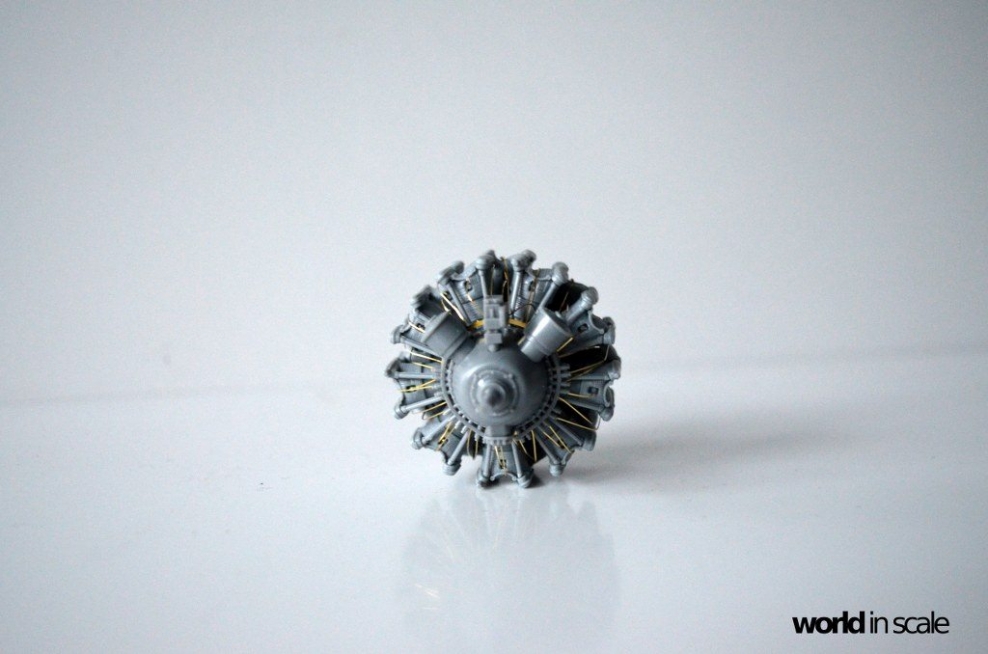
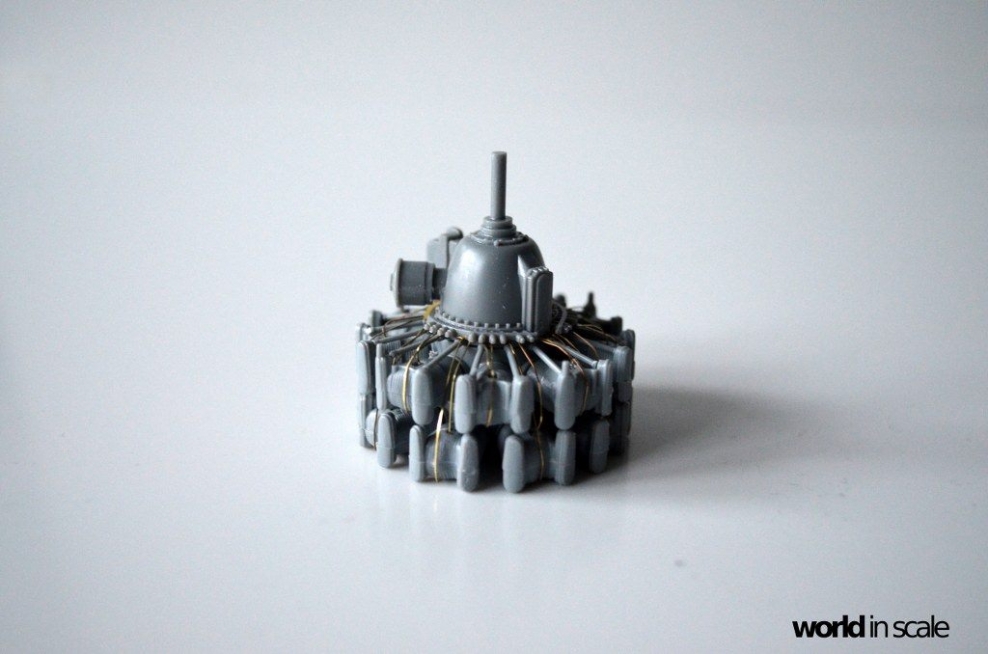
The engine parts were glued together, the wiring added (a big etched part).... now ready for painting ...


Cheers
Micha
Joel_W
Staff MemberAssociate Editor
AUTOMODELER
_VISITCOMMUNITY
New York, United States
Joined: December 04, 2010
KitMaker: 11,666 posts
AeroScale: 7,410 posts
Posted: Sunday, February 19, 2017 - 07:55 PM UTC
Micha
The Aires cockpit sidewalls really look quite good, as does the PE seat which is from the two supplied PE frets.

The big radial does indeed look quite good. looking forward to seeing it painted and weathered.

But I honestly don't understand your reasoning in spending nearly $175 for the Eduard limited P-47D, and the Aires cockpit which goes for $25 on ebay. Buying the kit and what AM parts you want separately, would have saved you quite a bit of money. Eduard's Limited Edition series is a gold mine for them and the manufacture molding older kits for practically nothing.

Joel
elmarriachi
_VISITCOMMUNITY
Baden-Württemberg, Germany
Joined: December 26, 2009
KitMaker: 813 posts
AeroScale: 98 posts
Posted: Sunday, February 19, 2017 - 08:09 PM UTC
Hi Joel,
thanks a lot Oh it was not as expensive as you say... not really

I had the Aires Cockpit at home waiting for a day to use it .... and I got the Eduard's Dottie Mae for 72 EUR shipping free..... so it was not that expensive all together

Cheers
Michael
Joel_W
Staff MemberAssociate Editor
AUTOMODELER
_VISITCOMMUNITY
New York, United States
Joined: December 04, 2010
KitMaker: 11,666 posts
AeroScale: 7,410 posts
Posted: Sunday, February 19, 2017 - 09:50 PM UTC

Quoted Text

Hi Joel,
thanks a lot Oh it was not as expensive as you say... not really

I had the Aires Cockpit at home waiting for a day to use it .... and I got the Eduard's Dottie Mae for 72 EUR shipping free..... so it was not that expensive all together

Cheers
Michael


Michael,
I'm glad to hear it, as I was going by the Sprue Brothers prices plus ebay as I was going to buy it. I'm still getting the kit but just the Hasegawa issue, and will buy decals and AM separately.

Joel
armouredcharmer
_VISITCOMMUNITY
England - East Anglia, United Kingdom
Joined: June 09, 2009
KitMaker: 670 posts
AeroScale: 175 posts
Posted: Saturday, February 25, 2017 - 12:22 AM UTC
Hi gang, Got mine and I love it. Yes I know it`s basically a re-pop but I didn't just buy it for the kit - I`m a big fan of Romain`s work so for me it`s artwork in three dimensions.
I personally hope that there will be more to follow as I think it`s really cool - my only complaint is there wasn't a figure in the box !.
elmarriachi
_VISITCOMMUNITY
Baden-Württemberg, Germany
Joined: December 26, 2009
KitMaker: 813 posts
AeroScale: 98 posts
Posted: Sunday, February 26, 2017 - 02:12 PM UTC

Hello,

the finished cockpit was installed in the hull and further details added. The seam between the two halfs was sanded a bit to get a smooth surface.


The completely built engine was primered in black, then sprayed in Aluminium color from Vallejo's Metal Color series.
Details were painted in black, beige and grey with a fine brush. A black weathering followed and some clear coat on the grey area.
The engine was installed then ...


The wings were put together and further parts installed... then glued to the hull and the seam sanded clean. Some etched parts followed next ...


Next will be some light primer, then the painting of the wheel bays and the yellow band at the front ...

Cheers
Micha
elmarriachi
_VISITCOMMUNITY
Baden-Württemberg, Germany
Joined: December 26, 2009
KitMaker: 813 posts
AeroScale: 98 posts
Posted: Sunday, March 05, 2017 - 08:16 PM UTC
Hello,

I have started to paint the Dottie. First I have primered the hull with a light grey, followed by the yellow (Lifecolor dark Yellow), and the red (Lifecolor red).
Once dry I have masked these areas and sprayed a first layer of Tamiya alluminium on the complete plane.
Sanded under water to get a smooth surface and I had the perfect base for the next colors: Vallejo's Metal Colors. I have used different colors (steel, aluminium, white aluminium, dark aluminium, burnt iron, jet exhaust) in different variants and mixes to color the different panels.
Two layers of gloss varnish as base for the decals followed ...


The decals are great. Really great. Very thin (attention!) and fit perfect without any silvering!
I started with the Dottie Mae markings, followed by nearlly 100 stencils all around the plane...
minus: The plan for the positions of the stencils is not included with the kit, in the instructions there is only a hint for the website of Eduard... there you could find the plan for the stencils. Only there.


Next gloss varnish once again to save the decals and the painting. Then painting of the olive color on the top of the fuselage and the black at the rear.
Then accentuating the panel lines, some washing and painting of the details (lights, exhaust, ....)

Cheers
Micha

AussieReg
Staff MemberAssociate Editor
AUTOMODELER
#007
_VISITCOMMUNITY
Victoria, Australia
Joined: June 09, 2009
KitMaker: 8,156 posts
AeroScale: 3,756 posts
Posted: Tuesday, March 07, 2017 - 11:23 AM UTC
Looking very nice Micha, great to see a large-scale P-47 on the bench!

Cheers, D
elmarriachi
_VISITCOMMUNITY
Baden-Württemberg, Germany
Joined: December 26, 2009
KitMaker: 813 posts
AeroScale: 98 posts
Posted: Tuesday, March 14, 2017 - 02:33 PM UTC
Hello,

the Dottie received its final painting - the oive color on the upper side.

A black washing followed, wiped away afterwards from front to back...

The landing gear is test fitted, not finished and not finished in painting. Weathering missing.


Some more weathering of the exhaust, etc follows next ...

Cheers

Micha
elmarriachi
_VISITCOMMUNITY
Baden-Württemberg, Germany
Joined: December 26, 2009
KitMaker: 813 posts
AeroScale: 98 posts
Posted: Sunday, March 19, 2017 - 03:32 PM UTC
Hello,

here she is - the "Dottie Mae" called Republic P-47D Thunderbolt in 1/32 scale by Eduard. The kit is consisting of the plastic parts of the Hasegawa kit, plus Eduard Resin parts for the wheels, photo etched parts, masks and decals for three versions of the kit incl. a lot of stencils.

The cockpit was made with the resin parts from Quickboost, the gun barrels are from Master Models.

Painted with Tamiya's Aluminium, then sprayed each panel in variations of Vallejo's Metal Color series and clear coat.

The interior is painted with colors from Lifecolor.


Hope that you like the Dottie.

Cheers.
Micha
 _GOTOTOP