_GOTOBOTTOM
Cold War (1950-1974)
Discuss the aircraft modeling subjects during the Cold War period.
Hosted by Tim Hatton
Italeri's 1/72 F-4C/D/J Vietnam Aces
phantom_phanatic309
#372
_VISITCOMMUNITY
United Kingdom
Joined: March 10, 2010
KitMaker: 2,568 posts
AeroScale: 1,619 posts
Posted: Monday, February 27, 2017 - 03:55 AM UTC
Hi all,

This is a kit I picked up last week, an impulse buy without knowing exactly what was in the box but I guessed (correctly as it turned out) that it would be a re-issue of the old Esci kit.


Anyone who is familiar with the kit, will know exactly what to expect. For those who don't I'll take the opportunity to give a brief summary.


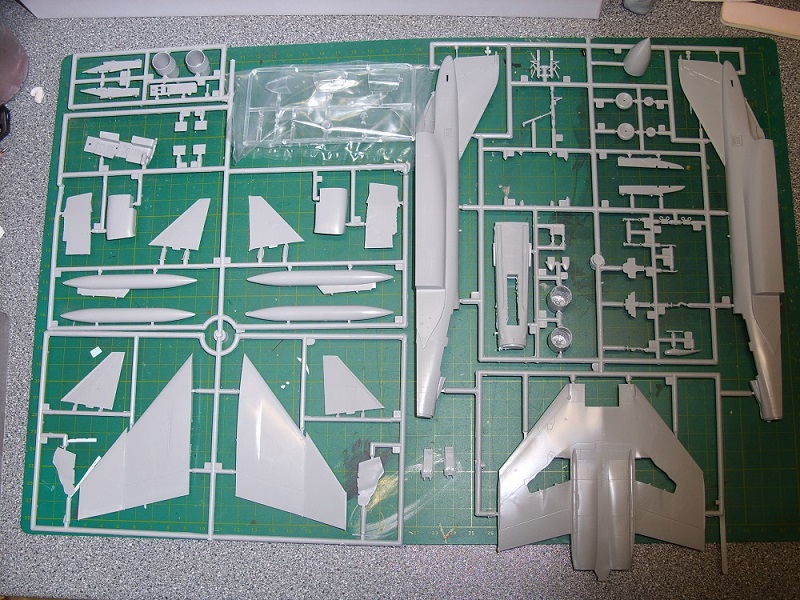
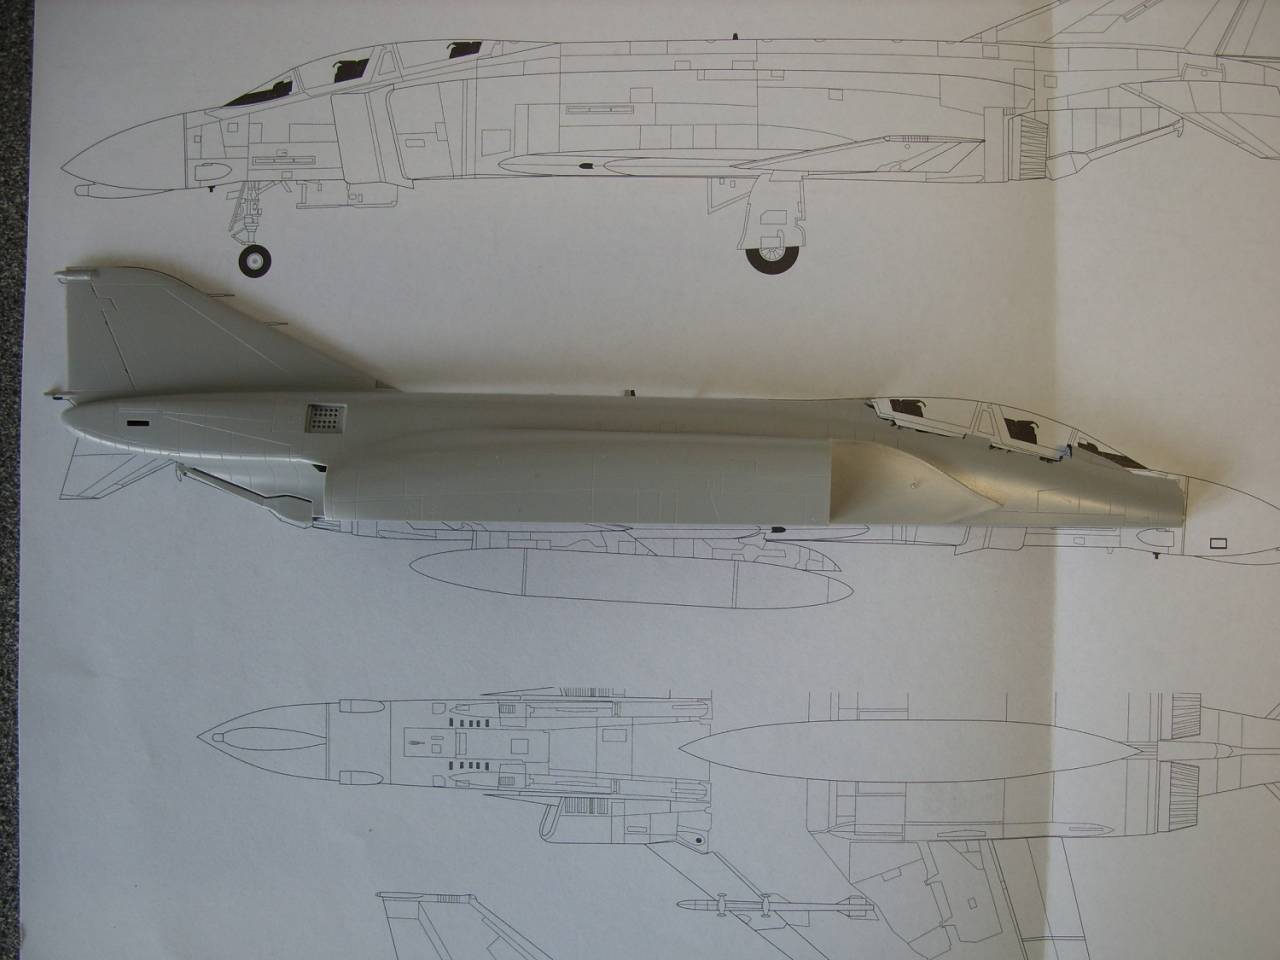
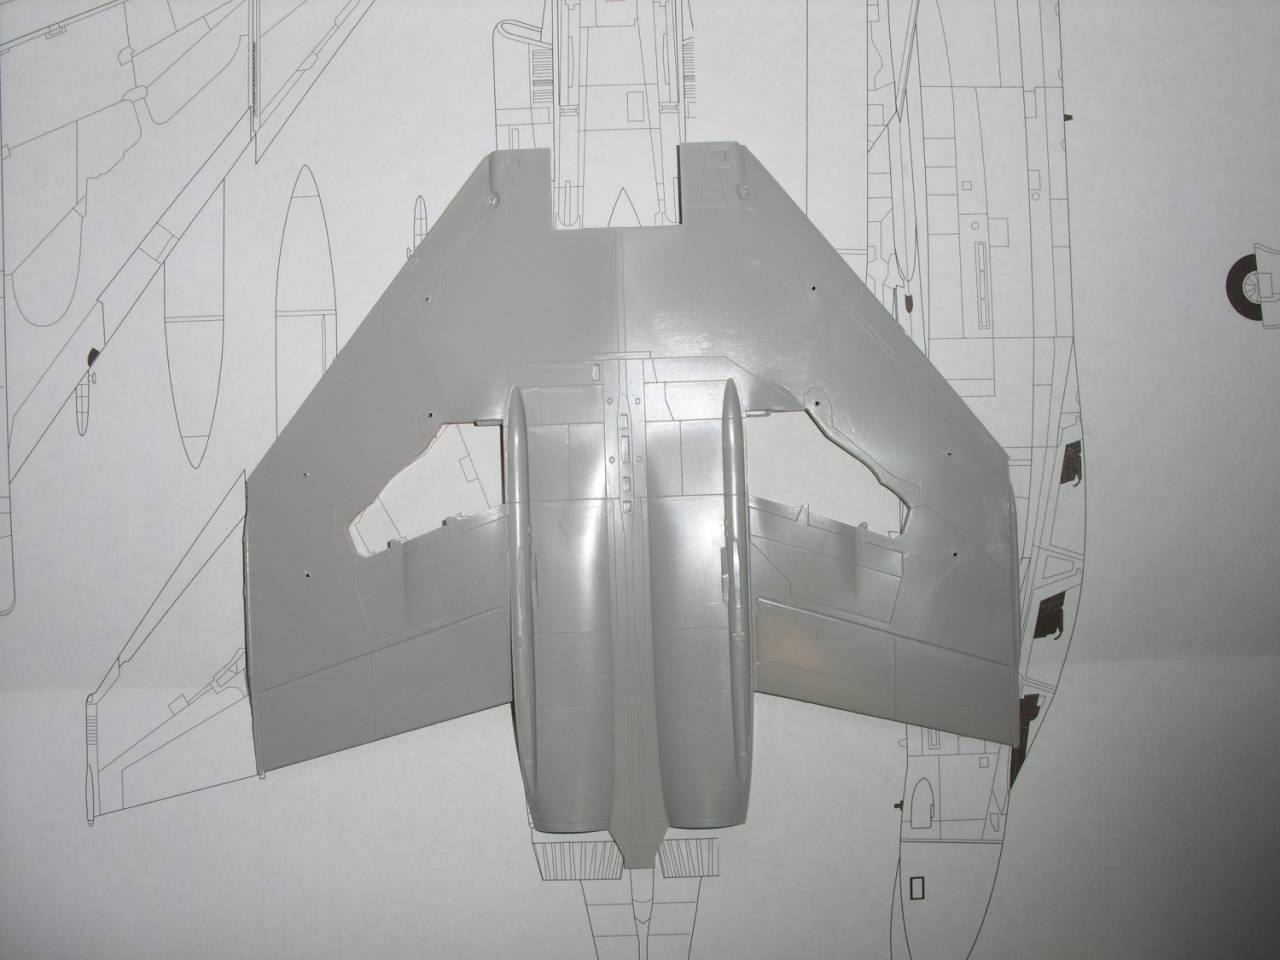
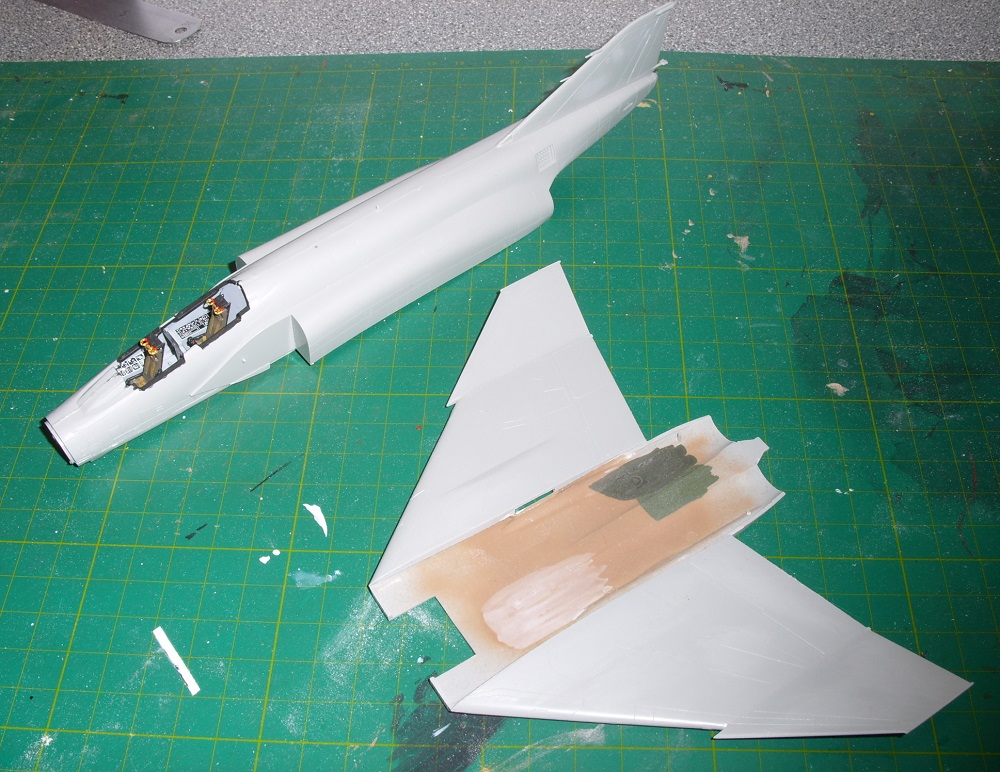
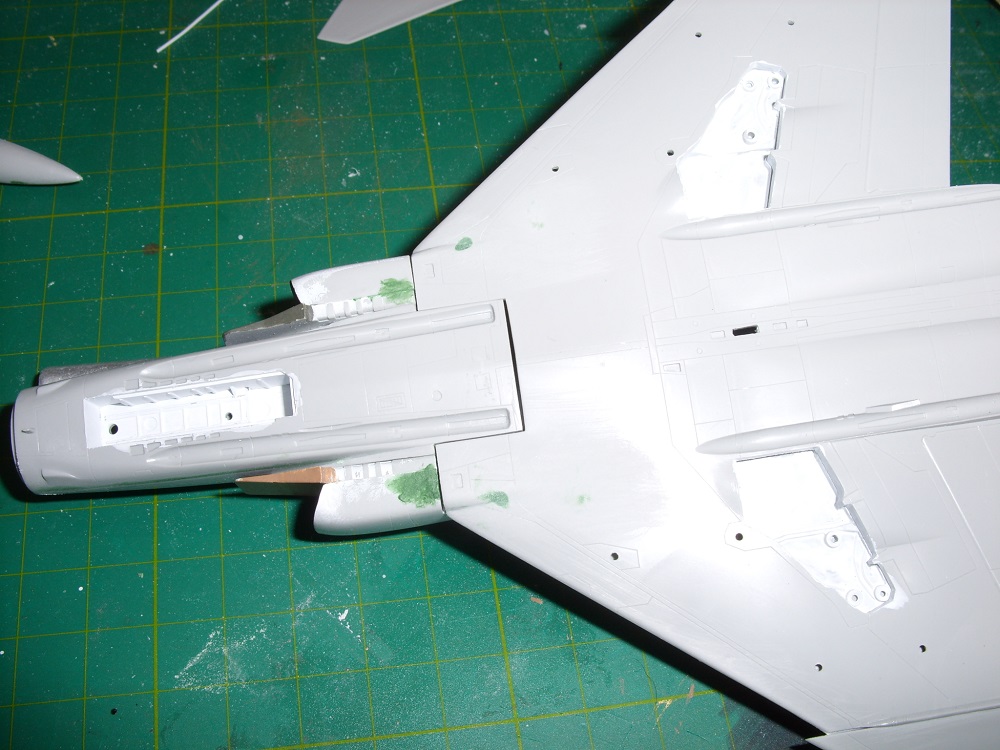
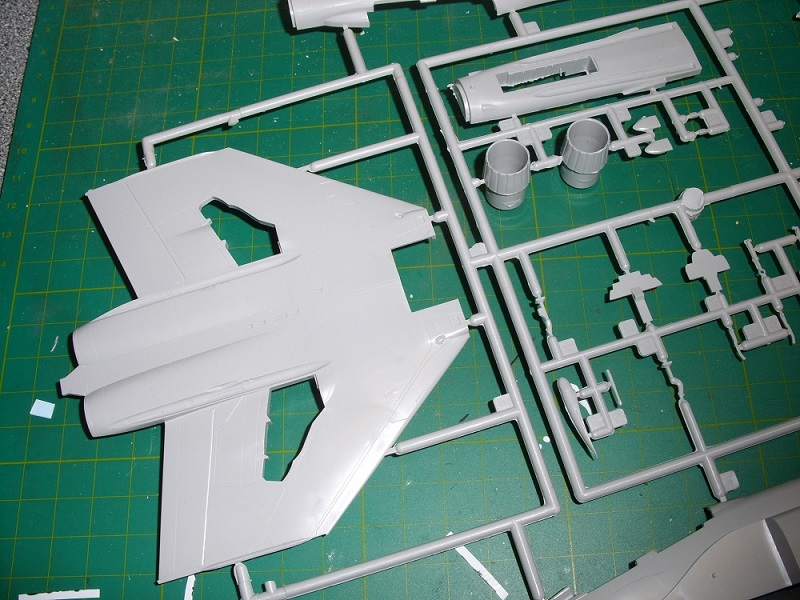
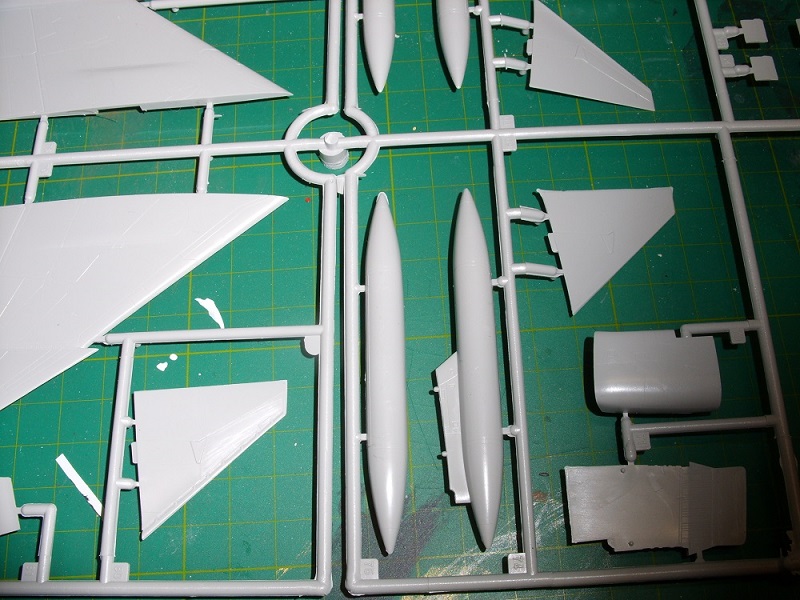
Panel detail is finely engraved and decently detailed for the scale and age of the tooling. Optional slatted and unslatted tailplanes, afterburner nozzles and inner wing pylons are provided to allow you to build either a C/D or J. At least that's the idea, but more on that in a later post. Still checking my references at the moment but I'm pretty sure only a C can be built.
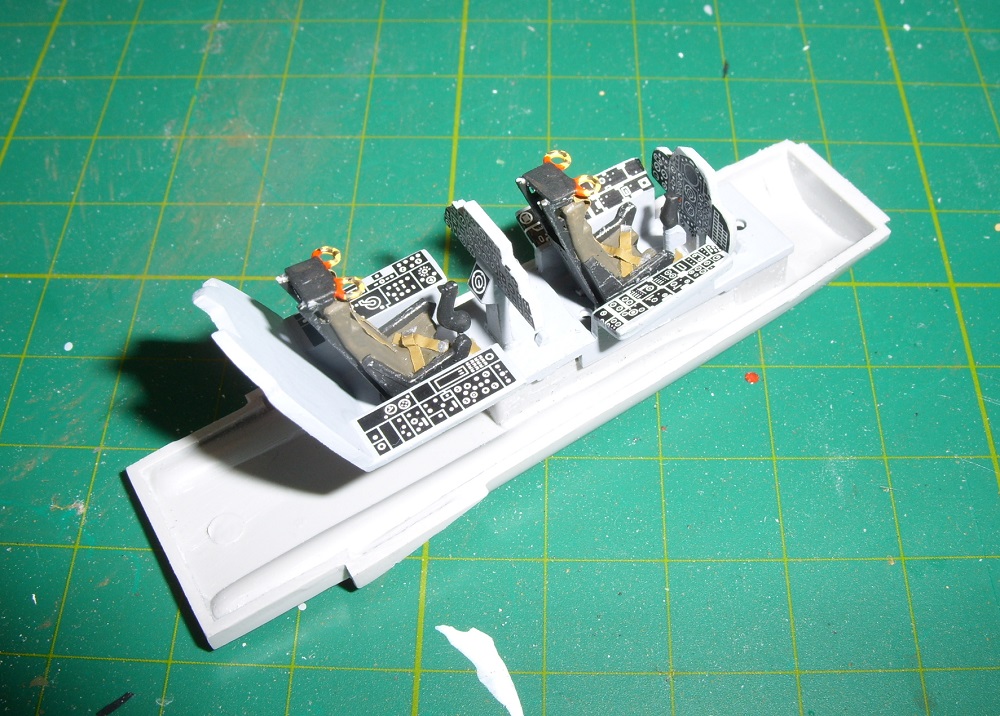
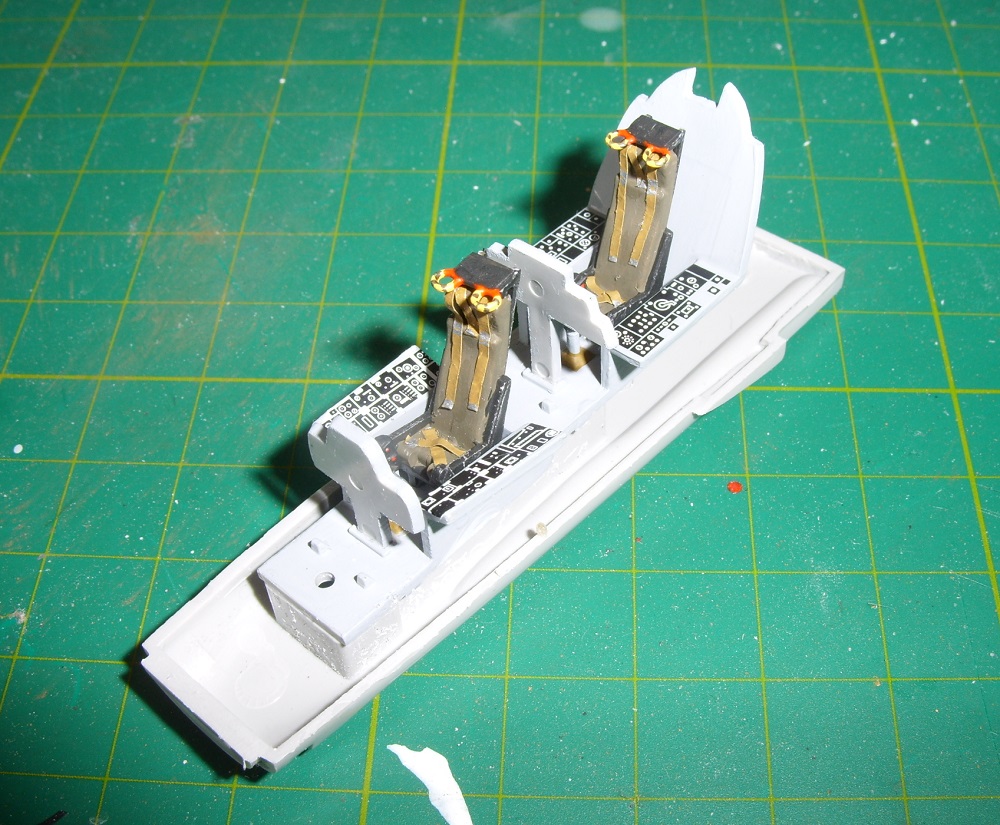
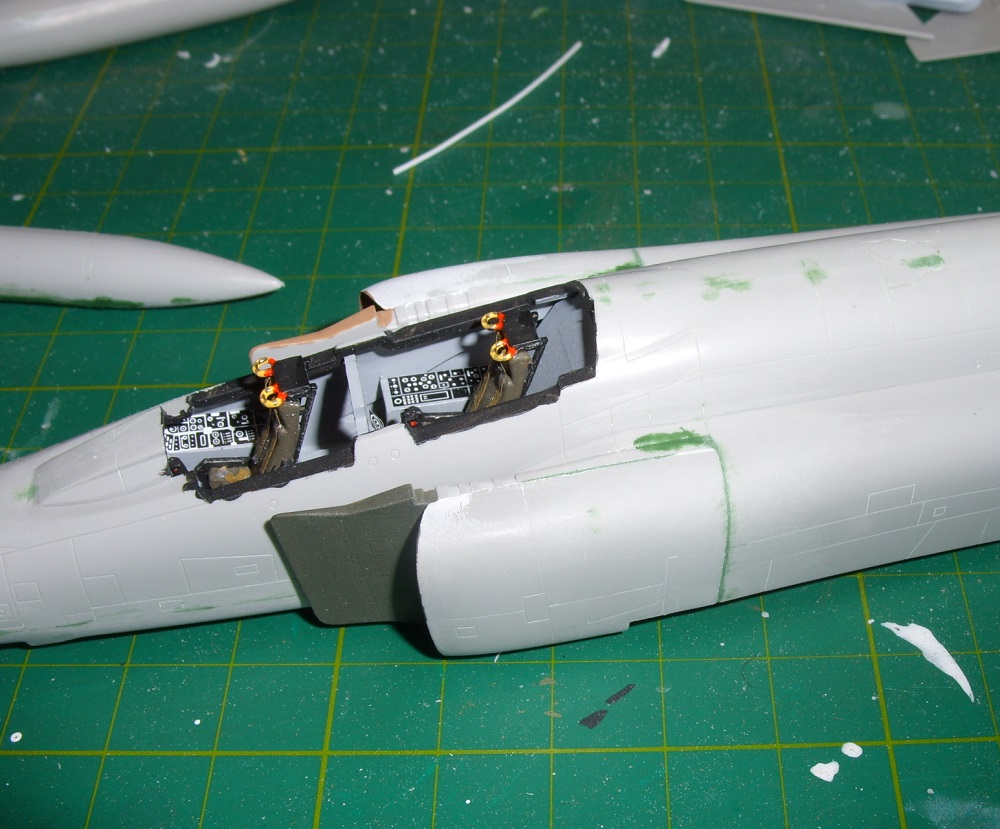
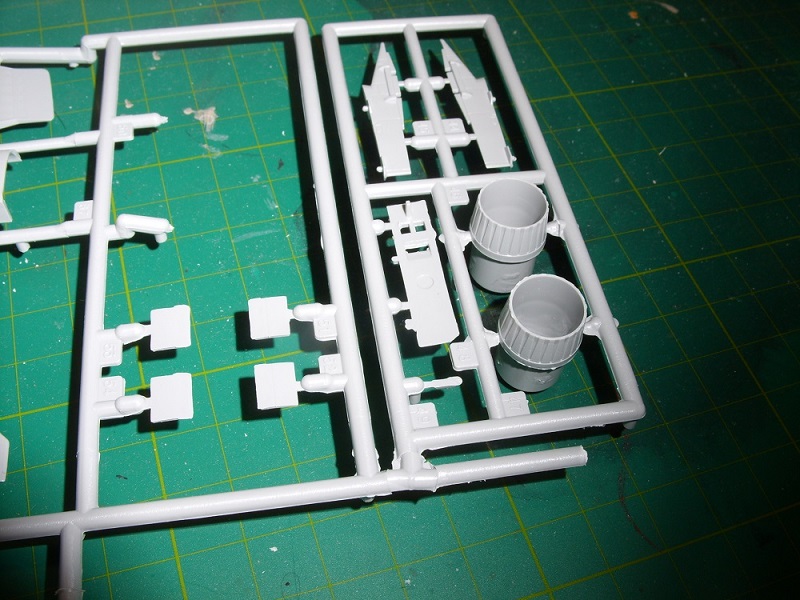
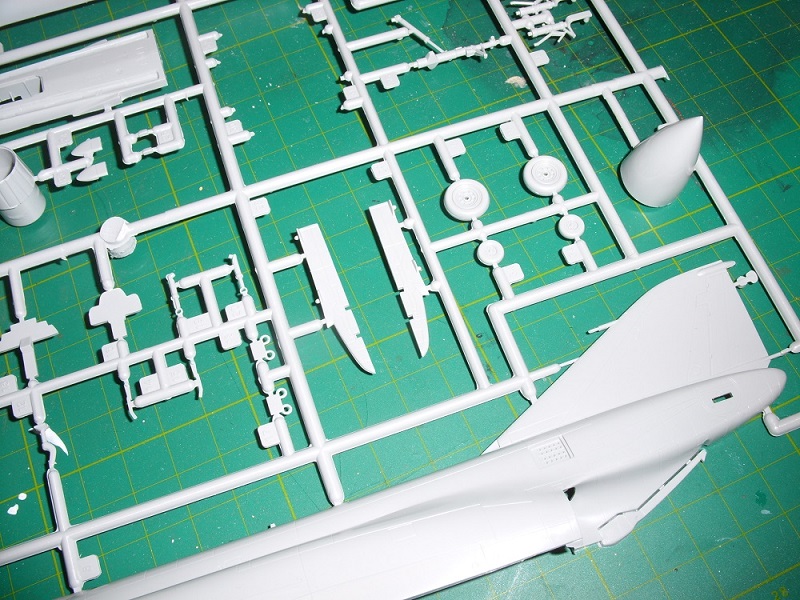
Cockpit is basic. Instrument panel detail is on the decal sheet, ok given the scale and age but not what we're used to today. The seats are in three pieces each and are passable representations of Martin Baker 5/7 seats. Resin replacements are available from several AM sources if you want to replace these.
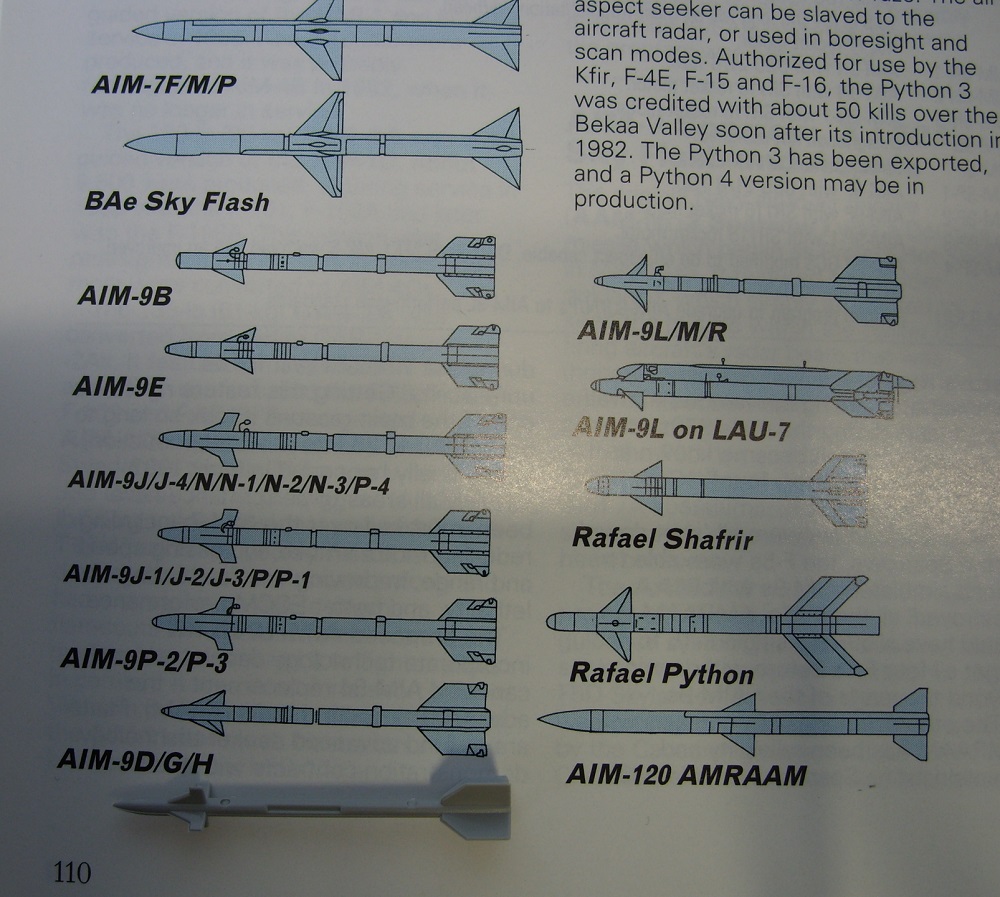
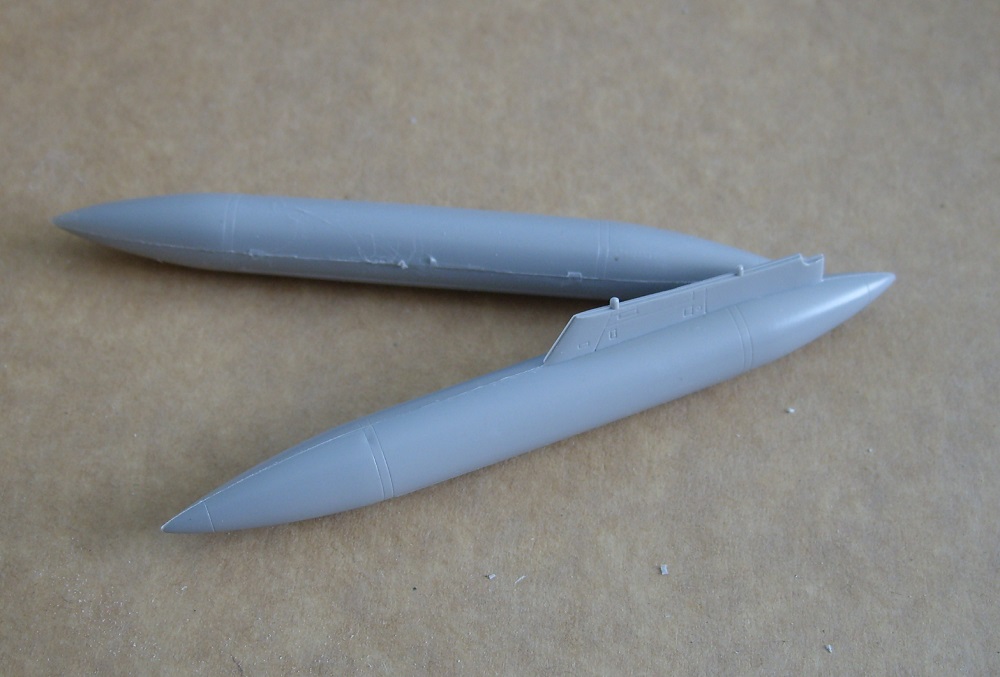
Stores are basic. Just outer fuel tanks, 4 AIM-7 Sparrows and 4 AIM-9 Sidewinders (I believe are supposed to be J's) and nothing else. Strangely they forgot about the centreline tank or a pylon for adding a gunpod or MER. The sparesbox will have to be raided to supply those and anything else you might want to hang off it.
There is also quite a bit of flash on the kit, especially inside the nose gear well and engine nozzles.


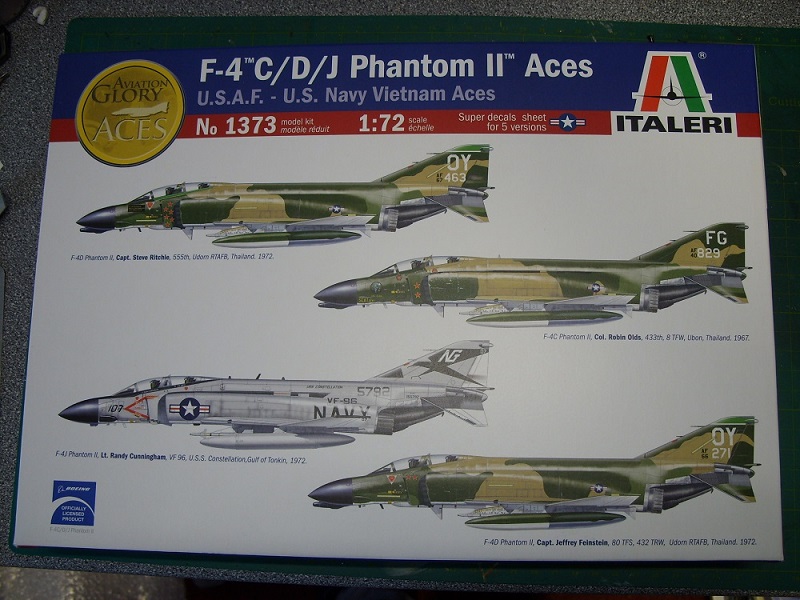
The box top claims to have markings for 5 aircraft, but only four are shown on the box. And only these four are included in the instruction sheet and decals. Despite this mistake the decals are beautifully printed and in perfect register with strong colours. Full stenciling for the airframe, pylons, tanks and missiles are given.


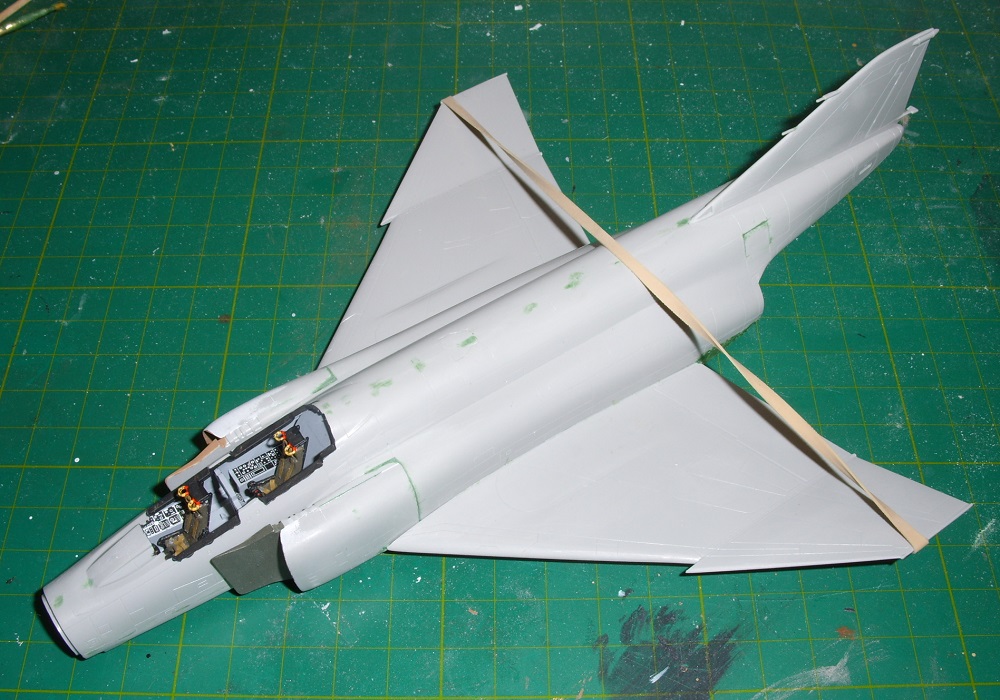
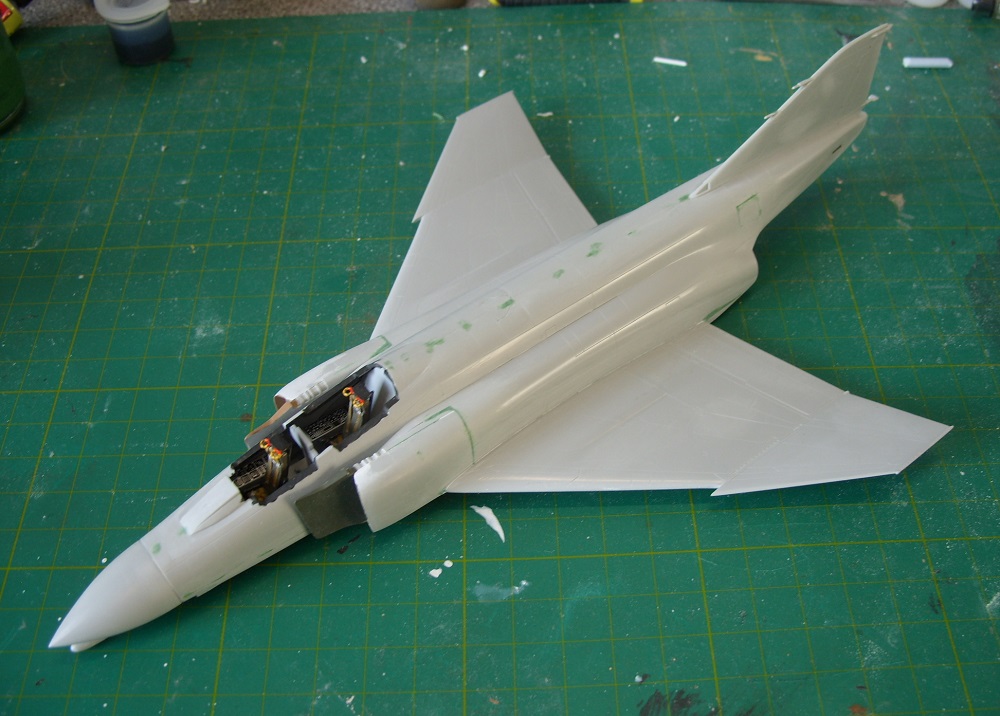
The kit is therefore a bit of a mixed bag. It's an oldie and is showing this in a few places. There are a few too many compromises to made to allow for a multi-version kit. The panel lines are clean and not overdone and a test fit shows that it should all fit with no fuss.
I am looking forward to building this kit and have already made a start. I'll be adding more photo's and updates as I go along which I hope will be of benefit to anyone thinking of buying or building the kit.
At the moment it's the only 1/72 F-4C currently available (unless anyone knows of any Fujimi kits around?) and is reasonably priced against it's competitors. I'll certainly be getting a couple more while I can. I can't help but think that Italeri have missed an opportunity to give us a new tooling early Phantom. Maybe Academy will scale down their 1/48 in the near future.


Stephen


phantom_phanatic309
#372
_VISITCOMMUNITY
United Kingdom
Joined: March 10, 2010
KitMaker: 2,568 posts
AeroScale: 1,619 posts
Posted: Sunday, March 05, 2017 - 03:43 AM UTC
Got a little more work done over the last few days, but first I'll mention the decal options as I skipped over those last time and a few more notes about the kits versions.

So options are given for the following:

1) F-4C SCAT XXVII, flown by Col. Robin Olds of the 433rd TFS, 8th TFW based in Ubon Thailand 1967.

2) F-4D flown by Capt. Steve Ritchie, 555th TFS, Udorn Thailand 1972.

3) F-4D WSO Capt. Jeffrey Feinstein, 80TFS, 432nd TRW, Udorn Thailand 1972. I'm not sure of the accuracy of this one as my references make no mention of the 80th being part of the 432 TRW at the time.

4) F-4J flown by Lt. Randy Cunningham and Lt. Les Smith of VF-96, USS Constellation 1972.

I'm planning on finishing my build as Robin Olds F-4C.

My chief references are these:


A quick check of the parts against the plans the MDF Phantom book, reveals that the nose is a little short. Maybe a scale foot or two short!


The wings seem ok though.


While I was at it I checked those missiles and found that are indeed closer to the AIM-9J/P. These should only be used with the two F-4D options. For the earlier C, AIM-9B's will have to be sourced. If you decide to build the Navy J, you're going to need AIM-9D's. These will have to found in spares, resin AM sets or from Hasegawa's various weapons sets.


Which leads me on to what exactly can be built from the box.
Firstly, the kit's cockpit while basic represents a dual control Air Force model. If you want to build the Navy J, you'll have to make some alterations to the rear office. A simple fix would be to leave out the control stick. The kit does give you the J's slatted stabilators and the undernose APR-32 RHAW, so externally it would look right. Unfortunately no intake mounted ALQ-126 ECM fairings are given, so late version J's are out of the question unless you have a spare set. In all honesty, you're better off with Academy's excellent J than trying with this. I'll be building that kit next.
An F-4D is sadly not possible without some clever sculpting. The kit supplied IR sensor pod (empty on Air Force verions), while accurate in shape, is only useful for the C. The D model mounted the ALR-69 RHAW system in the unused pod and it sprouted lumps and bumps for the antenna. These would have to scratched if you want to build a D.
One more thing to note are the catapult attachment point's under the wings. The Air Force variants will need these filling over.
In short only a C model can be build OOB. No bad thing as the market is currently lacking a kit of this type in 1/72. I think Italeri probably should have just boxed it as such and given us the relevant marking options. An early ADC grey would certainly look very nice.

So back with the build.

The cockpit went together with no real problems and I'm happy to report that the decals behaved themselves. The seat's are acceptable. I made up some seat belts with paper strips painted khaki.


The fuselage halves and wings went together with no fuss and so far looks like I won't need any filling along the fuselage join. I then stuck in a lead weight in the nose to prevent it tail sitting (Phantoms are usually ok but better safe than sorry) then fitted the undernose/cockpit assembly. This will need some filling sanding to blend in, but hopefully not much.


Hoping to get a little more done over the next few nights.

phantom_phanatic309
#372
_VISITCOMMUNITY
United Kingdom
Joined: March 10, 2010
KitMaker: 2,568 posts
AeroScale: 1,619 posts
Posted: Monday, April 10, 2017 - 04:08 PM UTC
Progress has been a little slow of late but managed a little more work this weekend.

First off, if you going to build this as a C, the TACAN antenna on the fuselage spine needs to be trimmed off. For D's and J's I'd recommend checking references to see if the particular aircraft you are going to build will need it or not.


The detail across the spine is very soft and easily removed when sanding the joint as I found to my cost. This is just a limitation of the molding process. Care will need to be taken when cleaning up this area. I had to re-engrave the refueling receptacle, not a job I enjoy doing. It wasn't the neatest of jobs but I think it will do.

Next job was to deal with the intakes. They are awful and would be better off blanked off with FOD covers.
I'm modelling them open just to see how much will be visible when completed.
First job after cleaning up the parts was to sprat the insides with Valejjo Modelair white, followed by the inner part with Humbrol 116 US Dark Green and 118 US Tan. These were the Humbrol acrylic range, thinned with Winsor & Newton Acrylic Flow Improver. They brush very well after thinning, but colours are not strong. Even the green needed two coats. We'll see how they airbrush later.
The left side intake needed a shim of thin plastic strip at the rear to widen it slightly so that it fit flush with the fuselage.


After that I glued both halves together and filled the small gap between each half.


I also assembled the outer wing tanks. Care needs to be taken here because the fit is loose and it's easy to misalign them or even glue one side upside down. If you do that, the panel lines and bands are completely misaligned.


Thanks for looking.
magnusf
_VISITCOMMUNITY
Stockholm, Sweden
Joined: May 02, 2006
KitMaker: 1,953 posts
AeroScale: 1,902 posts
Posted: Tuesday, April 11, 2017 - 12:35 AM UTC
Stephen Many of those old ESCI kits are still nice, much of what they did in 1/72 must have been decades ahead of their time! Maybe lacking a bit in detail but what there is is good, complemented with some modern after market they can be built into really nice models!

Good choice of subject, I have a started Hasegawa kit that I'll finish in the same markings. One day when I get around to it :-) !


Magnus
phantom_phanatic309
#372
_VISITCOMMUNITY
United Kingdom
Joined: March 10, 2010
KitMaker: 2,568 posts
AeroScale: 1,619 posts
Posted: Tuesday, April 11, 2017 - 01:09 AM UTC
Hi Magnus. Thanks for following.

I am actually enjoying building it. Re-reading my posts it does sound like I'm complaining a little! It won't be the last I'll buy. I have several sheets of Vietnam era C's and D's decals I've been waiting for years to build.
Truth be told I actually prefer to build these older kits. After this is done I have an ex Aurora HH-3 Jolly Green Giant and Airfix's F-105G, Skyraider and Cessna O-2 to build. The latter two were originally tooled while the war in Vietnam was still raging! The Jolly Green probably predates that!

I've got a few Hasegawa J's and a Fujimi D in the stash and to be honest they aren't much better in the cockpit and intakes. The three are uncannily similar to each other. Parts break down is almost identical.

If you want a good J I recommend Academy's new tool kit. It's fantastic!


You'll have to post some photos of your build.
phantom_phanatic309
#372
_VISITCOMMUNITY
United Kingdom
Joined: March 10, 2010
KitMaker: 2,568 posts
AeroScale: 1,619 posts
Posted: Sunday, May 07, 2017 - 01:17 AM UTC
More progress this week.
Attached the intakes and lower fuselage/wing assembly. The fit of the latter was awful.


The was a large gap between the lower nose and belly parts. Far too big to fill with putty so I added some strips of plastic followed by filler.


After some sanding down all was good.
The wings needing pulling up and in to ensure a good join to the fuselage sides. Easily solved with an elastic band. A little Vallejo water based putty easily filled the minor gaps here.


The major work is now complete and I have something that looks like a Phantom! Now just a matter of working on the smaller pieces and prepping for some paint.

Thanks for looking
 _GOTOTOP