Quoted Text
Sorry Andy a small correction.
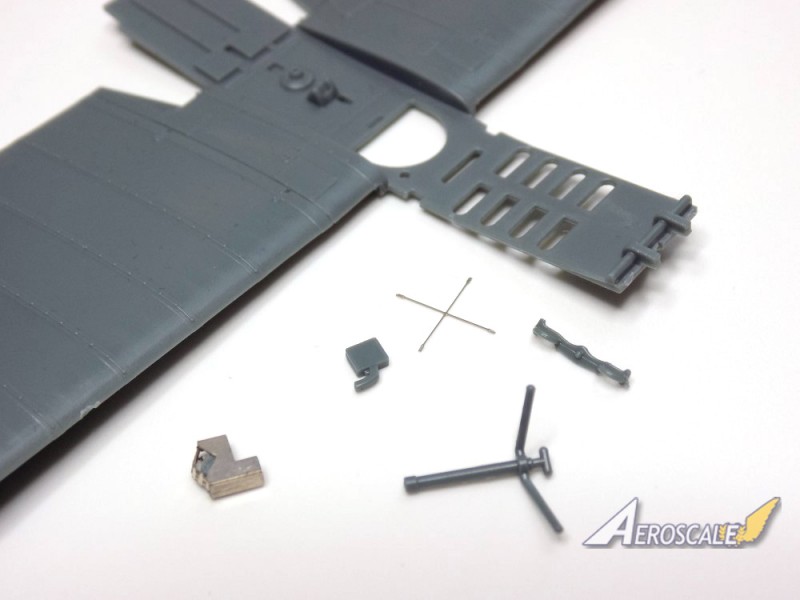
The "cross shaped thingy" is the lube tube for the sychronizing gear. Its placed ahead of the control column, and the base goes ahead of the rudder bar and attaches to the upper longerons. You twist the top and a worm drive pushes grease to the gun gear.
Thanks for that Stephen, I thought it would be a "lube tube" of some sort, but didn't know what for.
Anyway the last parts.
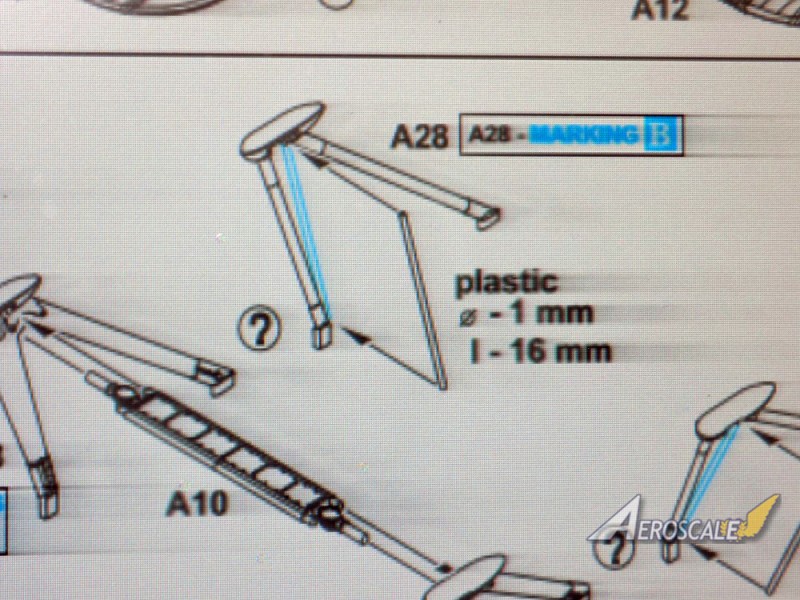
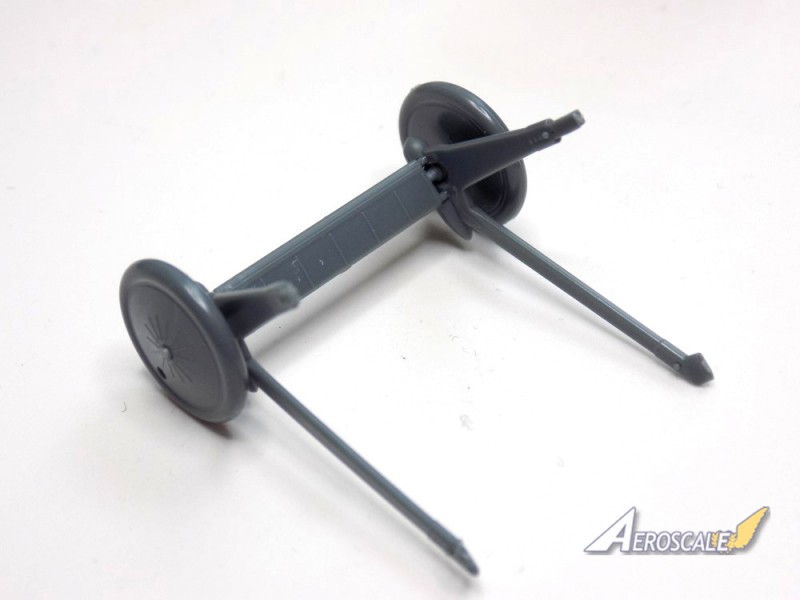
The undercarriage legs are different for Marking "B", so make sure you add the correct part.
The undercarriage legs are pretty sturdy, and are only made up of 5 parts including the one piece wheels.
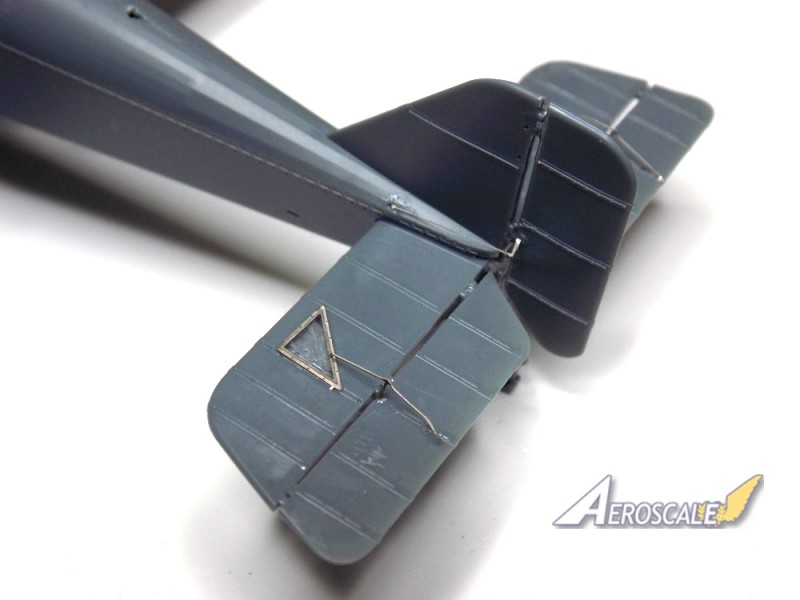
The last of the photo etch goes over the triangular holes in the wings and tail planes. Care will definitely be needed as the "holes" have clear parts underneath, so be careful of fogging them when attaching with superglue.
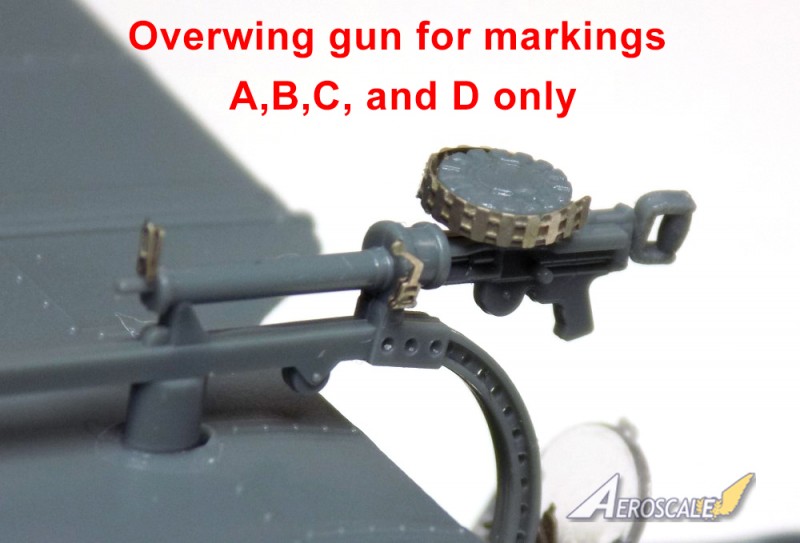
Also the over wing gun gets a couple or three of P.E upgrades. Mines not glued on quite right BTW

.
Last up for those going with the "B" version is the inclusion of a bomb rack? Multiple folds are needed but this is pretty easy.
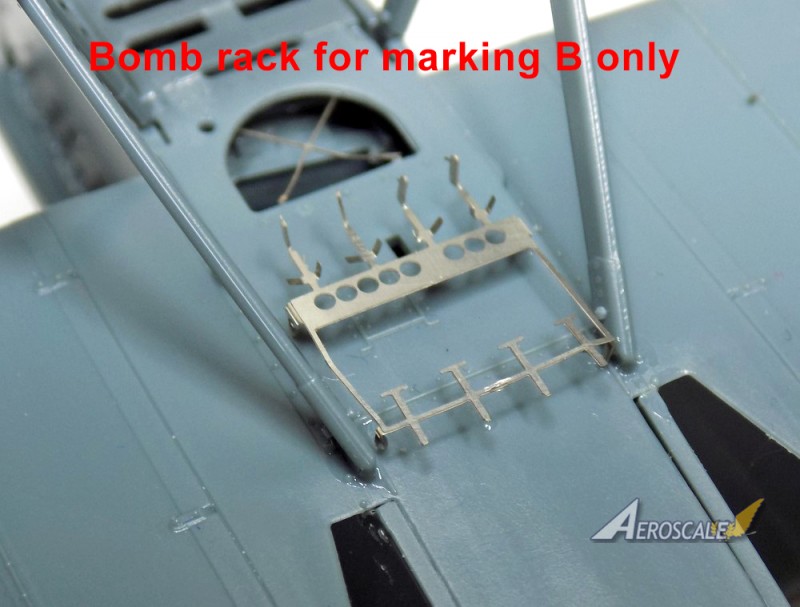
.
Ok this is all done now, so finished pics will follow.
Andy