


I just took a trip to China using Finnair, and was so impressed with their A350 service that I impulse bought the 1:250 scale model from the in-flight shopping catalog.
Now I don't know what I was really expecting paying only 20eur for a model, but I at least expected the colors to be correct:
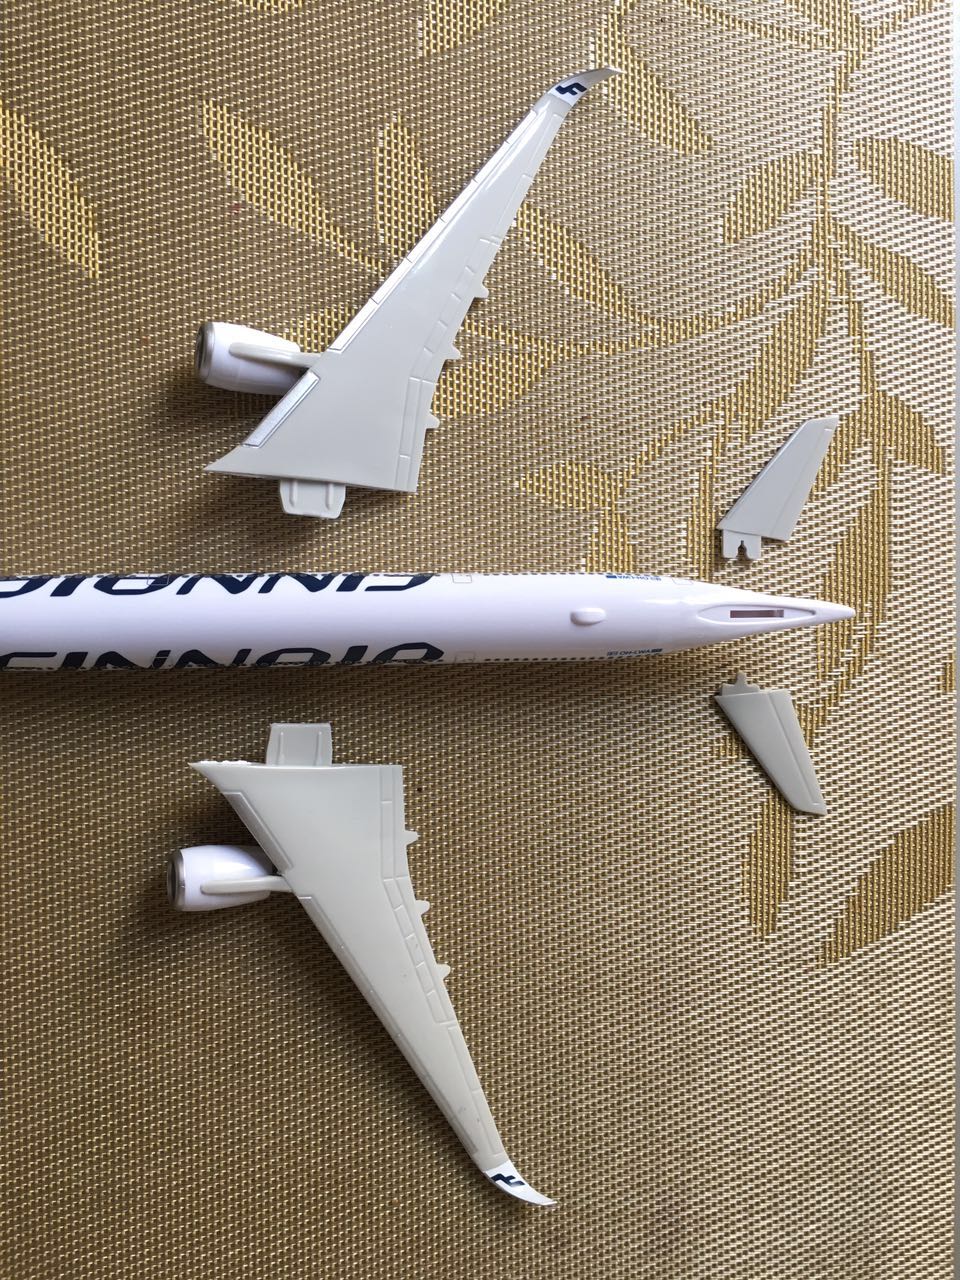
(Also, the F logos on the winglets are far to low, but I'm not sure anything reasonable could be done about those.)
Lots of burrs all over the model, and the engines come with a ridiculously bright set of fan blades:

The A350 does not have a external vertical stabilizer seals like the A330/340 - that will have to be pained over. Also the slots to accept the vertical stabilizers (also gray instead of white) are much to small to accept them and will need to be widened.

This seems like it might be a good starter for practicing some basic painting, considering my only other option is to hold onto it until next time I transit Helsinki and demand a refund.
I've been digging through the beginners section and watching Youtube videos to get started, but would appreciate this forum's advice.
First order of business would be burr removal I'd imagine, and that shouldn't be much more then a little filing and sanding (800 grit minimum?).
For painting I would probably have to go acrylic (large studio apartment, and I hear it's rather stinky). A lot of coats (4-5) on top of a light primer with the leading edges masked seems from what I can tell is the way to go, followed by a clear coat.
Fixing the incorrectly sized slots for the vertical stabilizers looks like it will just require files, patience, and constant checking - filling in errors if I remove too much looks quite complicated.
Painting over the vertical stabilizer covers could be problematic. I don't expect to get a perfect match on the white, and there it could stick out like a sore thumb. If not the color difference wouldn't there be thickness difference that would be visible as well? I might just have to live with that error.
Worth a go? Or should I just wait until I transit HEL next and get a refund?
Any feedback would be appreciated.


