Over on Merlin's Review of the new Eduard SE5a, I commented that the surface detail, while superb in most areas, lacked subtlety in the rib stitching and rib tape area. I promised a discussion, so here it is.
Eduard have come a hell of a long way since I started seriously sticking bits of styrene together about 23 years ago. Back then I cut my teeth on Blue Max, Aeroclub and Eduard kits, because they were the only ones making reasonable accurate kits of my chosen subjects at the time (WWI Aircraft), aside from a couple of outsiders from Dragon and Revel.
On Eduard's kits, rib stitching and rib taping were non existent. Blue Max and Aeroclub did a nice subtle representation, but they were working in an entirely different type of plastic to Eduard.
And back then, this didn't worry me. It still doesn't.
Why? Because in 1/72, 1/48 and even 1/32 scale, you'd be hard pressed to be able to see rib stitching and taping, let alone accurately replicate it.
Let's go back to basics.
What is the purpose of rib stitching anyway? Well, simply, it stops the fabric covering on an open framed wing from ballooning. Ballooning will have disastrous results on the aerodynamics of any flying surface. Just ask the pilots of early mark Spitfires before they went to metal skinned Ailerons.
The stitching was done with fine (about 1/16" Dia.) thread over a reinforcing fabric strip laid on top of each rib. Then, a strip of linen was doped over the top of the stitching.
There are loads of references on the web to show you how it was done. The stitch varied from manufacturer to manufacturer, and was very different on Axis machines compared to Allied machines. But the general principle was the same in all cases.
The technique is still used today on Piper Cubs.
A single line of thread under a rib tape will be about a thou and a half at 1/48. And a knot might sit maybe three times this height.... That's 4 to 4 and a half thousanths of an inch at 1/48. Maybe 6 thou at 1/32. That's between 0.1 and 0.15mm.
Anyway. Lets disregard for a minute the fact that you wouldn't see any evidence of stitching at our chosen scales and look at how it's represented these days.
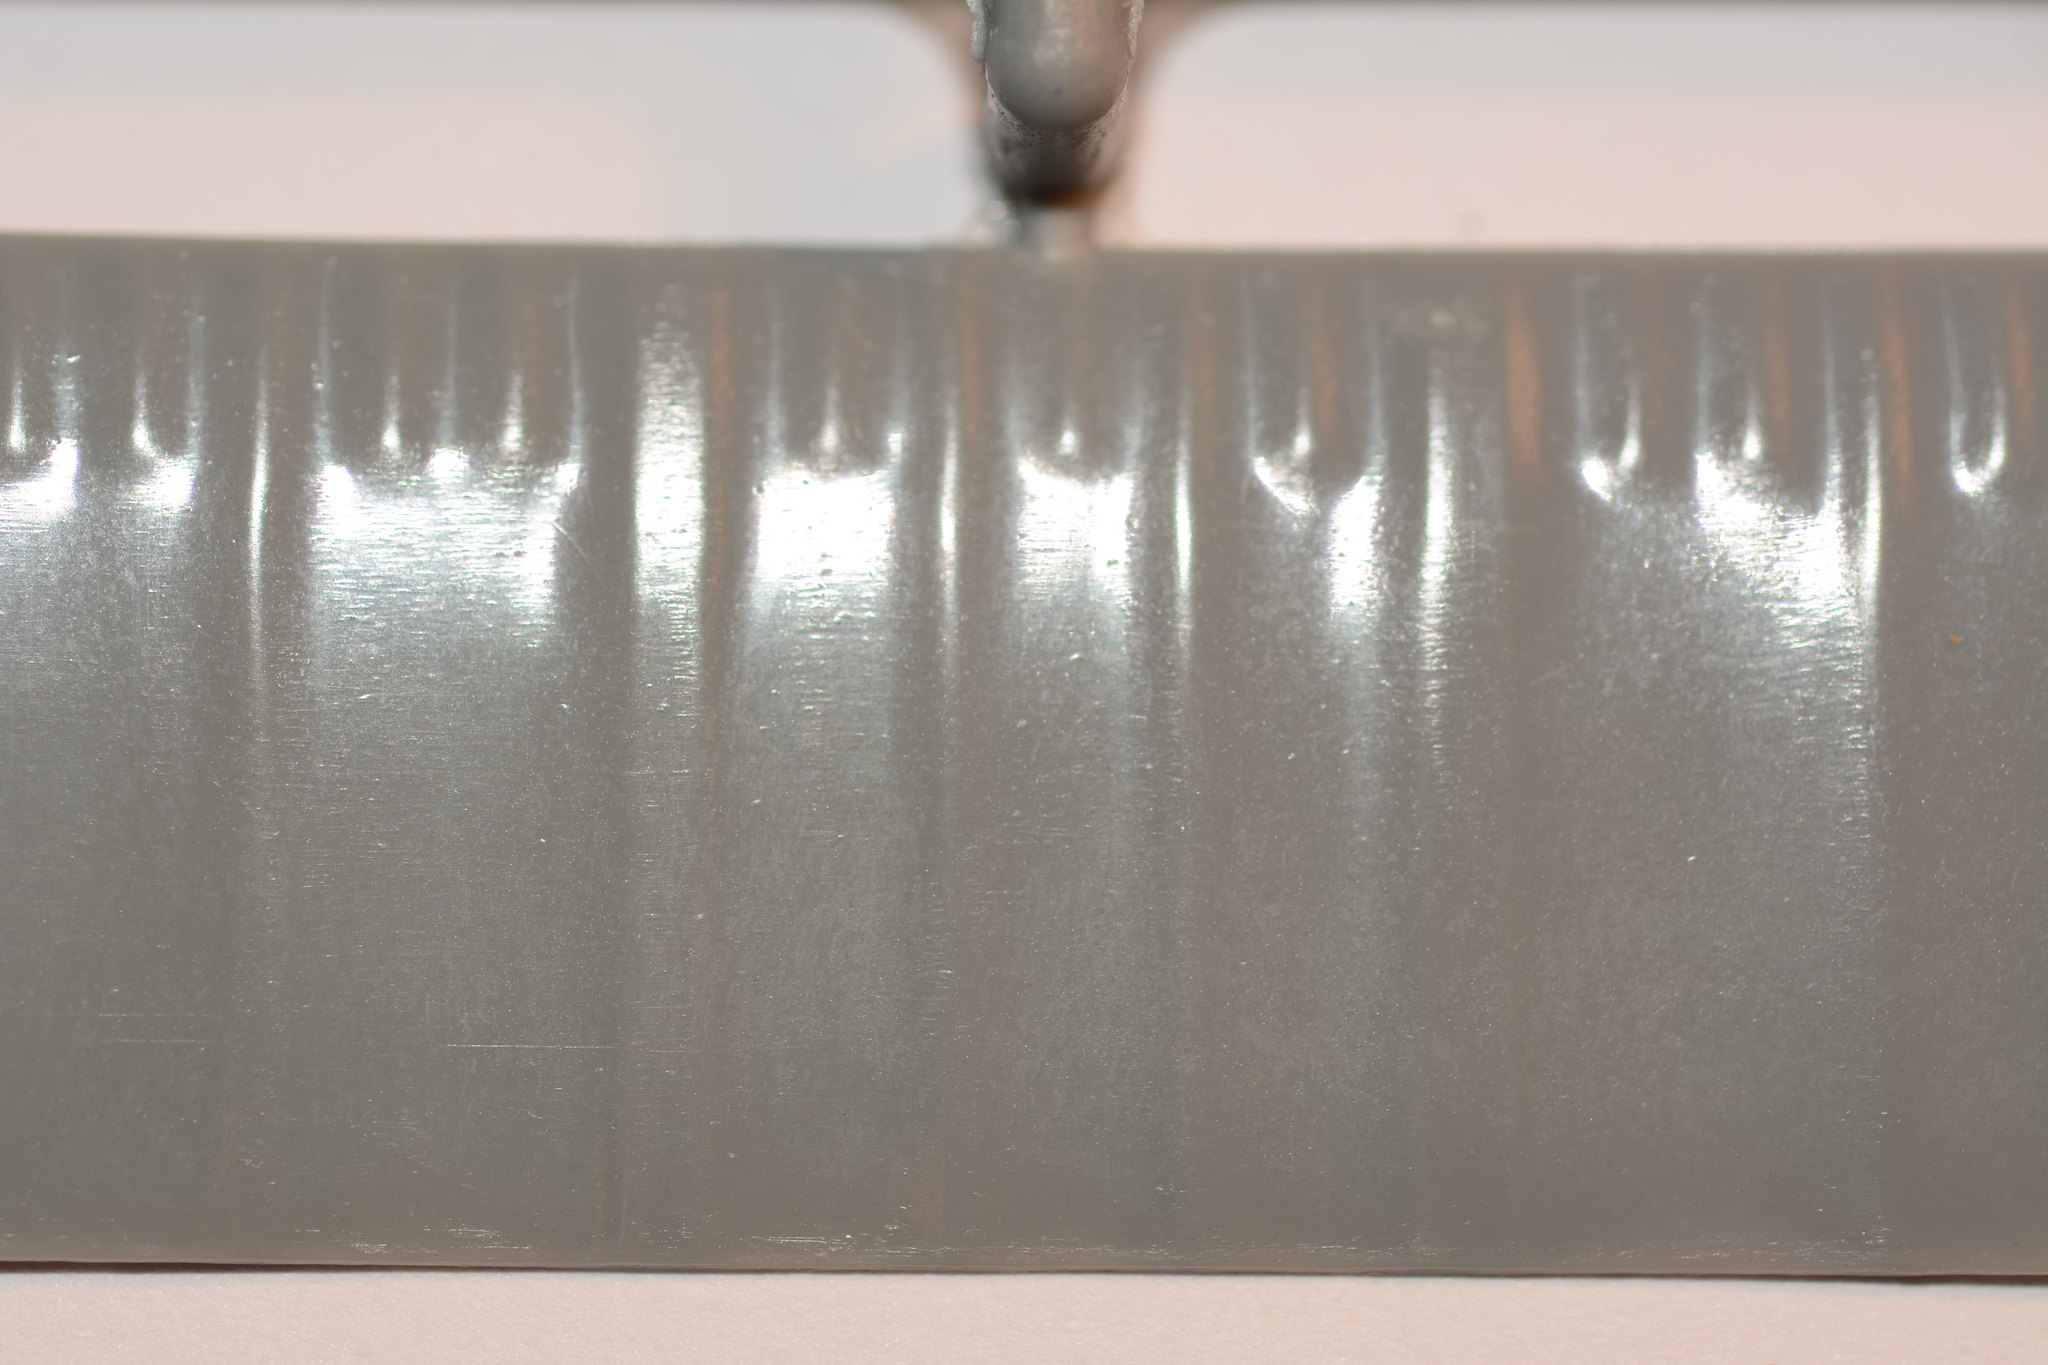
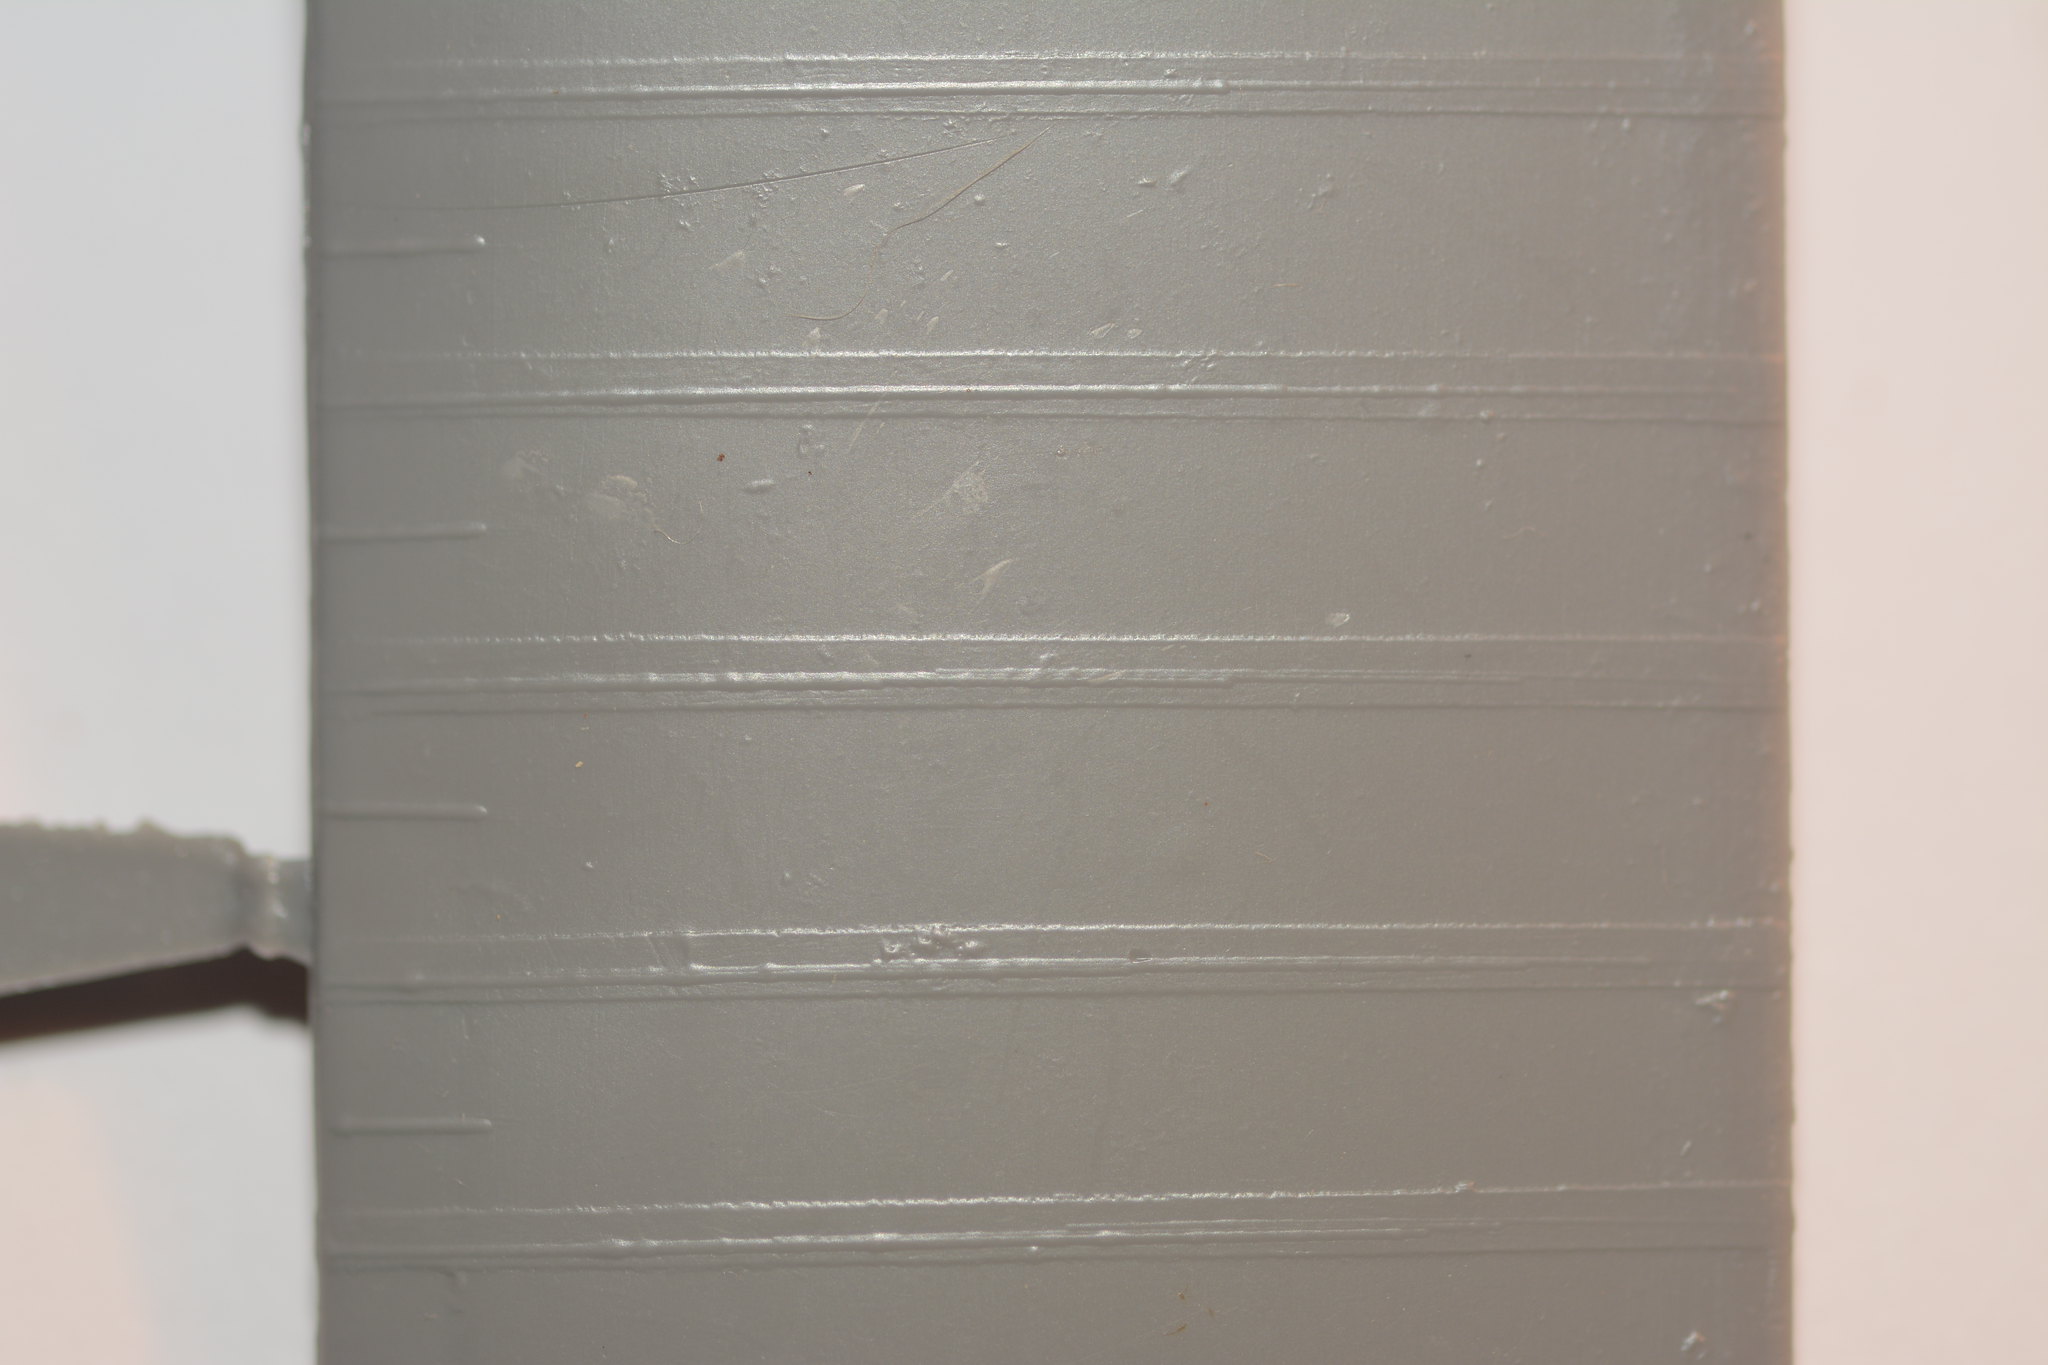
Here are two examples from Eduard and Blue Max 20 years ago.
The first is a section of the wing on the Eduard Sopwith Triplane (they need to redo this subject one day... please...) and the second is a section of the wing of the Blue Max Sopwith Camel. Both at 1/48.
Here is a more recent Kit. The Eduard Ne 11 at 1/48.
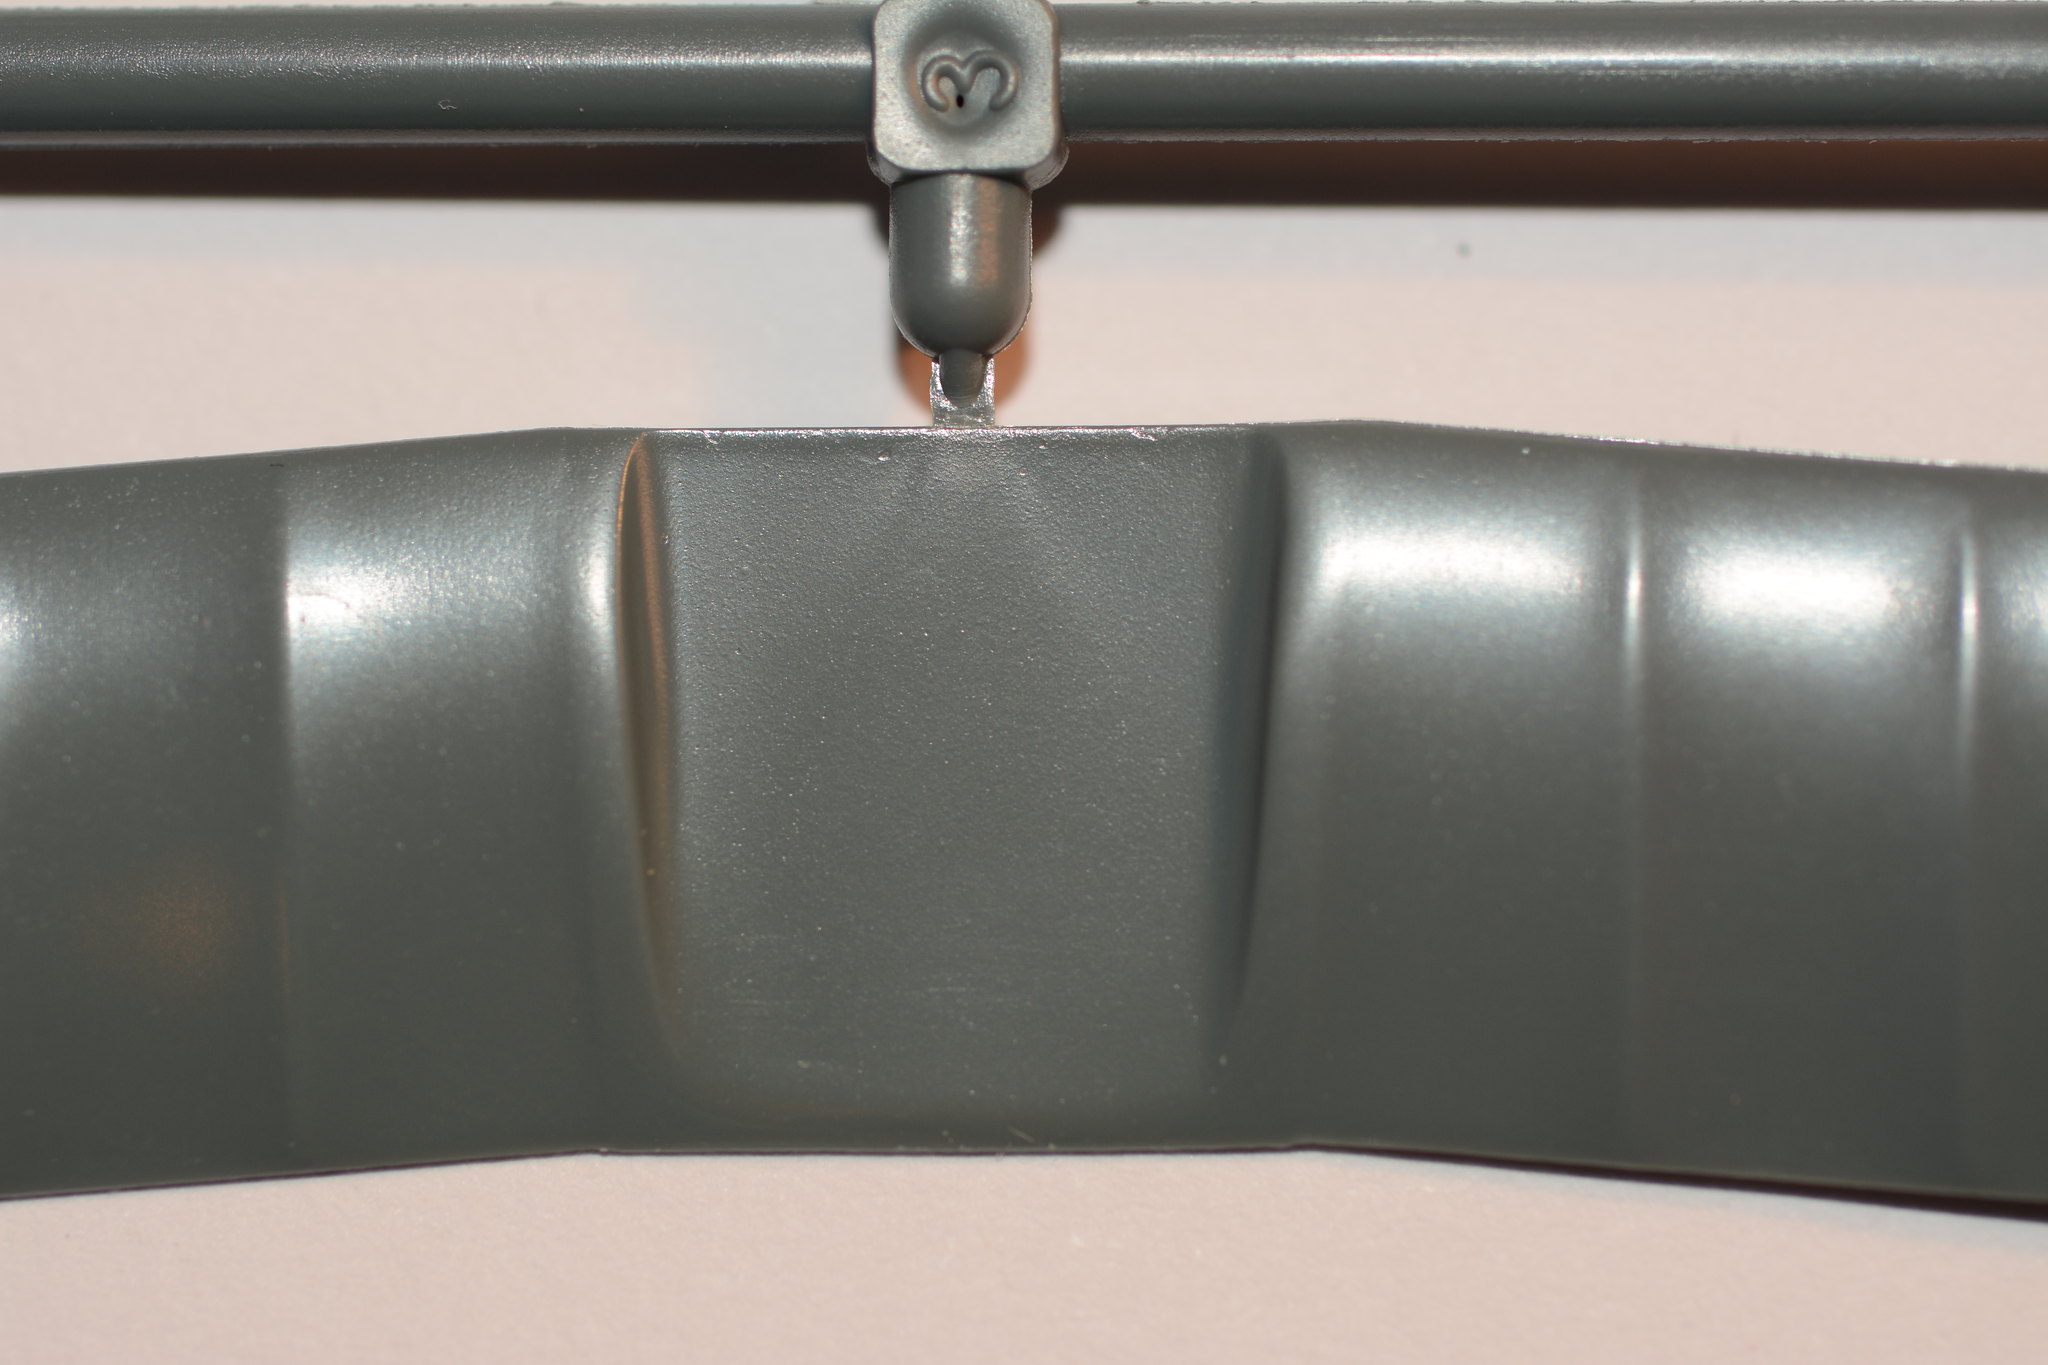
And the Elevator from the Eduard Bristol Fighter at 1/48.
Note the representation of rib tapes. But no stitching. Again, way over scale both in height and width of the tape.
Now, the new SE5a. First the top of the main plane, then the underside, then... the side of the fuselage. Nice lacing here. I'm showing you the top and the bottom for a reason...
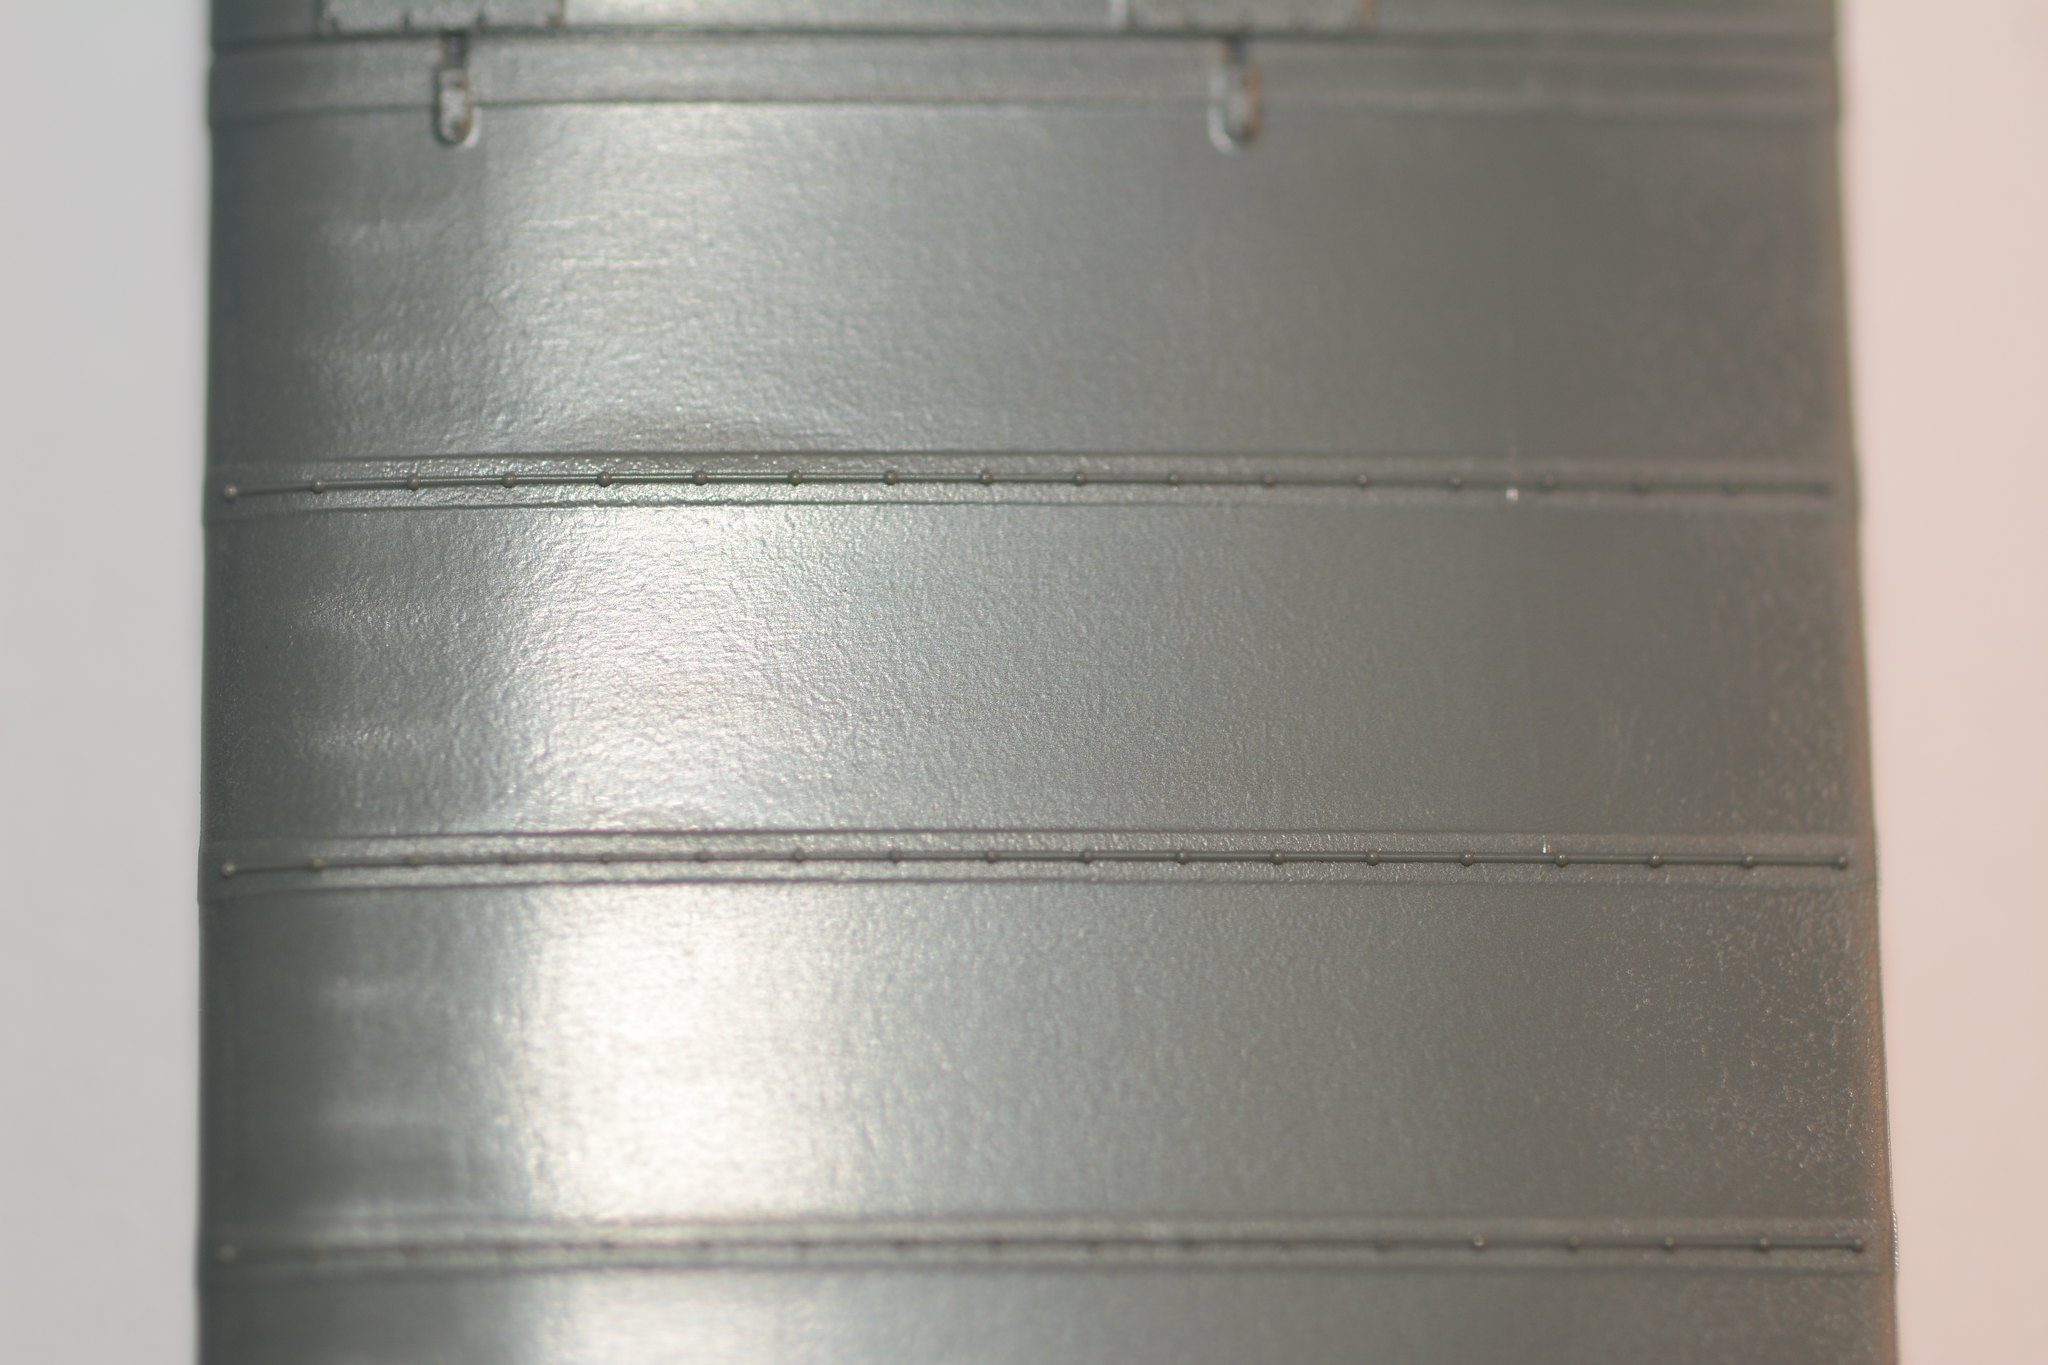
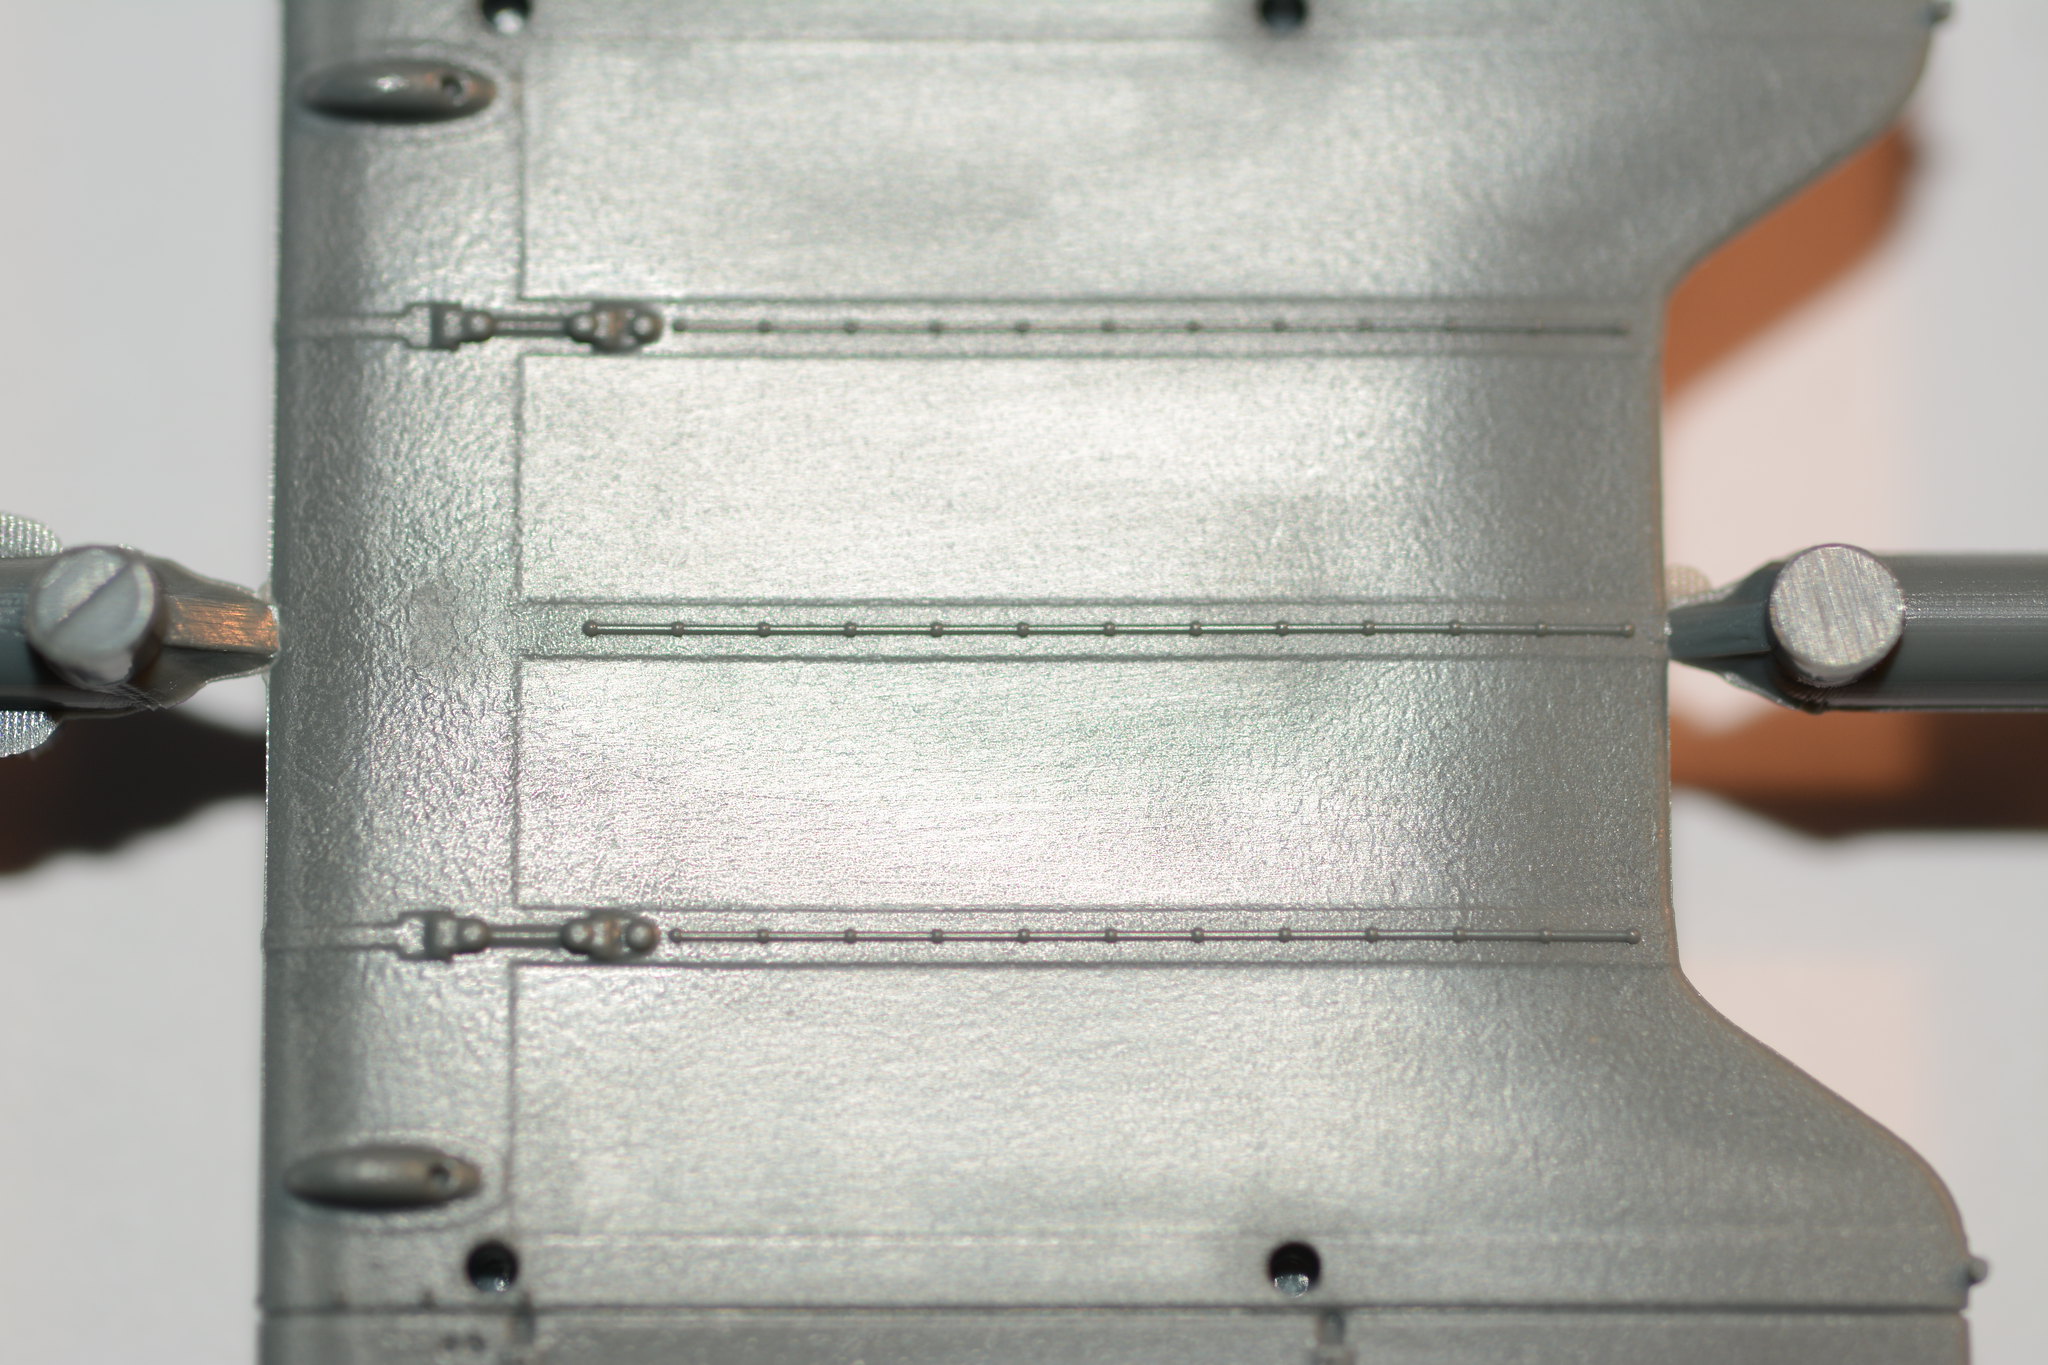
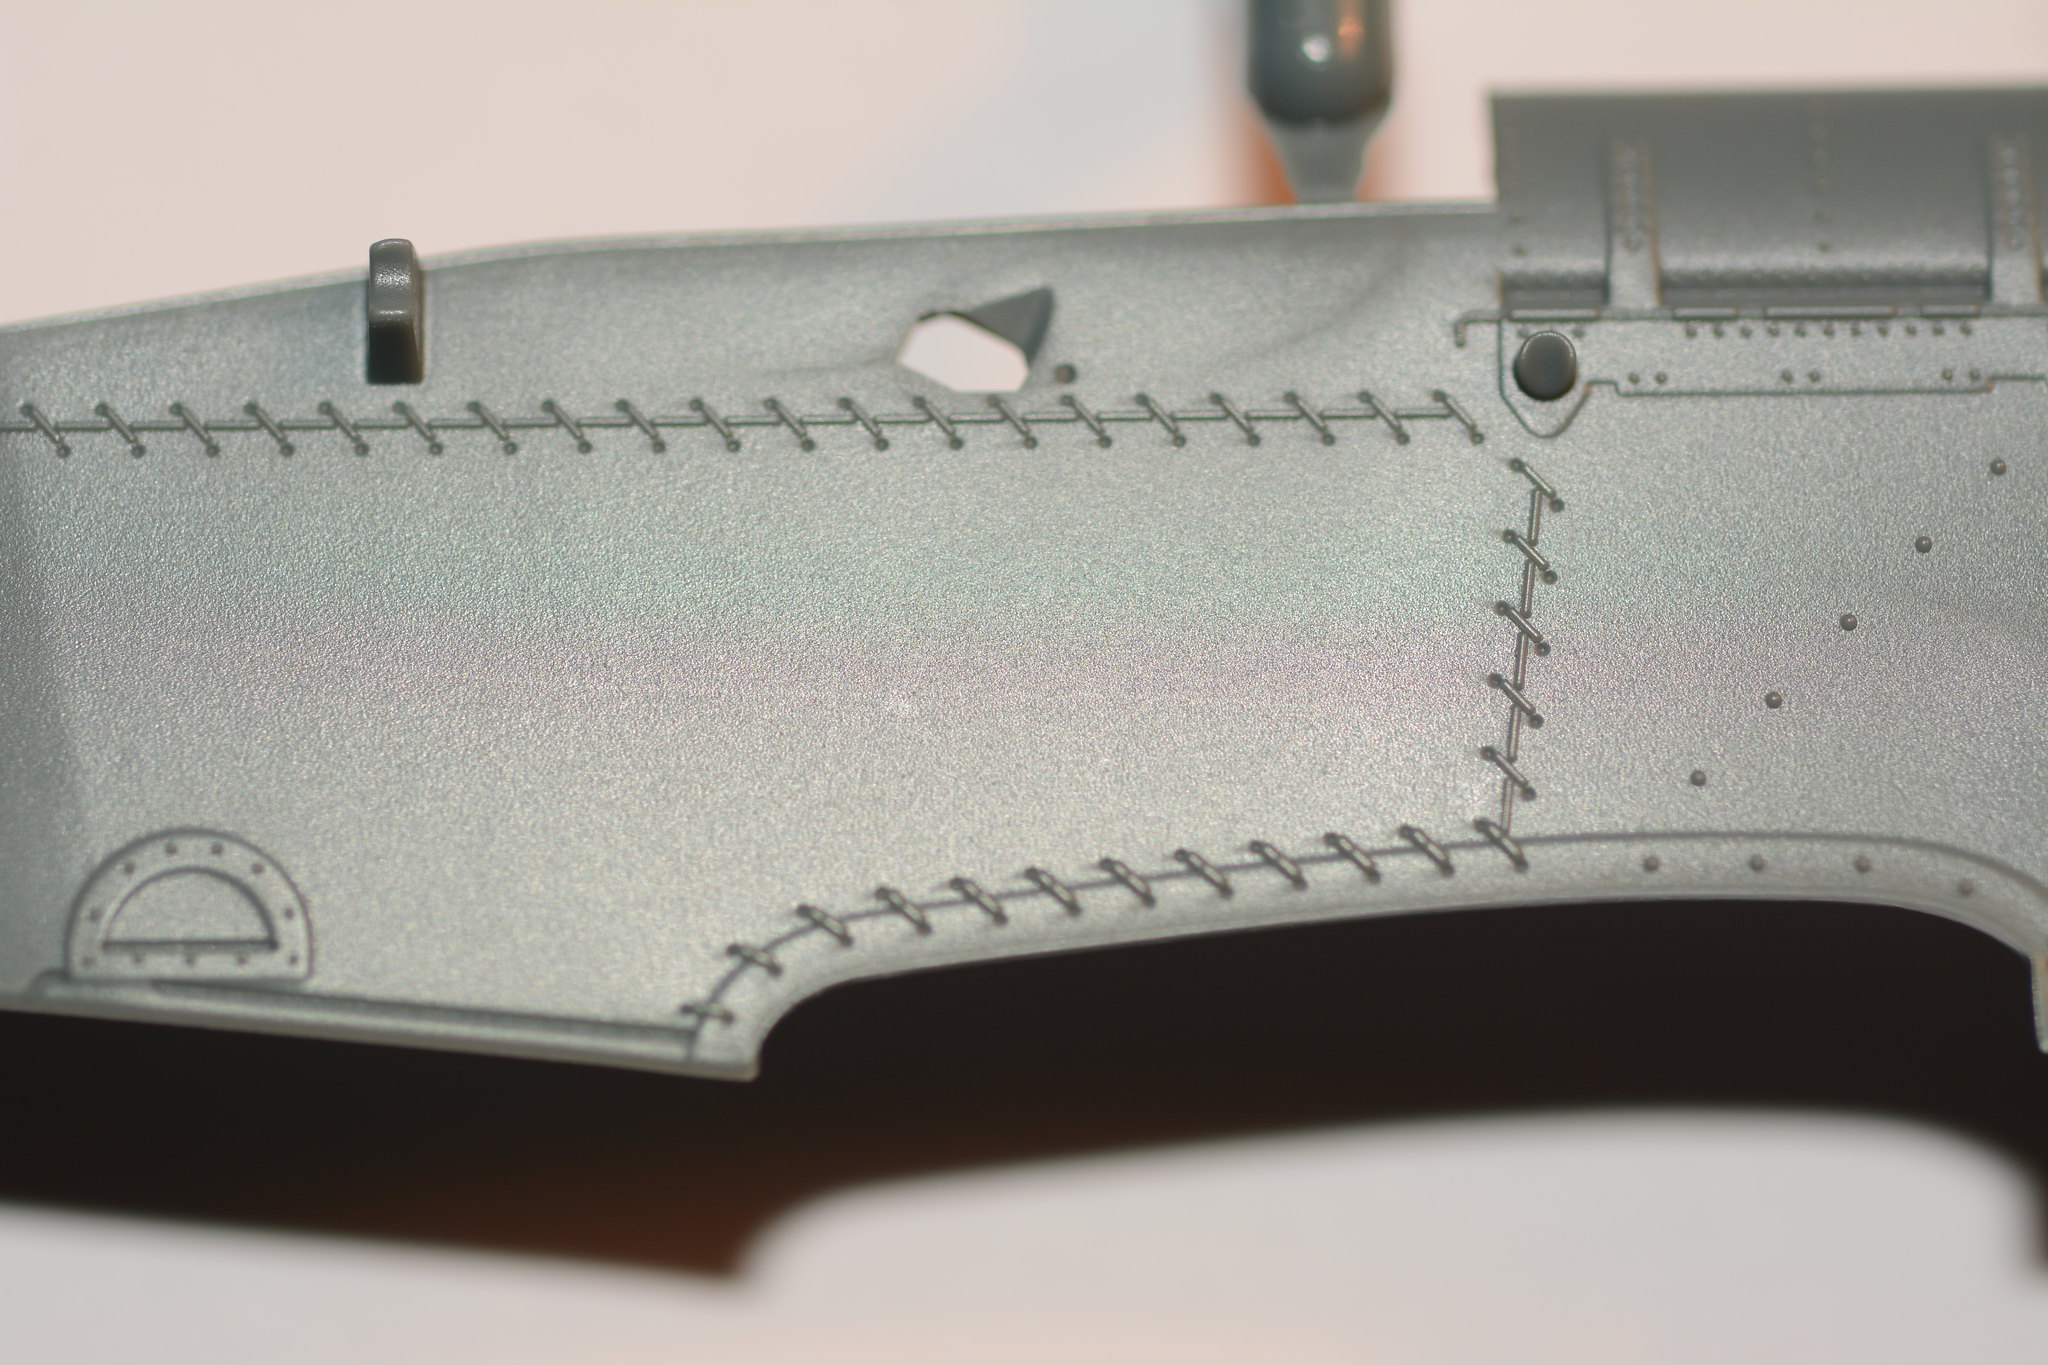
On an SE5a, the stitch was knotted at on the top of the rib, then the thread laid length ways along the rip to the next stitch and knot. There was no knot underneath the wing and no thread length ways along the rip... Eduard should NOT be trying to preplicate this detail on the underside of the wing. If anything, there should be a very fine hump for the stitch itself under the doped rip tape. I include the photo of the side of the fuselage because I think that this IS very well done and almost to scale. The thread used for lacing is much heavier than rib stitching thread.
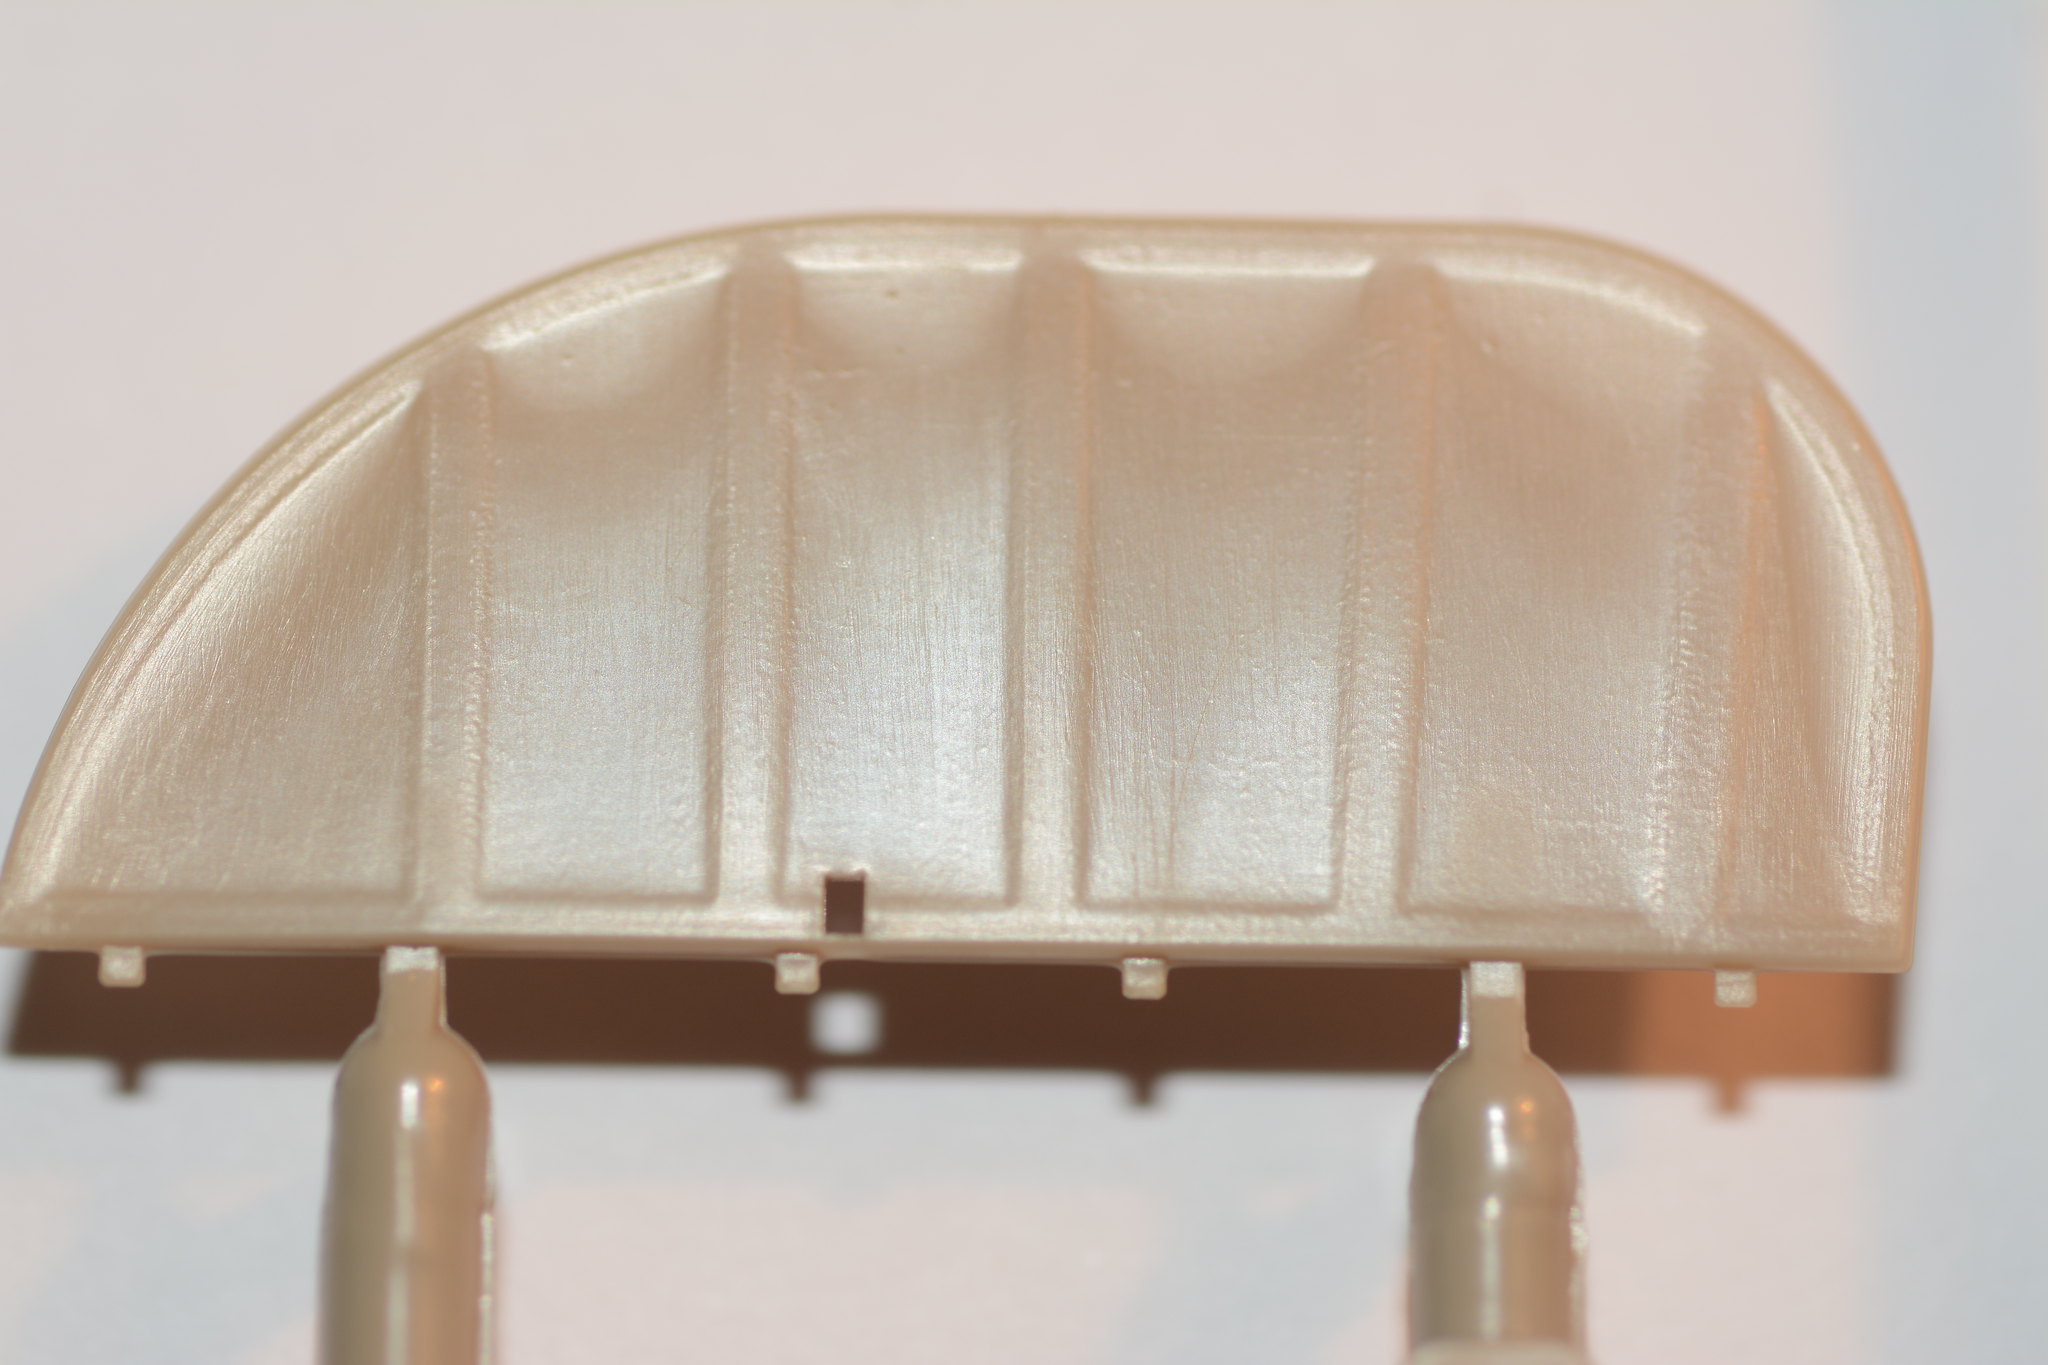
Here, for contrast, if the representation that Eduard have made on their recent Siemens Schukert.

Not even close to scale. I'll be removing this feature altogether when I build this kit. Sorry Eduard.
I should say, that my opinion of Eduard's representation (and by extension, the Holy Grail (WNW)...) is only my opinion. Others like it. Others expect to see it represented. I think it's not at all to scale... But I welcome contrary opinions.
Cheers,
Hugh


