Hi everyone
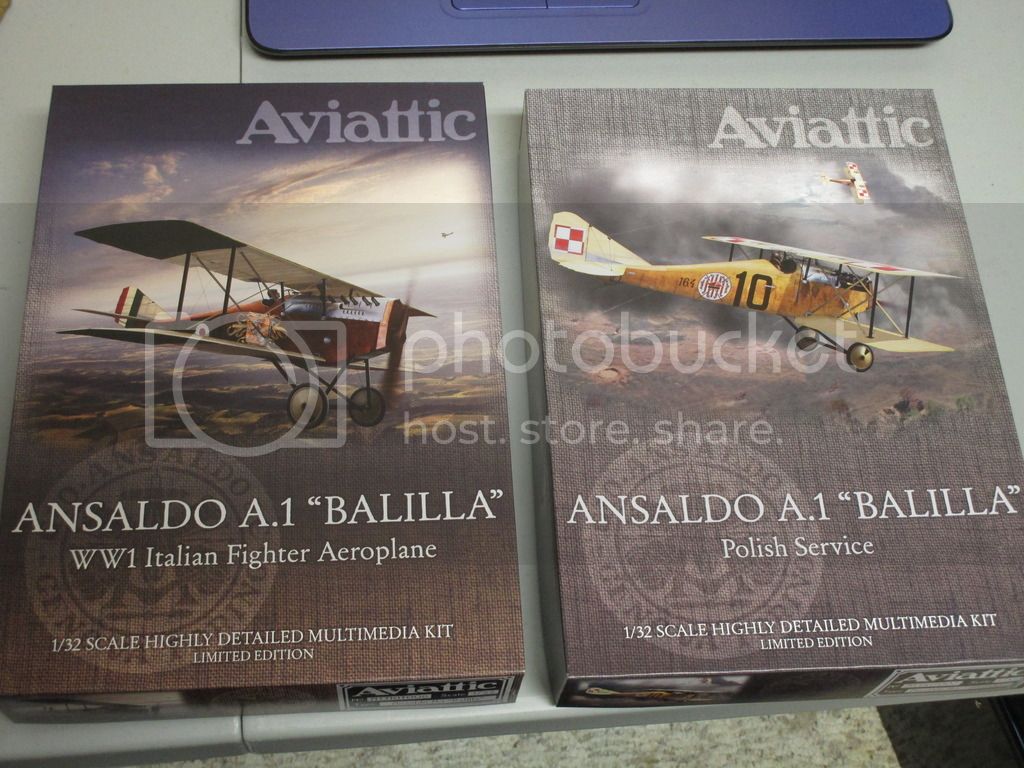
Here we go. I'm going to do a dual build of the brand new 1/32 Aviattic Ansaldo A.1 Ballillas, one Italian and one Polish version..........
Mark
Early Aviation
Discuss World War I and the early years of aviation thru 1934.
Hosted by Jim Starkweather
1/32 Aviattic Ansaldo A.1 Ballila Dual Build
guitarlute101
West Virginia, United States
Joined: December 18, 2006
KitMaker: 1,121 posts
AeroScale: 1,063 posts
Joined: December 18, 2006
KitMaker: 1,121 posts
AeroScale: 1,063 posts
Posted: Monday, May 01, 2017 - 09:33 PM UTC
Posted: Tuesday, May 02, 2017 - 01:25 AM UTC
Hi Mark
WOW! Both together?! This is going to be one awesome build thread!
I'm so seriously tempted to get one of these beauties, but my budget is firmly blown for a good long while. Right... where did I put that lottery ticket?...
All the best
Rowan
WOW! Both together?! This is going to be one awesome build thread!
I'm so seriously tempted to get one of these beauties, but my budget is firmly blown for a good long while. Right... where did I put that lottery ticket?...
All the best
Rowan
JackFlash
Colorado, United States
Joined: January 25, 2004
KitMaker: 11,669 posts
AeroScale: 11,011 posts
Joined: January 25, 2004
KitMaker: 11,669 posts
AeroScale: 11,011 posts
Posted: Wednesday, May 03, 2017 - 06:06 PM UTC
Mark! Most impressive! 2 builds at once. Can you give us your over all impression?
Posted: Thursday, May 04, 2017 - 12:06 AM UTC
Quoted Text
Mark! Most impressive! 2 builds at once. Can you give us your over all impression?
Hi Stephen
Hopefully Mark has the review in the pipeline: https://aeroscale.kitmaker.net/forums/257850&page=1
All the best
Rowan
guitarlute101
West Virginia, United States
Joined: December 18, 2006
KitMaker: 1,121 posts
AeroScale: 1,063 posts
Joined: December 18, 2006
KitMaker: 1,121 posts
AeroScale: 1,063 posts
Posted: Thursday, May 04, 2017 - 01:41 AM UTC
Pictures for the review are done, working on the text now.
Mark
Mark
guitarlute101
West Virginia, United States
Joined: December 18, 2006
KitMaker: 1,121 posts
AeroScale: 1,063 posts
Joined: December 18, 2006
KitMaker: 1,121 posts
AeroScale: 1,063 posts
Posted: Saturday, May 06, 2017 - 10:46 PM UTC
Hello everyone,
Thanks for all of the great comments! I sincerely appreciate the support on this undertaking! First of all, let me apologize for any poor pictures, I'm also using these builds to get better at my picture taking and hope to learn more about my camera.
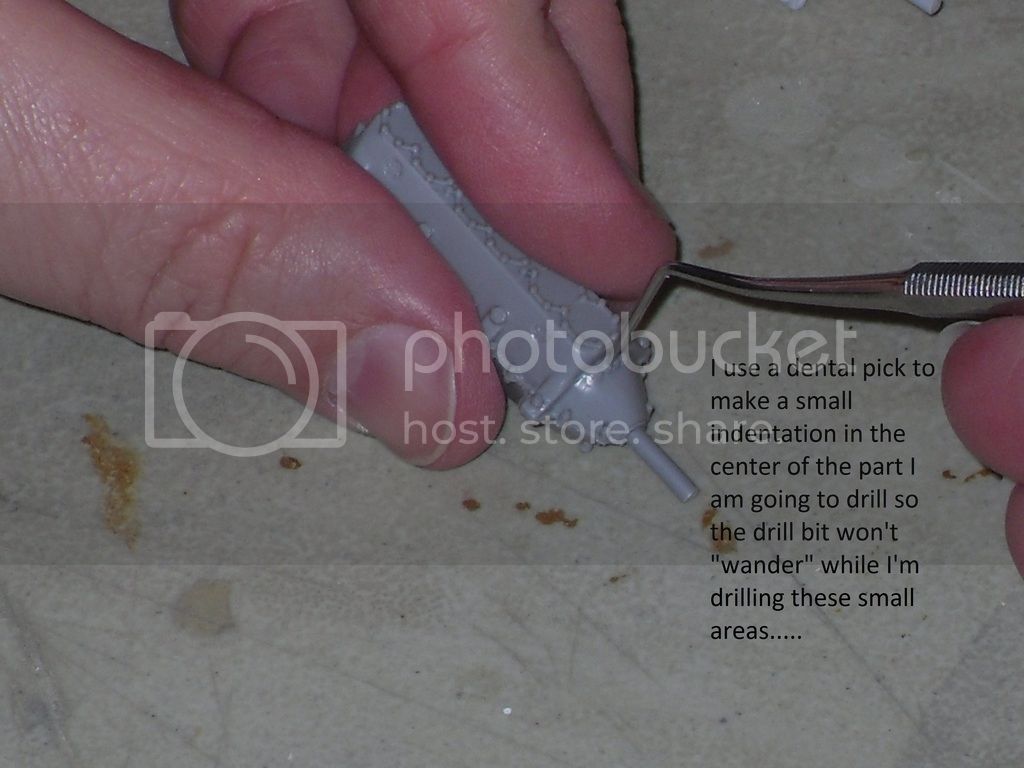
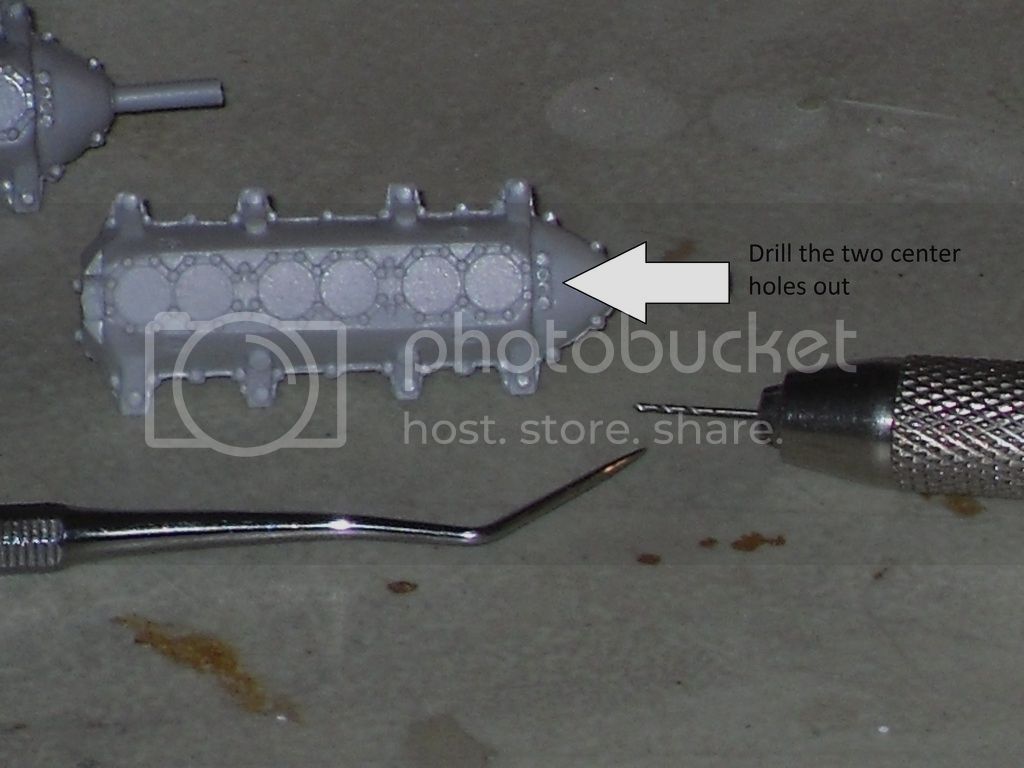
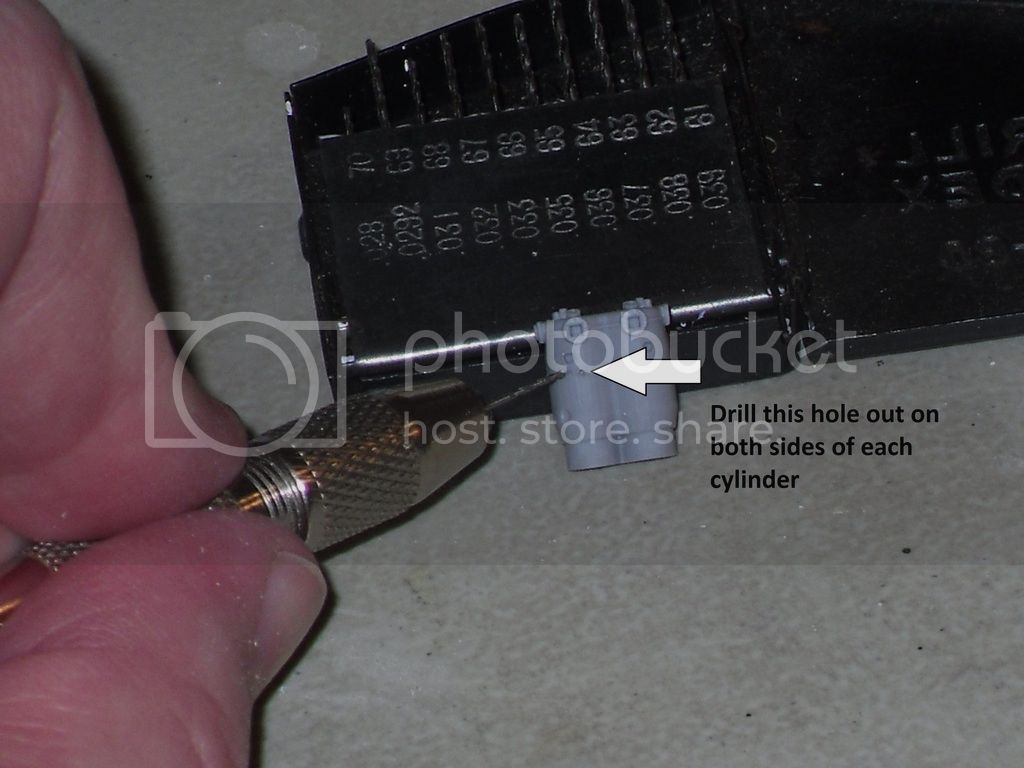
I separated the engine parts into a container and got all of my drills out...............
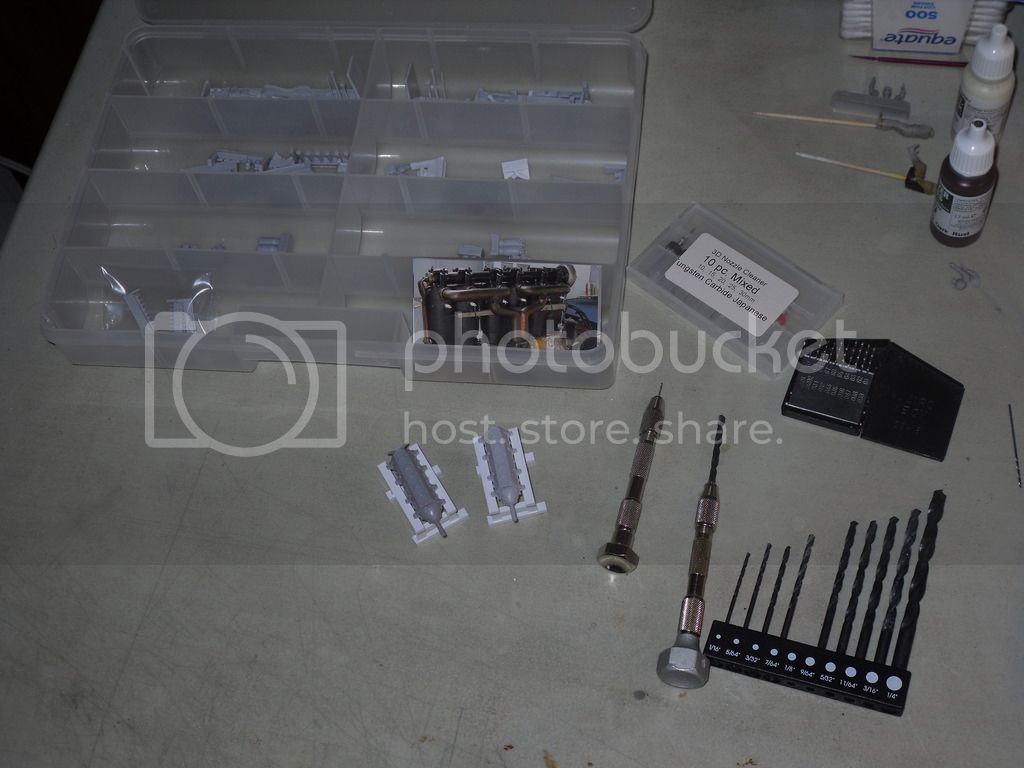
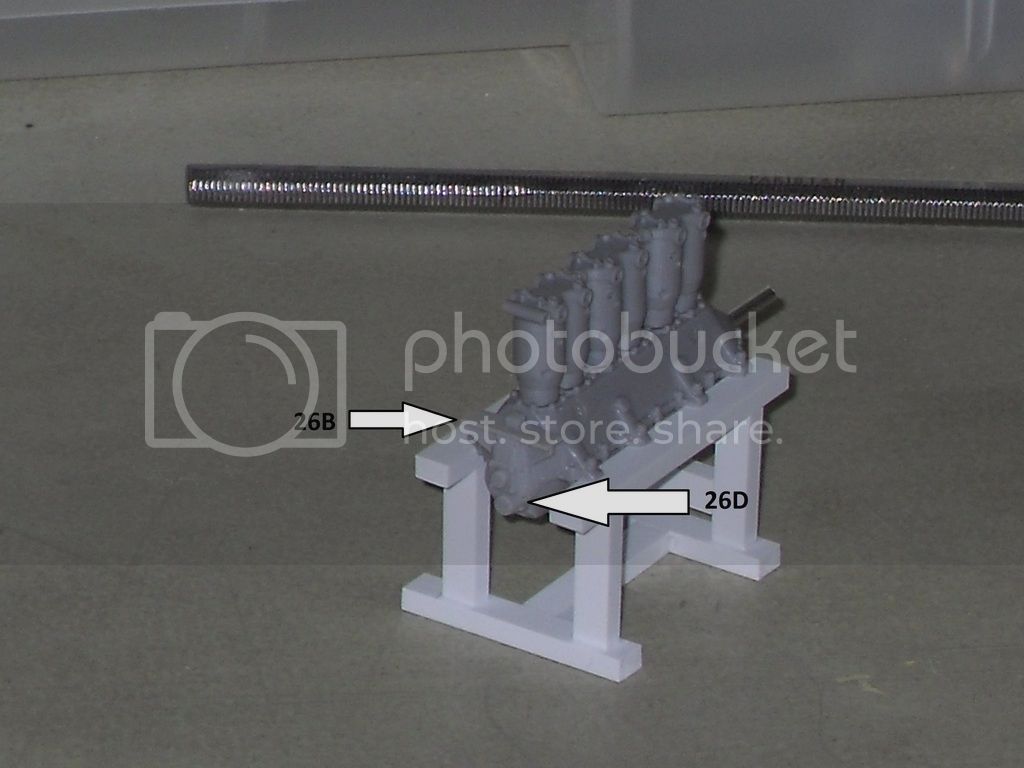
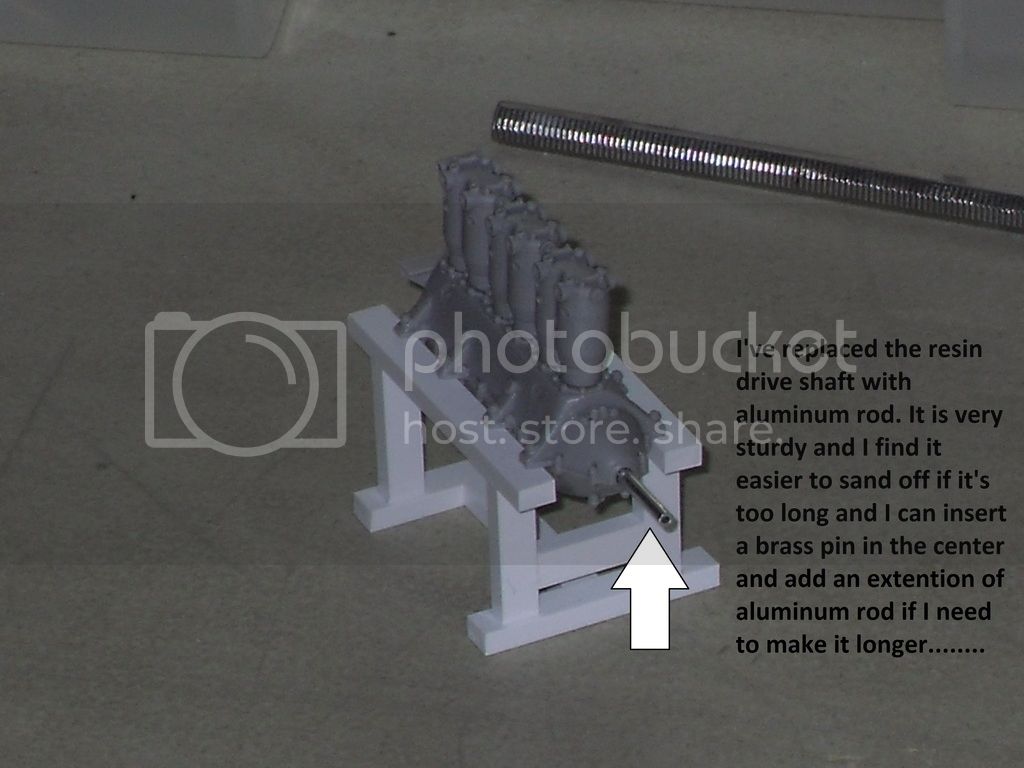
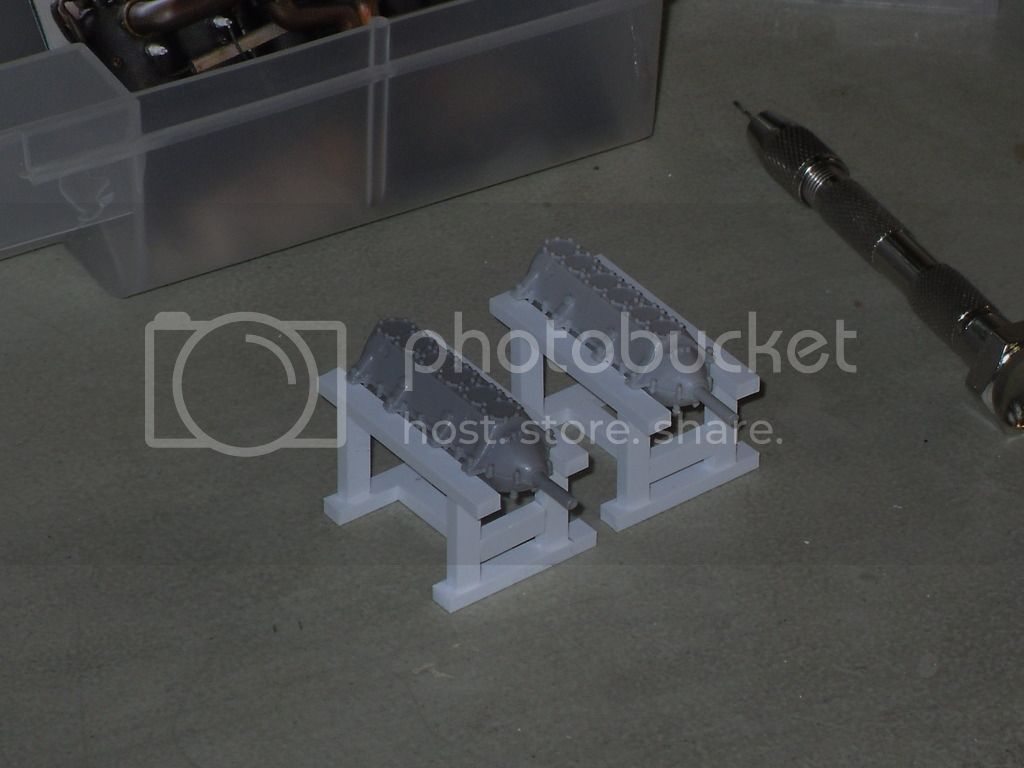
I've also made engine stands out of styrene because there are a lot of small parts and I don't want them laying on their sides at any point......
The cylinders.............
The back of the engine........................
The front of the engine........................
Dry fitting shows the parts go together EXTREMELY well! Every part has a tab or a locating hole for accuracy. More cleanup and I'll have some more pictures soon.
Thanks!
Mark
Thanks for all of the great comments! I sincerely appreciate the support on this undertaking! First of all, let me apologize for any poor pictures, I'm also using these builds to get better at my picture taking and hope to learn more about my camera.
I separated the engine parts into a container and got all of my drills out...............
I've also made engine stands out of styrene because there are a lot of small parts and I don't want them laying on their sides at any point......
The cylinders.............
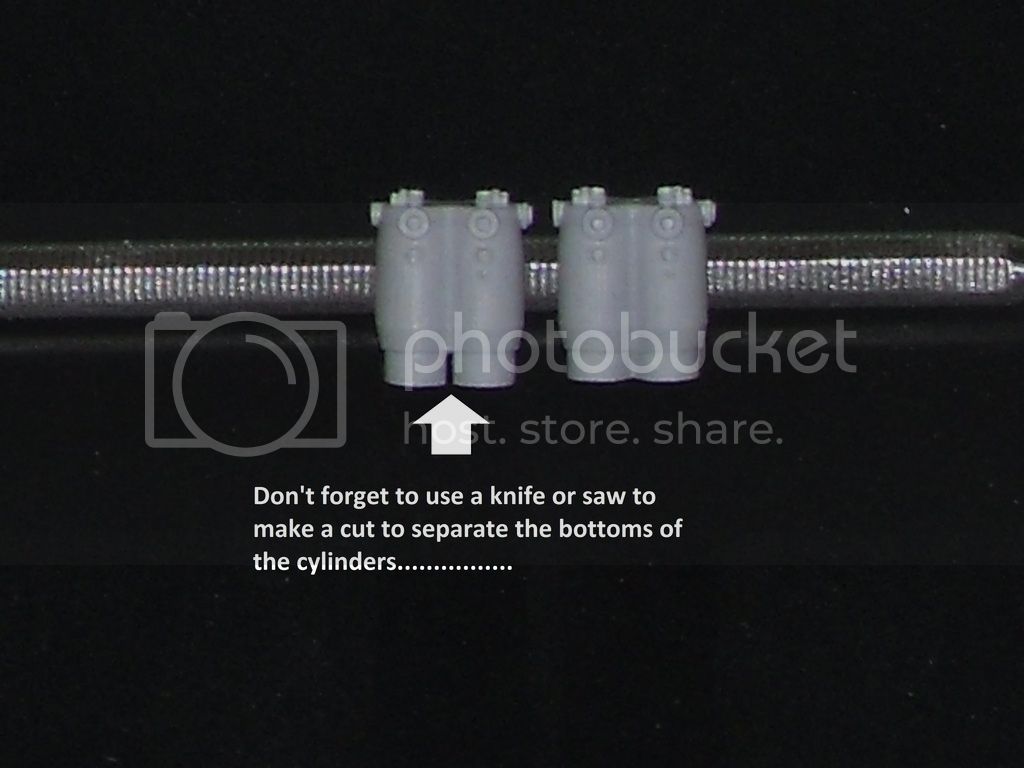
The back of the engine........................
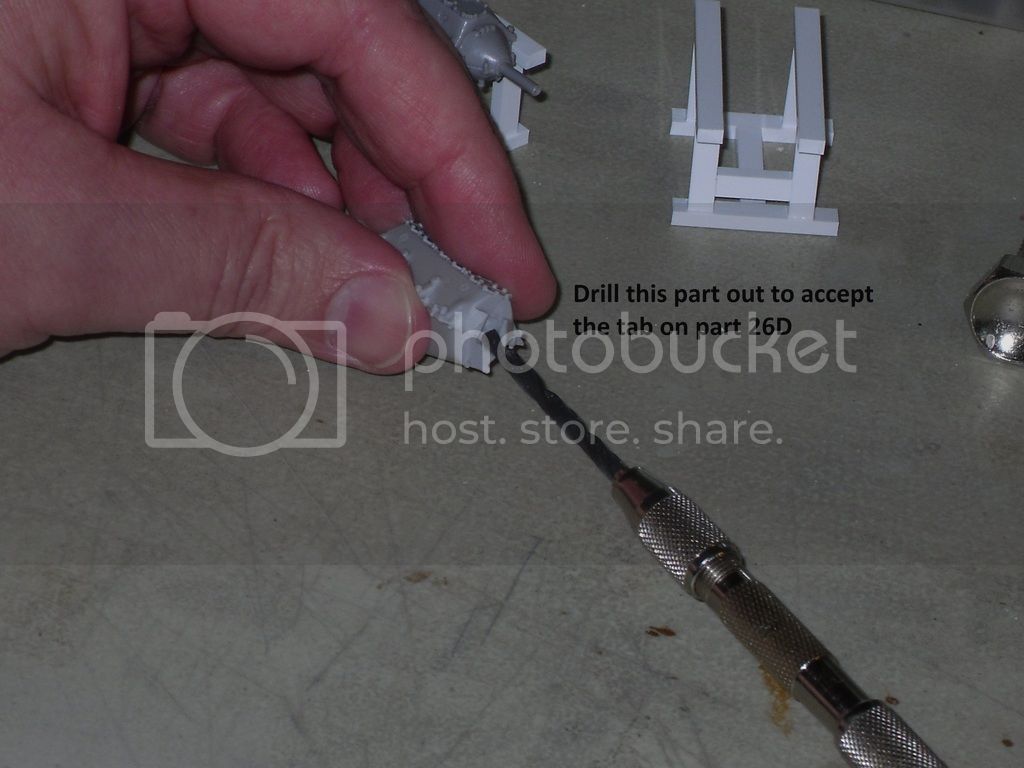
The front of the engine........................
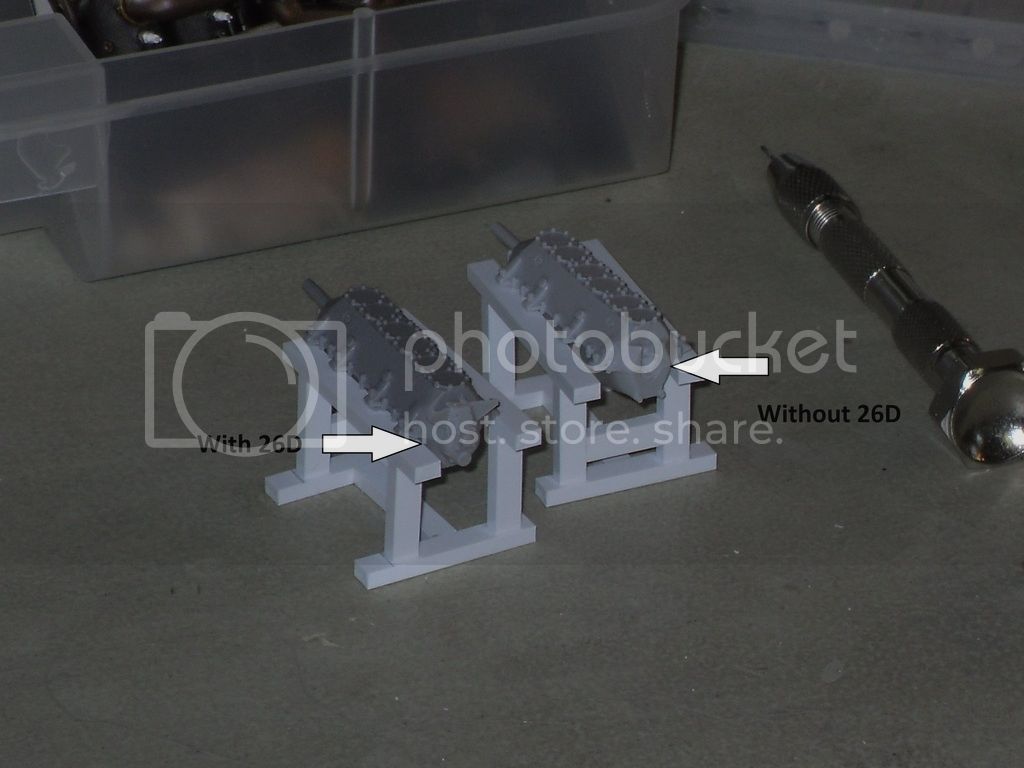
Dry fitting shows the parts go together EXTREMELY well! Every part has a tab or a locating hole for accuracy. More cleanup and I'll have some more pictures soon.
Thanks!
Mark
MerlinV
Victoria, Australia
Joined: November 26, 2006
KitMaker: 608 posts
AeroScale: 602 posts
Joined: November 26, 2006
KitMaker: 608 posts
AeroScale: 602 posts
Posted: Sunday, May 07, 2017 - 03:36 AM UTC
Looking good!
Thanks for all the step by steps. Most informative.
Cheers,
Hugh
Thanks for all the step by steps. Most informative.
Cheers,
Hugh
guitarlute101
West Virginia, United States
Joined: December 18, 2006
KitMaker: 1,121 posts
AeroScale: 1,063 posts
Joined: December 18, 2006
KitMaker: 1,121 posts
AeroScale: 1,063 posts
Posted: Sunday, May 07, 2017 - 04:22 AM UTC
Thanks Hugh!
Posted: Sunday, May 07, 2017 - 08:25 AM UTC
Quoted Text
Thanks for all the step by steps. Most informative.
Ditto from me Mark, loving this thread already!
Cheers, D
guitarlute101
West Virginia, United States
Joined: December 18, 2006
KitMaker: 1,121 posts
AeroScale: 1,063 posts
Joined: December 18, 2006
KitMaker: 1,121 posts
AeroScale: 1,063 posts
Posted: Monday, May 08, 2017 - 07:08 AM UTC
Thanks Damian! I sincerely appreciate the support!
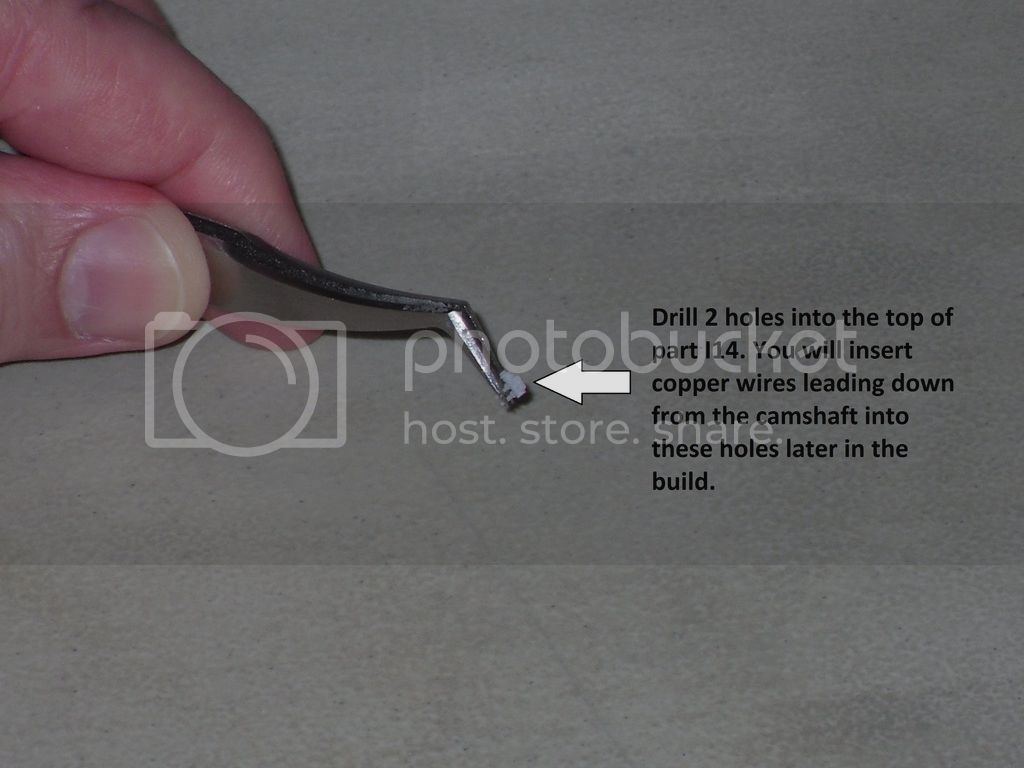
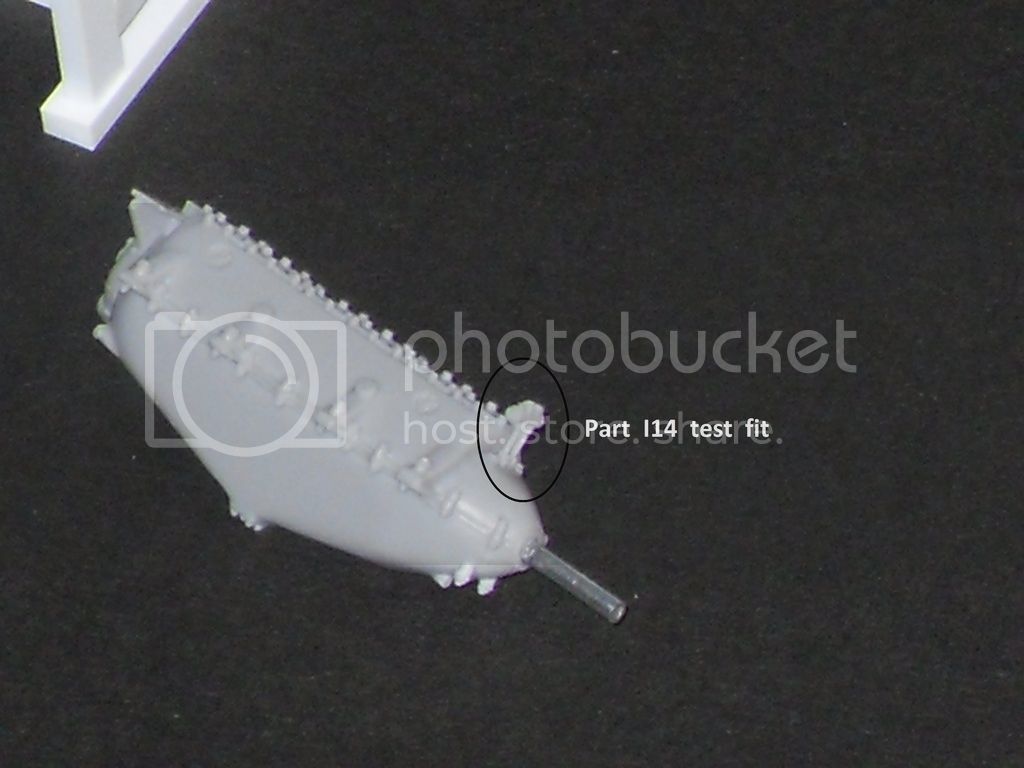
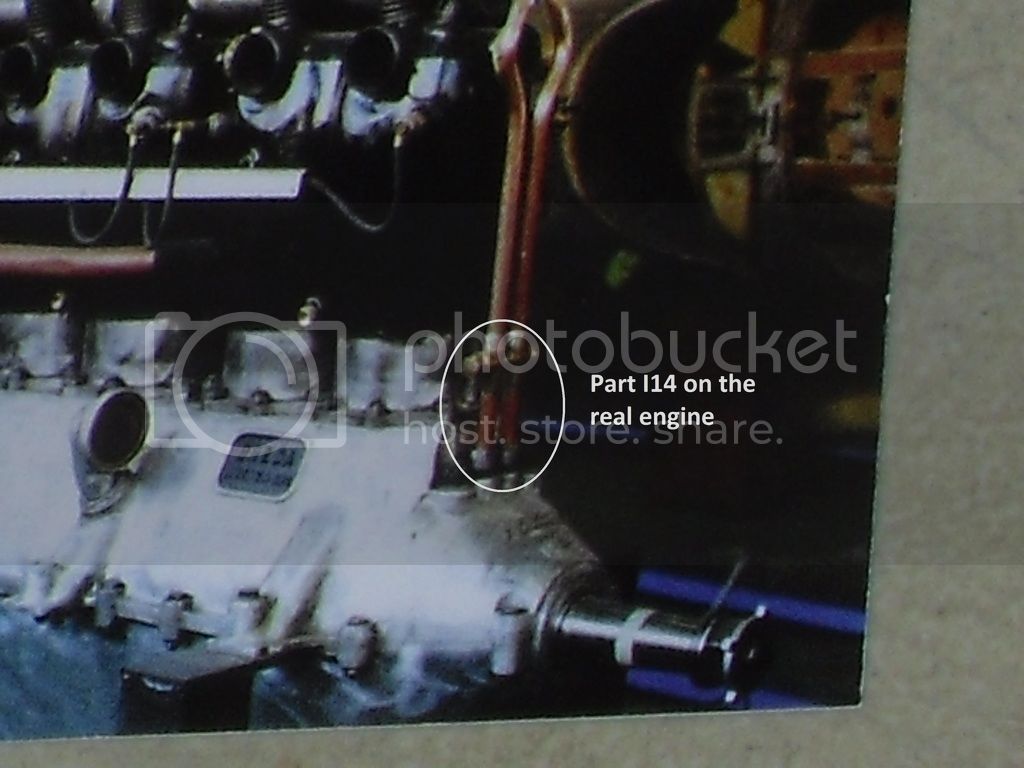
The engine has some tiny parts that need careful attention. Here is Part I14..............
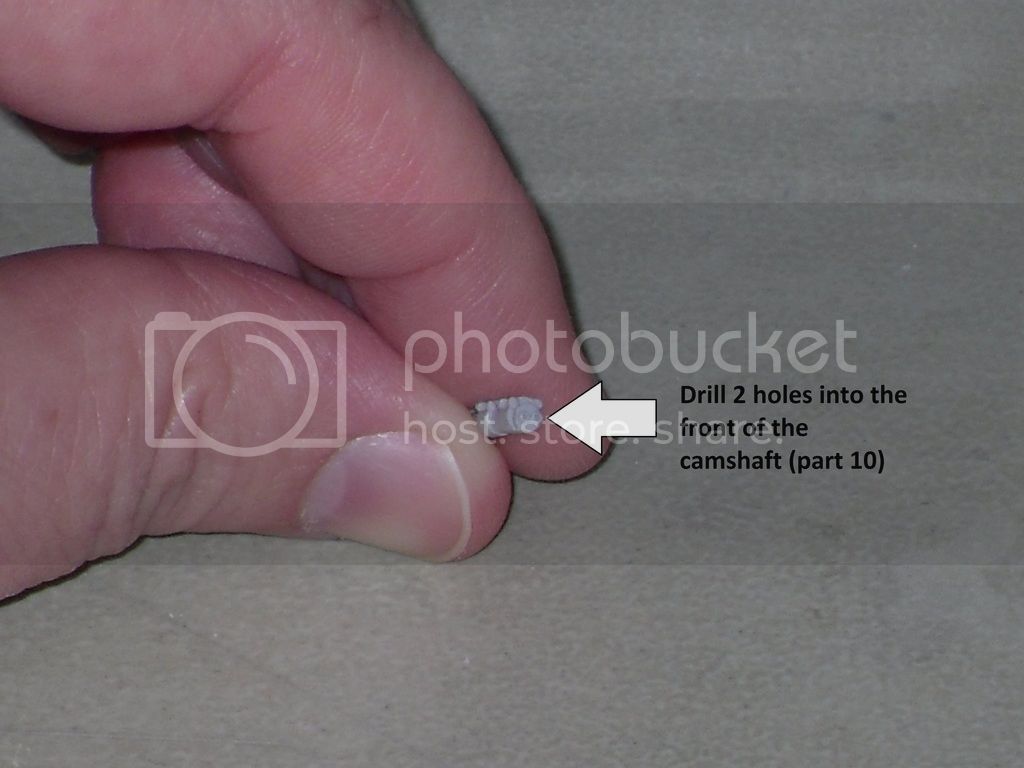
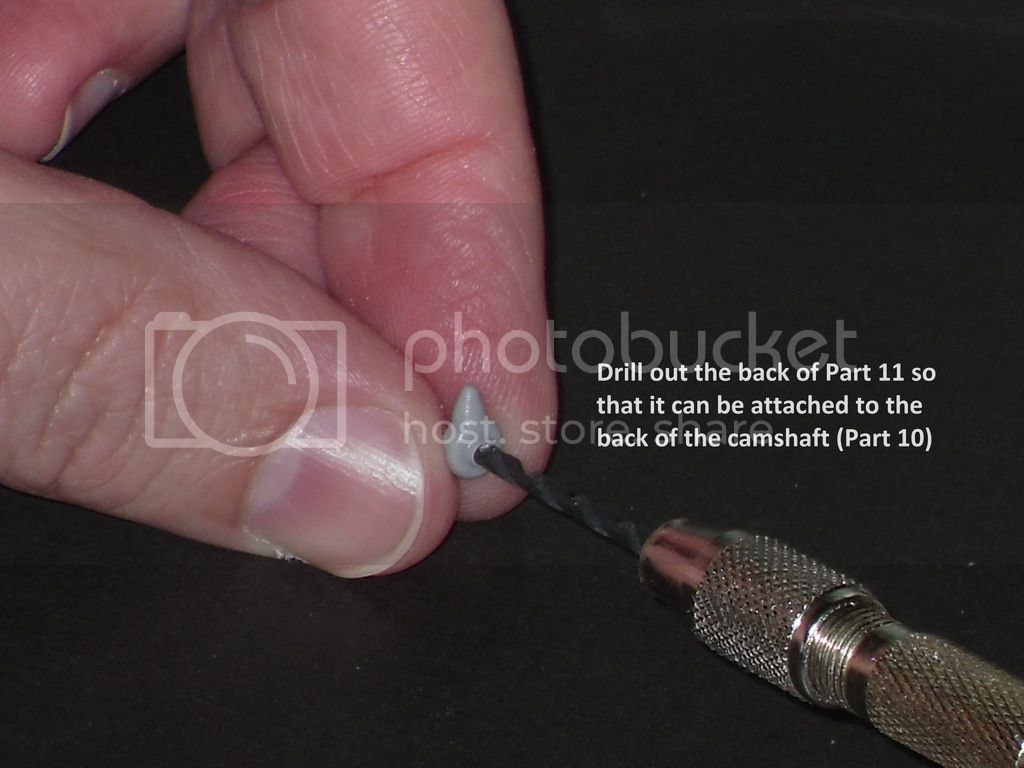
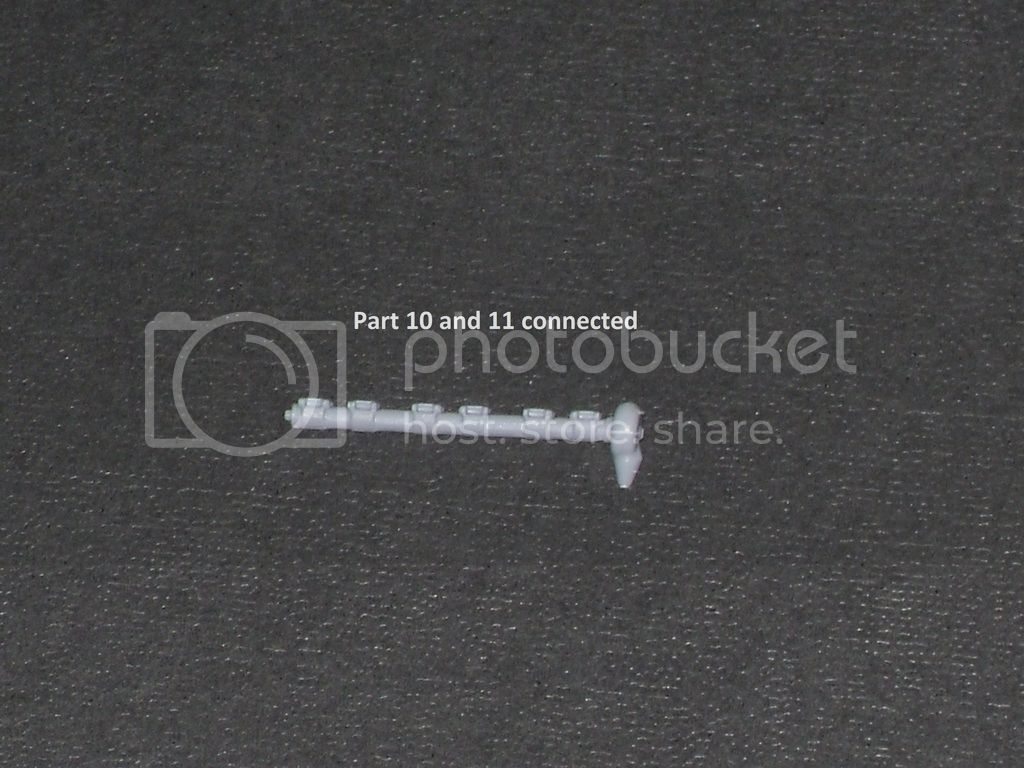
Prepping the Camshaft..................
More soon, the engine is actually a nice little kit in itself!
Thanks for looking in,
Mark
The engine has some tiny parts that need careful attention. Here is Part I14..............
Prepping the Camshaft..................
More soon, the engine is actually a nice little kit in itself!
Thanks for looking in,
Mark
Posted: Monday, May 08, 2017 - 09:02 PM UTC
Hi Mark
Wow! Fantastic start! The kits look every bit as gorgeous as I'd expected.
All the best
Rowan
Wow! Fantastic start! The kits look every bit as gorgeous as I'd expected.
All the best
Rowan
guitarlute101
West Virginia, United States
Joined: December 18, 2006
KitMaker: 1,121 posts
AeroScale: 1,063 posts
Joined: December 18, 2006
KitMaker: 1,121 posts
AeroScale: 1,063 posts
Posted: Monday, May 08, 2017 - 10:26 PM UTC
Thanks Rowan!
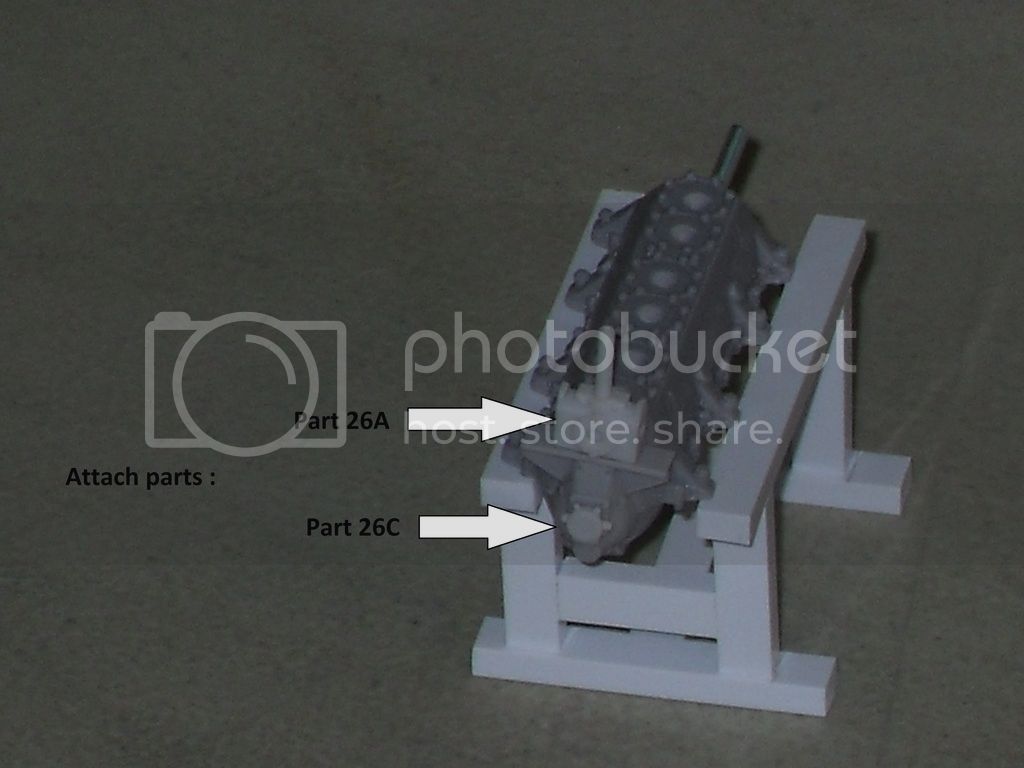
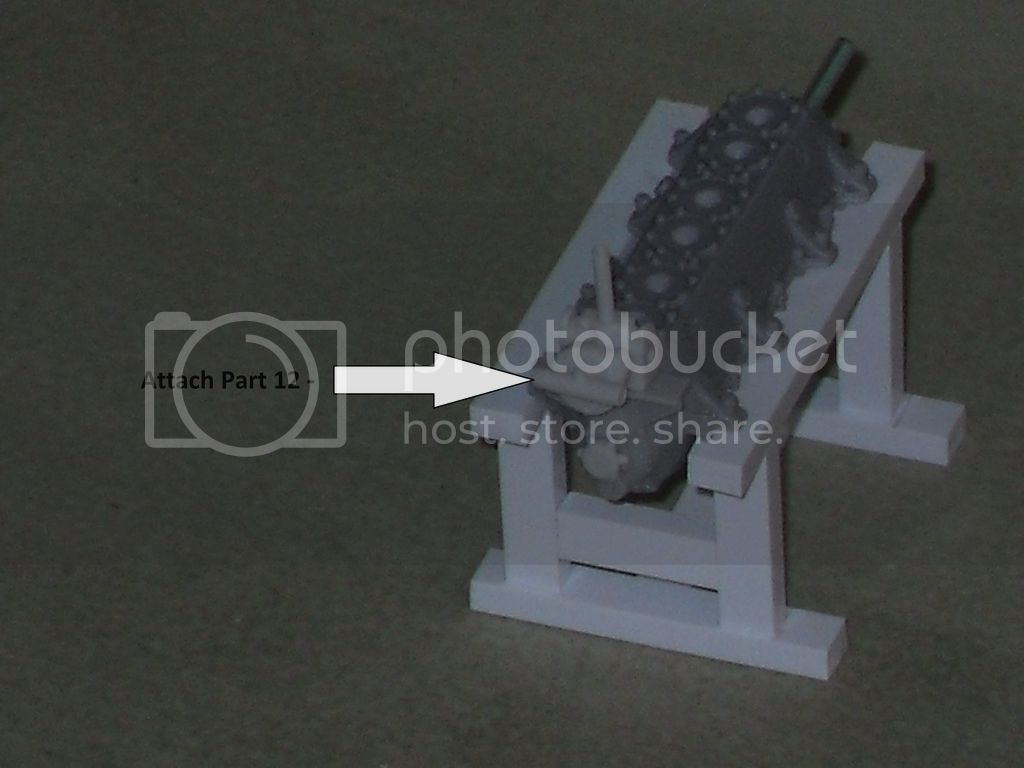
A couple more parts to the back of the engine..........................
Mark
A couple more parts to the back of the engine..........................
Mark
Posted: Tuesday, May 09, 2017 - 12:06 AM UTC
Hi Mark
The engine stands are a great idea. When I think of all my efforts perched precariously on blobs of blu-tac, it's clearly worth spending a few minutes making a stand to support an engine while you work on it. I'll definitely knock one up for my next project.
All the best
Rowan
The engine stands are a great idea. When I think of all my efforts perched precariously on blobs of blu-tac, it's clearly worth spending a few minutes making a stand to support an engine while you work on it. I'll definitely knock one up for my next project.
All the best
Rowan
guitarlute101
West Virginia, United States
Joined: December 18, 2006
KitMaker: 1,121 posts
AeroScale: 1,063 posts
Joined: December 18, 2006
KitMaker: 1,121 posts
AeroScale: 1,063 posts
Posted: Friday, May 12, 2017 - 07:20 PM UTC
Thanks Rowan, the engine stands sure do help out a lot and keep things tidy.
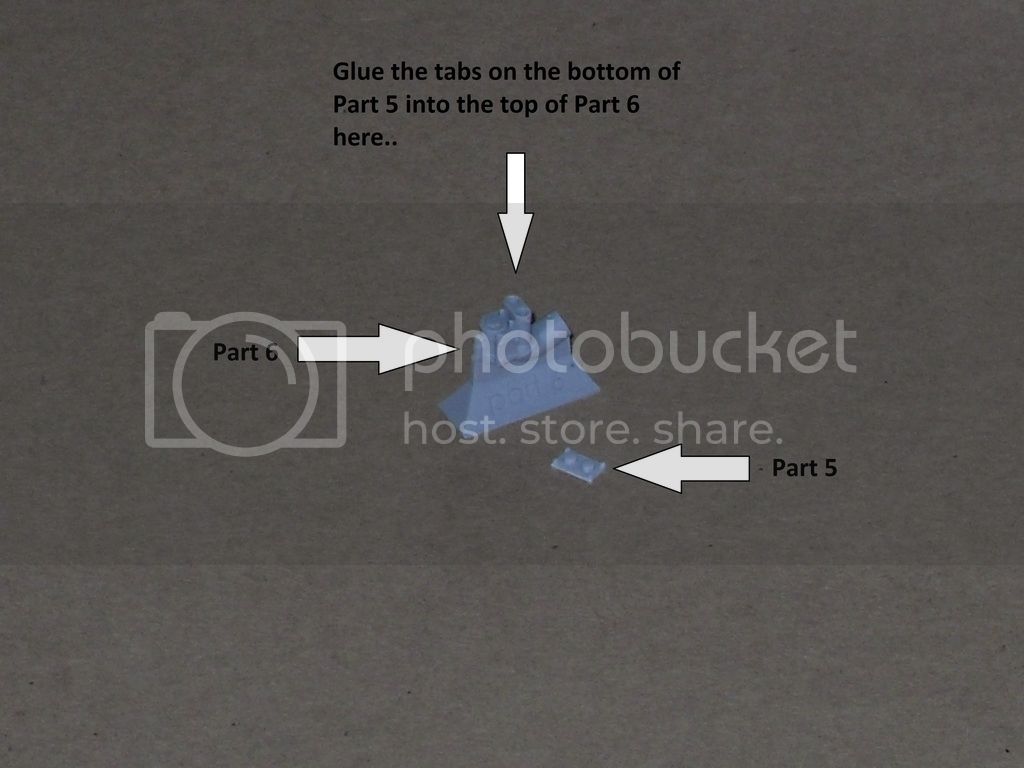
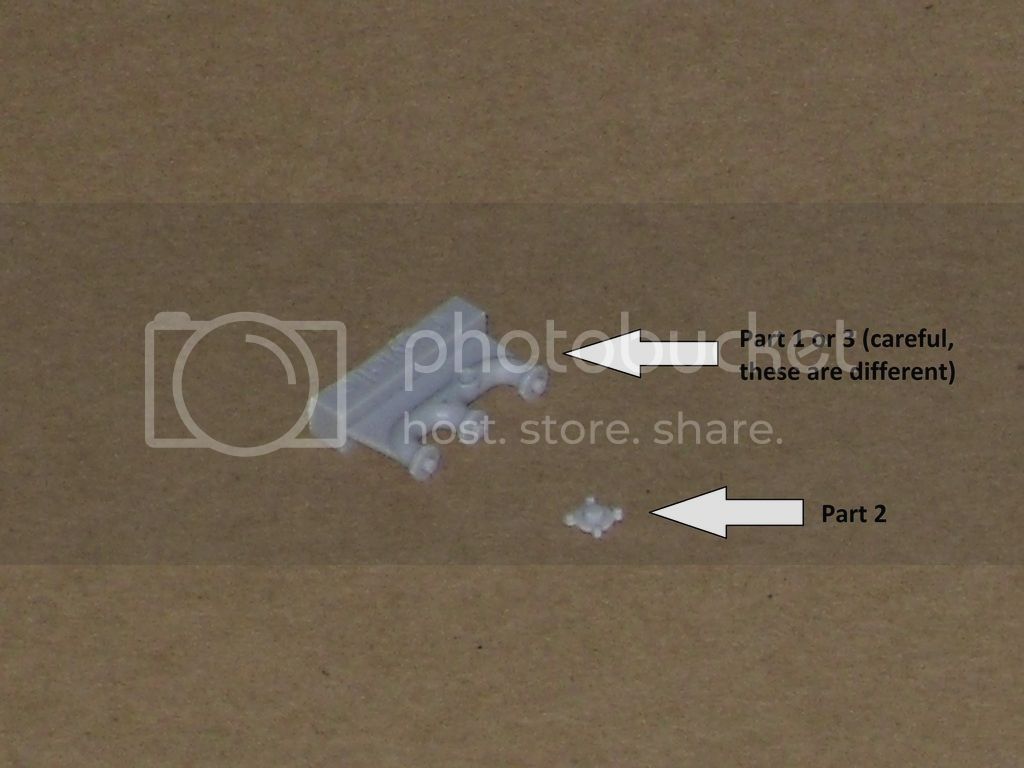
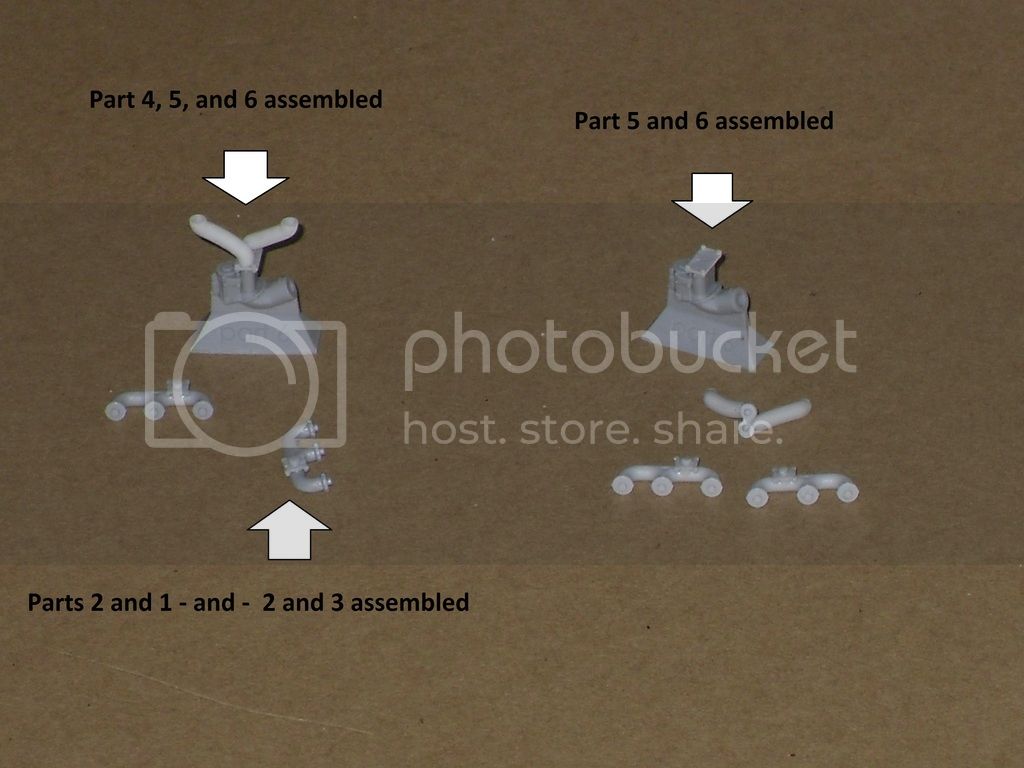
Here's the Manifold assembly...............
Thanks for looking in,
Mark
Here's the Manifold assembly...............
Thanks for looking in,
Mark