Hi All,
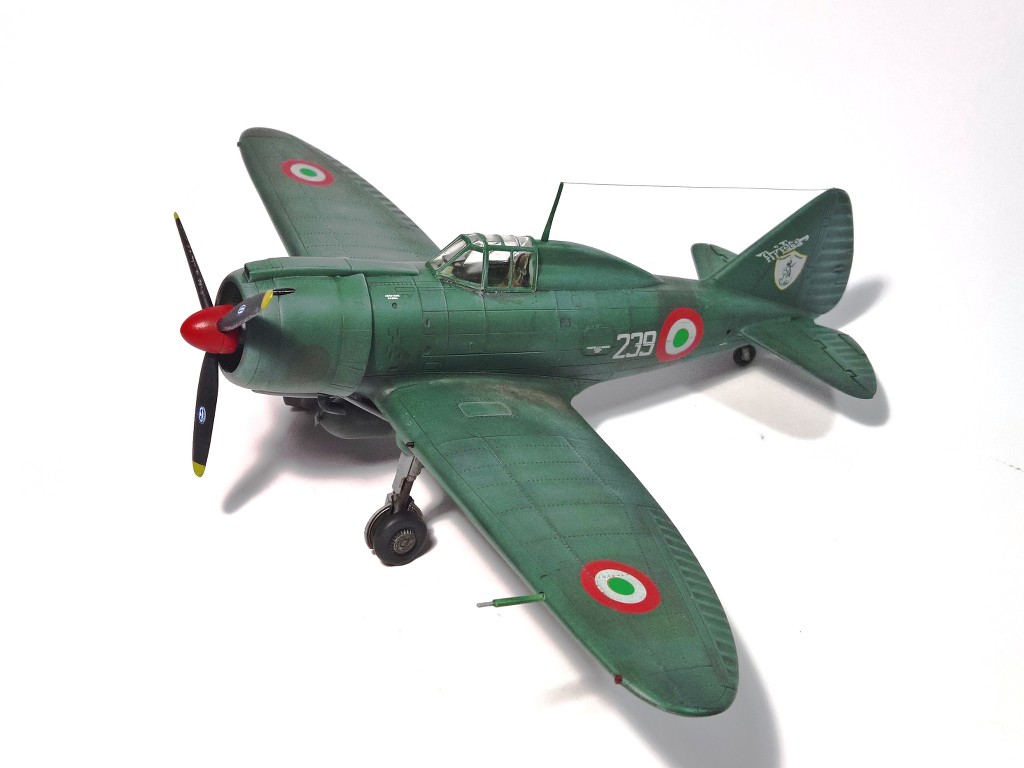
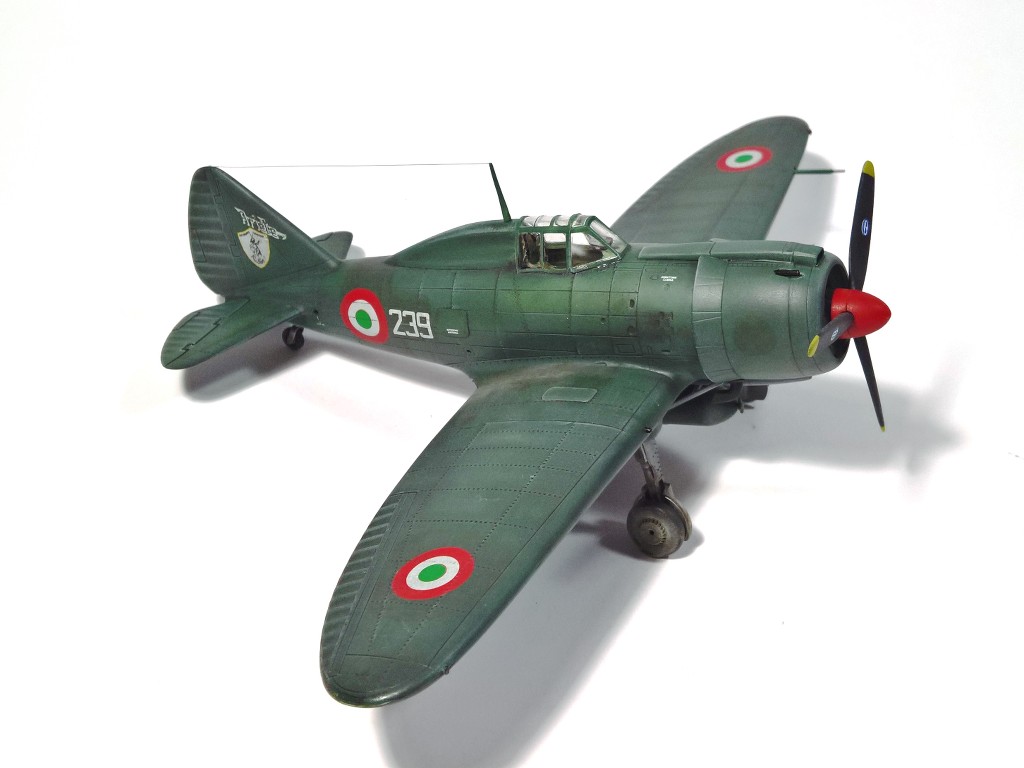
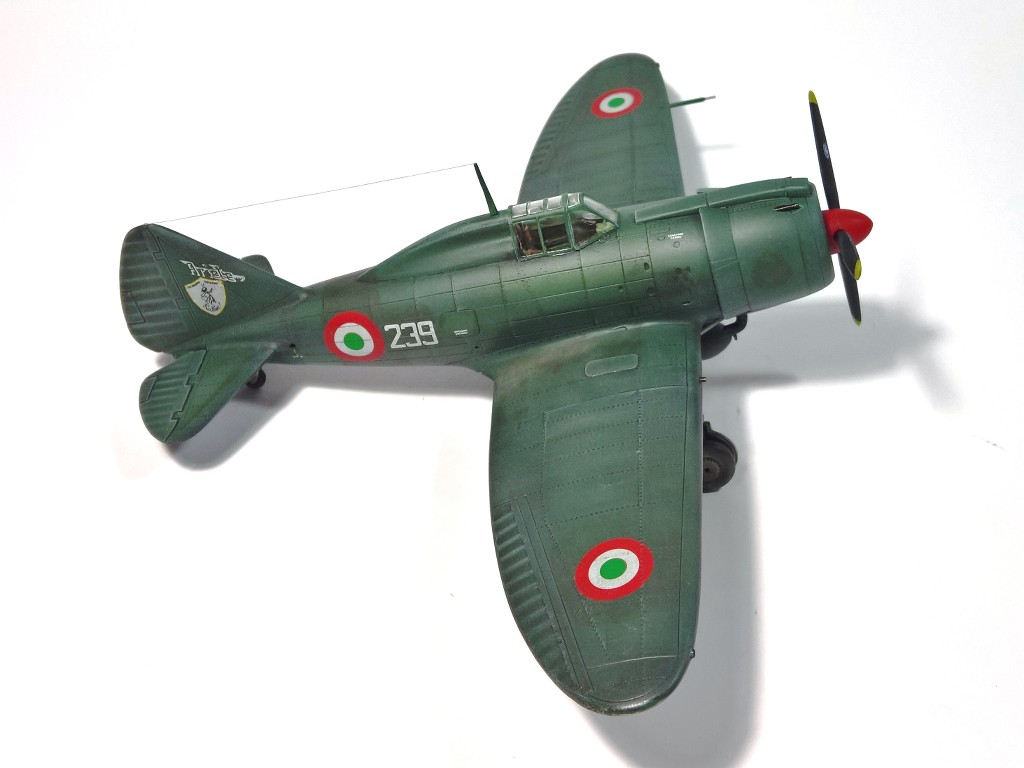
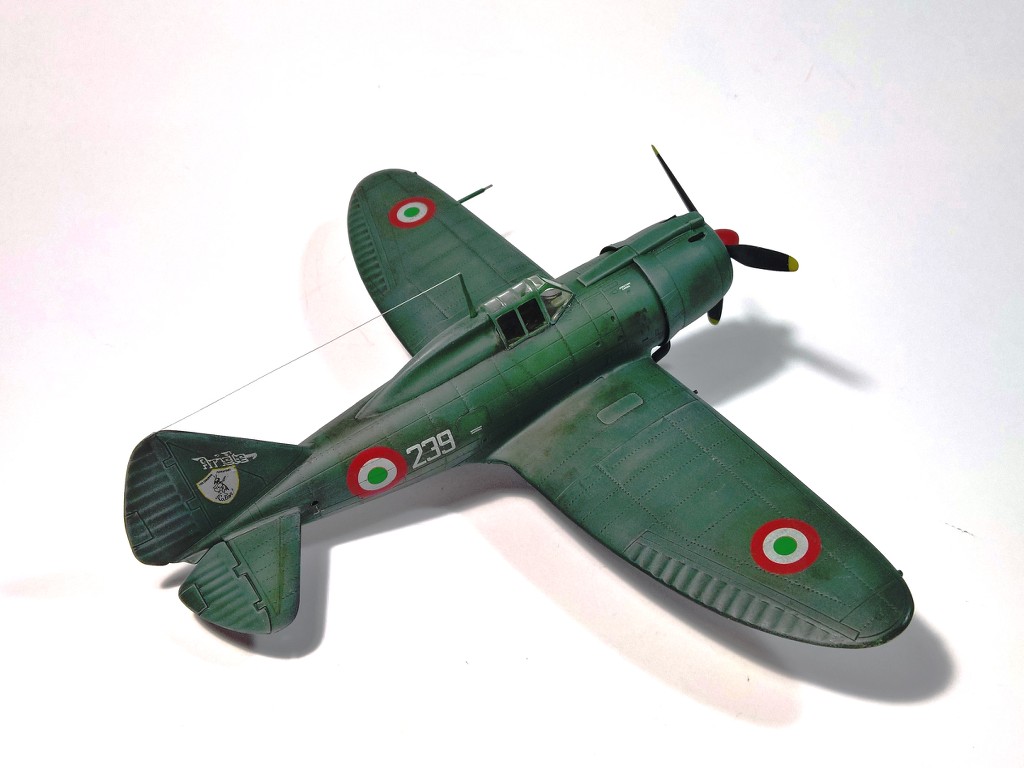
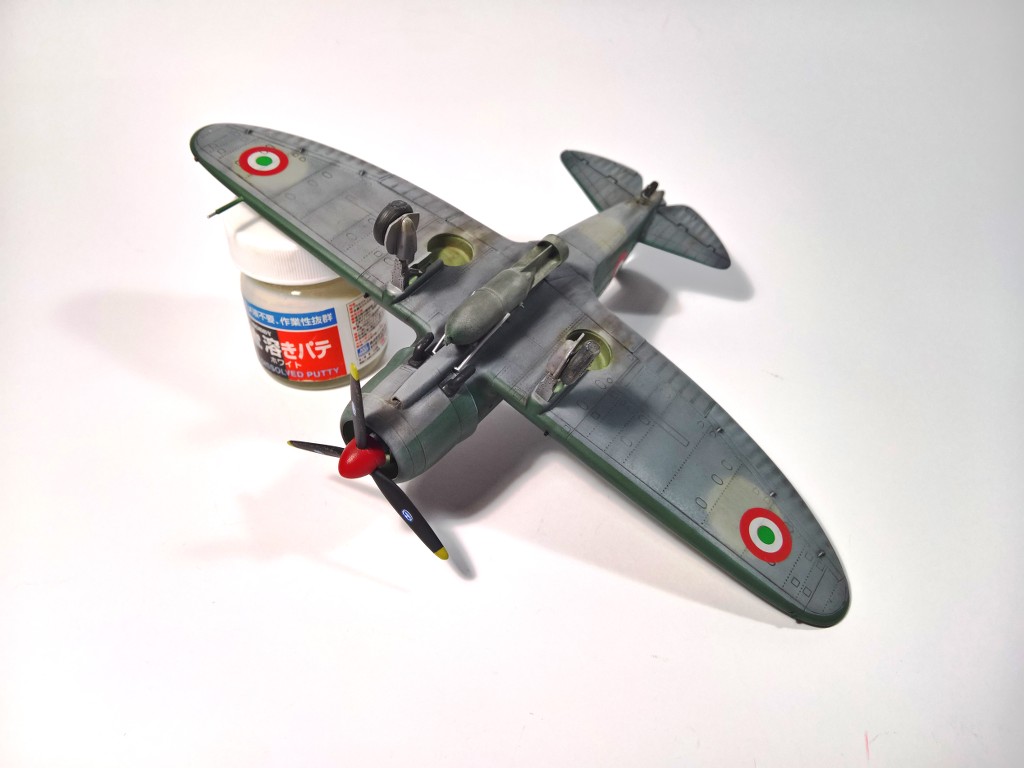
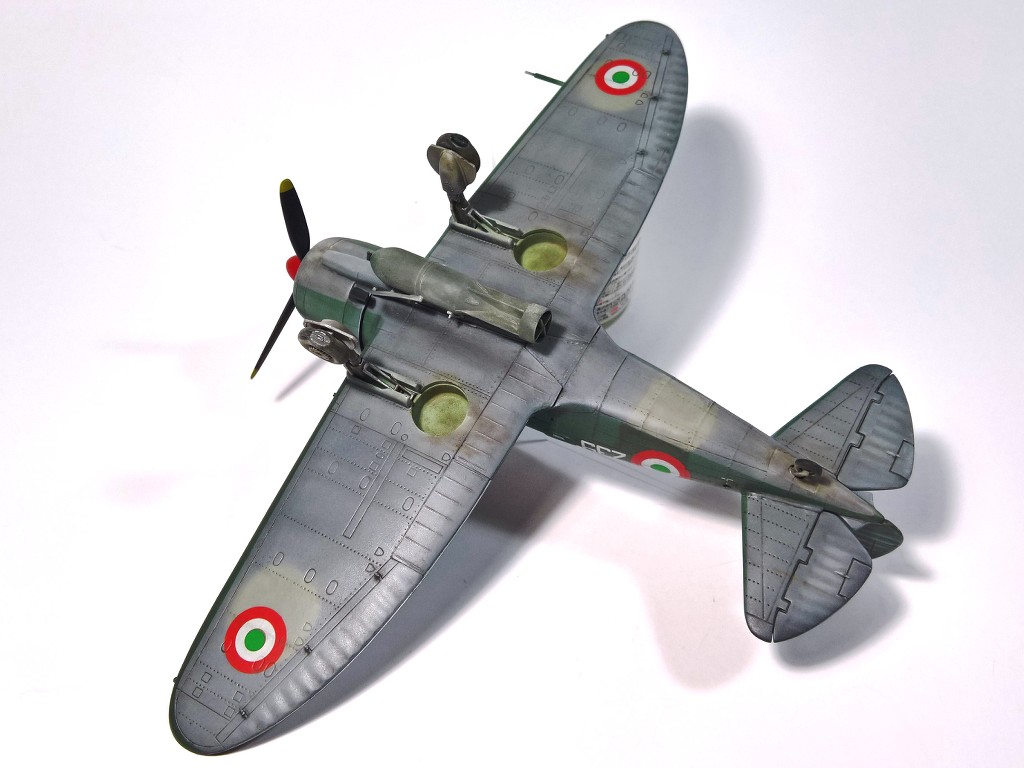
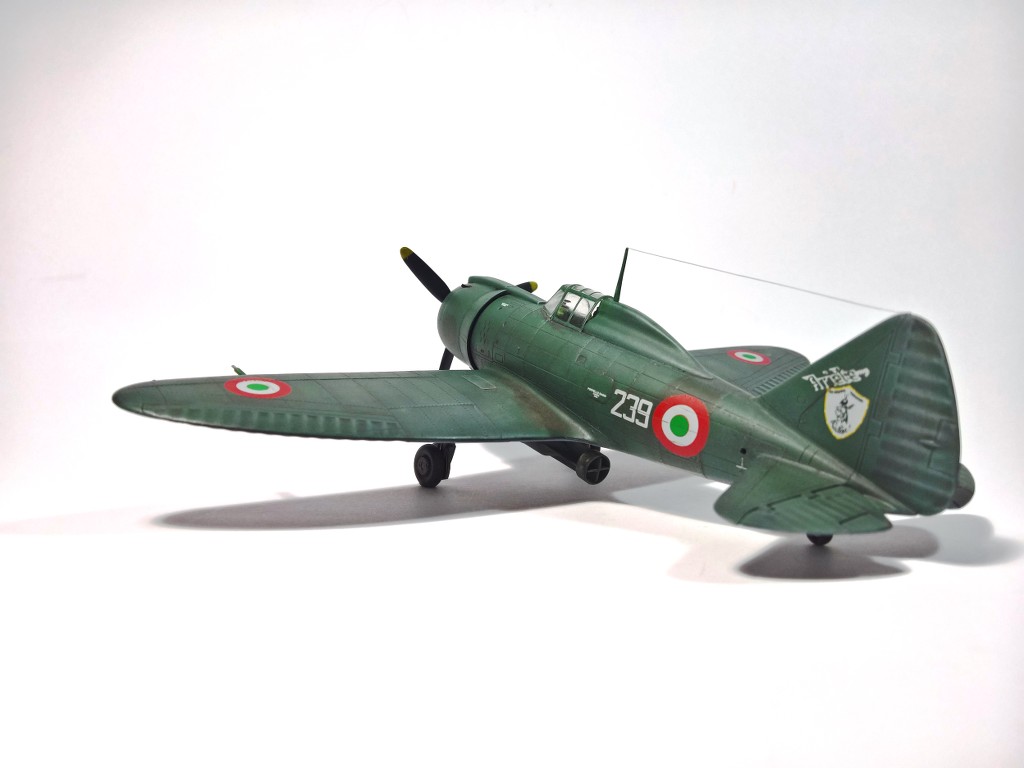
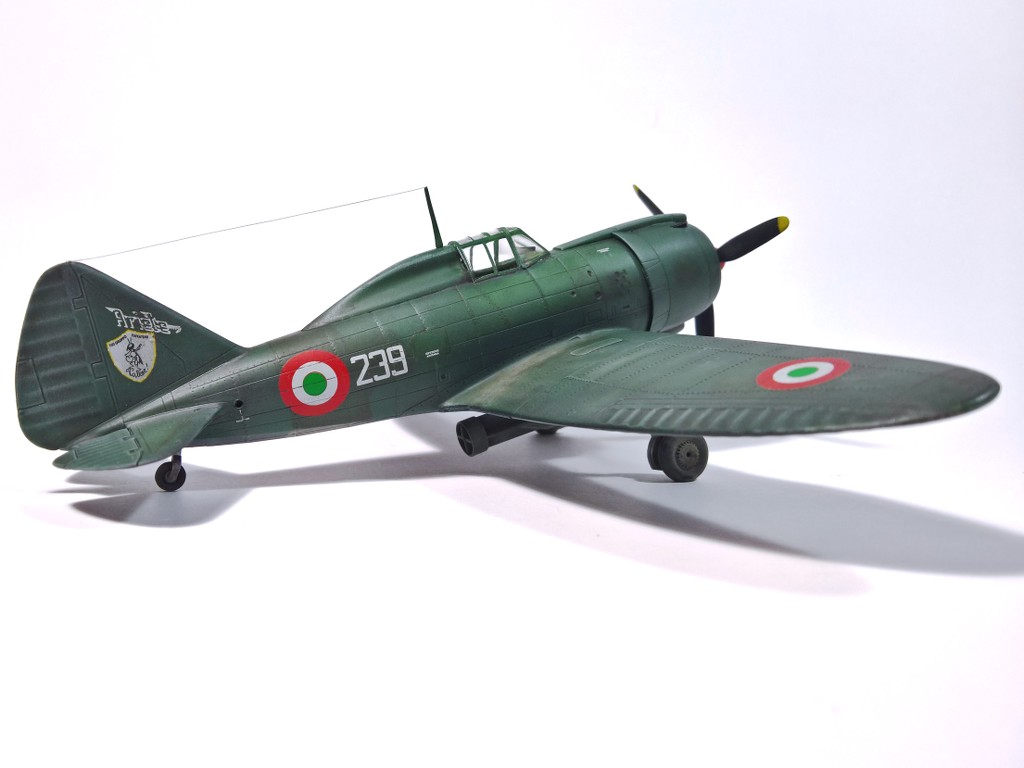
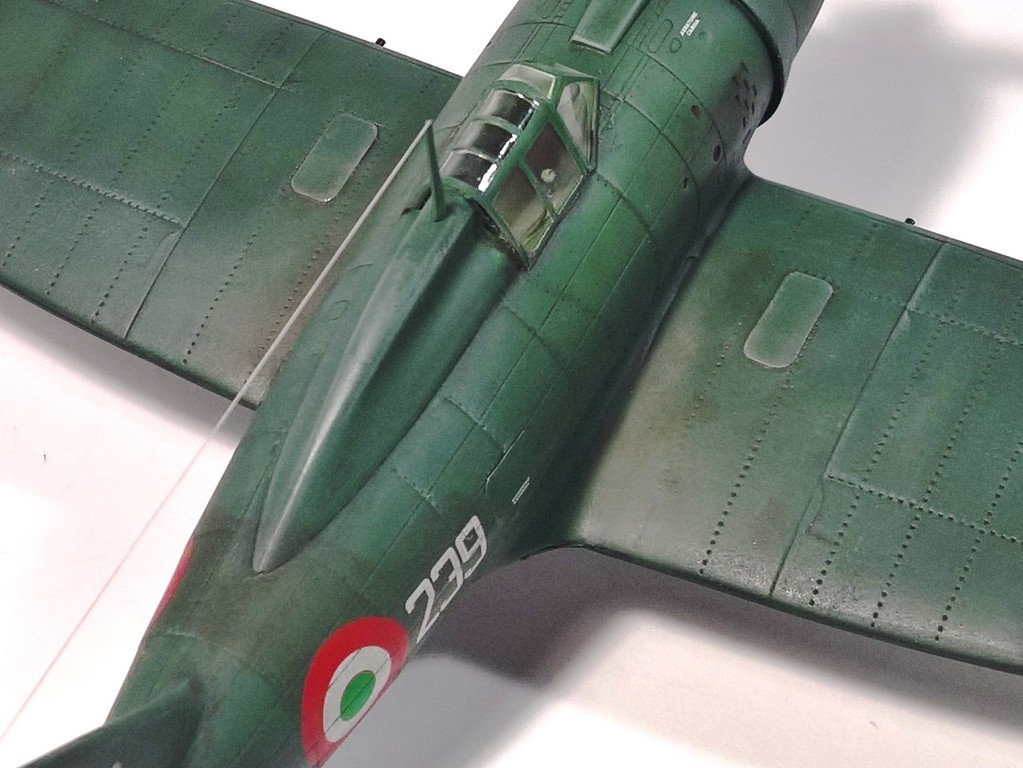
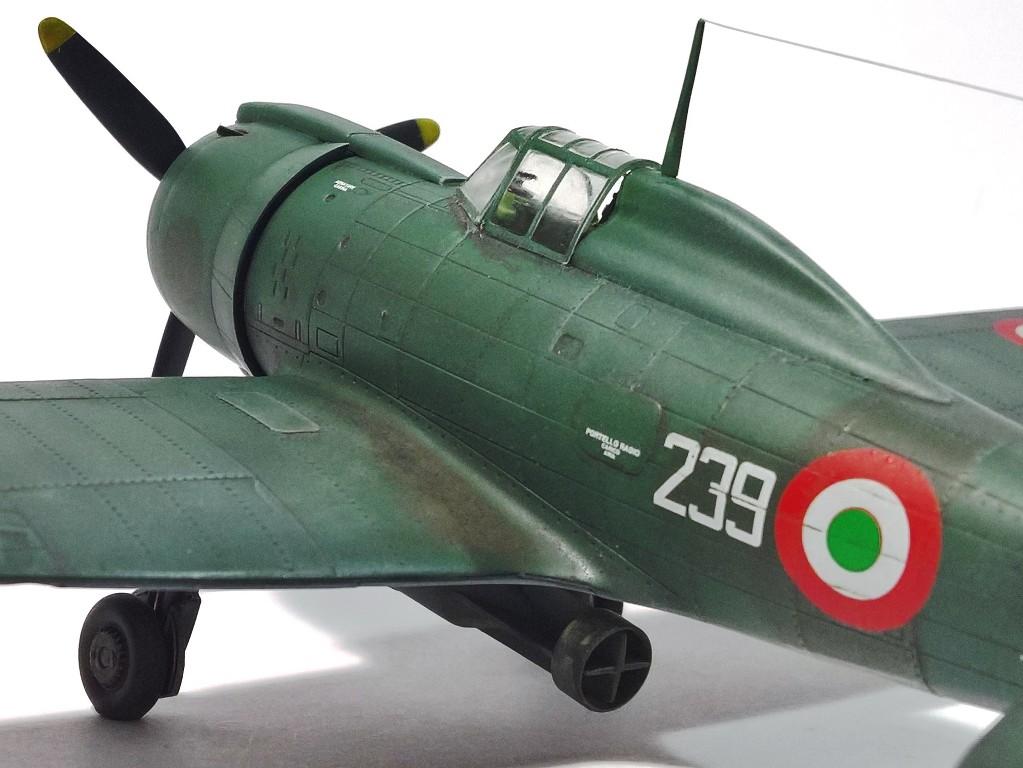
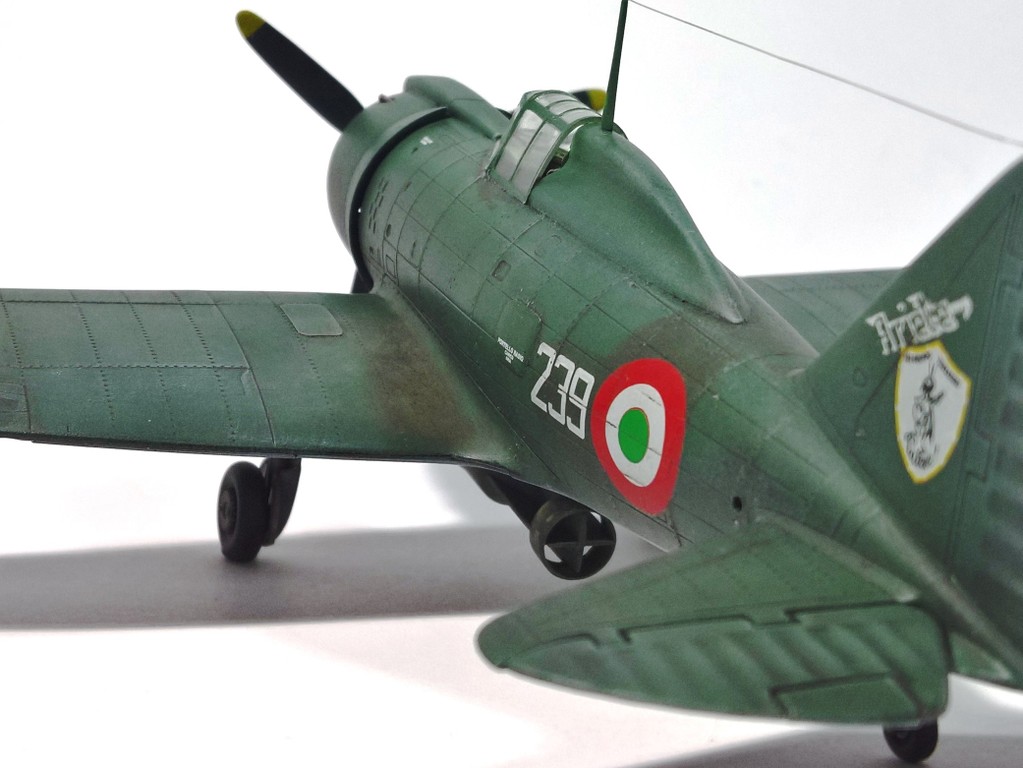
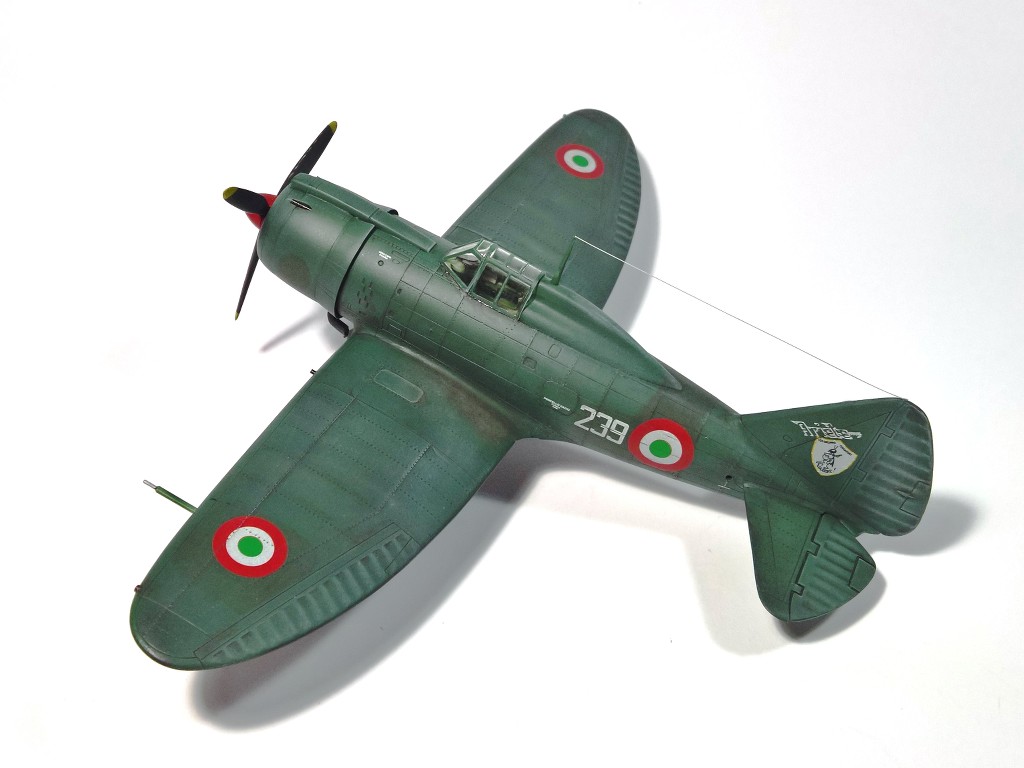
This time I'd like to share few photos of my recently finished Reggiane Re.2002 Ariete II, in the livery of a machine from 239. Squadriglia, 102. Gruppo, 5. Stormo d’Assalto, stationed at Palata airstrip in February 1944.
The Italeri’s kit does not bear strong resemblance with the actual aircraft (fat wings, strange engine fairings, strange fairing on the fuselage behind the cockpit, on my kit replaced with QB resin part) or finesse of the details (huge “rivets”). Fit of some parts is also quite problematic (especially in the engine area and clear canopy).
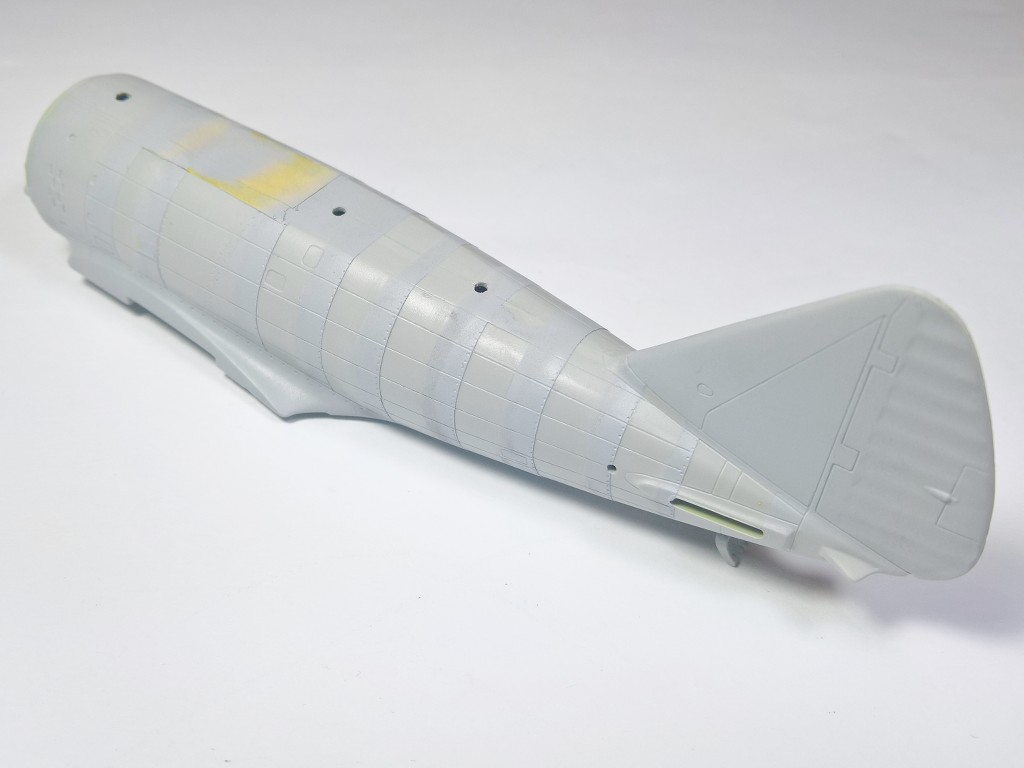
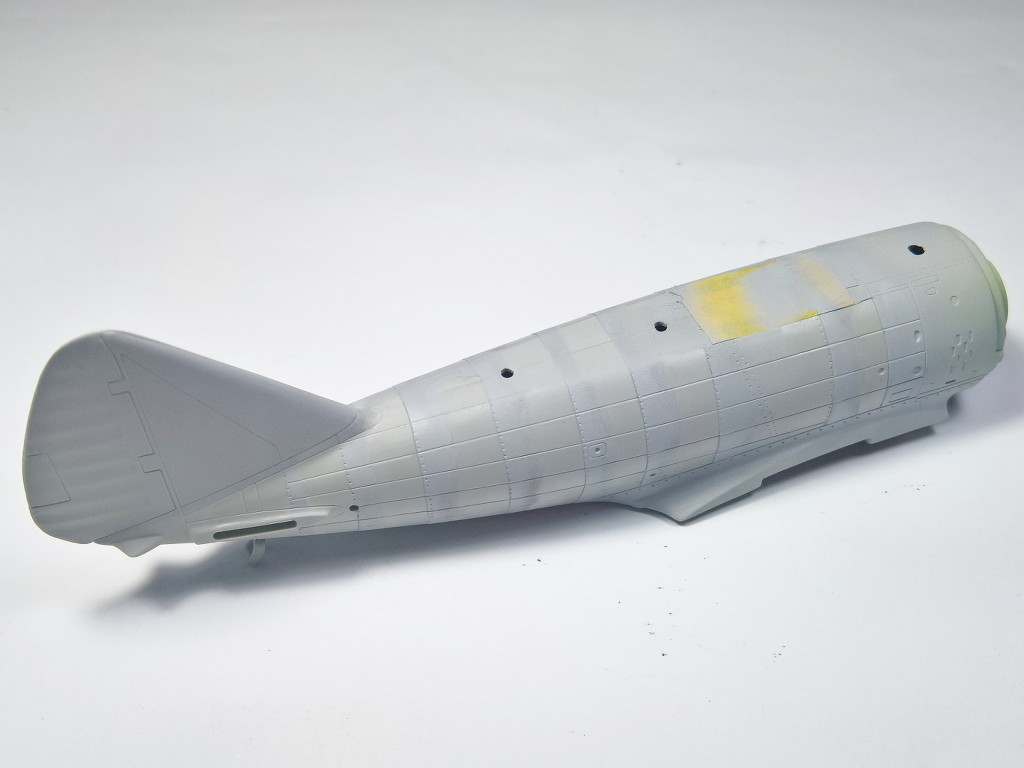
However, there is no choice, the only alternative is the same model in the Tamiya’s box. Of course, there are beautiful resin aftermarket sets produced by Vector, thanks to which the model is much closer to the original and gets the higher level of detail, but my goal was different – I wanted to practice reconstitution of the overlapping panels – the characteristic technology used by Reggiane, but also Nakajima, PZL, Grumman … – how it came out, you may judge yourself.
As usual, more photos at my blog.
Best regards
Hubert
Hosted by Rowan Baylis
Reggiane Re.2002 Ariete II | Italeri 1:48
Kendzior
Krakow, Poland
Joined: January 29, 2016
KitMaker: 96 posts
AeroScale: 91 posts
Joined: January 29, 2016
KitMaker: 96 posts
AeroScale: 91 posts
Posted: Thursday, May 04, 2017 - 03:08 PM UTC
rdt1953
New Jersey, United States
Joined: February 06, 2015
KitMaker: 1,098 posts
AeroScale: 900 posts
Joined: February 06, 2015
KitMaker: 1,098 posts
AeroScale: 900 posts
Posted: Thursday, May 04, 2017 - 03:17 PM UTC
Hubert - nicely done - beautiful paintwork !
Richard
Richard
rochaped
Lisboa, Portugal
Joined: August 27, 2010
KitMaker: 679 posts
AeroScale: 669 posts
Joined: August 27, 2010
KitMaker: 679 posts
AeroScale: 669 posts
Posted: Thursday, May 04, 2017 - 05:07 PM UTC
Very nice work indeed! Excellent finish and detailing.
How about some close up photos to allow surface detail to be more visible? That panel overlap sounds interesting but need to see it better
Cheers
Pedro
How about some close up photos to allow surface detail to be more visible? That panel overlap sounds interesting but need to see it better
Cheers
Pedro
thegirl
Alberta, Canada
Joined: January 19, 2008
KitMaker: 6,743 posts
AeroScale: 6,151 posts
Joined: January 19, 2008
KitMaker: 6,743 posts
AeroScale: 6,151 posts
Posted: Friday, May 05, 2017 - 04:05 AM UTC
Now that does look sharp , well done !
Terri
Terri
Scrodes
Ontario, Canada
Joined: July 22, 2012
KitMaker: 771 posts
AeroScale: 763 posts
Joined: July 22, 2012
KitMaker: 771 posts
AeroScale: 763 posts
Posted: Friday, May 05, 2017 - 04:13 AM UTC
Bellisimo! (?)
Great looking finish.
Posted: Friday, May 05, 2017 - 05:09 AM UTC
Hubert,
Very nice. Along the fuselage I can see how you applied the overlapping technique.
Gaz
Very nice. Along the fuselage I can see how you applied the overlapping technique.
Gaz
Kendzior
Krakow, Poland
Joined: January 29, 2016
KitMaker: 96 posts
AeroScale: 91 posts
Joined: January 29, 2016
KitMaker: 96 posts
AeroScale: 91 posts
Posted: Friday, May 05, 2017 - 10:35 AM UTC
Many thanks for all nice comments, really glad that you like the way it turned out
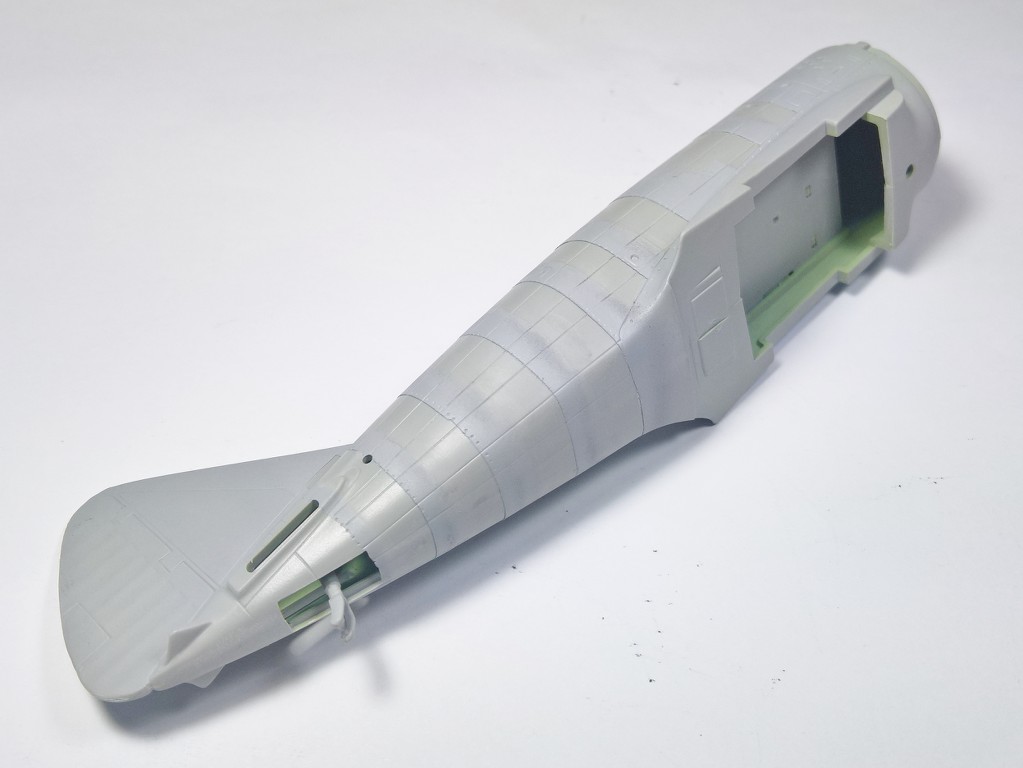
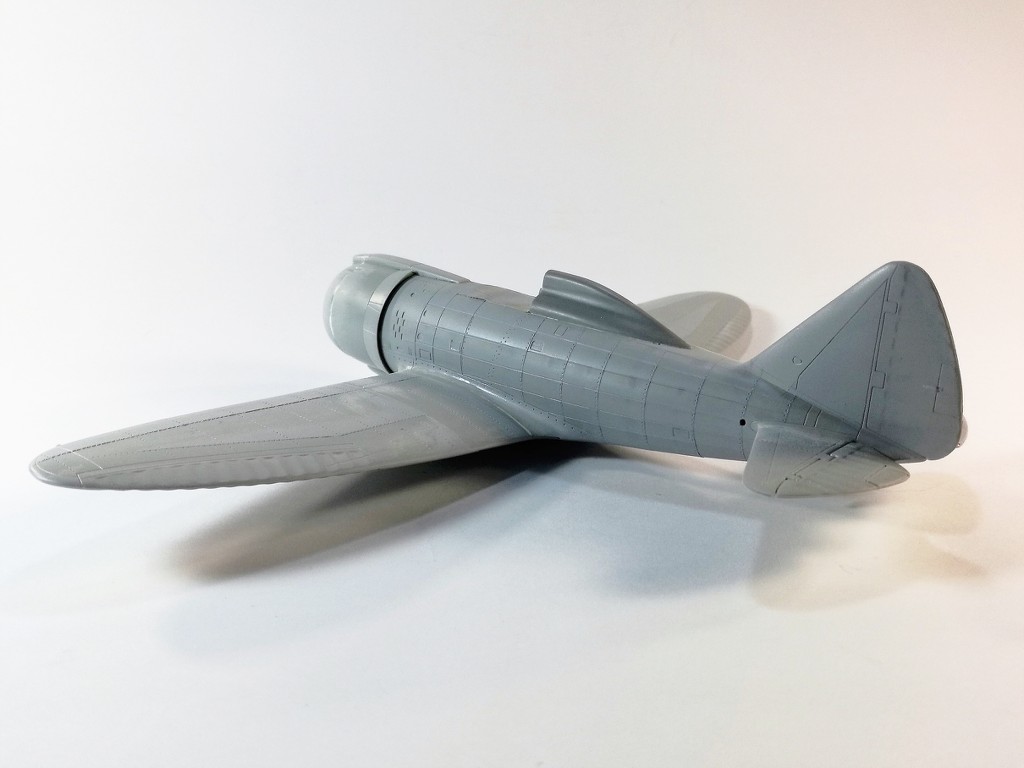
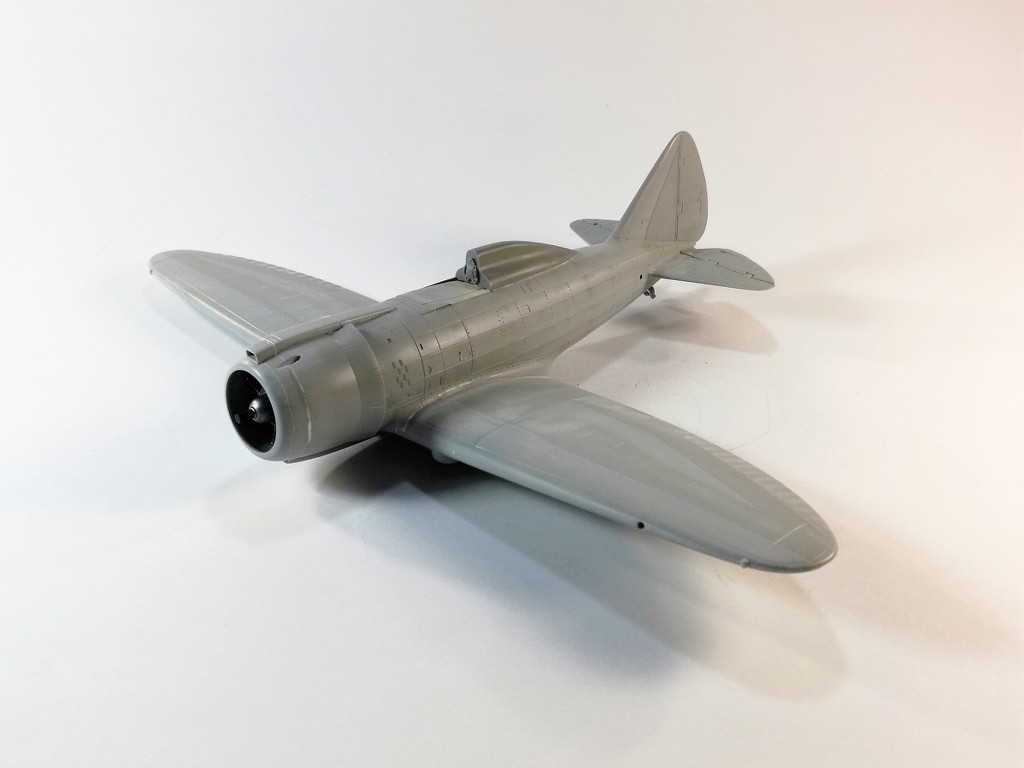
As for the overlapping panels, few close-ups and under construction shots below:
The effect was achieved by spraying edges of the panels with Gunze's Surfacer 500 diluted with their Levelling Thinner.
Next as usual, blackbasing with Surfacer 1500 and paints from Italeri and Lifecolor range (well, Italian plane, Italian kit, so Italian paints were a must ).
Best regards
Hubert
magnusf
Stockholm, Sweden
Joined: May 02, 2006
KitMaker: 1,953 posts
AeroScale: 1,902 posts
Joined: May 02, 2006
KitMaker: 1,953 posts
AeroScale: 1,902 posts
Posted: Friday, May 05, 2017 - 12:33 PM UTC
Hubert! Lovely aircraft and a very ambitious build, I've never seen that panel trick before!
Magnus
Magnus
spiralcity
Illinois, United States
Joined: October 14, 2012
KitMaker: 150 posts
AeroScale: 107 posts
Joined: October 14, 2012
KitMaker: 150 posts
AeroScale: 107 posts
Posted: Monday, May 08, 2017 - 01:35 PM UTC
Nice work on a very interesting subject.
Removed by original poster on 05/09/17 - 10:29:34 (GMT).
rochaped
Lisboa, Portugal
Joined: August 27, 2010
KitMaker: 679 posts
AeroScale: 669 posts
Joined: August 27, 2010
KitMaker: 679 posts
AeroScale: 669 posts
Posted: Monday, May 08, 2017 - 03:29 PM UTC
[quote] I've never seen that panel trick before! [quote]
Same goes for me, very interesting method, with impressive results.
You've made a very eye-catching model from a rather dull camouflage scheme...not many can achieve this
Cheers
Pedro
Same goes for me, very interesting method, with impressive results.
You've made a very eye-catching model from a rather dull camouflage scheme...not many can achieve this
Cheers
Pedro
Kendzior
Krakow, Poland
Joined: January 29, 2016
KitMaker: 96 posts
AeroScale: 91 posts
Joined: January 29, 2016
KitMaker: 96 posts
AeroScale: 91 posts
Posted: Monday, May 08, 2017 - 03:50 PM UTC
Many thanks for all so nice comments
The trick isn't my invention, just saw what Bernhard did building his fabulous PZL.37 and couldn't resist trying it.
The same will be applied to my Hayabusas.
Best regards
Hubert
The trick isn't my invention, just saw what Bernhard did building his fabulous PZL.37 and couldn't resist trying it.
The same will be applied to my Hayabusas.
Best regards
Hubert