Eetu and Thomas, nice jobs on your builds and finish.
Ive purchased a Monogram 1/48 F100 to enter instead of the 1/72 F8. With my eyes and big fingers the 1/72 is just too small to be able to keep from breaking items or to see what I am actually doing even with a magnifying hood.
Bob
Air Campaigns
Want to start or join a group build? This is where to start.
Want to start or join a group build? This is where to start.
Hosted by Frederick Boucher, Michael Satin
OFFICIAL: 2nd Gen. Jet Fighters Campaign

Bigrip74

Joined: February 22, 2008
KitMaker: 5,026 posts
AeroScale: 2,811 posts

Posted: Wednesday, August 23, 2017 - 01:37 AM UTC

RadekZ

Joined: March 12, 2013
KitMaker: 125 posts
AeroScale: 85 posts

Posted: Wednesday, August 23, 2017 - 02:34 AM UTC
Hello lads,
Hope you don't mind if I join with Meng's F-102A Delta Dagger in 1/72 ?
This is a entry pic showing kit in "unspoiled" condition

(I hope it works, 'cause it's first time I'm using something different than Photobucket or Google+)
Cheers,
Radek
Hope you don't mind if I join with Meng's F-102A Delta Dagger in 1/72 ?

This is a entry pic showing kit in "unspoiled" condition


(I hope it works, 'cause it's first time I'm using something different than Photobucket or Google+)
Cheers,
Radek

Bigrip74

Joined: February 22, 2008
KitMaker: 5,026 posts
AeroScale: 2,811 posts

Posted: Wednesday, August 23, 2017 - 07:03 AM UTC
pkrasna

Joined: April 20, 2013
KitMaker: 31 posts
AeroScale: 31 posts
Posted: Thursday, August 24, 2017 - 12:46 AM UTC
Yesterday first cuts were made. Fuselage is now shorter for about 6mm as it shuld be.


Airbrakes cutted out... all four of them...
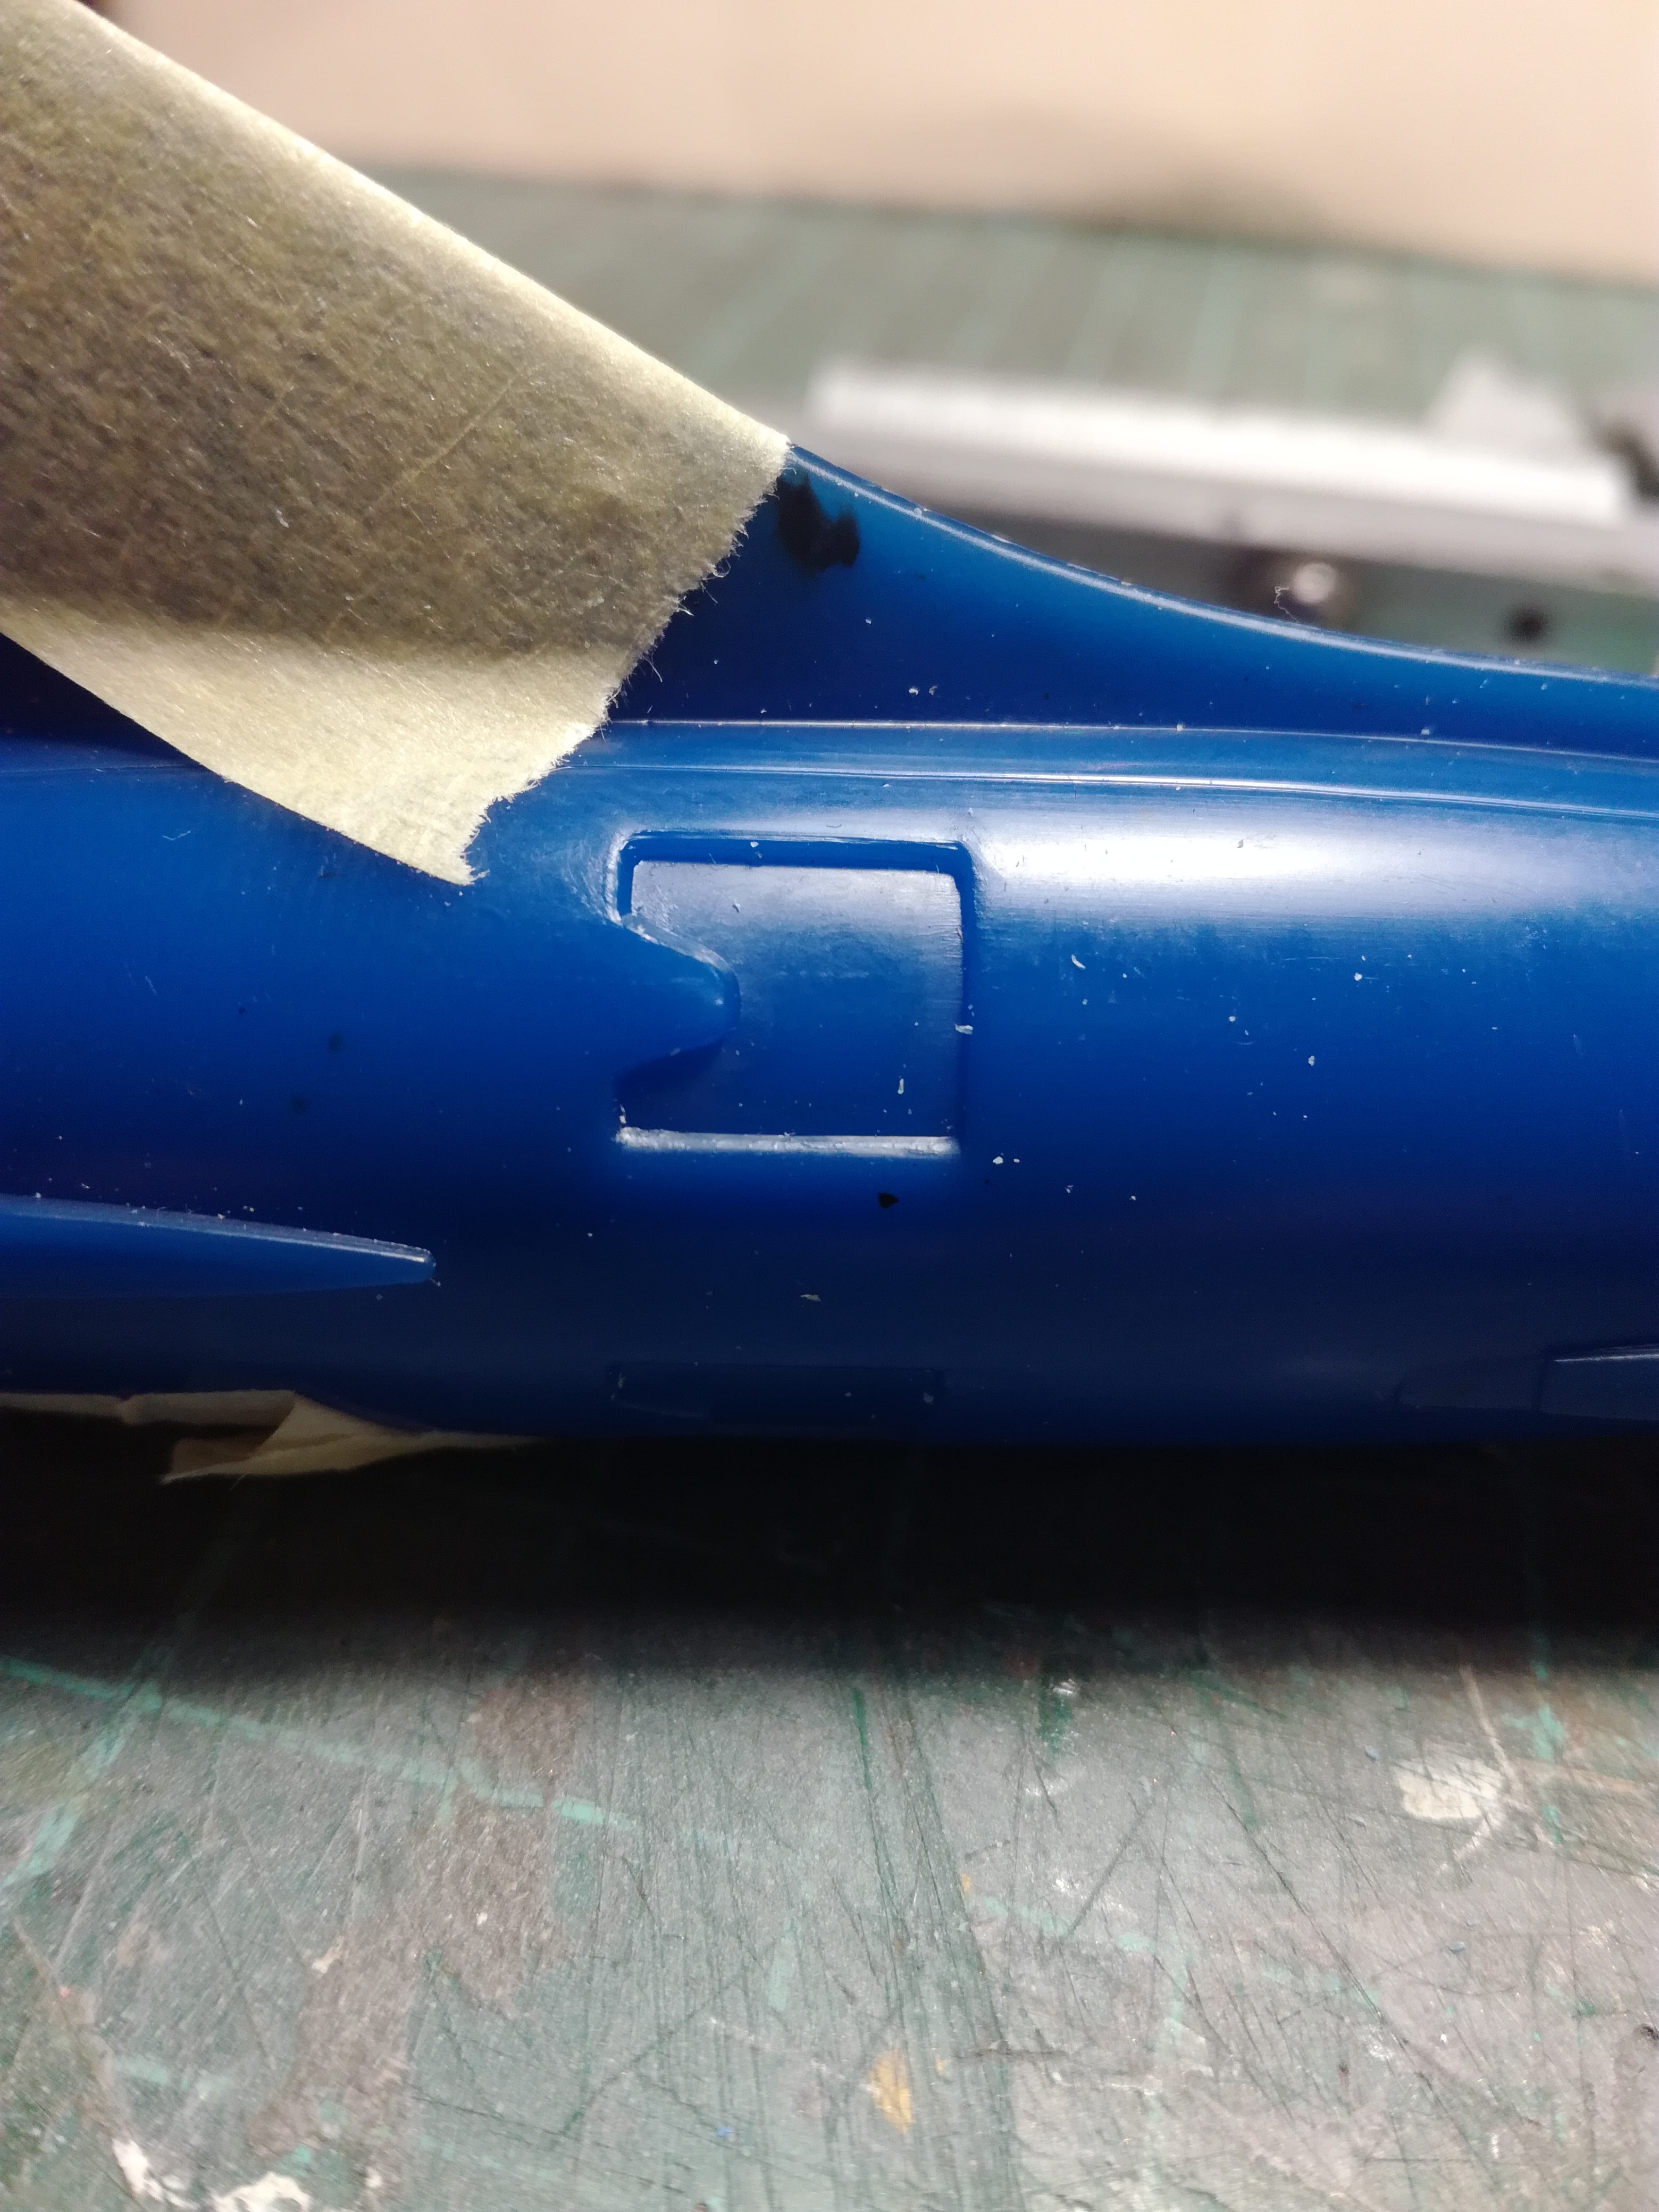

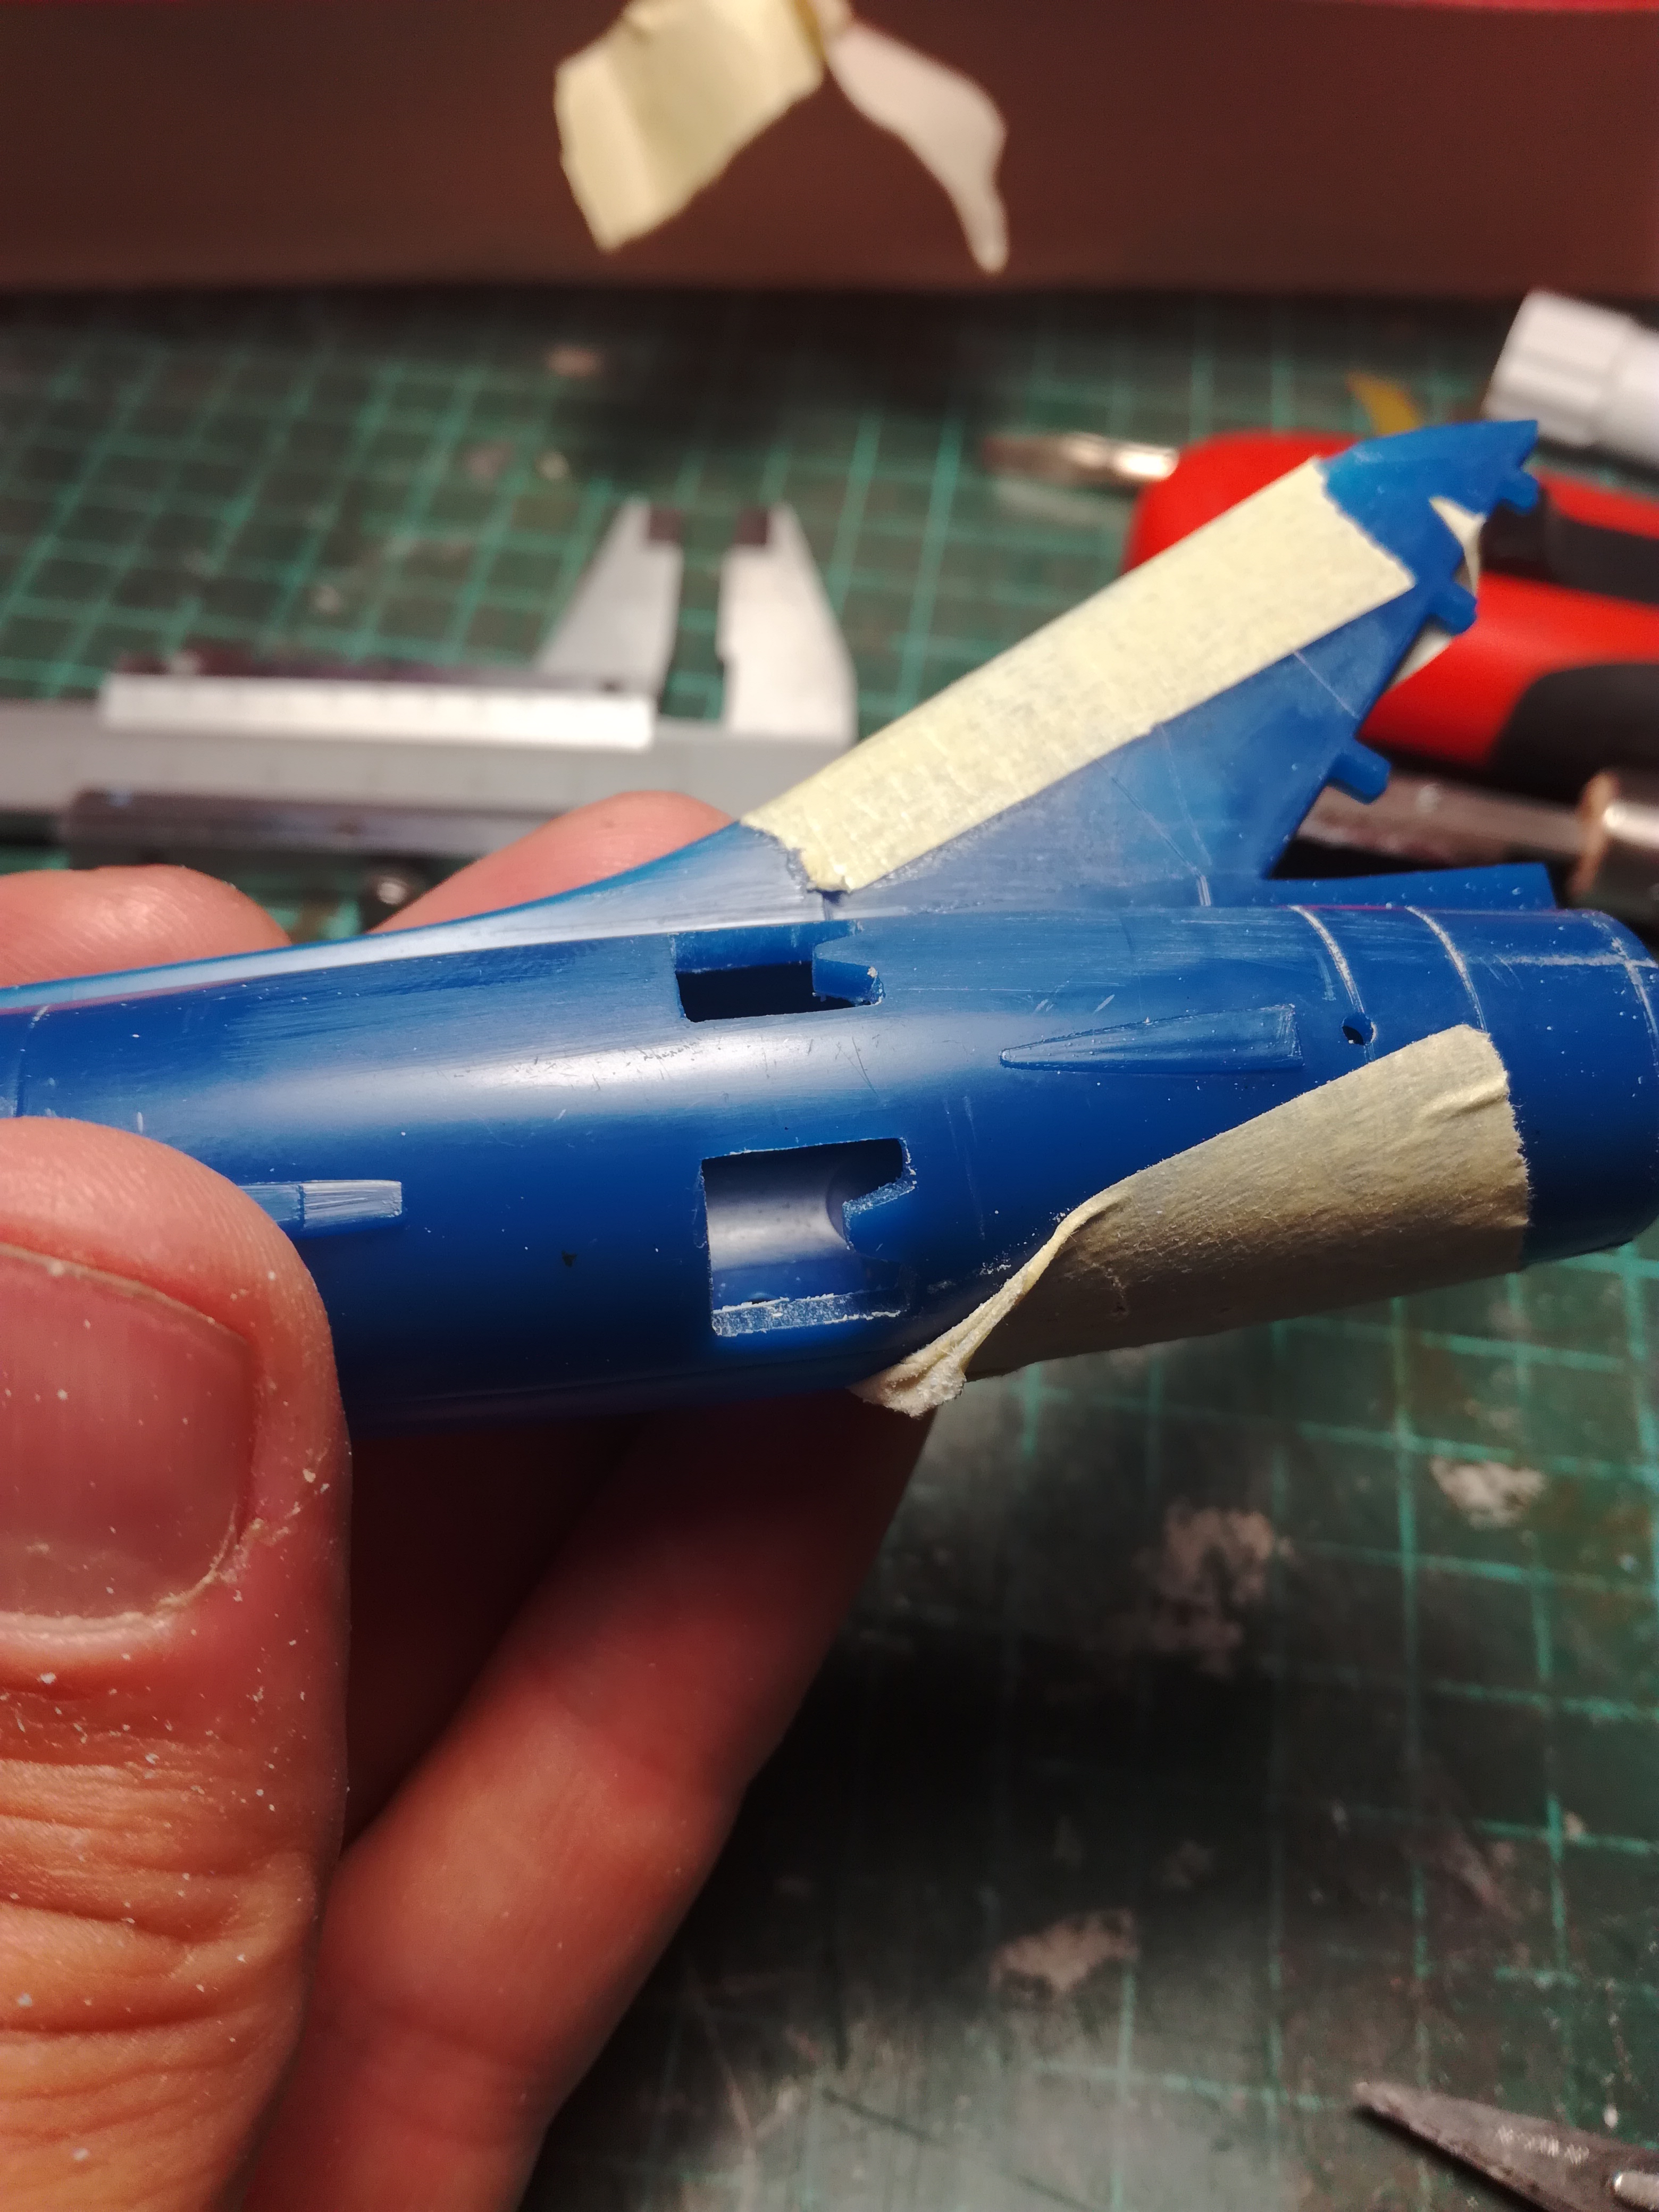
...and fuselage joint sanded down.
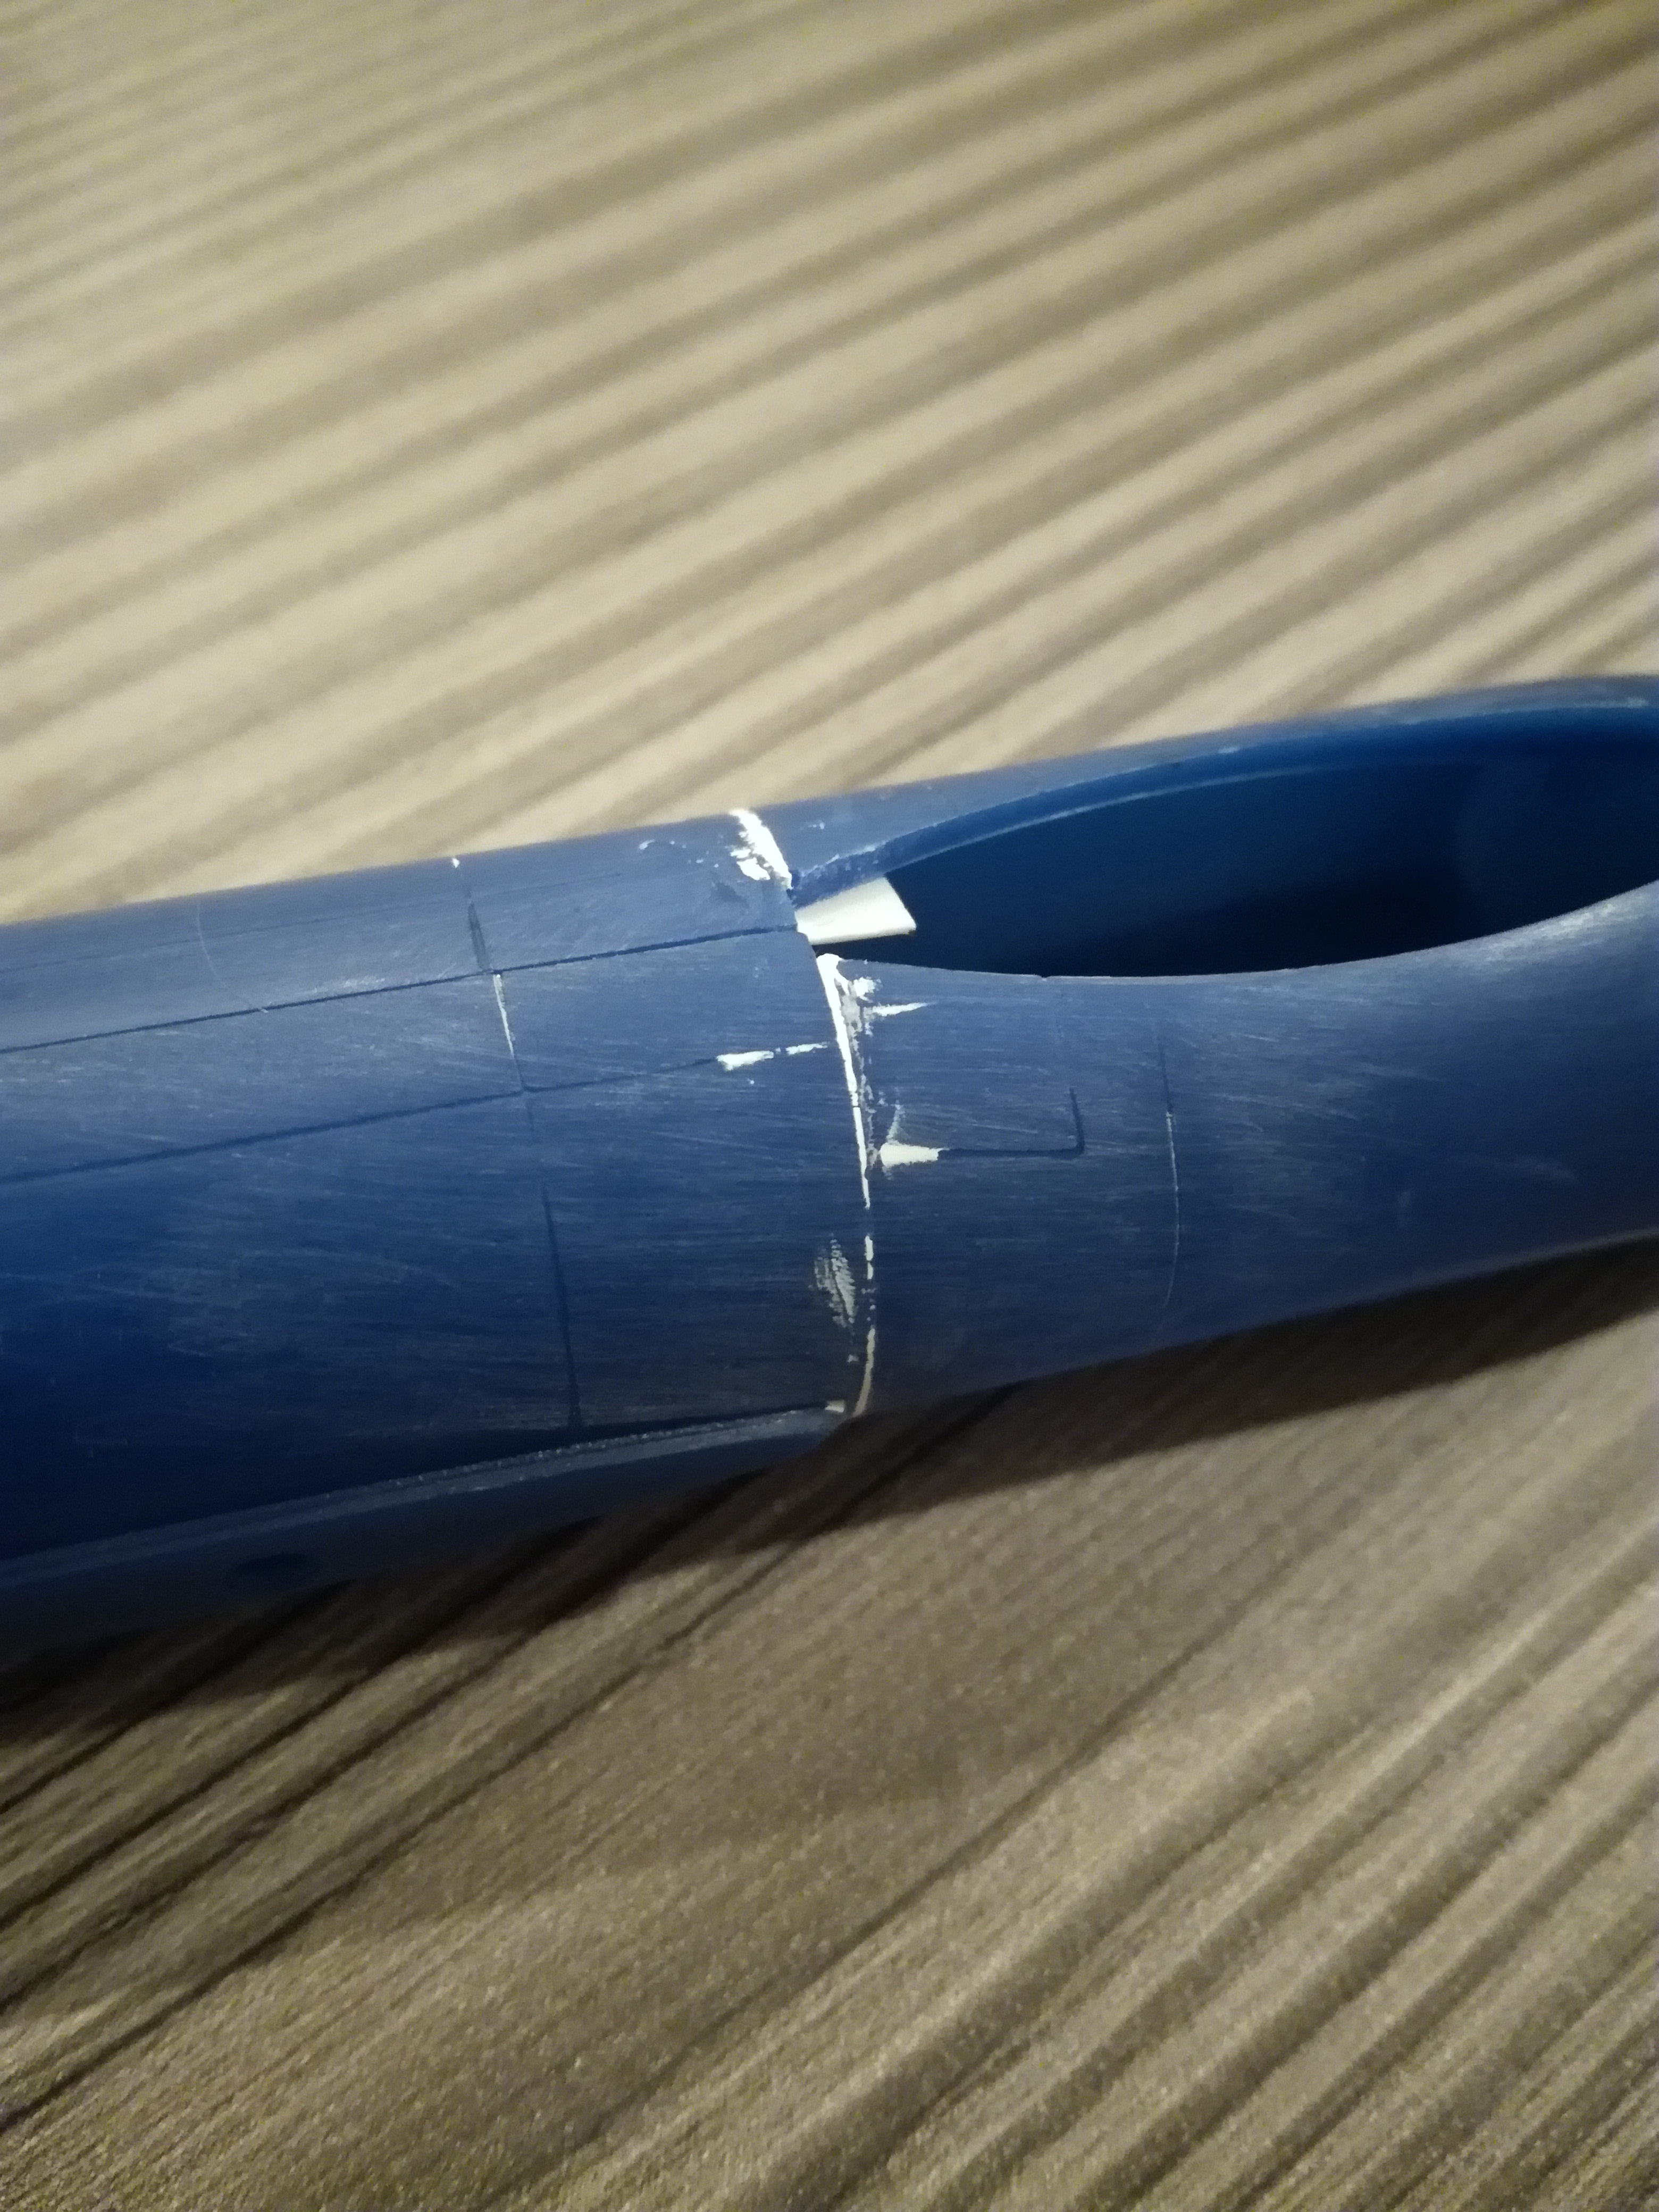


Airbrakes cutted out... all four of them...


...and fuselage joint sanded down.


Bigrip74

Joined: February 22, 2008
KitMaker: 5,026 posts
AeroScale: 2,811 posts

Posted: Friday, August 25, 2017 - 11:55 PM UTC
Nice job Primoz, on the Hunter, I have those saw blades but cannot find the handle.
Progress on the Monogram F100. Lots of rivets and lines to remove. The leading Edge slat is meant to be posed open. I trimmed the slat attachments and attached it closed, but you can see that I did not do a very good job. There was some filling to try and make it fit.


Progress on the Monogram F100. Lots of rivets and lines to remove. The leading Edge slat is meant to be posed open. I trimmed the slat attachments and attached it closed, but you can see that I did not do a very good job. There was some filling to try and make it fit.


pkrasna

Joined: April 20, 2013
KitMaker: 31 posts
AeroScale: 31 posts
Posted: Saturday, August 26, 2017 - 01:40 AM UTC
Thanks Bob but is actually a Su-9 that I am dooing. 
So a little progress was made yesterday. The tail shape has few flaws whitch will be easy to correct. The part where the tail meets the fuselage has wrong shape ending. It should be more smoth as in the picture.

Shape corrected:

In some spare time I shaped the brake appartments. Now they need some detailing.
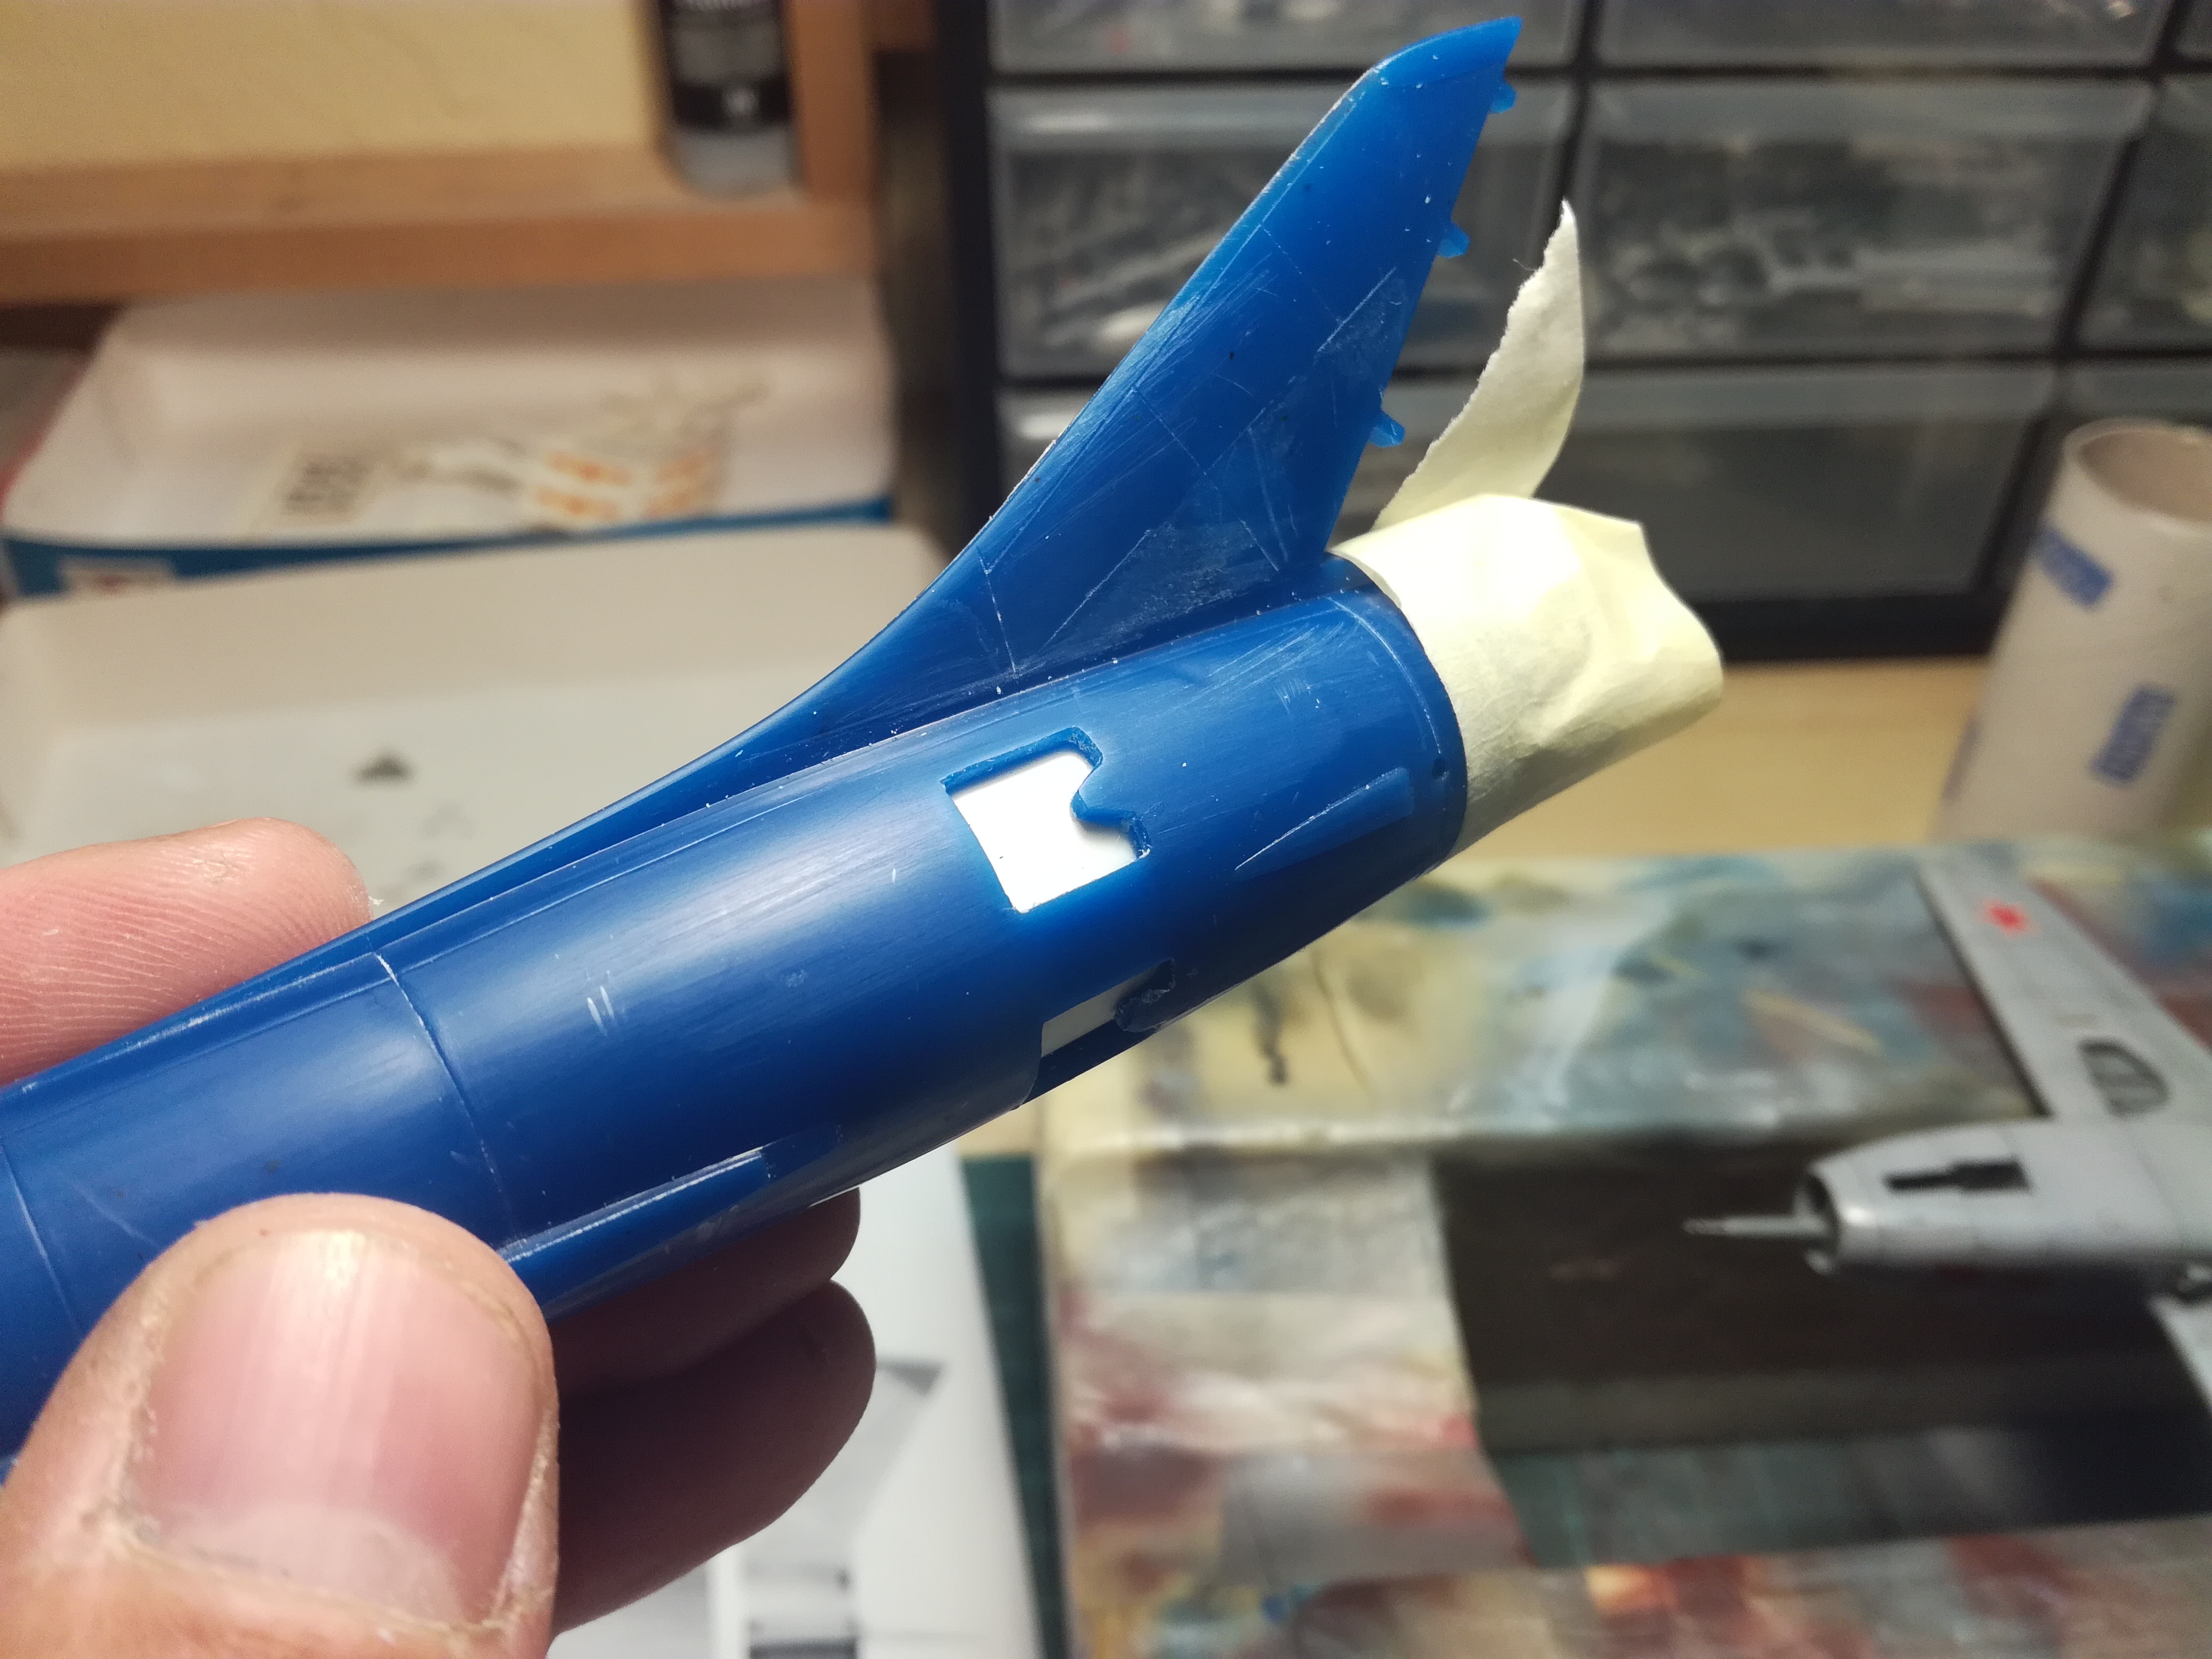

So a little progress was made yesterday. The tail shape has few flaws whitch will be easy to correct. The part where the tail meets the fuselage has wrong shape ending. It should be more smoth as in the picture.

Shape corrected:

In some spare time I shaped the brake appartments. Now they need some detailing.


Bigrip74

Joined: February 22, 2008
KitMaker: 5,026 posts
AeroScale: 2,811 posts

Posted: Saturday, August 26, 2017 - 04:35 AM UTC
Primož, my apologies for the mistake. The blue color thew me off by thinking of the RAF aerobatic team. I am enjoying your build progress and your modifications.
Bob
Bob
pkrasna

Joined: April 20, 2013
KitMaker: 31 posts
AeroScale: 31 posts
Posted: Monday, August 28, 2017 - 03:37 AM UTC
Thanks, me the same. 

pkrasna

Joined: April 20, 2013
KitMaker: 31 posts
AeroScale: 31 posts
Posted: Wednesday, August 30, 2017 - 03:37 AM UTC
The office is made almost from scratch.


Bigrip74

Joined: February 22, 2008
KitMaker: 5,026 posts
AeroScale: 2,811 posts

Posted: Wednesday, August 30, 2017 - 06:09 AM UTC
I am ready to paint the F100 using the SEA scheme for Vietnam. Does anyone have a mix formula that matches FS 36622 Light Gray? Ive been to IPMS Stockholm, but they do not give any mix formulas.
Removed by original poster on 08/31/17 - 04:50:26 (GMT).
Posted: Wednesday, August 30, 2017 - 09:52 AM UTC
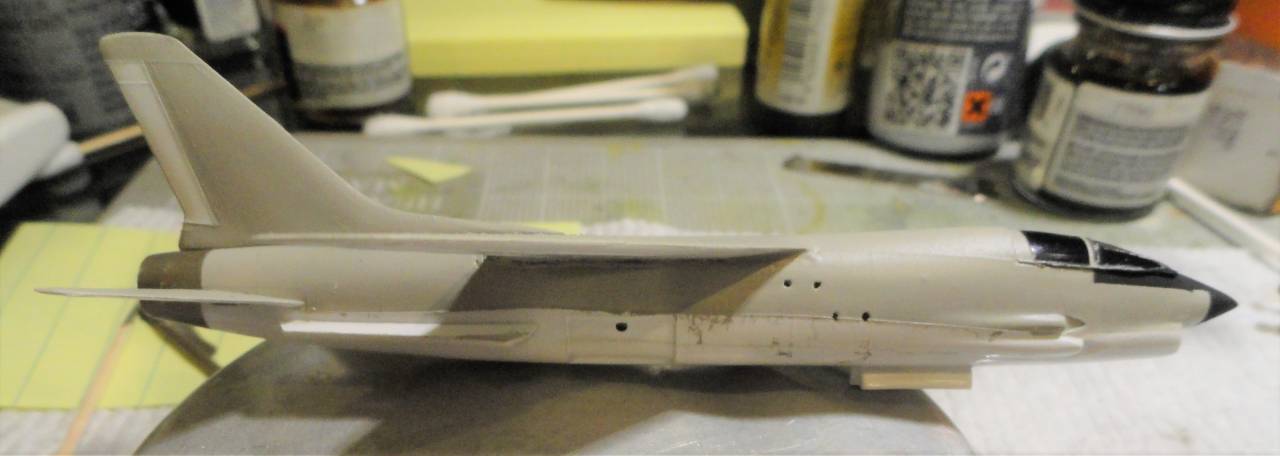
Well, this is the furthest I've gotten on a GB in a long time. It's all painted, needs some touch-up, decals and Fiddly bits. Won't get done by tomorrow night. 



goodn8

Joined: October 12, 2008
KitMaker: 709 posts
AeroScale: 651 posts

Posted: Wednesday, August 30, 2017 - 09:33 PM UTC
Bob: This is really come to shape! Pit and wheel wells loking great - beautiful paint effects.
Mark: Nice progress - touch it up!
Thomas
Mark: Nice progress - touch it up!
Thomas

pkrasna

Joined: April 20, 2013
KitMaker: 31 posts
AeroScale: 31 posts
Posted: Saturday, September 02, 2017 - 01:26 AM UTC
This was inbox plan for exhaust tube. Don't think so.
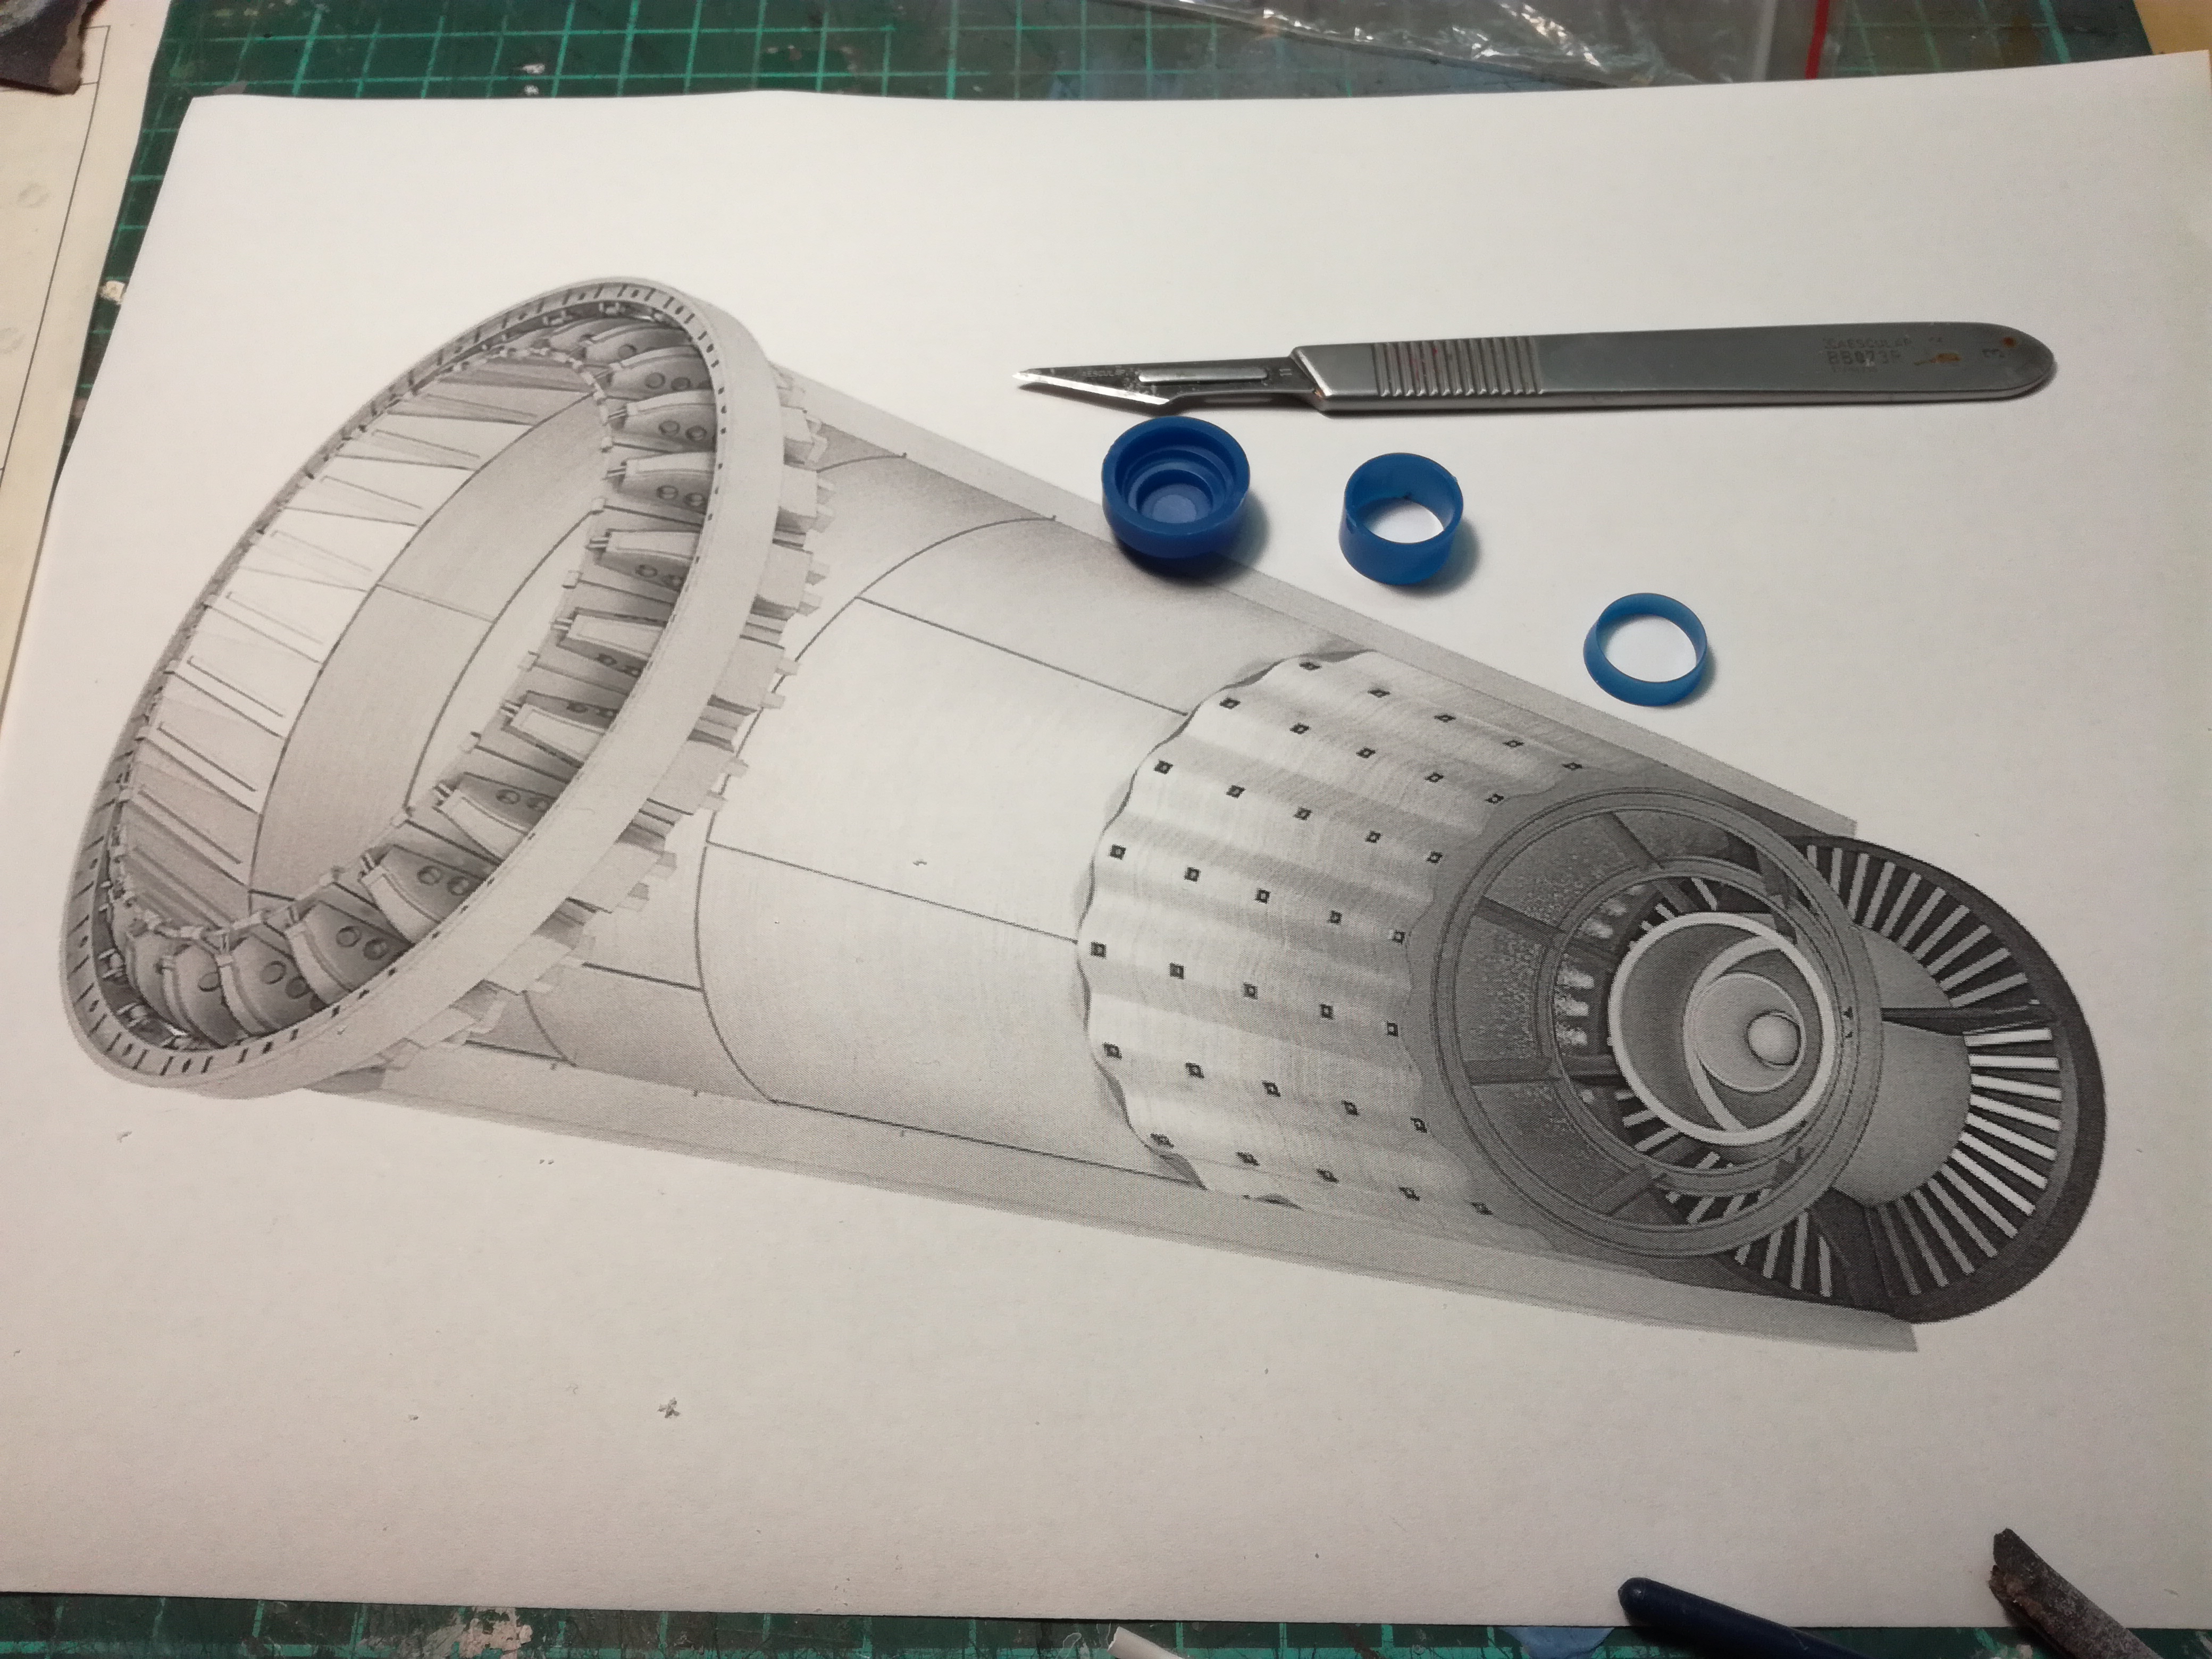
My plan was to include color marker cap and some old spare parts:


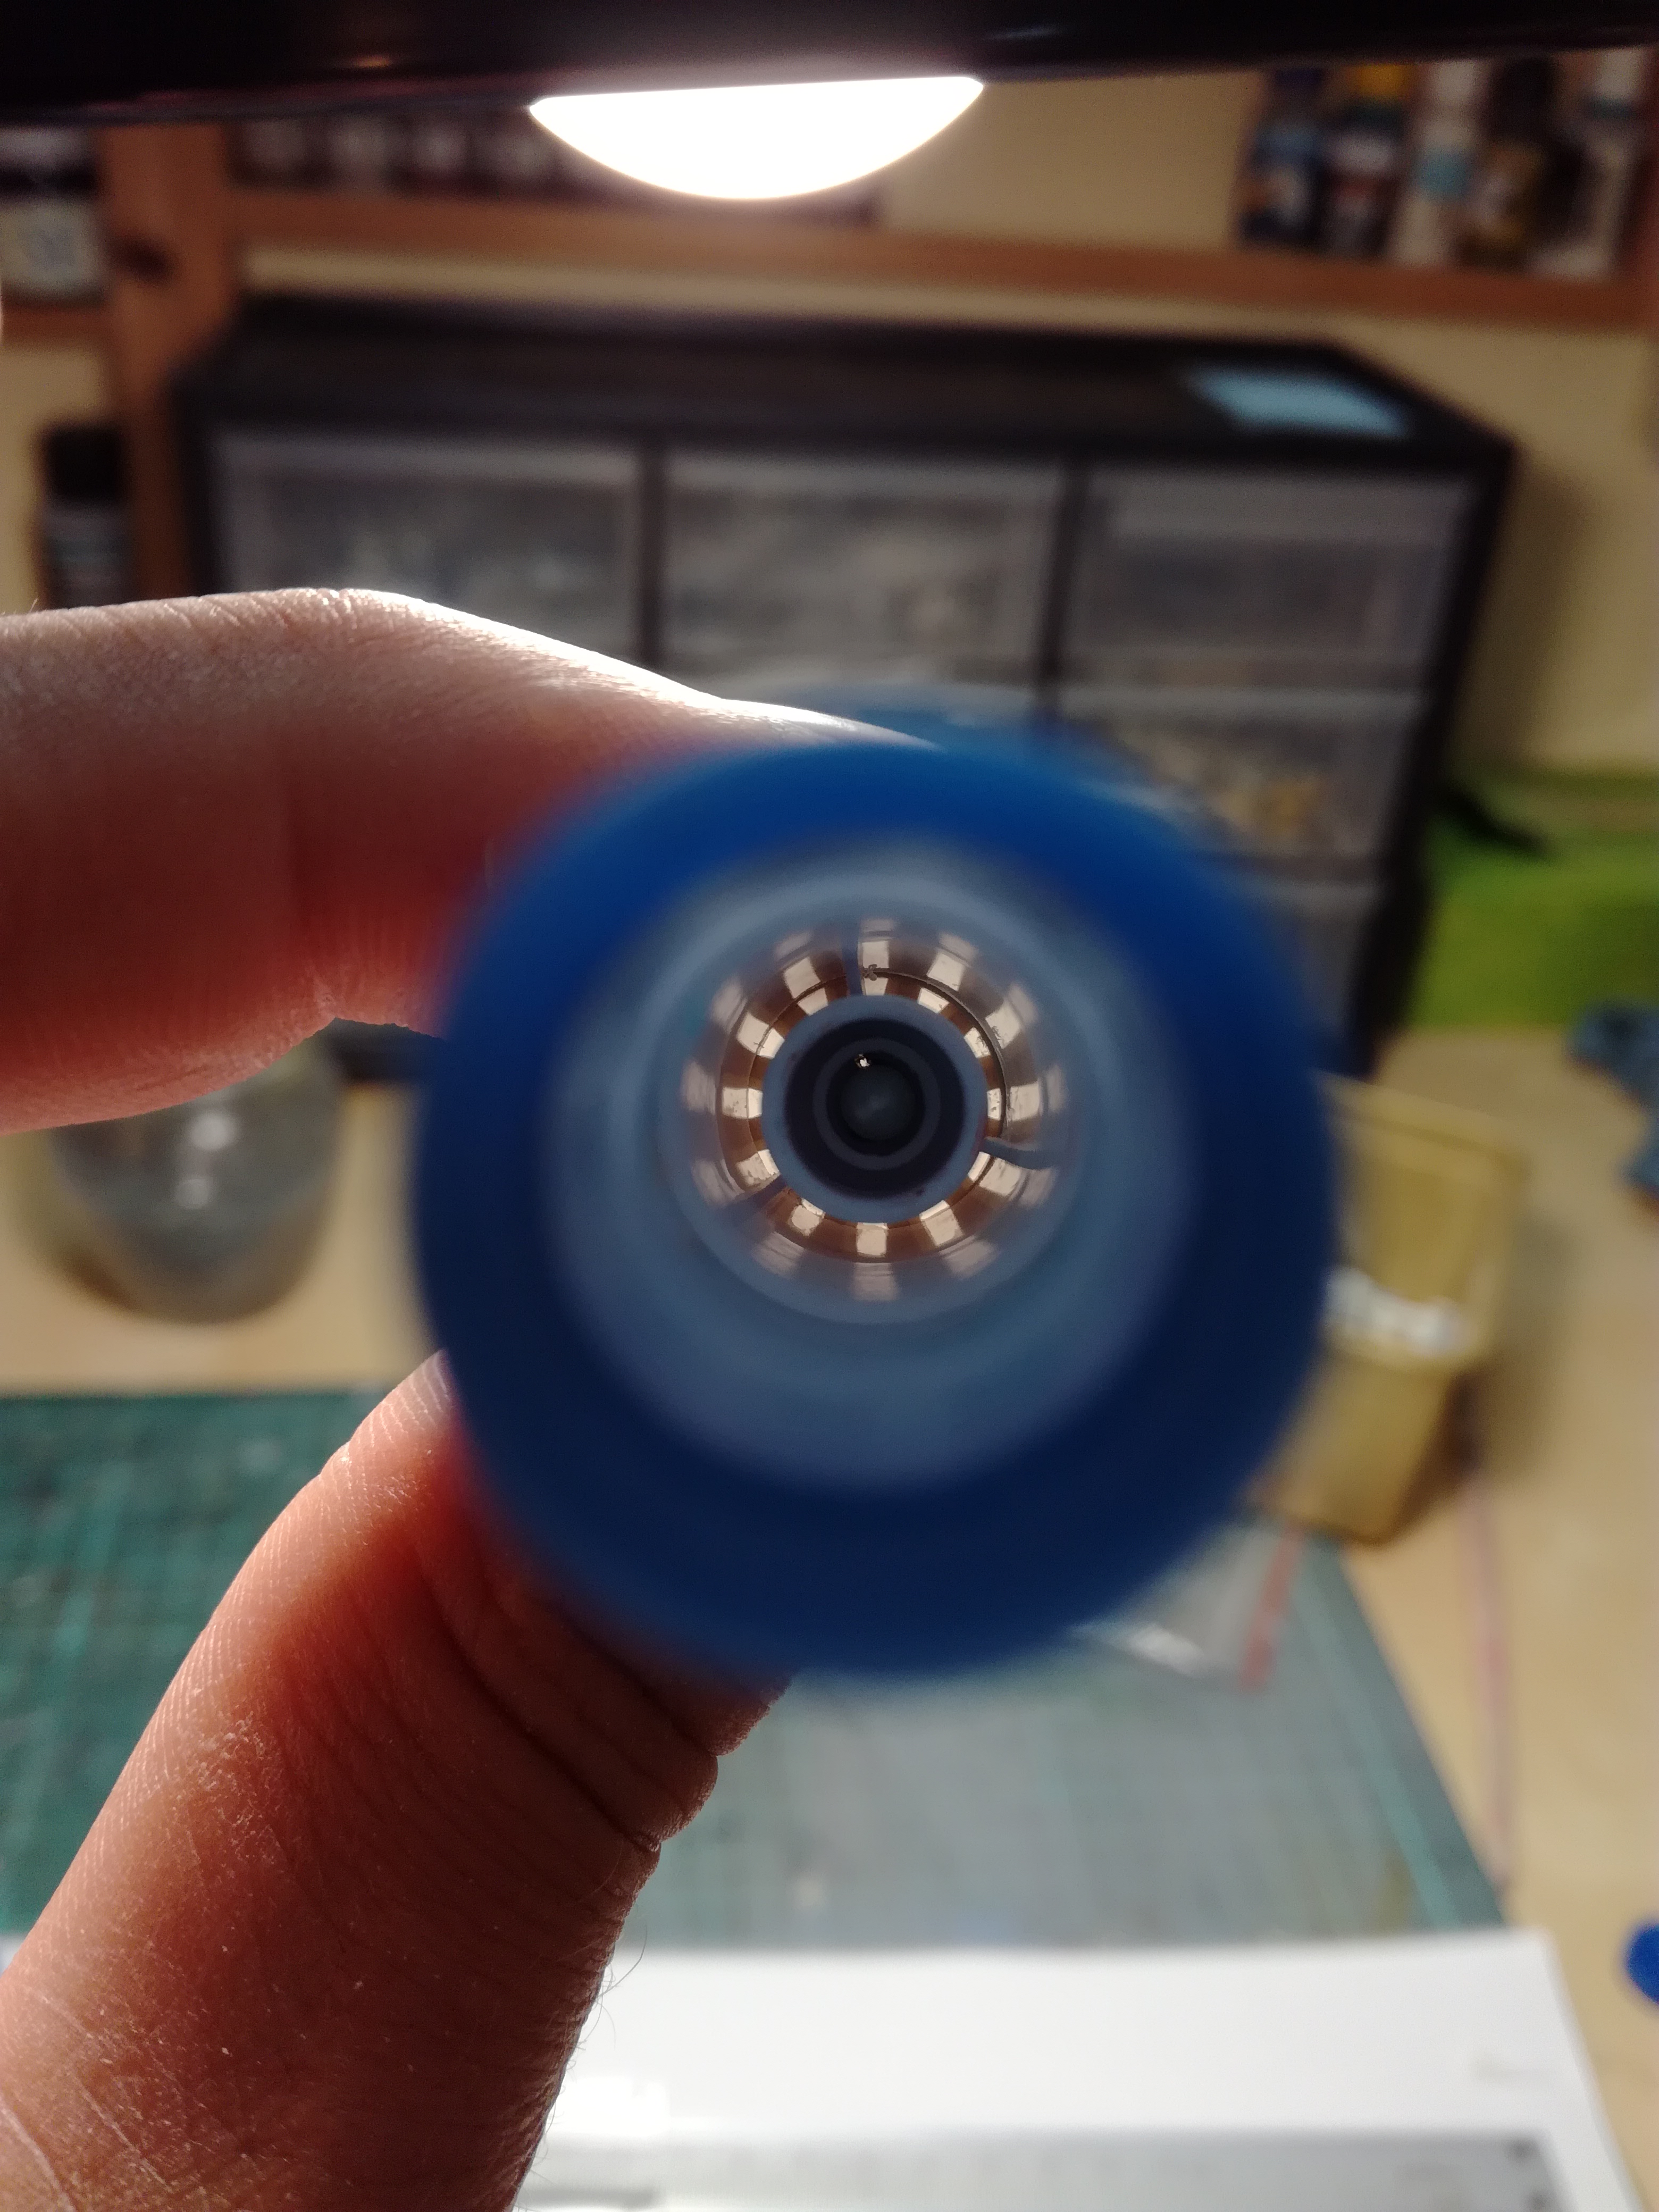
Next step was to shapeing the rear fuselage wall. Left is done now for the right part.

Shaping the end part of the exhaust tube was needed to achieve detailed look.

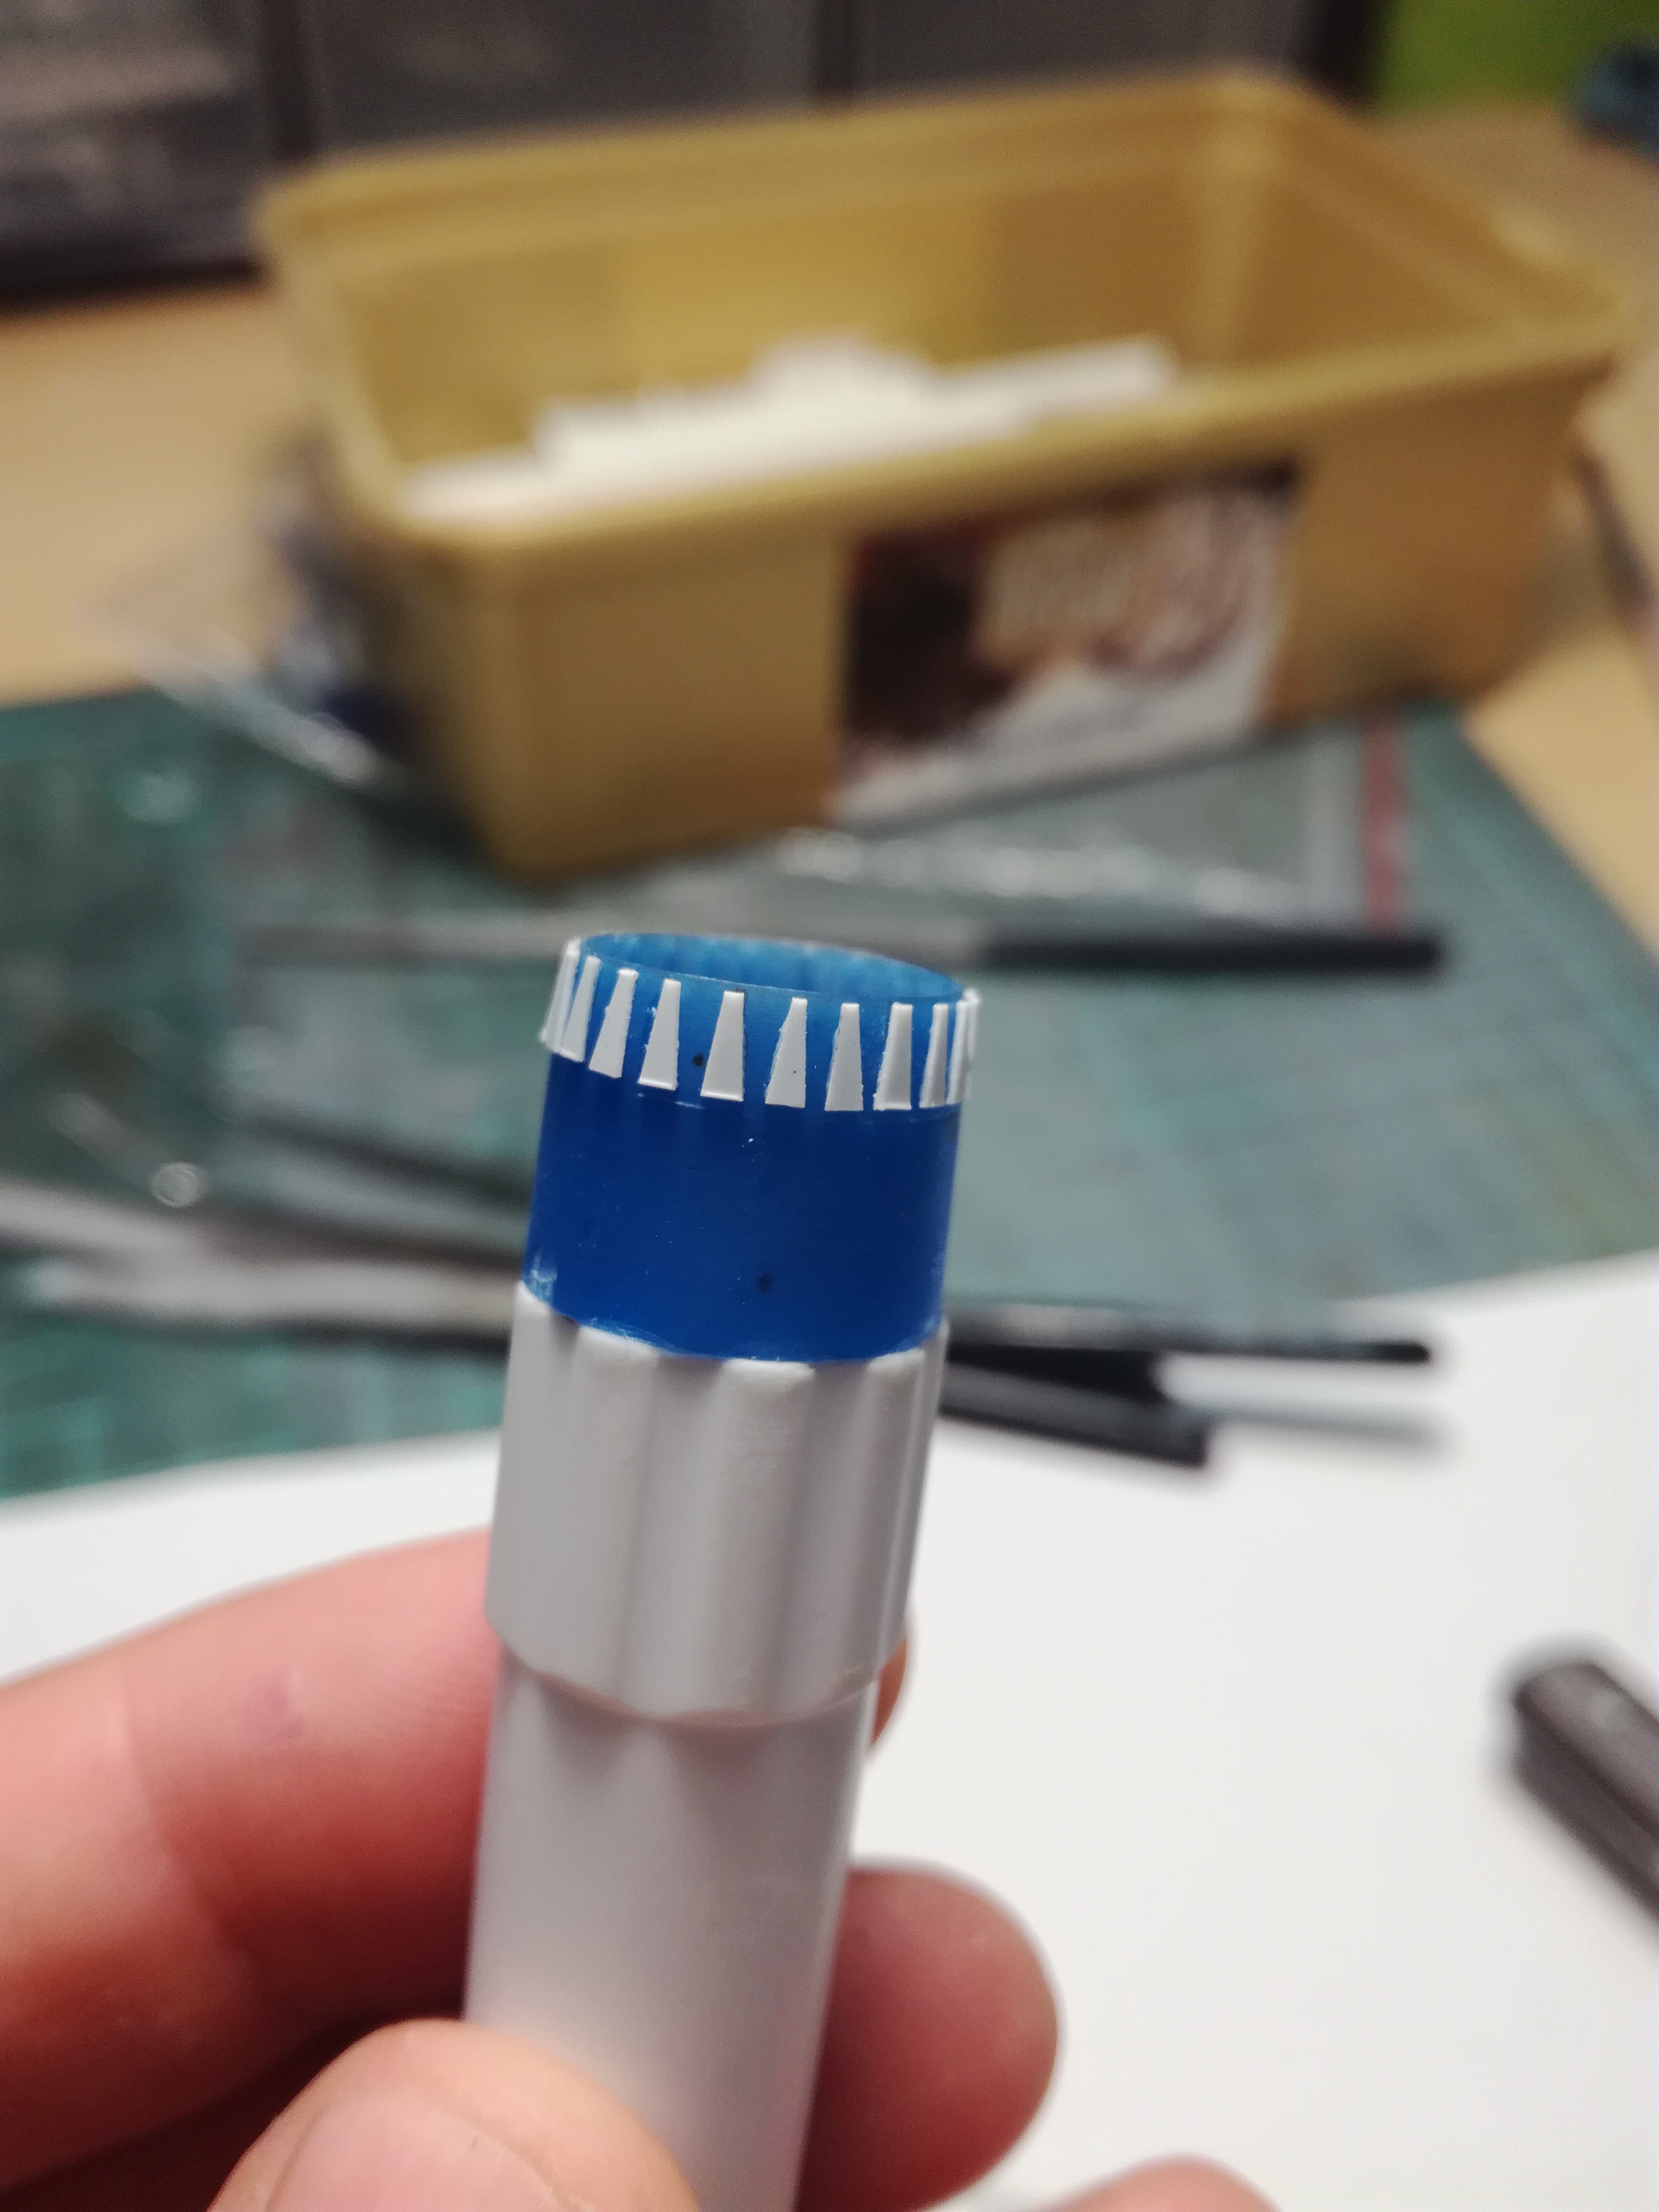

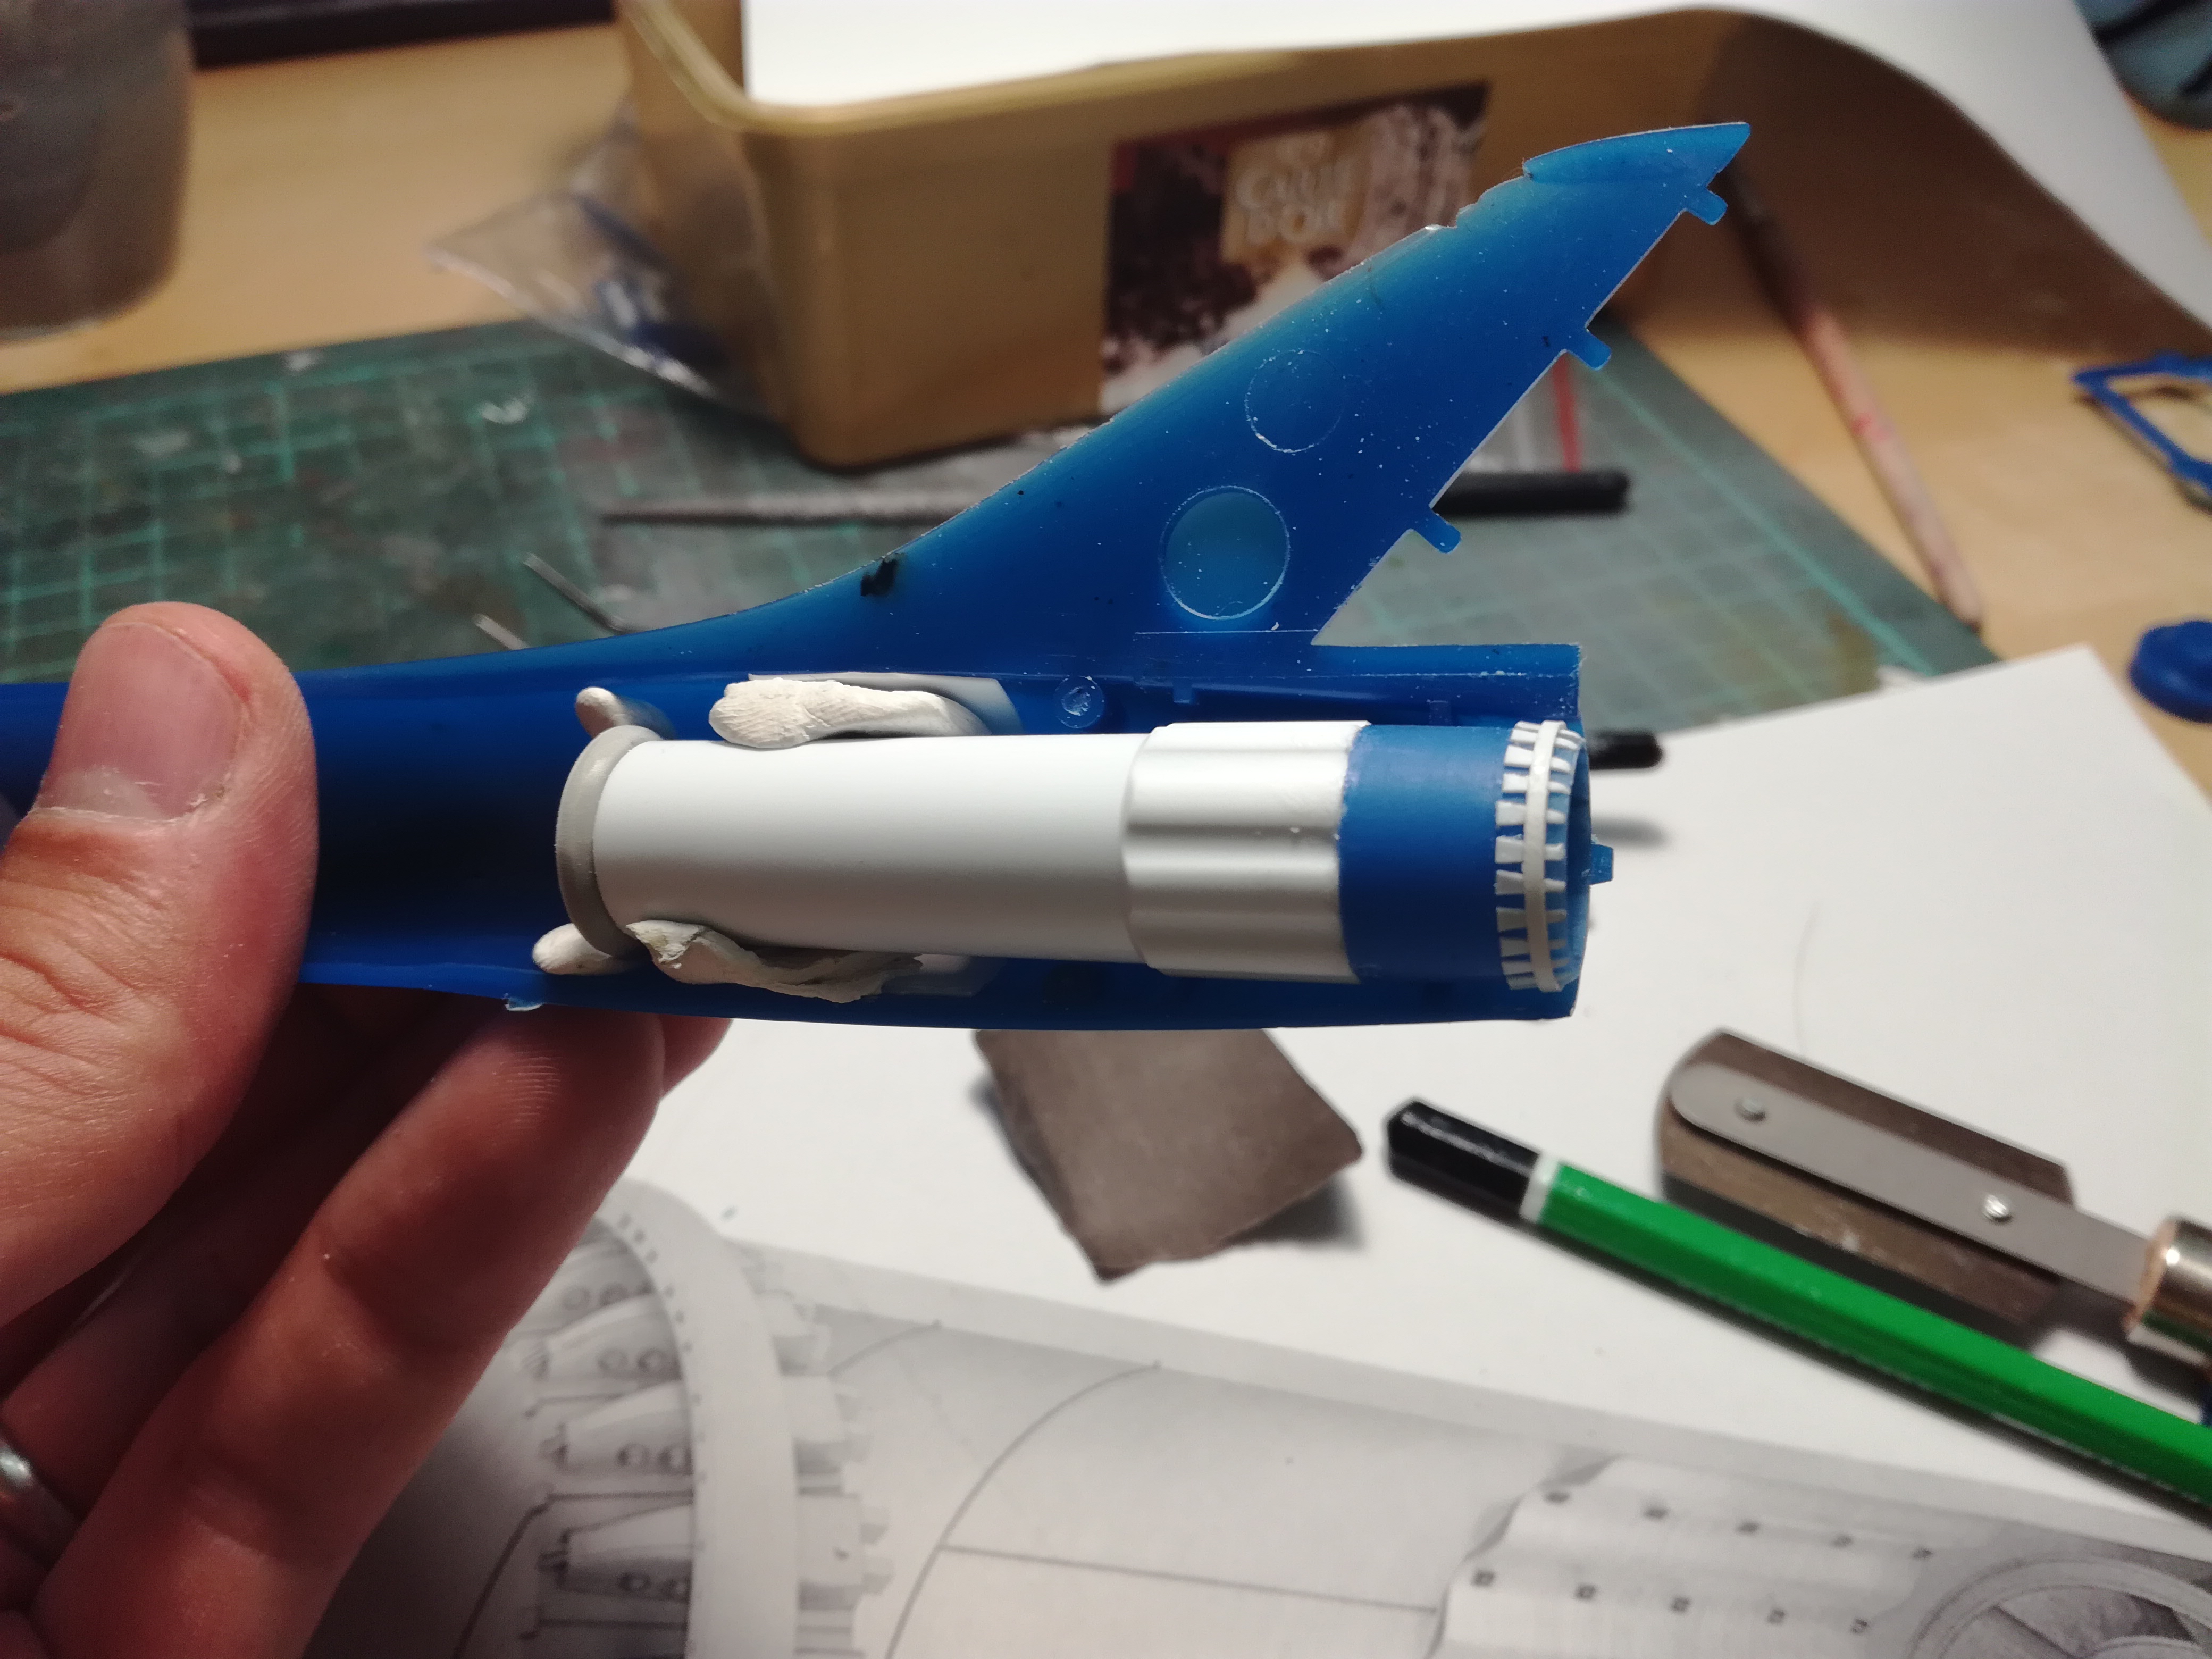


That is all for now.

My plan was to include color marker cap and some old spare parts:


Next step was to shapeing the rear fuselage wall. Left is done now for the right part.

Shaping the end part of the exhaust tube was needed to achieve detailed look.


That is all for now.
Posted: Sunday, September 03, 2017 - 09:54 AM UTC
Progress! Kit the kit decals, all 10 of them installed.
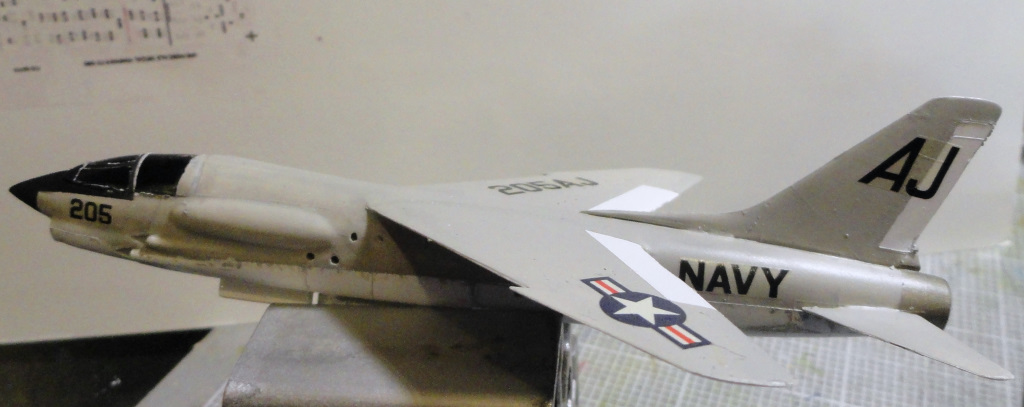
Copied and shrank some other decals to try and make it look a little more like a Crusader. That's them in the background.

Copied and shrank some other decals to try and make it look a little more like a Crusader. That's them in the background.

Posted: Friday, September 08, 2017 - 10:30 AM UTC
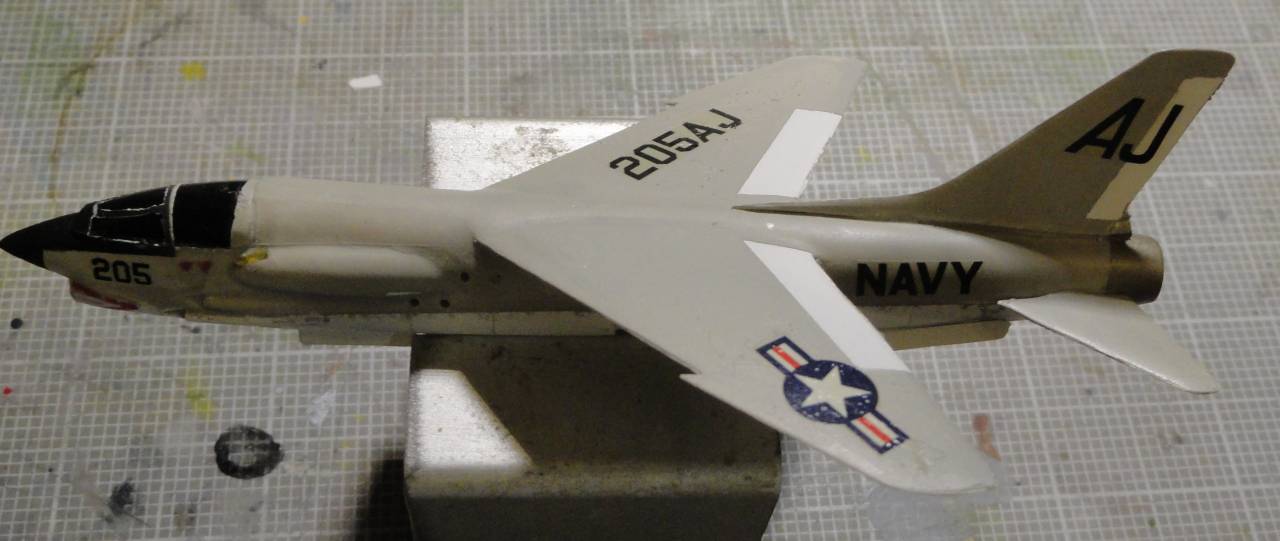
Added some homemade decals. Calling this phase done and moving on to the fiddly bits.


Bigrip74

Joined: February 22, 2008
KitMaker: 5,026 posts
AeroScale: 2,811 posts

Posted: Friday, September 08, 2017 - 10:38 AM UTC
Mark, nice job and you finished before me.
Bob
Bob
Posted: Friday, September 08, 2017 - 10:53 AM UTC
Ways from done. But closer than I've been in a long time...

Bigrip74

Joined: February 22, 2008
KitMaker: 5,026 posts
AeroScale: 2,811 posts

Posted: Friday, September 08, 2017 - 12:20 PM UTC
Quoted Text
Ways from done. But closer than I've been in a long time...
Thats what I get for reading posts without my glasses
 but hey! Your F8 looks good
Bob
pkrasna

Joined: April 20, 2013
KitMaker: 31 posts
AeroScale: 31 posts
Posted: Sunday, September 10, 2017 - 12:11 AM UTC
Exhaust outline was still too thick so...

After that i tackled landing gear compartments.


Primož

After that i tackled landing gear compartments.


Primož
pkrasna

Joined: April 20, 2013
KitMaker: 31 posts
AeroScale: 31 posts
Posted: Friday, September 15, 2017 - 02:16 AM UTC
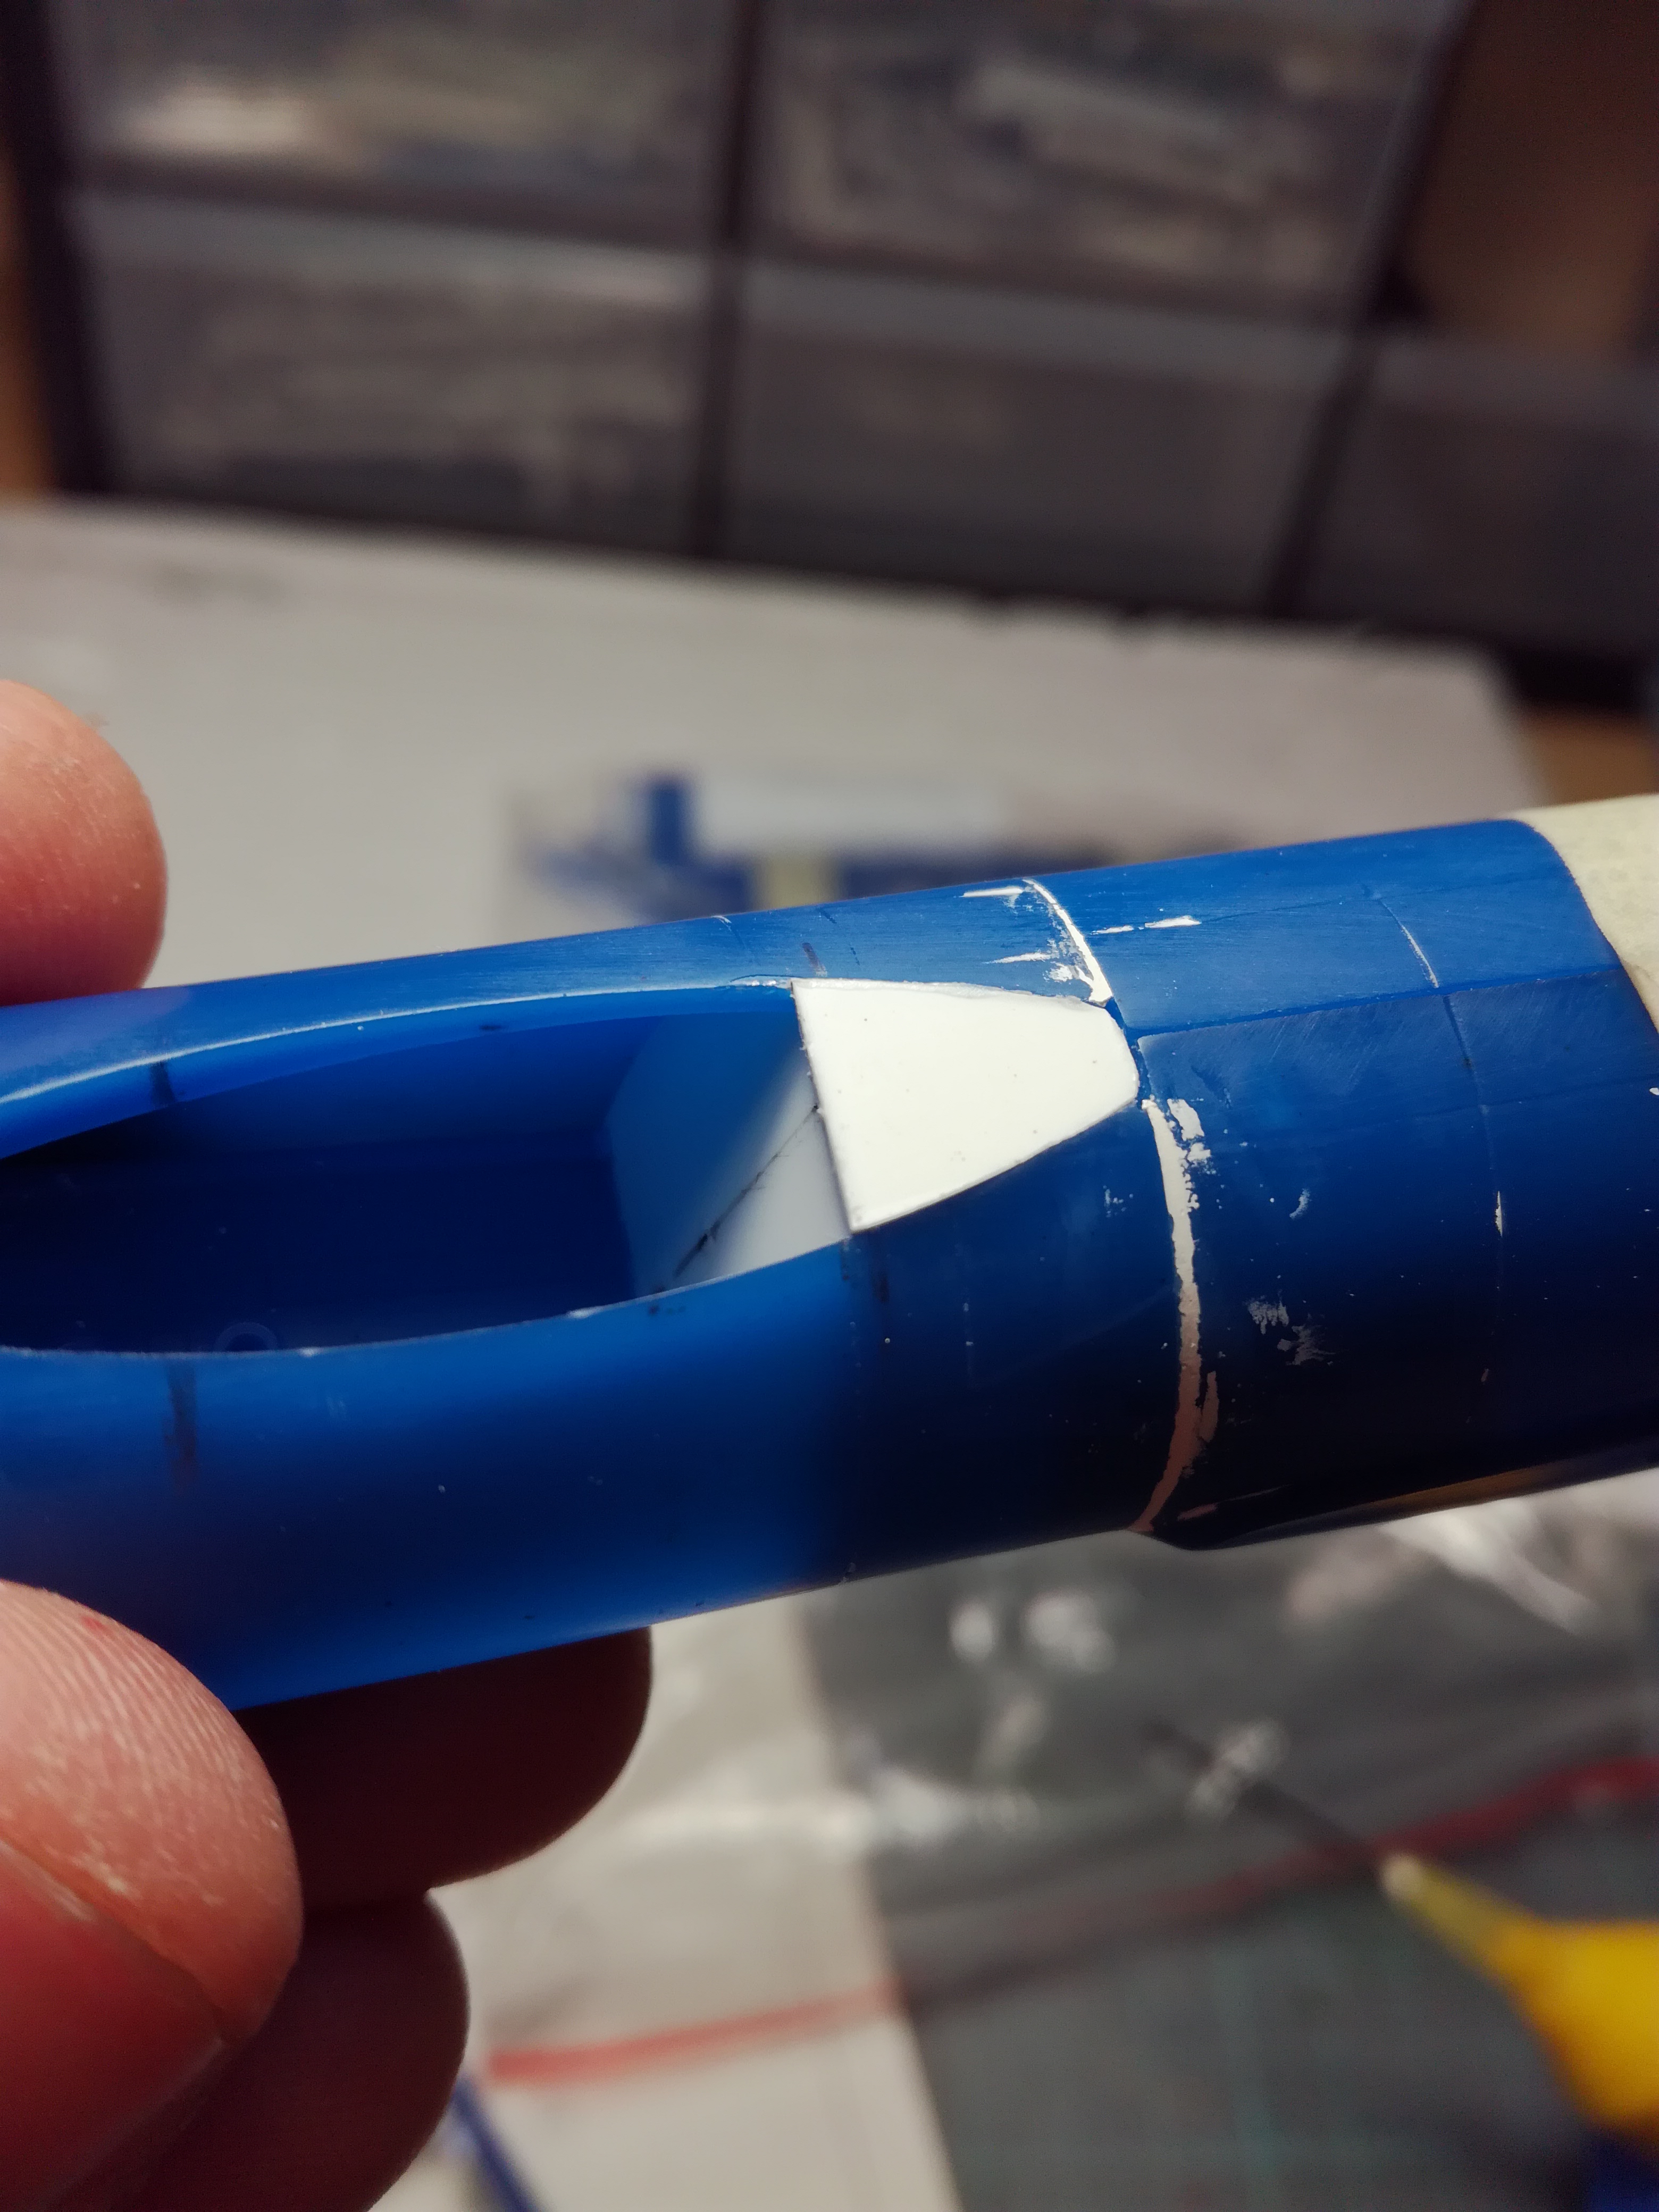
Brakes...


... seat...


...nose cone...

...and cockpit rear plate.
Primož


... seat...


...nose cone...

...and cockpit rear plate.

Primož

RadekZ

Joined: March 12, 2013
KitMaker: 125 posts
AeroScale: 85 posts

Posted: Friday, September 15, 2017 - 02:45 AM UTC
Primož,
superb work! Those scratch details you are creating are incredible!
Small update on F-102A. I've finished cockpit, exhaust & AIM-4 rockets.
Quite happy with details, although white tips on rockets aren't state of the art stuff
Here are some pics:
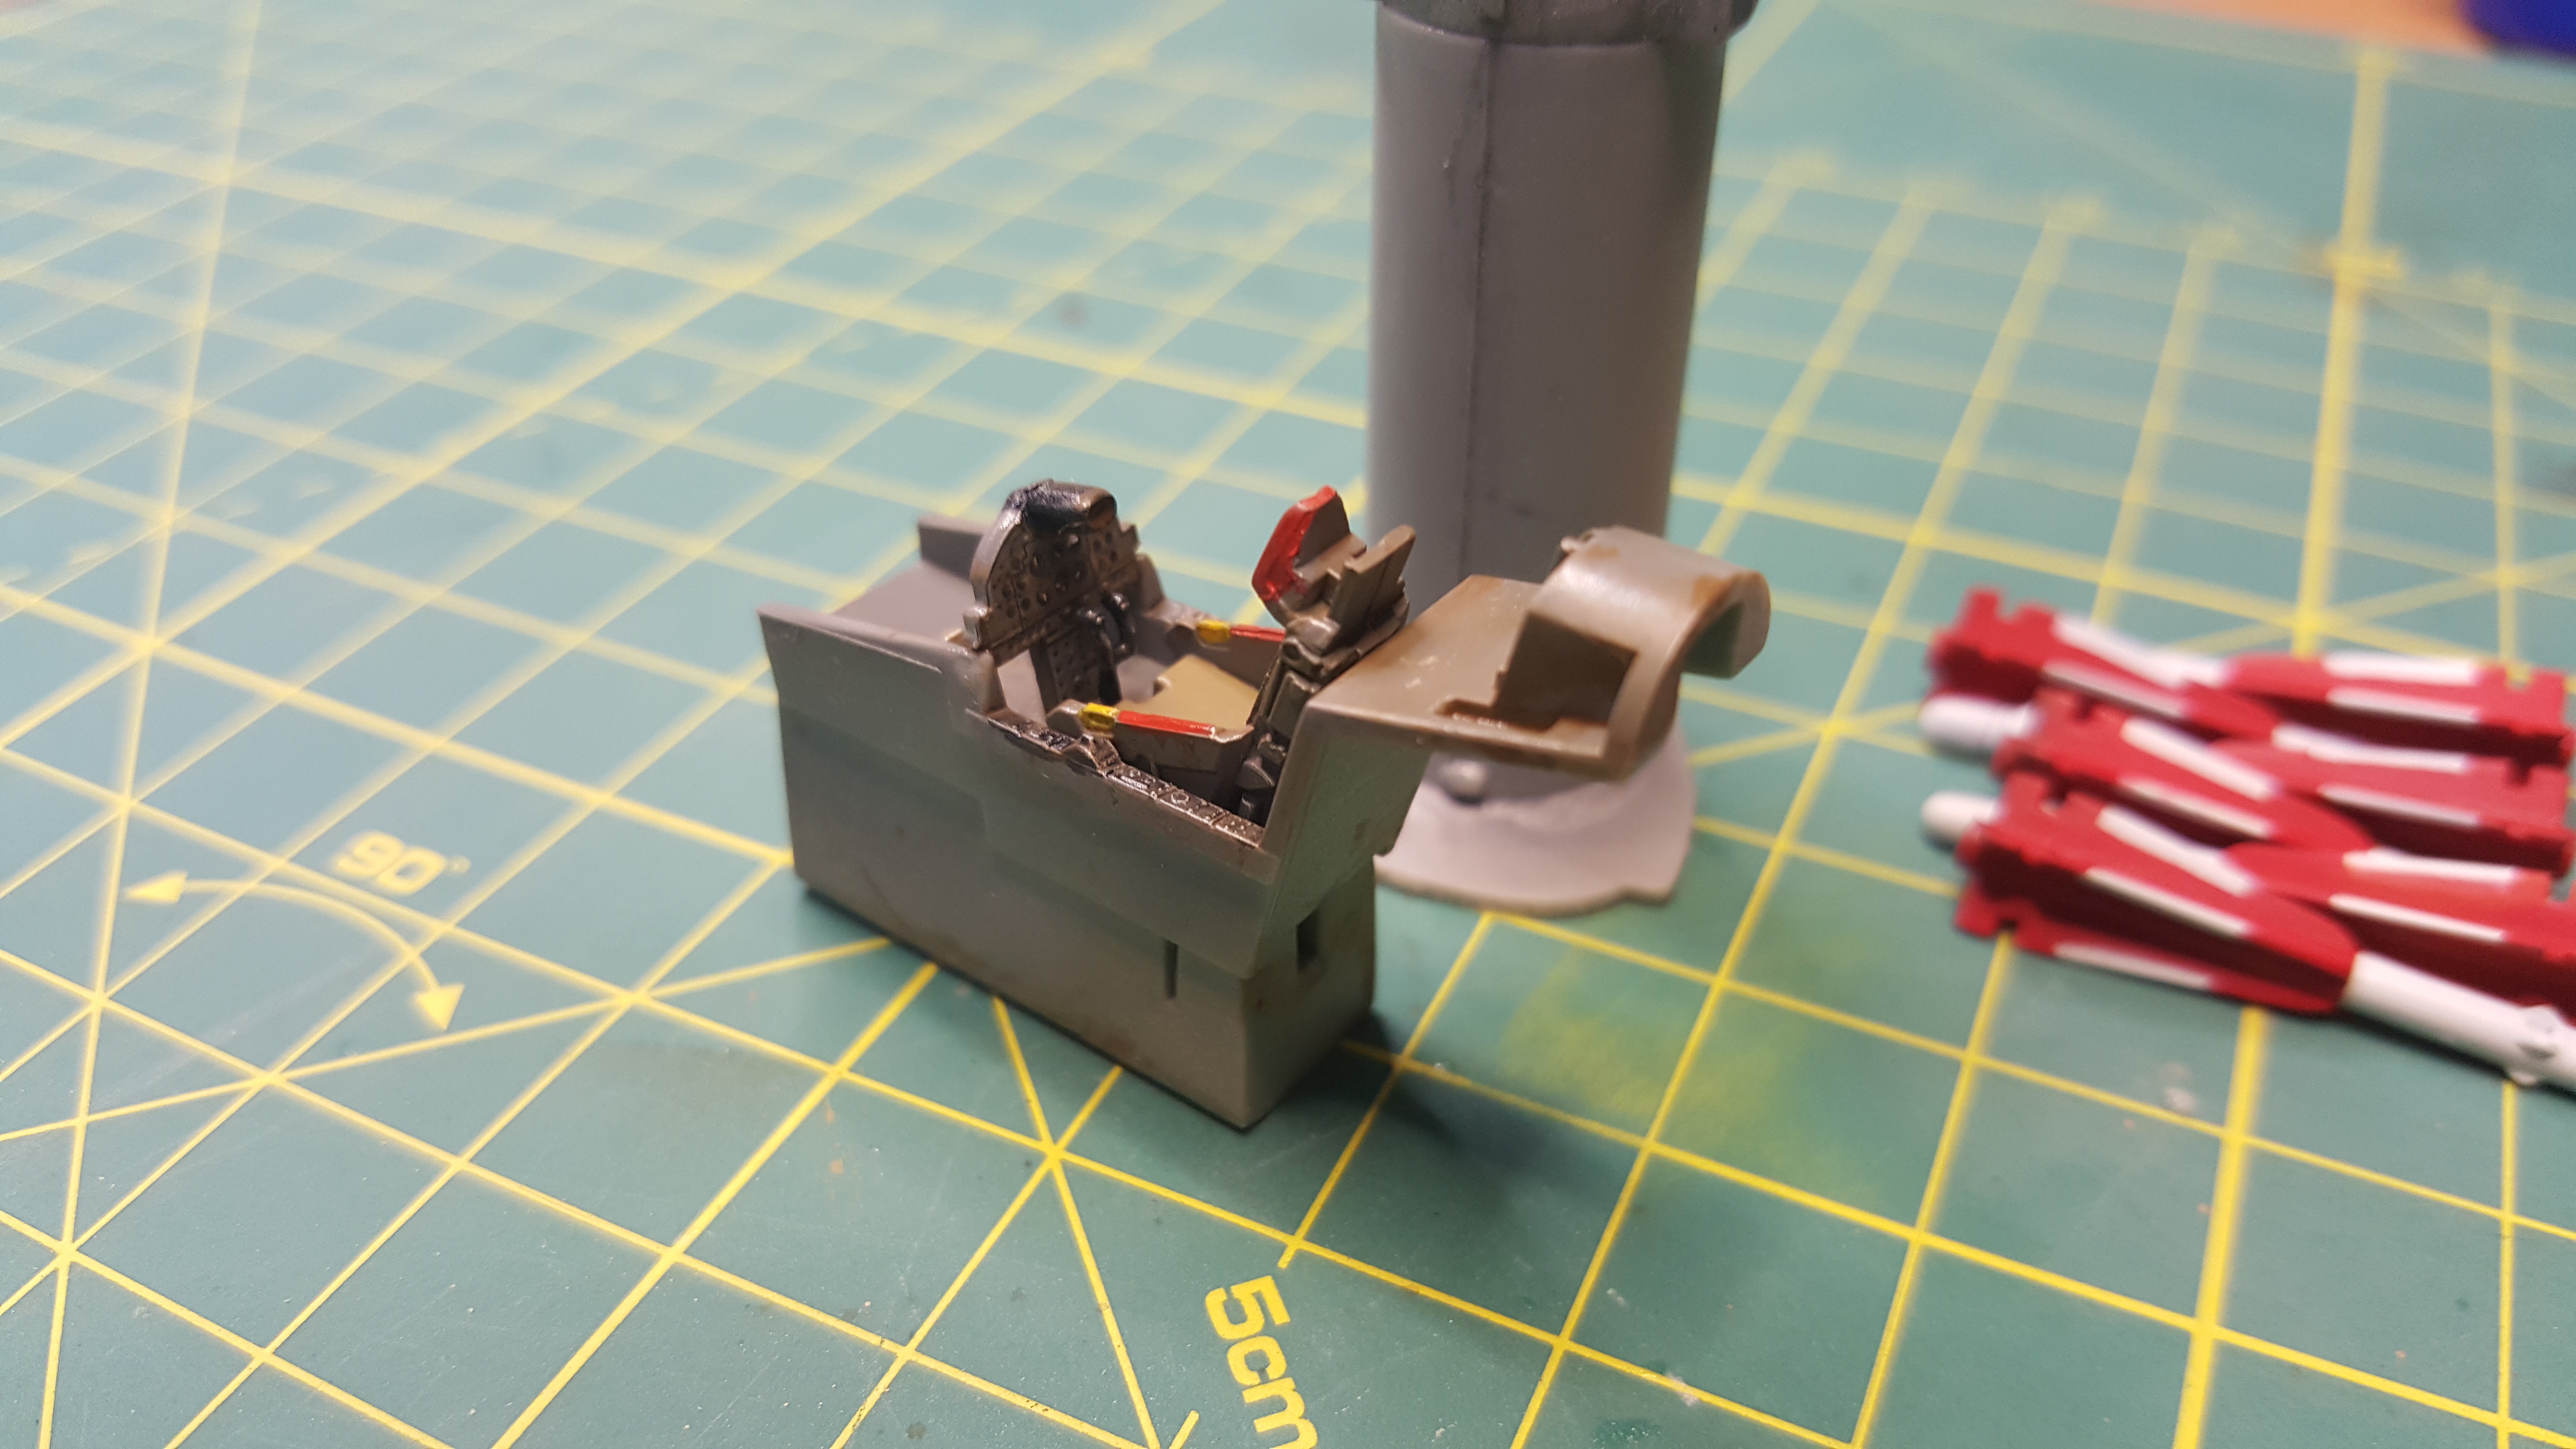
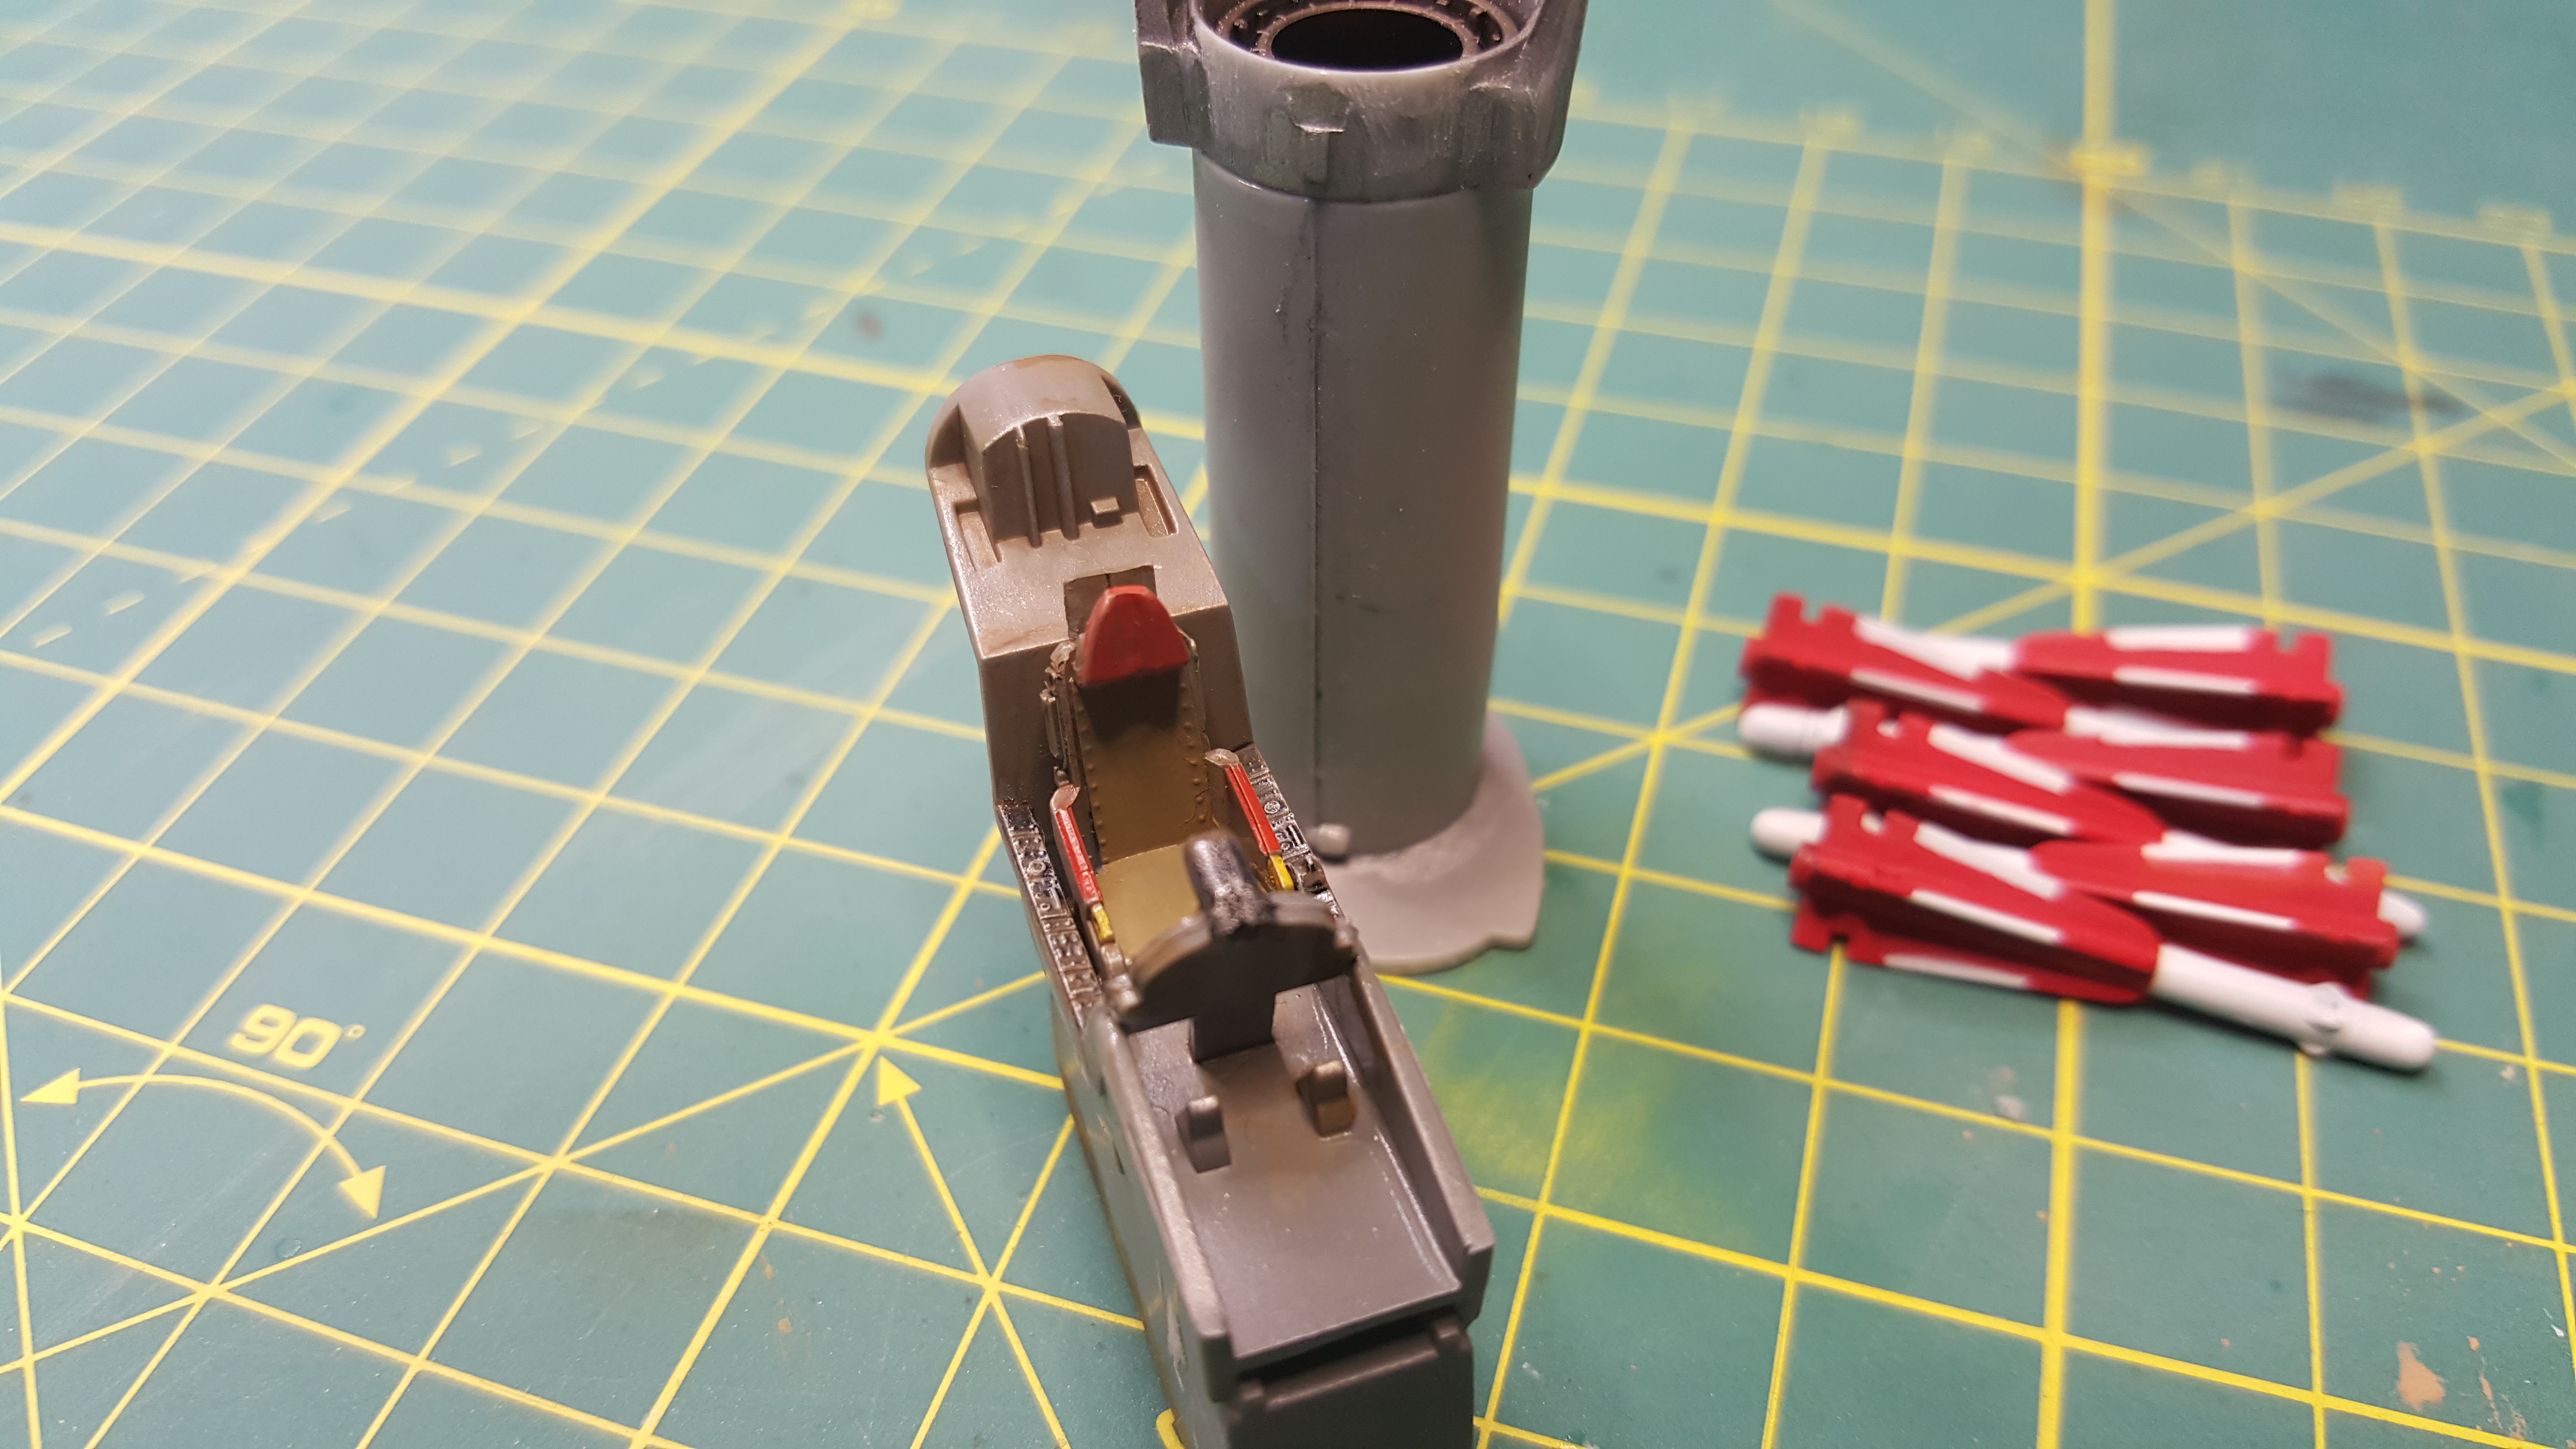


All elements were primed with A.MIG-2024 One Shot primer grey.
Cockpit was sprayed with Gunze H317 and detailed with Vallejo Khaki (70988), Red, Yellow and Black.
Engine was painted with Vallejo metal colours Silver & Steel 77724,77712 with slight tint of Burnt Umber 71040.
For rockets I used Tamiya Flat White XF-2 & Gunze H13 Flat Red.
All was secured with Microscale's Micro Gloss varnish and later slightly weathered with Tamiya Paneliner Brown.
So that's all for short update. Next I'll try to put hull & wings together to get stuff ready for camo painting.
Cheers,
Radek
superb work! Those scratch details you are creating are incredible!
Small update on F-102A. I've finished cockpit, exhaust & AIM-4 rockets.
Quite happy with details, although white tips on rockets aren't state of the art stuff

Here are some pics:


All elements were primed with A.MIG-2024 One Shot primer grey.
Cockpit was sprayed with Gunze H317 and detailed with Vallejo Khaki (70988), Red, Yellow and Black.
Engine was painted with Vallejo metal colours Silver & Steel 77724,77712 with slight tint of Burnt Umber 71040.
For rockets I used Tamiya Flat White XF-2 & Gunze H13 Flat Red.
All was secured with Microscale's Micro Gloss varnish and later slightly weathered with Tamiya Paneliner Brown.
So that's all for short update. Next I'll try to put hull & wings together to get stuff ready for camo painting.
Cheers,
Radek

Bigrip74

Joined: February 22, 2008
KitMaker: 5,026 posts
AeroScale: 2,811 posts

Posted: Friday, September 15, 2017 - 03:05 AM UTC
Primož, your added detail really makes the plastic on your Su-9 come alive. Nice job!
Radek, your F102 is looking good especially the engine. I purchased an F106 for this campaign on eBay, but it was damaged in route and went back to the vendor.
Bob
Radek, your F102 is looking good especially the engine. I purchased an F106 for this campaign on eBay, but it was damaged in route and went back to the vendor.
Bob

RadekZ

Joined: March 12, 2013
KitMaker: 125 posts
AeroScale: 85 posts

Posted: Friday, September 15, 2017 - 03:13 AM UTC
Quoted Text
Radek, your F102 is looking good especially the engine. I purchased an F106 for this campaign on eBay, but it was damaged in route and went back to the vendor.
Bob
Thanks, Bob.
Pity to hear about your problems. Hope you can soon start working on Dart

Bigrip74

Joined: February 22, 2008
KitMaker: 5,026 posts
AeroScale: 2,811 posts

Posted: Friday, September 15, 2017 - 05:31 AM UTC
Radoslaw, I started the campaign with an 1/72 F8, but changed over to a 1/48 F100 which is ready for painting.
 |


