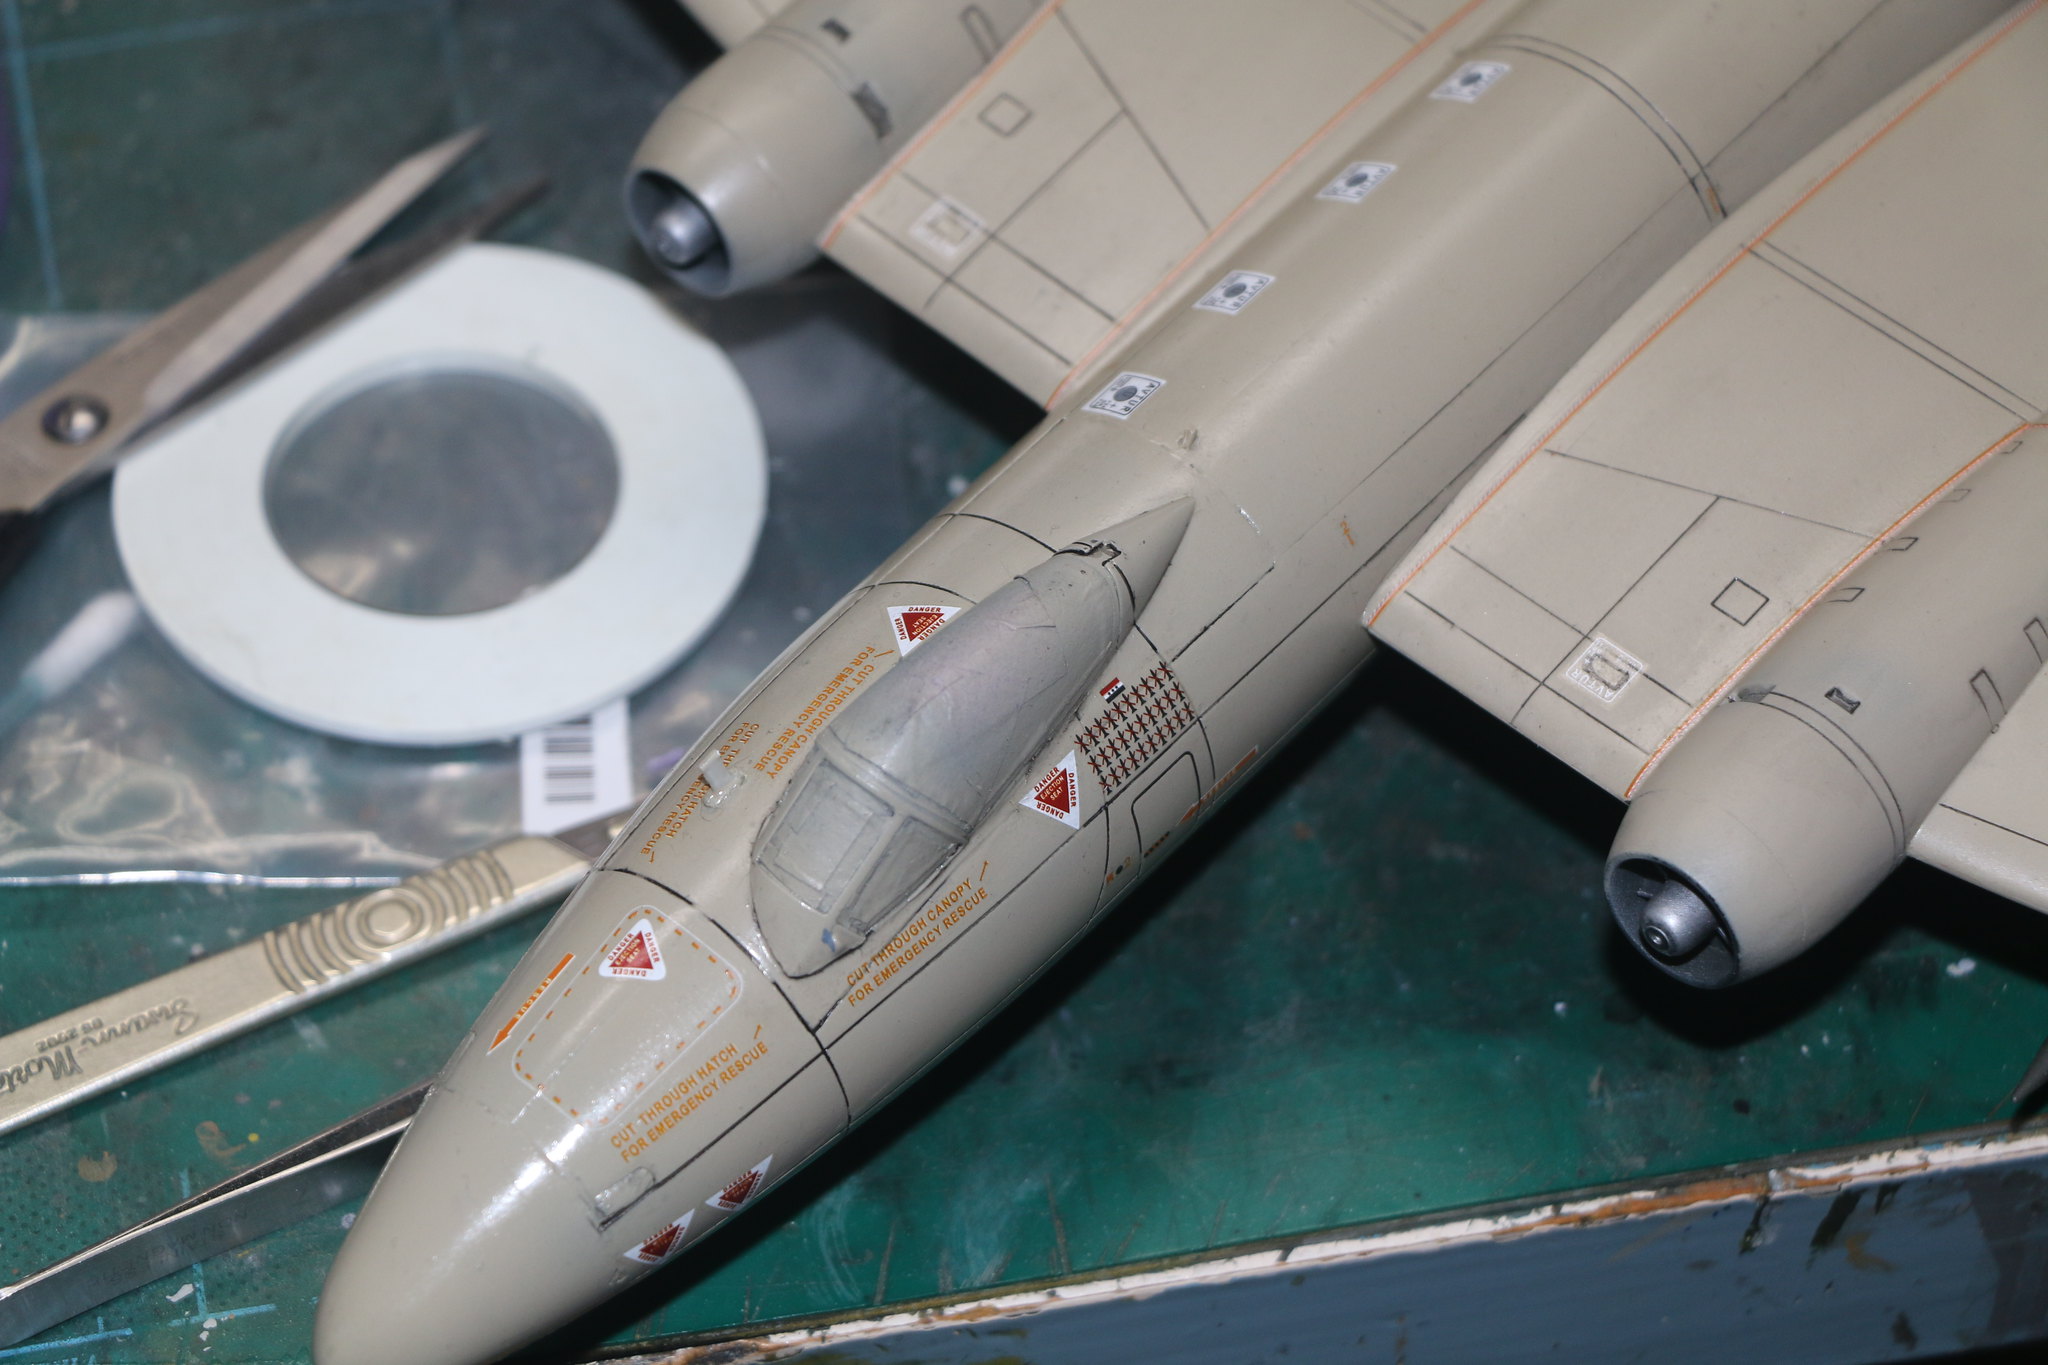
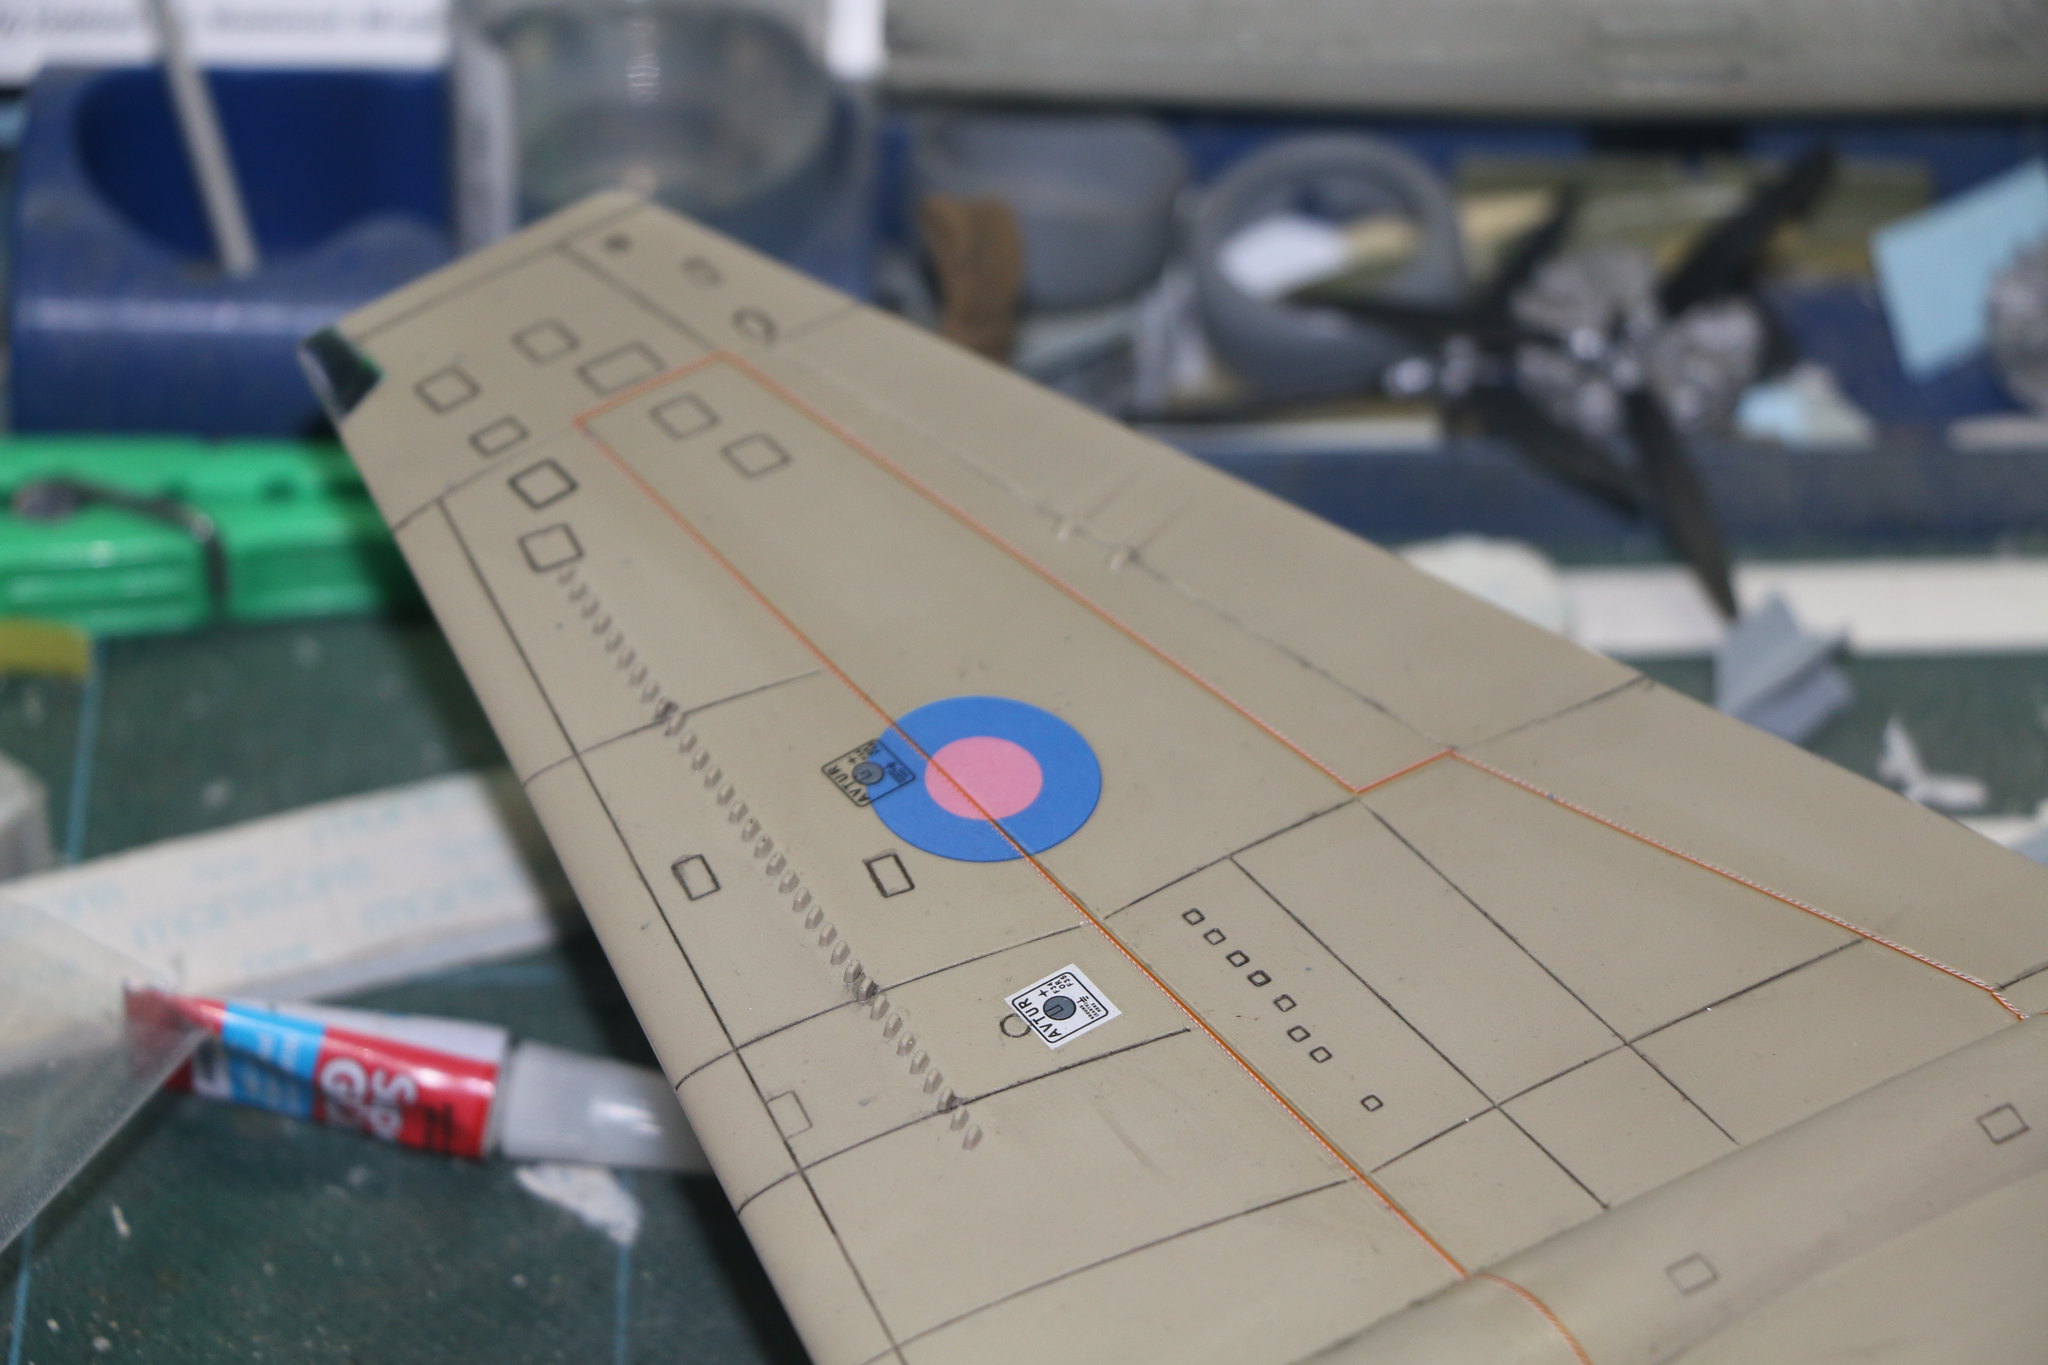
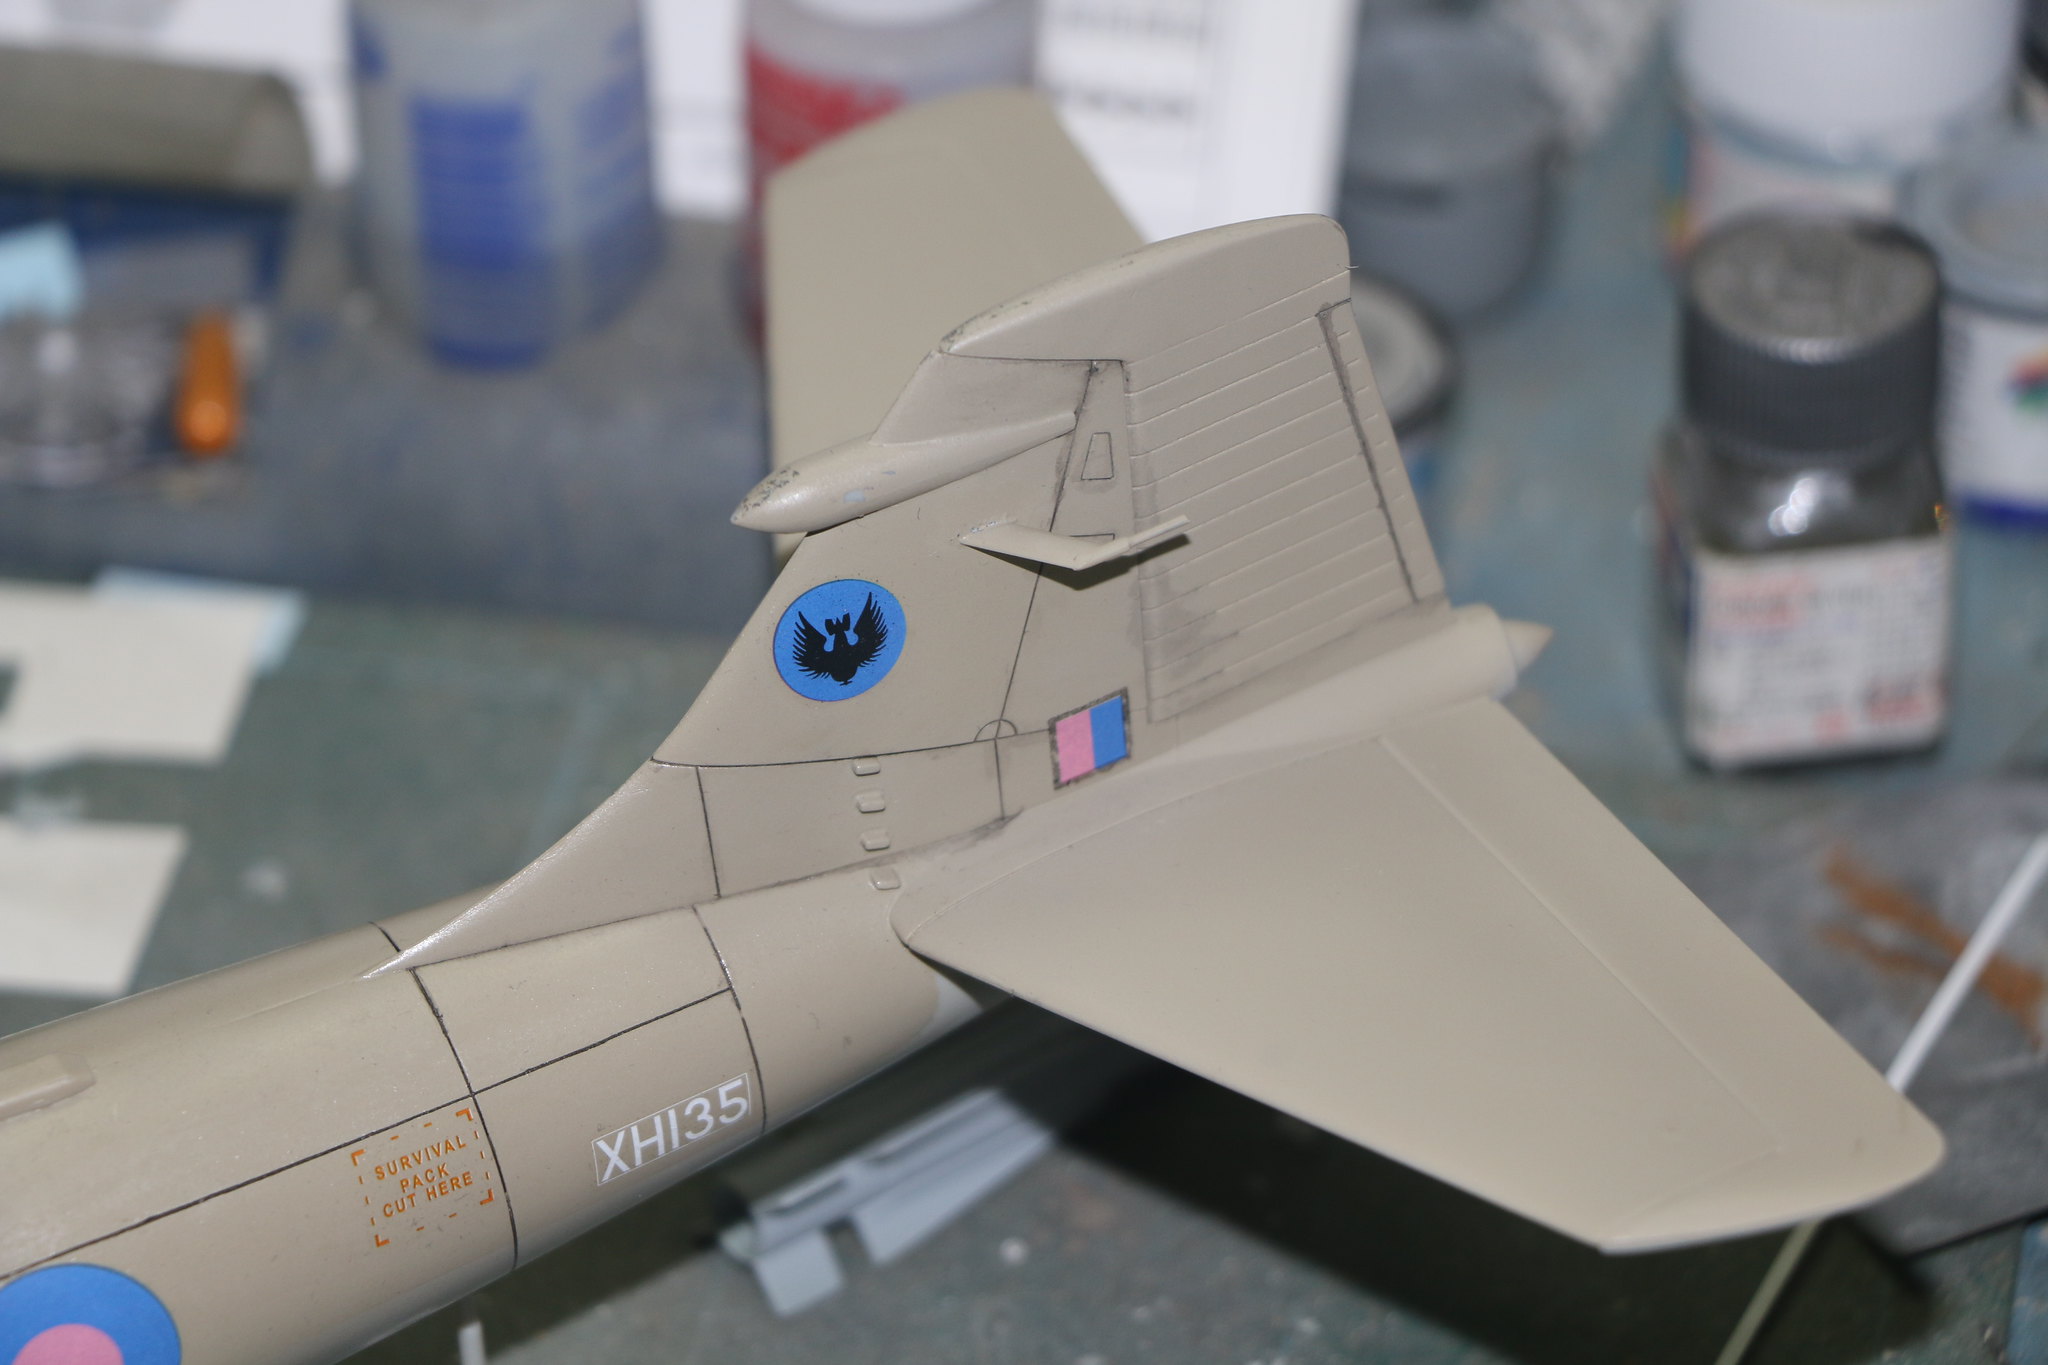
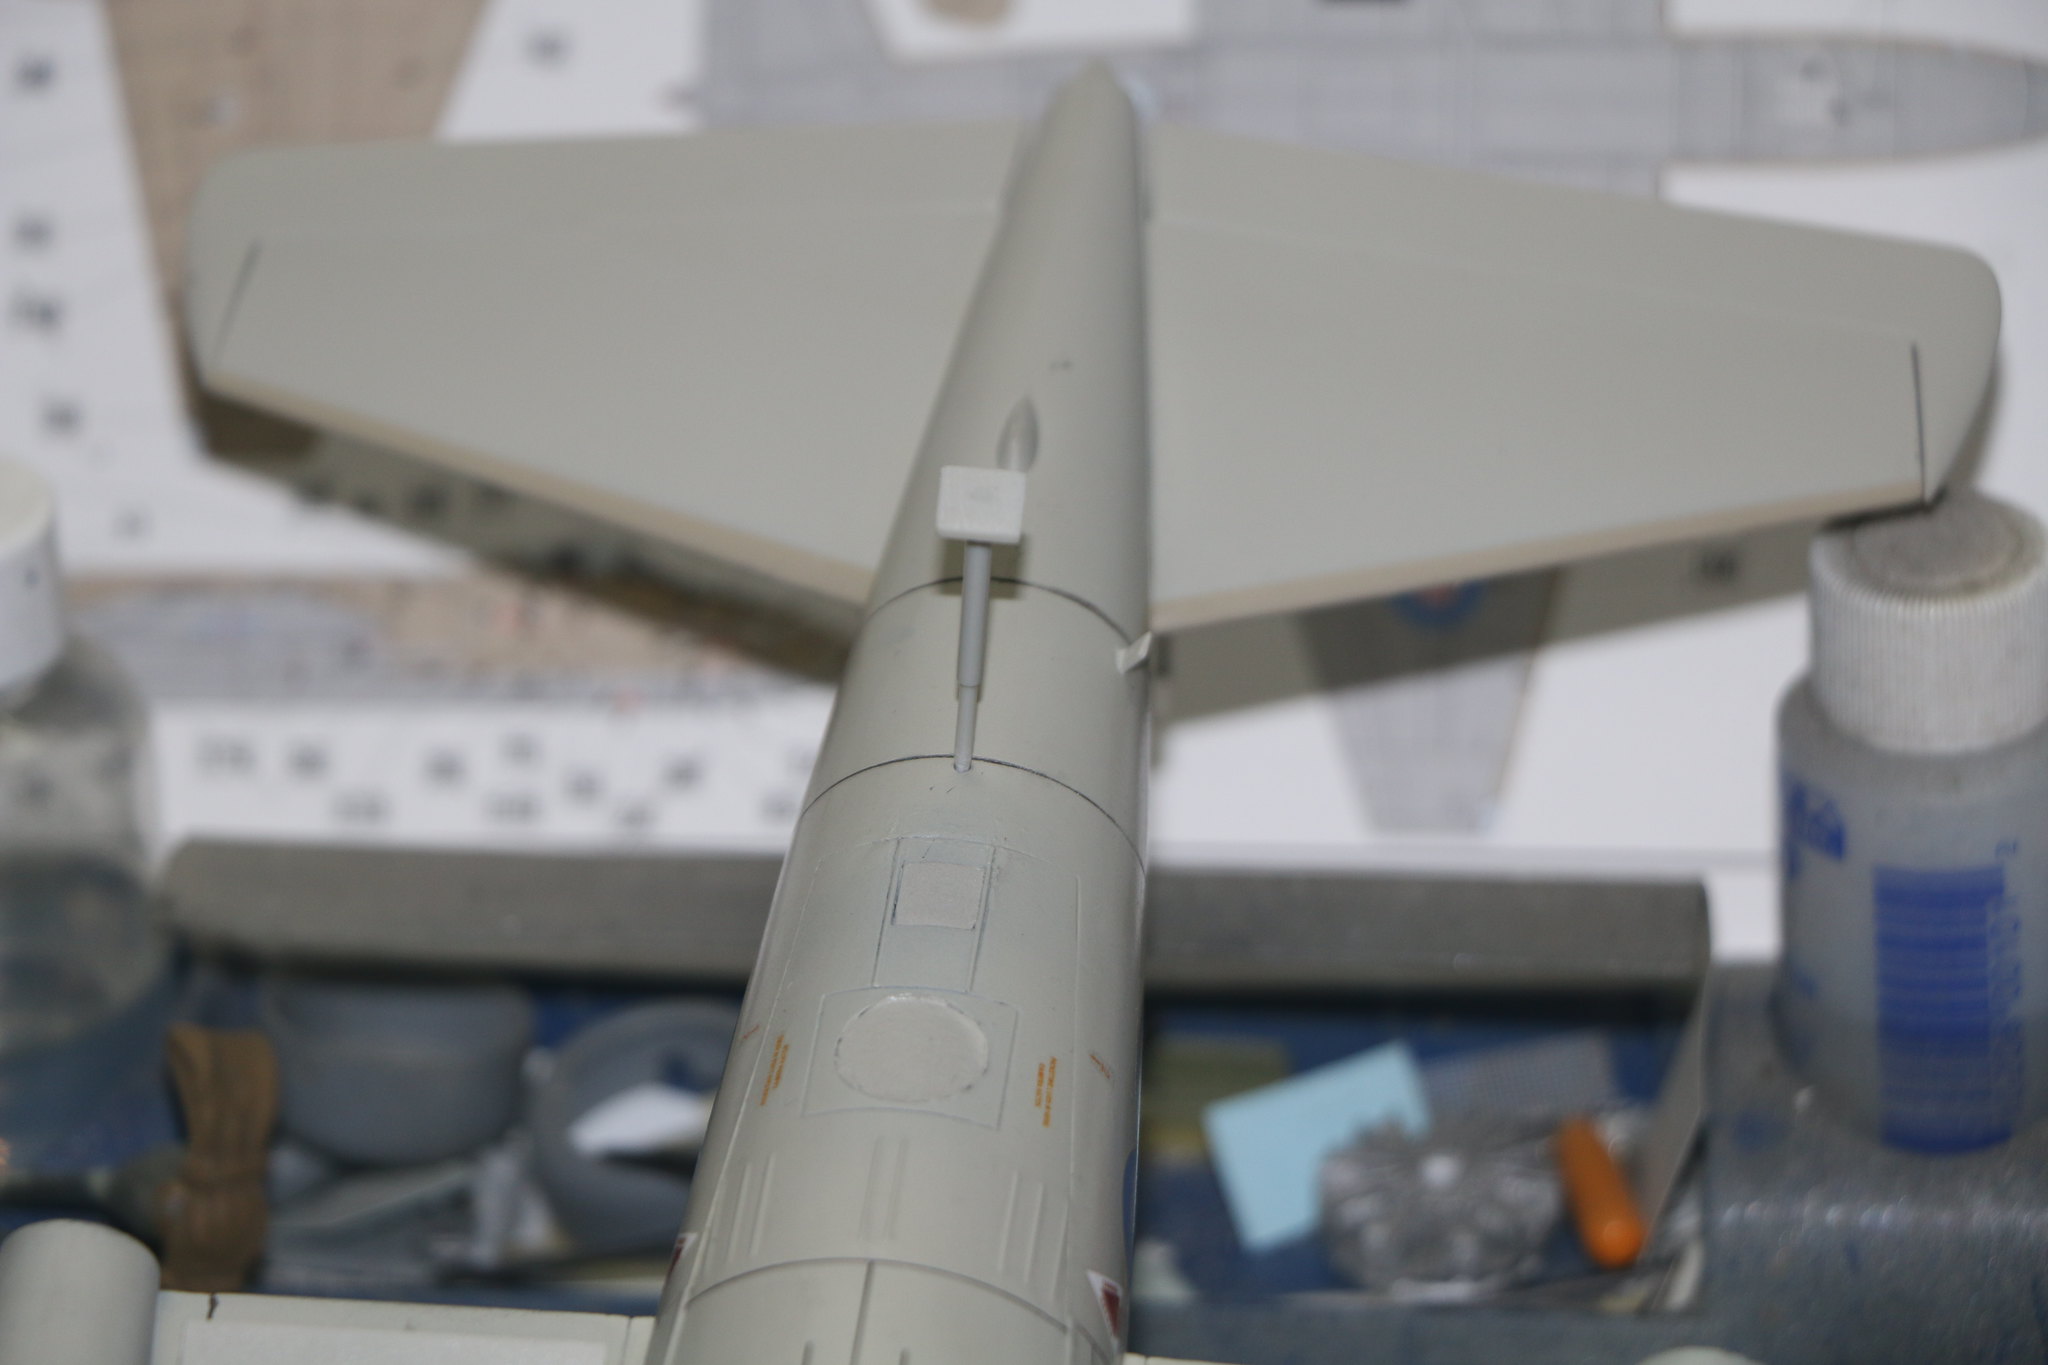
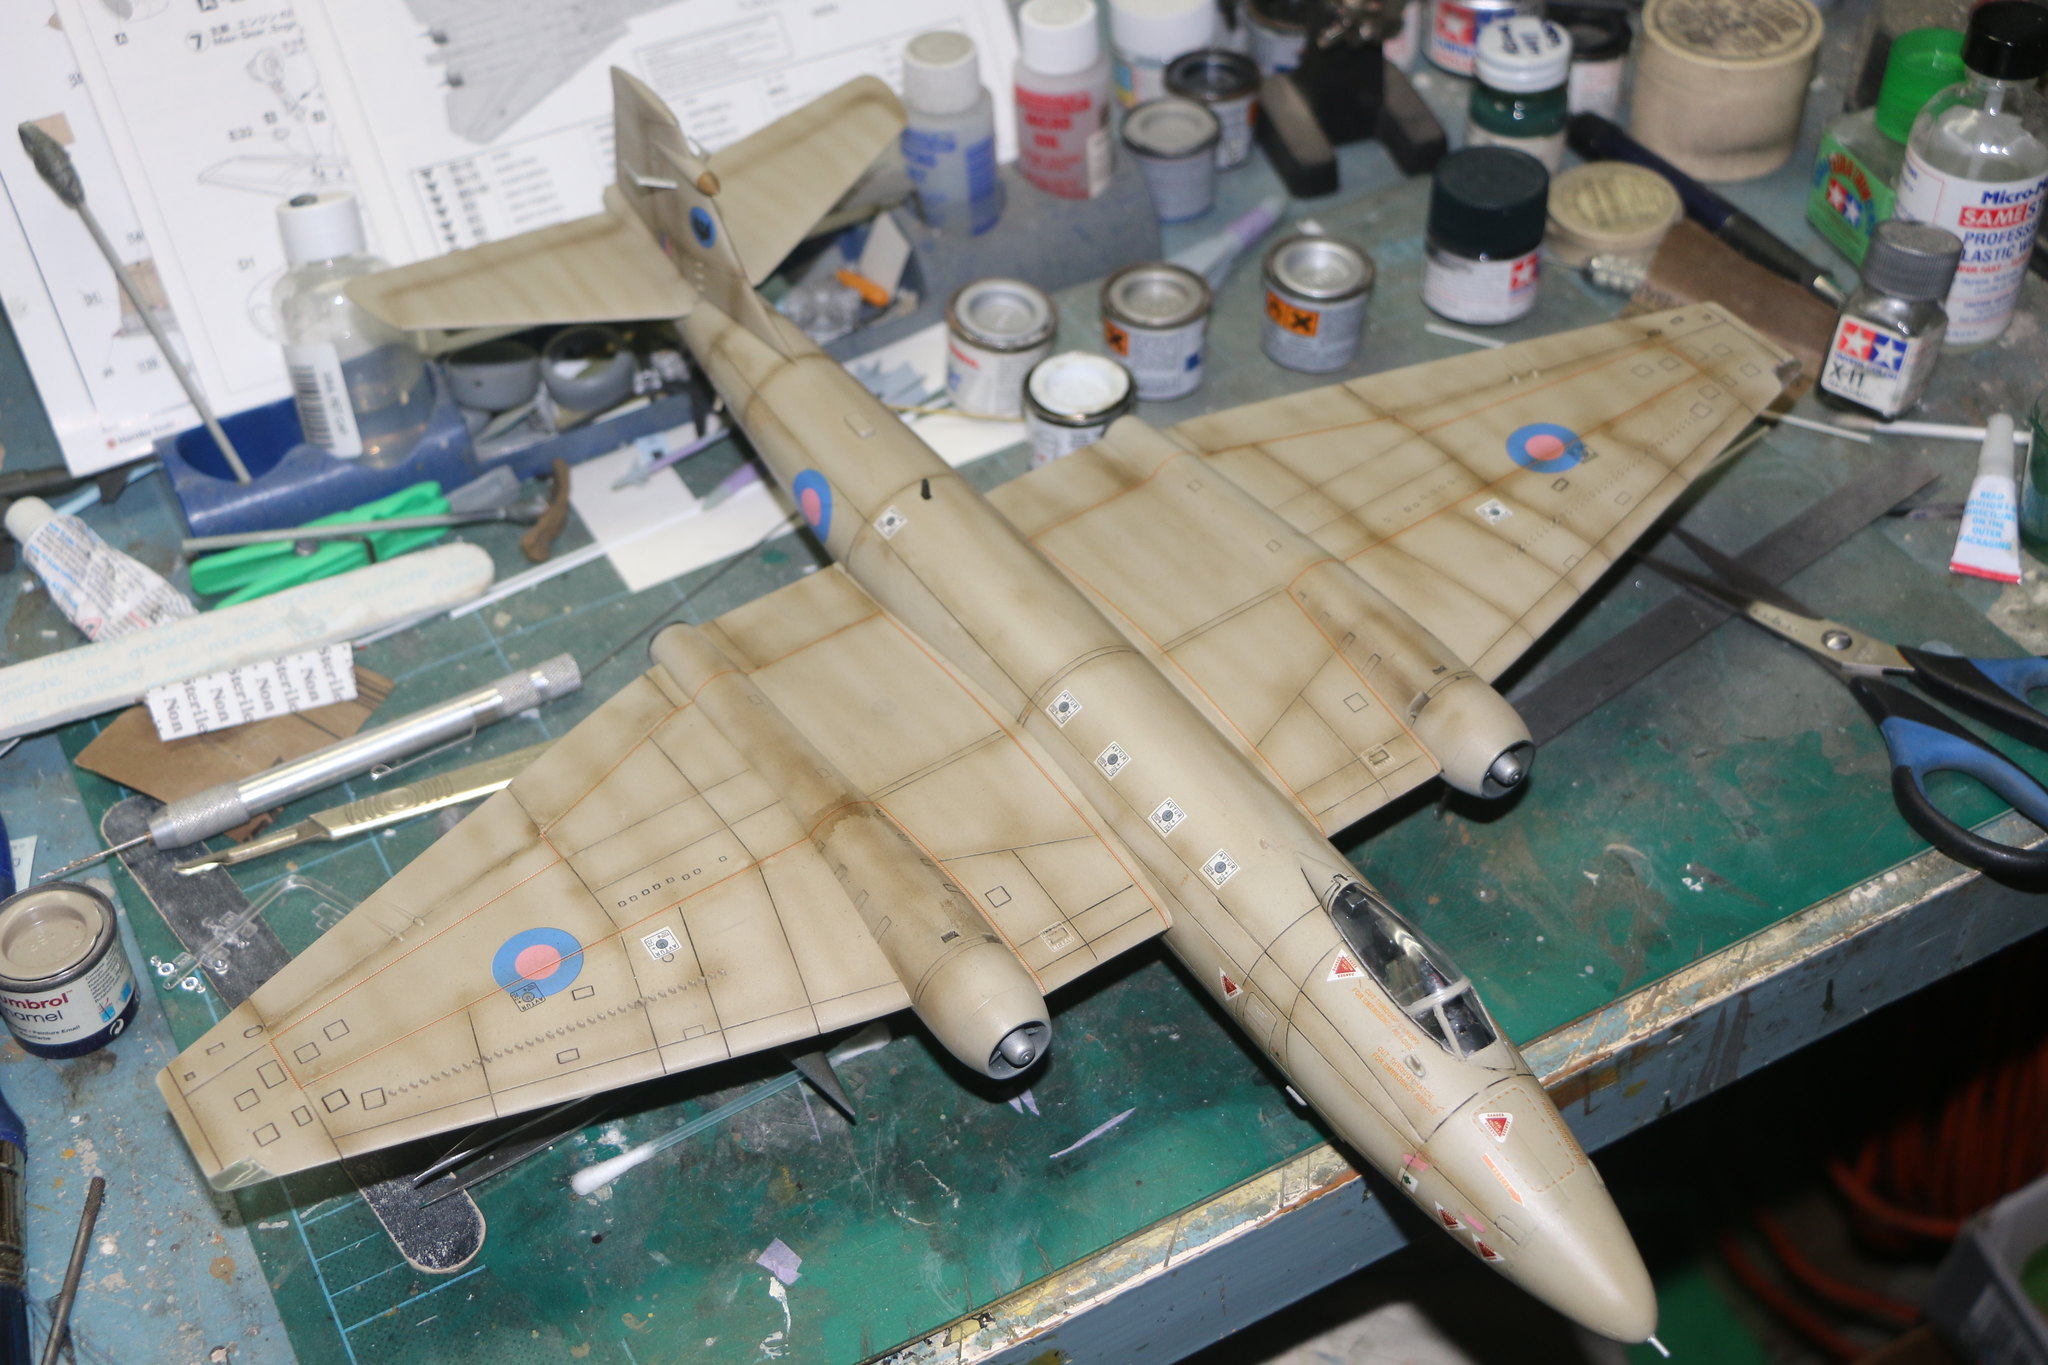
Well I bet you guys would've never expected to see me here! But here I am! I'm building the Airfix Canberra PR-9 in 1/48 for the latest Airfix IV campaign and while I was creating a post for it I realised that what I was writing pretty much constituted a build log so thought why the hell not? SO here's what I've accomplished so far and what I've discovered.
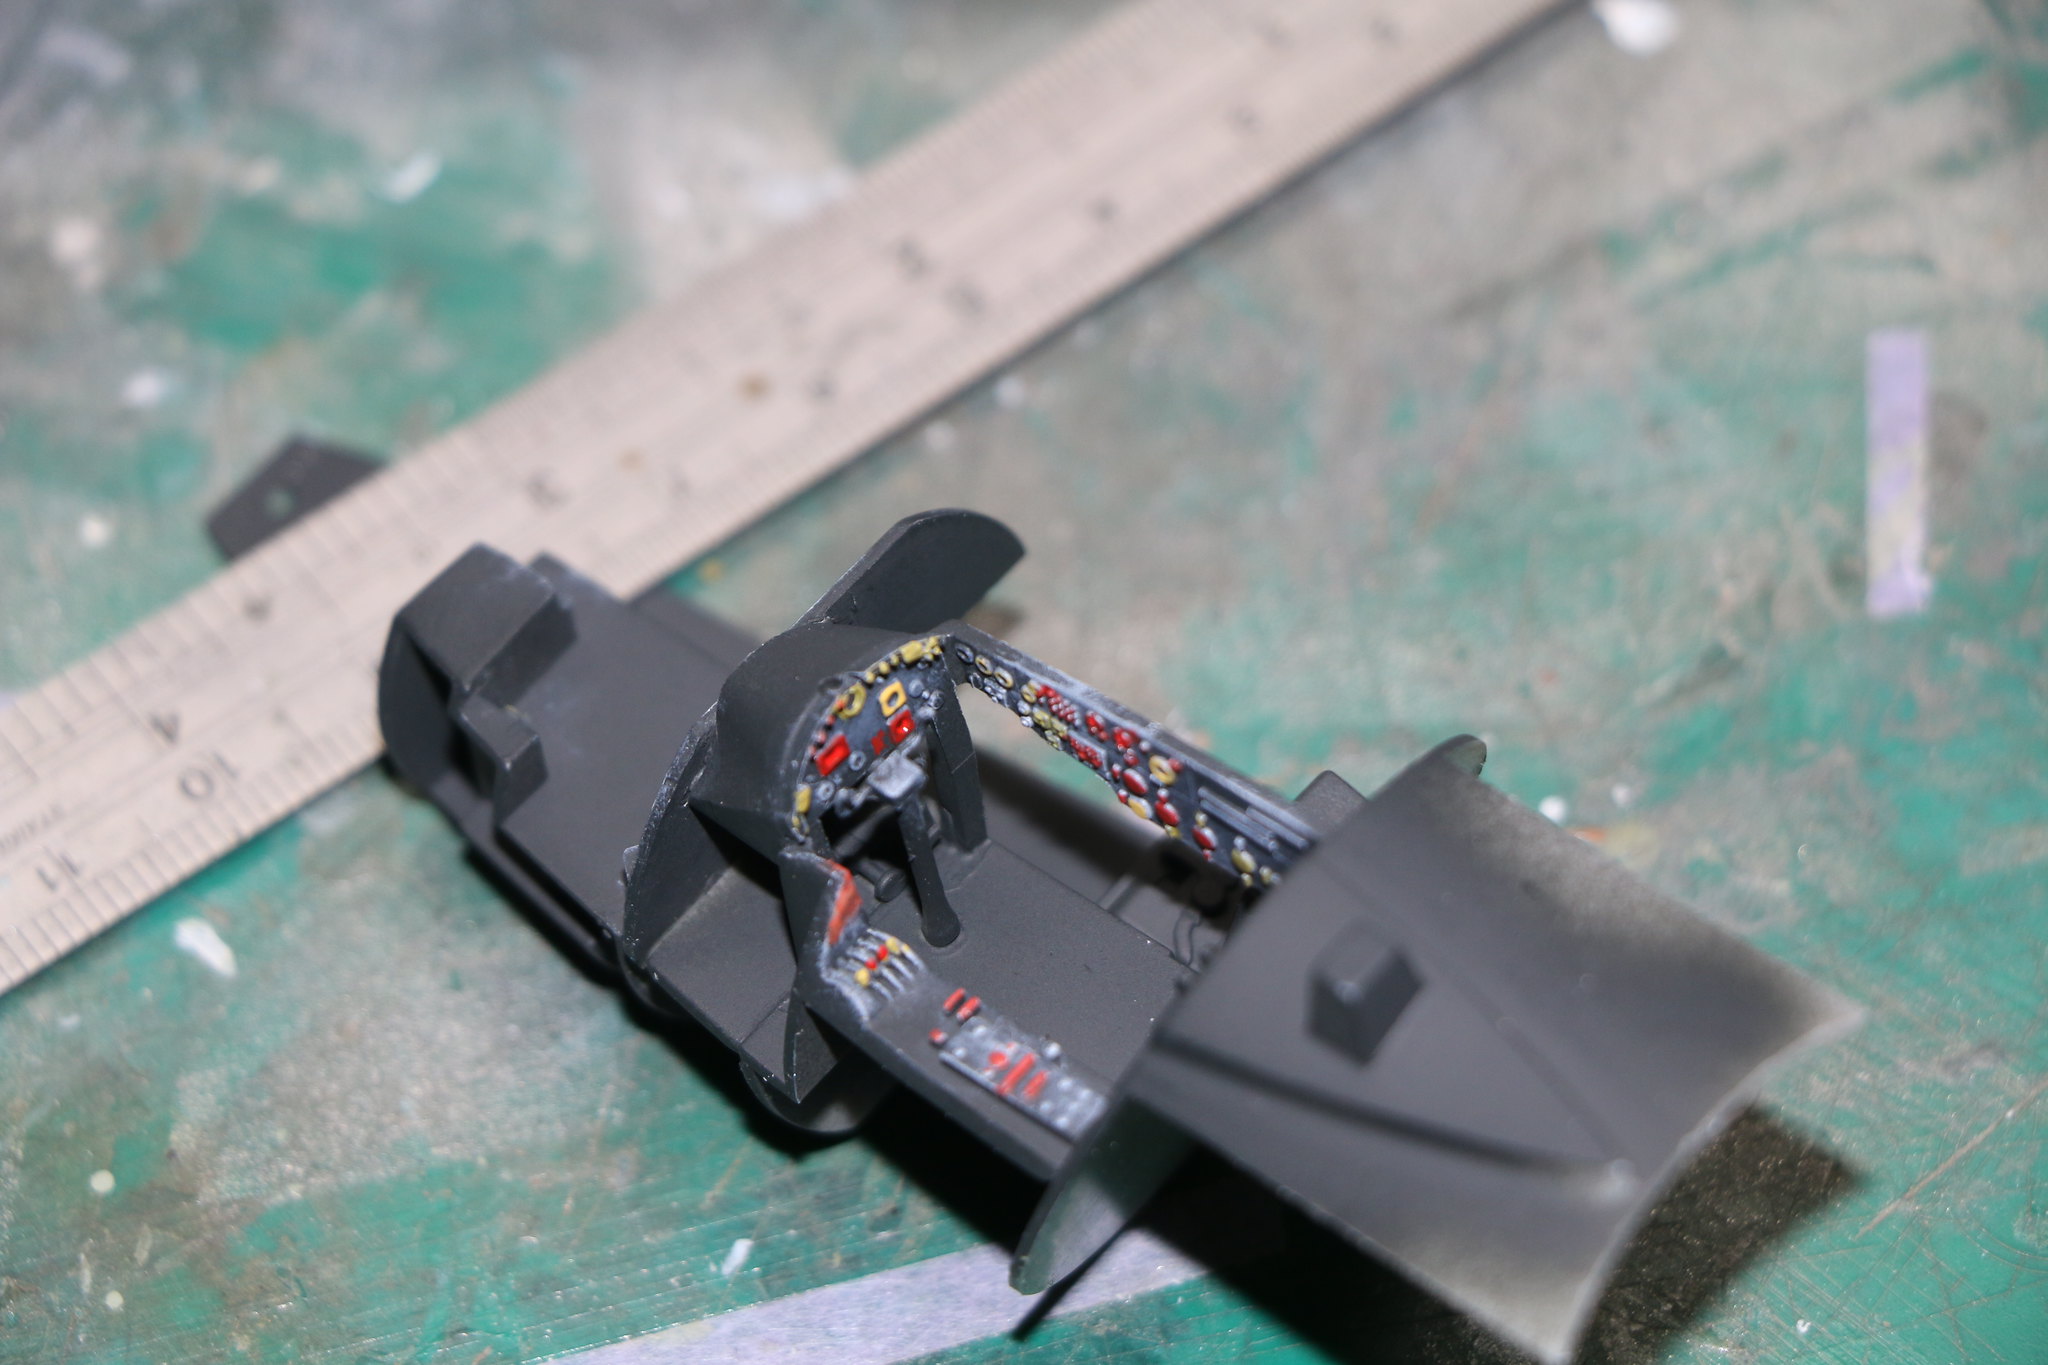
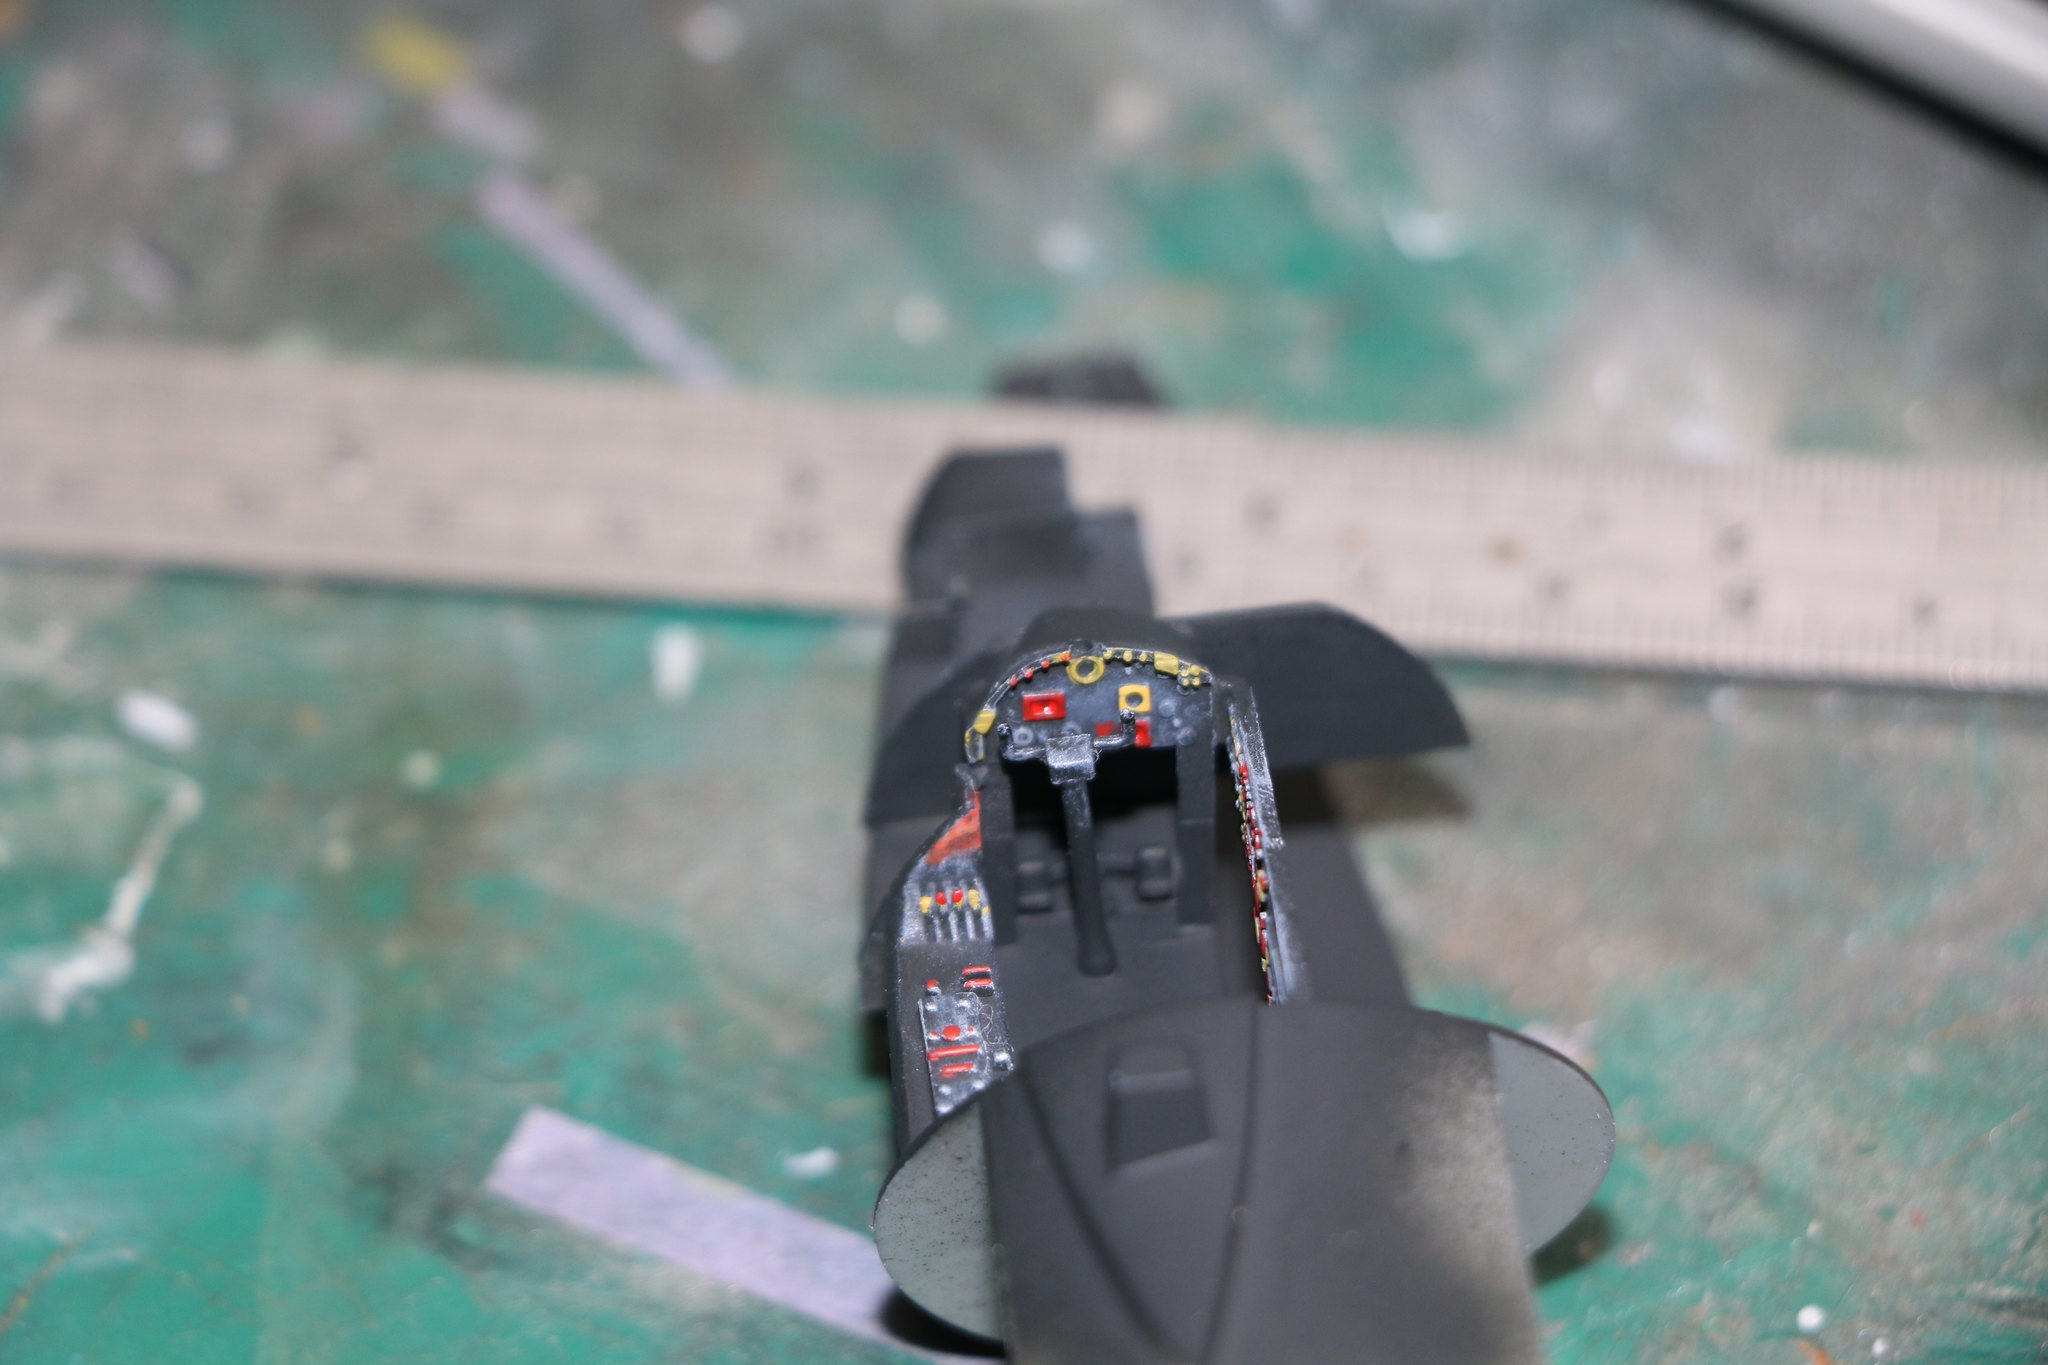
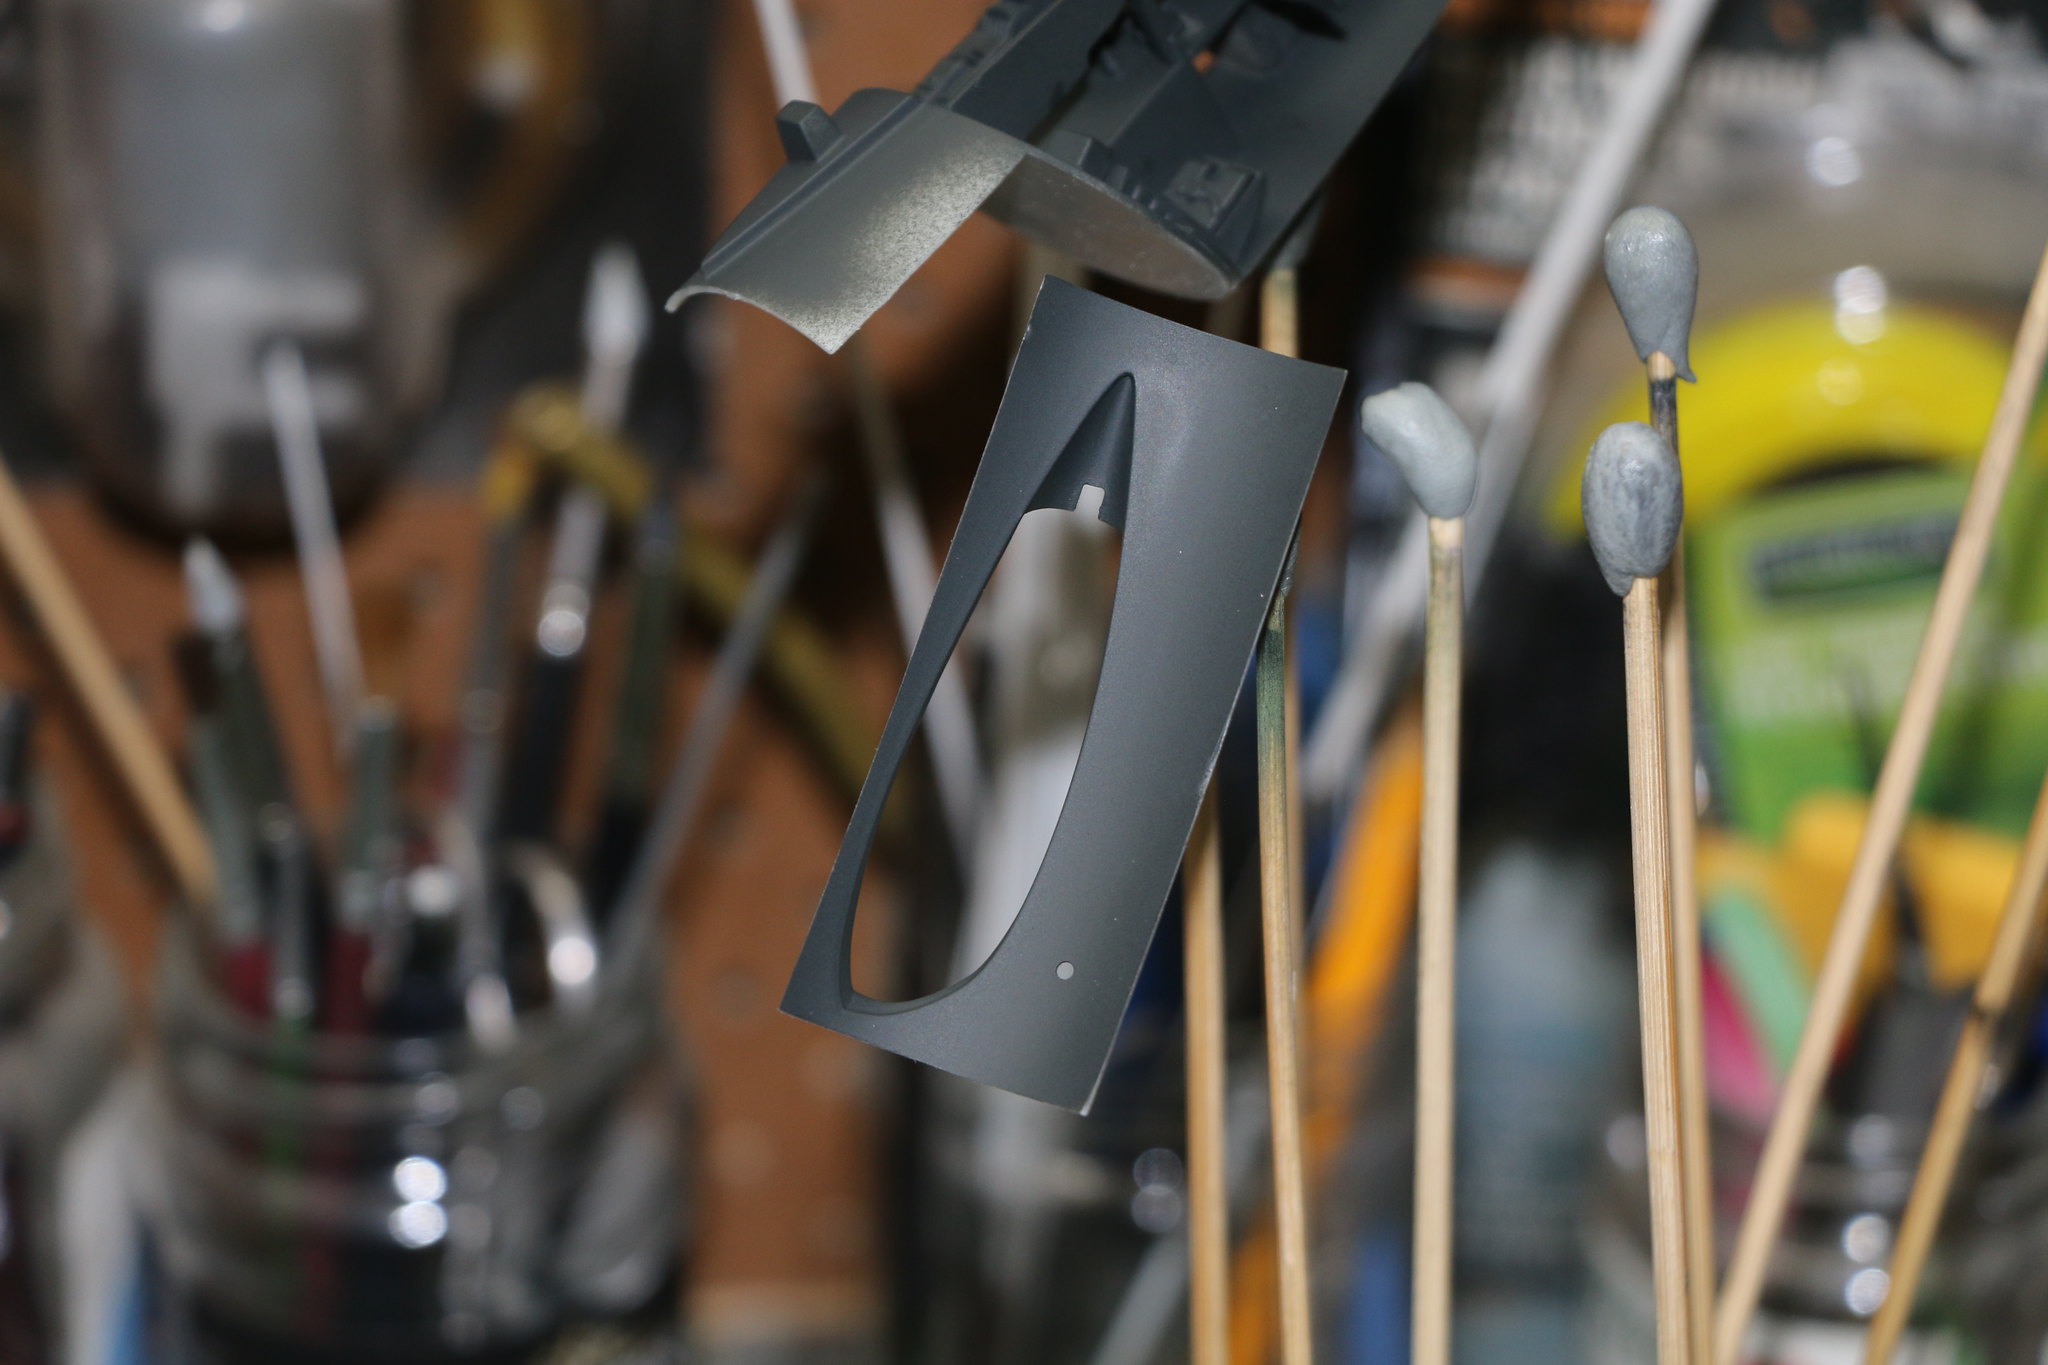
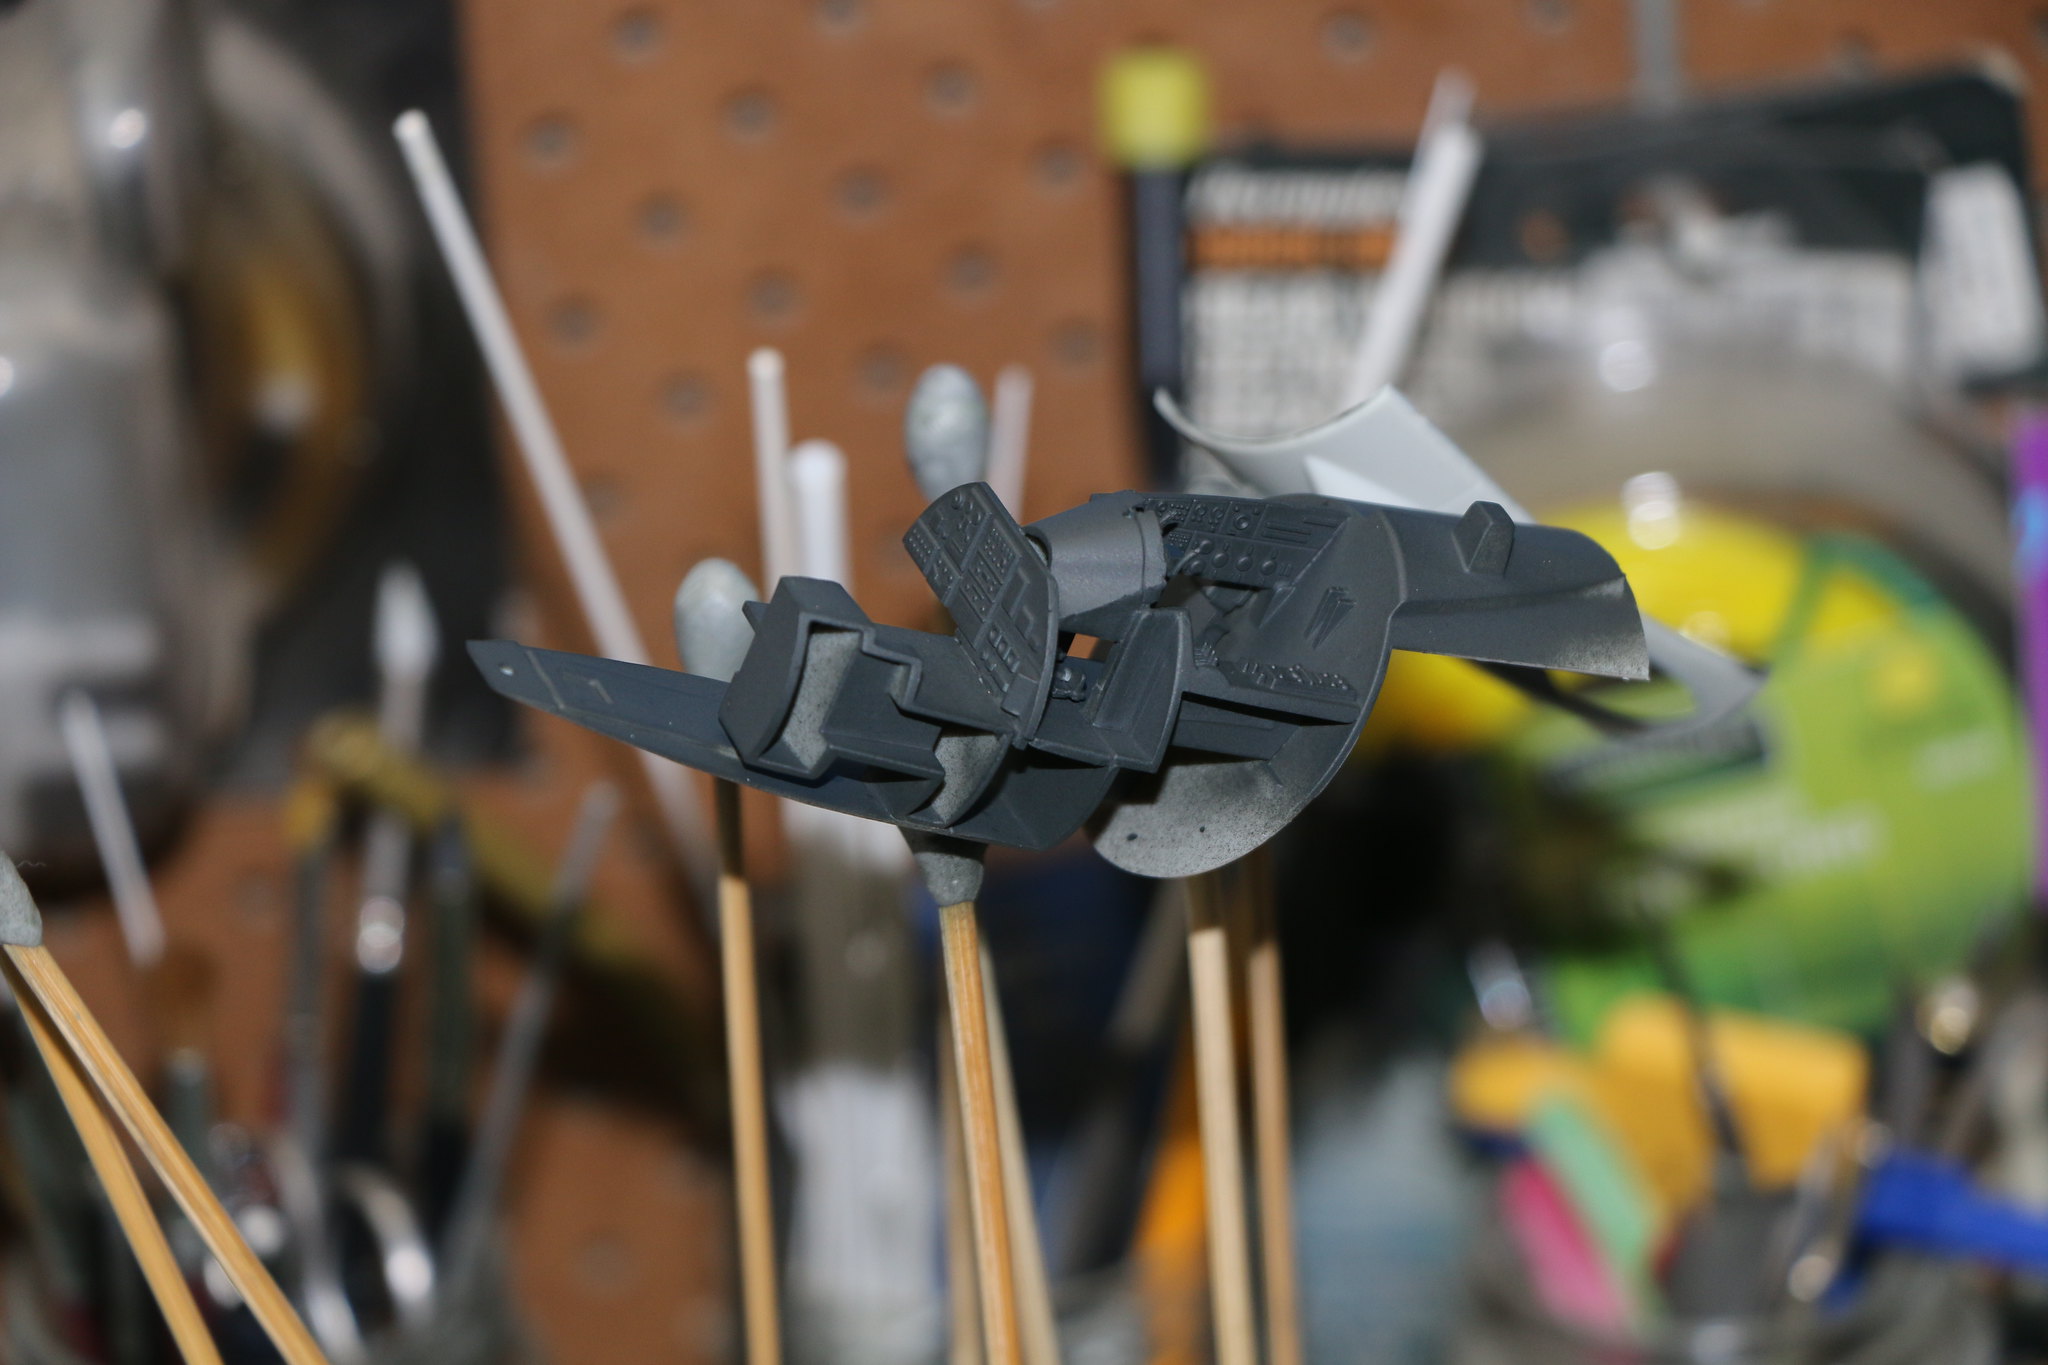
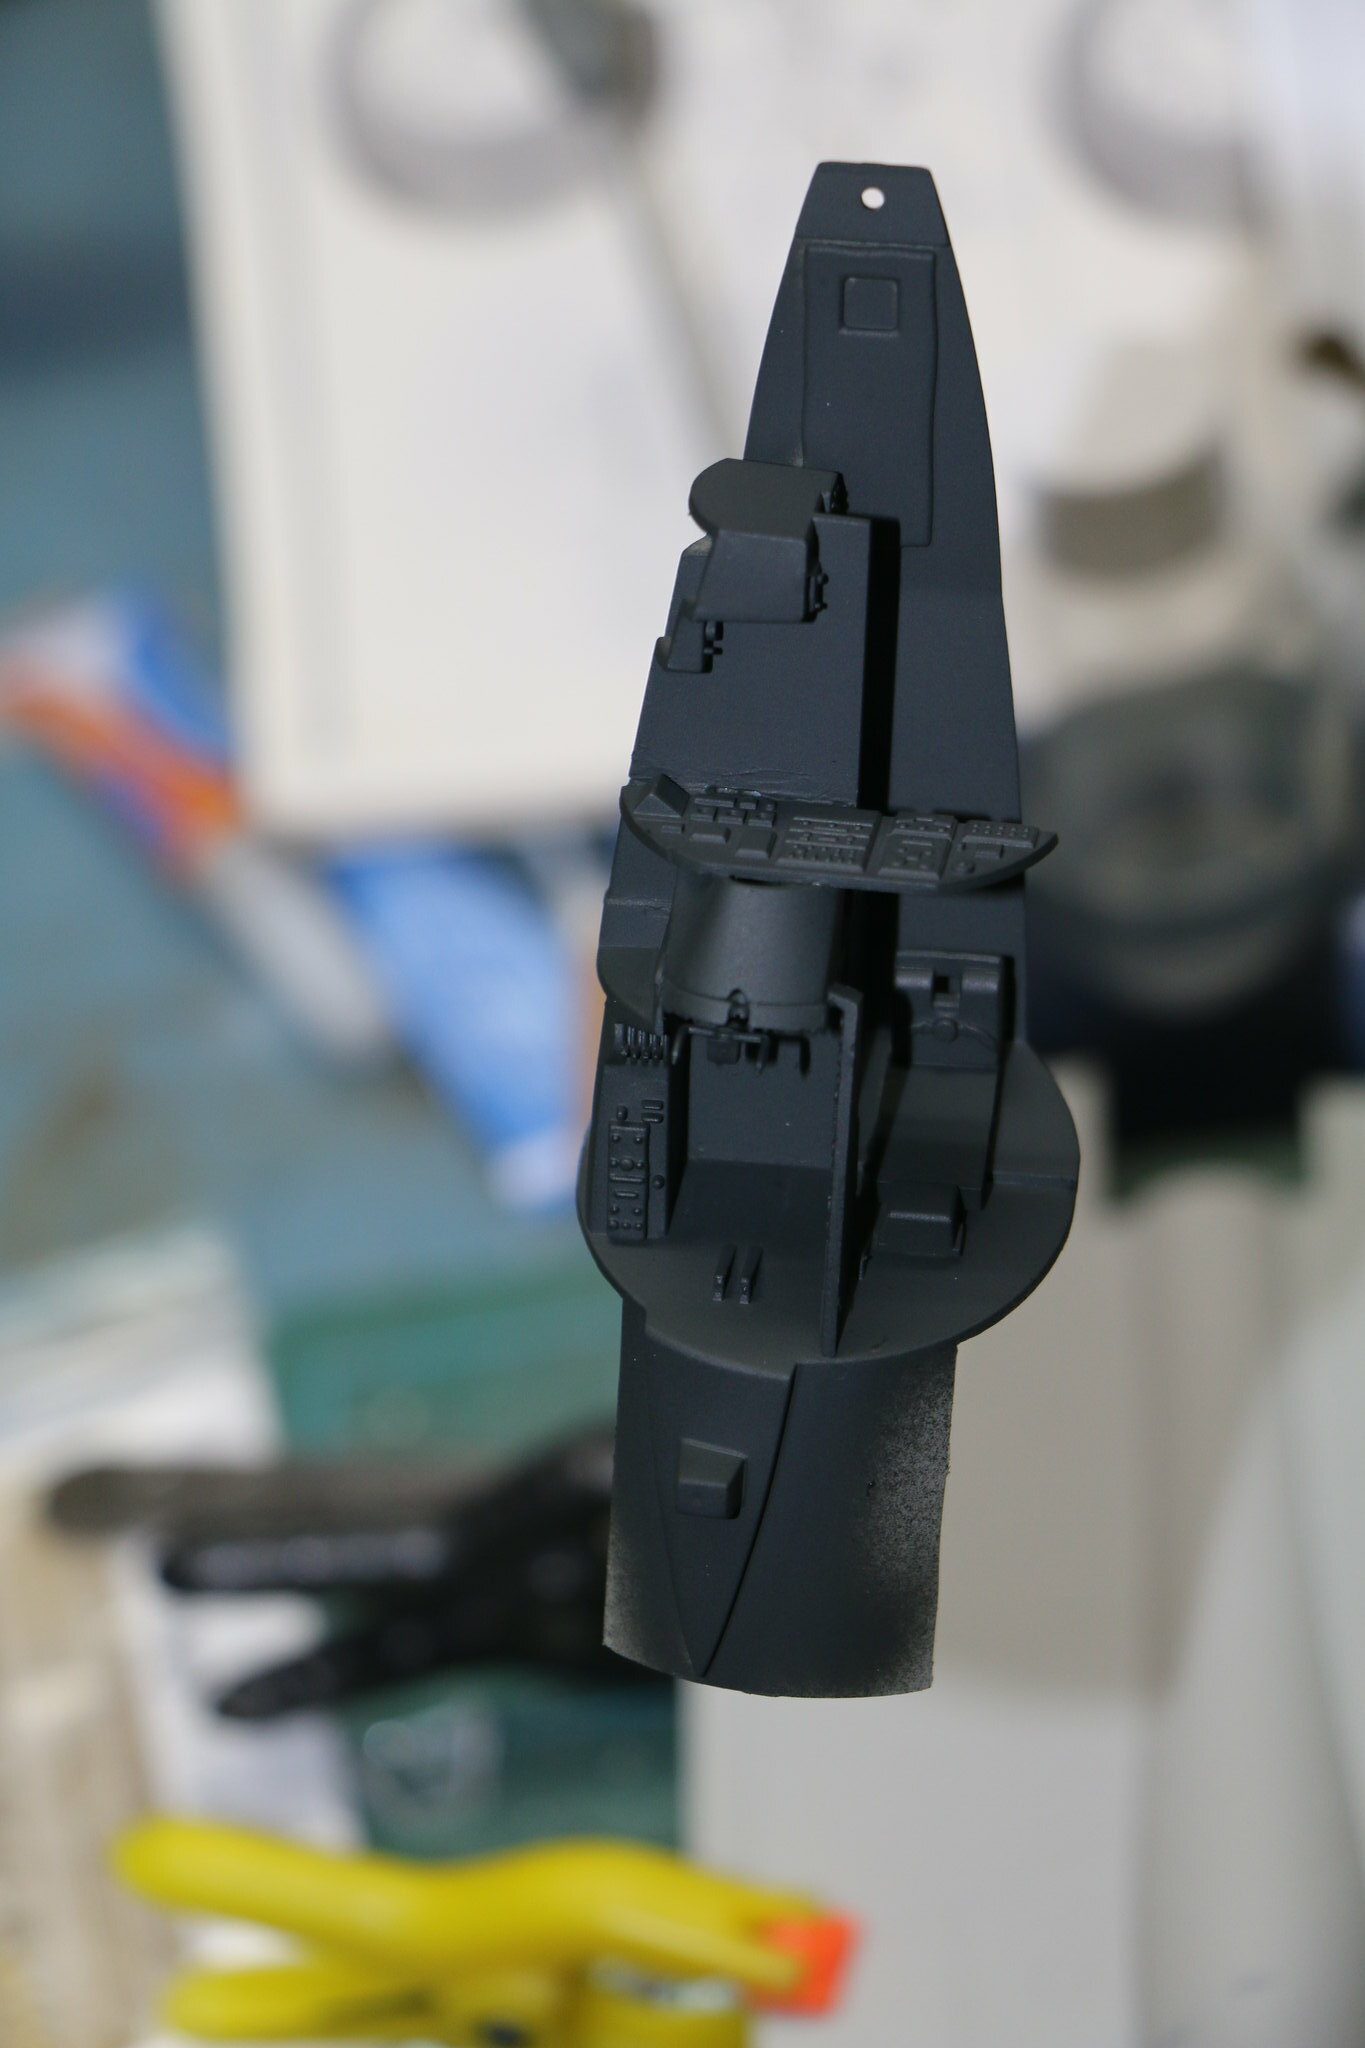
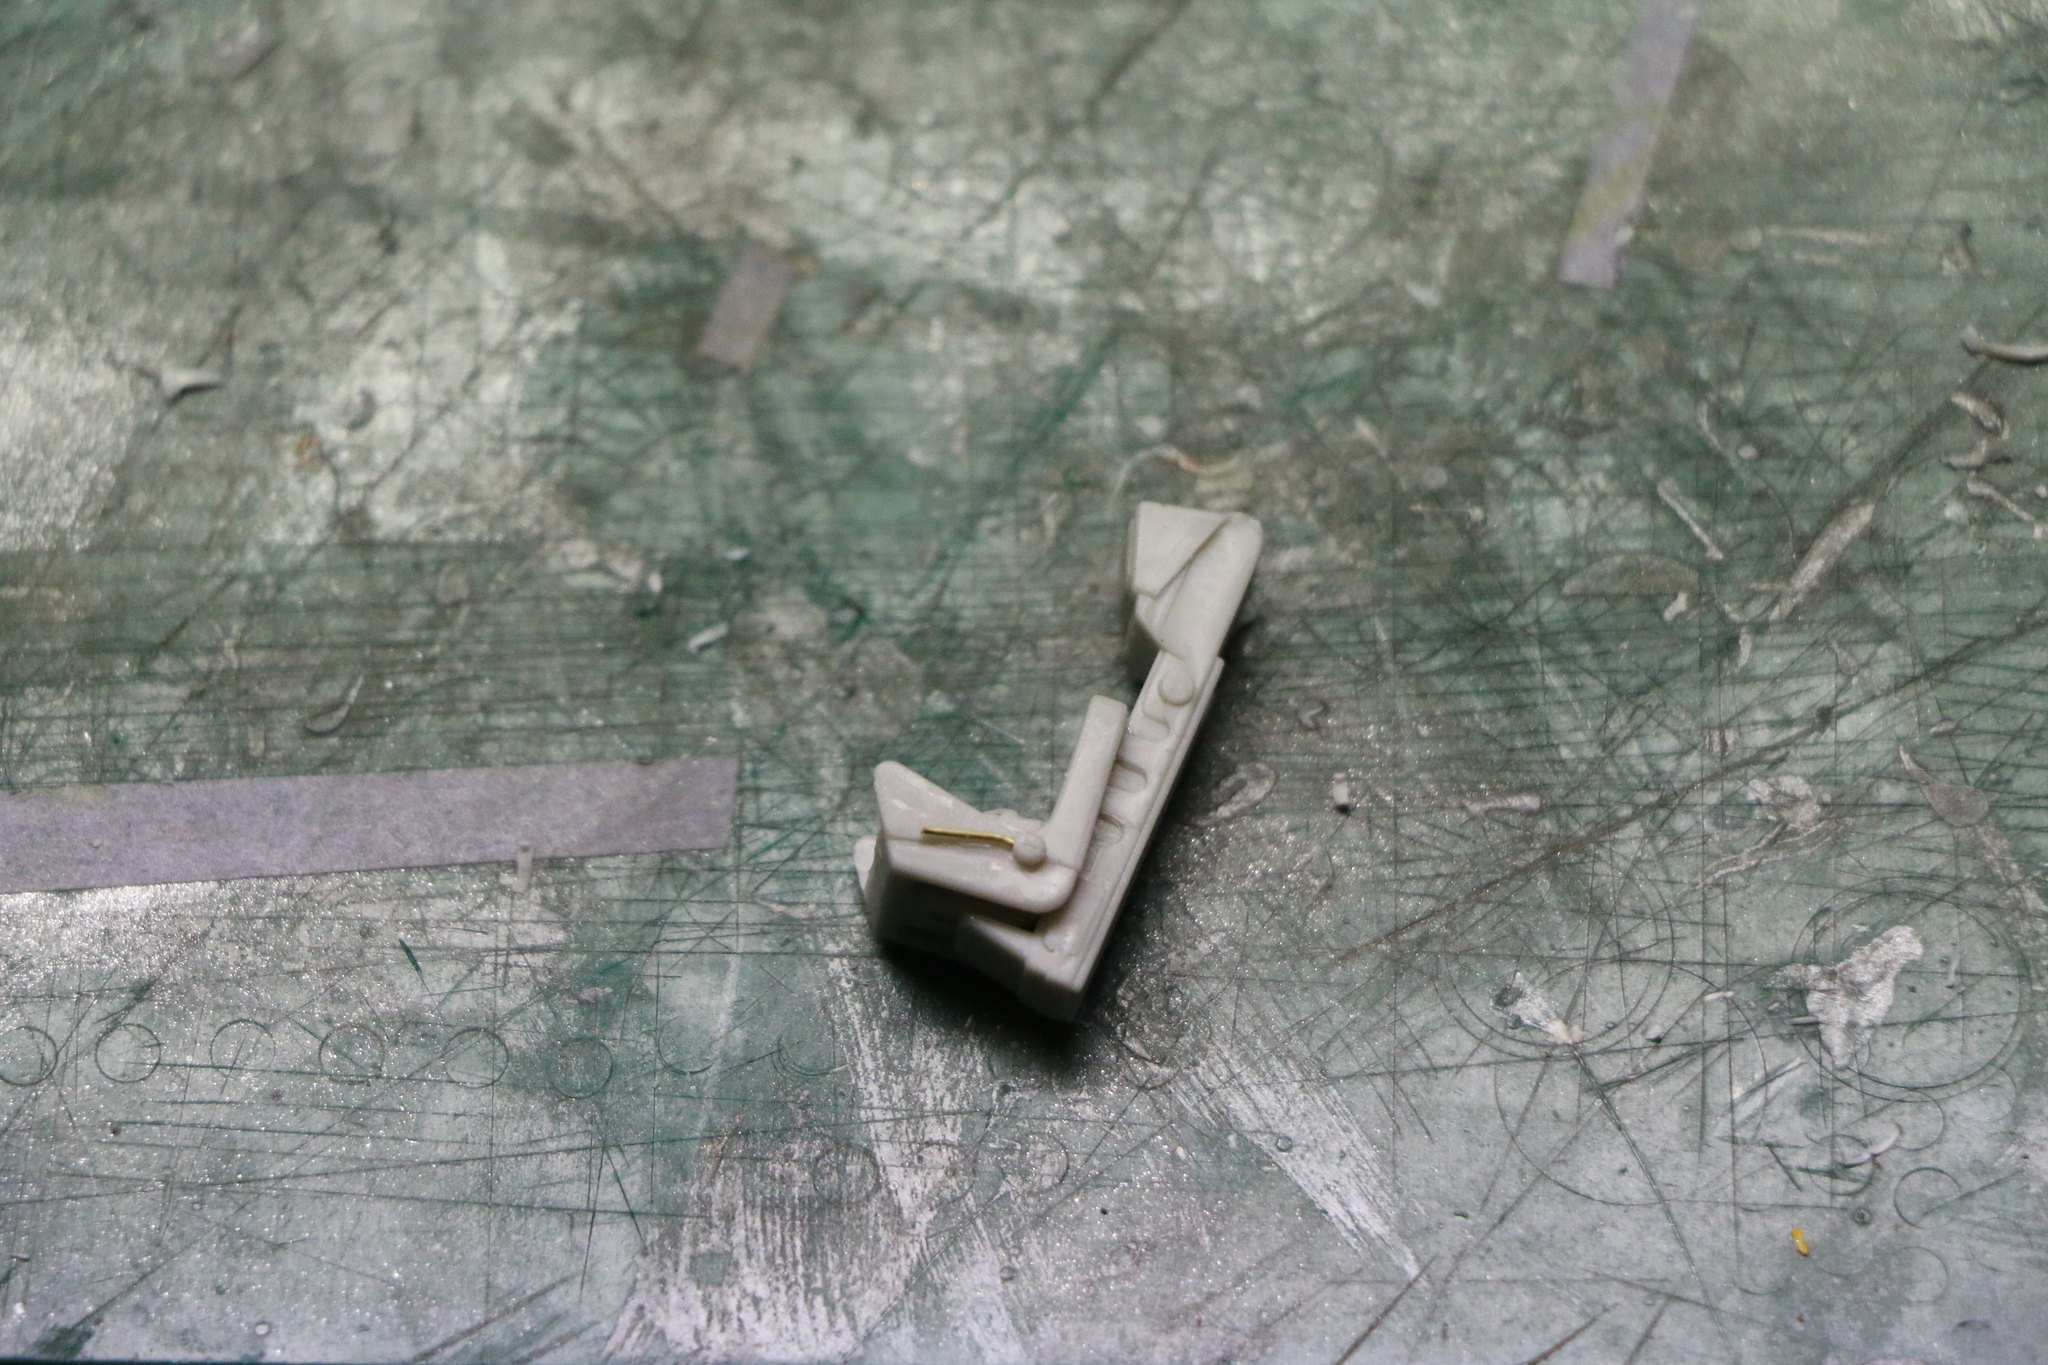
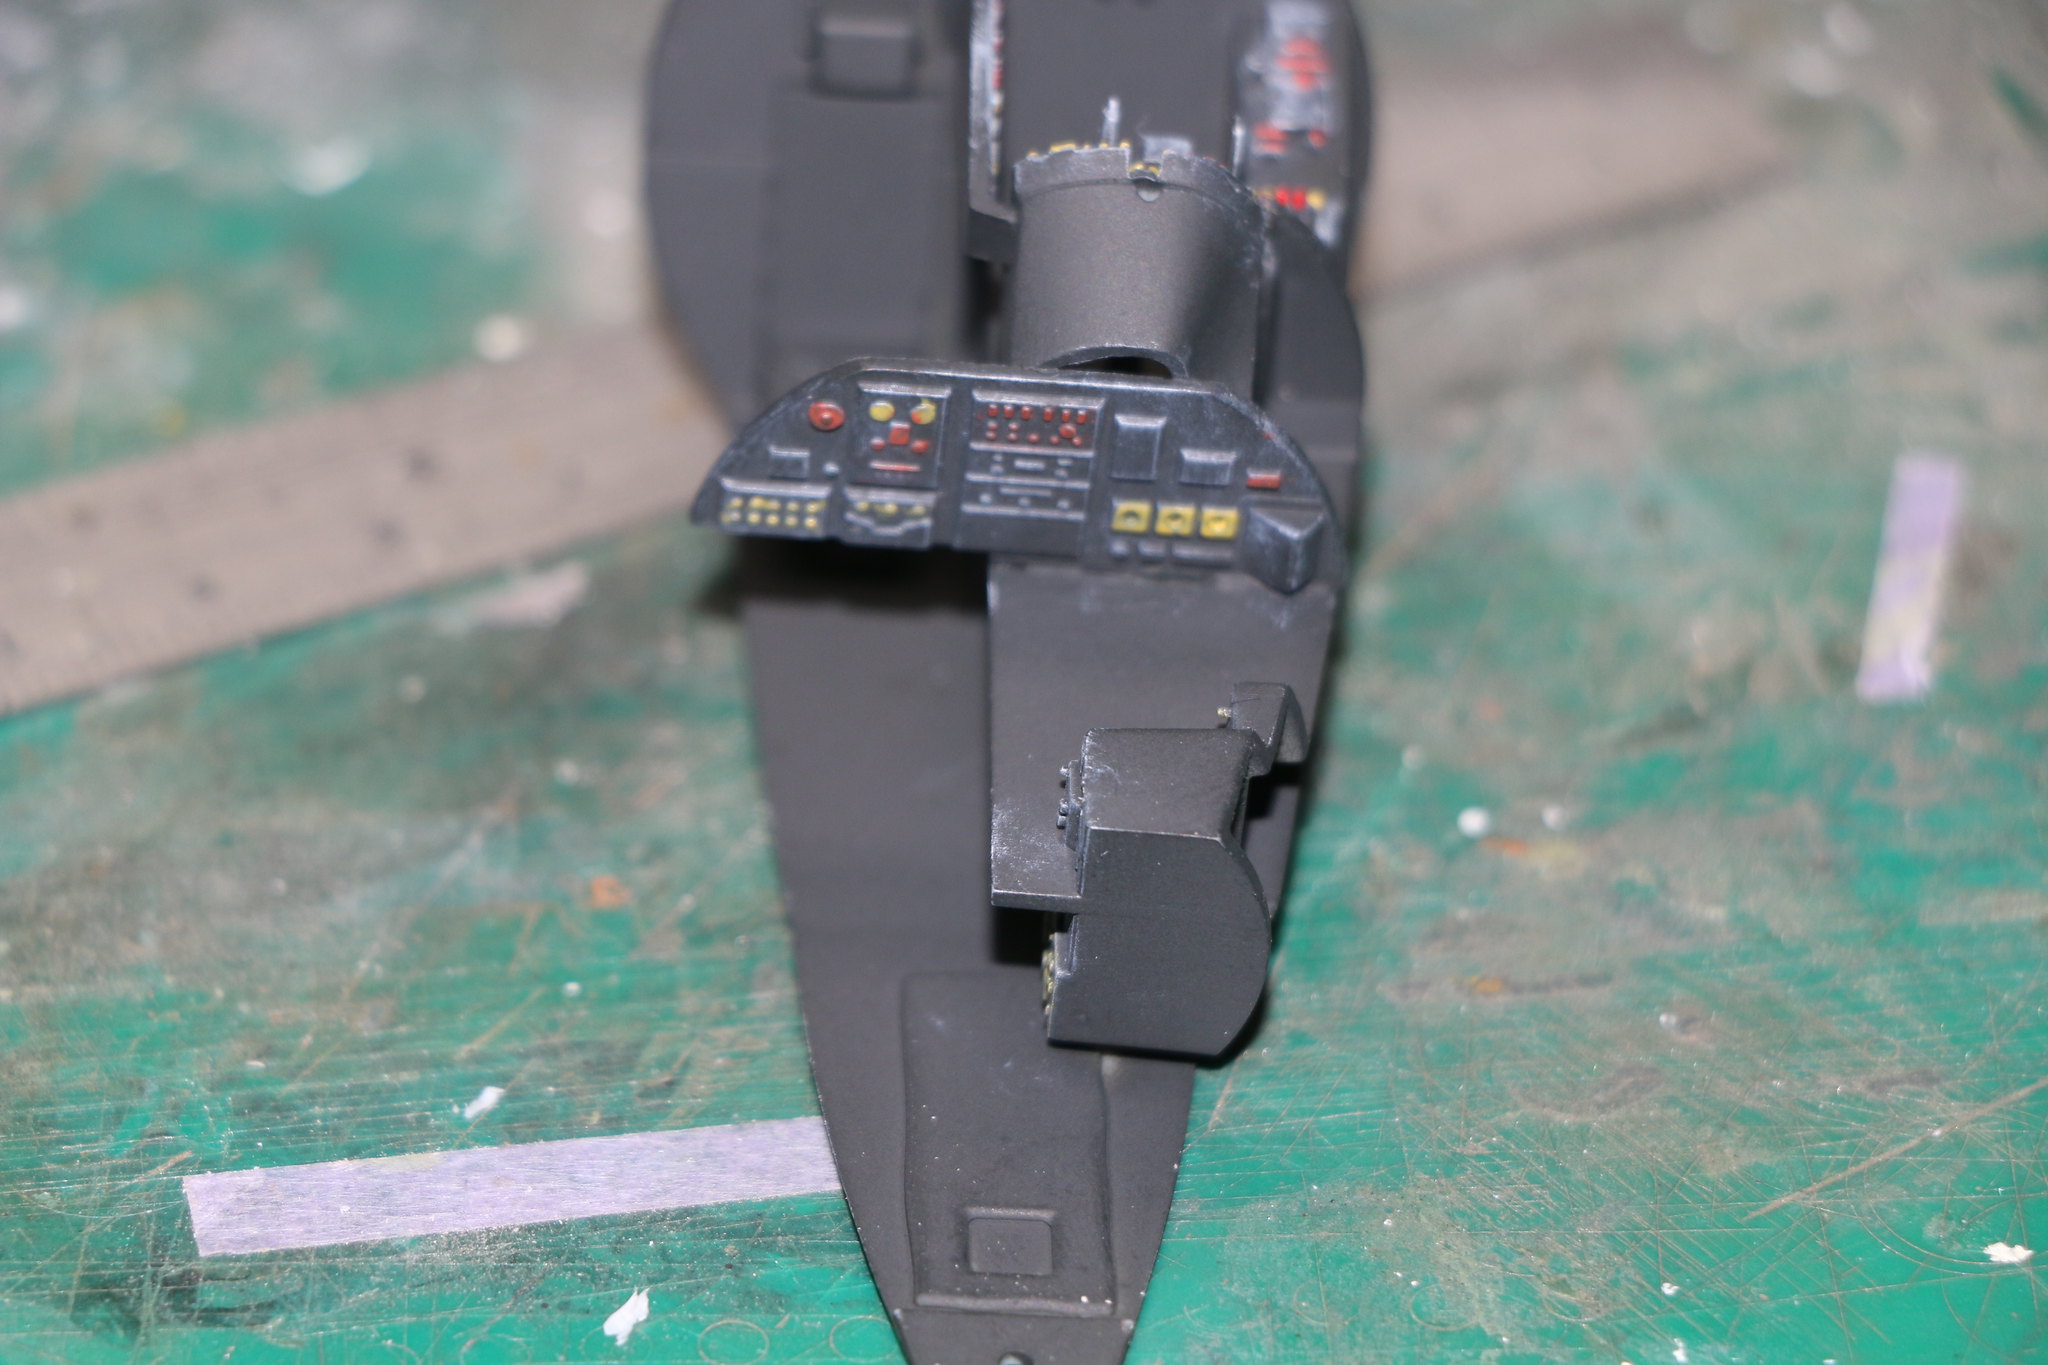
Construction starts with the cockpit and the first thing I've realised is that the cockpit has no alignment guides/pins in the fuselage. It rests against the nose wheel well and is suspended from the upper fuselage by the pilots cockpit fuselage panel. So the first thing when building the cockpit is to ensure everything is square. Not easy when it comes to the navigators station and it's wall of switches, instruments as the slot it fits into is wedge shaped. I've glued it to the pilots I.P. after a quick file of the I.P. hood as it wasn't at 90 degrees. I put a strip of plastic in front of it in the wedge to pack it out and help it sit at the correct angle. I cleaned what i thought was a mould line on the pilots ejection seat only to later realise that it was the height adjustment handle so I replicated one with thin brass wire.
Another thing is that the instructions are the old type and the placement guide is vague at best useless at worst. The Pilots instrument panel would appear to be placed in front the supports for it (closer to the nose) but the construction of the panel suggests it should sit behind it closer to the pilot, which is what I did and it worked out pretty well. So my advice is to test fit and see what works best.
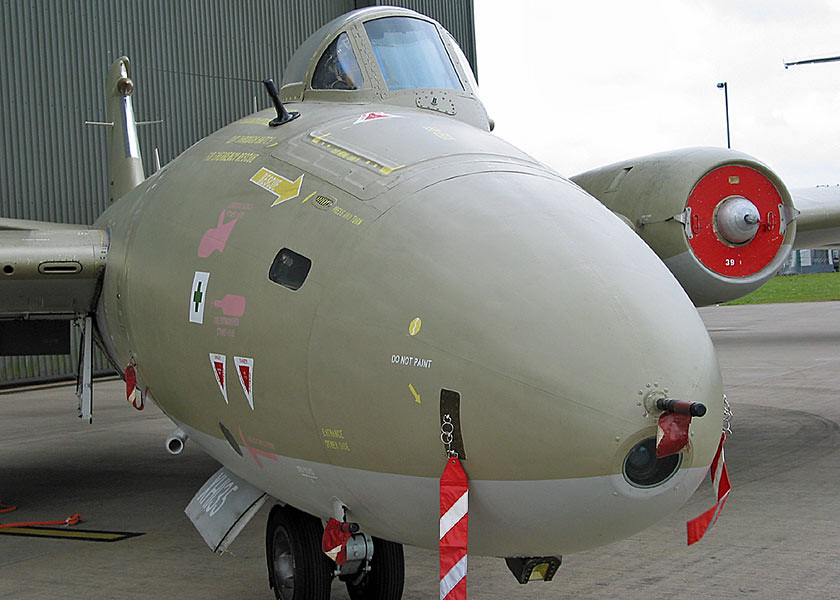
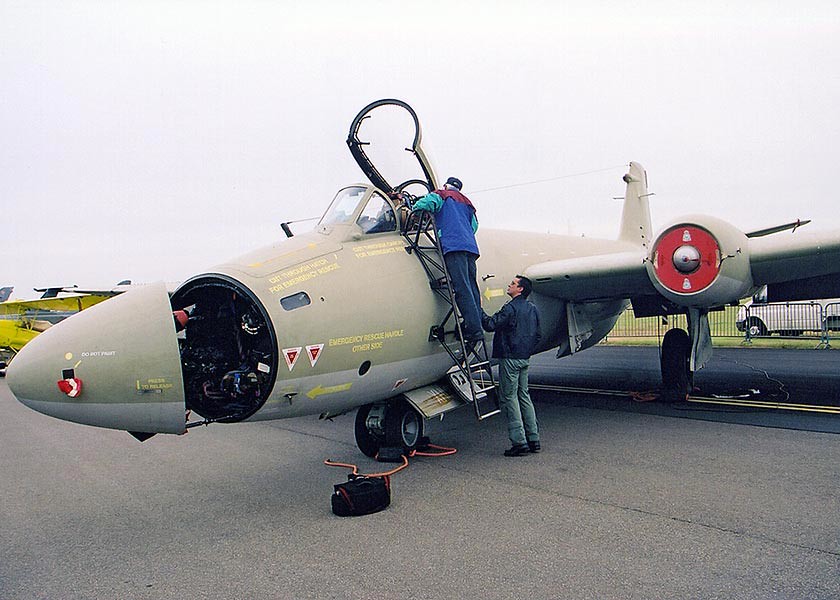
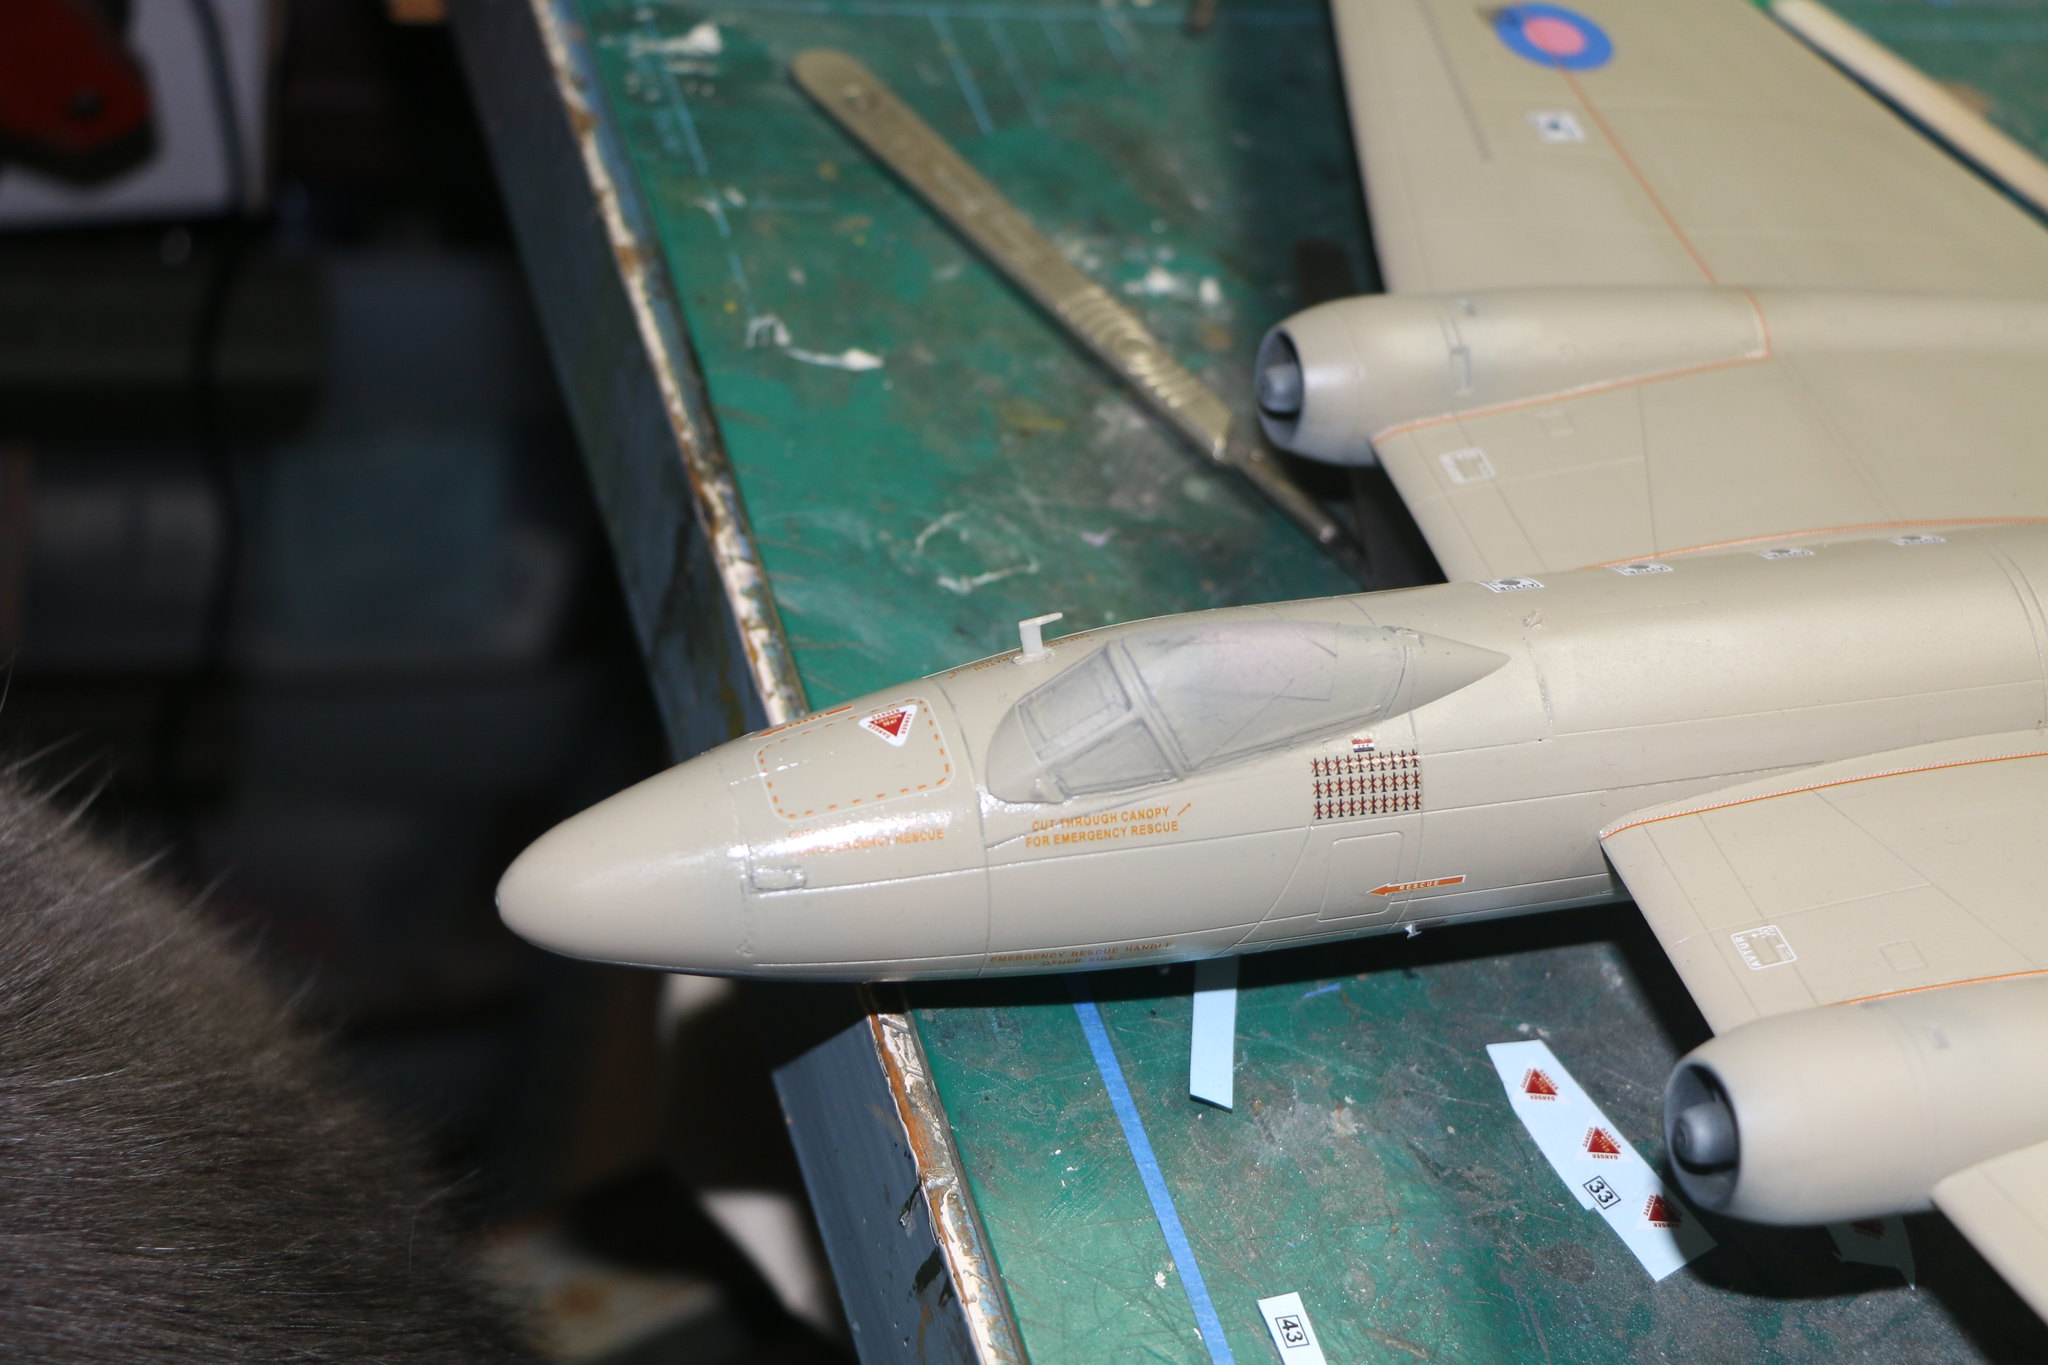
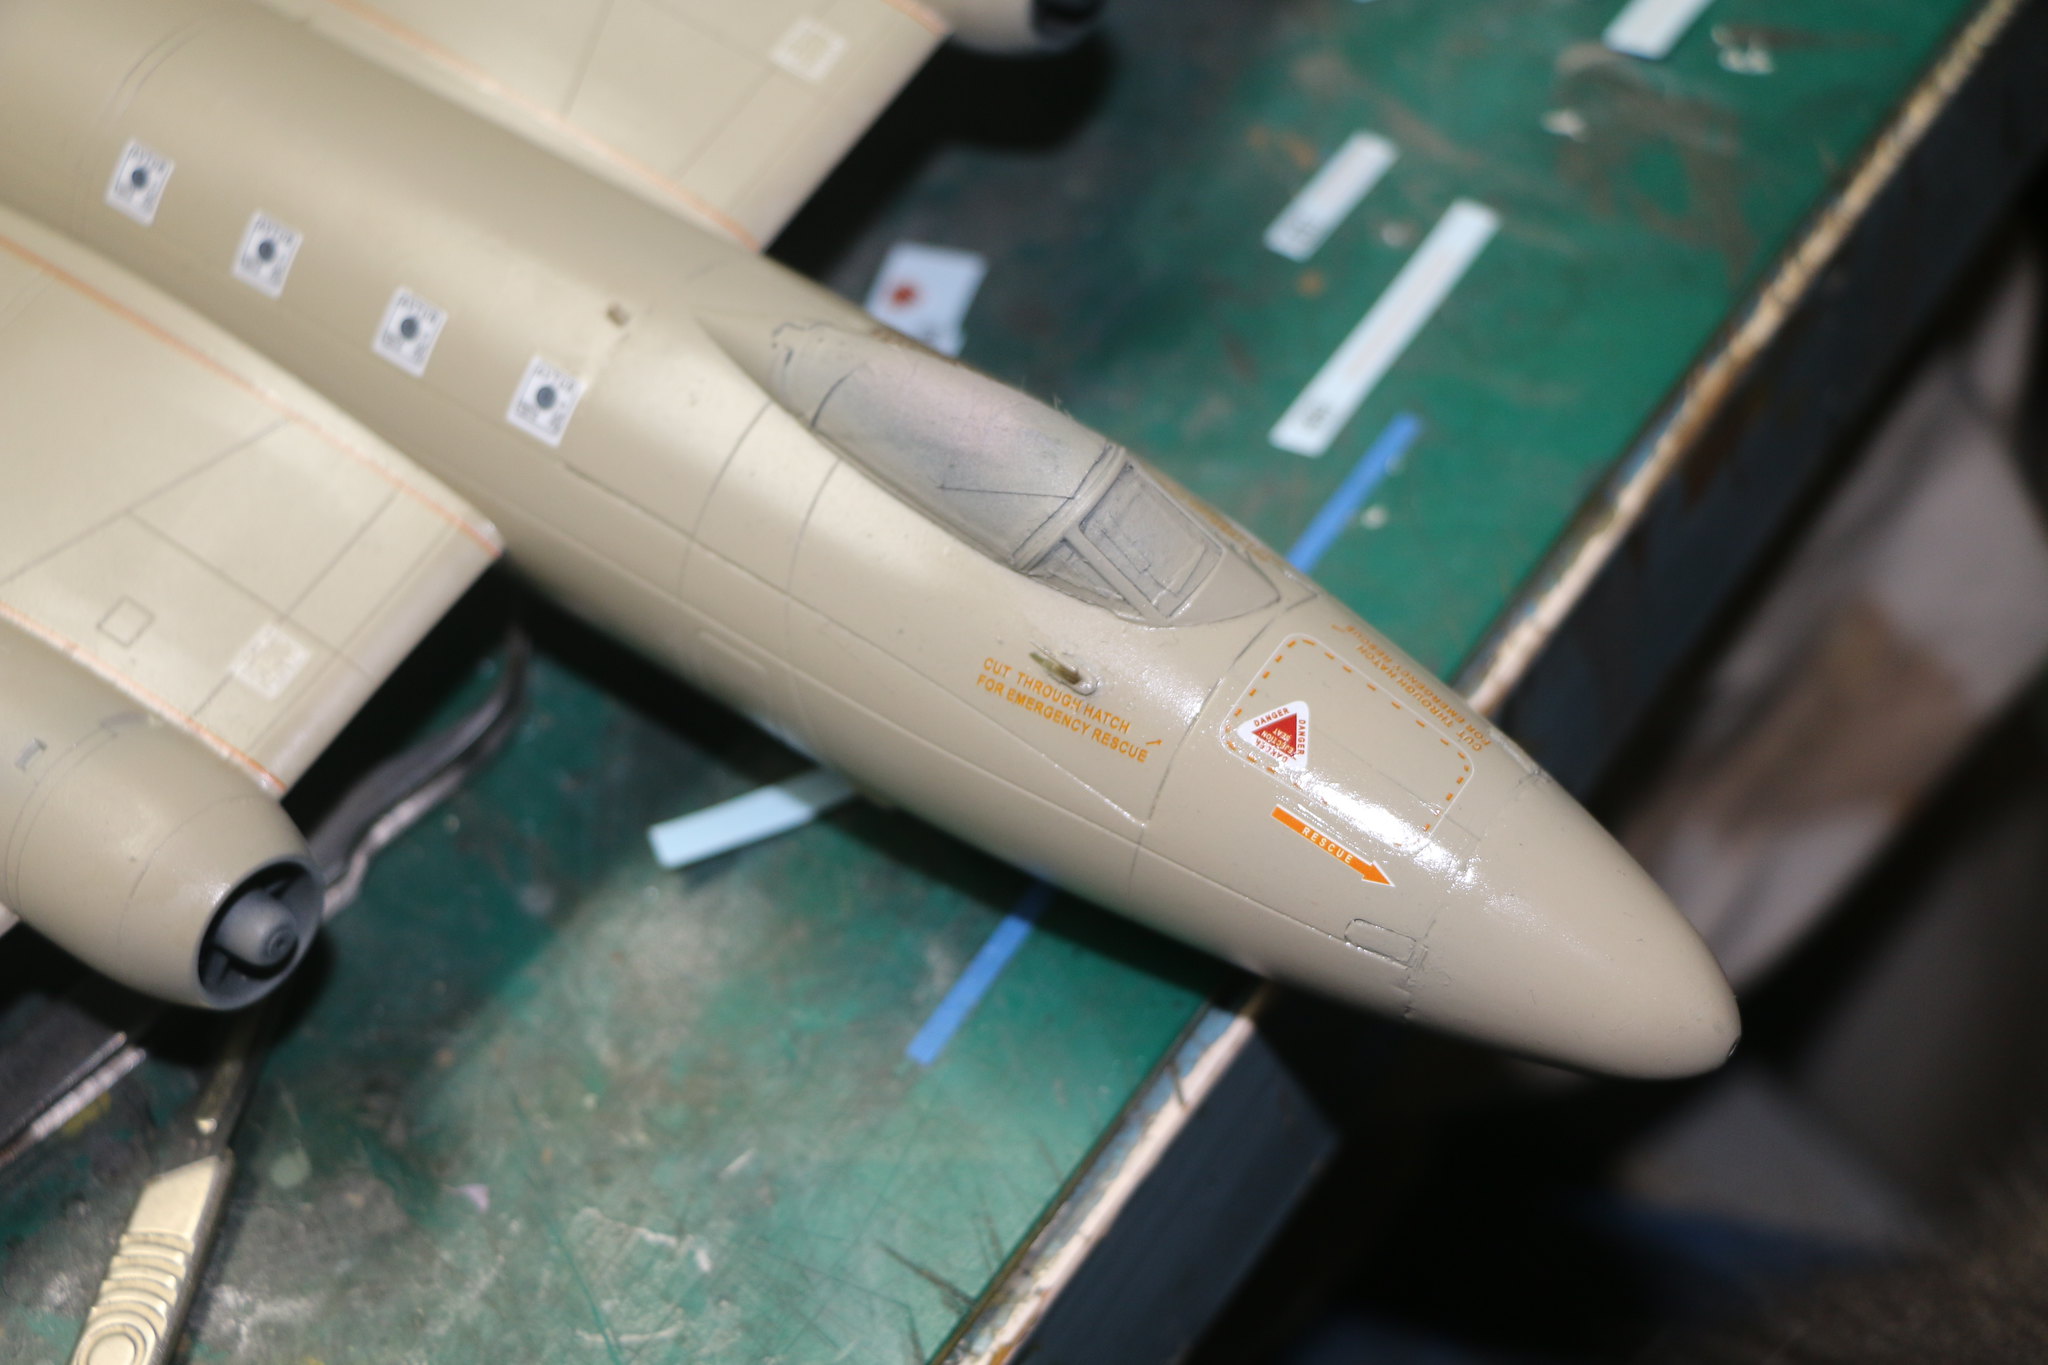
The cockpit after a look at images online is completely wrong for the PR-9. The second crewman's entrance is through the nose cone and he sits completely separated from the pilot. The top of his position has an eject-able panel that's replicated by a decal in the kit but is quite prominent on the real thing. There is no second station by the pilot at a lower level, relevant to the bomber version but not for the PR-9. So I'm not going to have the navigator's position open but it may be something I'll attempt in the future as it would make a standout model.
I've applied a coat of Tamiya NATO black to the cockpit and the inside of the cockpit panel. I've allowed it to dry over night now I'm going to dry brush the cockpit with white and then pick out some of the dials gauges etc. I'm not going to work on the rest of the cockpit as it won't be seen, out of sight out of mind.
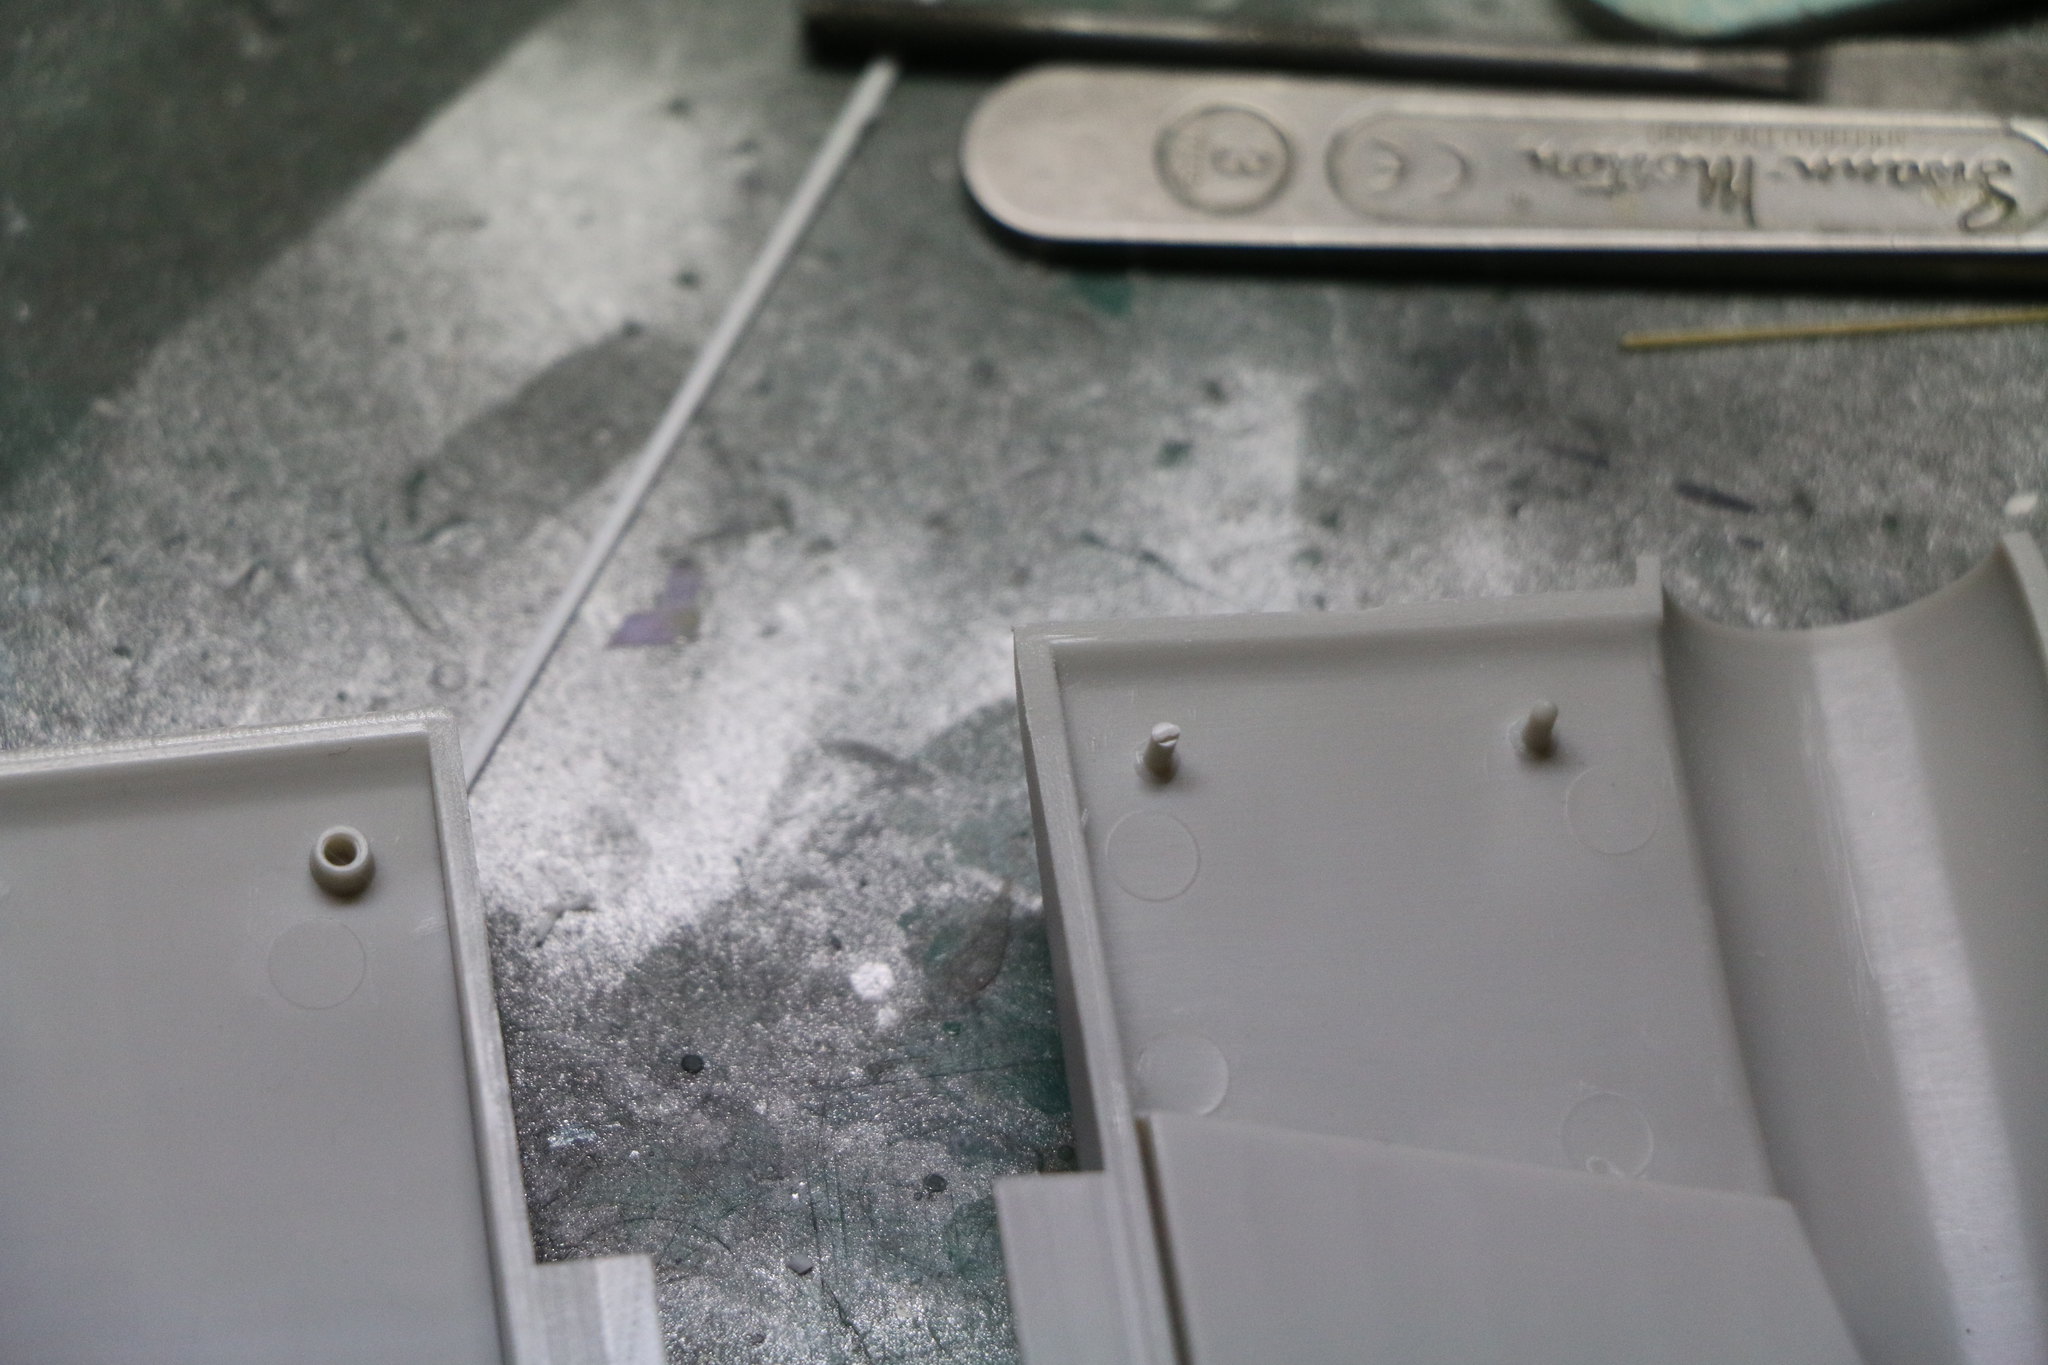
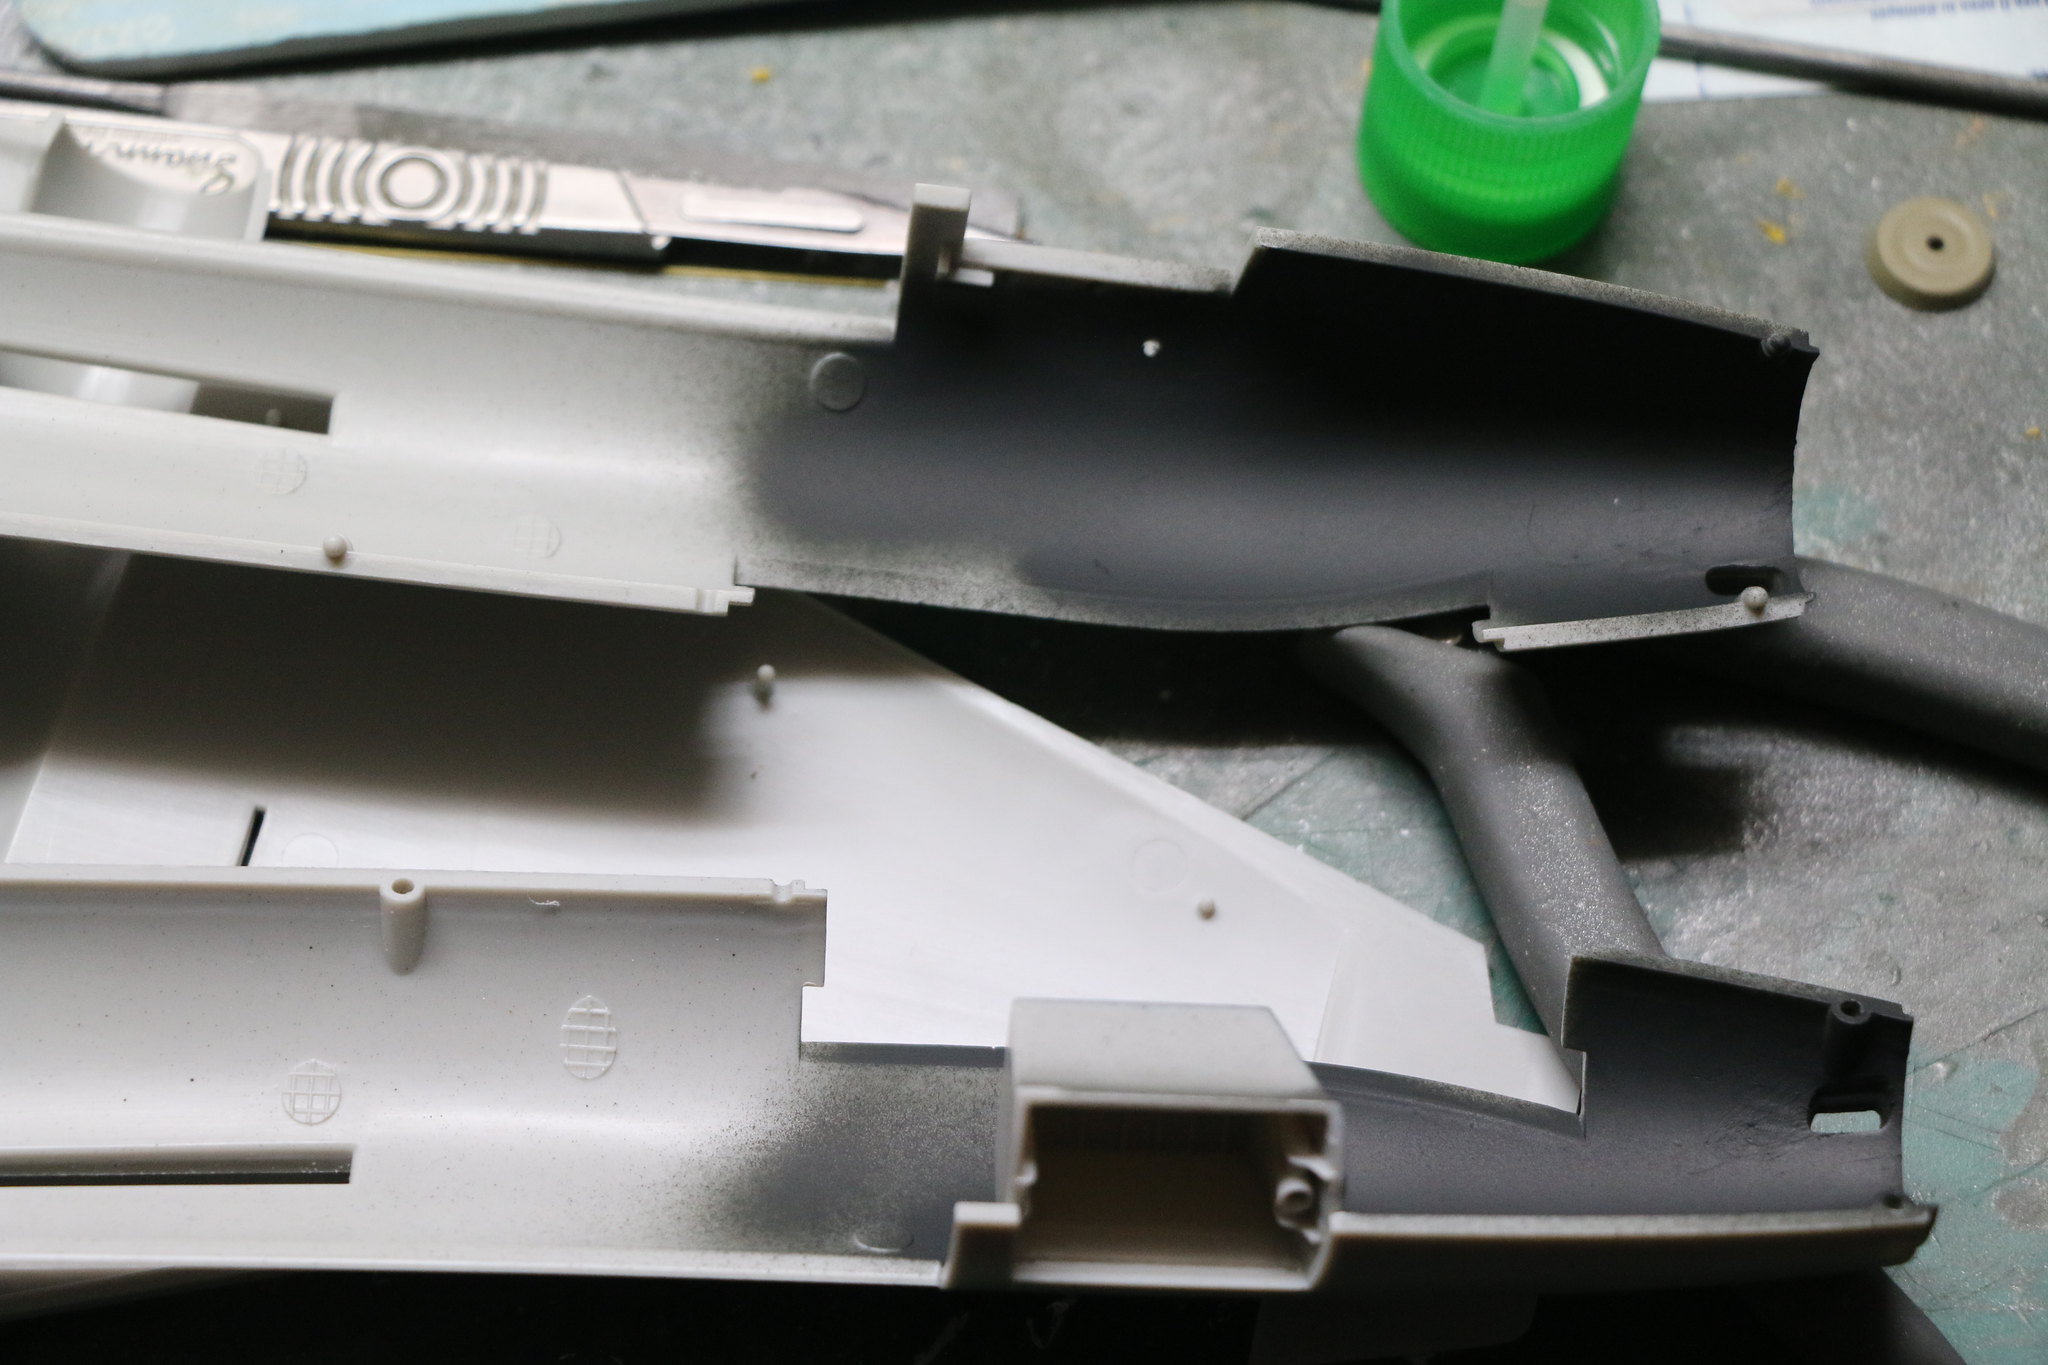
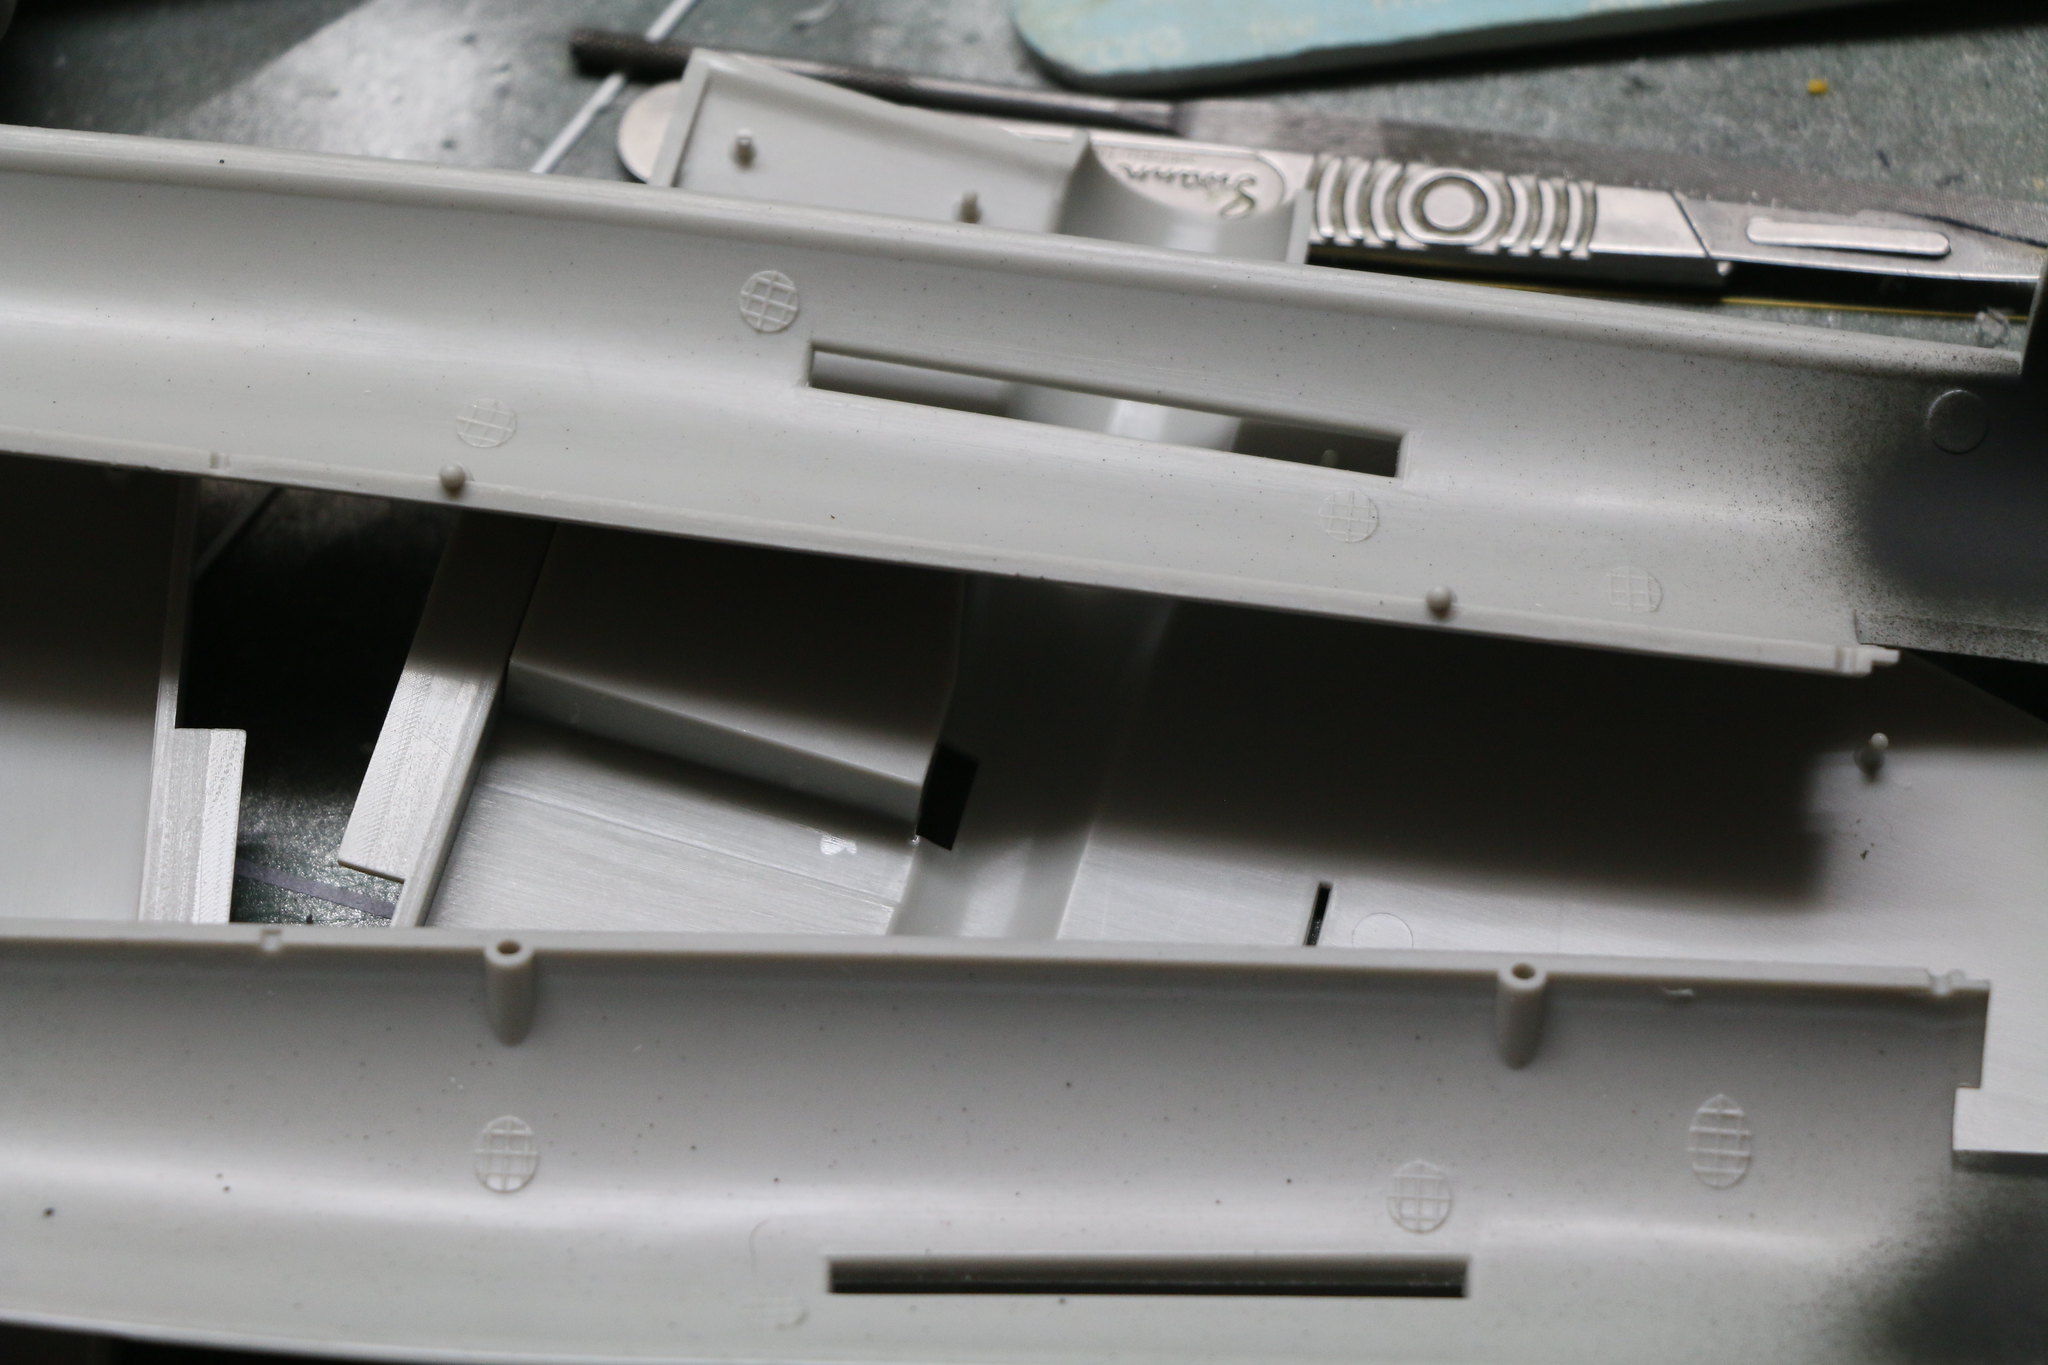
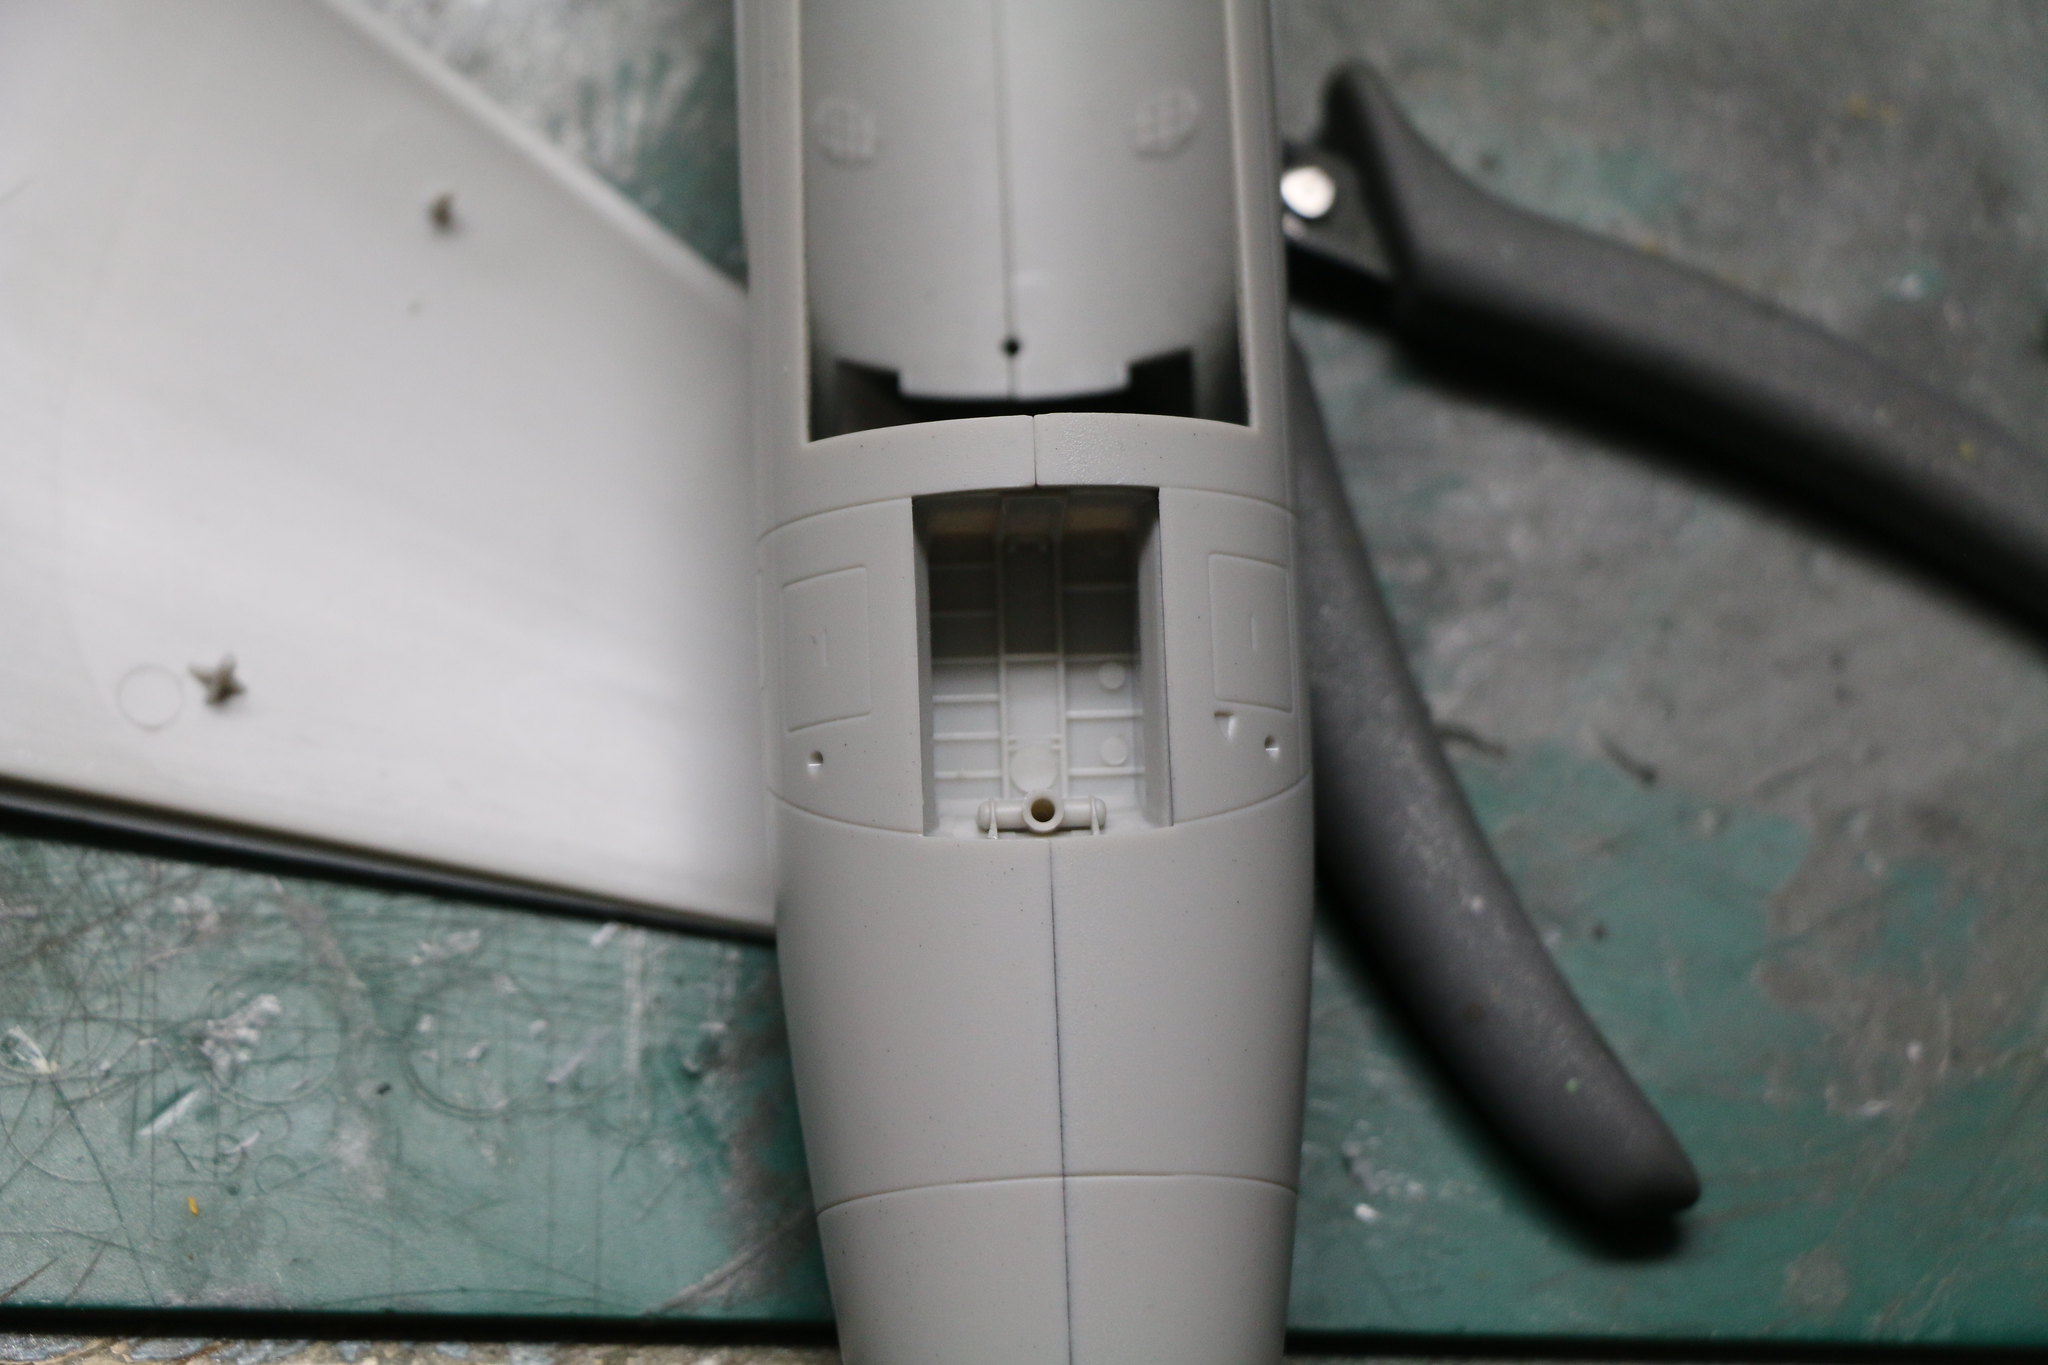
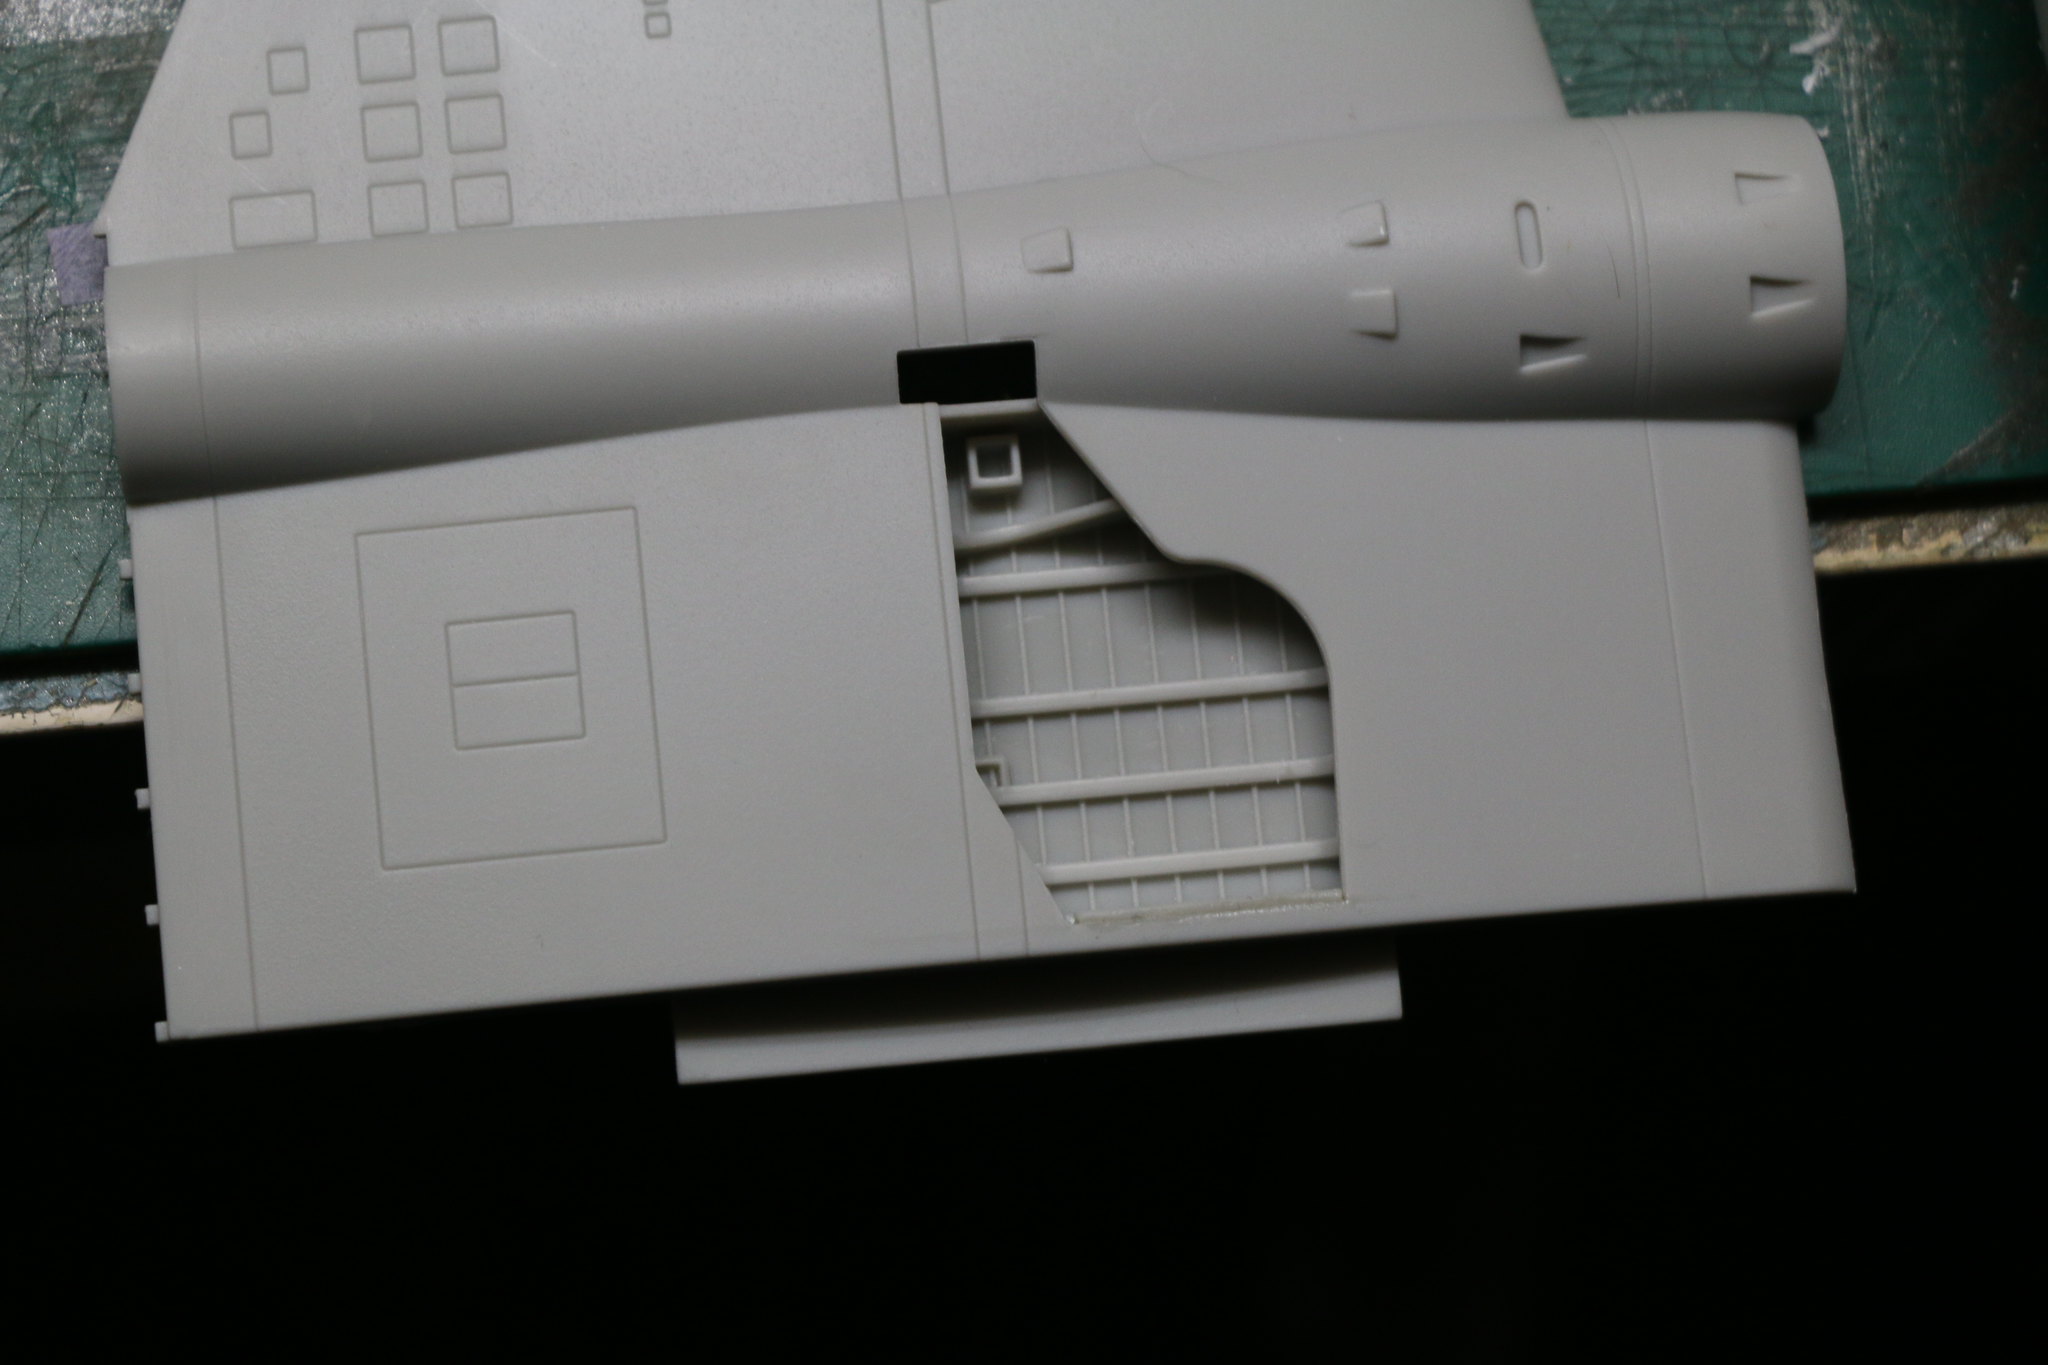
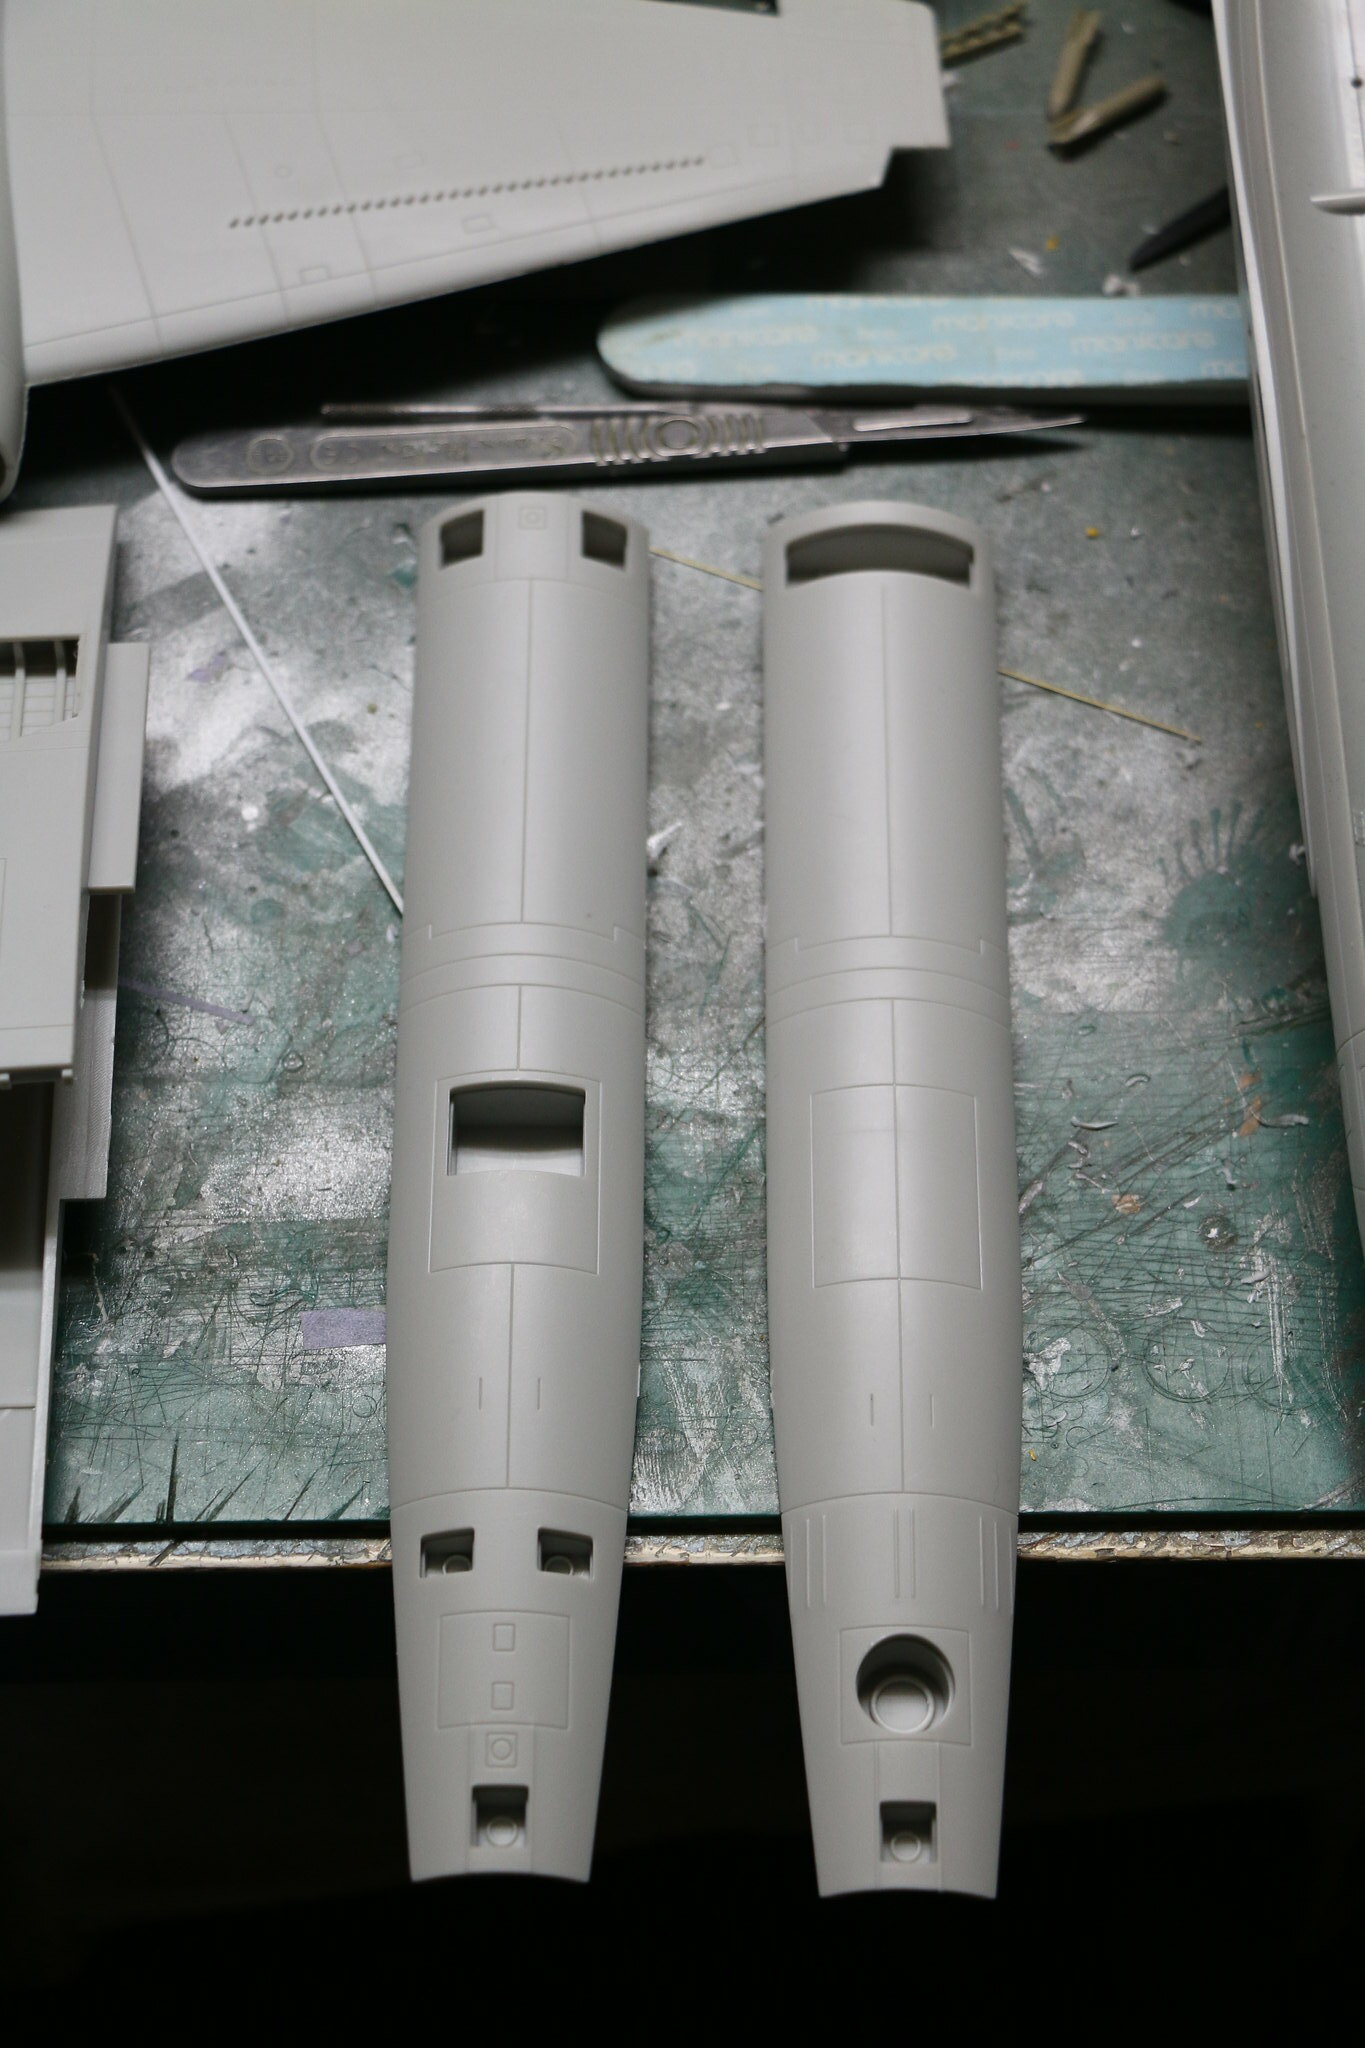
The fuselage walls are incredibly thick 1.5 to 2 mm at least so pleasingly rigid. The location pins are quite large in diameter and provide a really positive fit that requires a little force to get them to close up. There are no supports for the belly insert so some will have to be created as it'll just drop inside as I've discovered from dry fitting. Also at this point you'll need to decide which version you re going to build as it dictates which insert you'll use. As I'm building the last version I'll be using that one. It also has under-wing pylons with what I assume are either ECM pods or sensors or both. Given today's battle field and the array of infantry launched and self propelled anti-aircraft missiles and guns ECM counter measures would seem likely.
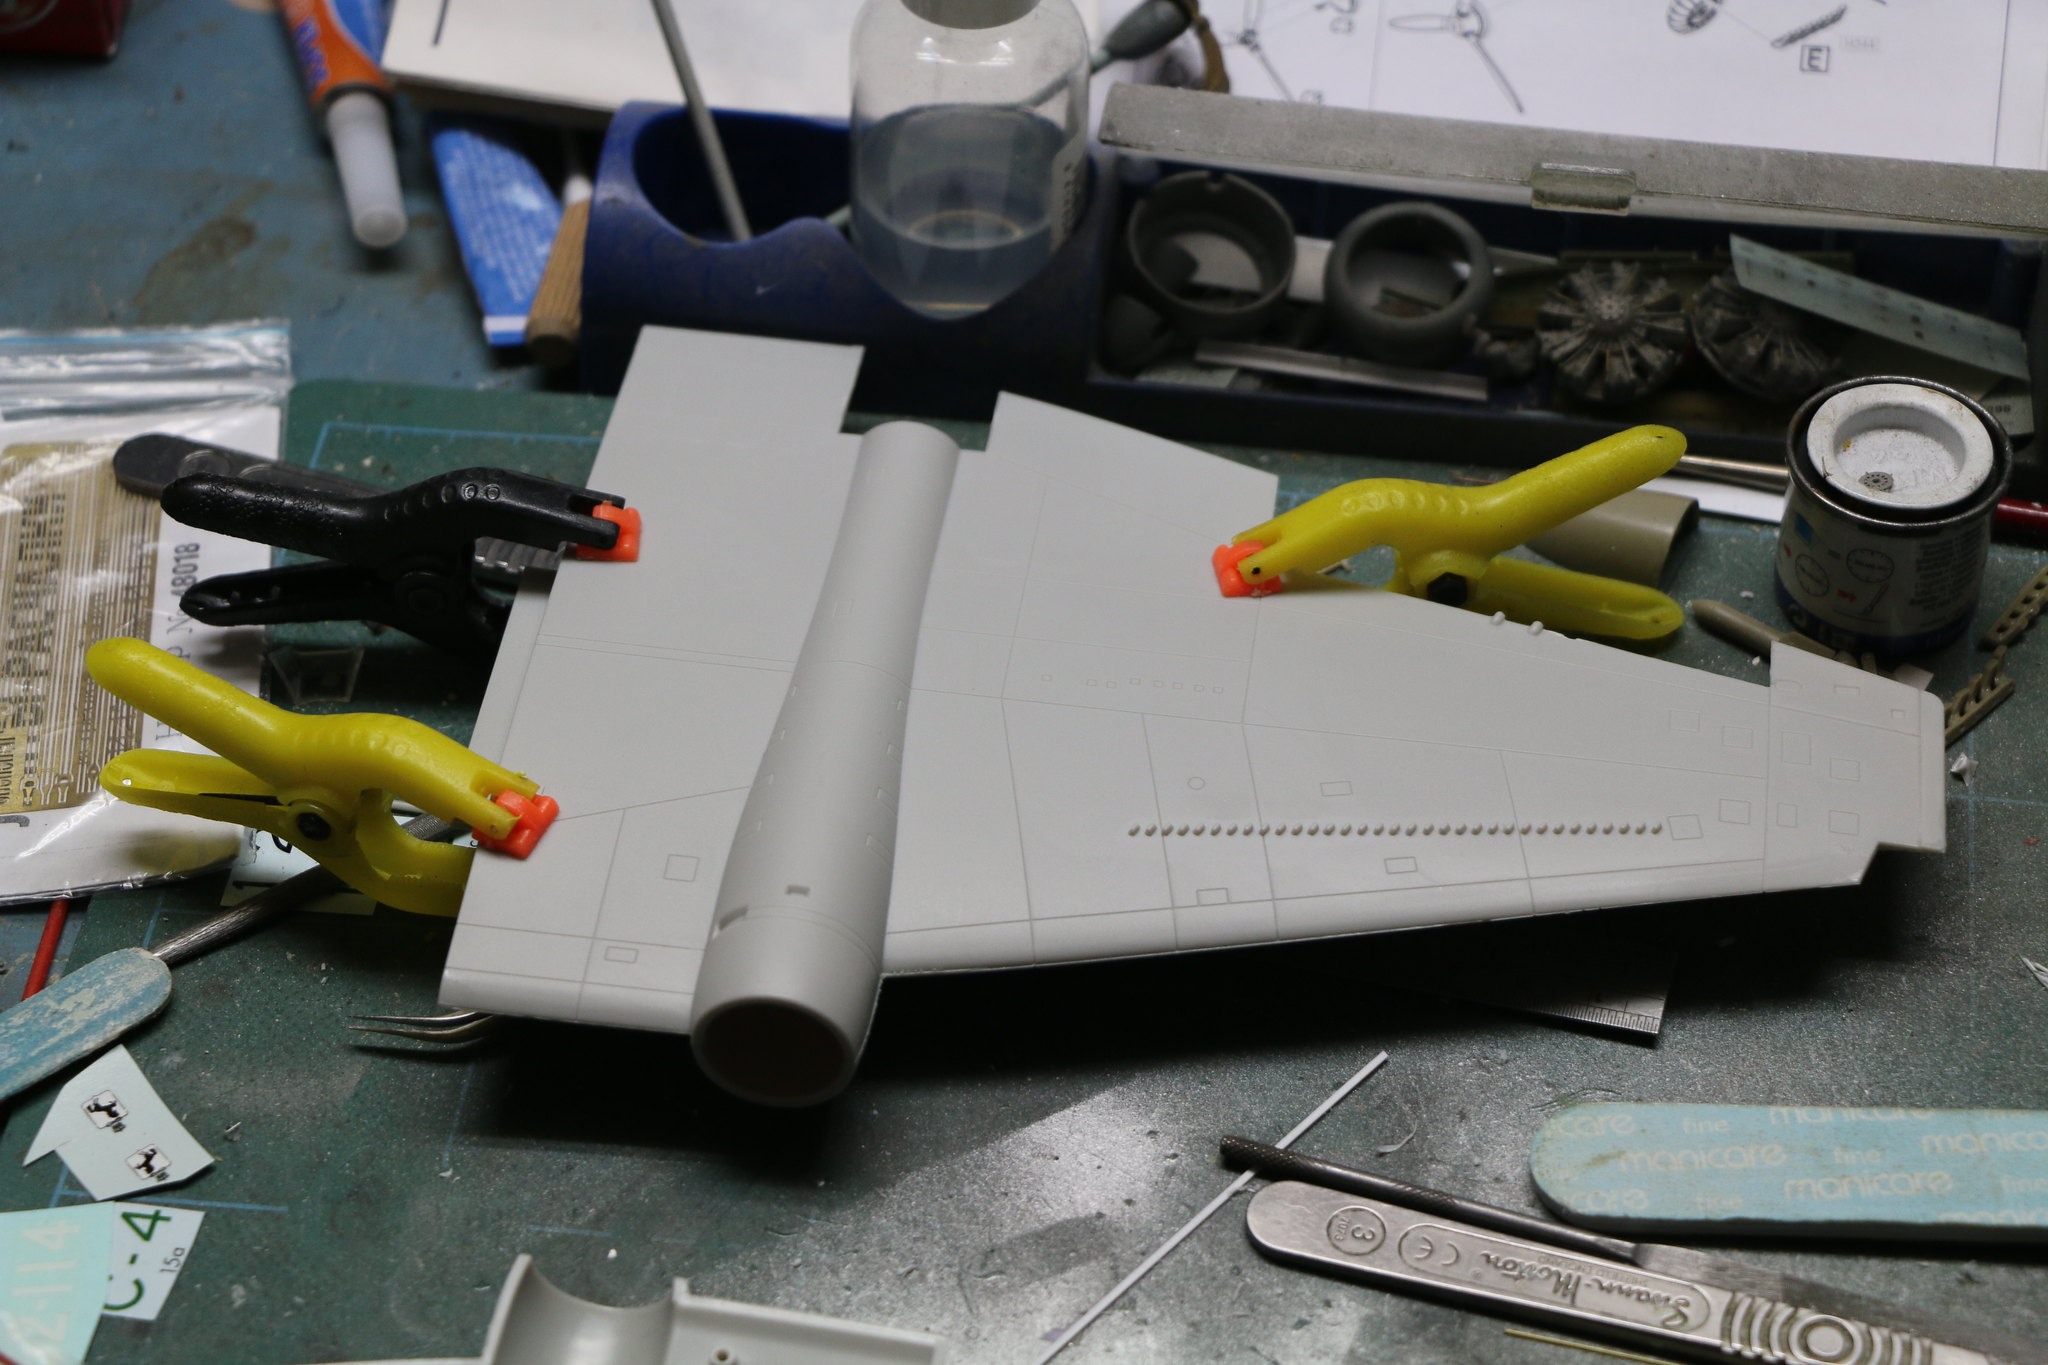
The wings where they join to the fuselage at the leading edge didn't actually close up as the pin closest to the fuselage is a little tall and a quick snip with a pair of sprue cutters solved that problem. They glued together with little issue and aligned pretty well.
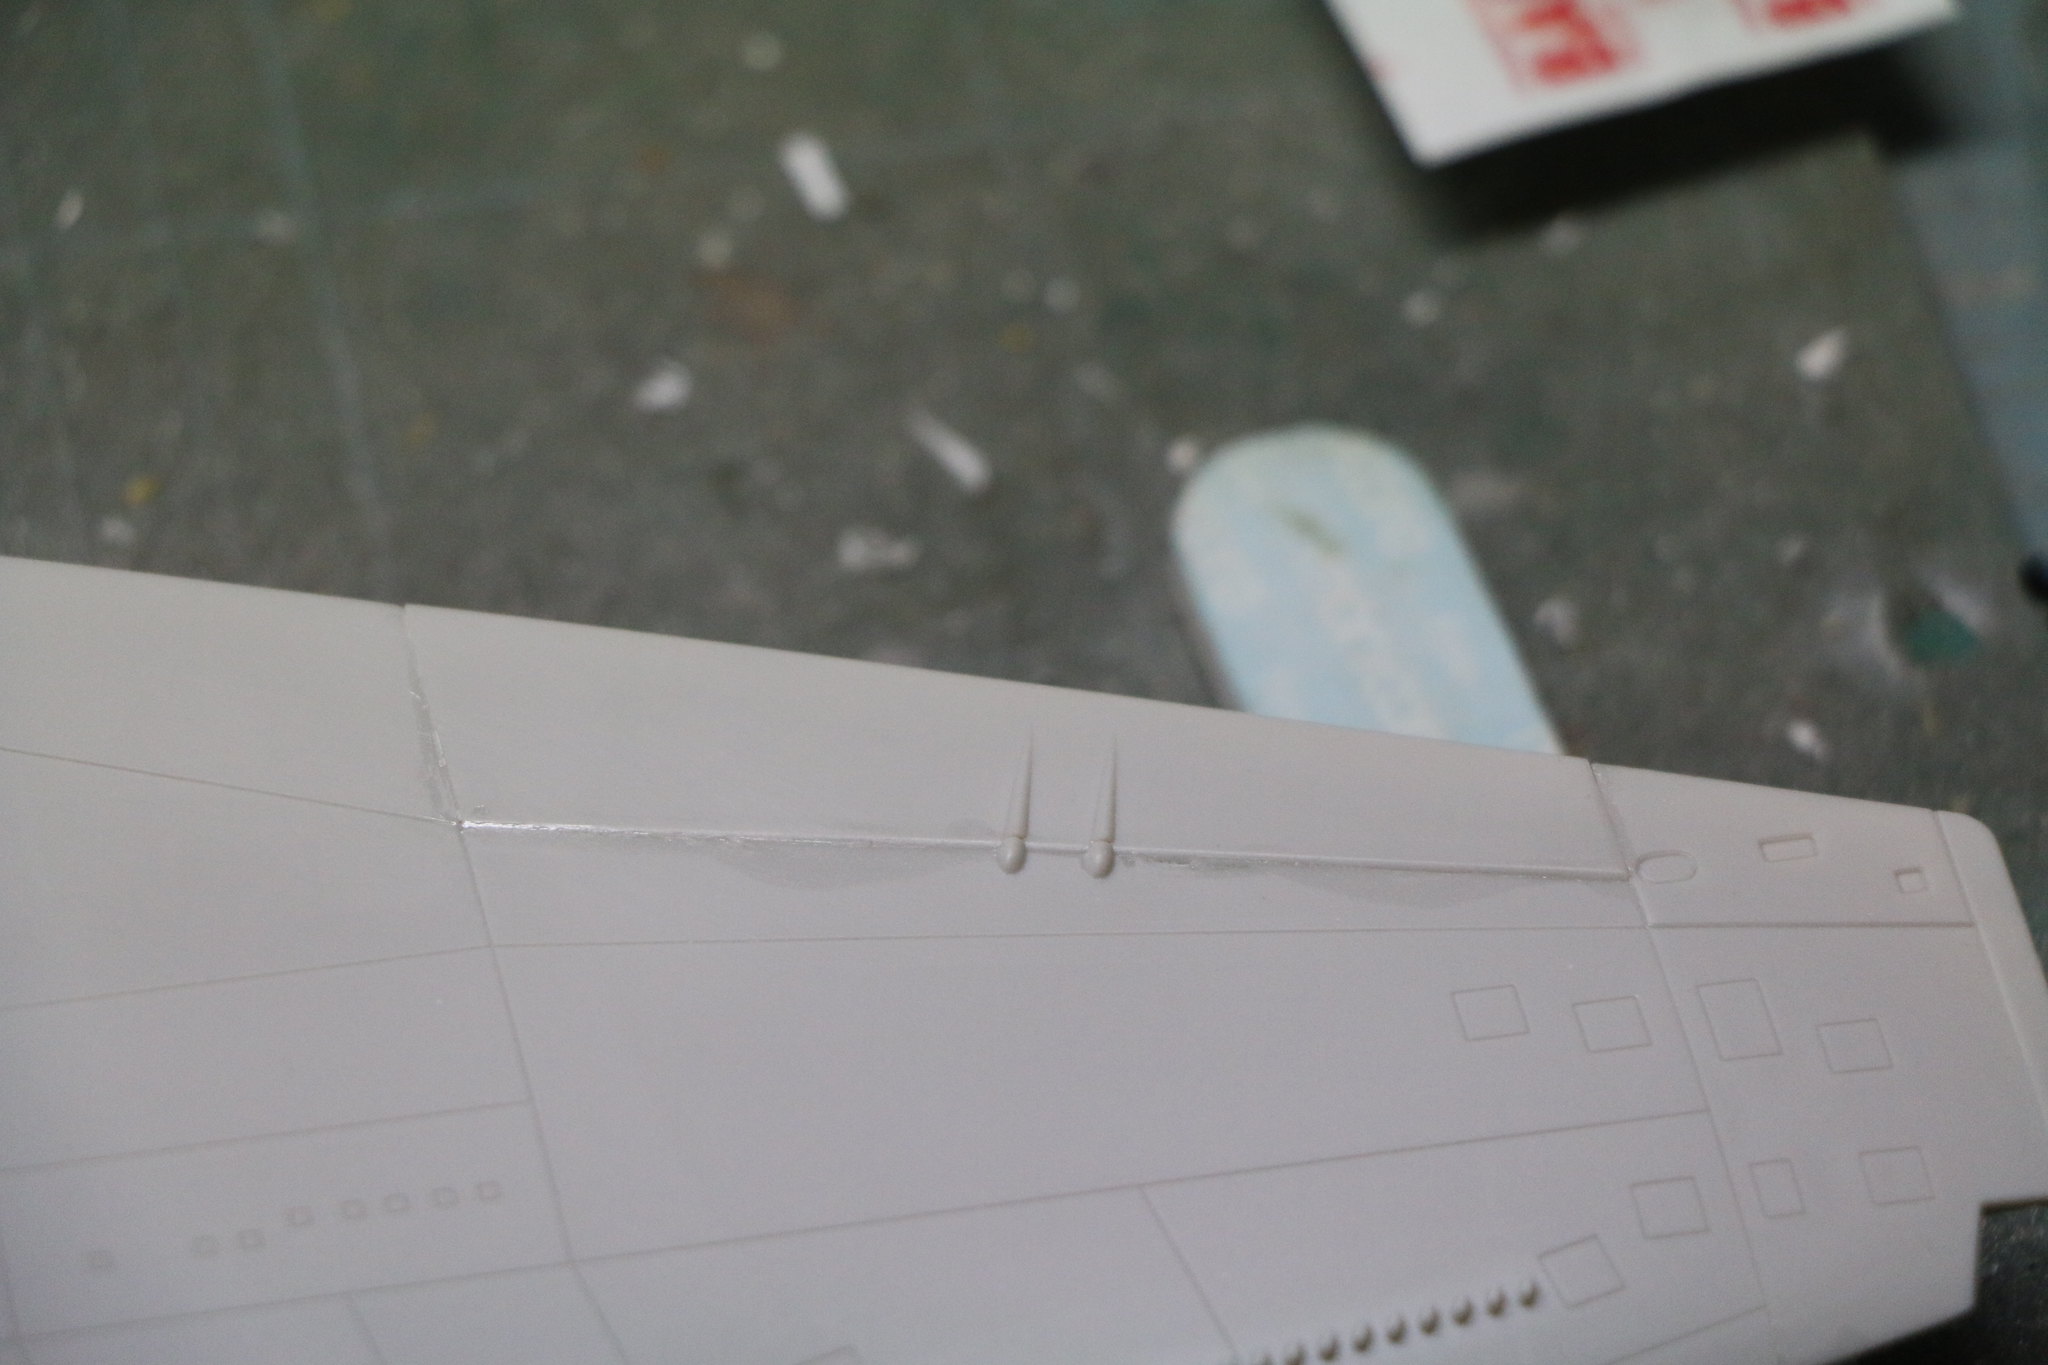
I'll make a comment here about the sprue gates which are huge! And actually would be better sawn off and cleaned up with a blade and a sanding stick. Don't do what I did and use sprue cutters as it invariably takes chunks out of the edge of the part even if you're really very careful. I have some filling to do on the leading edges of the wings because of it. And there are some pretty ugly ejector pin marks in the fuselage which needed to be sanded down only in the front of the nose as they might have possibly been visible.
Parts count while not huge does provide quite a bit of detail and the kit builds up quickly (detail painting aside). Well I think that's about it for the start here are some pics of the progress to date.
IMG_1550 by Chris WIlson, on Flickr
IMG_1551 by Chris WIlson, on Flickr
IMG_1552 by Chris WIlson, on Flickr
IMG_1553 by Chris WIlson, on Flickr
IMG_1555 by Chris WIlson, on Flickr
IMG_1557 by Chris WIlson, on Flickr
IMG_1558 by Chris WIlson, on Flickr
IMG_1561 by Chris WIlson, on Flickr
IMG_1562 by Chris WIlson, on Flickr
IMG_1565 by Chris WIlson, on Flickr
IMG_1566 by Chris WIlson, on Flickr
Modern (1975-today)
Discuss the modern aircraft age from 1975 thru today.
Hosted by Jim Starkweather
Airfix 1/48 English Electric Canberra PR-9
Posted: Saturday, June 24, 2017 - 06:11 AM UTC
Posted: Saturday, June 24, 2017 - 03:04 PM UTC
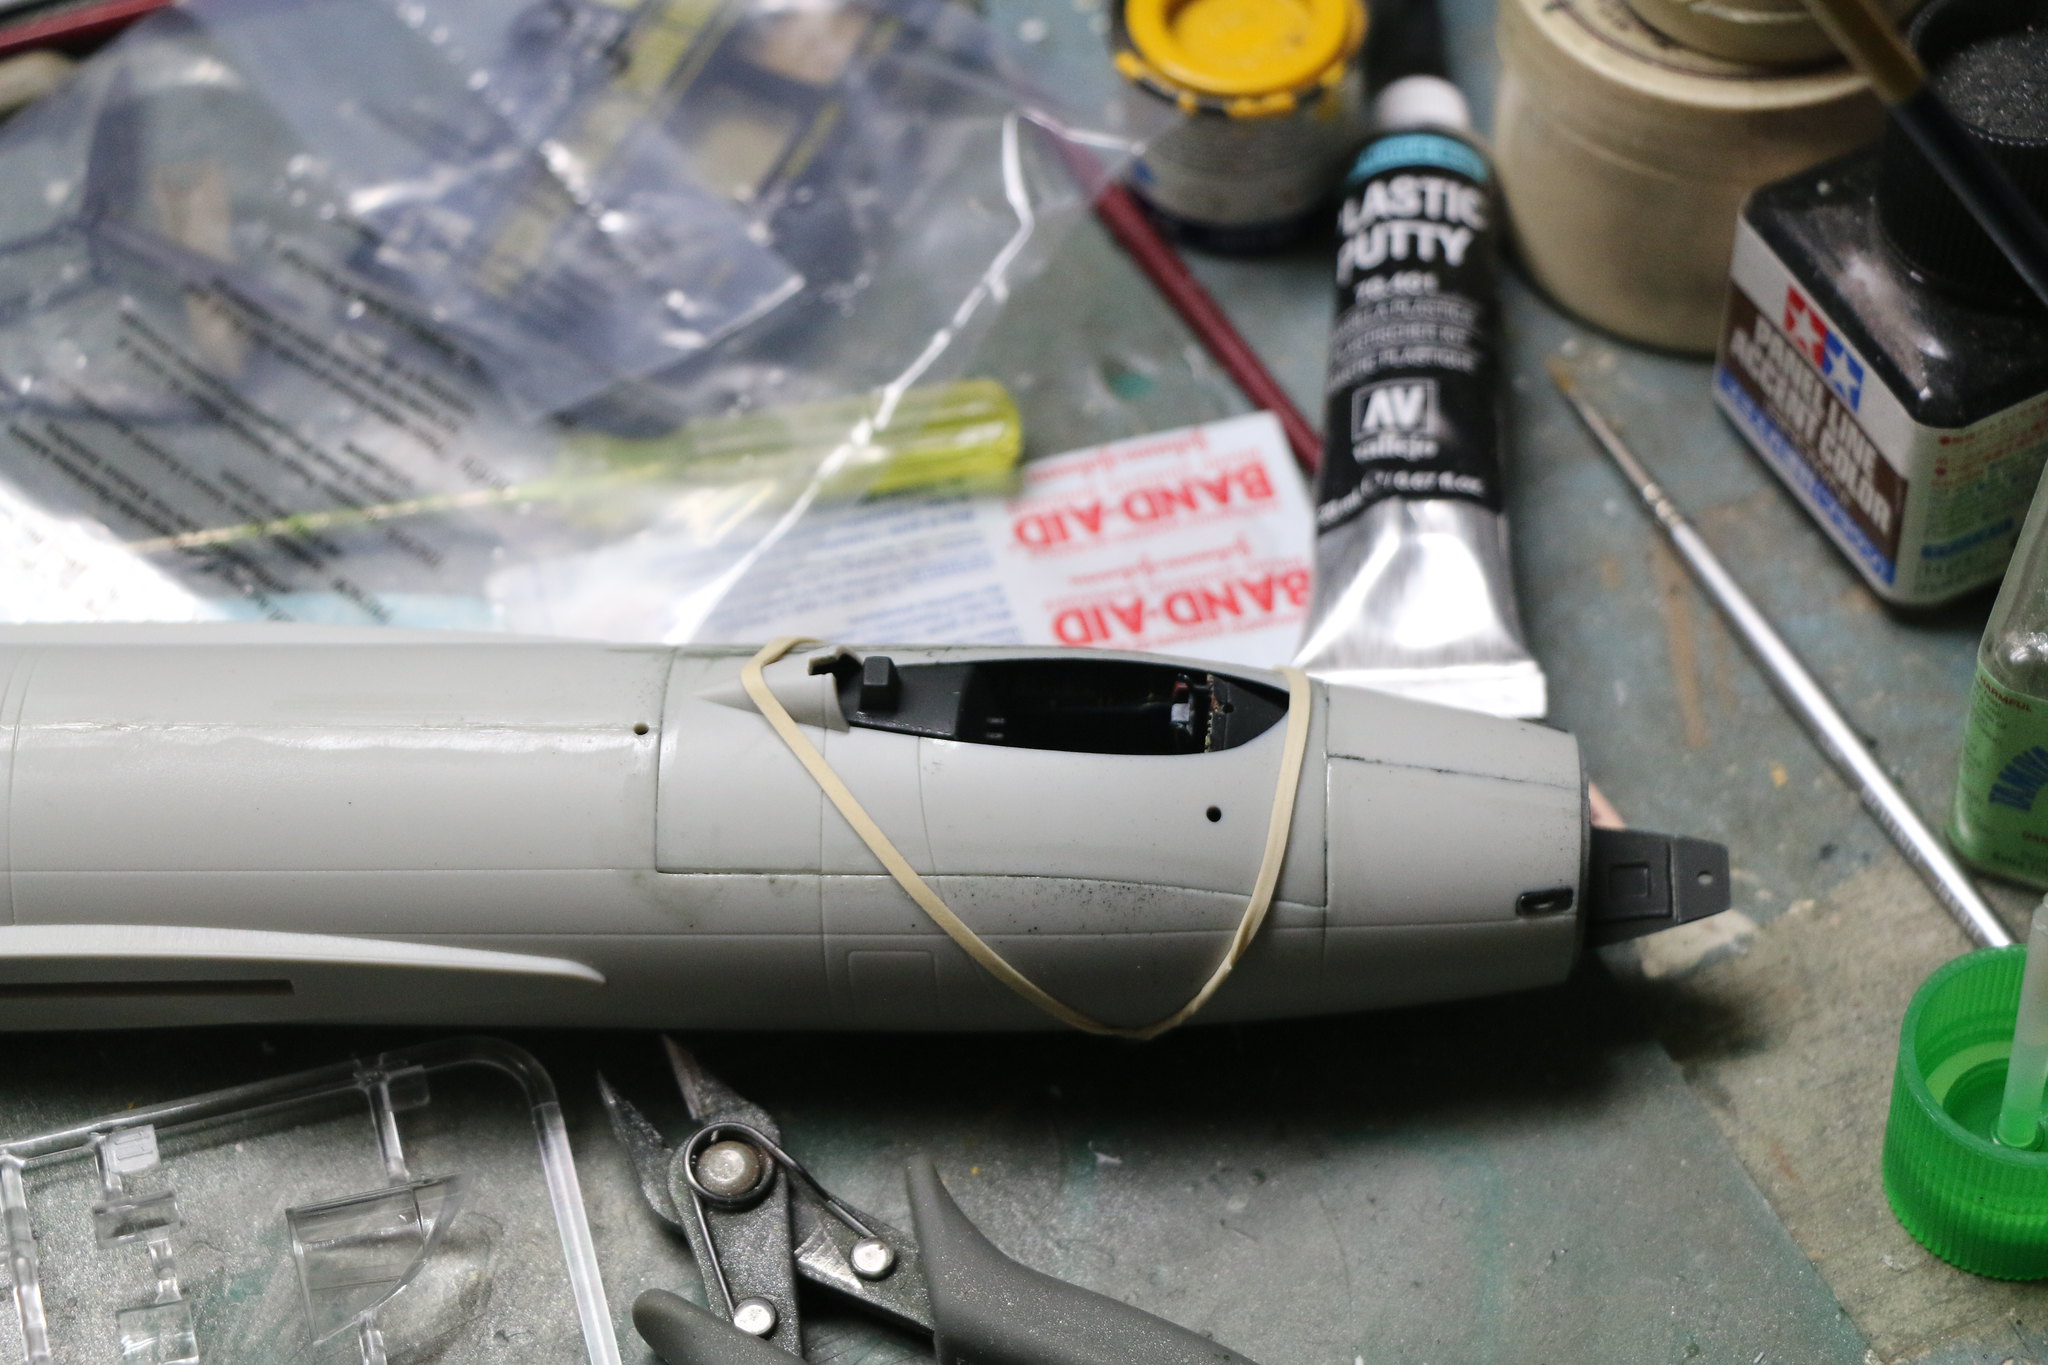
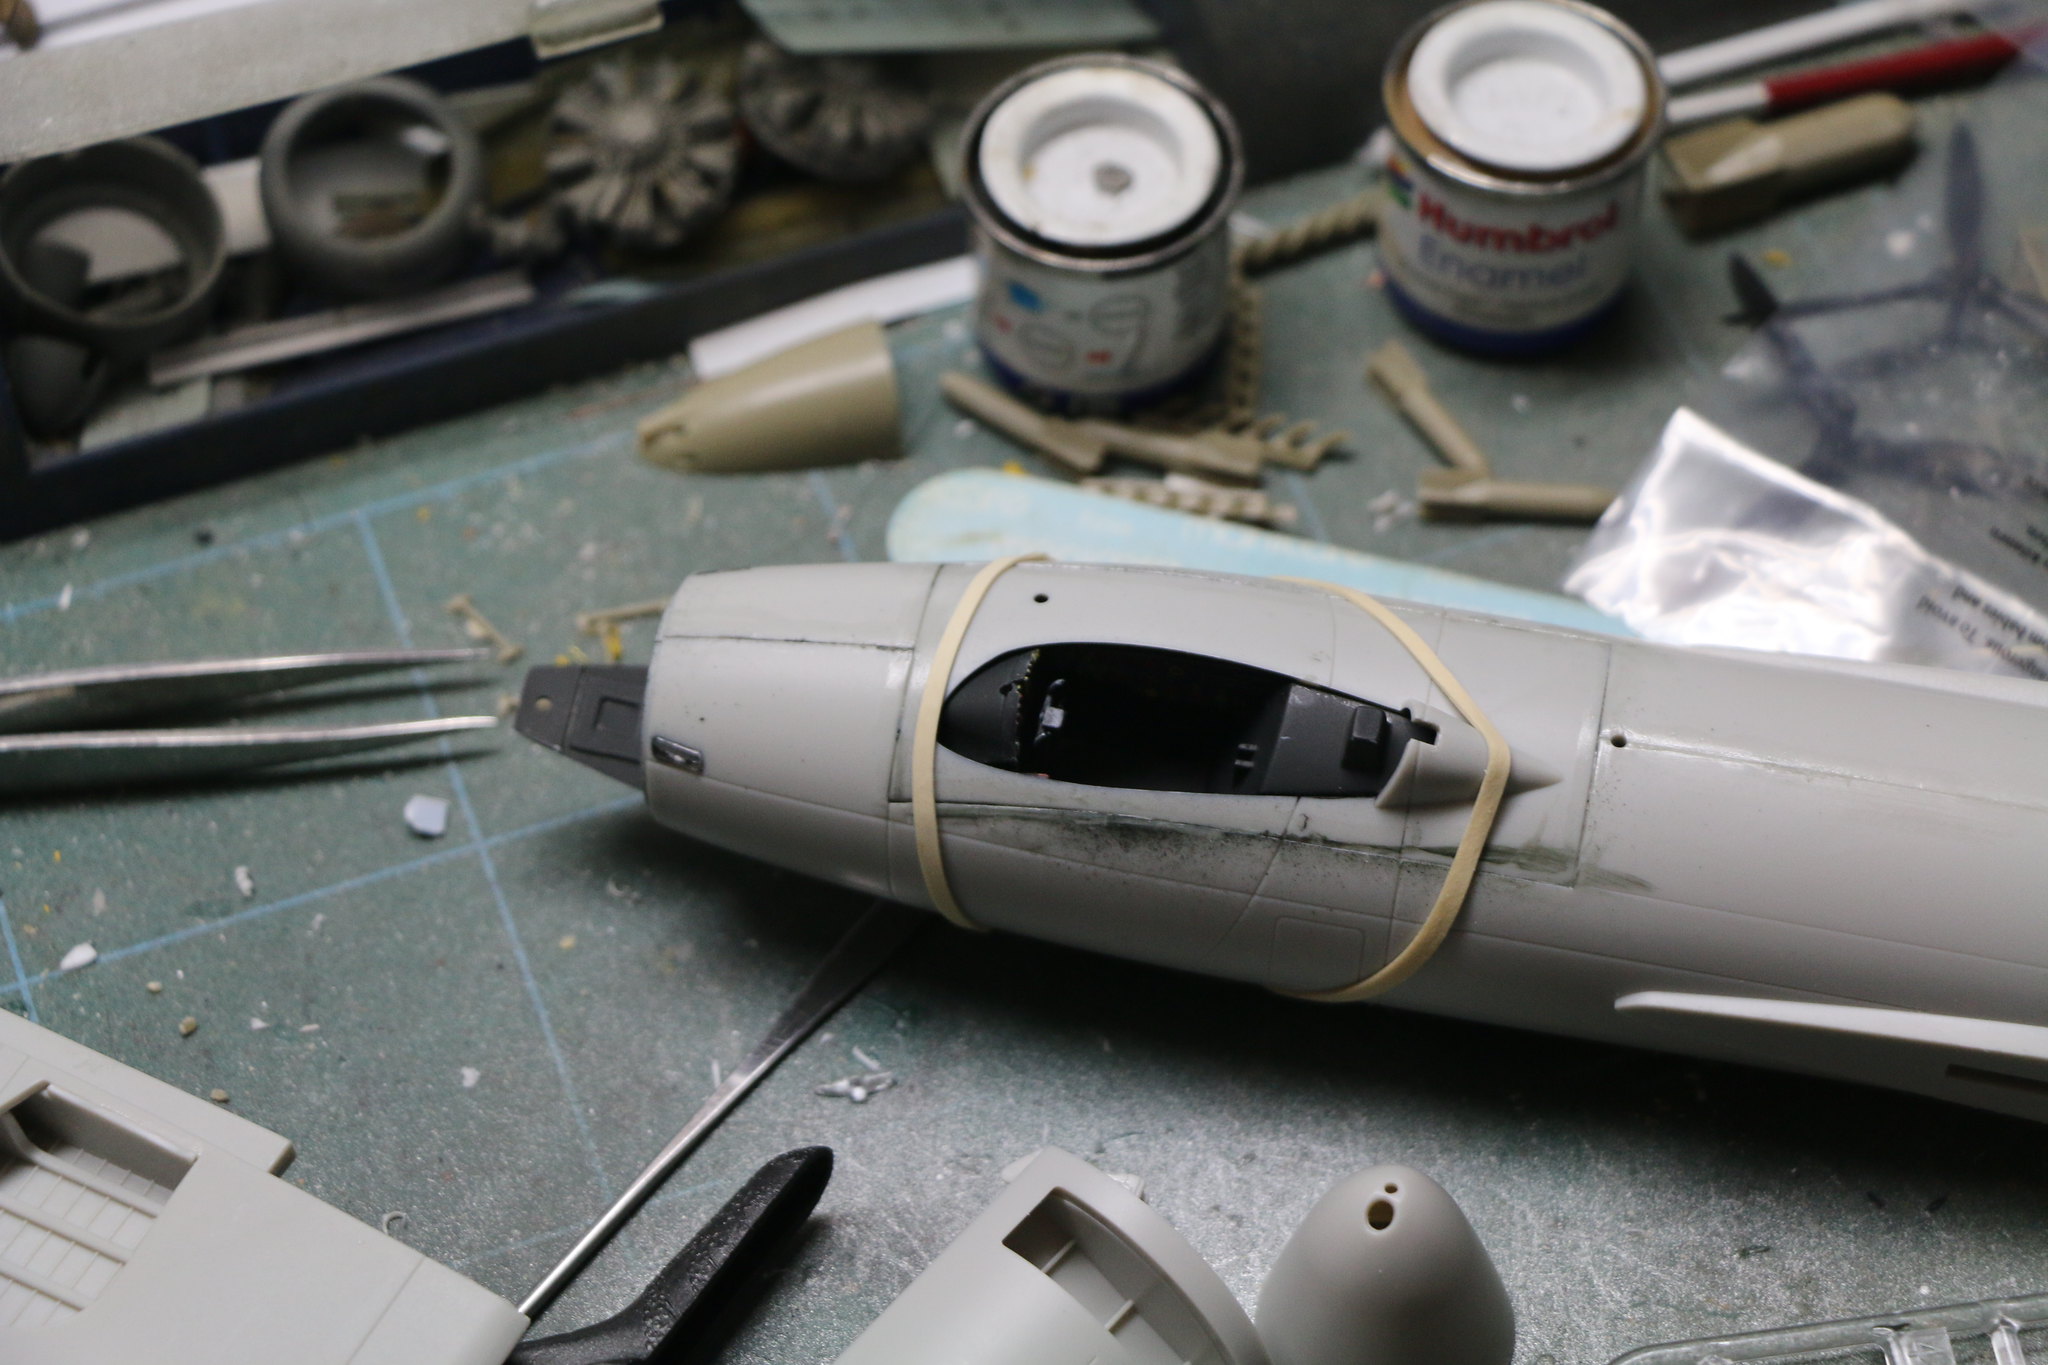
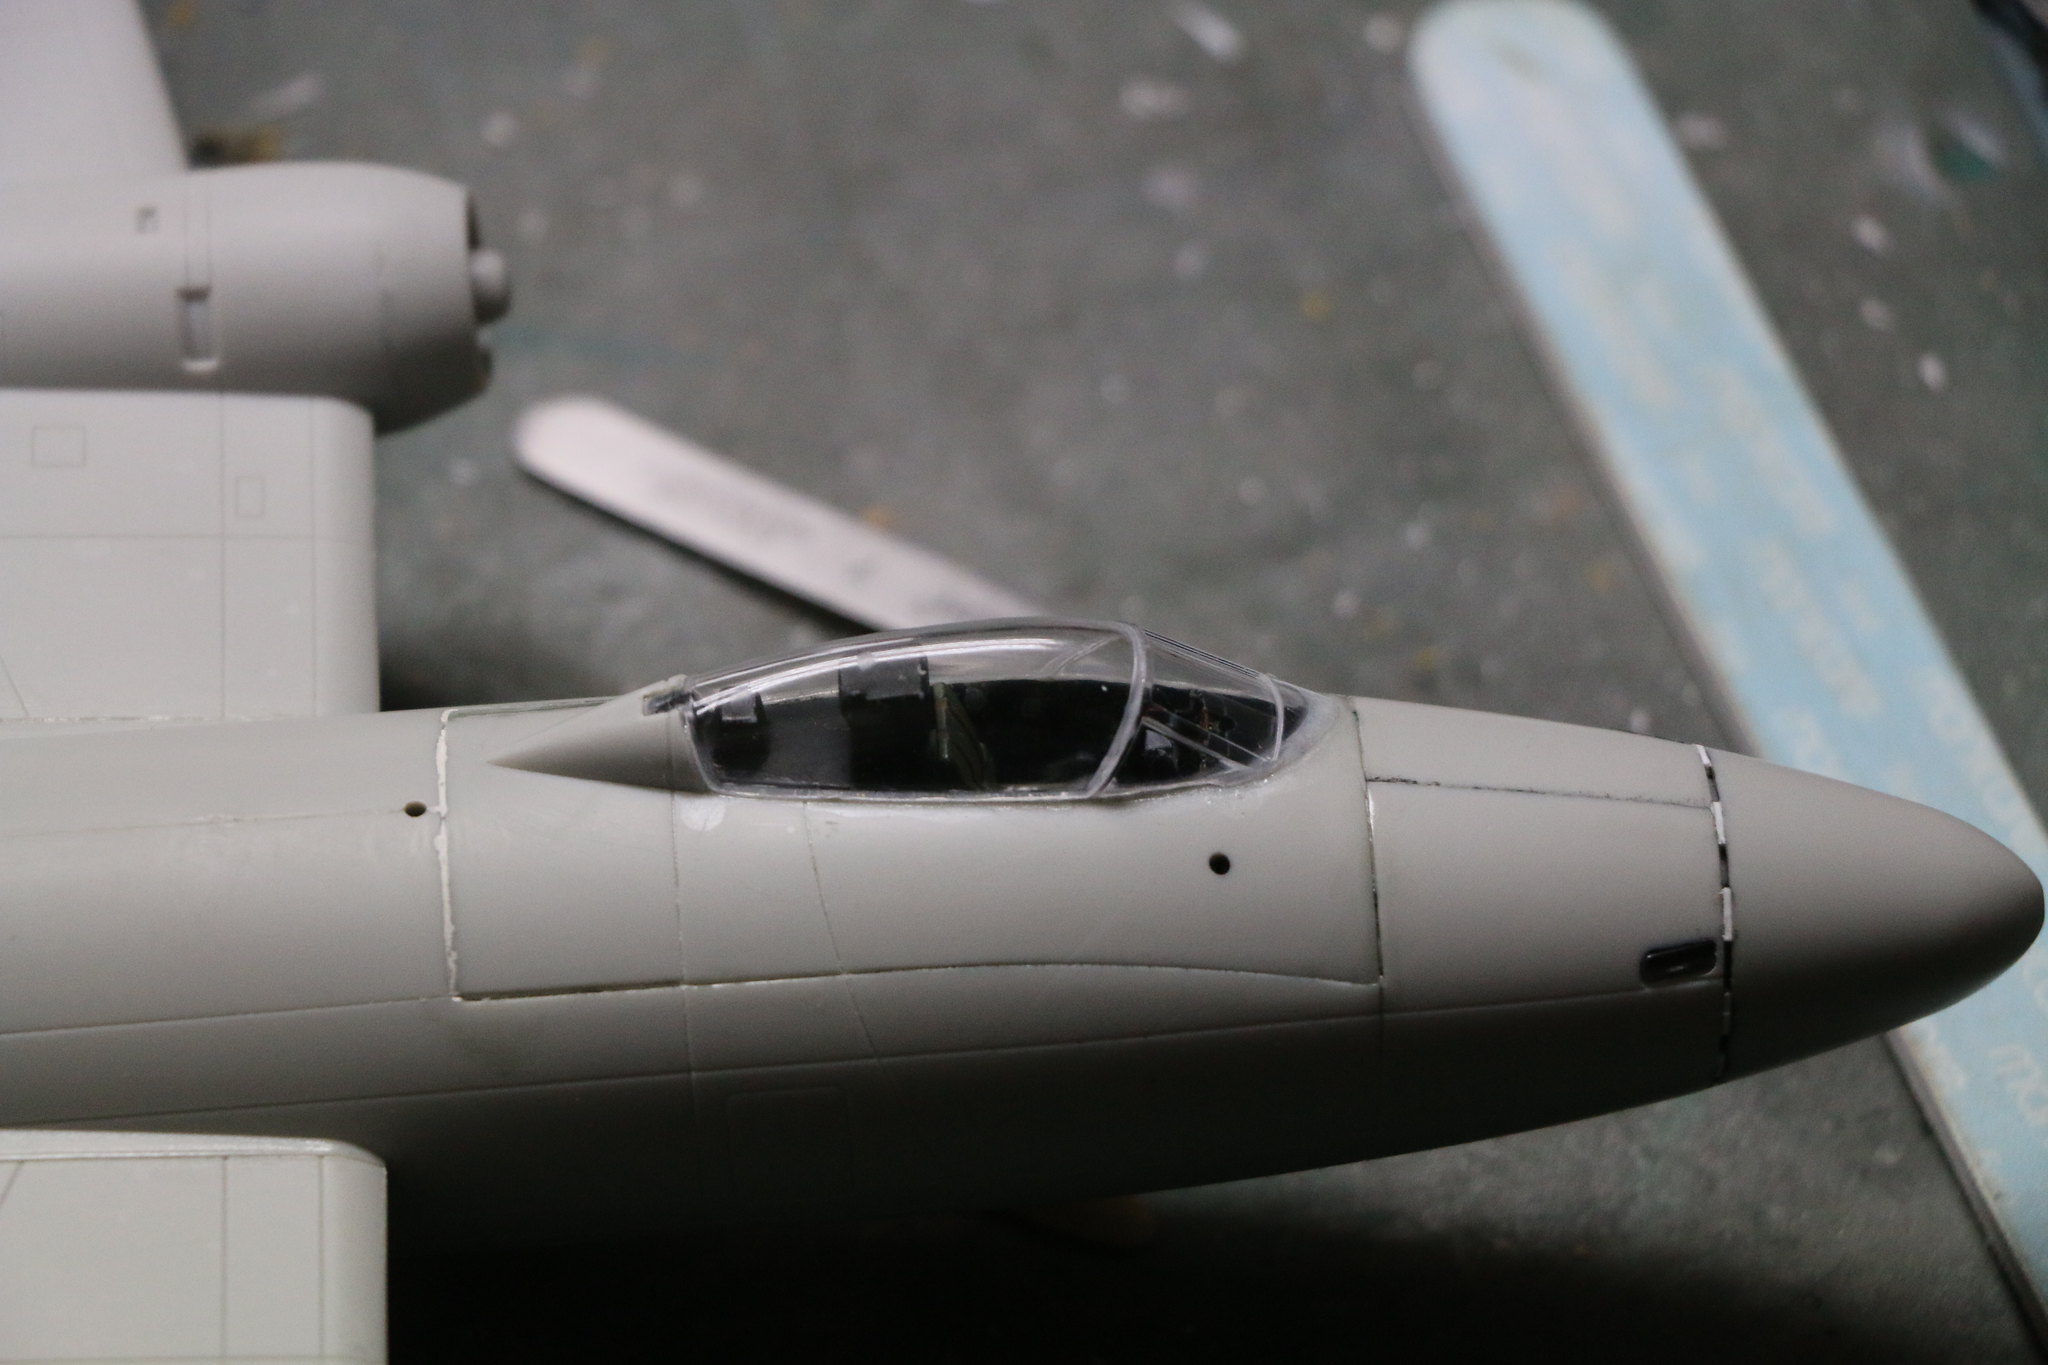
So I've done some detail painting and I've assembled the fuselage. I attached the cockpit to the upper fuselage panel but found that it caused fit issues. Fortunately the plastic was still soft enough to gently separate with a scalpel it didn't require much just enough to let it sit up a little. I then placed it inside the fuselage and closed it up. Held it all together with a rubber band up front to help ensure a good fit to the fuselage. Now I've got to paint the inside of the nose cone black and glue it to the fuselage. There is a glazed piece that sits at the very tip along with the pitot tube.
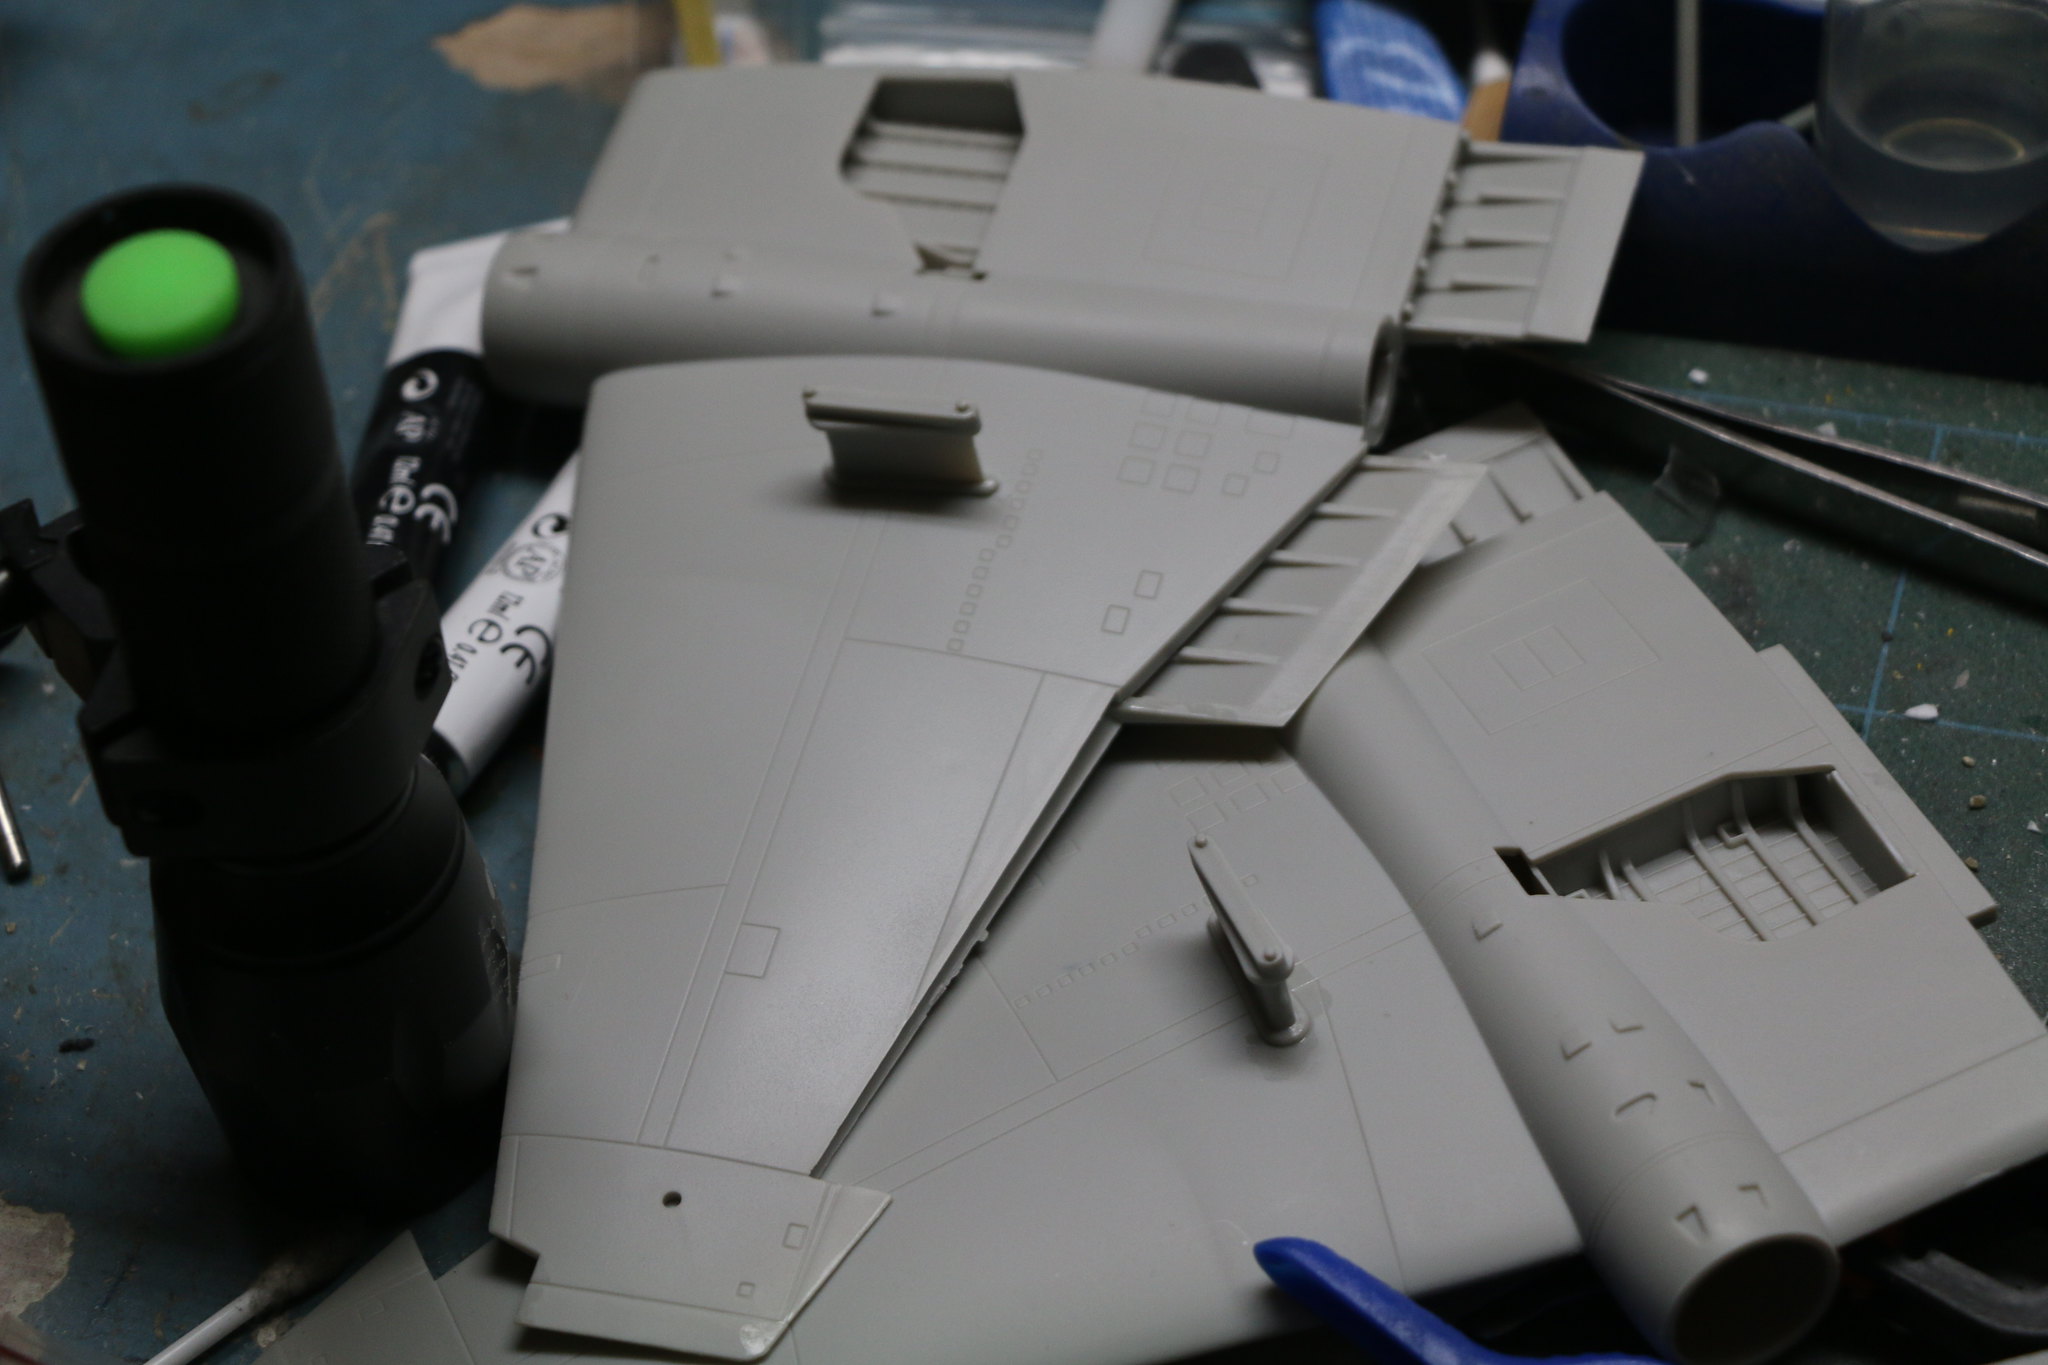
I've attached the hard points to the wings but I've still got to build the pods. The previous owner had drilled out the mounting points for the wing tip tanks but they're no longer in the kit so I'll either have to rob them from my other Canberra kit or fill them in. It may be simpler to just fill the holes in with a little stretched sprue. but i'll make that decision a little later.
Okay here's the pics so you can see where I'm currently at.
Canberra-PR9+1 by Chris WIlson, on Flickr
Canberra-PR9 by Chris WIlson, on Flickr
IMG_1567 by Chris WIlson, on Flickr
IMG_1568 by Chris WIlson, on Flickr
IMG_1570 by Chris WIlson, on Flickr
IMG_1572 by Chris WIlson, on Flickr
IMG_1573 by Chris WIlson, on Flickr
IMG_1574 by Chris WIlson, on Flickr
Posted: Sunday, July 02, 2017 - 09:37 AM UTC
So after the Photobucket debacle I've moved back to Flickr and found a whole lot of pics from previous projects I thought I'd lost so BONUS! But it's taking me a while to get used to their interface but hey it's free and the links work! As an advantage you get 1TB of storage space as a starting point and currently I haven't broken 1% yet but that'll change when I start moving my pics over.
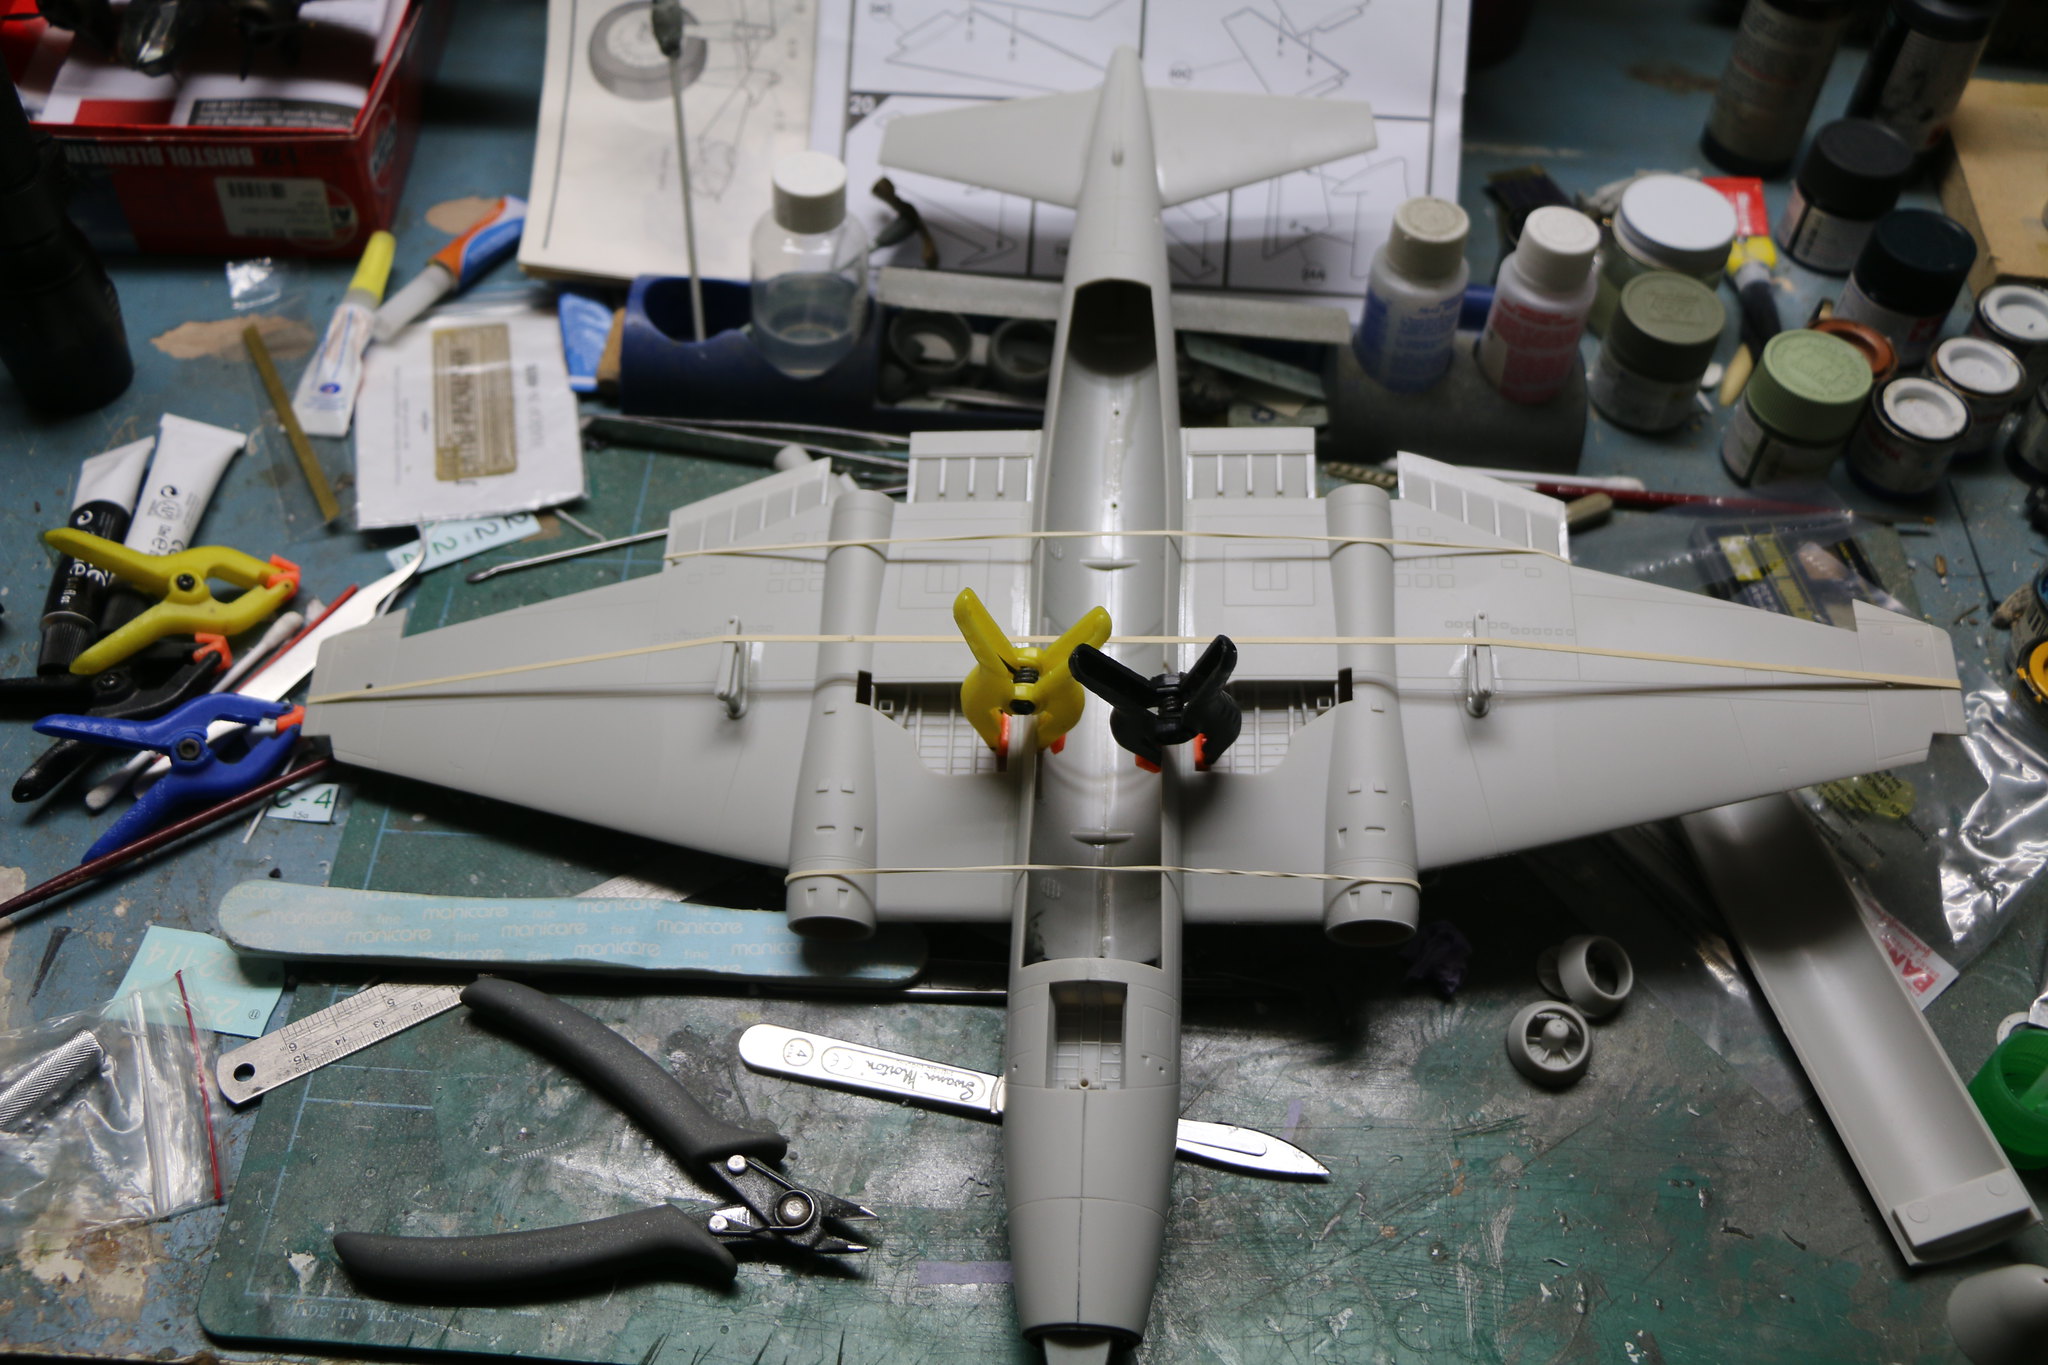
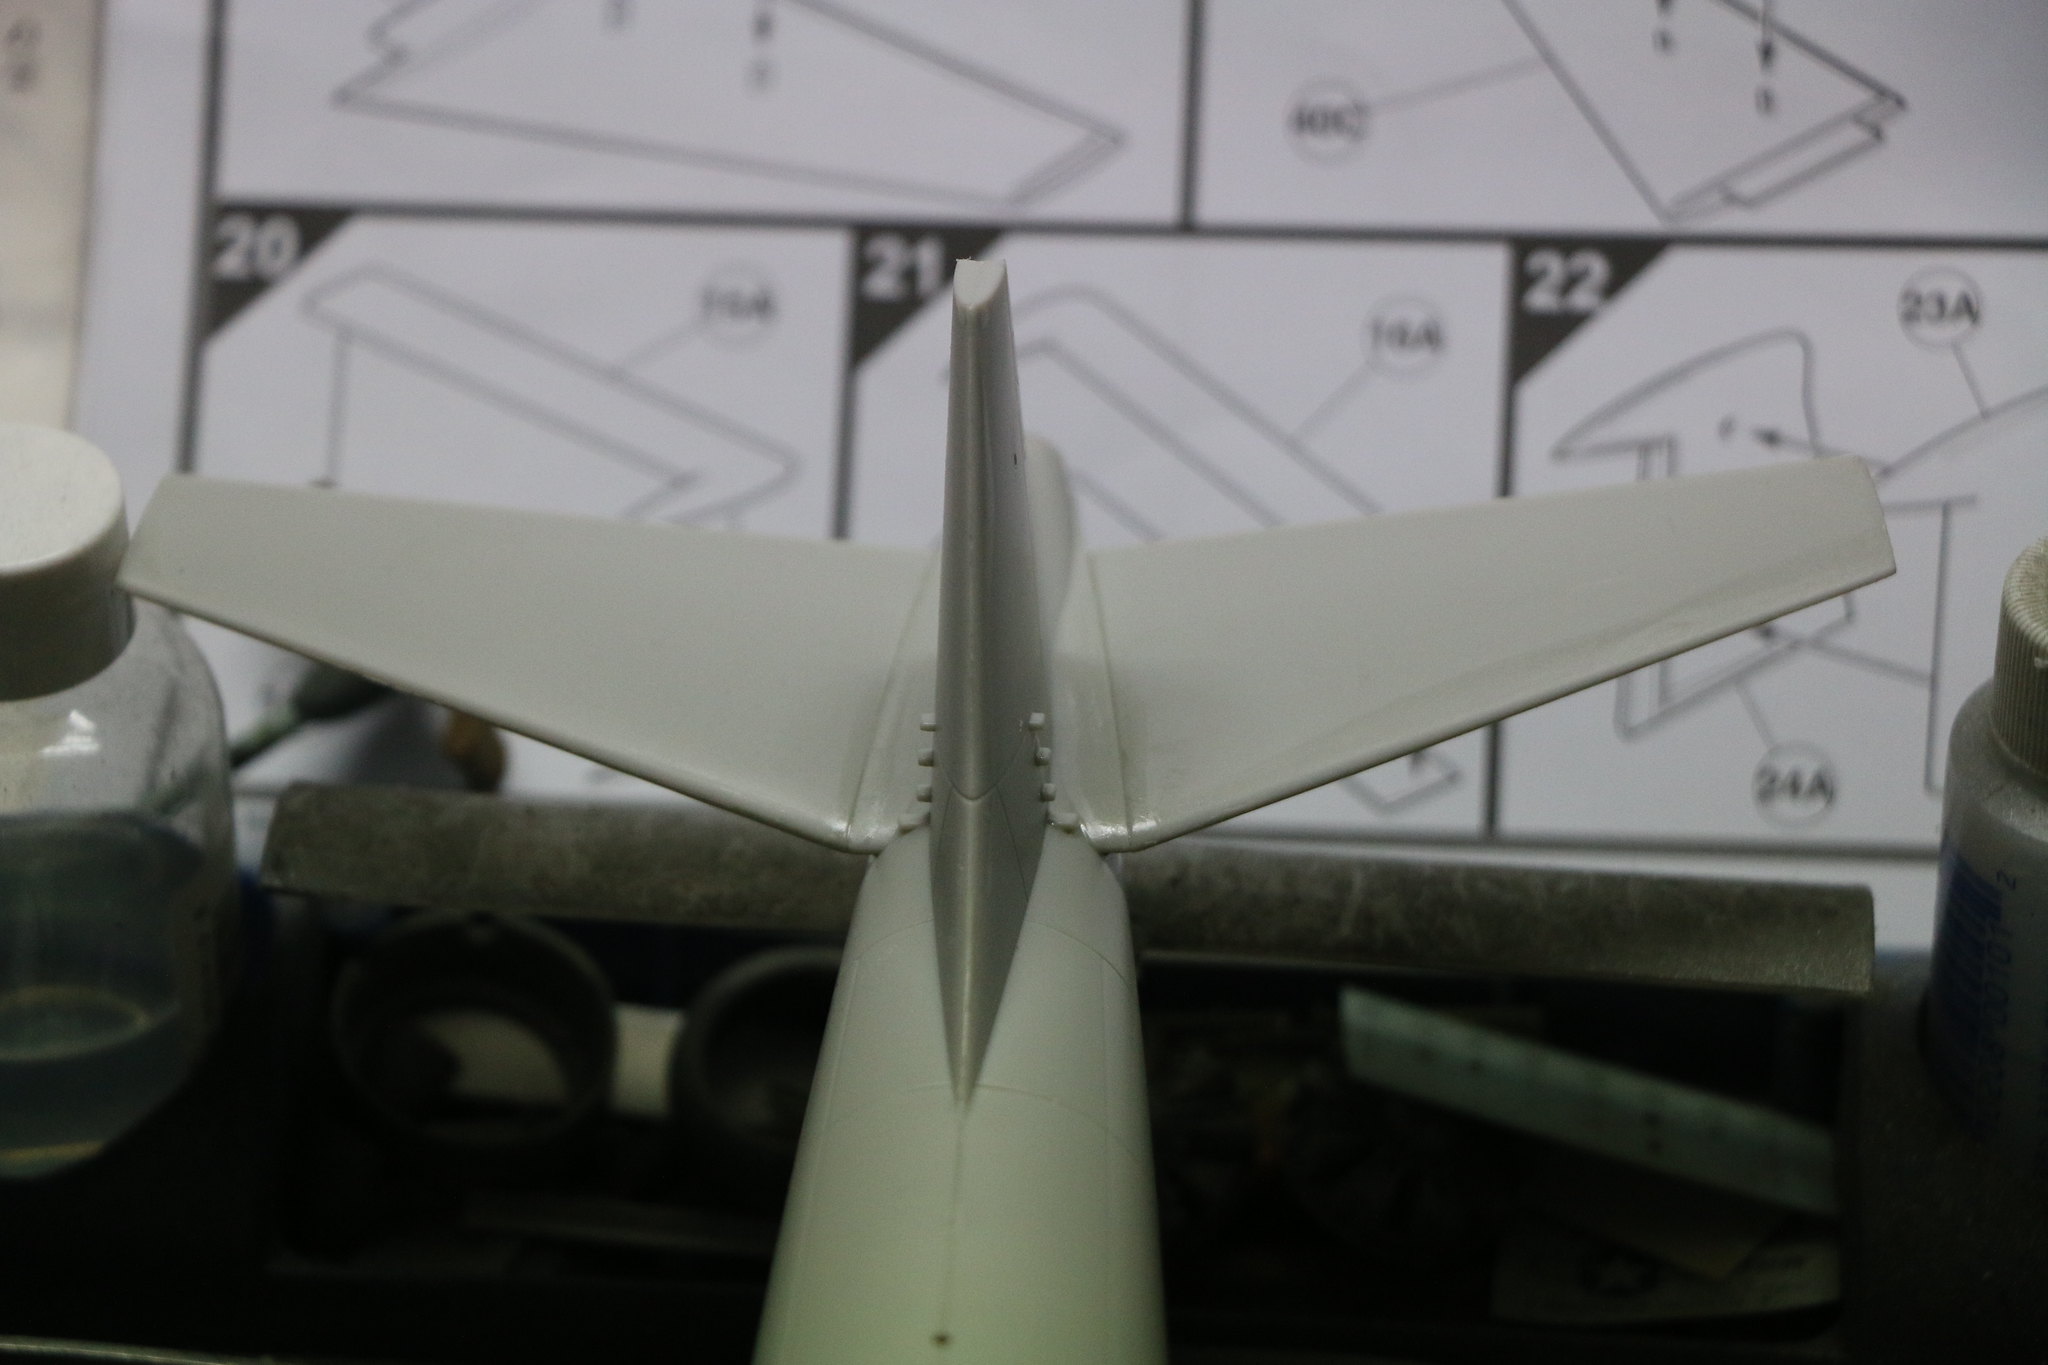
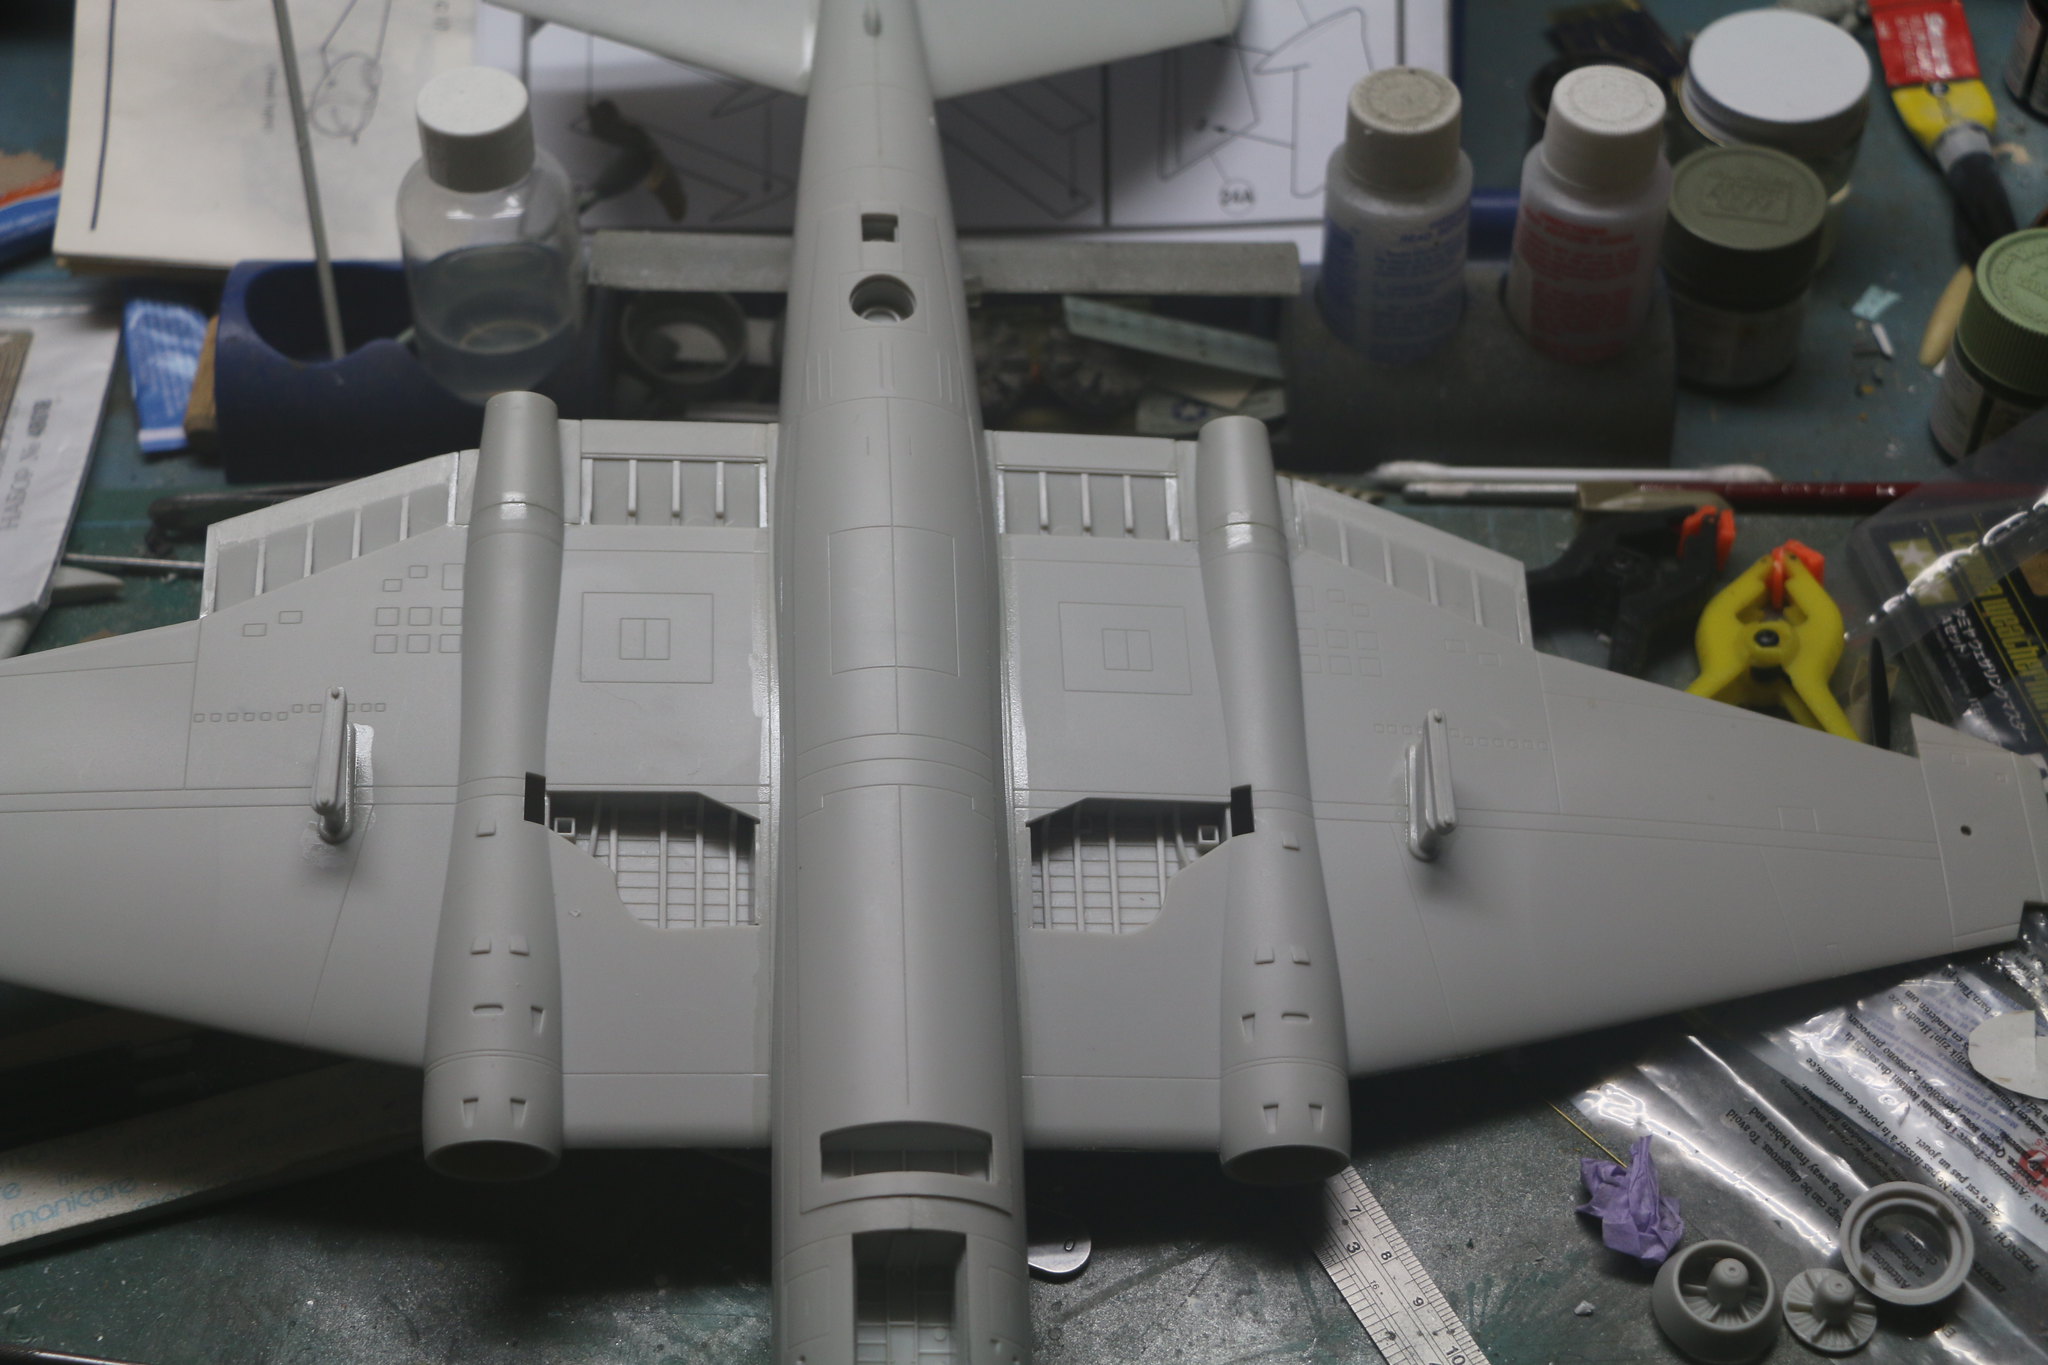
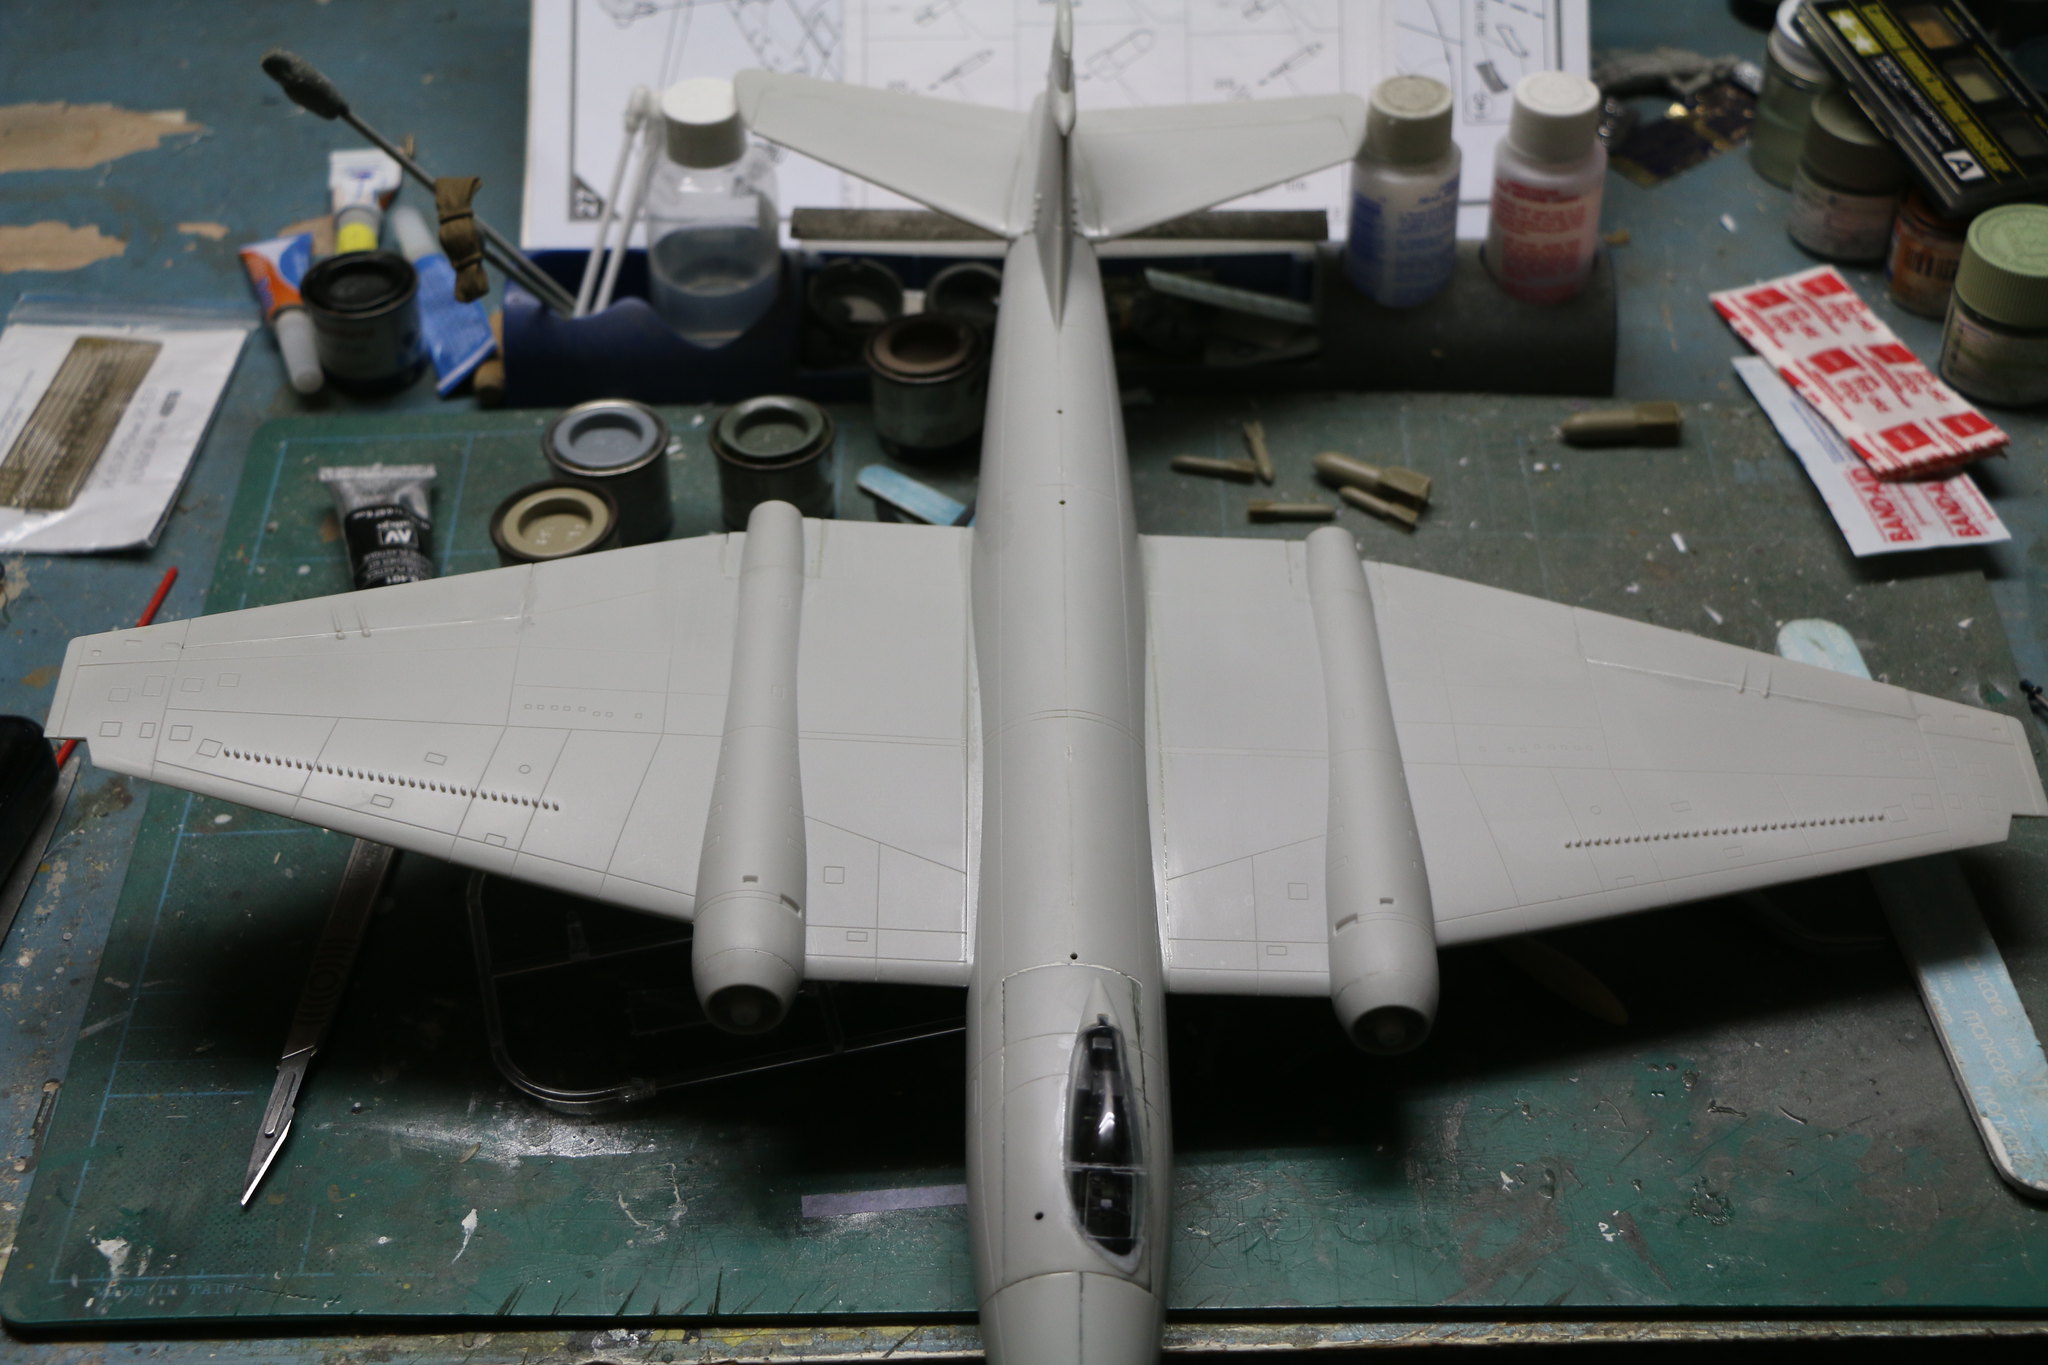
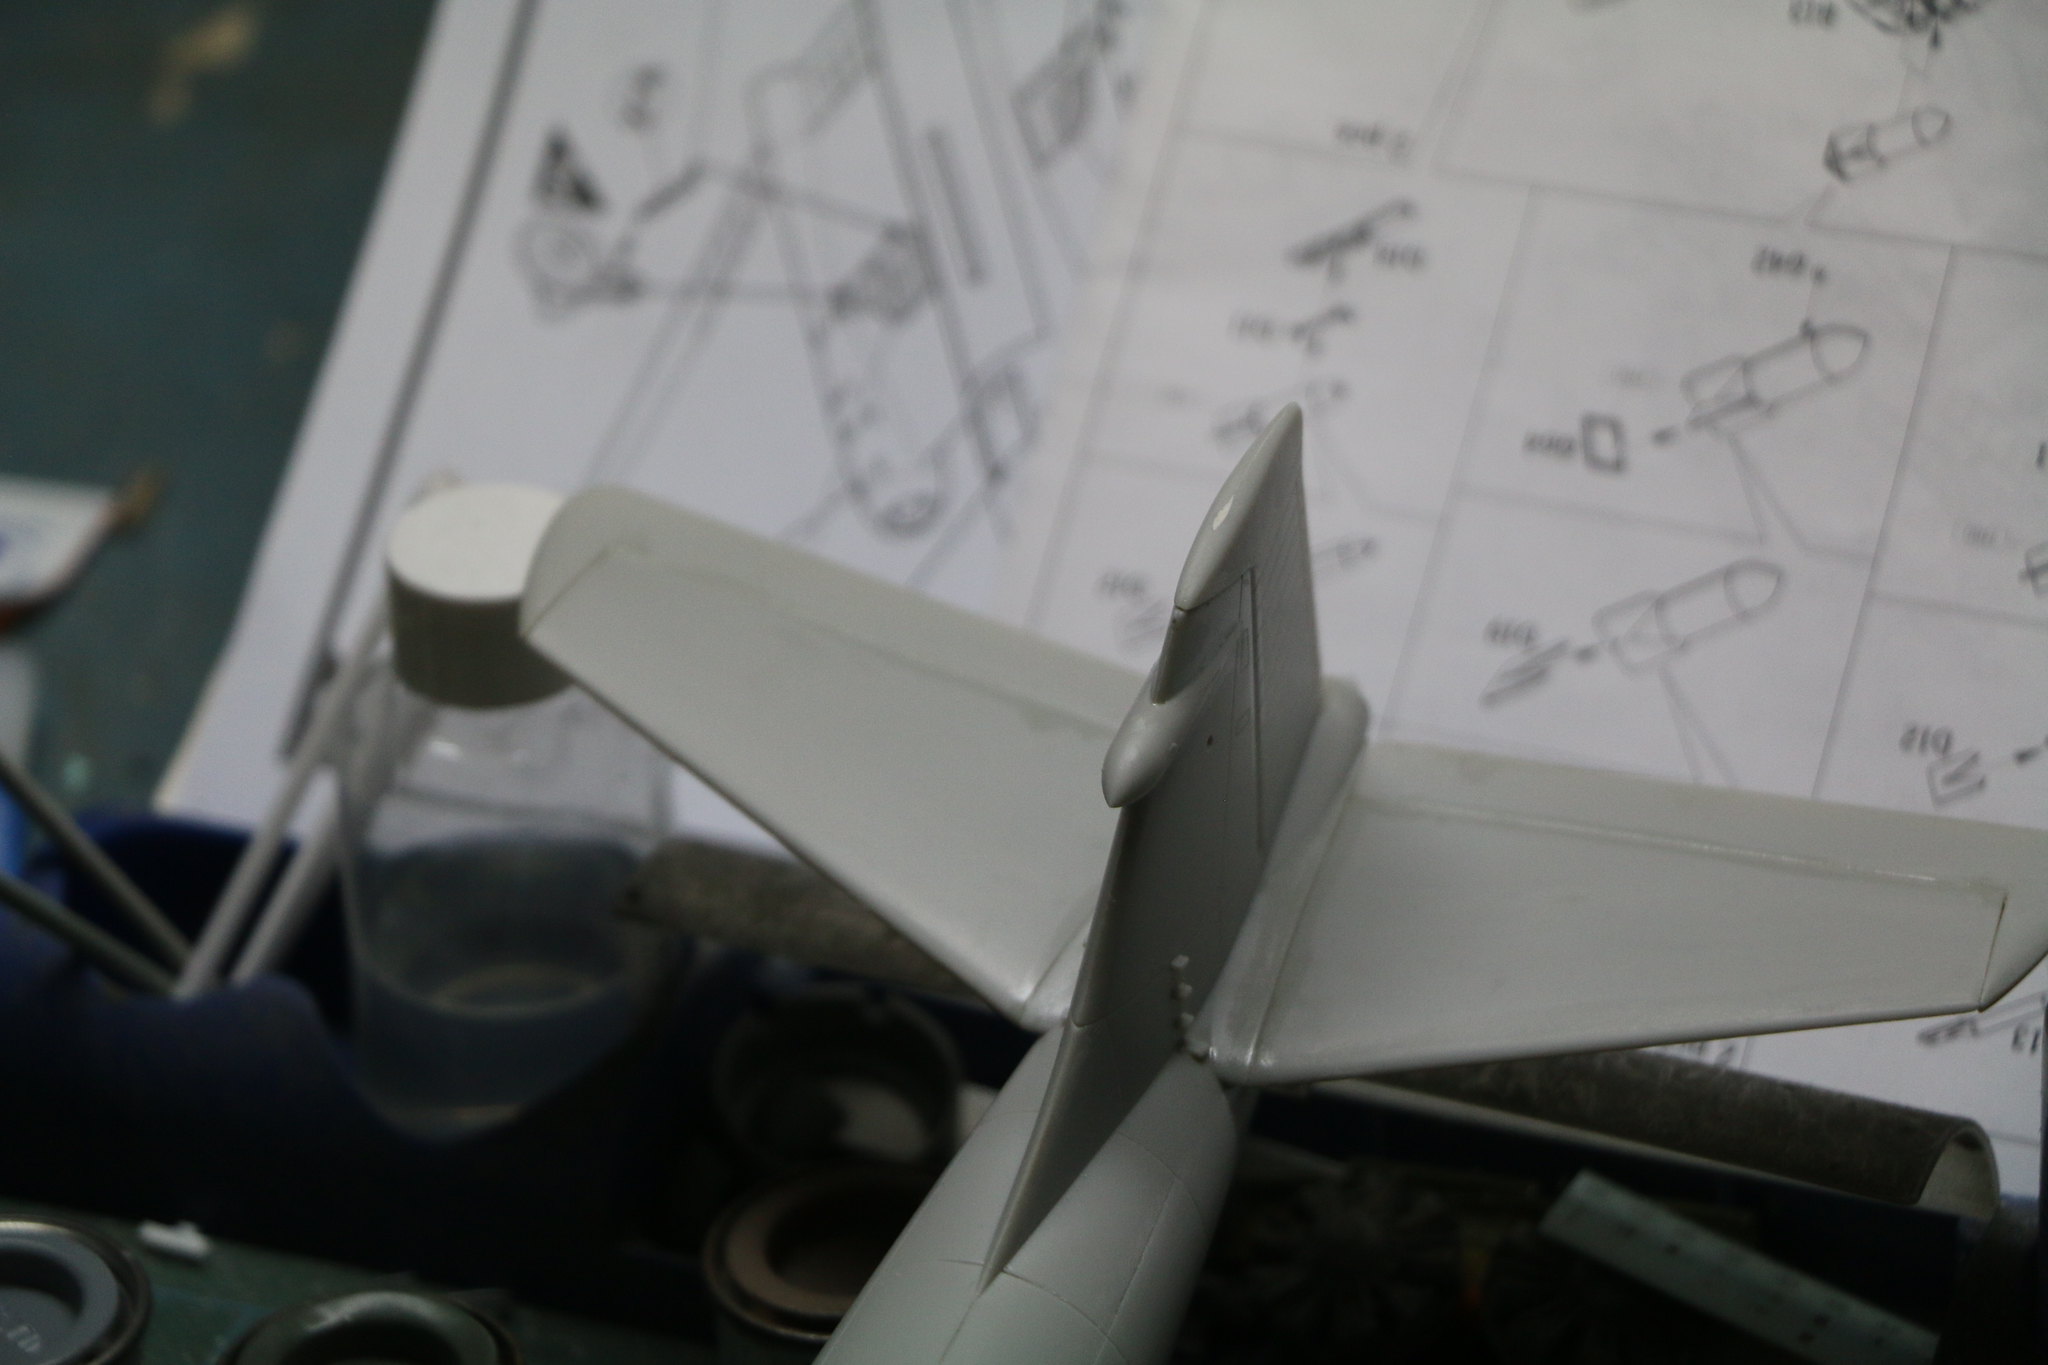
Anyways it's starting to look more like an aeroplane now I have the wings, the tail planes, rudder, camera belly and canopy on. The belly itself took a bit of finessing as there were no alignment pins and it wanted to drop inside all the time.
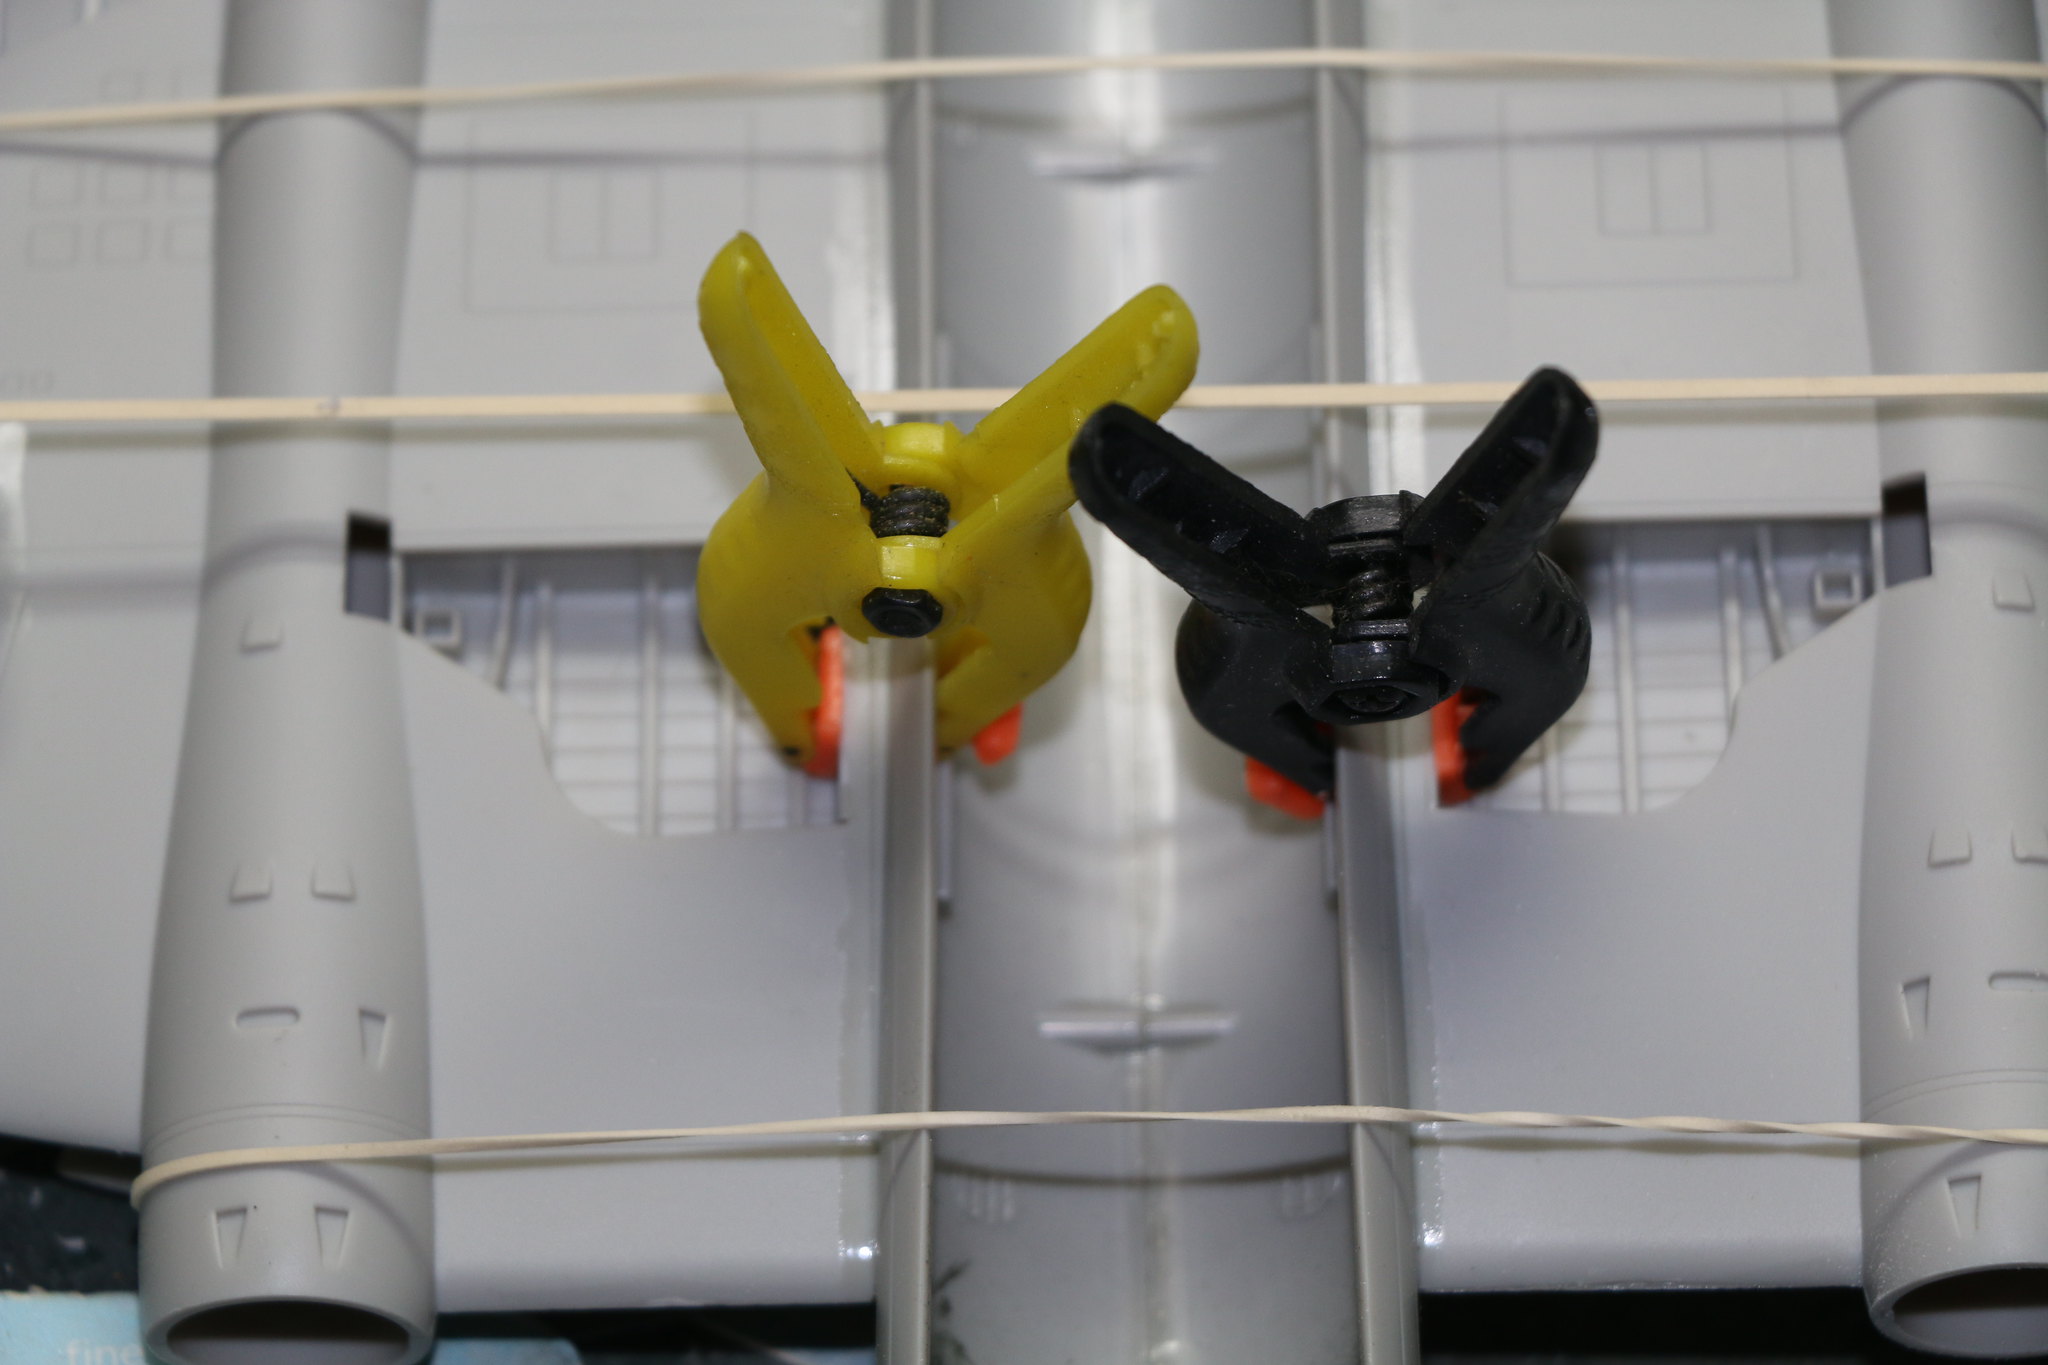
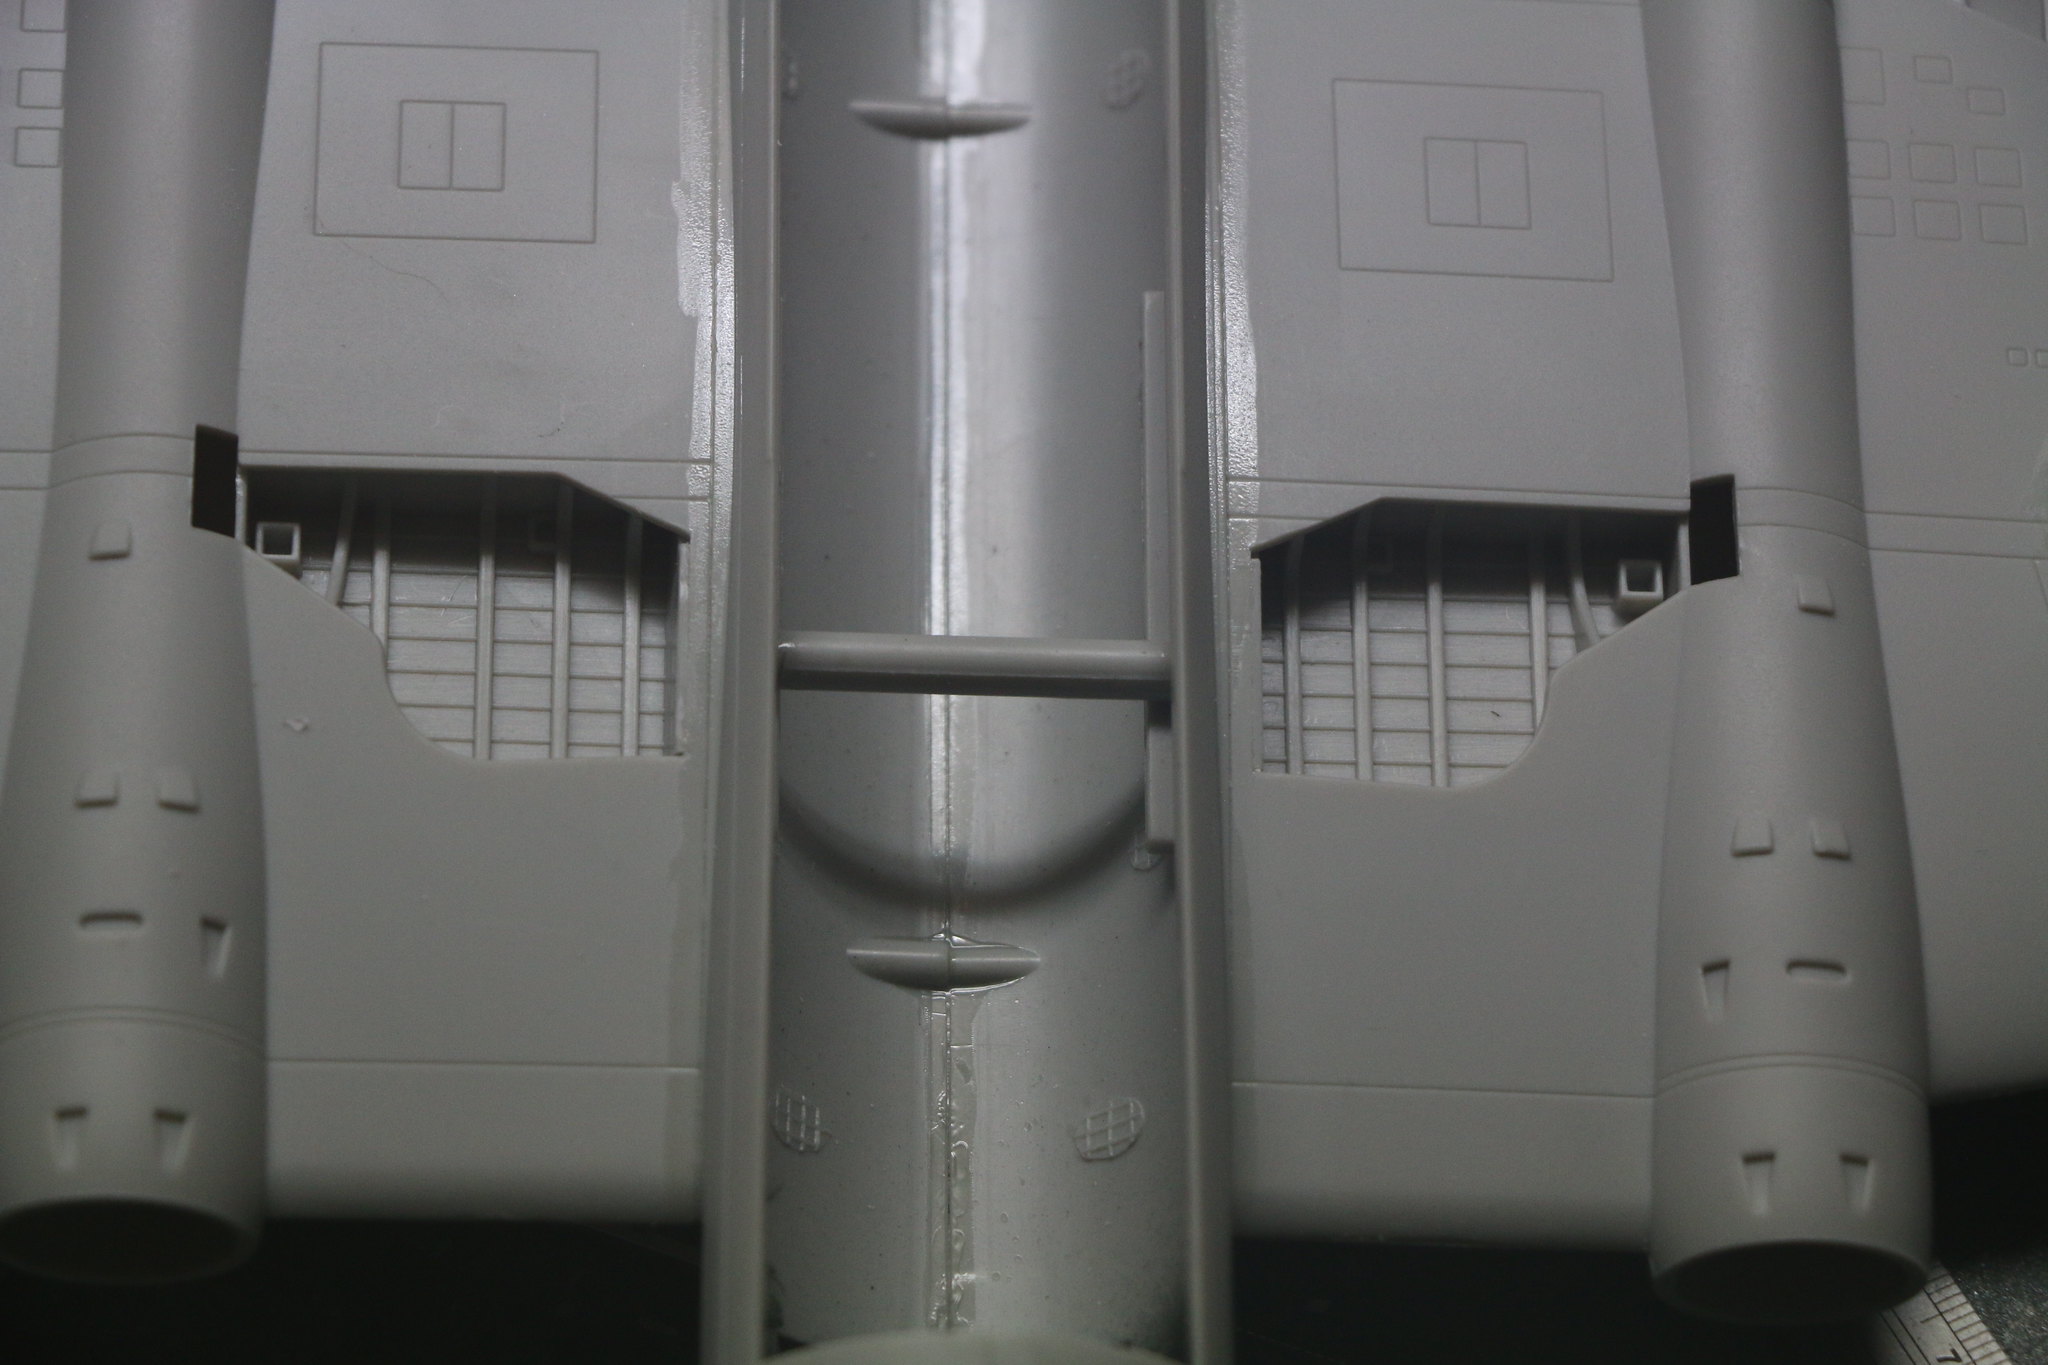
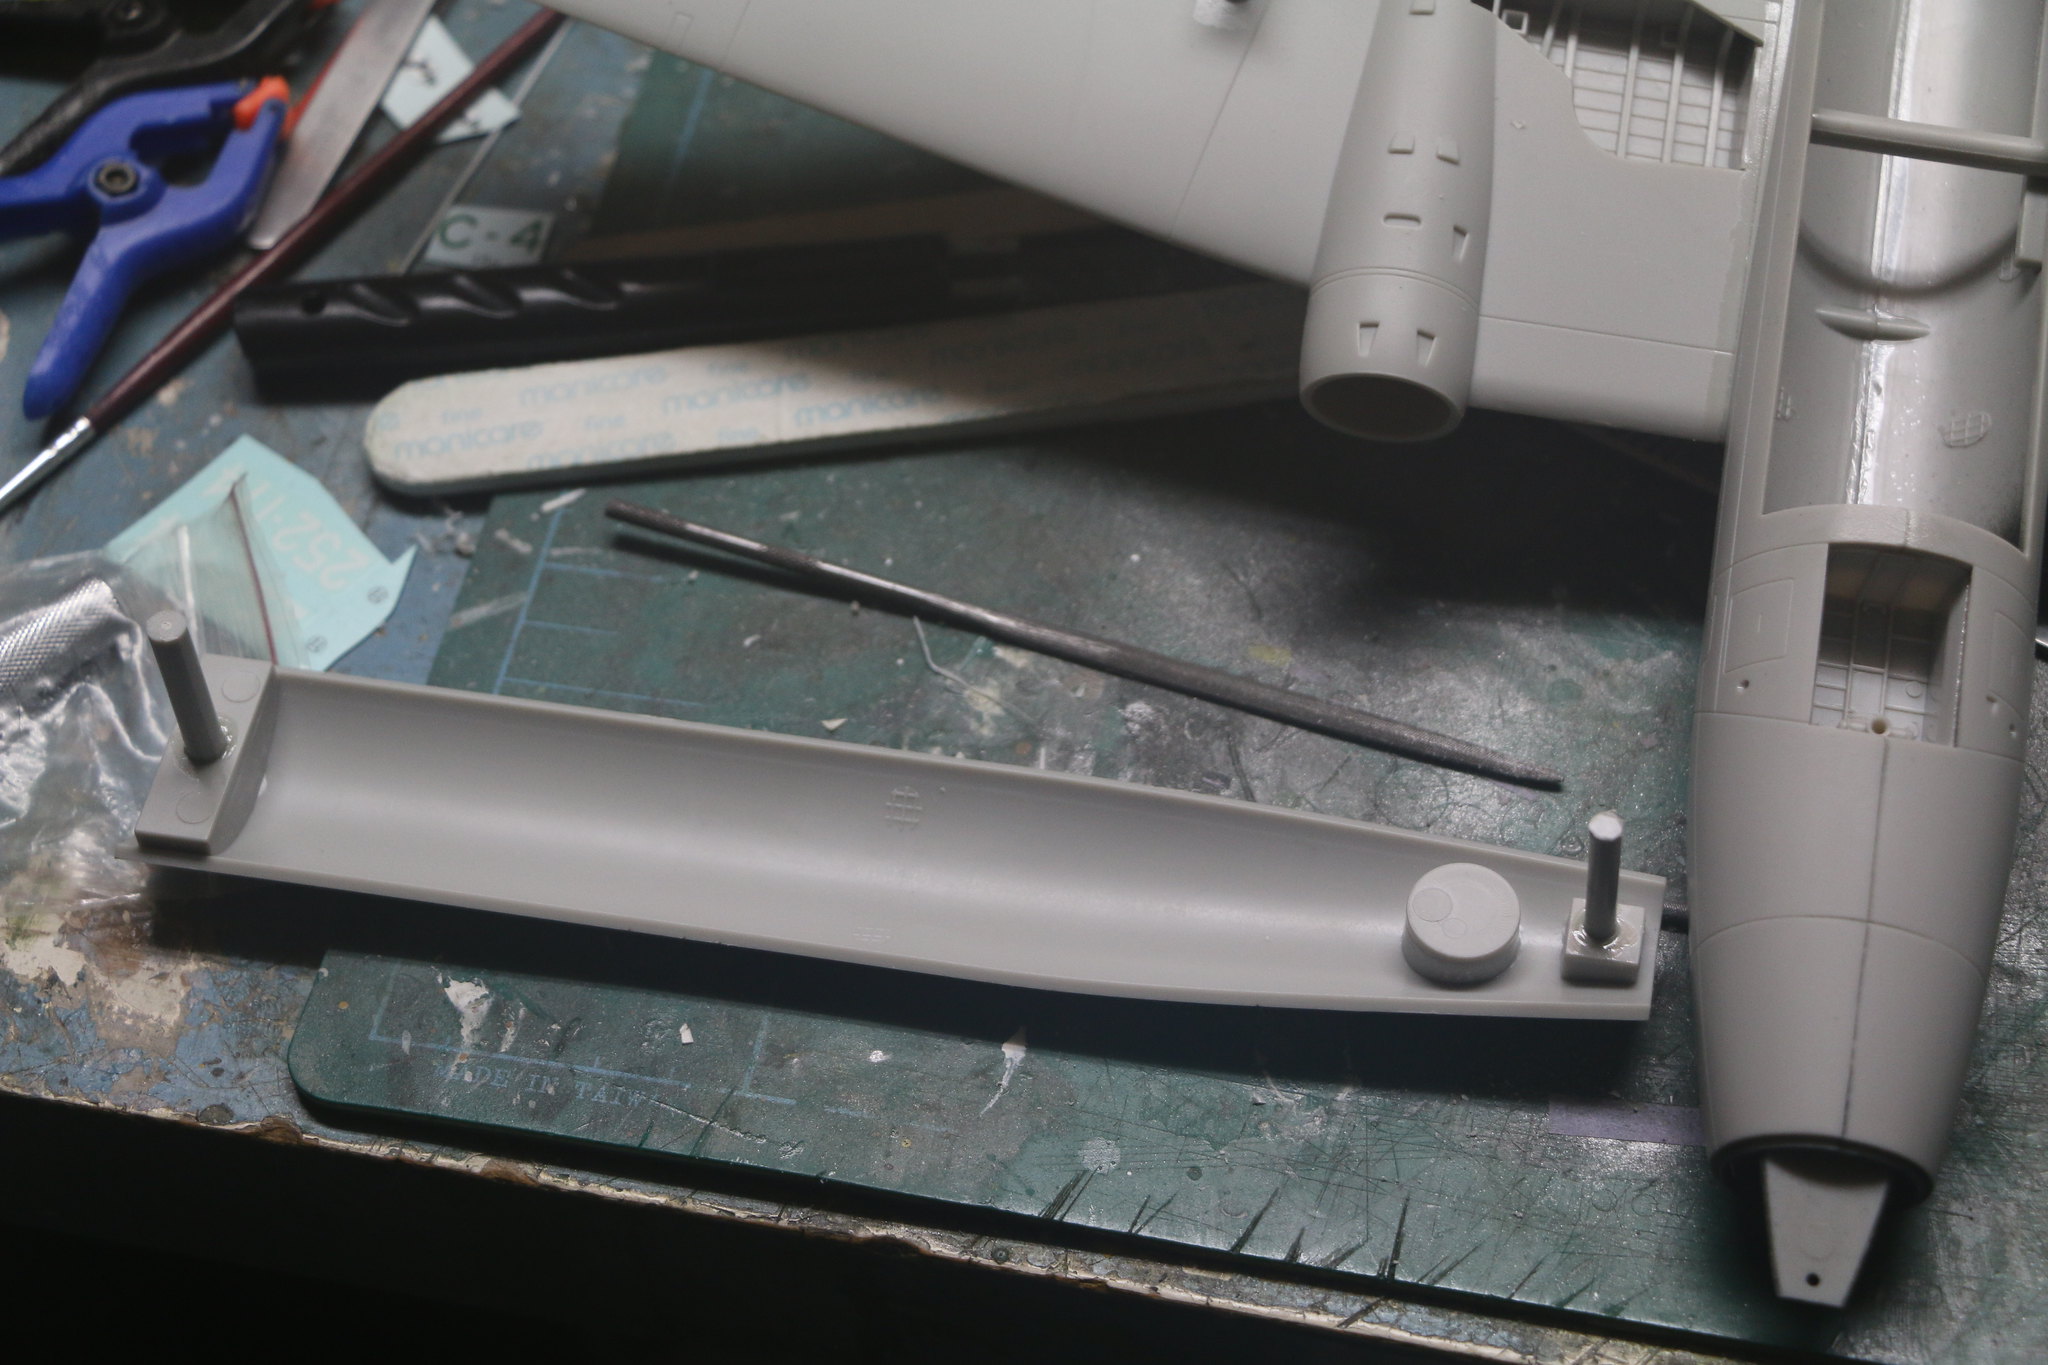
Whilst dry fitting it I realised that the belly was narrowed at the middle even after clamping the fuselage sides to the wings so I measured and cut a spreader which I then glued into place. While that was drying I worked on the two supports for the fore and aft of the belly pack to stop it from dropping inside. It took a little finagling to get them right but after a little sanding I was happy with the fit and glued it in. Worked out quite well in the end. The belly still needs a little skim of putty to smooth things over but it's not to bad.
And this model is big! Surprising just how big as the gracefulness of it's lines belies it's size. I've still got to construct the landing gear and pods etc. but the parts count isn't really that large and it builds reasonably quickly.
So here are a few pics from my Flickr to show the progress made.
IMG_1575 by Chris WIlson, on Flickr
IMG_1576 by Chris WIlson, on Flickr
IMG_1578 by Chris WIlson, on Flickr
IMG_1579 by Chris WIlson, on Flickr
IMG_1580 by Chris WIlson, on Flickr
IMG_1581 by Chris WIlson, on Flickr
IMG_1582 by Chris WIlson, on Flickr
Posted: Sunday, July 16, 2017 - 12:12 PM UTC
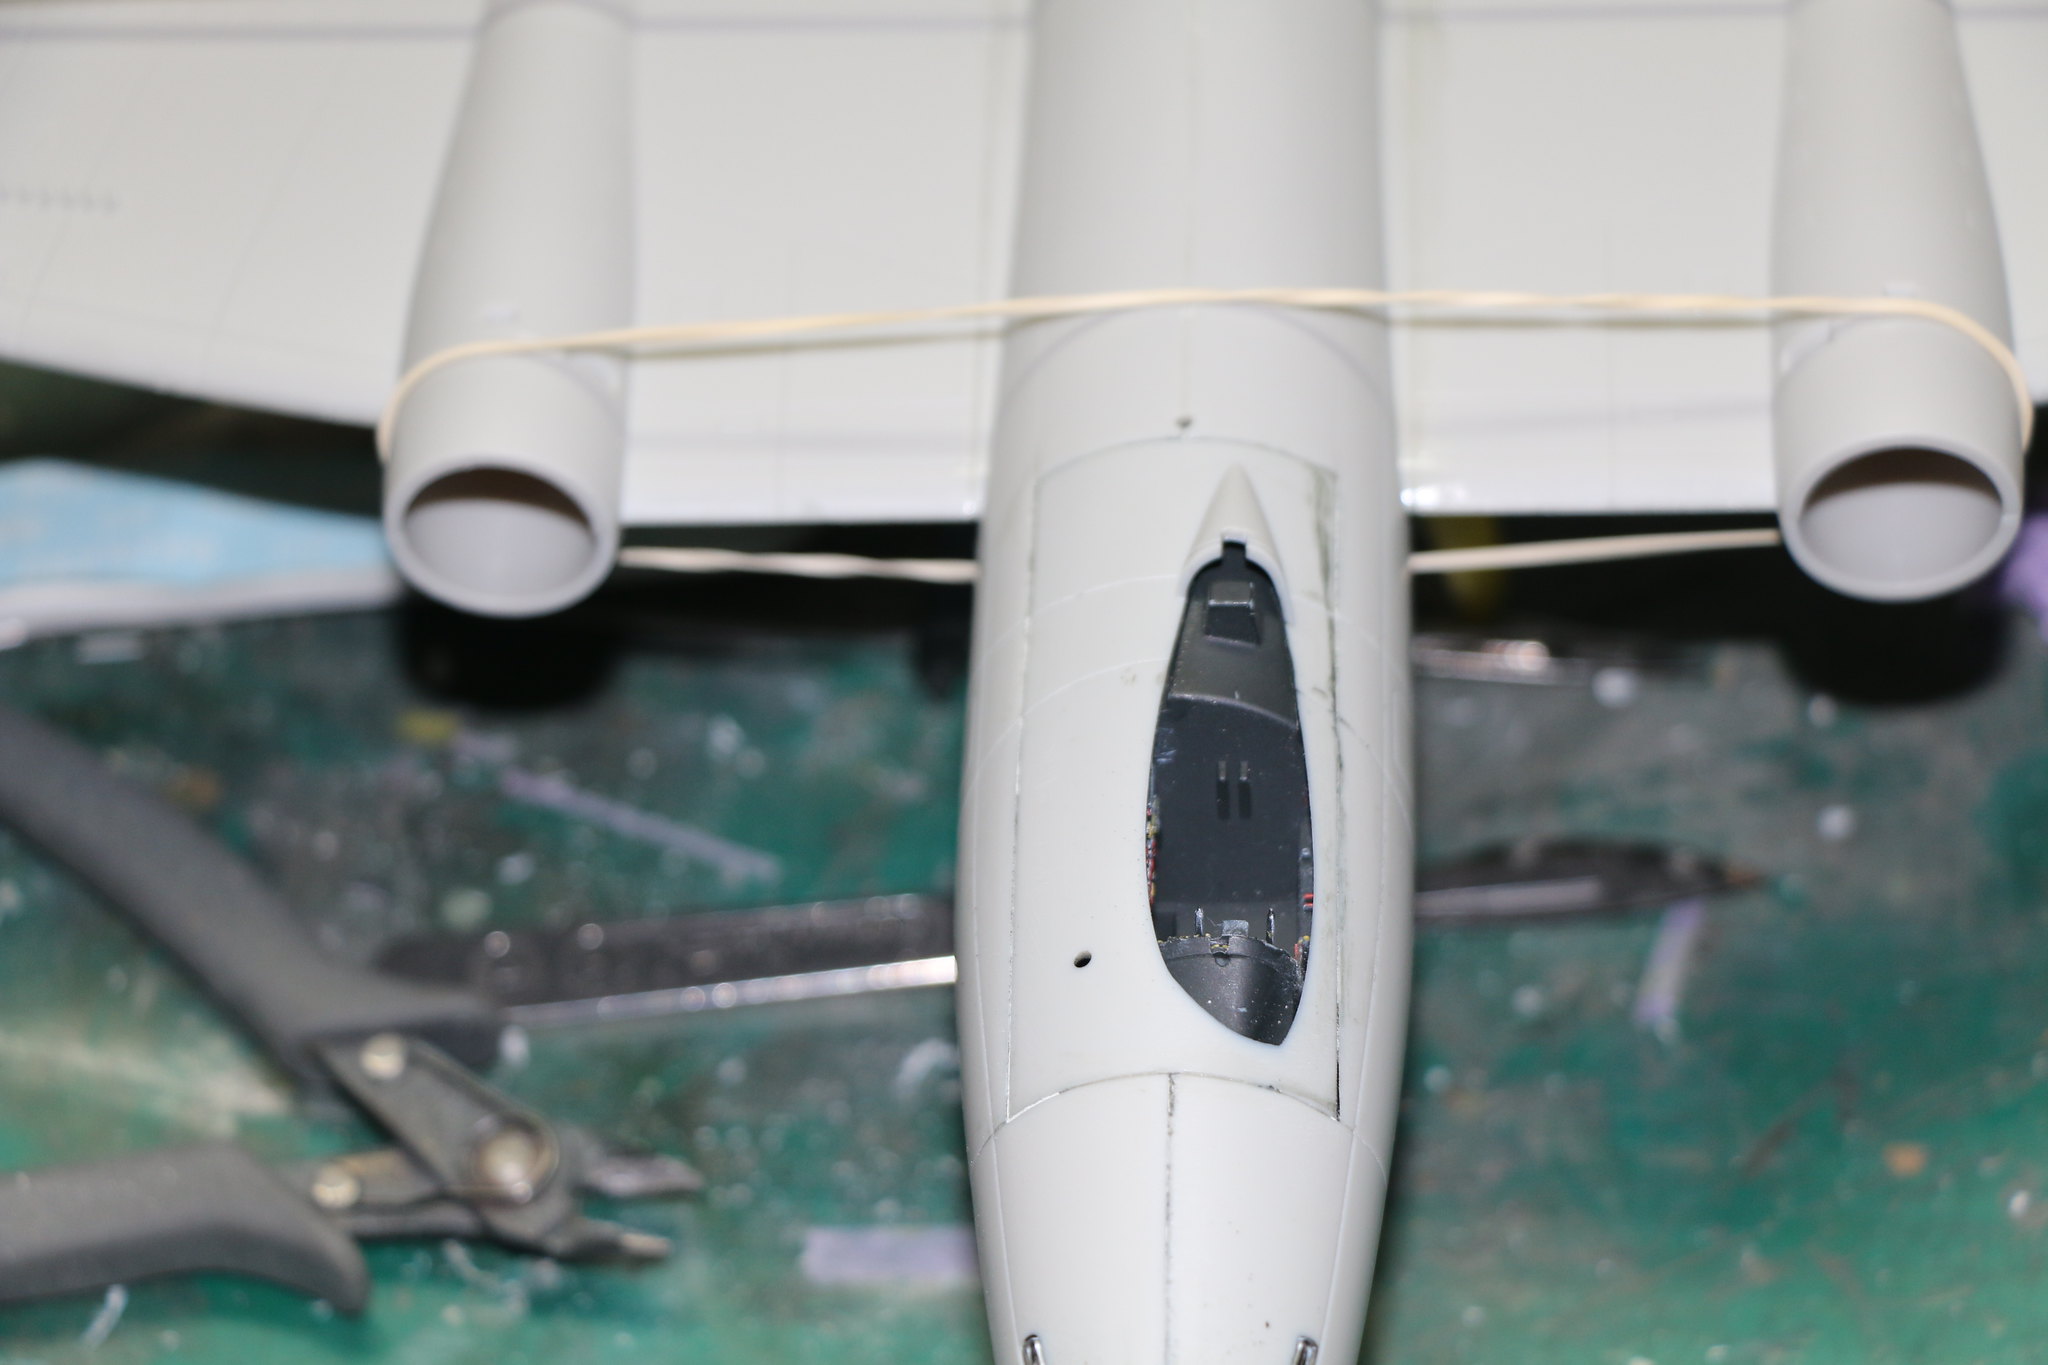
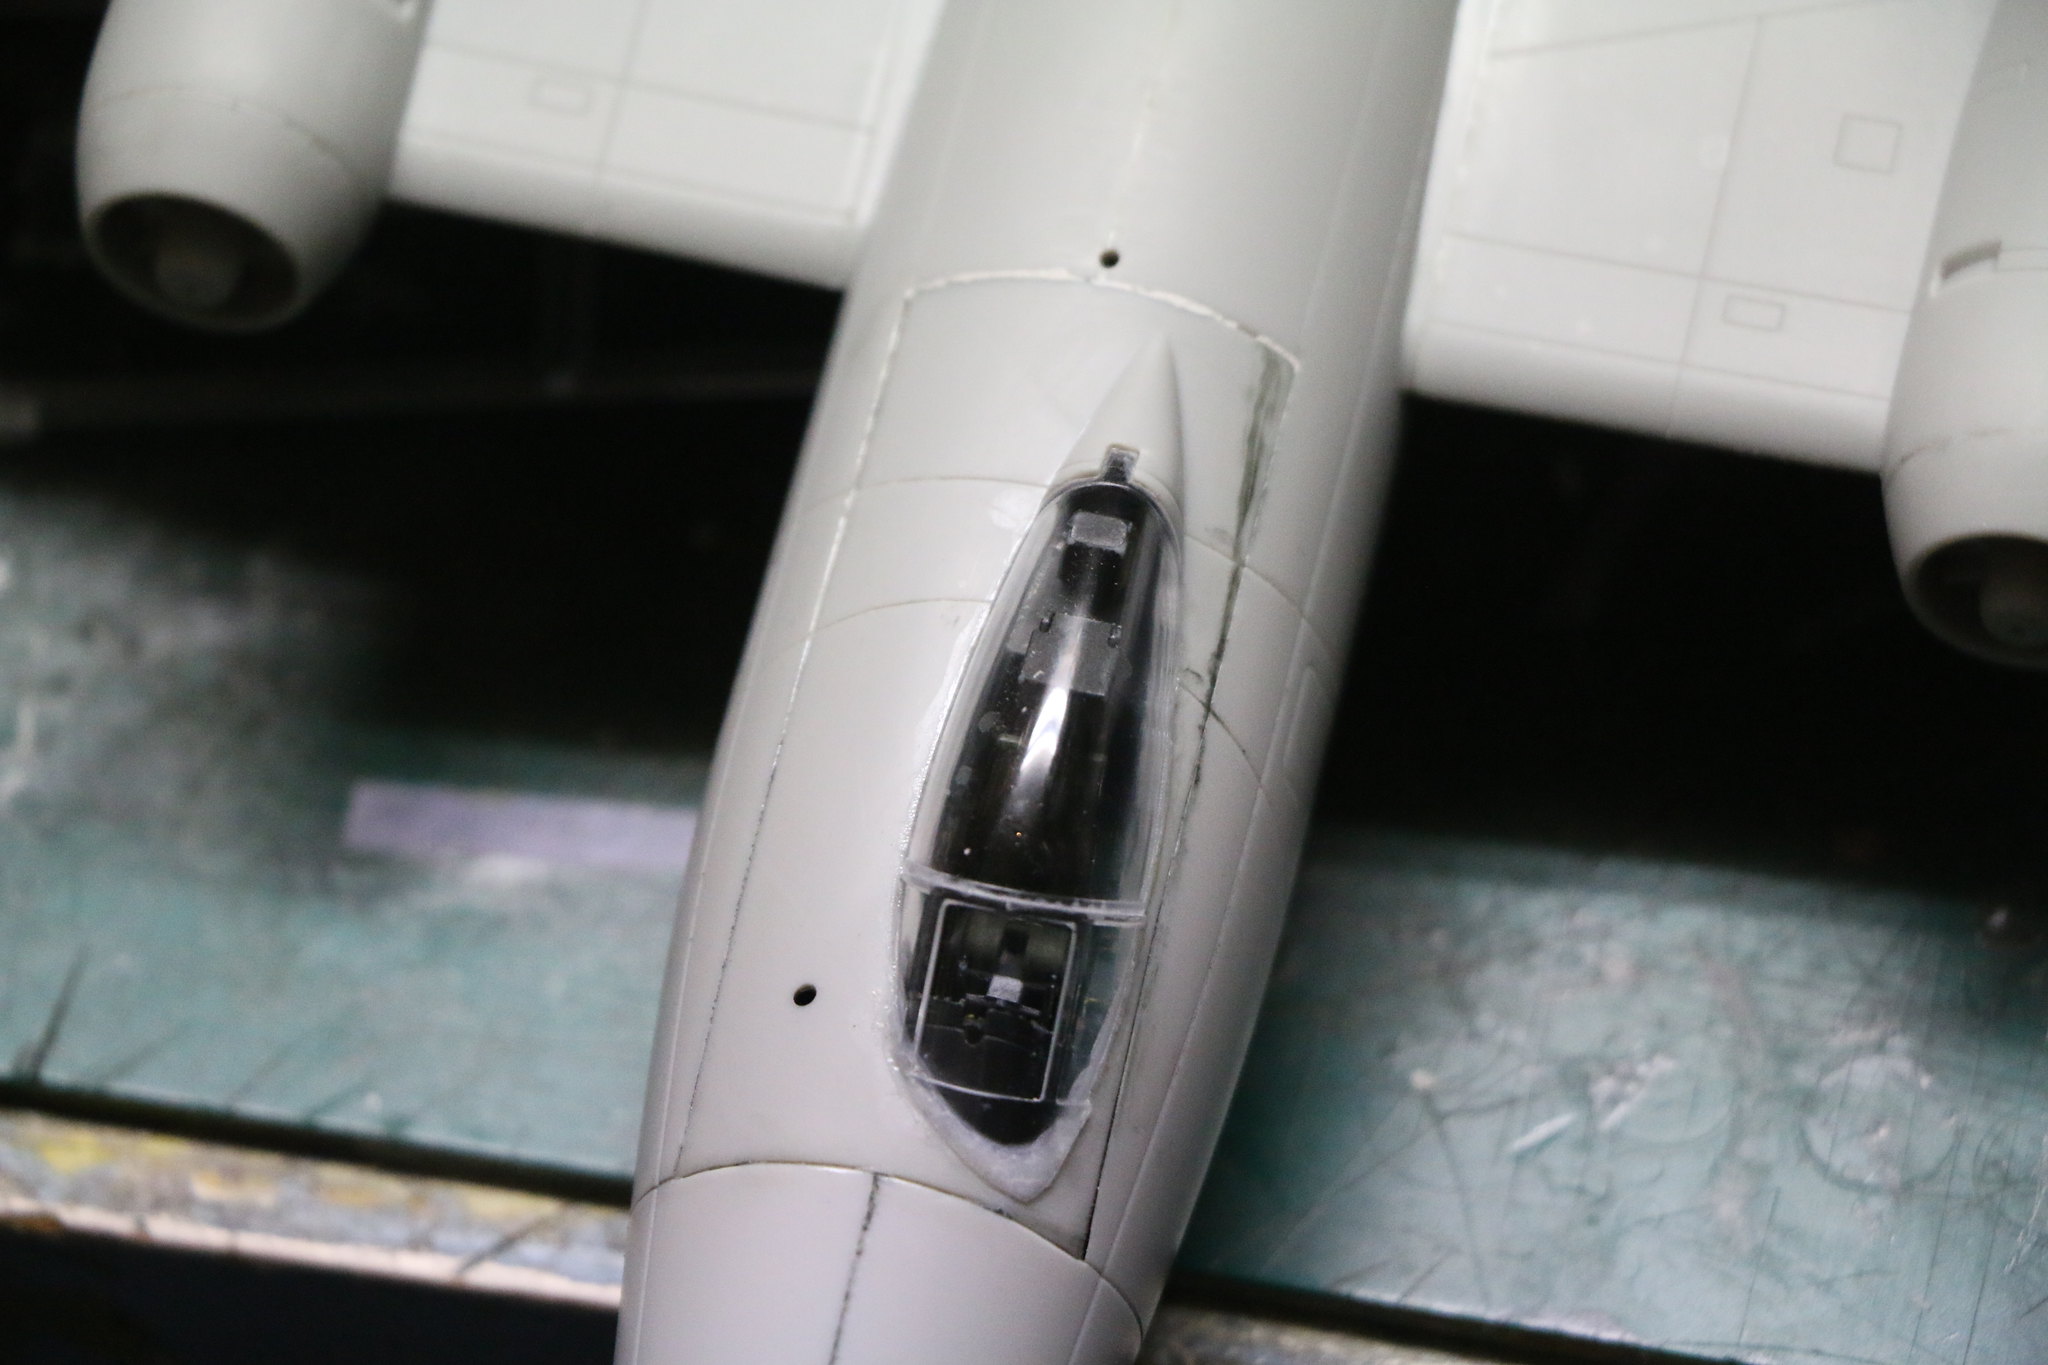
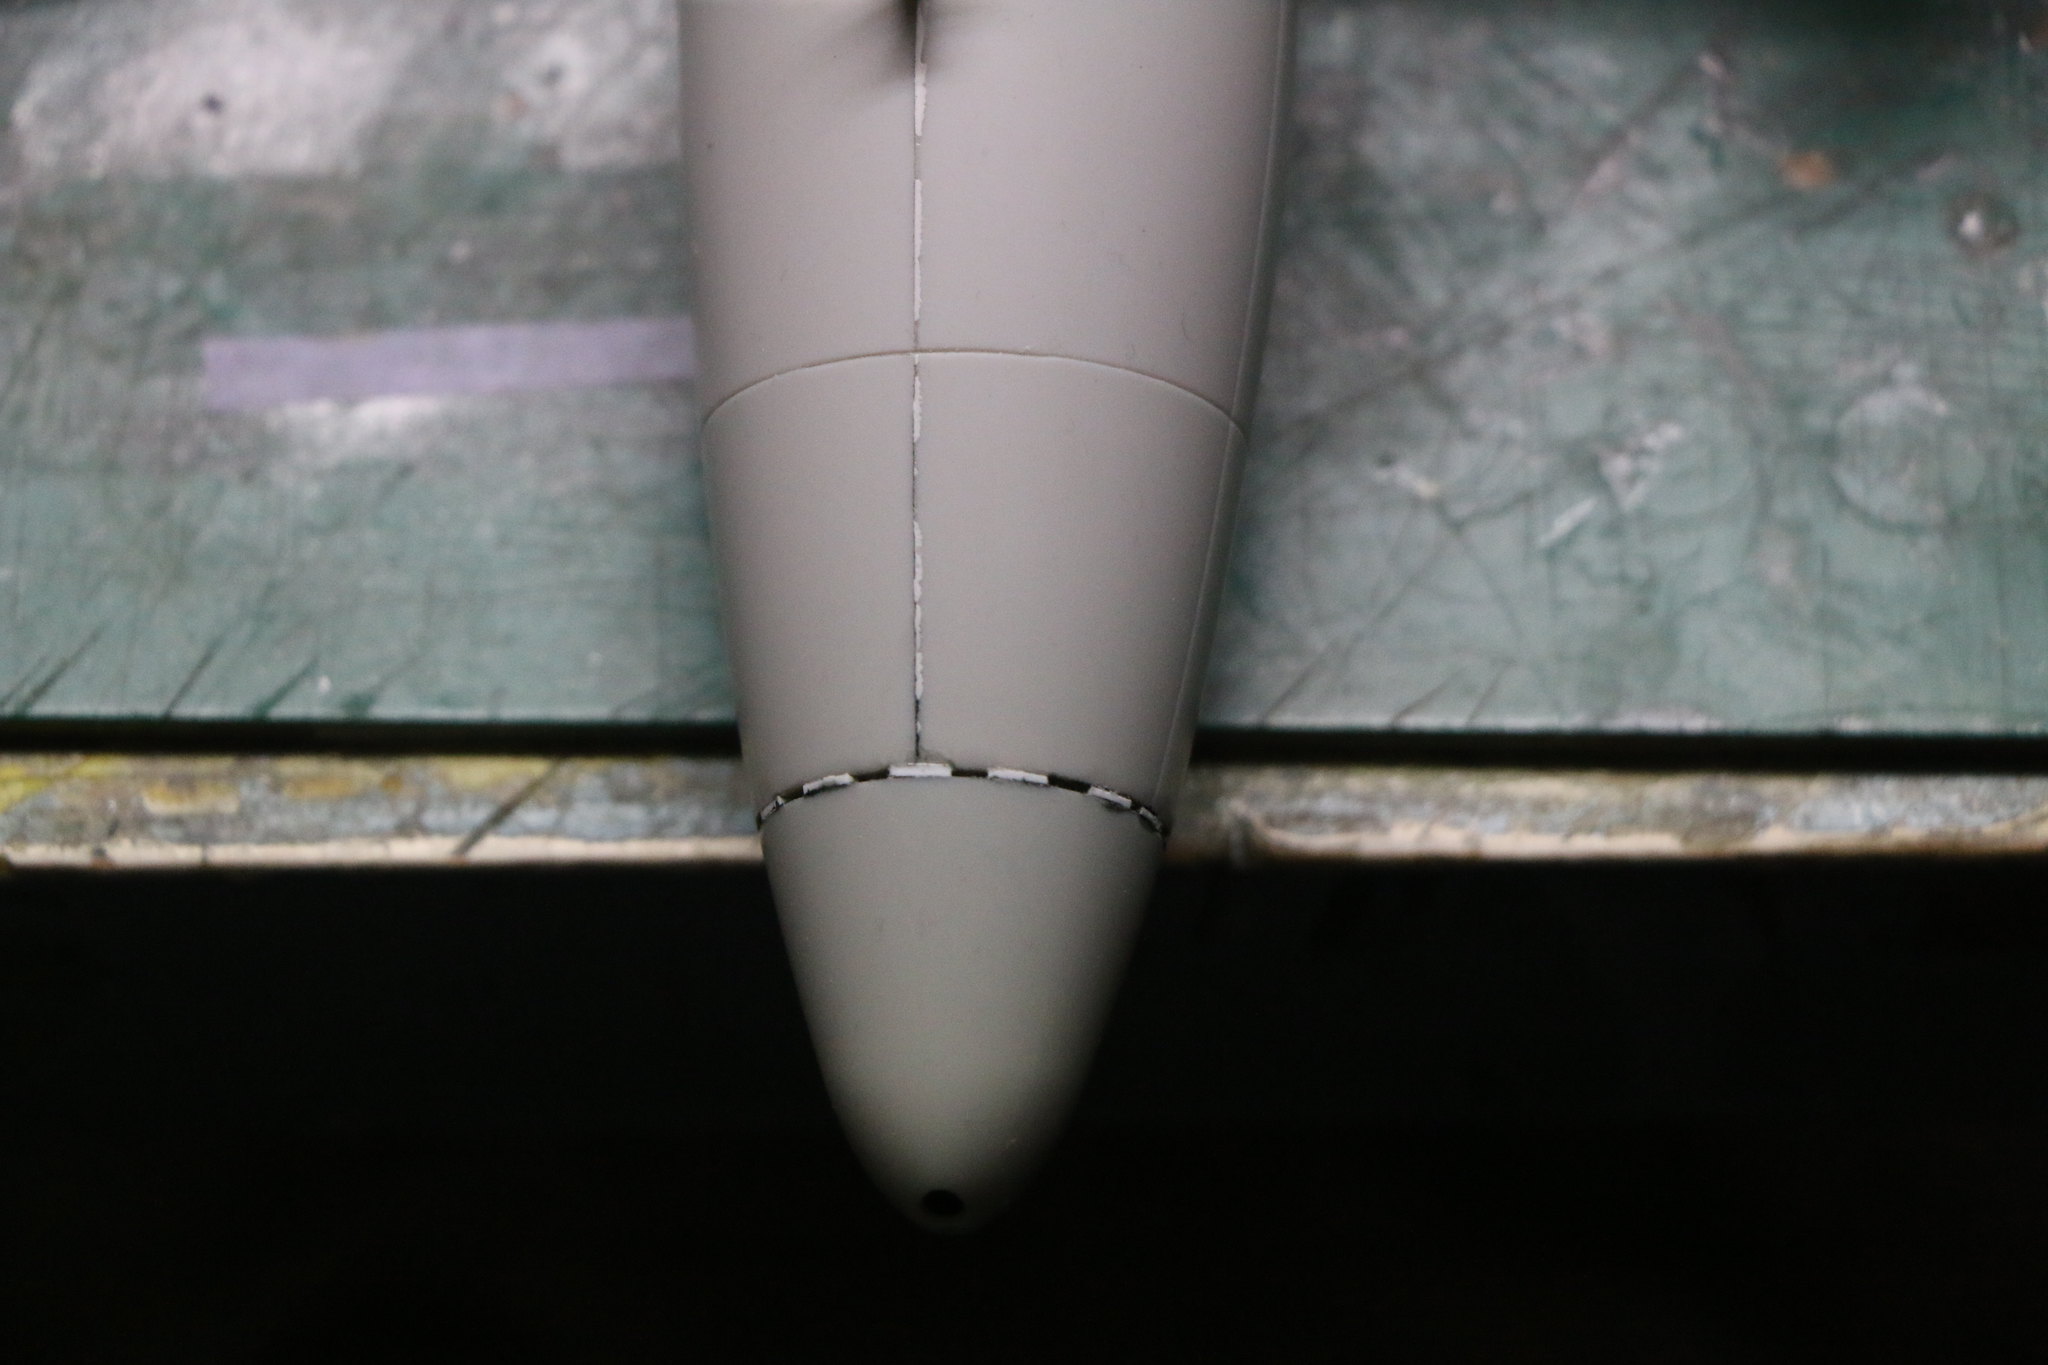
Well more progress gentlemen I've got the belly pack on and the nose cone attached. Which needed packing all around to make it a smooth fit it just needs filing and sanding now. The canopy is on as is the landing gear. I have however forgotten to pack out the nose with weight Airfix recommends 100 grams! They do provide the tail jack so I'll be using that instead to ensure she's not sitting on her booty. Here are some pics to show the progress achieved.
IMG_1602 by Chris WIlson, on Flickr
IMG_1601 by Chris WIlson, on Flickr
IMG_1599 by Chris WIlson, on Flickr
IMG_1598 by Chris WIlson, on Flickr
IMG_1597 by Chris WIlson, on Flickr
IMG_1596 by Chris WIlson, on Flickr
IMG_1595 by Chris WIlson, on Flickr
IMG_1594 by Chris WIlson, on Flickr
IMG_1593 by Chris WIlson, on Flickr
IMG_1592 by Chris WIlson, on Flickr
IMG_1591 by Chris WIlson, on Flickr
drabslab
European Union
Joined: September 28, 2004
KitMaker: 2,186 posts
AeroScale: 1,587 posts
Joined: September 28, 2004
KitMaker: 2,186 posts
AeroScale: 1,587 posts
Posted: Sunday, July 16, 2017 - 01:15 PM UTC
Hai Chris,
That Canberra is coming on really nicely! You seem very good at dealing with seams :-)
I have a canberra somewhere in my stash as well, I hope building it one day
Its indeed a beautiful plane but a bit odd in my view. It does not seem to fit the expected shape and form of a jet plane.
That Canberra is coming on really nicely! You seem very good at dealing with seams :-)
I have a canberra somewhere in my stash as well, I hope building it one day
Its indeed a beautiful plane but a bit odd in my view. It does not seem to fit the expected shape and form of a jet plane.
Posted: Sunday, July 16, 2017 - 01:42 PM UTC
Hi Drabslab thanks for the compliment! Yes it follows the engines in the wings plan form of the Gloster Meteor which tended to make the wings wide and stubby it did however set quite a number of altitude and speed records so it must have worked. It certainly doesn't have the graceful ellipses of the Spitfire or the raked shark look of the Me262, it's all rather odd angles and straight edges but it does have a beauty of it's own. It's an easy kit to build and it's been enjoyable for me so far.
Posted: Friday, August 25, 2017 - 06:06 AM UTC
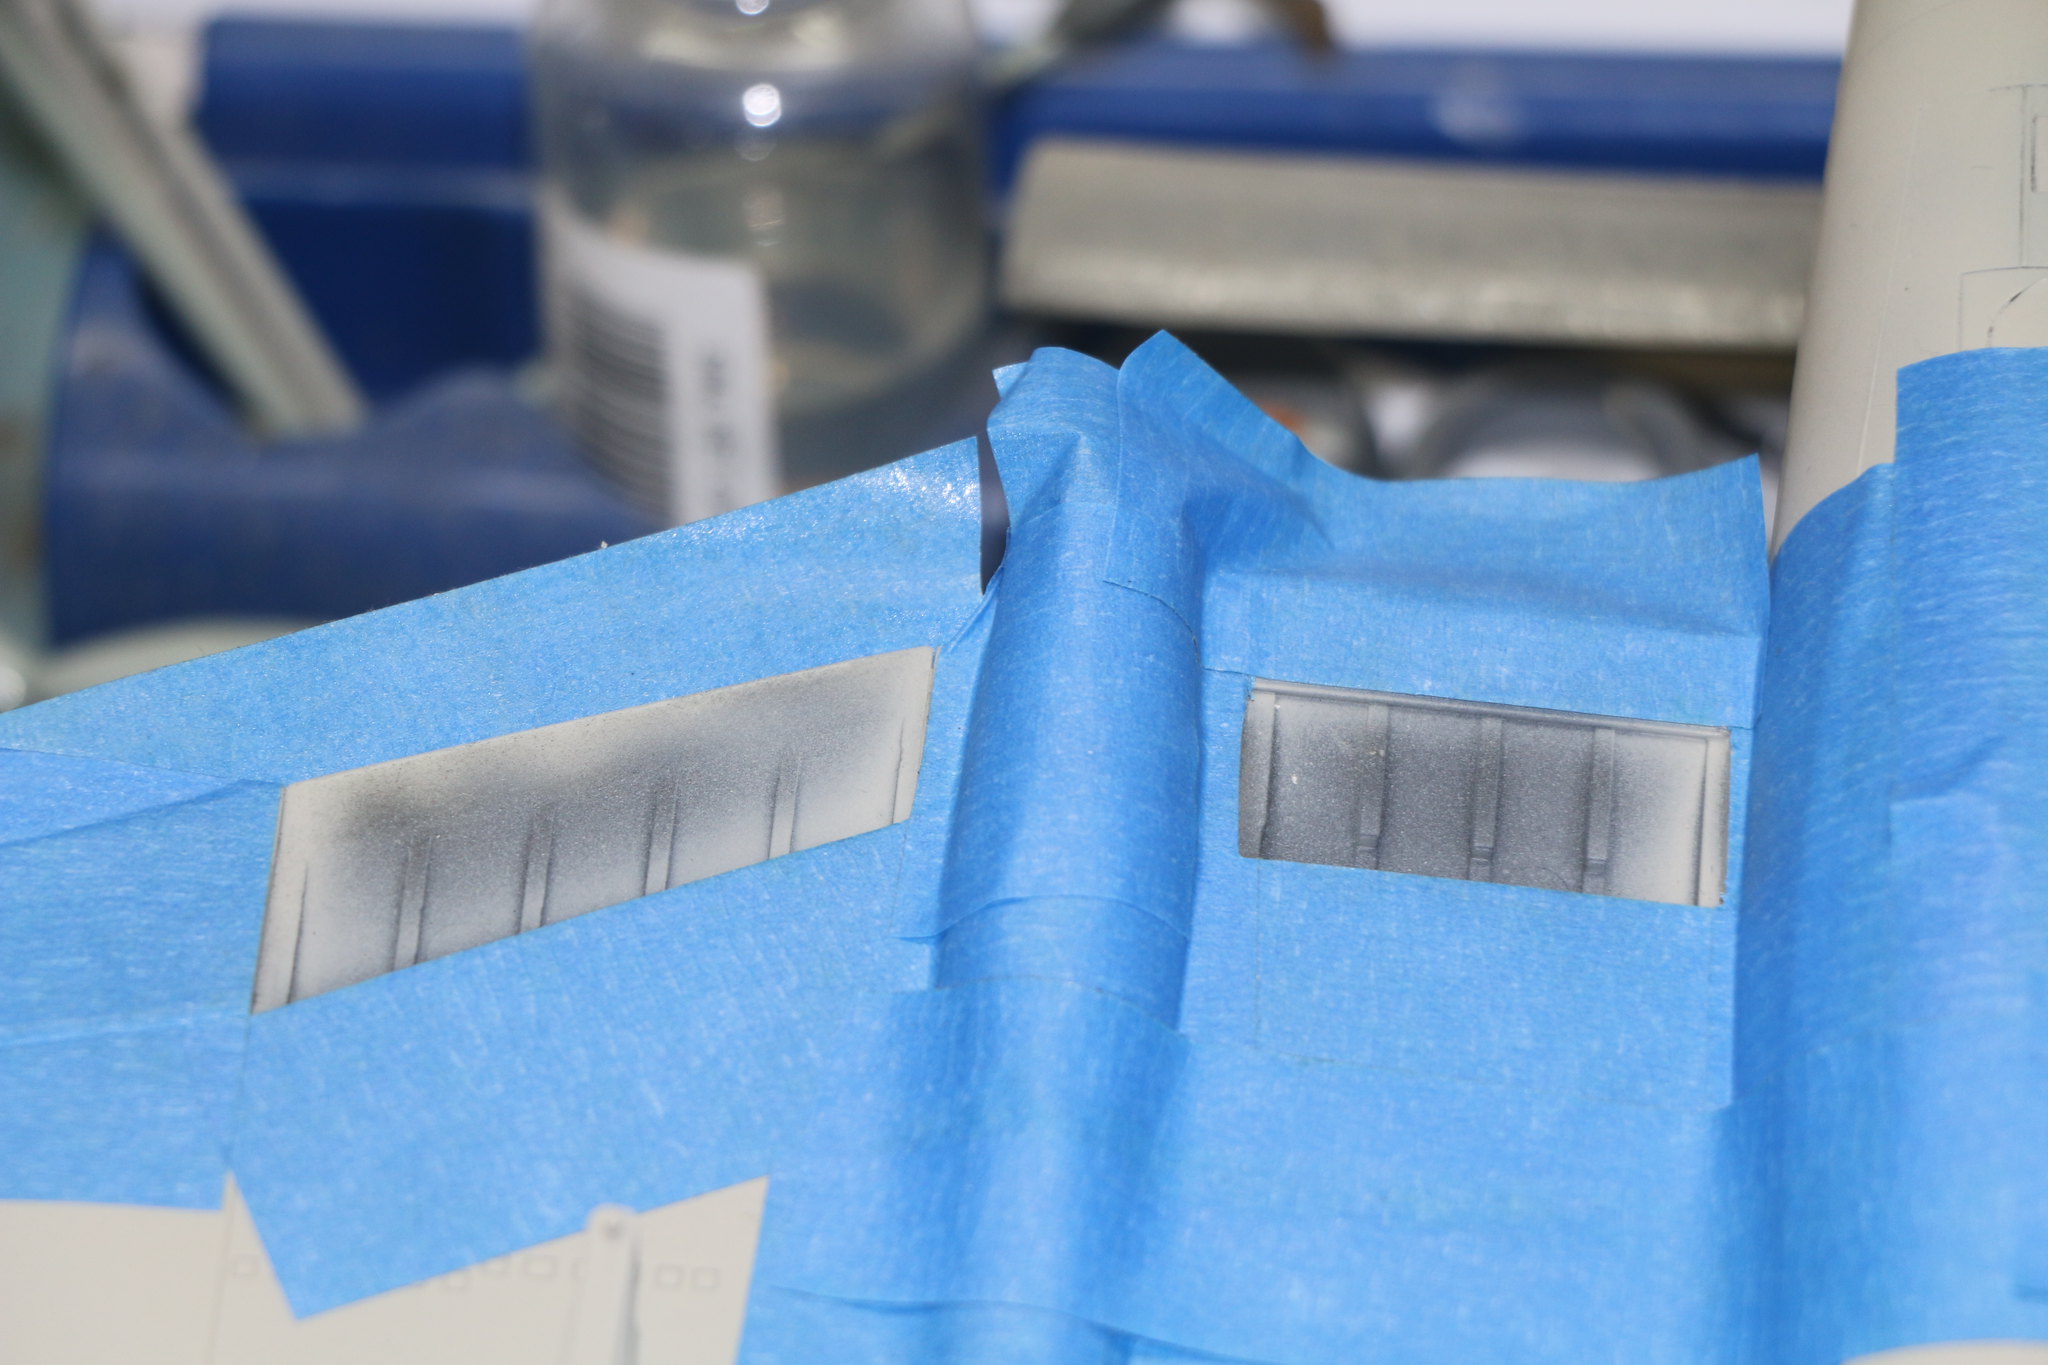
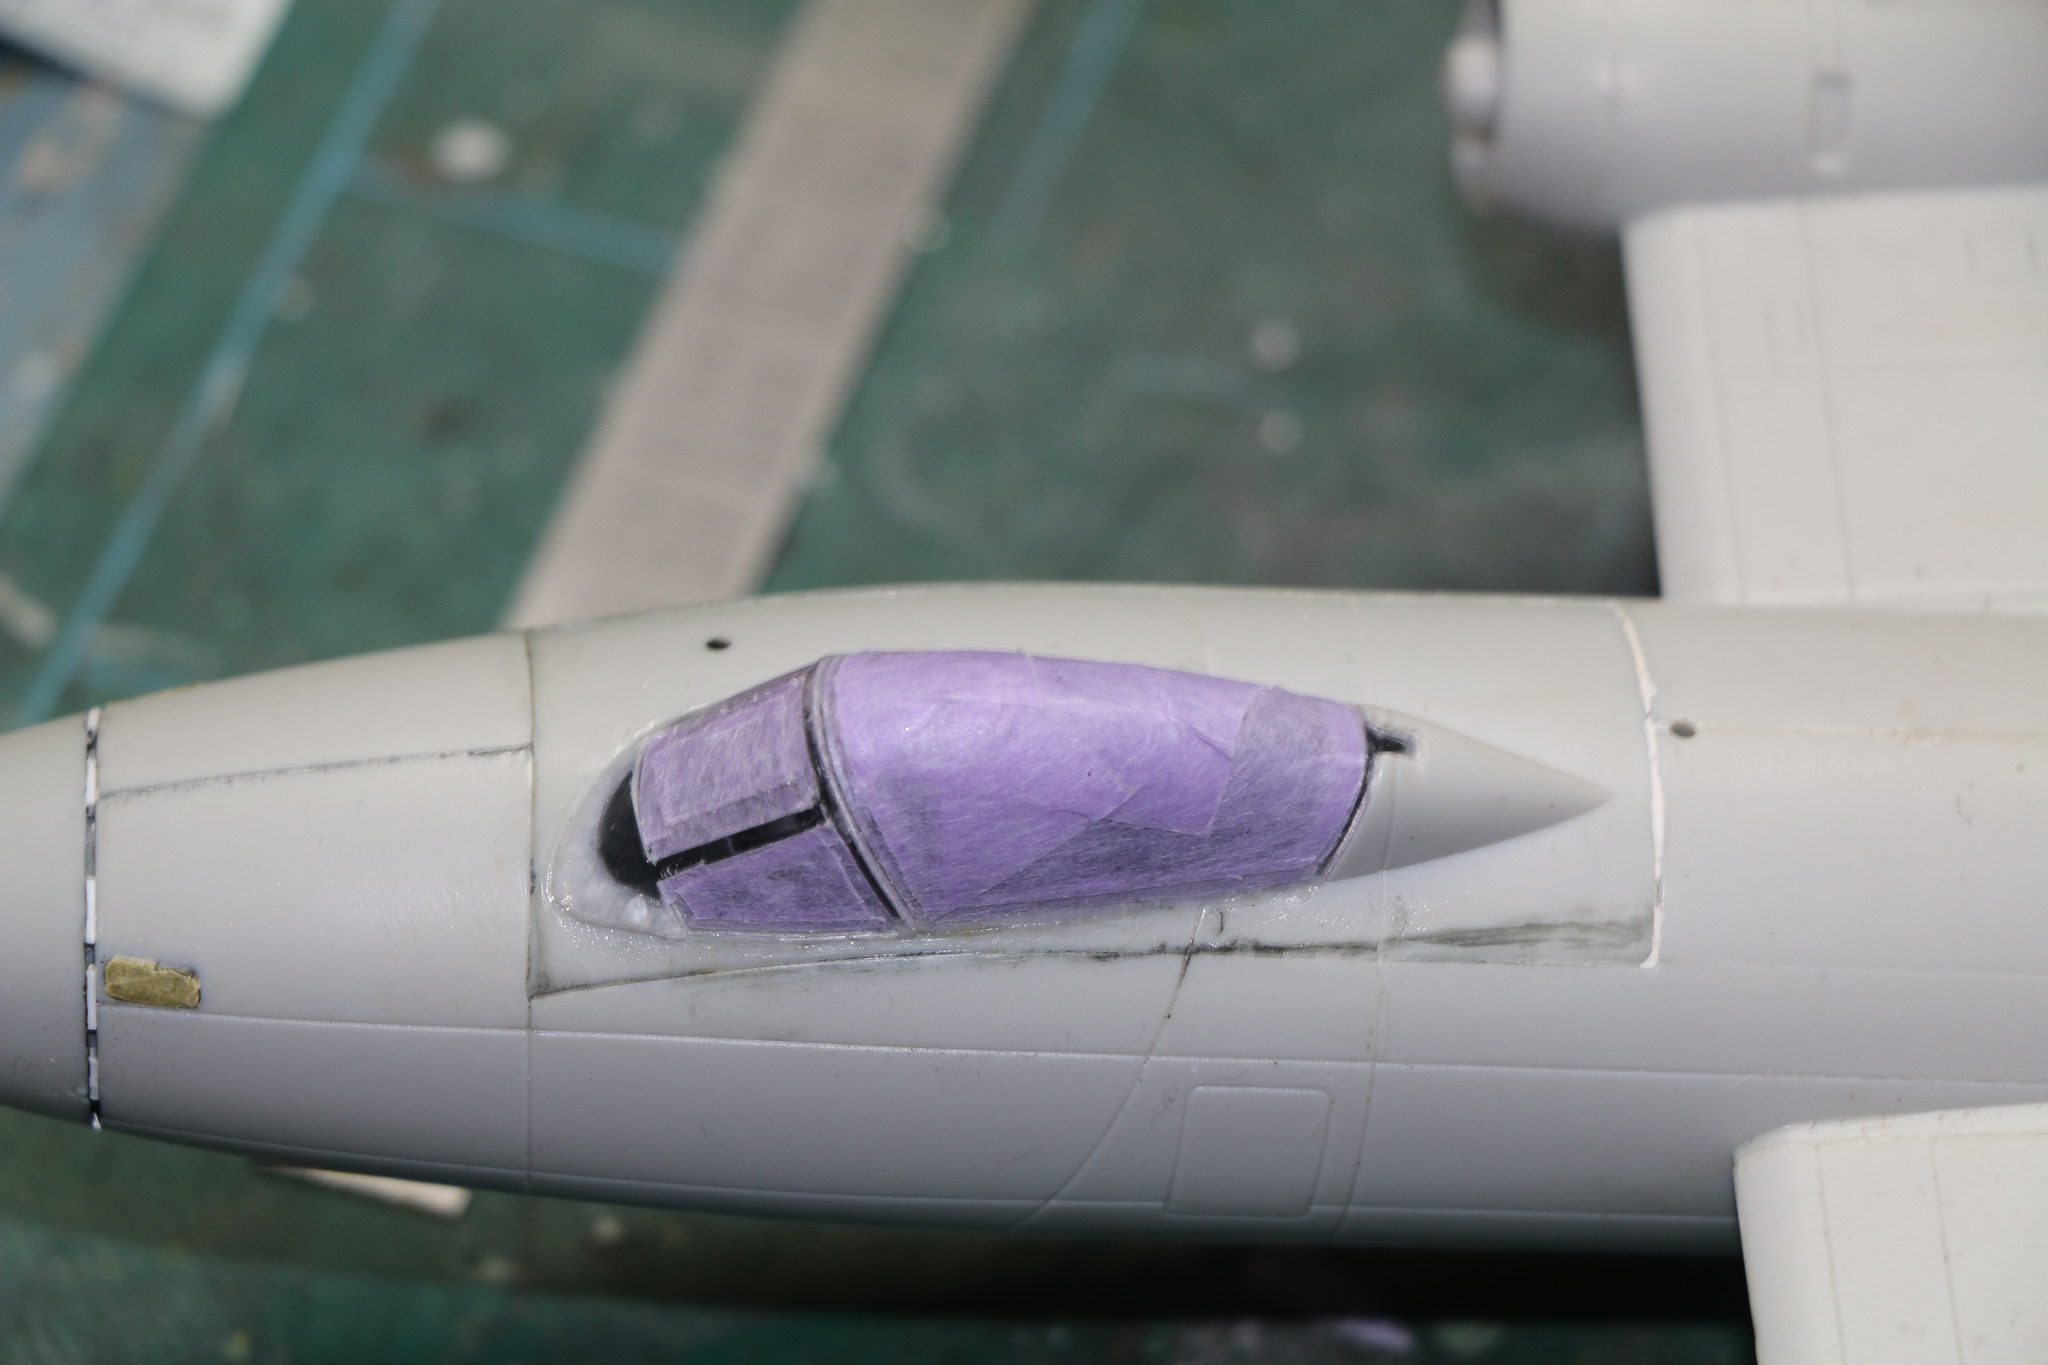
A little more progress not really a great deal but I've got the canopy and side windows masked, almost time for some paint!
IMG_1632 by Chris WIlson, on Flickr
IMG_1631 by Chris WIlson, on Flickr
IMG_1632 by Chris WIlson, on Flickr
IMG_1631 by Chris WIlson, on Flickr
Posted: Thursday, November 02, 2017 - 02:43 PM UTC
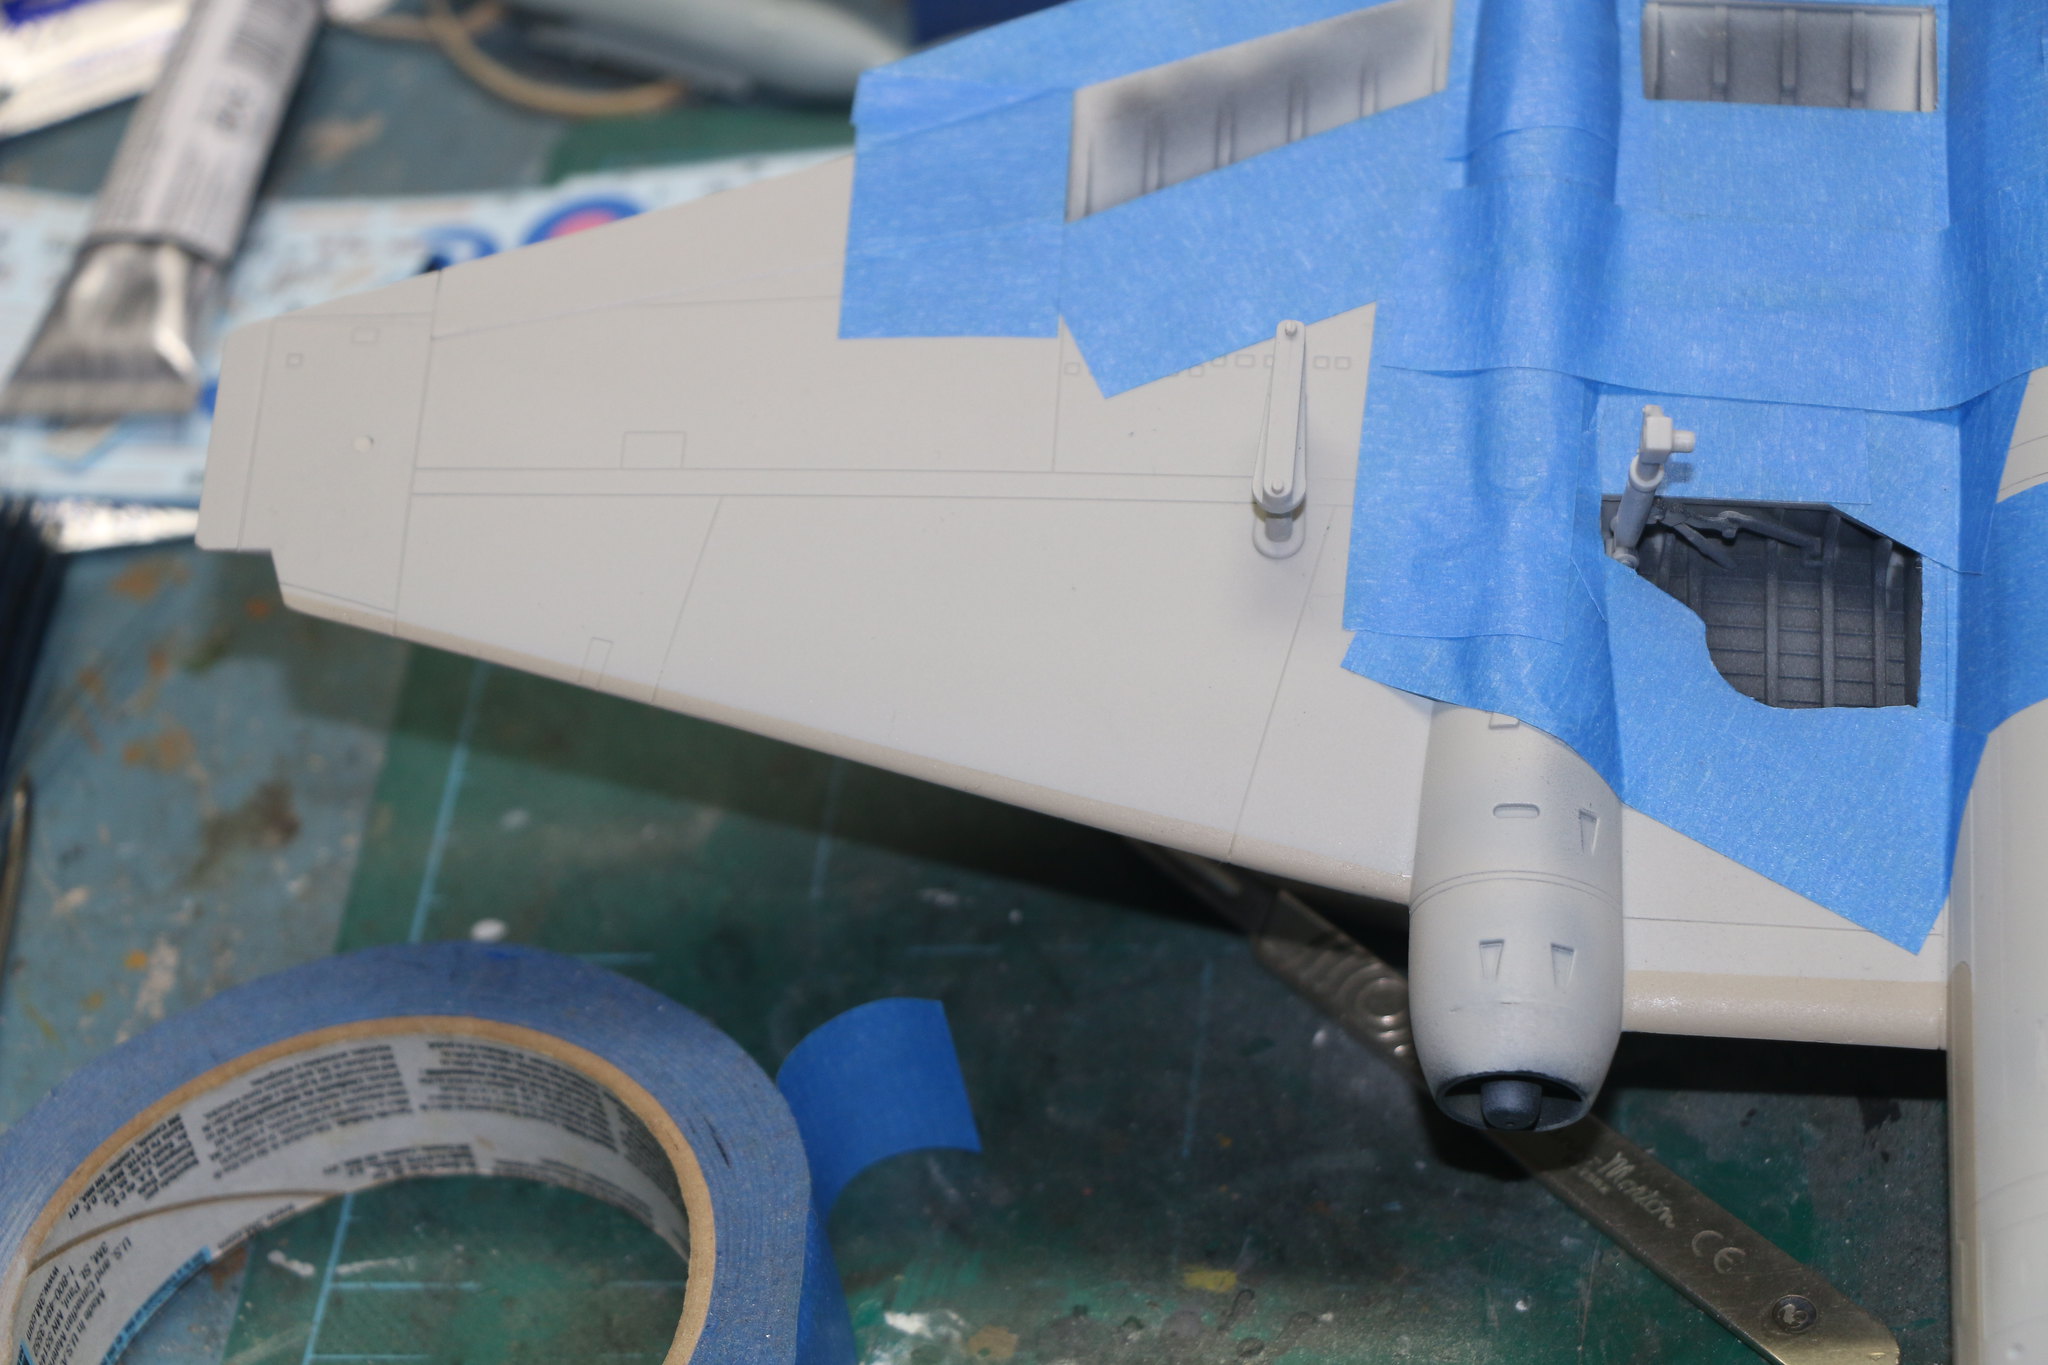
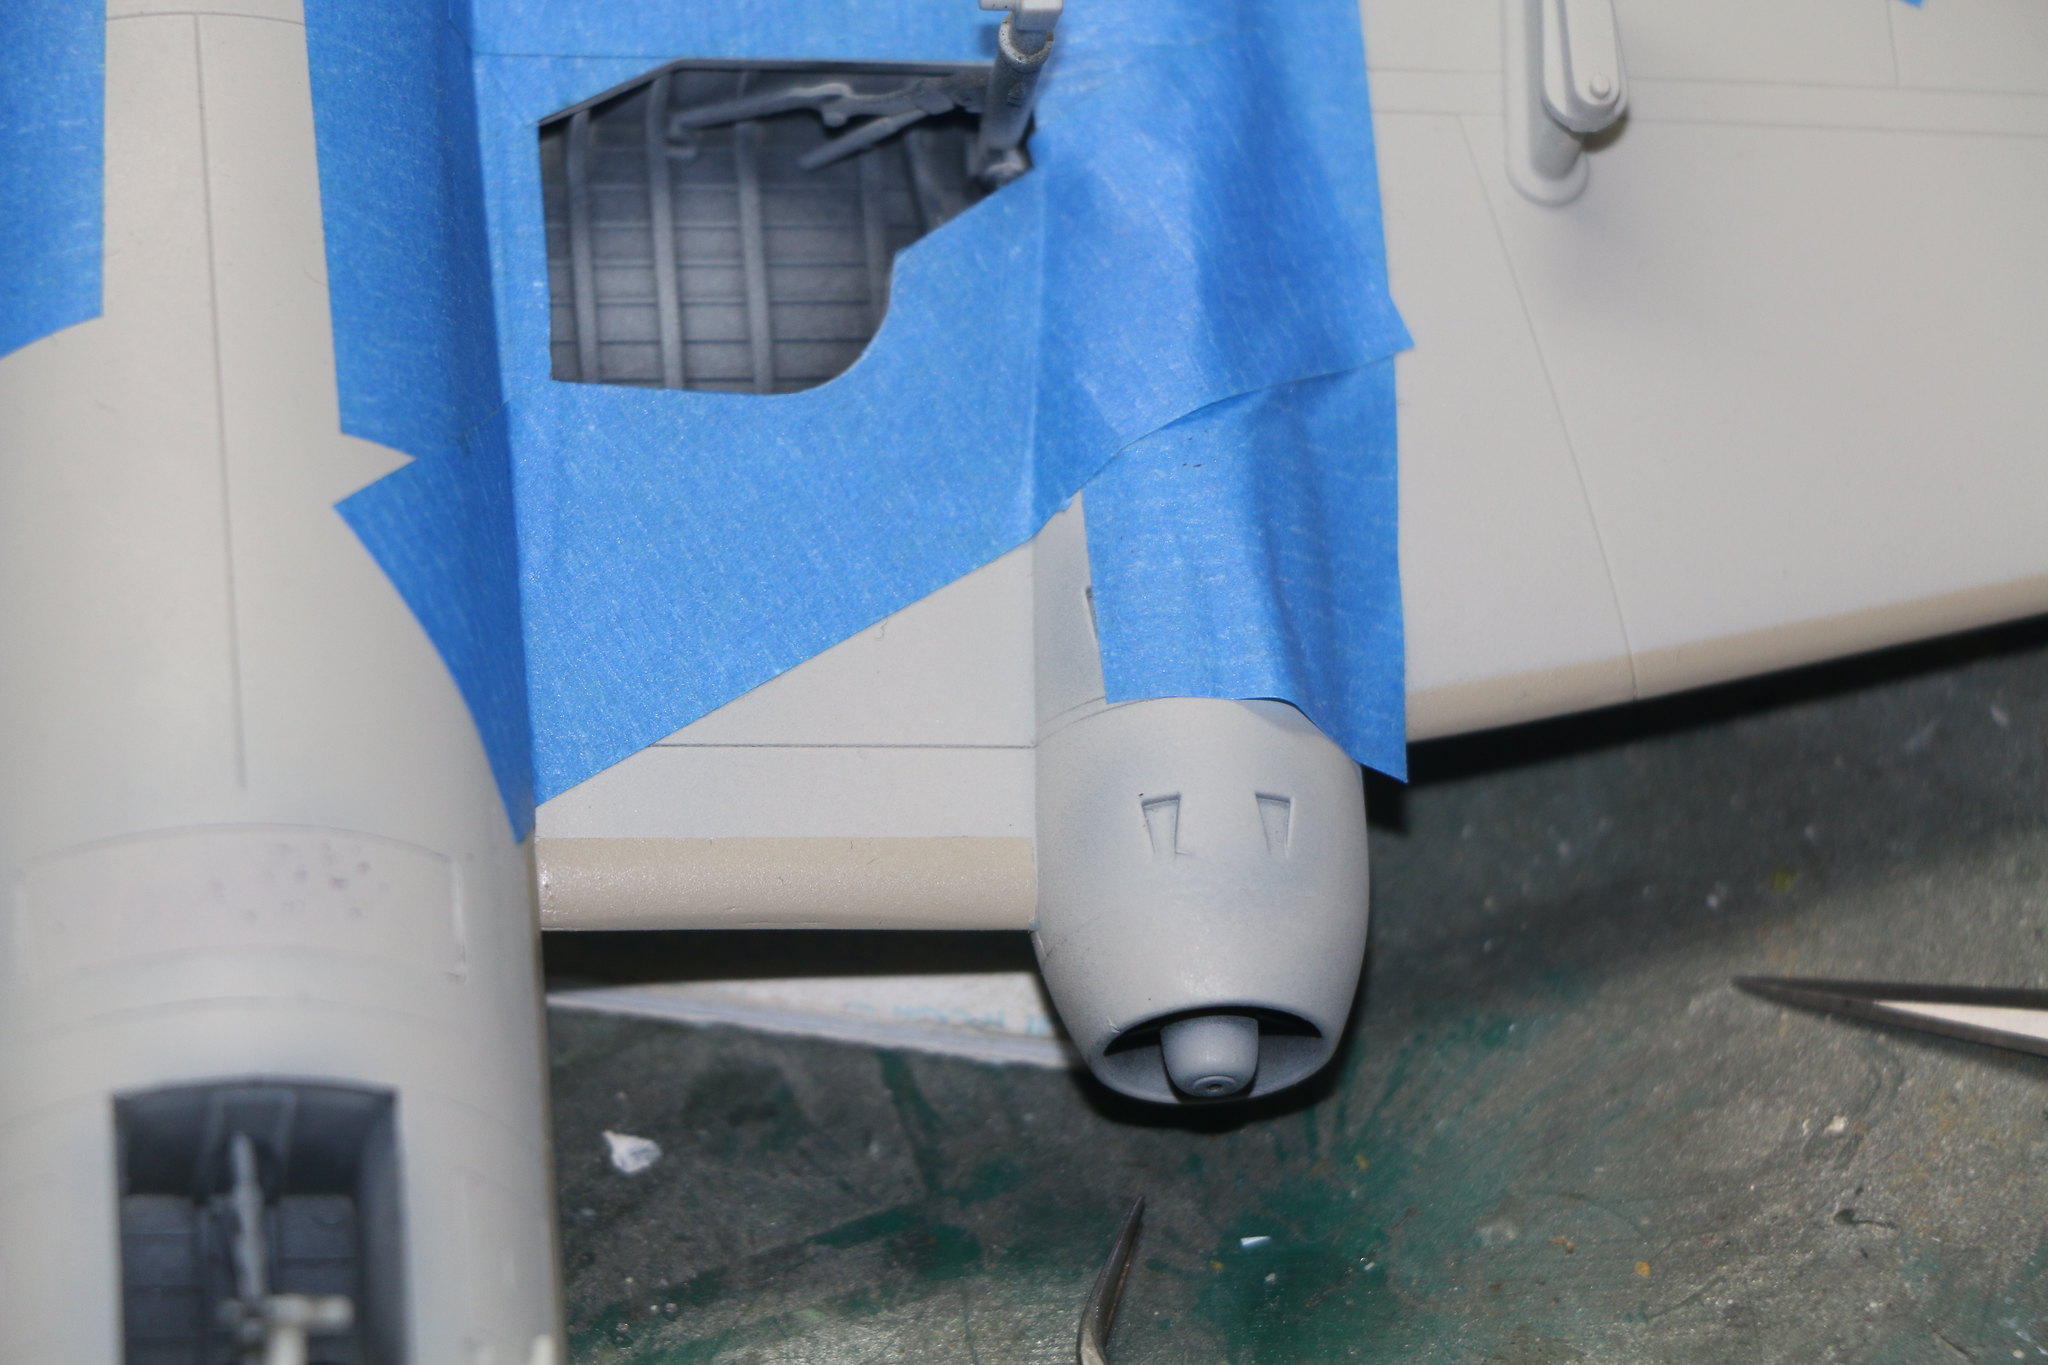
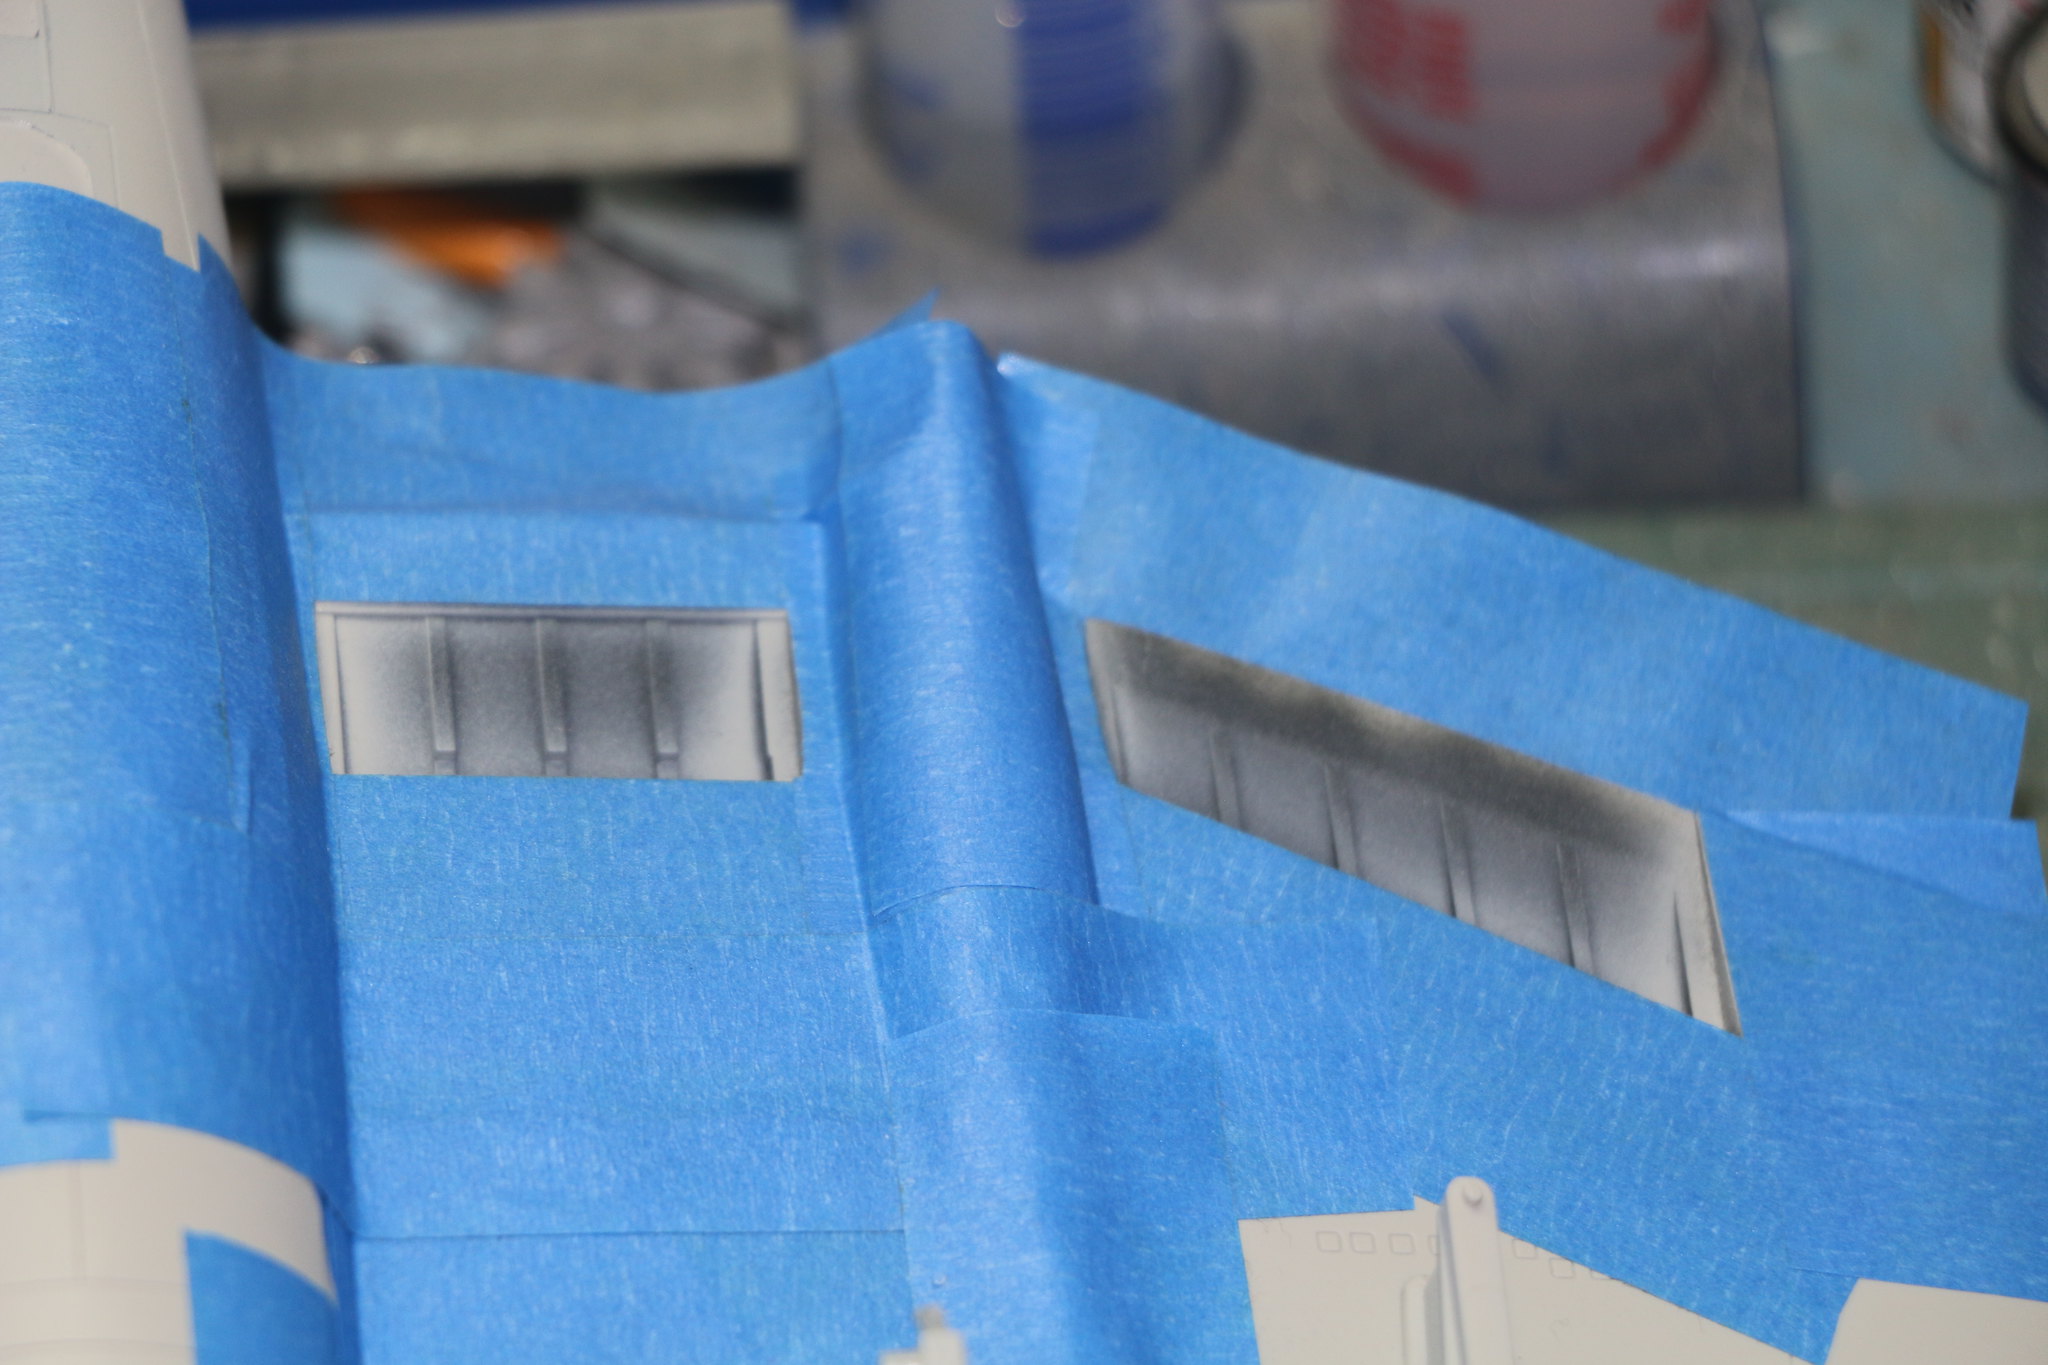
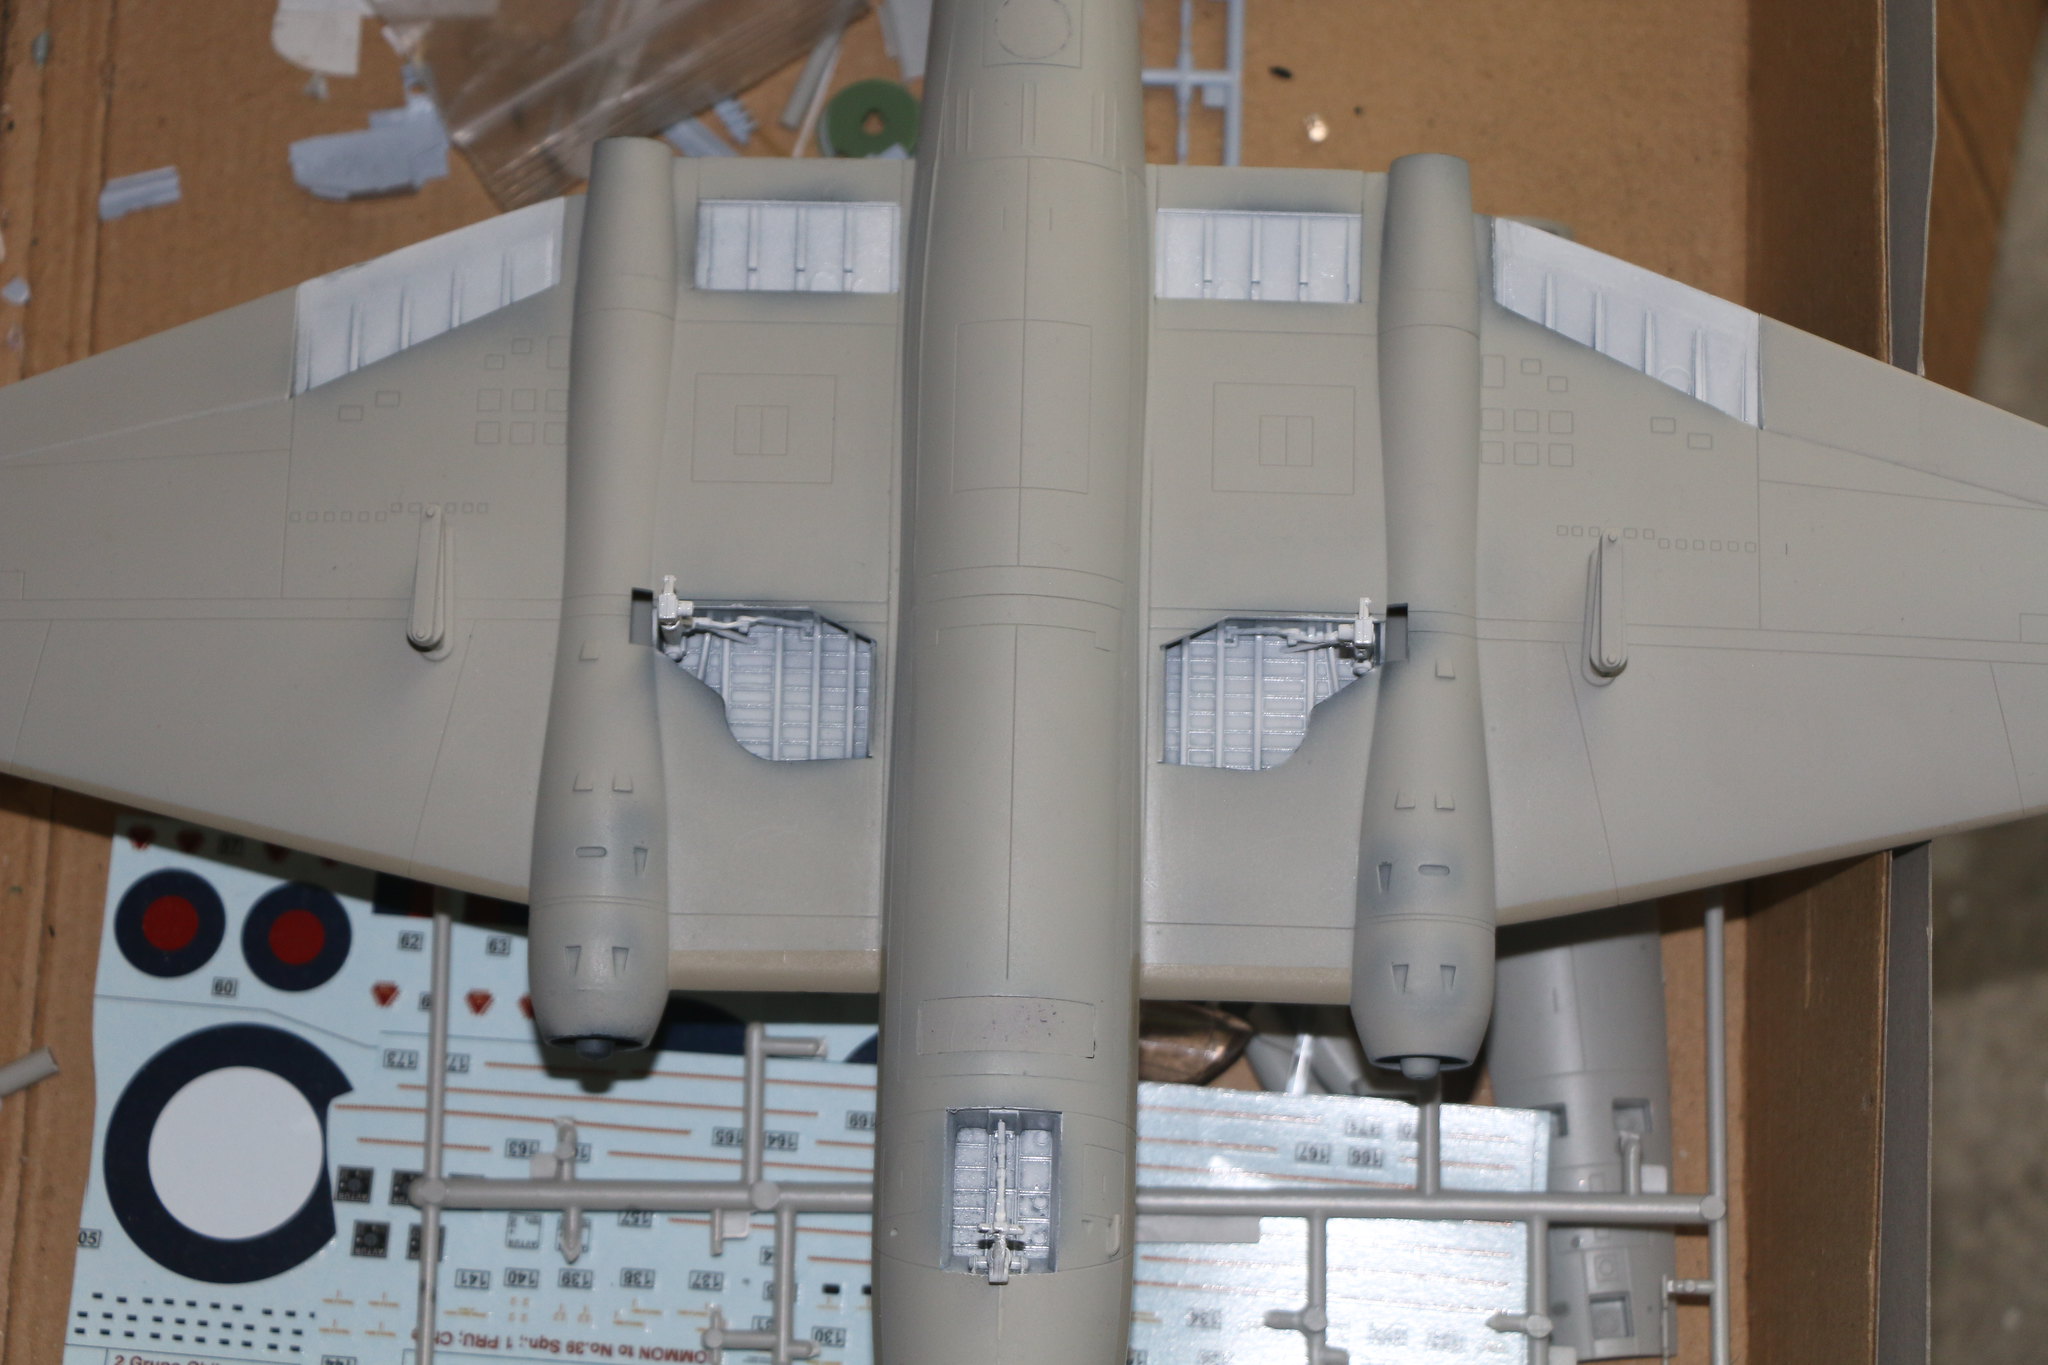
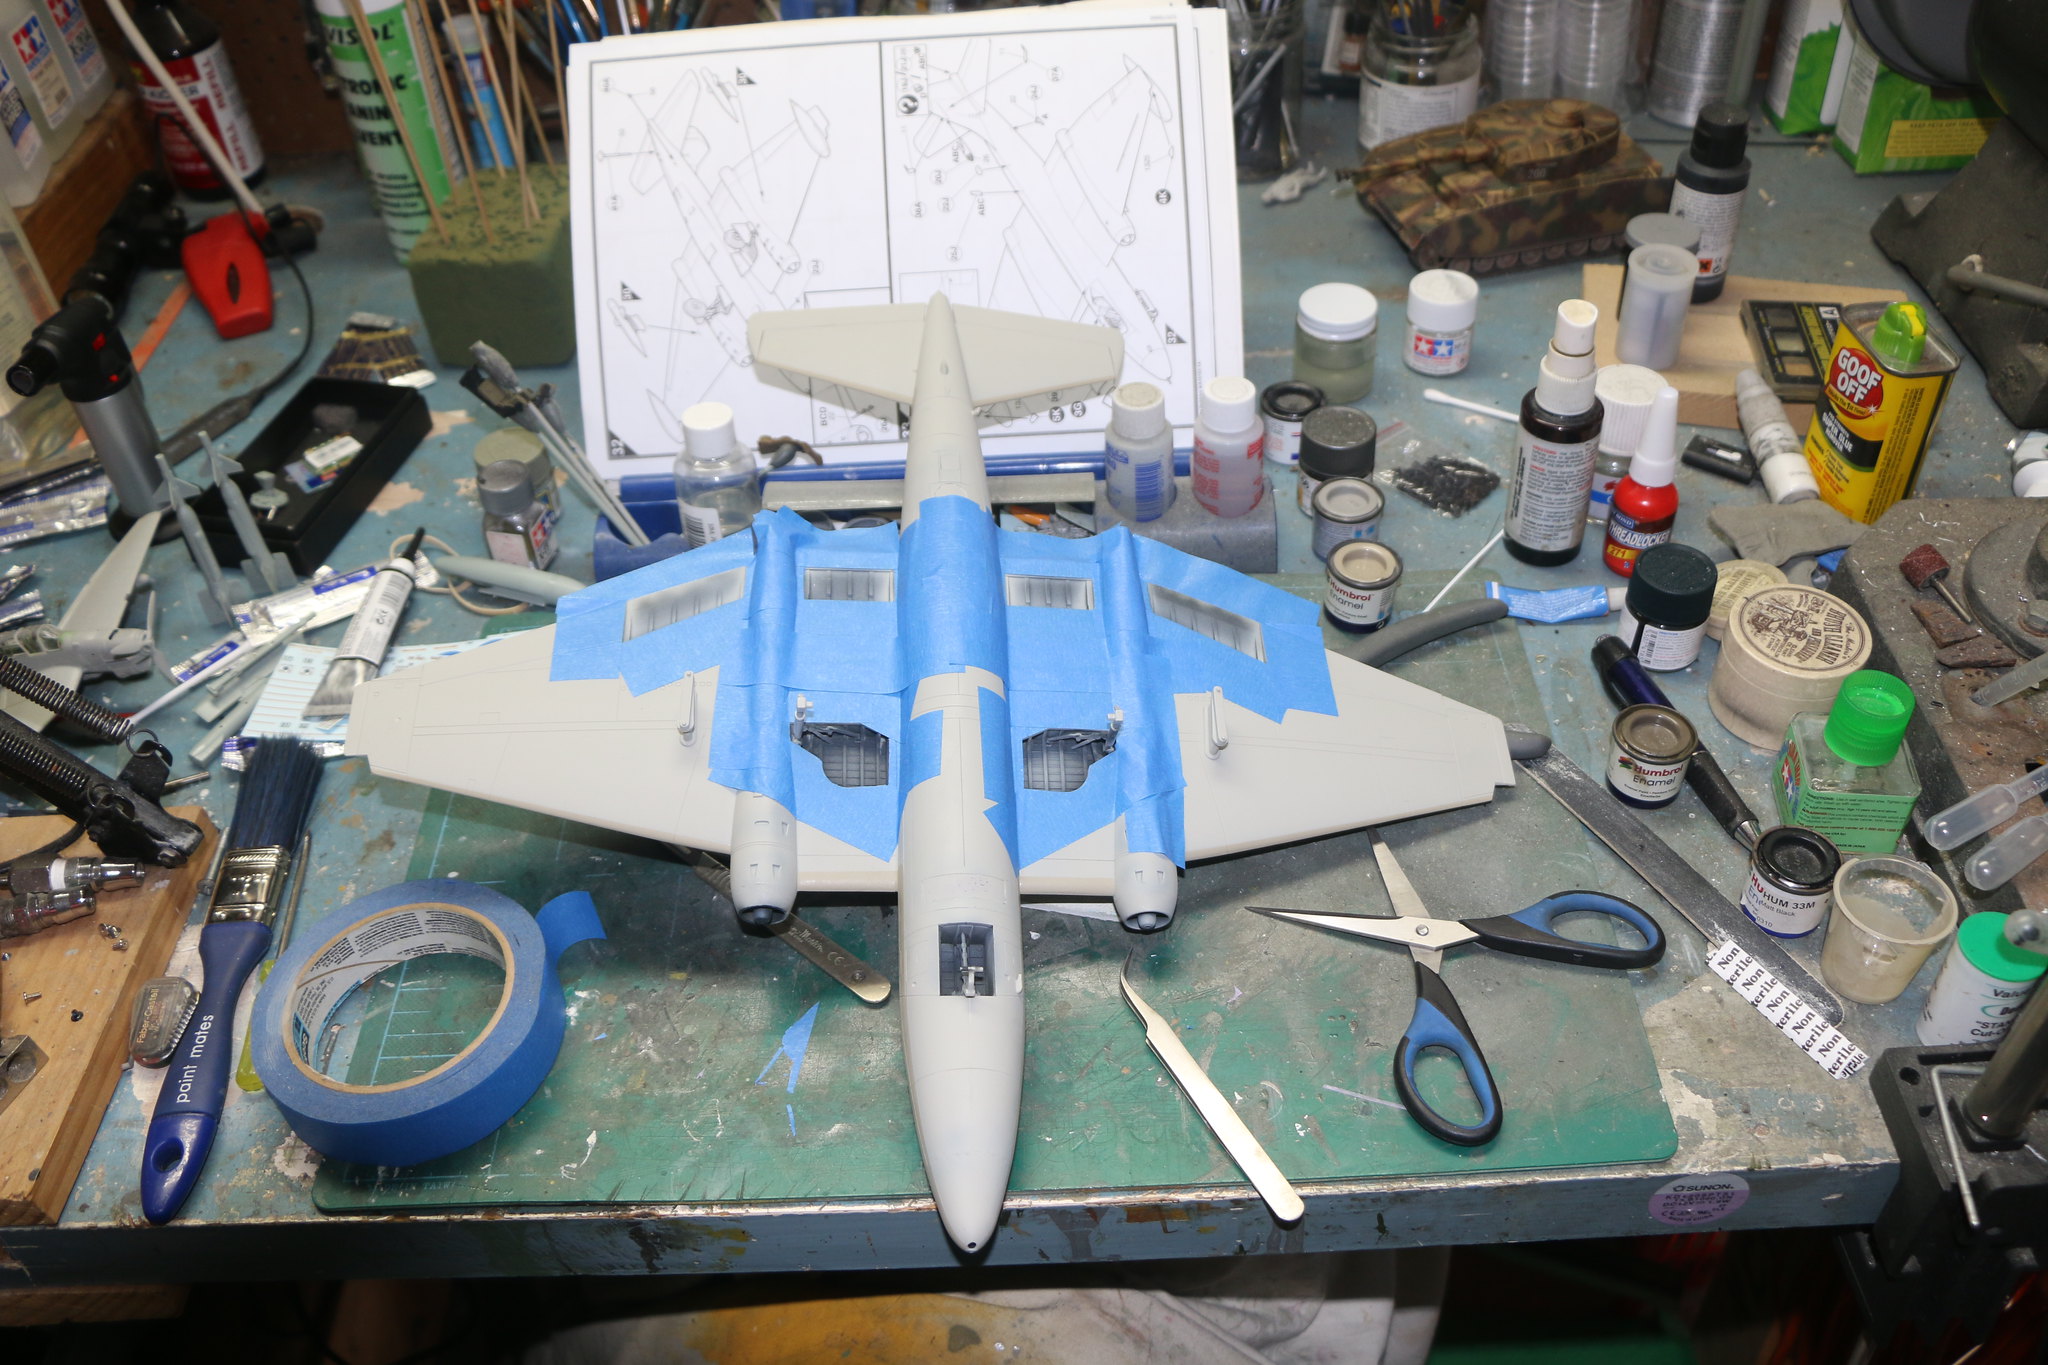
Still plugging away with the Canberra and making progress if a little slow. I've got the both the top and underside painted. I've painted the wheel and air brake wells, as well as the wheel covers and the air-brakes themselves. Now to paint the wheels and to put a wash in the wells and on the covers. Here's where I'm at right now.
IMG_1665 by Chris WIlson, on Flickr
IMG_1669 by Chris WIlson, on Flickr
IMG_1666 by Chris WIlson, on Flickr
IMG_1670 by Chris WIlson, on Flickr
IMG_1671 by Chris WIlson, on Flickr
IMG_1676 by Chris WIlson, on Flickr
IMG_1665 by Chris WIlson, on Flickr
IMG_1669 by Chris WIlson, on Flickr
IMG_1666 by Chris WIlson, on Flickr
IMG_1670 by Chris WIlson, on Flickr
IMG_1671 by Chris WIlson, on Flickr
IMG_1676 by Chris WIlson, on Flickr
Posted: Wednesday, November 15, 2017 - 12:56 PM UTC
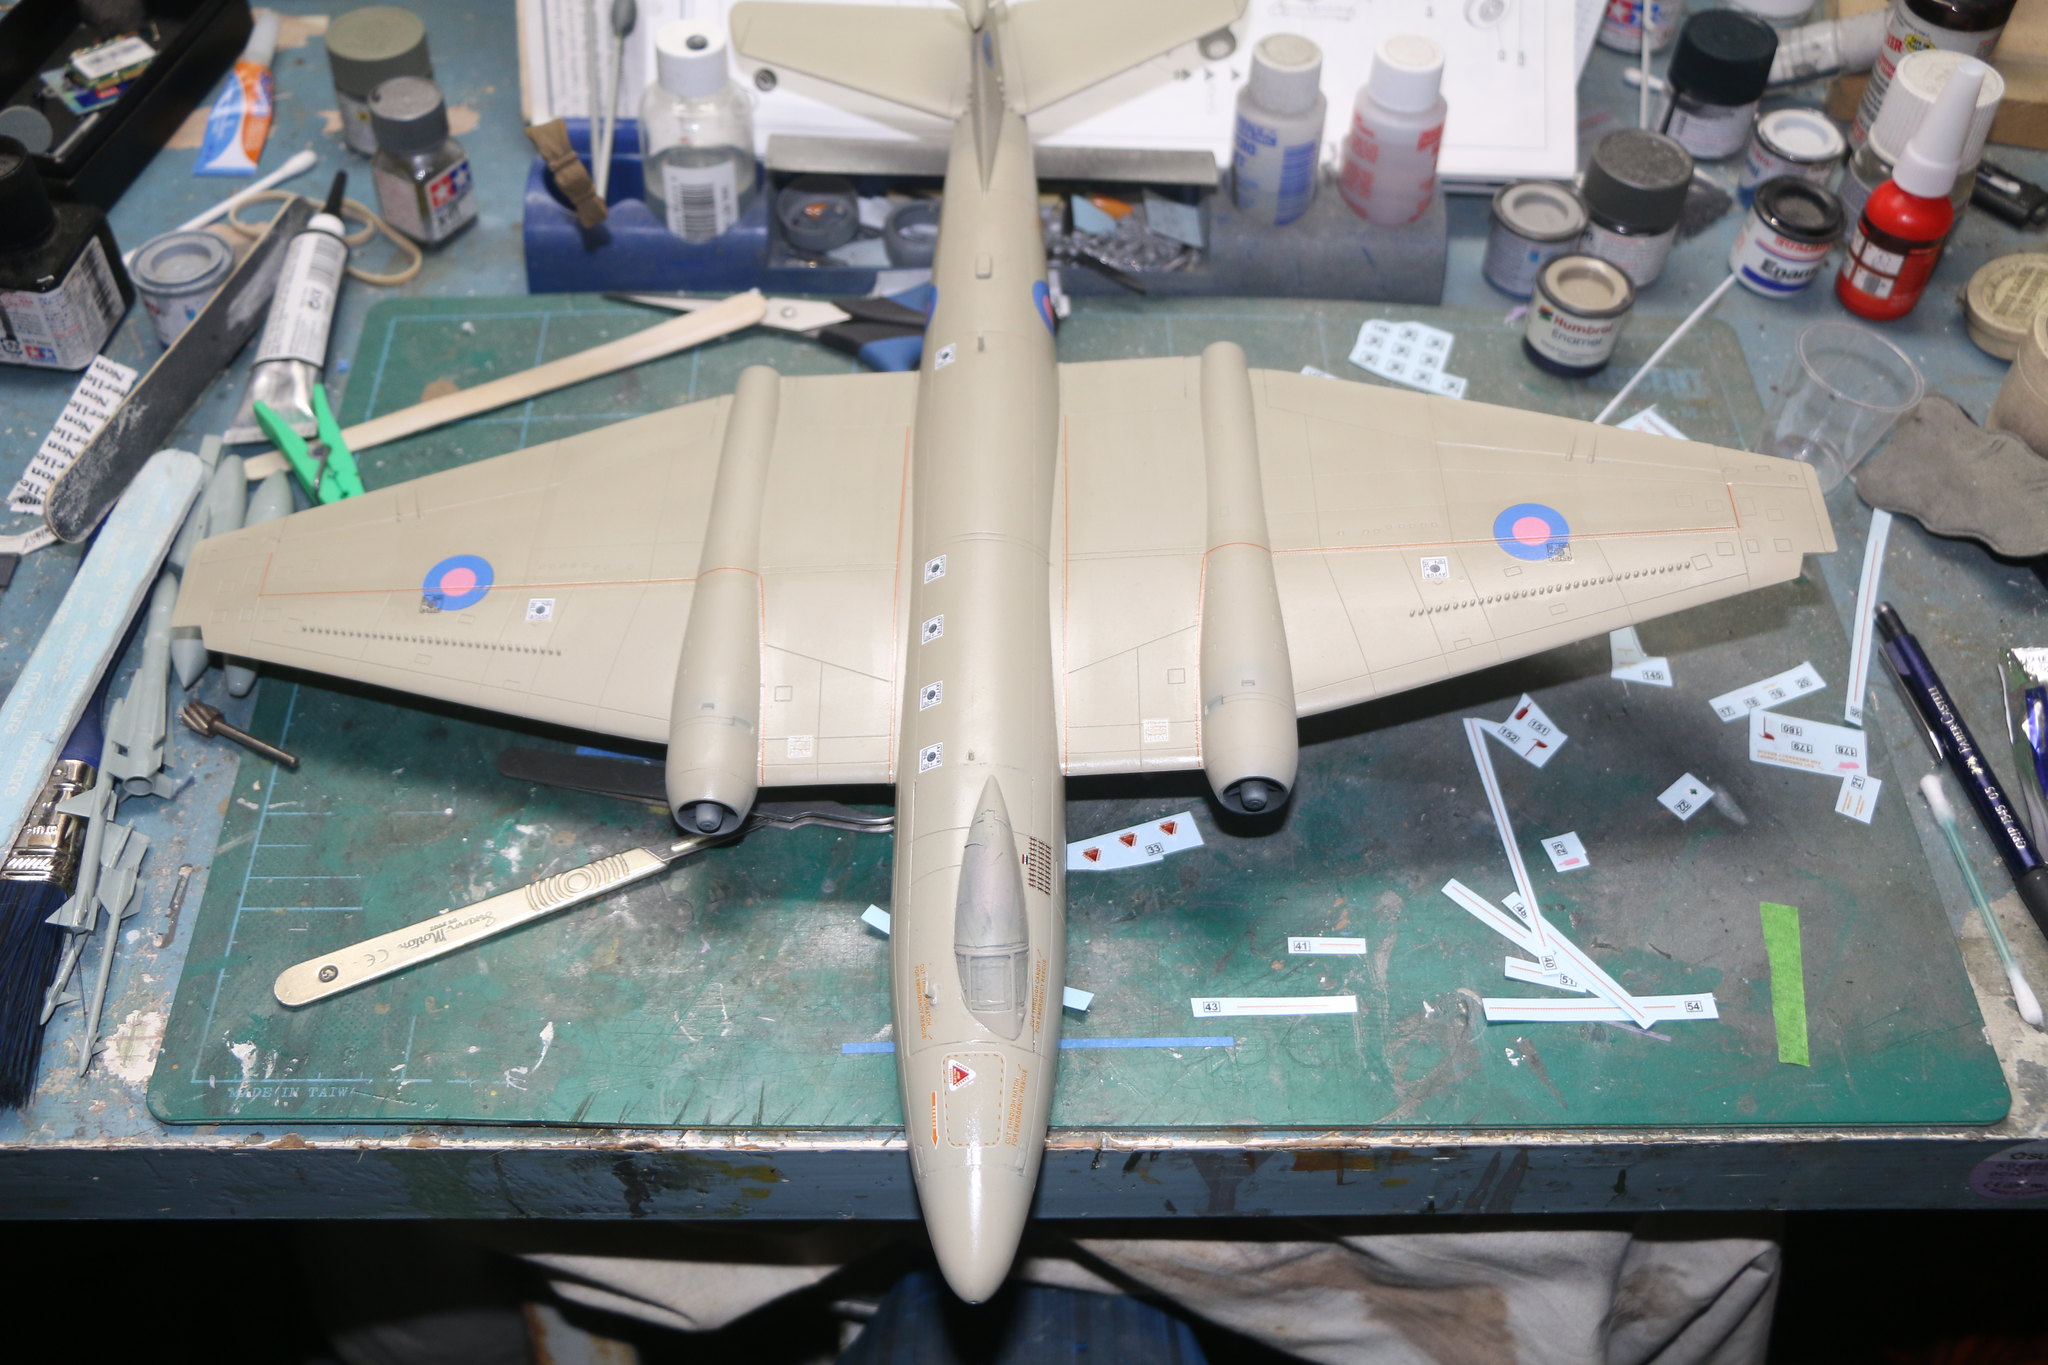
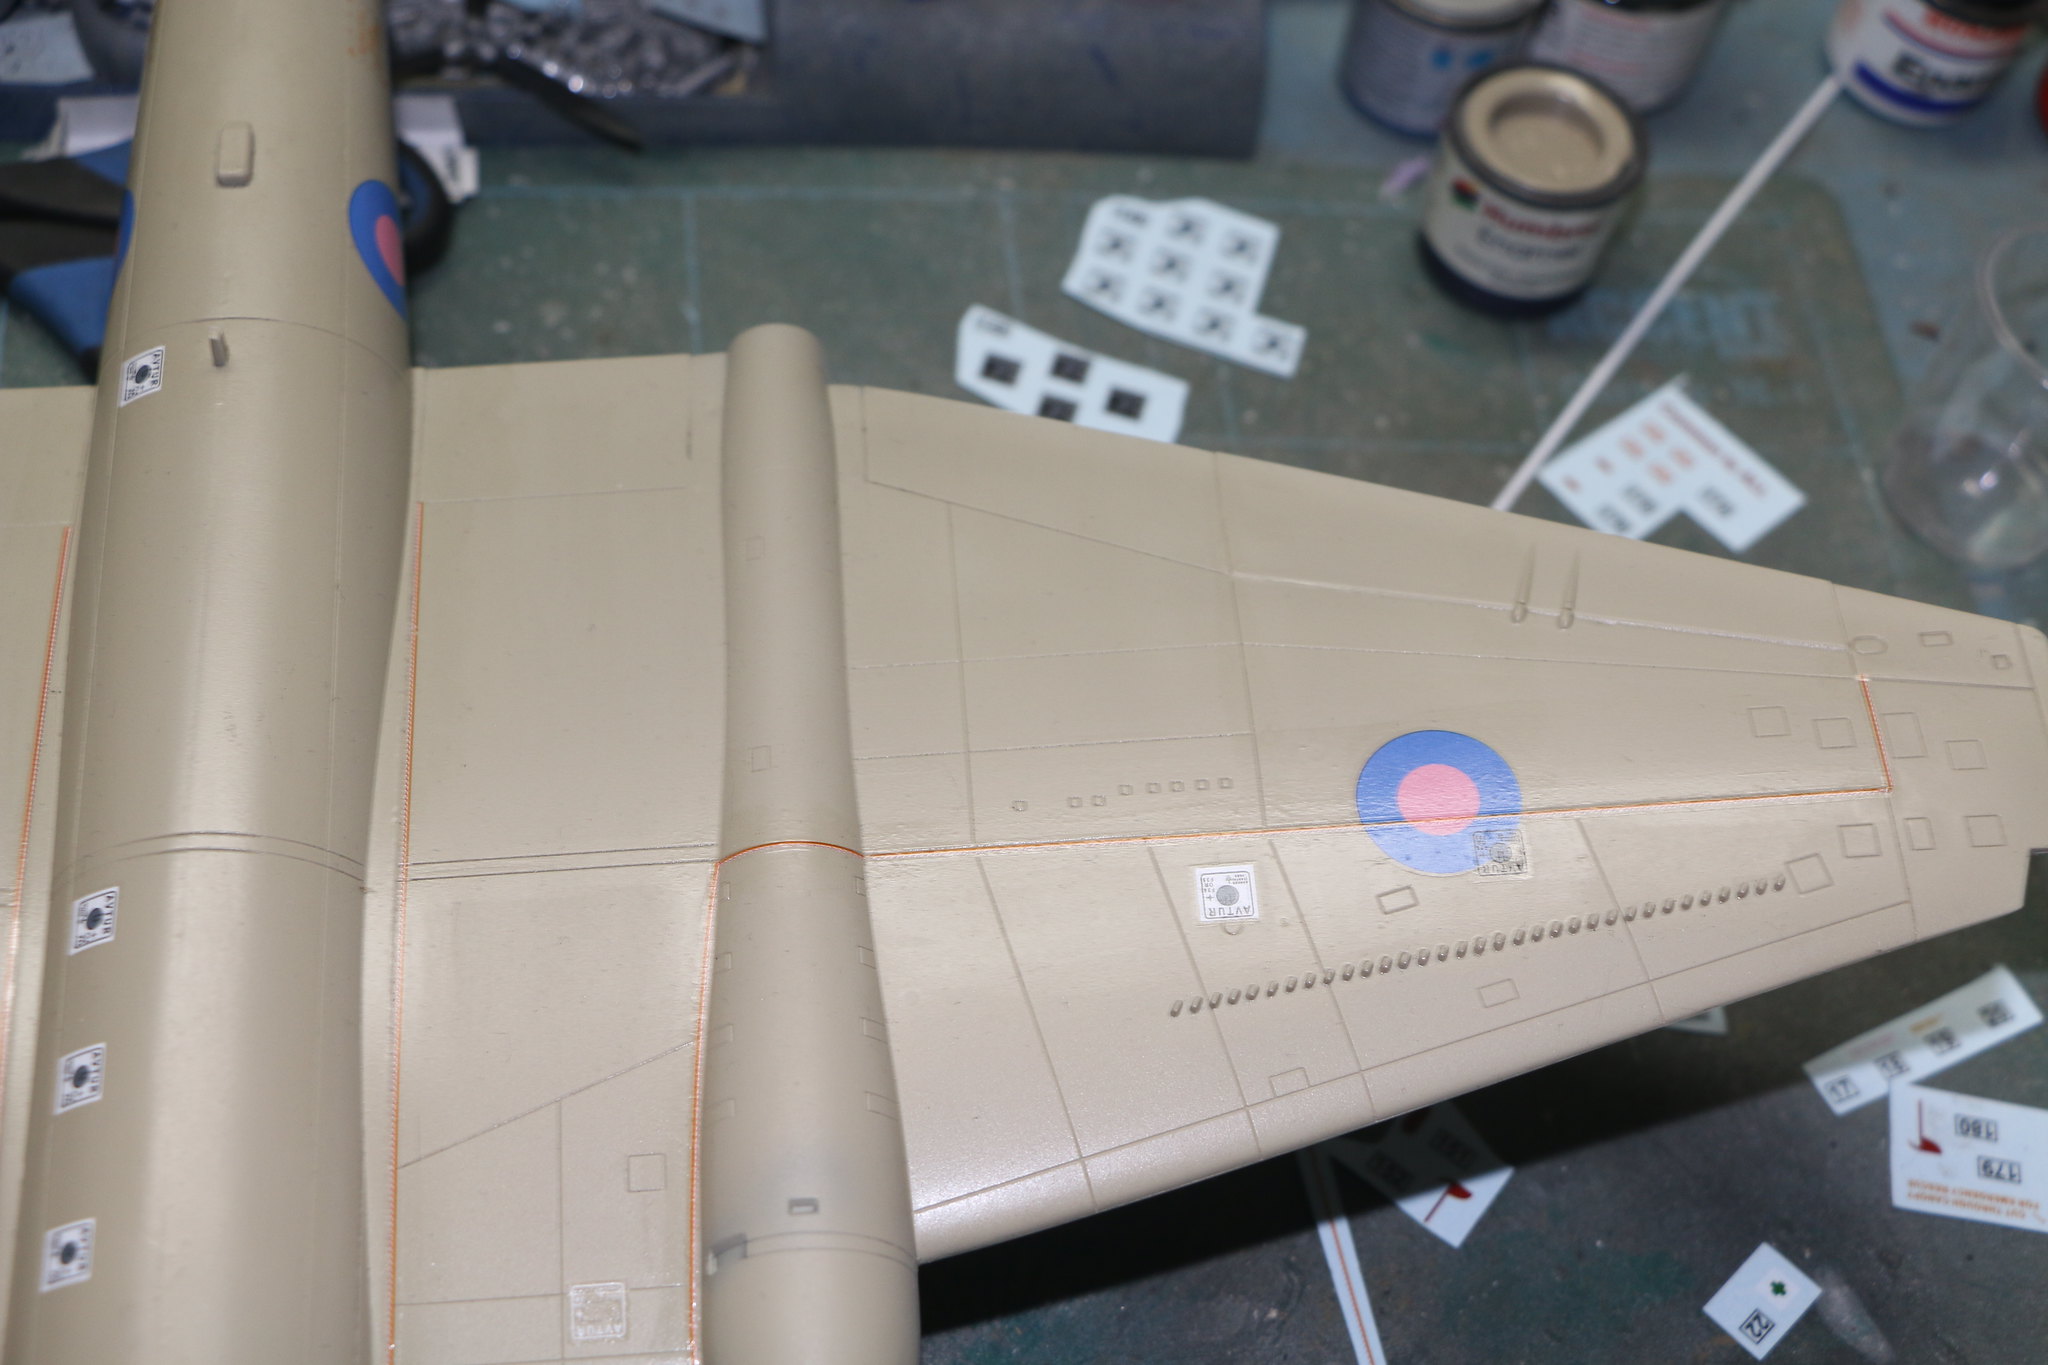
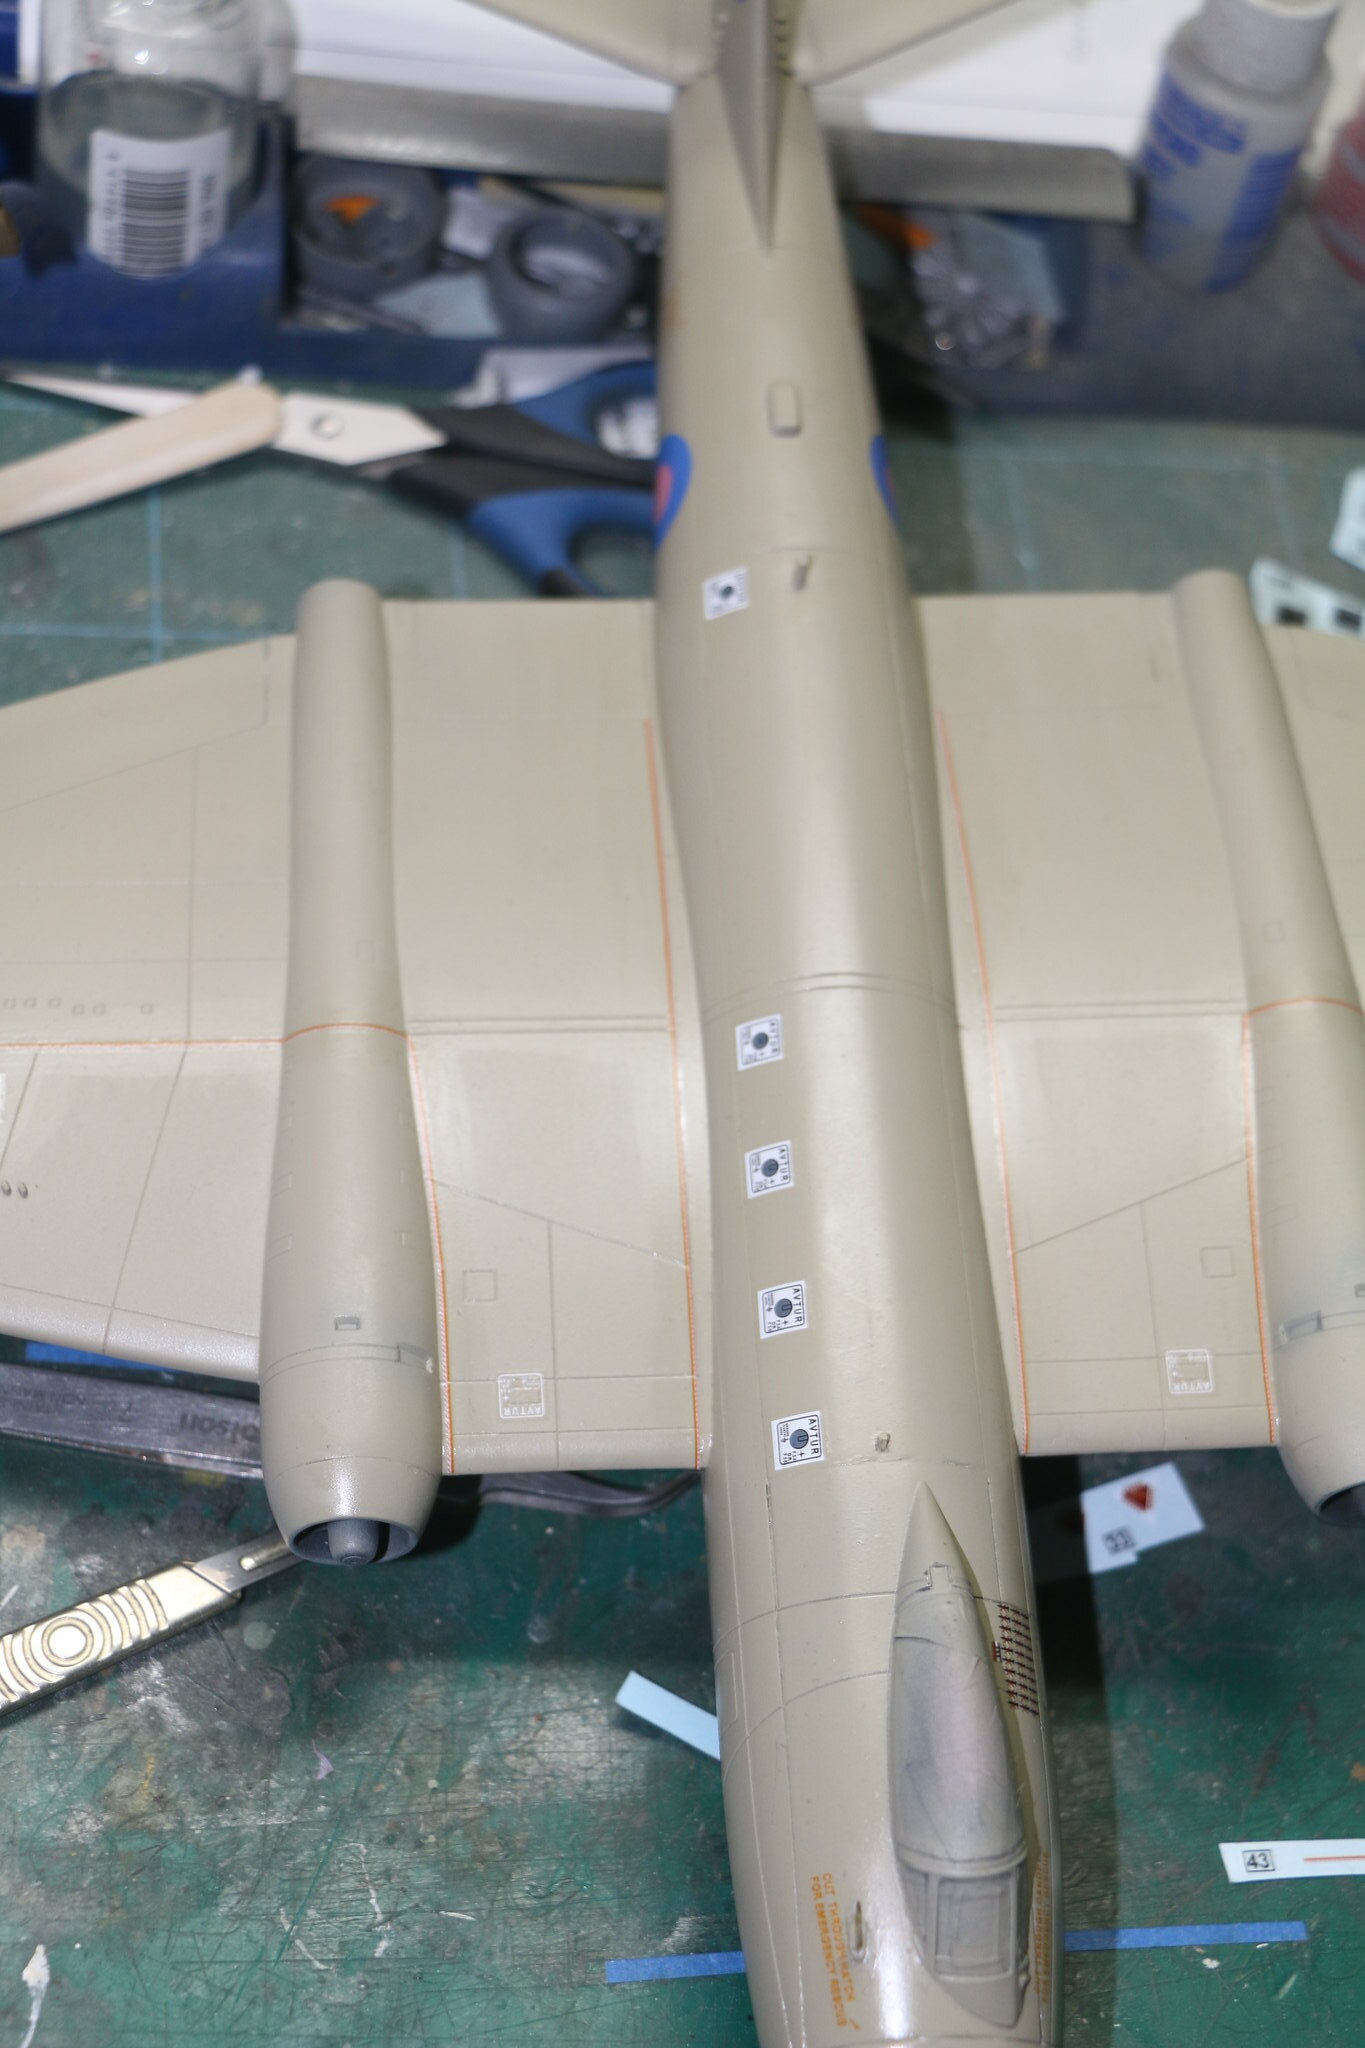
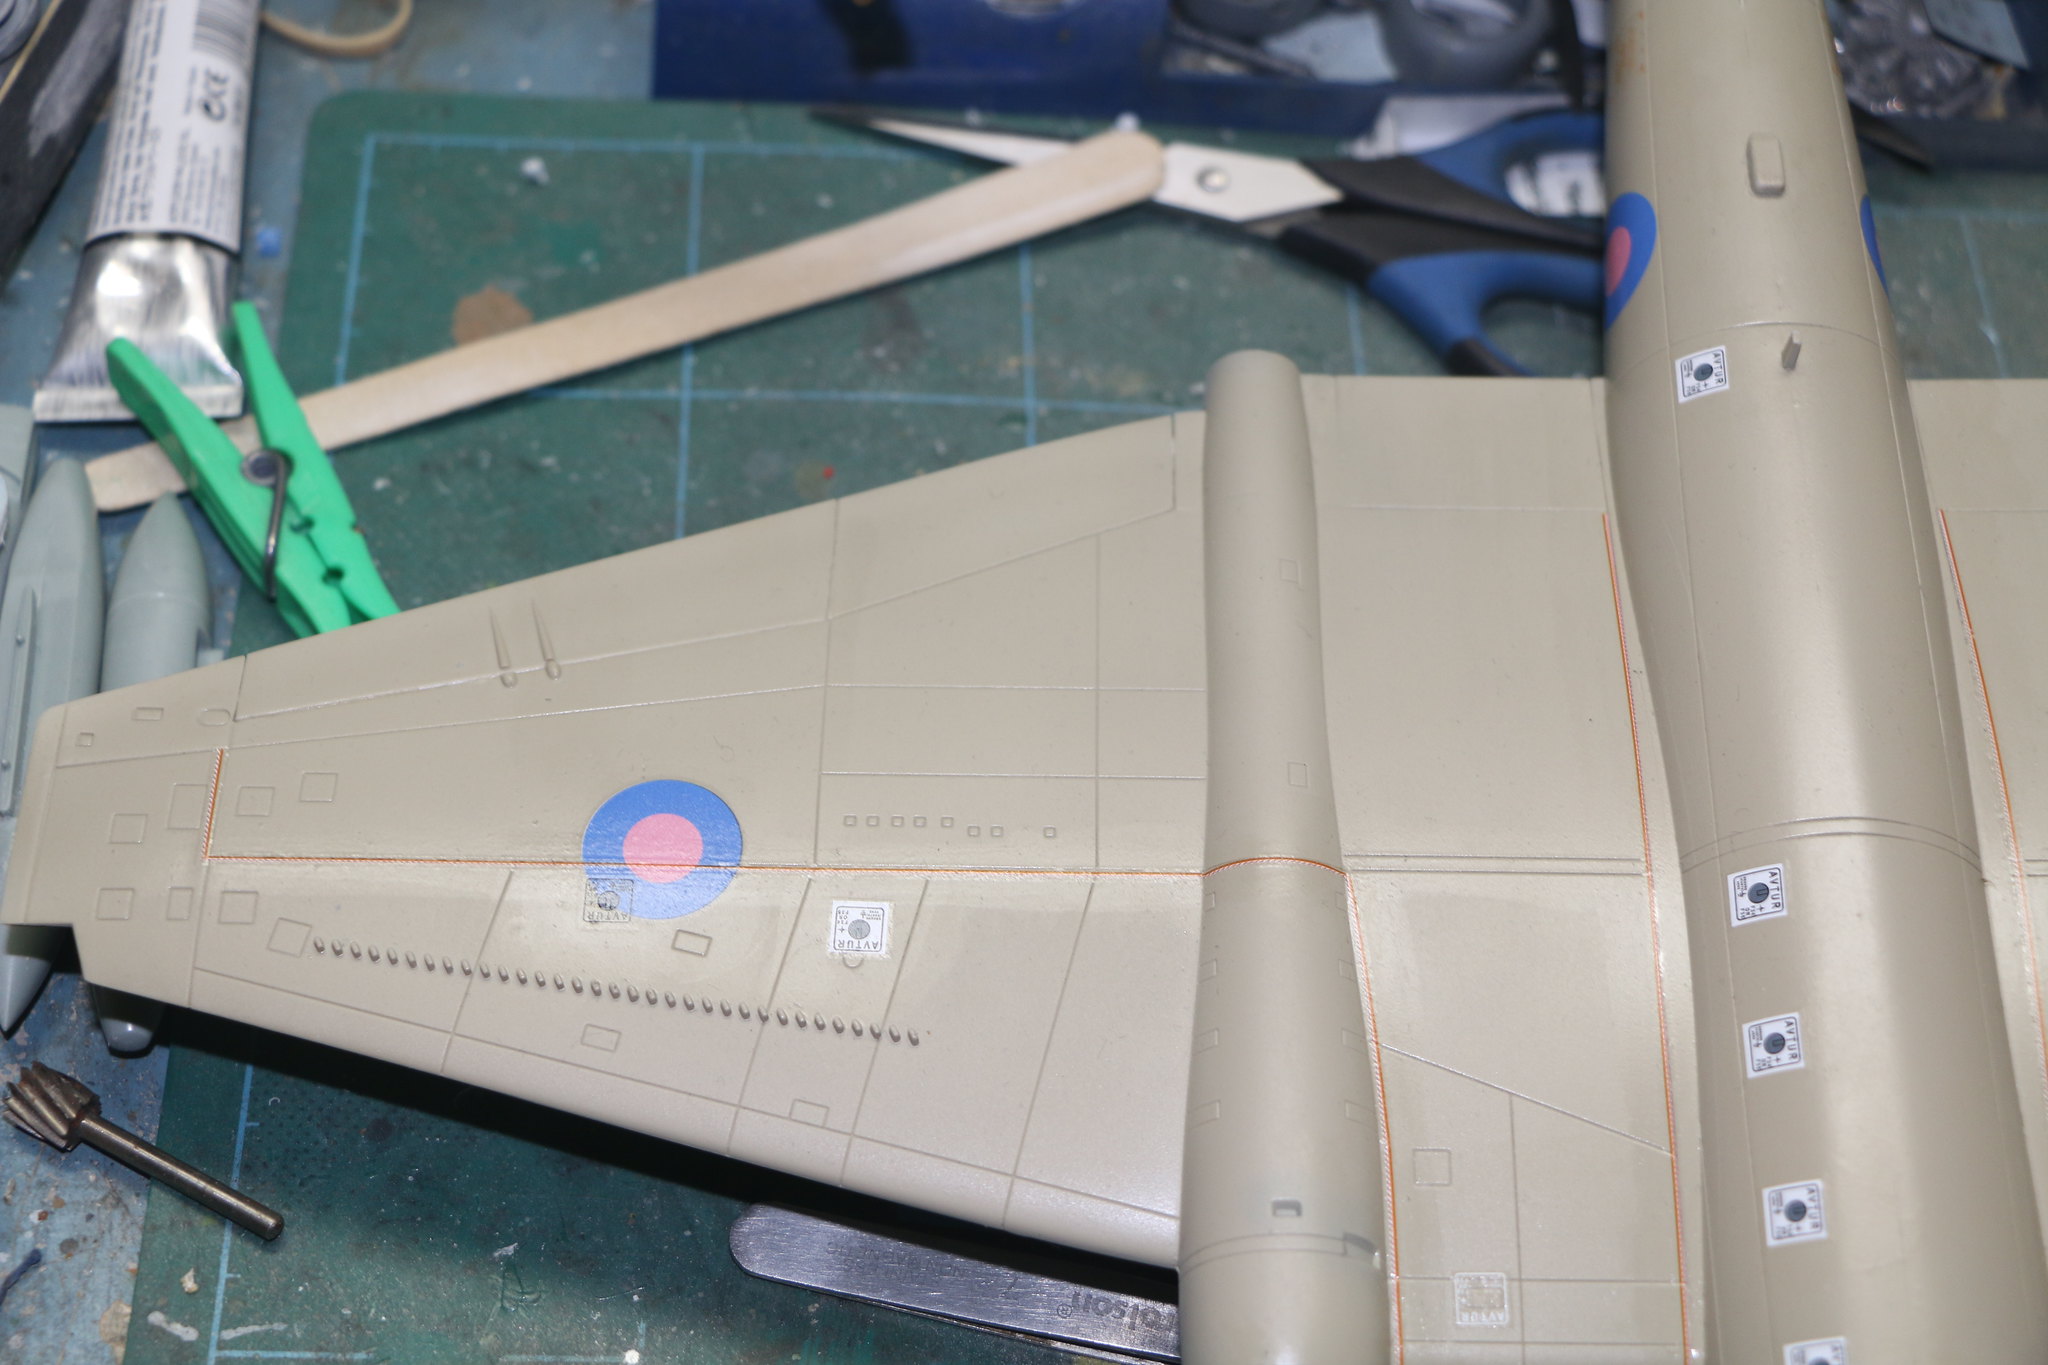
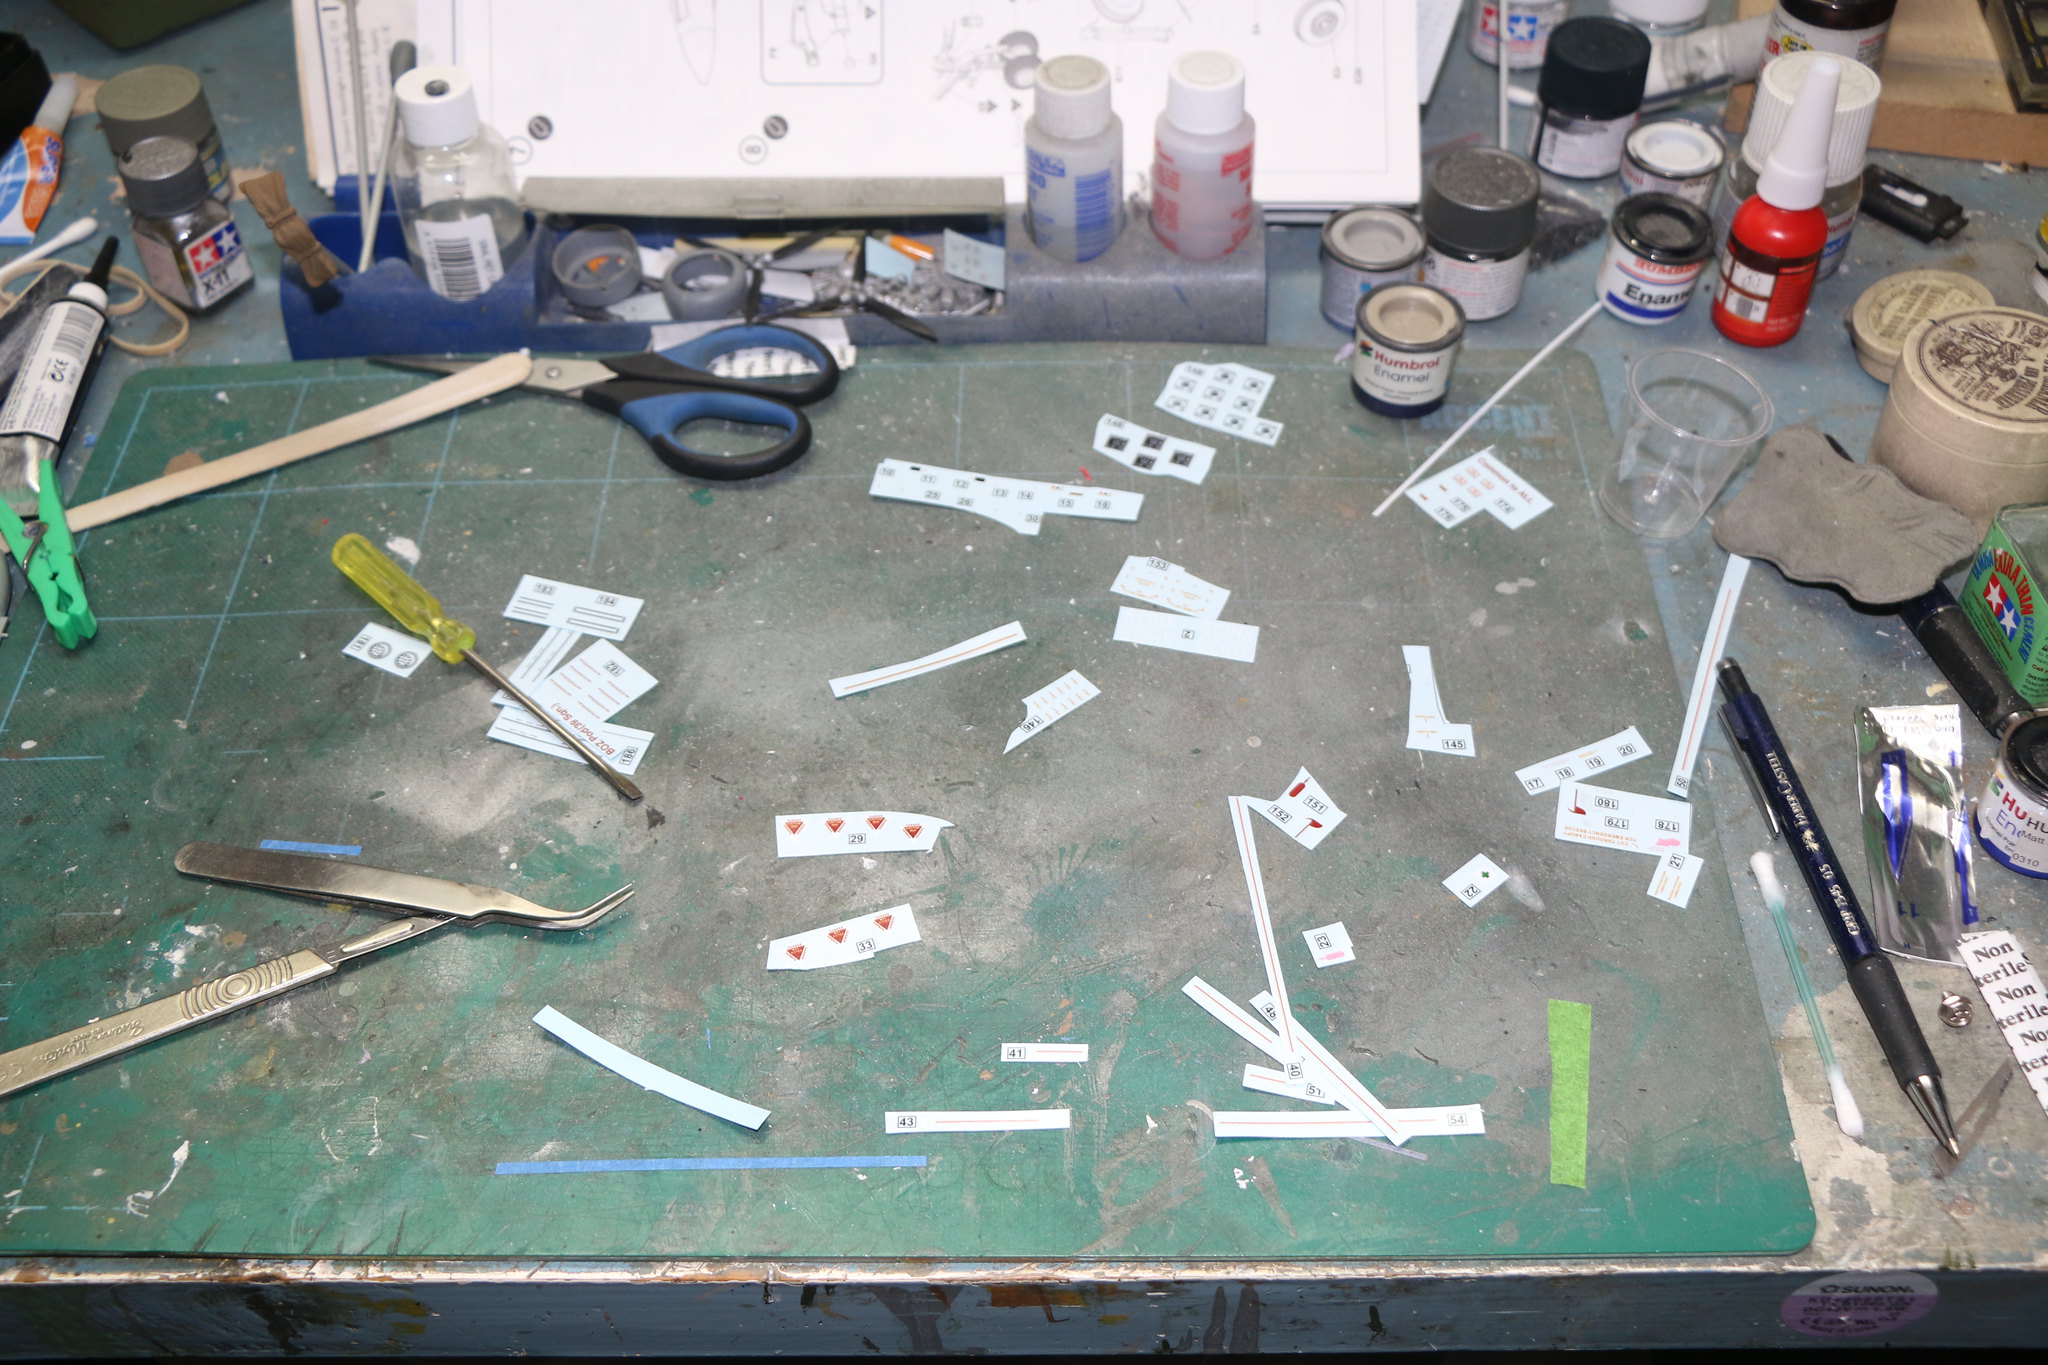
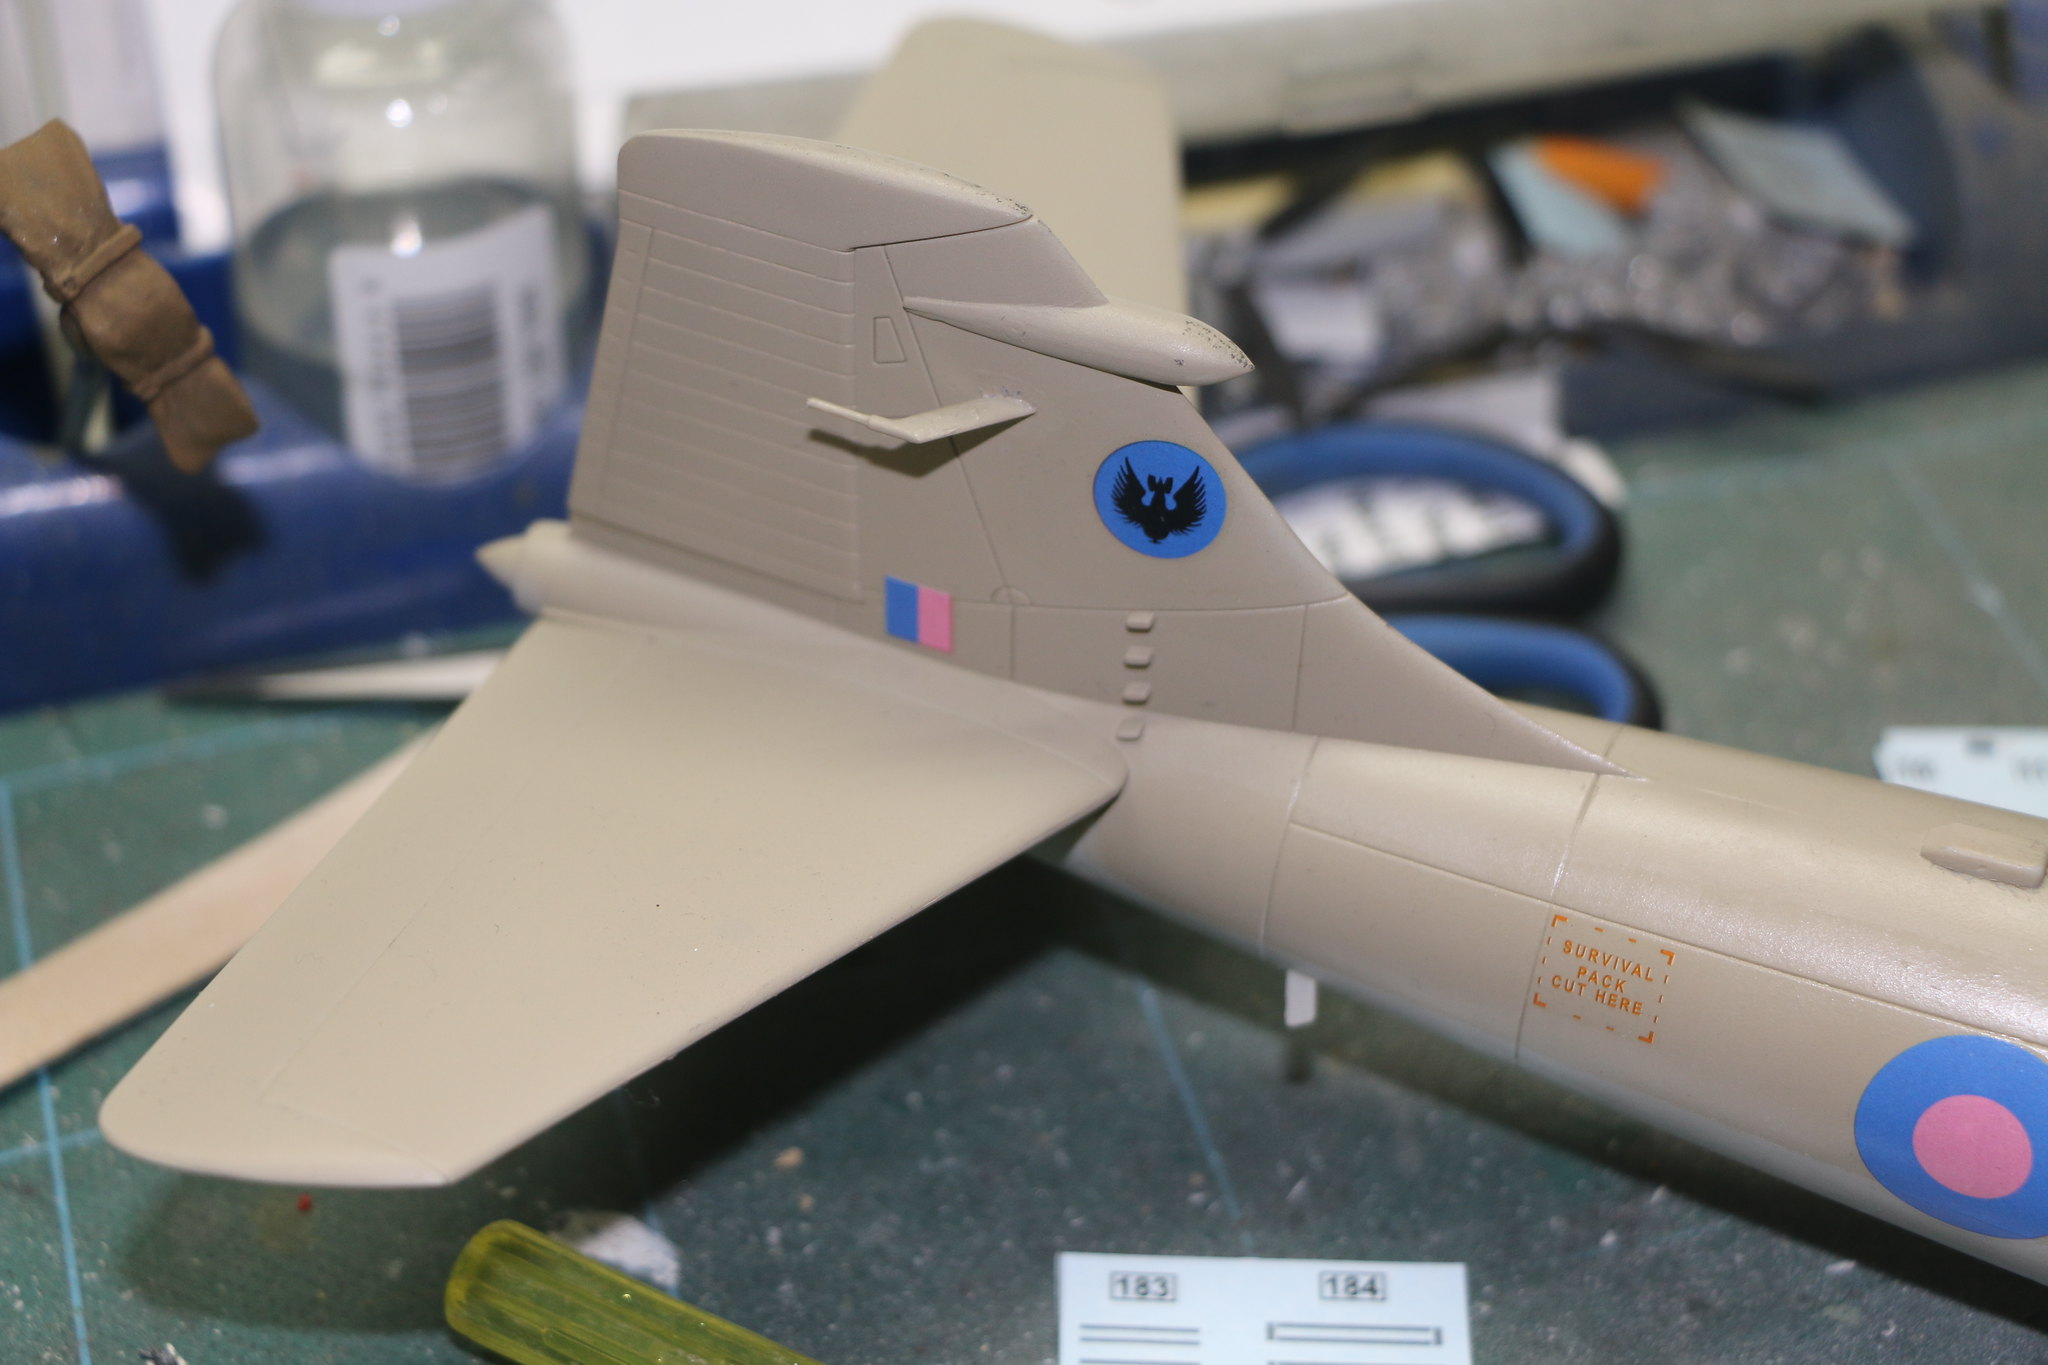
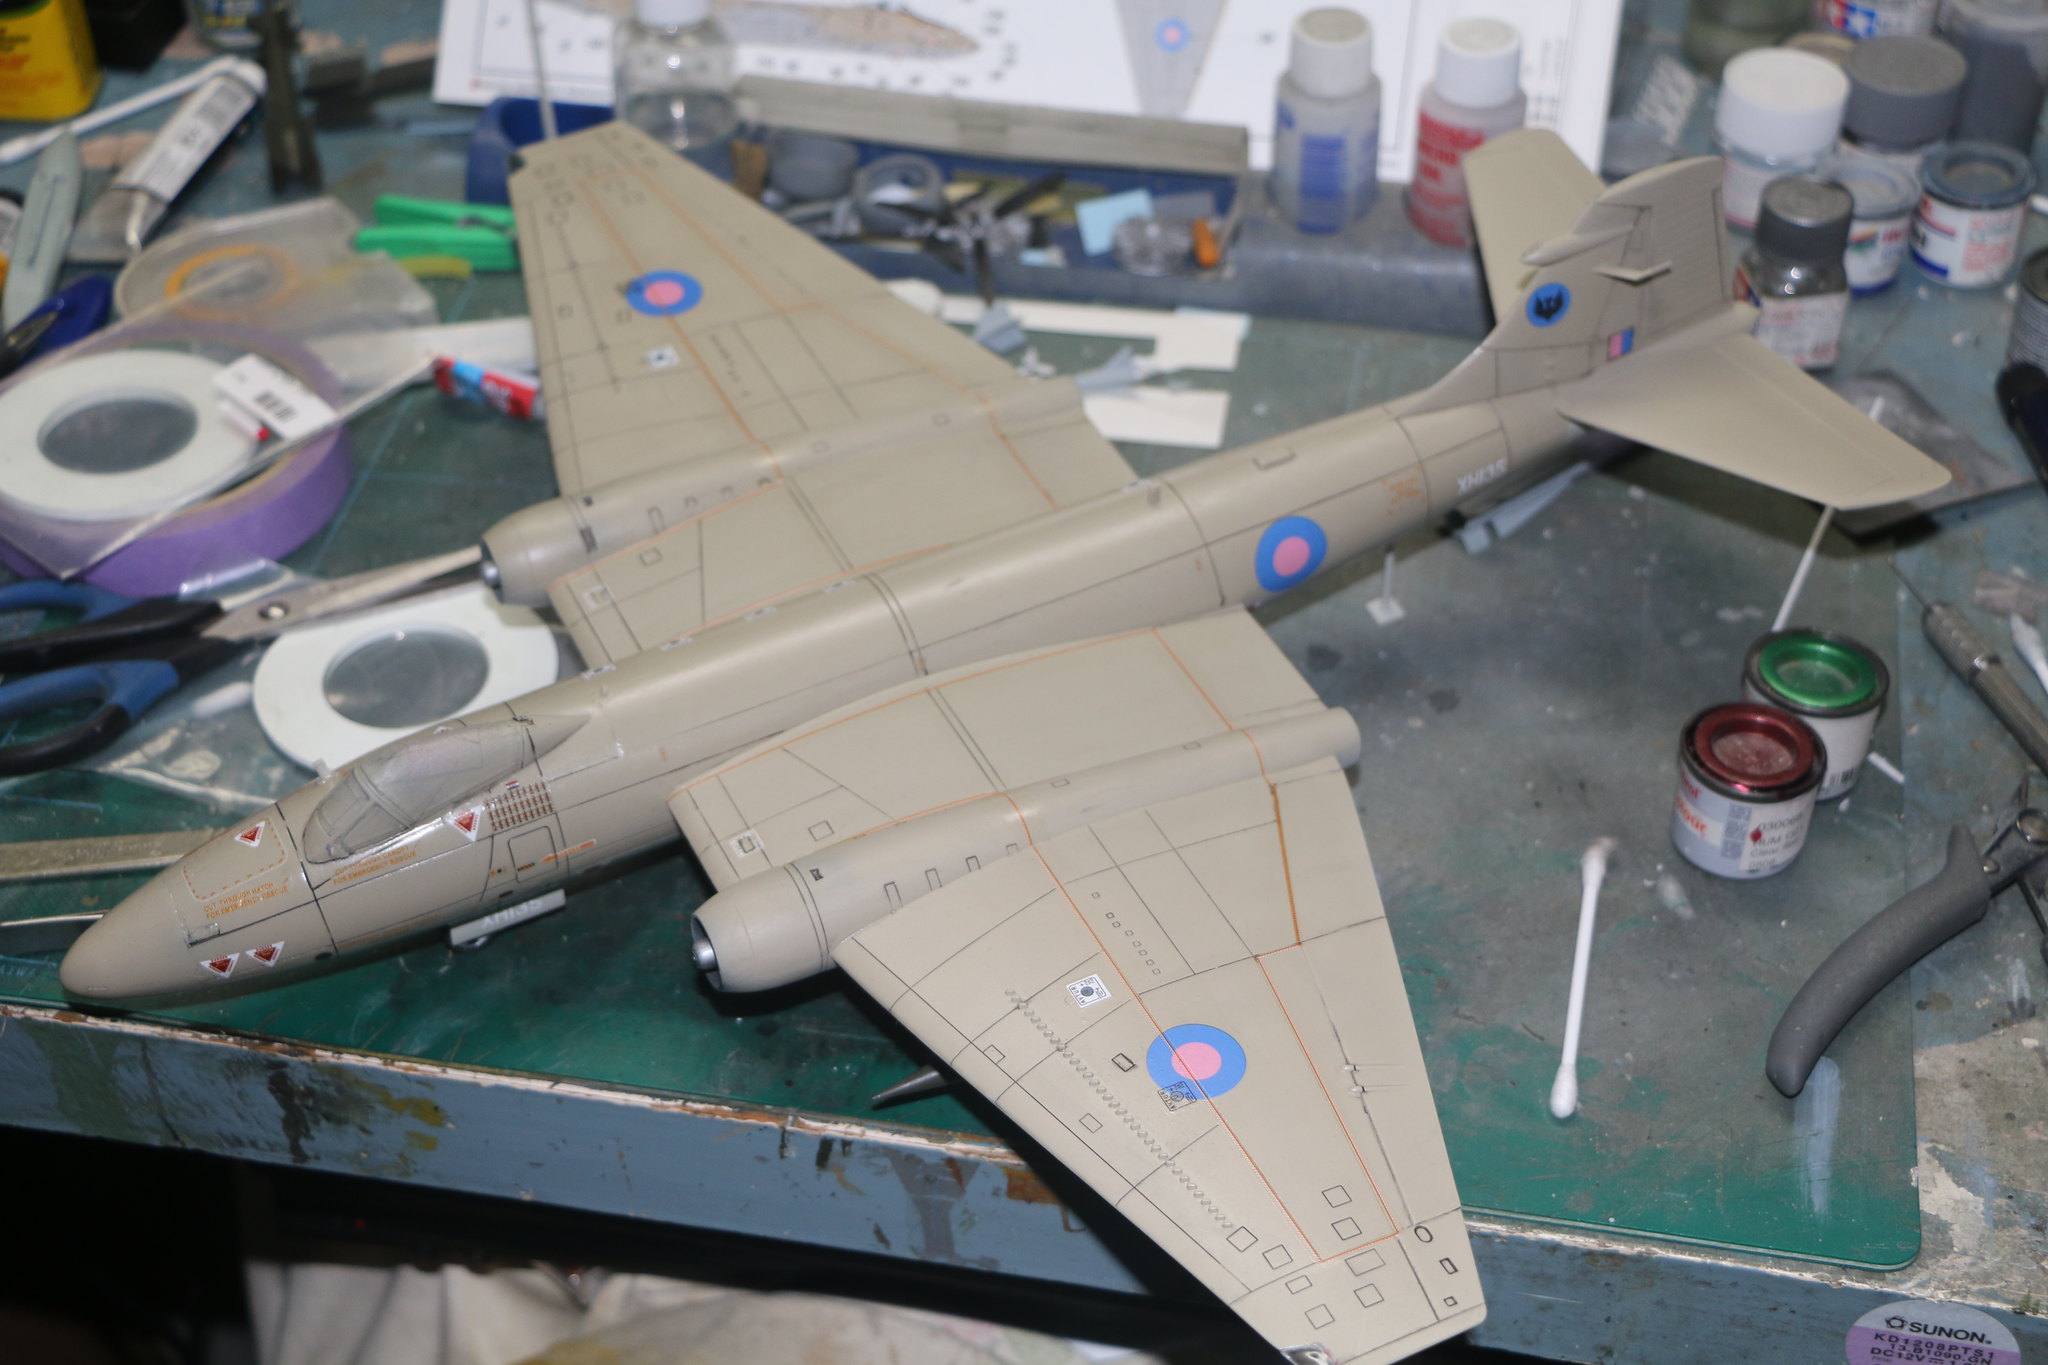
So things have slowed down with the Canberra build as I'm decaling her up and there are quite a few to apply! I apply a few at a time wait till they're dry and then apply some more. A slow process but I find if I don't allow the decals to dry I invariably wind up placing my fingers on the newly placed decals and either moving them or removing them completely! So here's a look at where I'm up too right now.
IMG_1705 by Chris WIlson, on Flickr
IMG_1706 by Chris WIlson, on Flickr
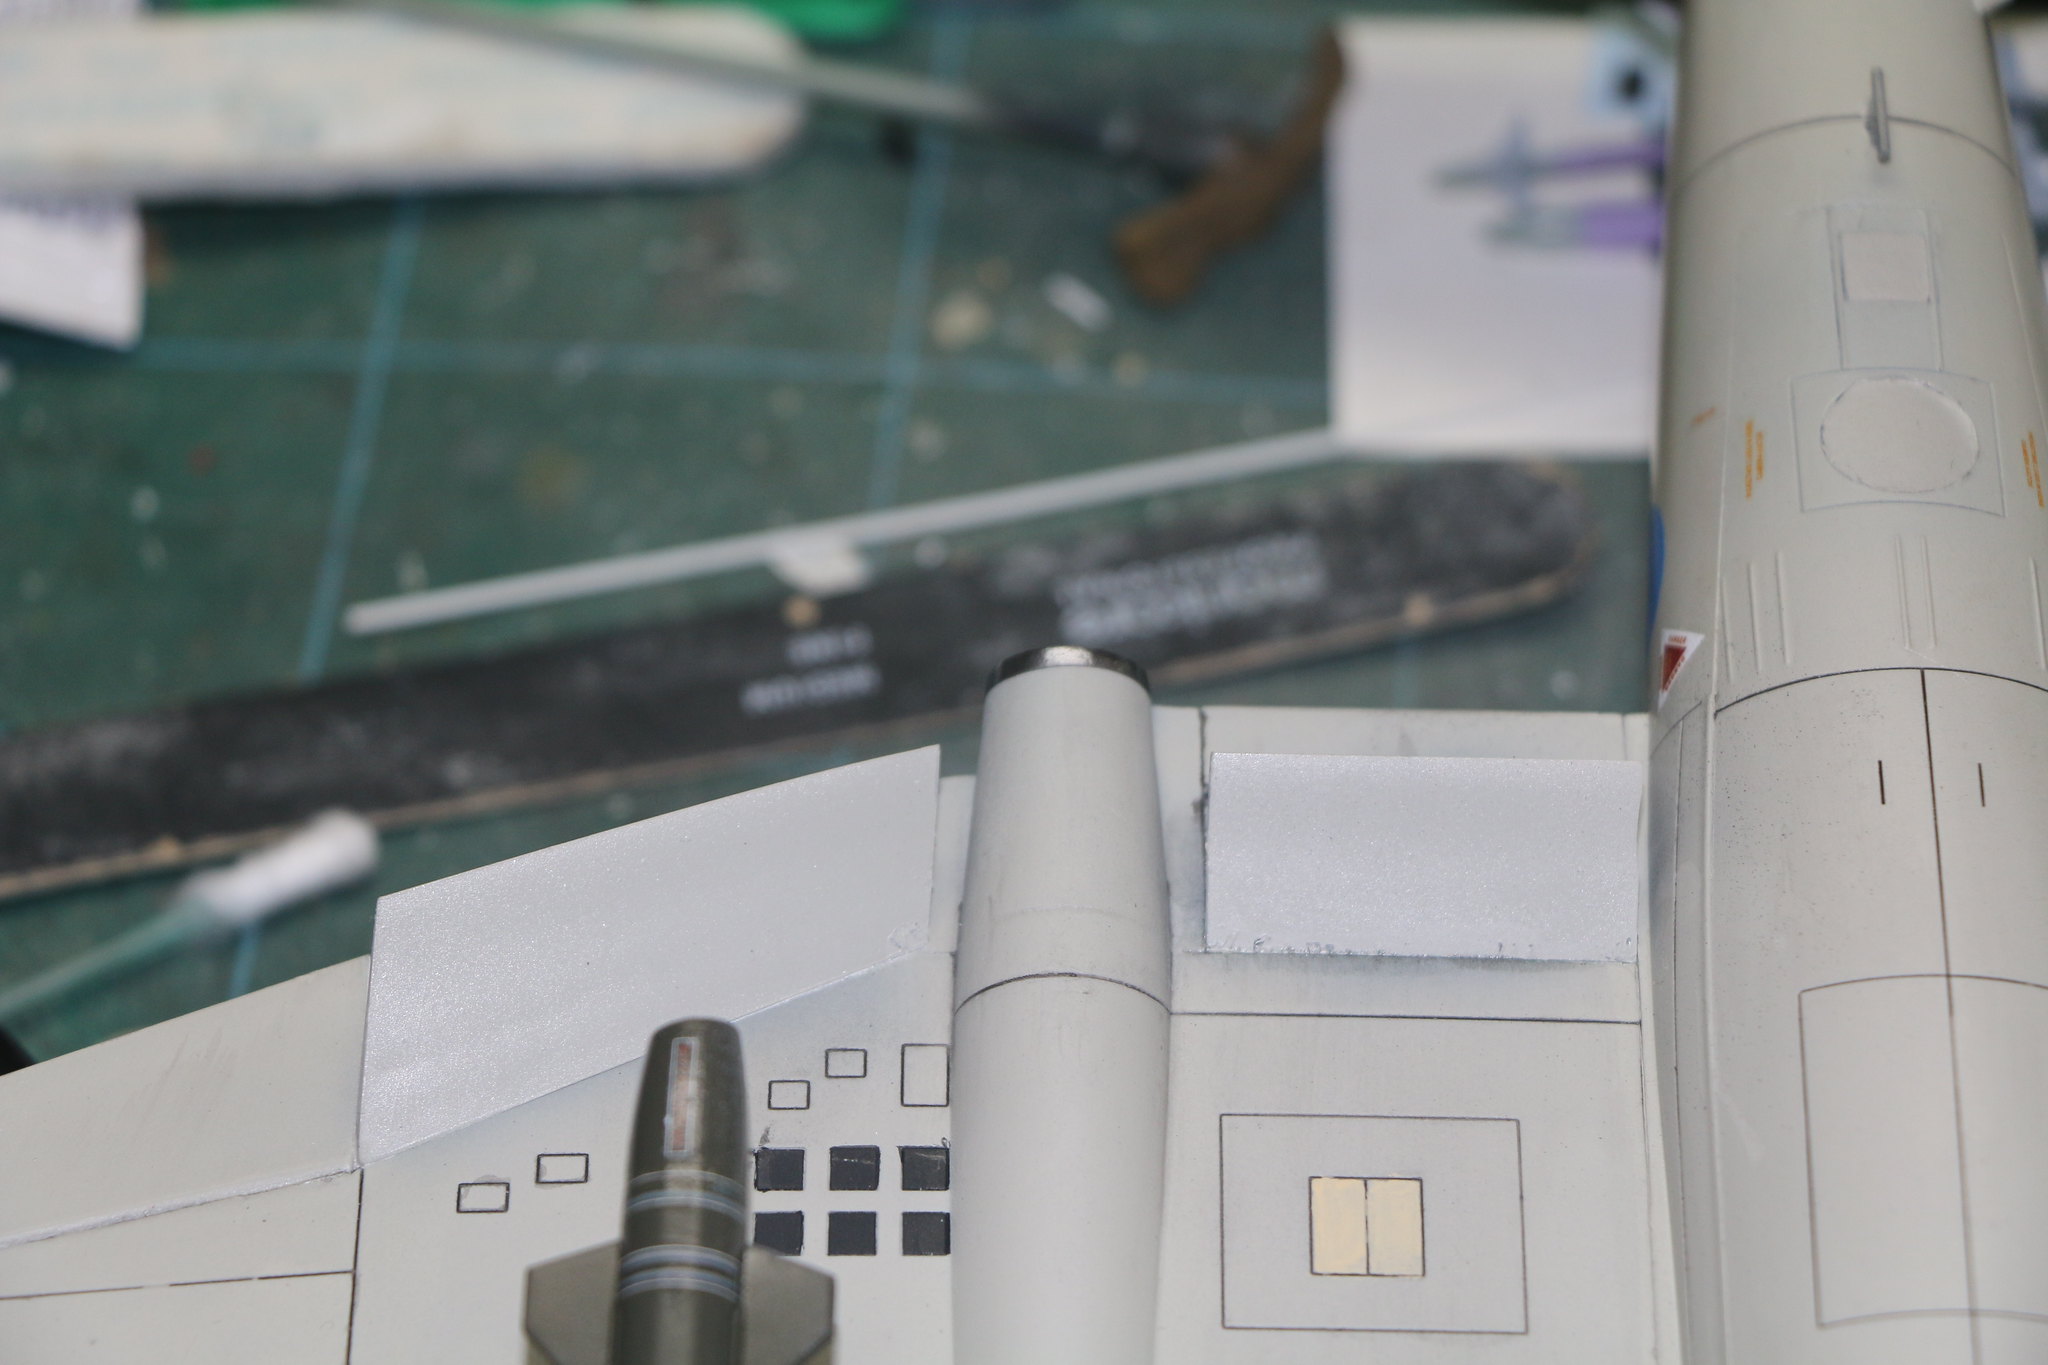
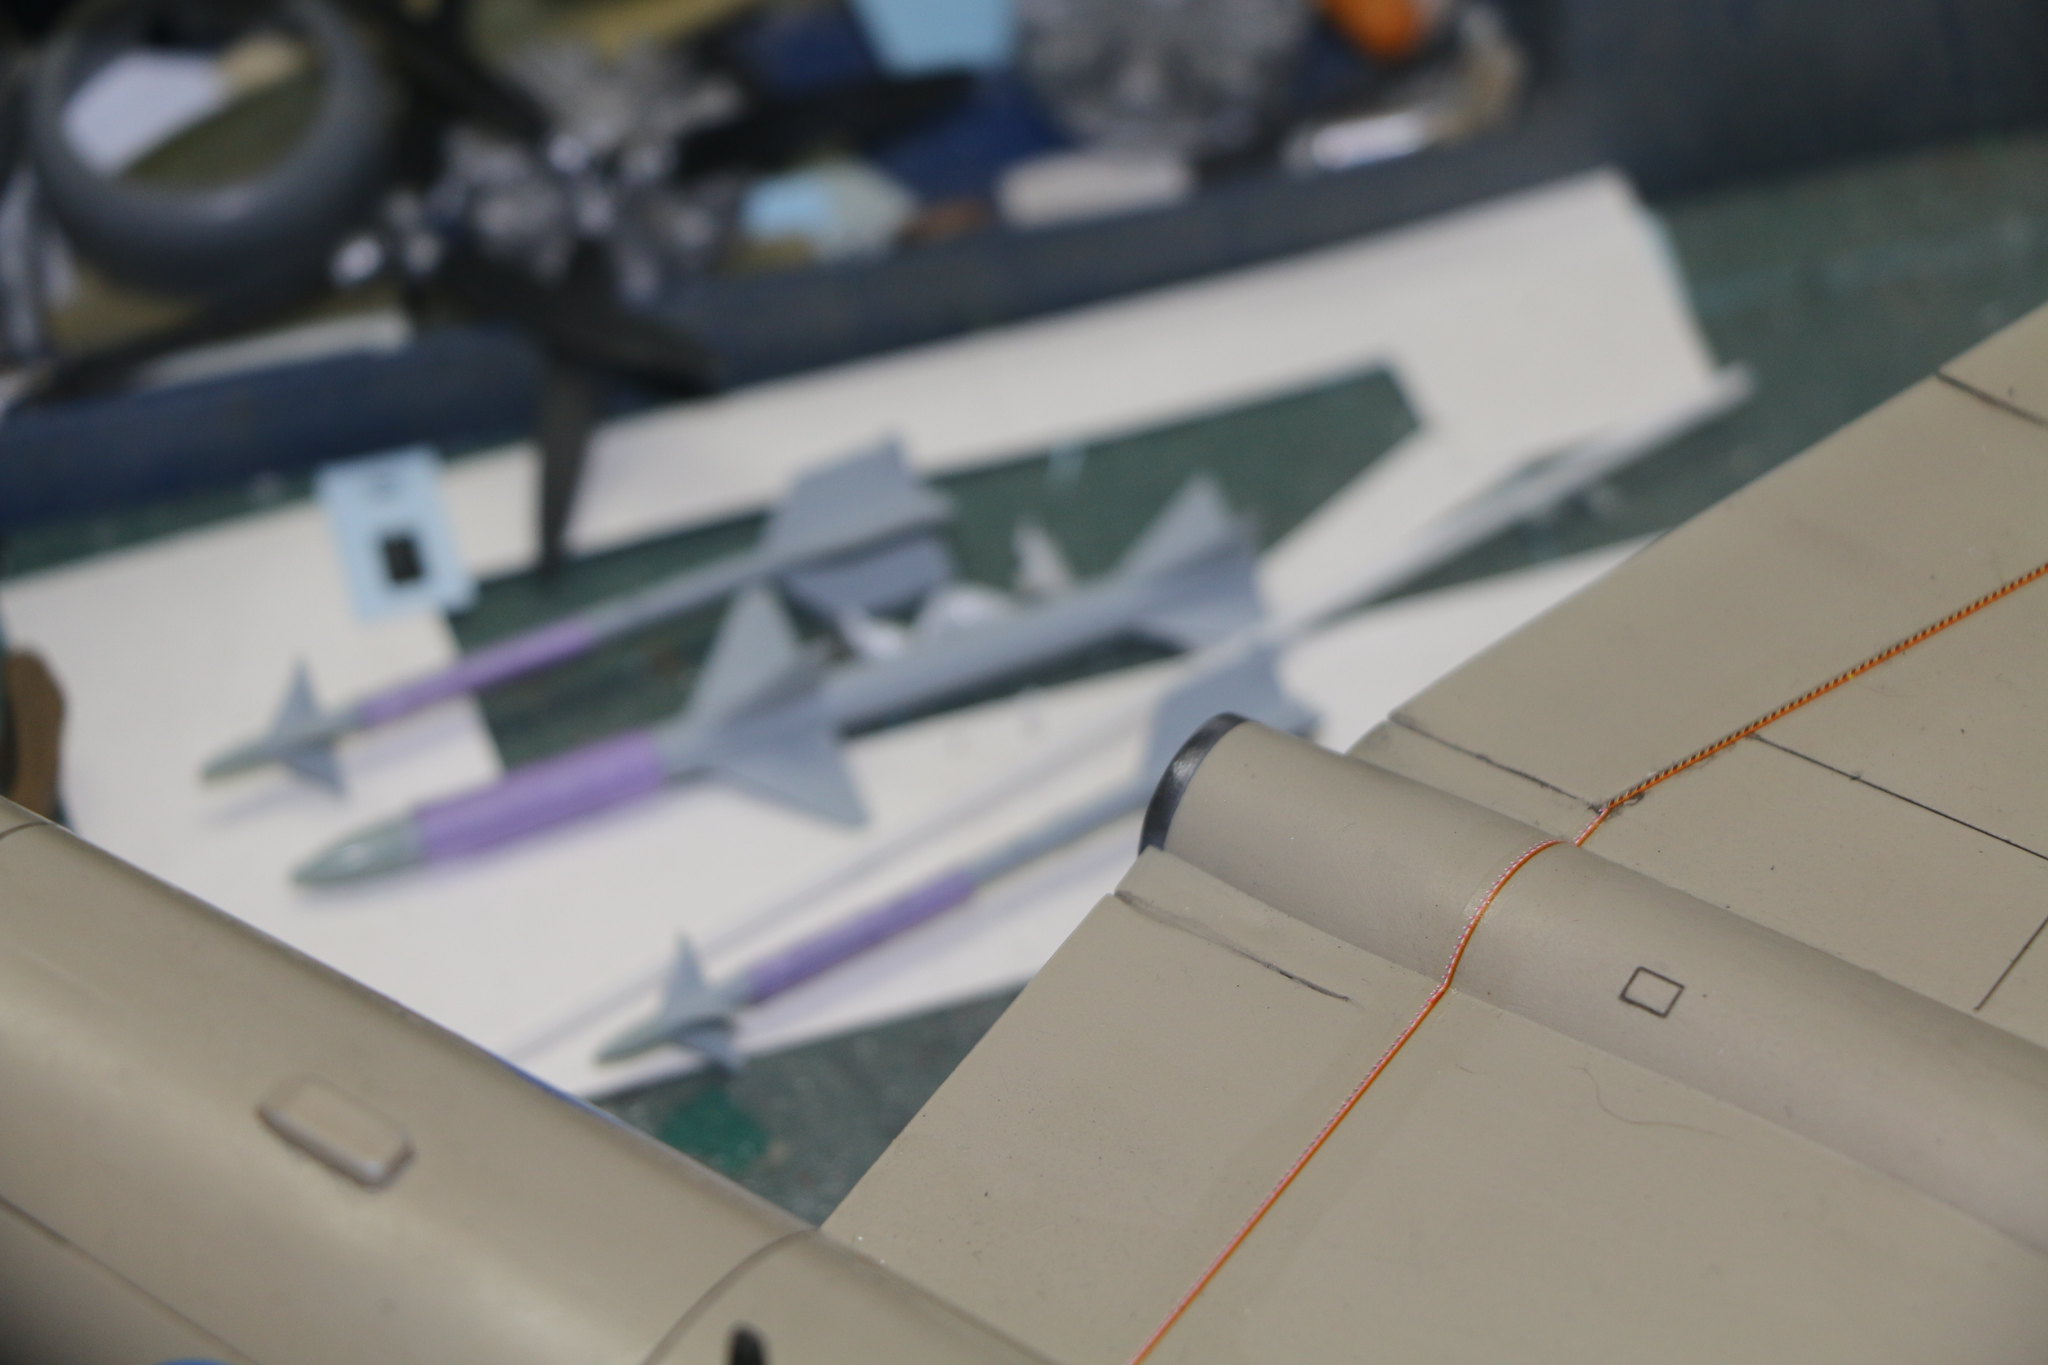
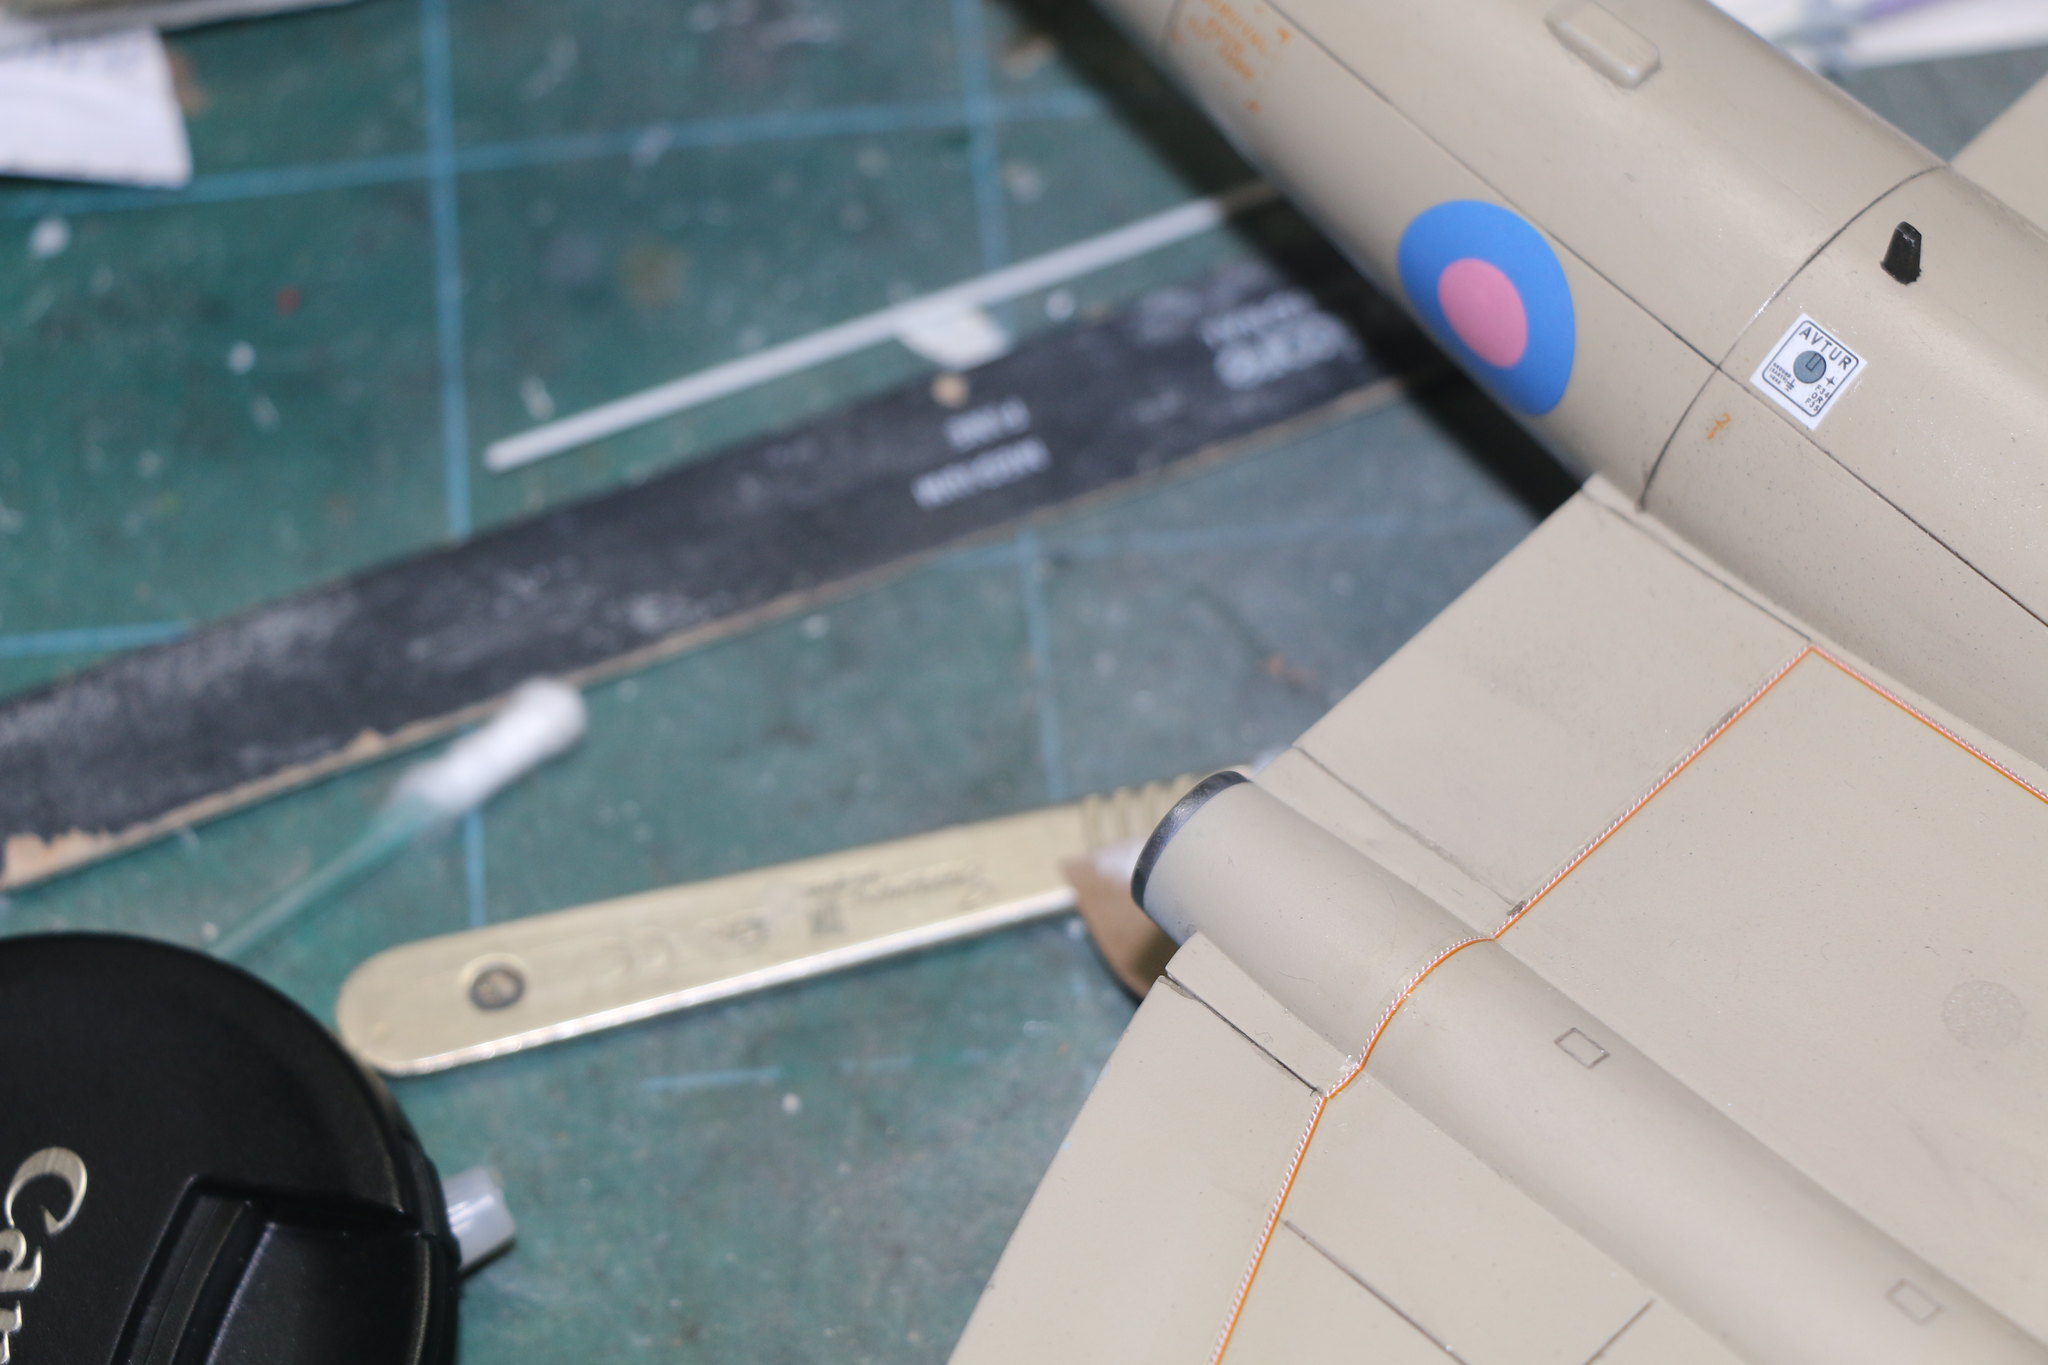
The wing walkway lines are perfectly straight and the instructions would have you curve them around the fuselage and wings, not something that straight decals will do without persuasion. So I've simply decided to apply them as straight lines and curve them gently if they'll allow it, mainly around the engines.
IMG_1707 by Chris WIlson, on Flickr
IMG_1708 by Chris WIlson, on Flickr
IMG_1709 by Chris WIlson, on Flickr
IMG_1710 by Chris WIlson, on Flickr
IMG_1713 by Chris WIlson, on Flickr
IMG_1711 by Chris WIlson, on Flickr
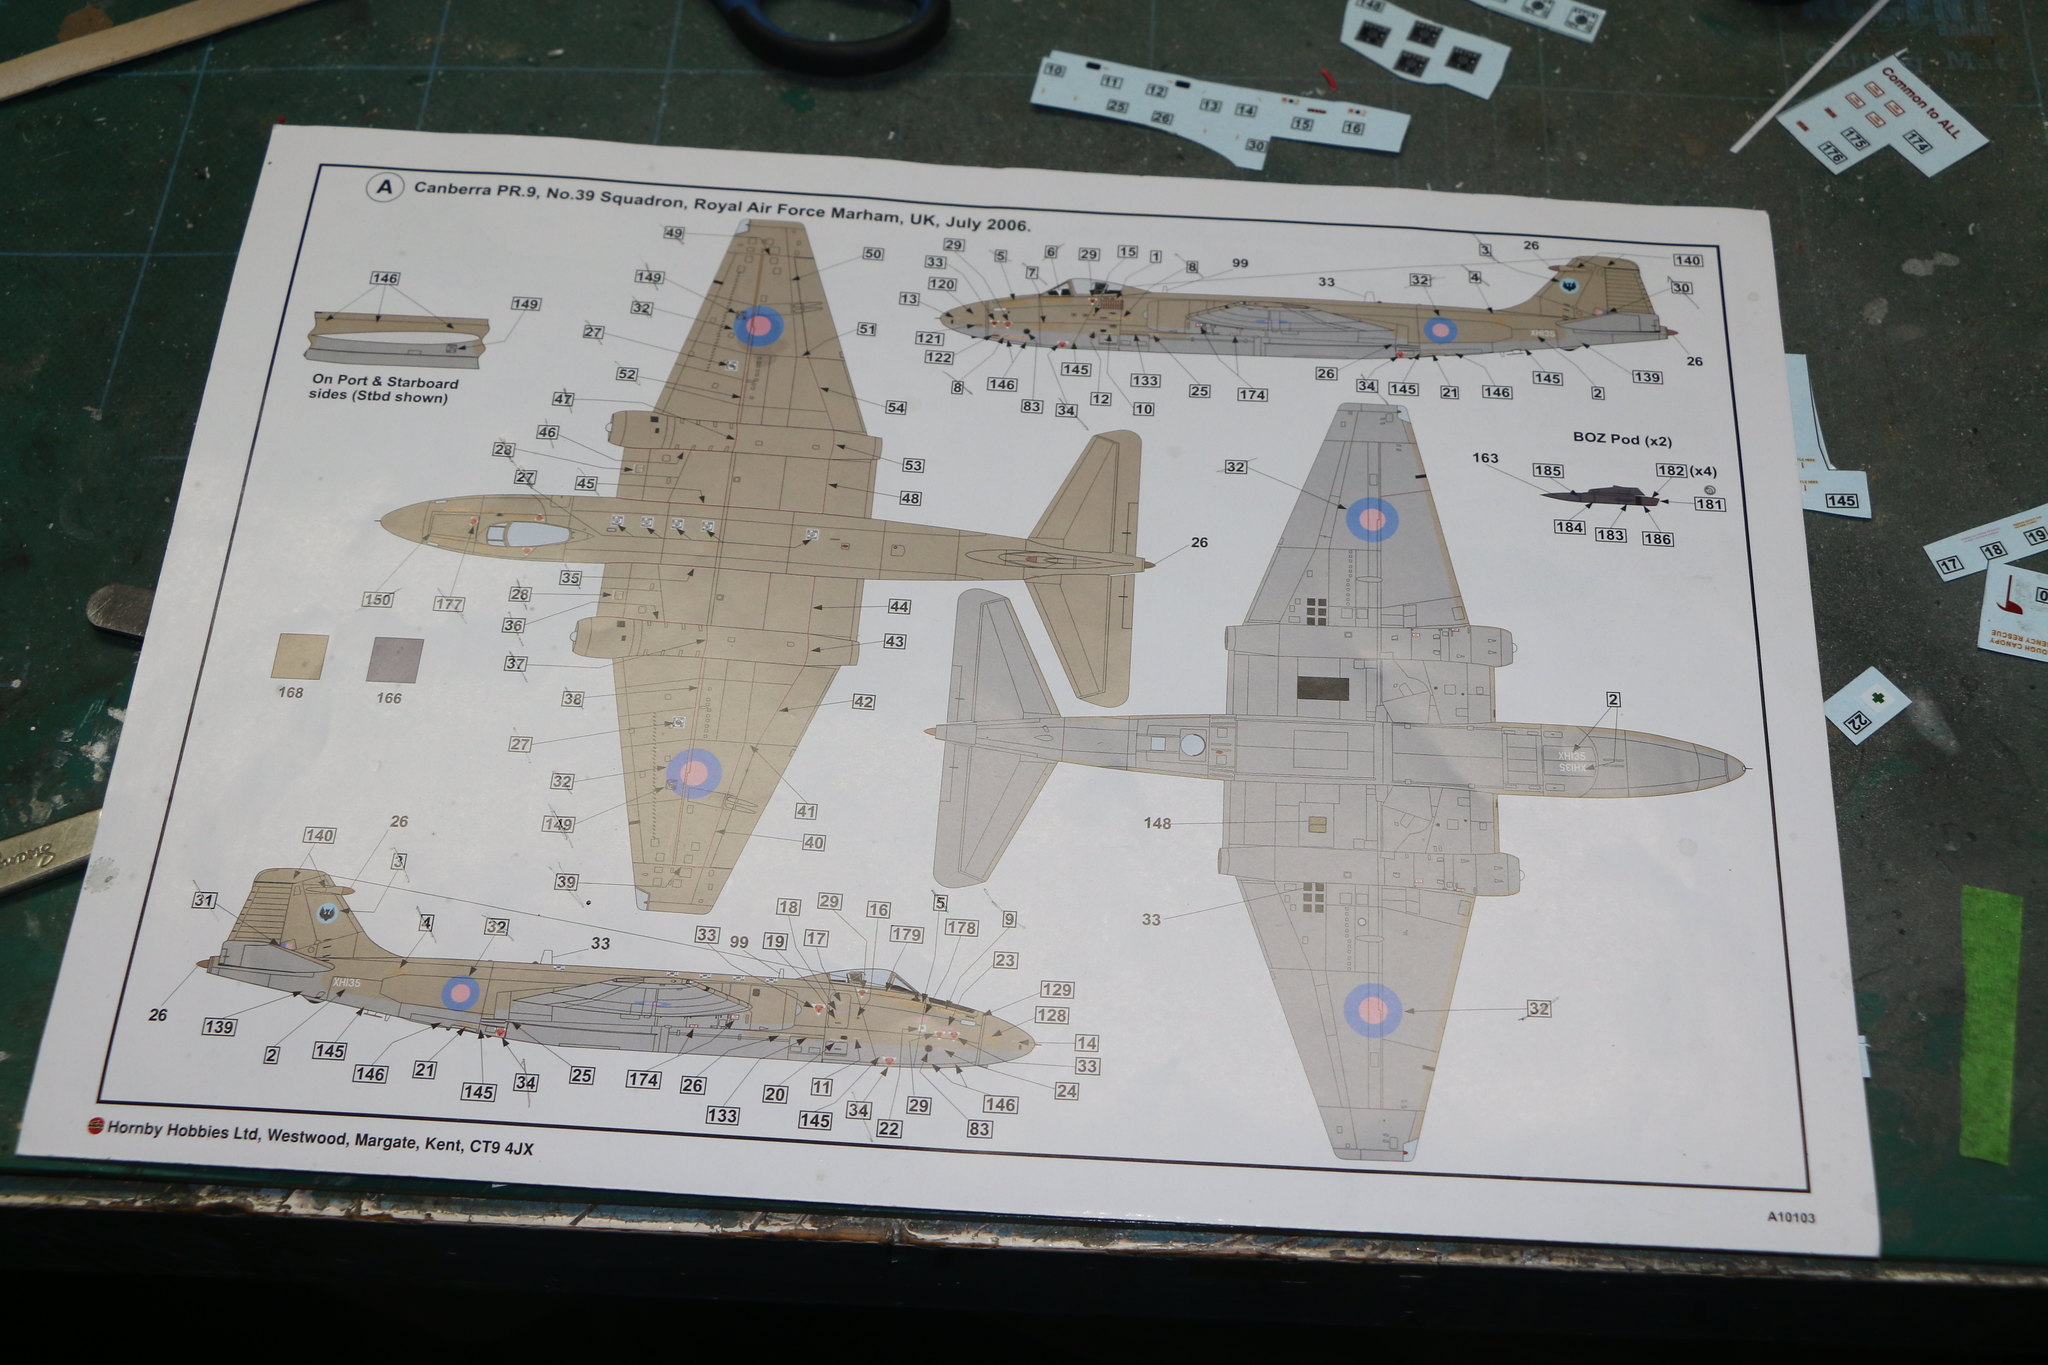
Here's the decal placement sheet I cross out each decal as I apply it so I can keep track of what I've applied and where.
IMG_1714 by Chris WIlson, on Flickr
IMG_1705 by Chris WIlson, on Flickr
IMG_1706 by Chris WIlson, on Flickr
The wing walkway lines are perfectly straight and the instructions would have you curve them around the fuselage and wings, not something that straight decals will do without persuasion. So I've simply decided to apply them as straight lines and curve them gently if they'll allow it, mainly around the engines.
IMG_1707 by Chris WIlson, on Flickr
IMG_1708 by Chris WIlson, on Flickr
IMG_1709 by Chris WIlson, on Flickr
IMG_1710 by Chris WIlson, on Flickr
IMG_1713 by Chris WIlson, on Flickr
IMG_1711 by Chris WIlson, on Flickr
Here's the decal placement sheet I cross out each decal as I apply it so I can keep track of what I've applied and where.
IMG_1714 by Chris WIlson, on Flickr
Posted: Friday, December 01, 2017 - 02:48 AM UTC
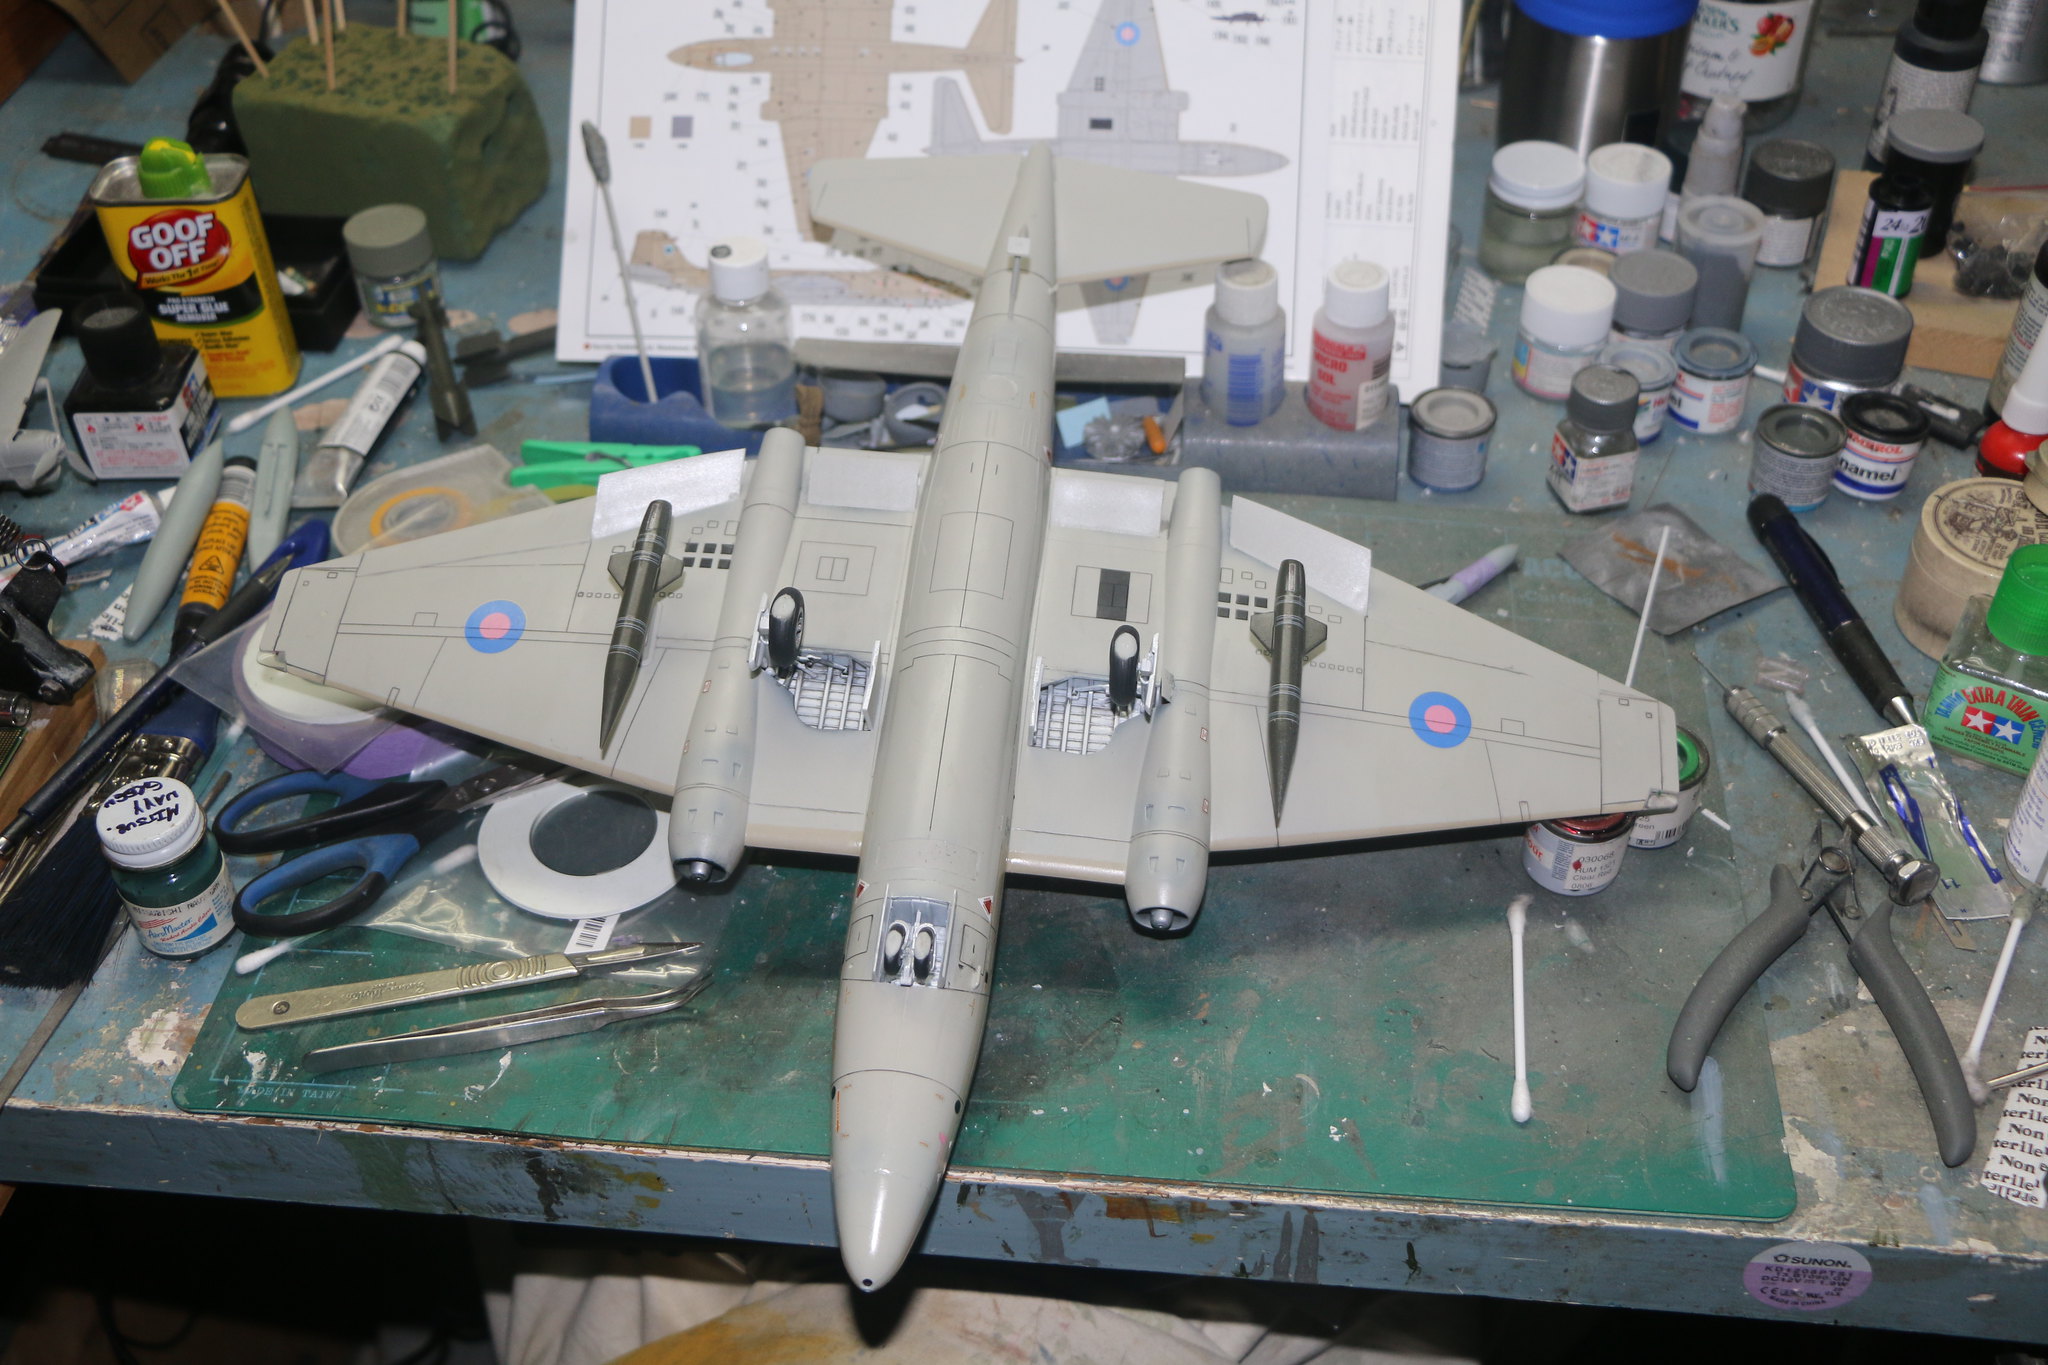
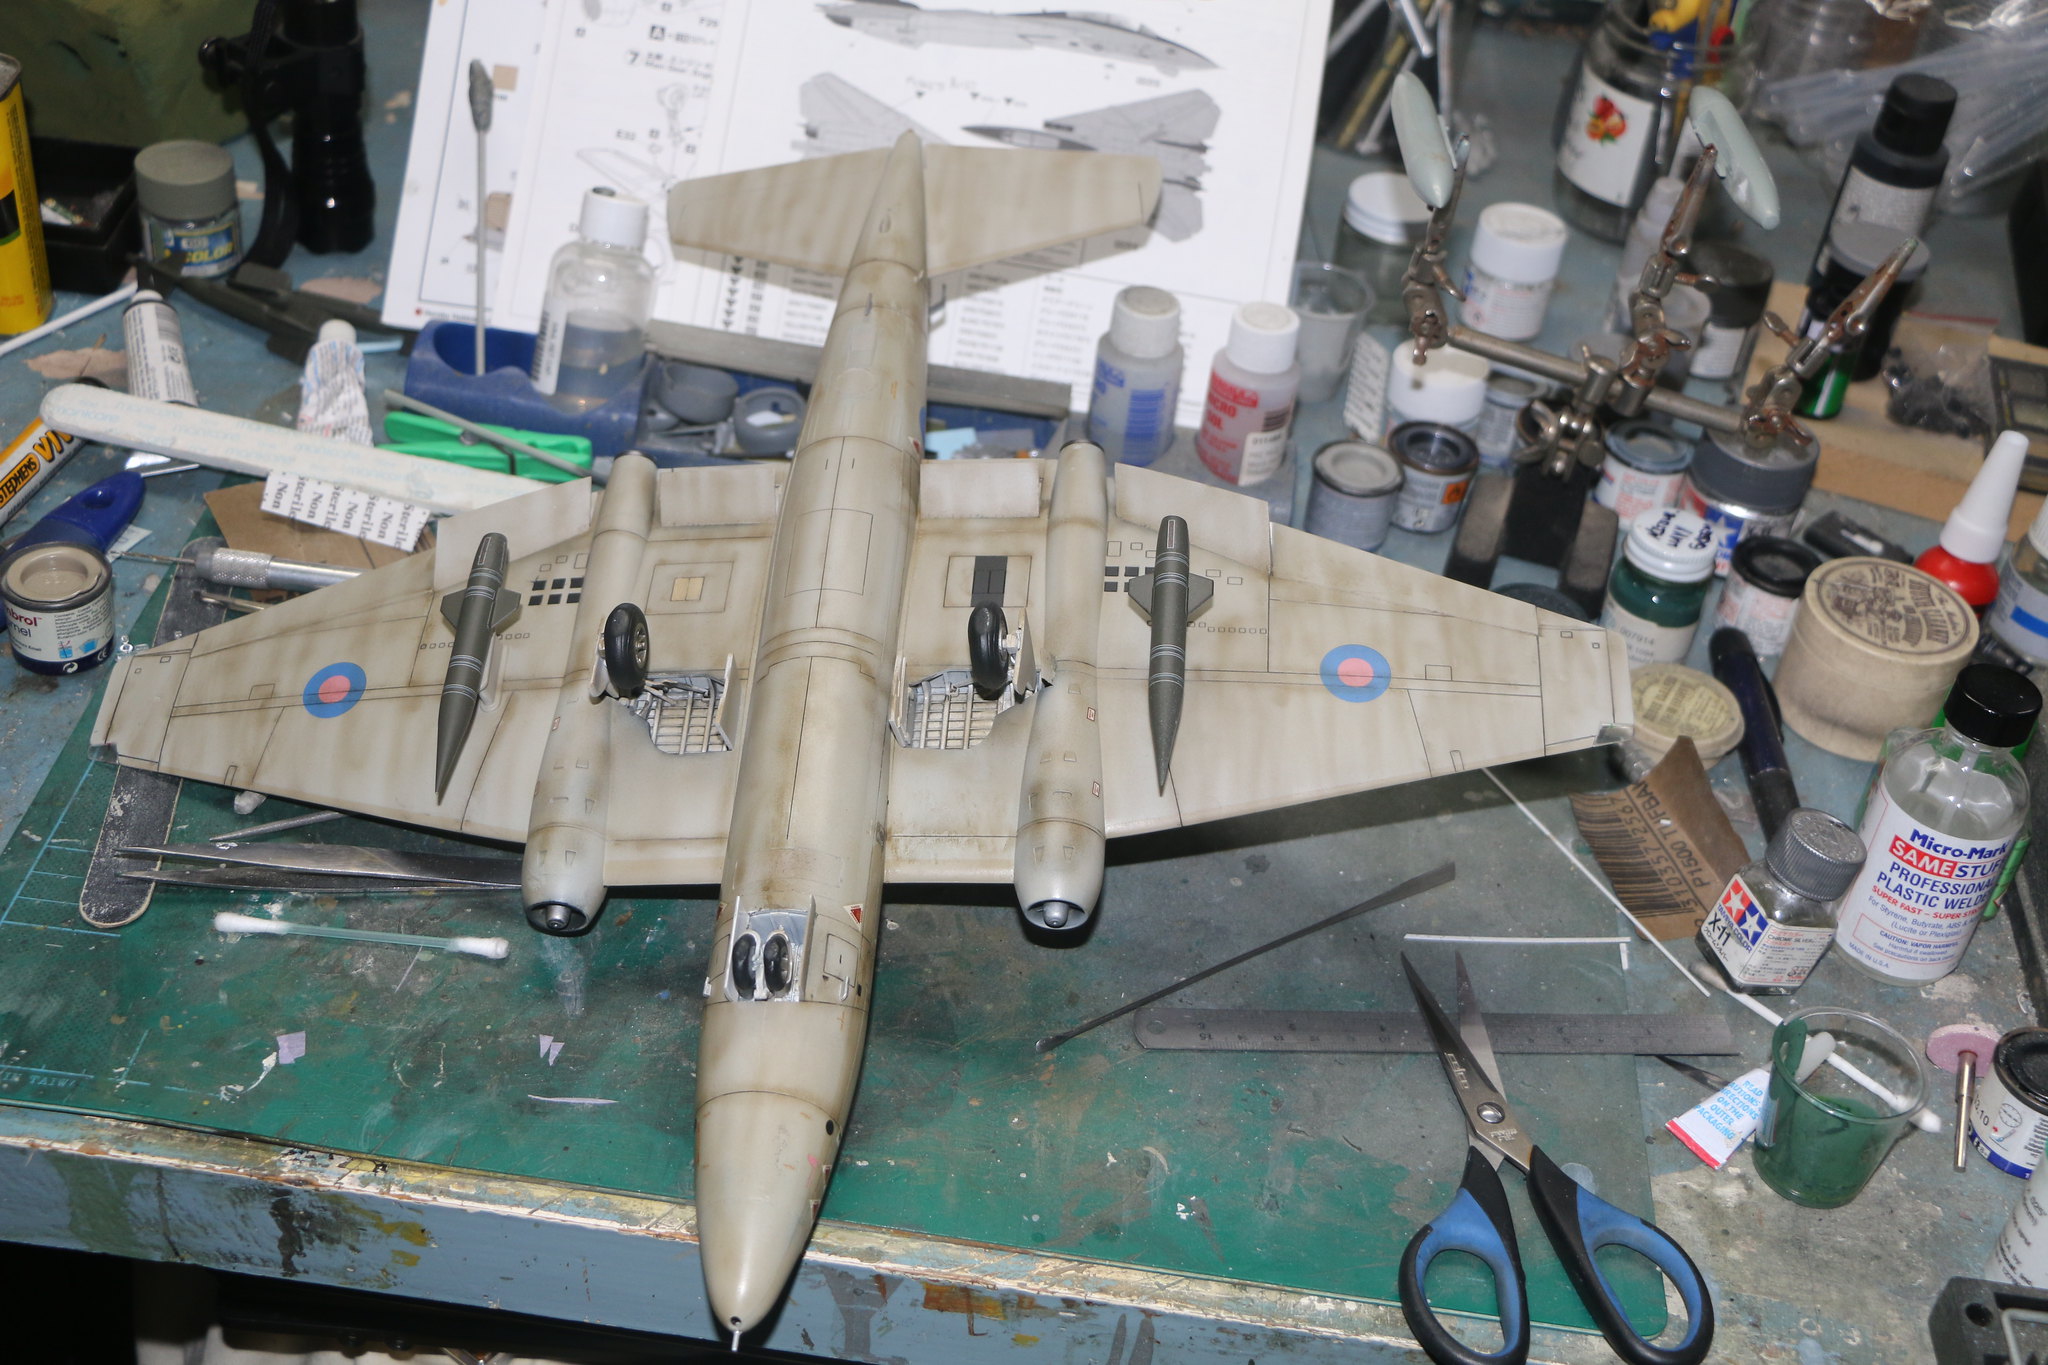
Still working on the Canberra most of the work is done just some final additions to the outside, probes etc., then a little detail painting, a matt coat and we're done.
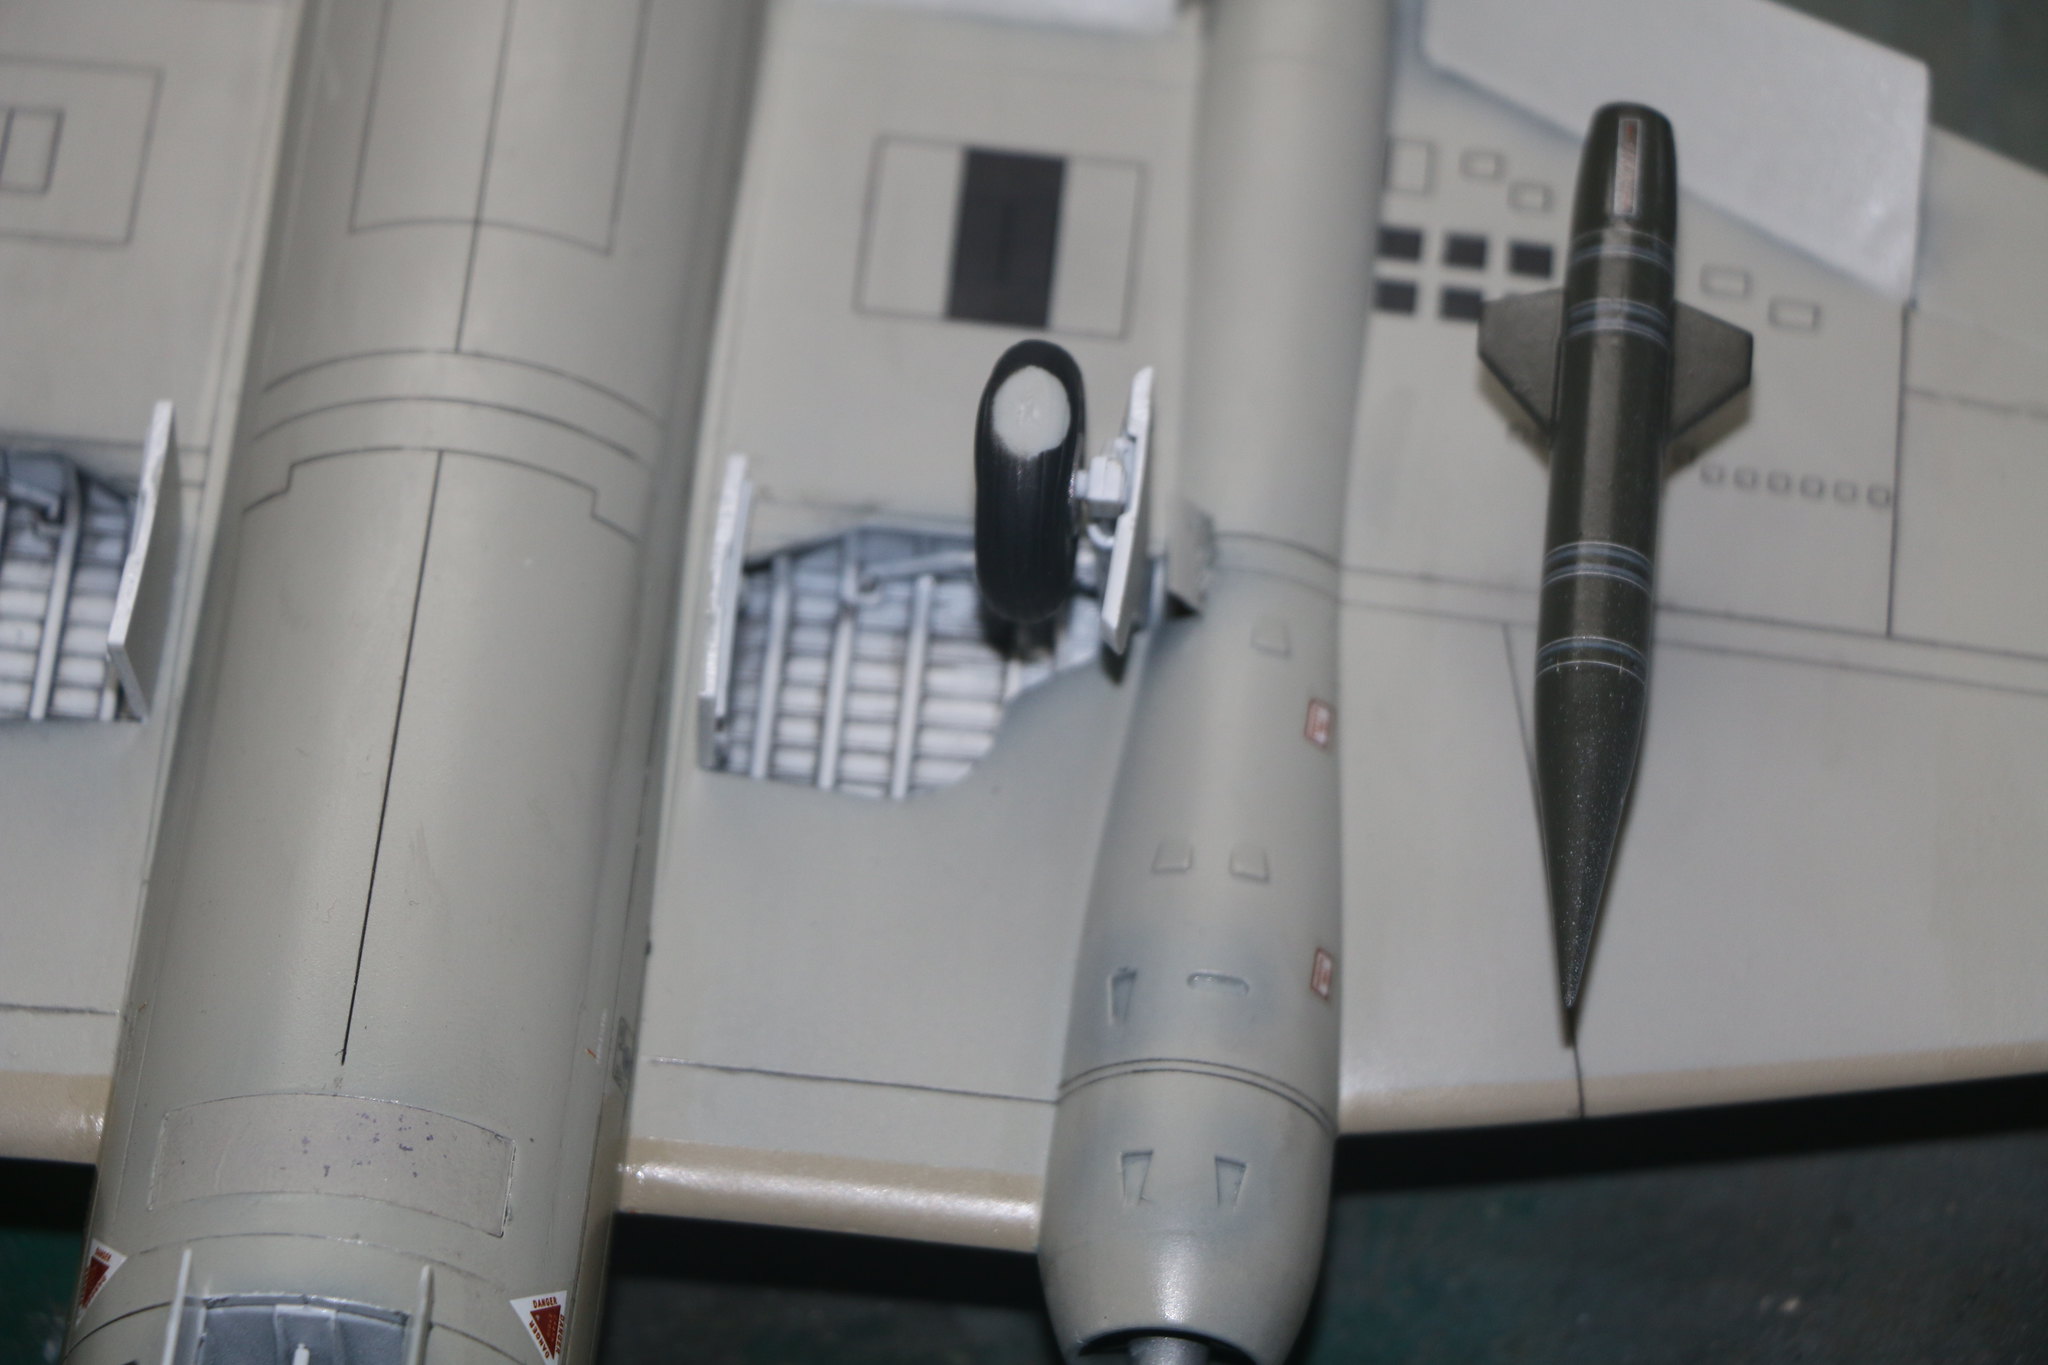
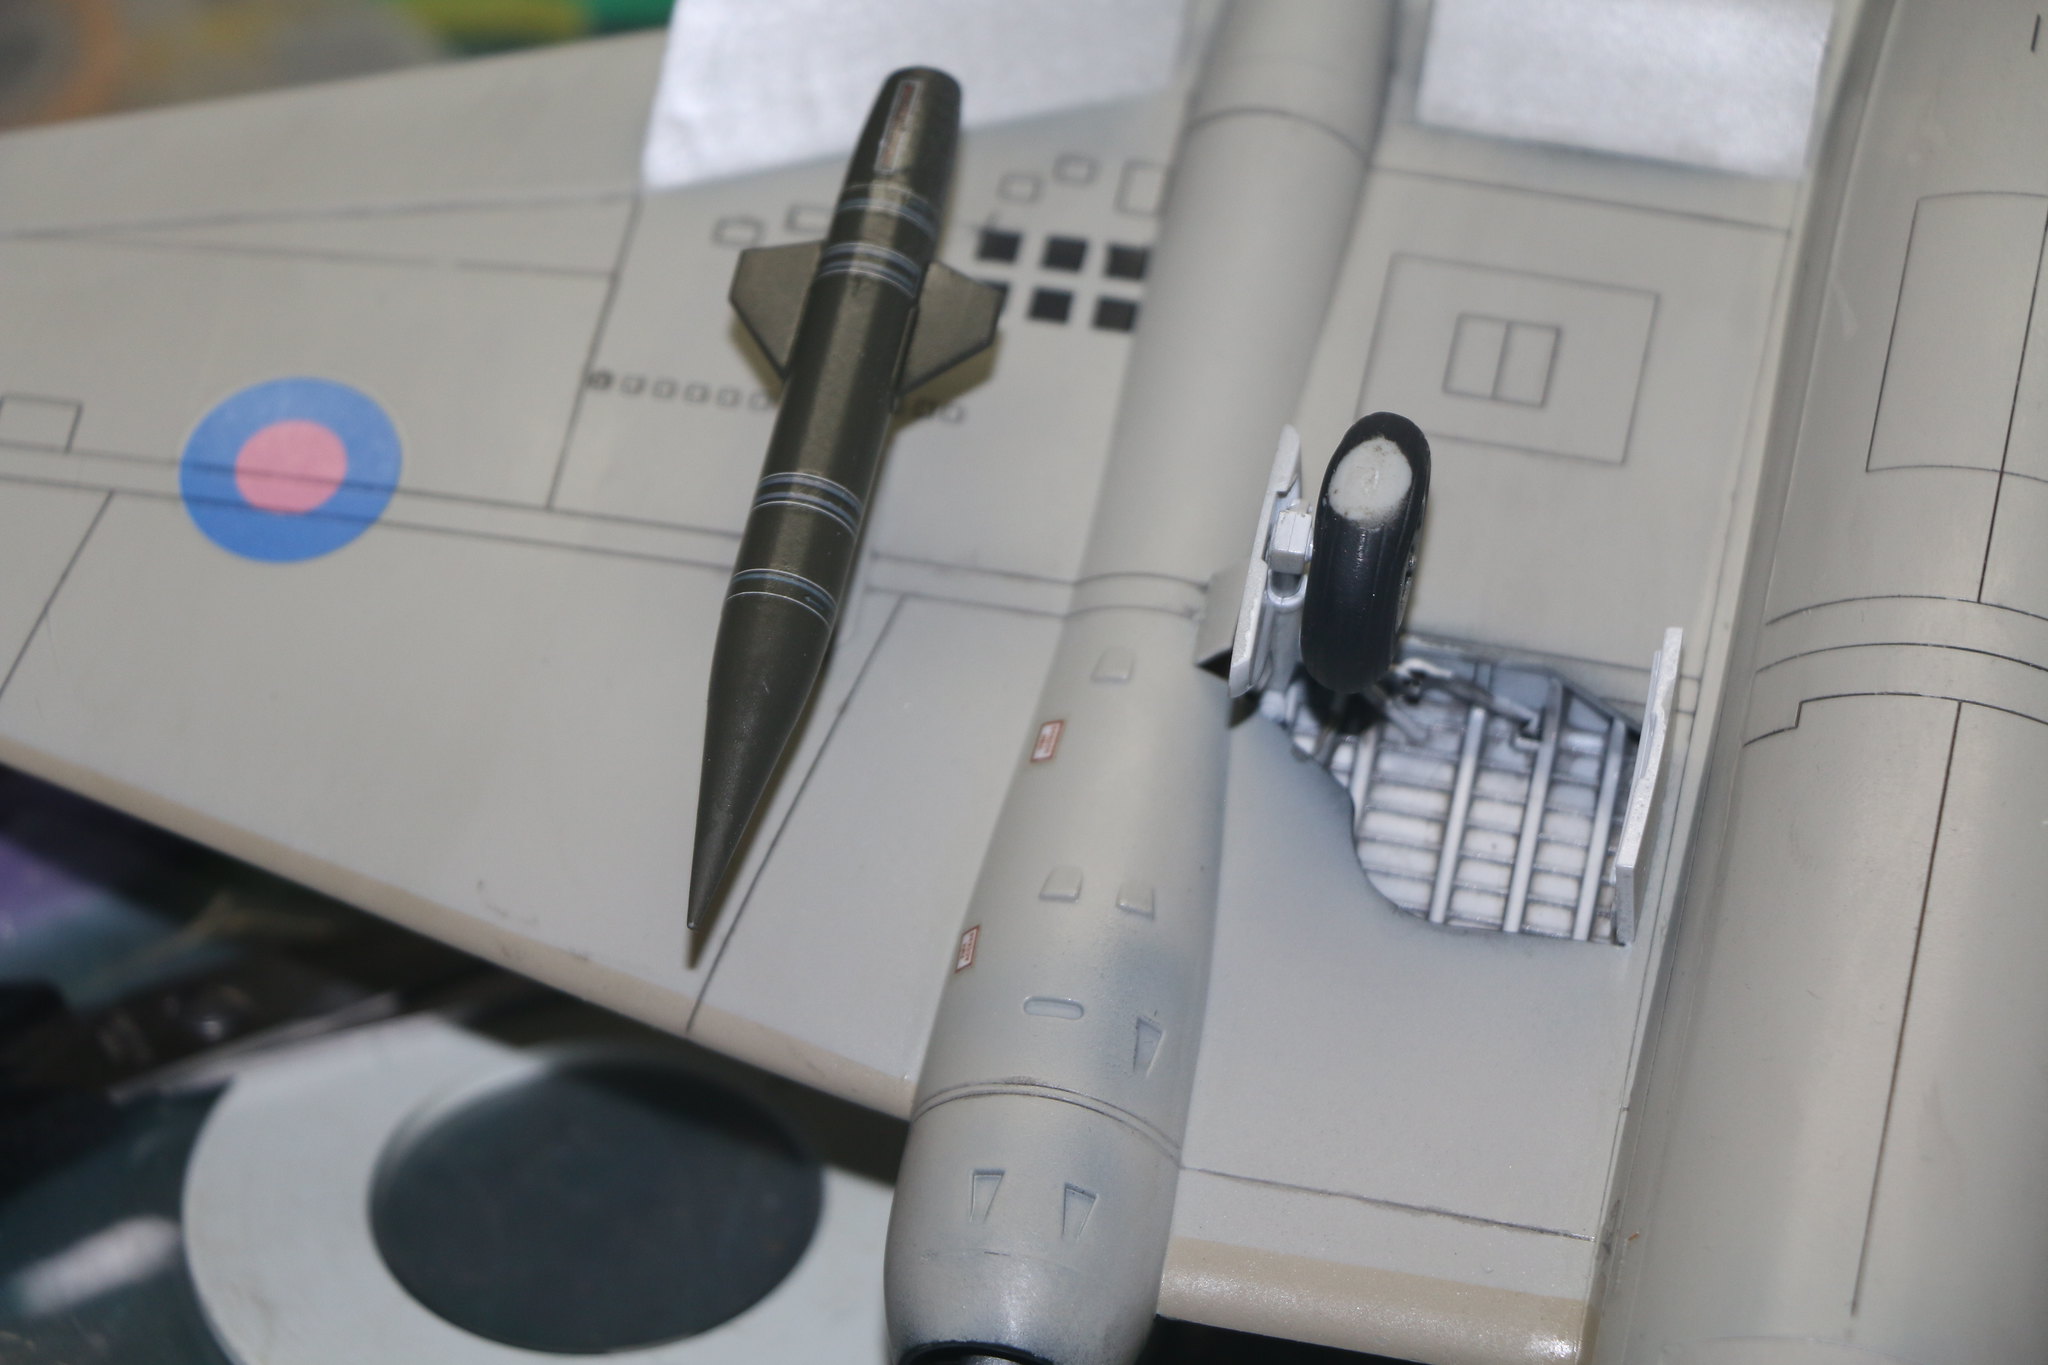
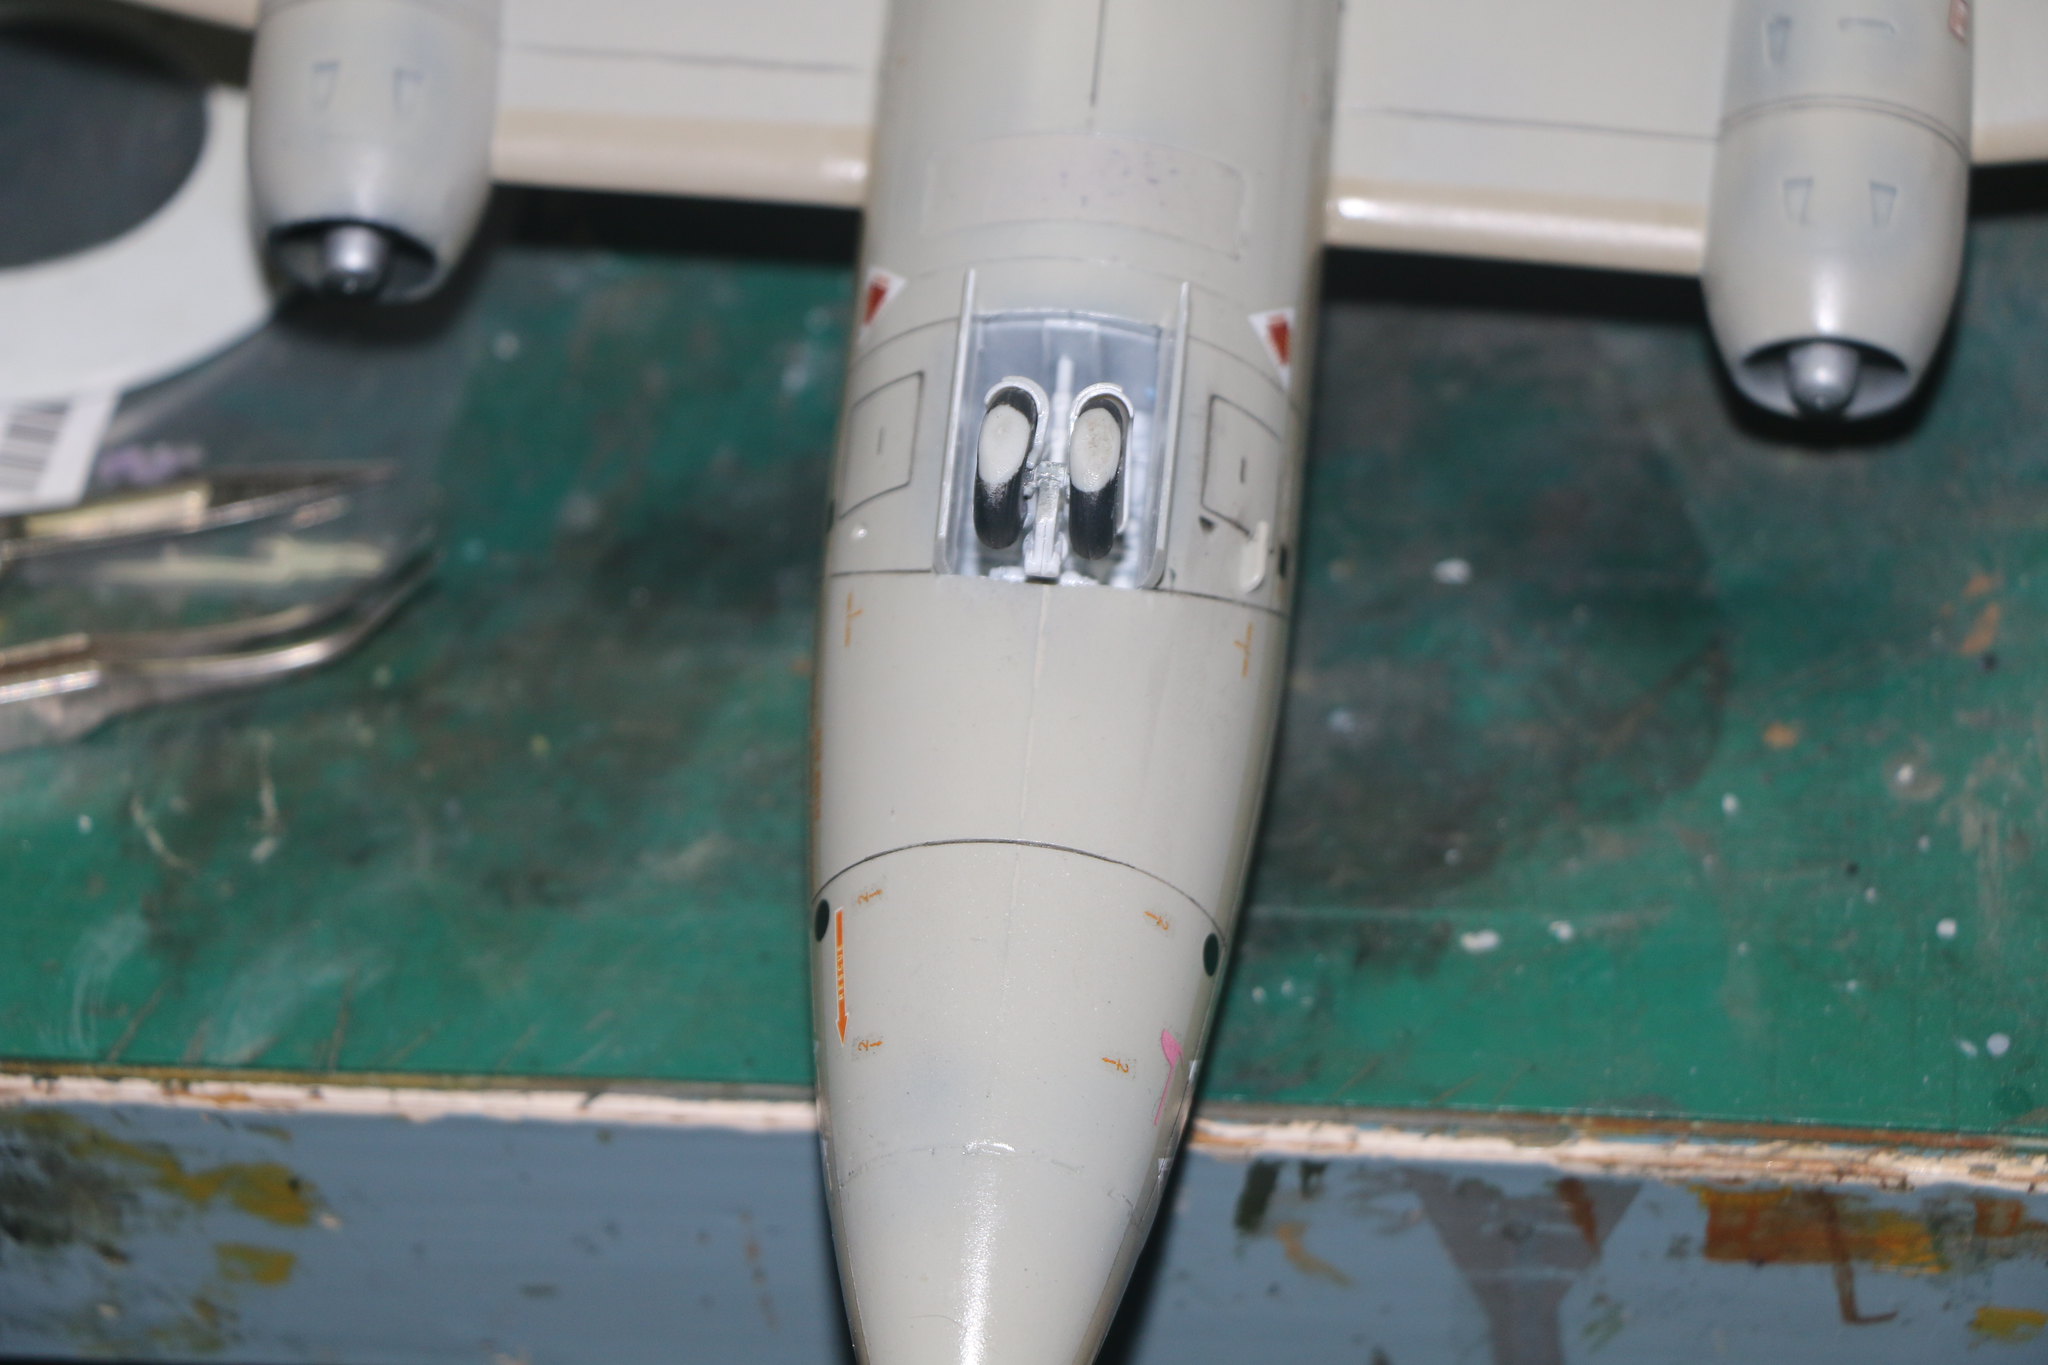
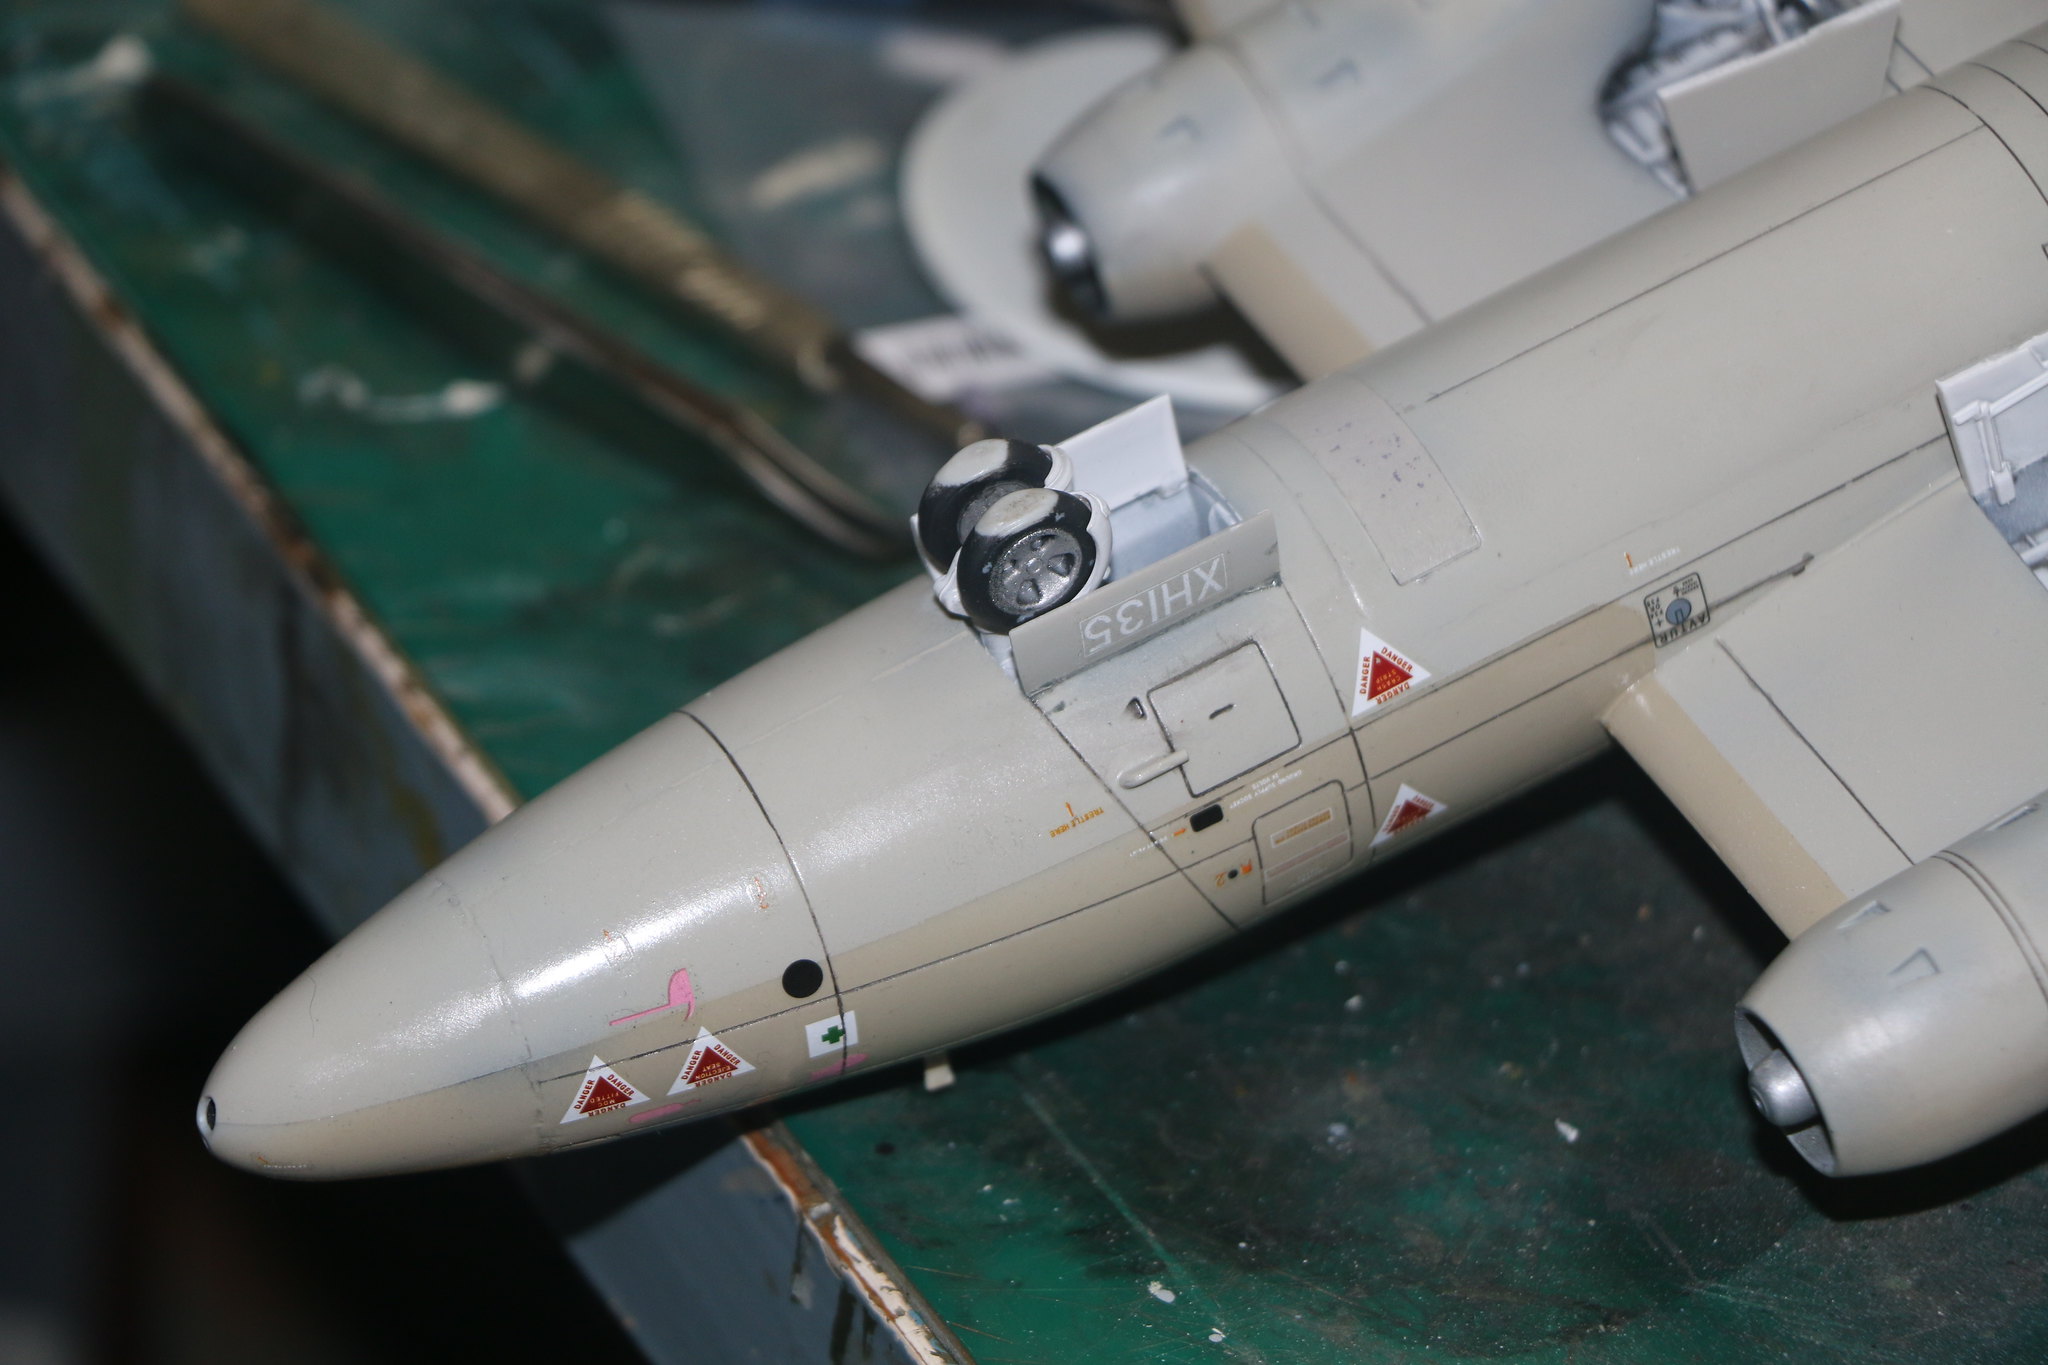
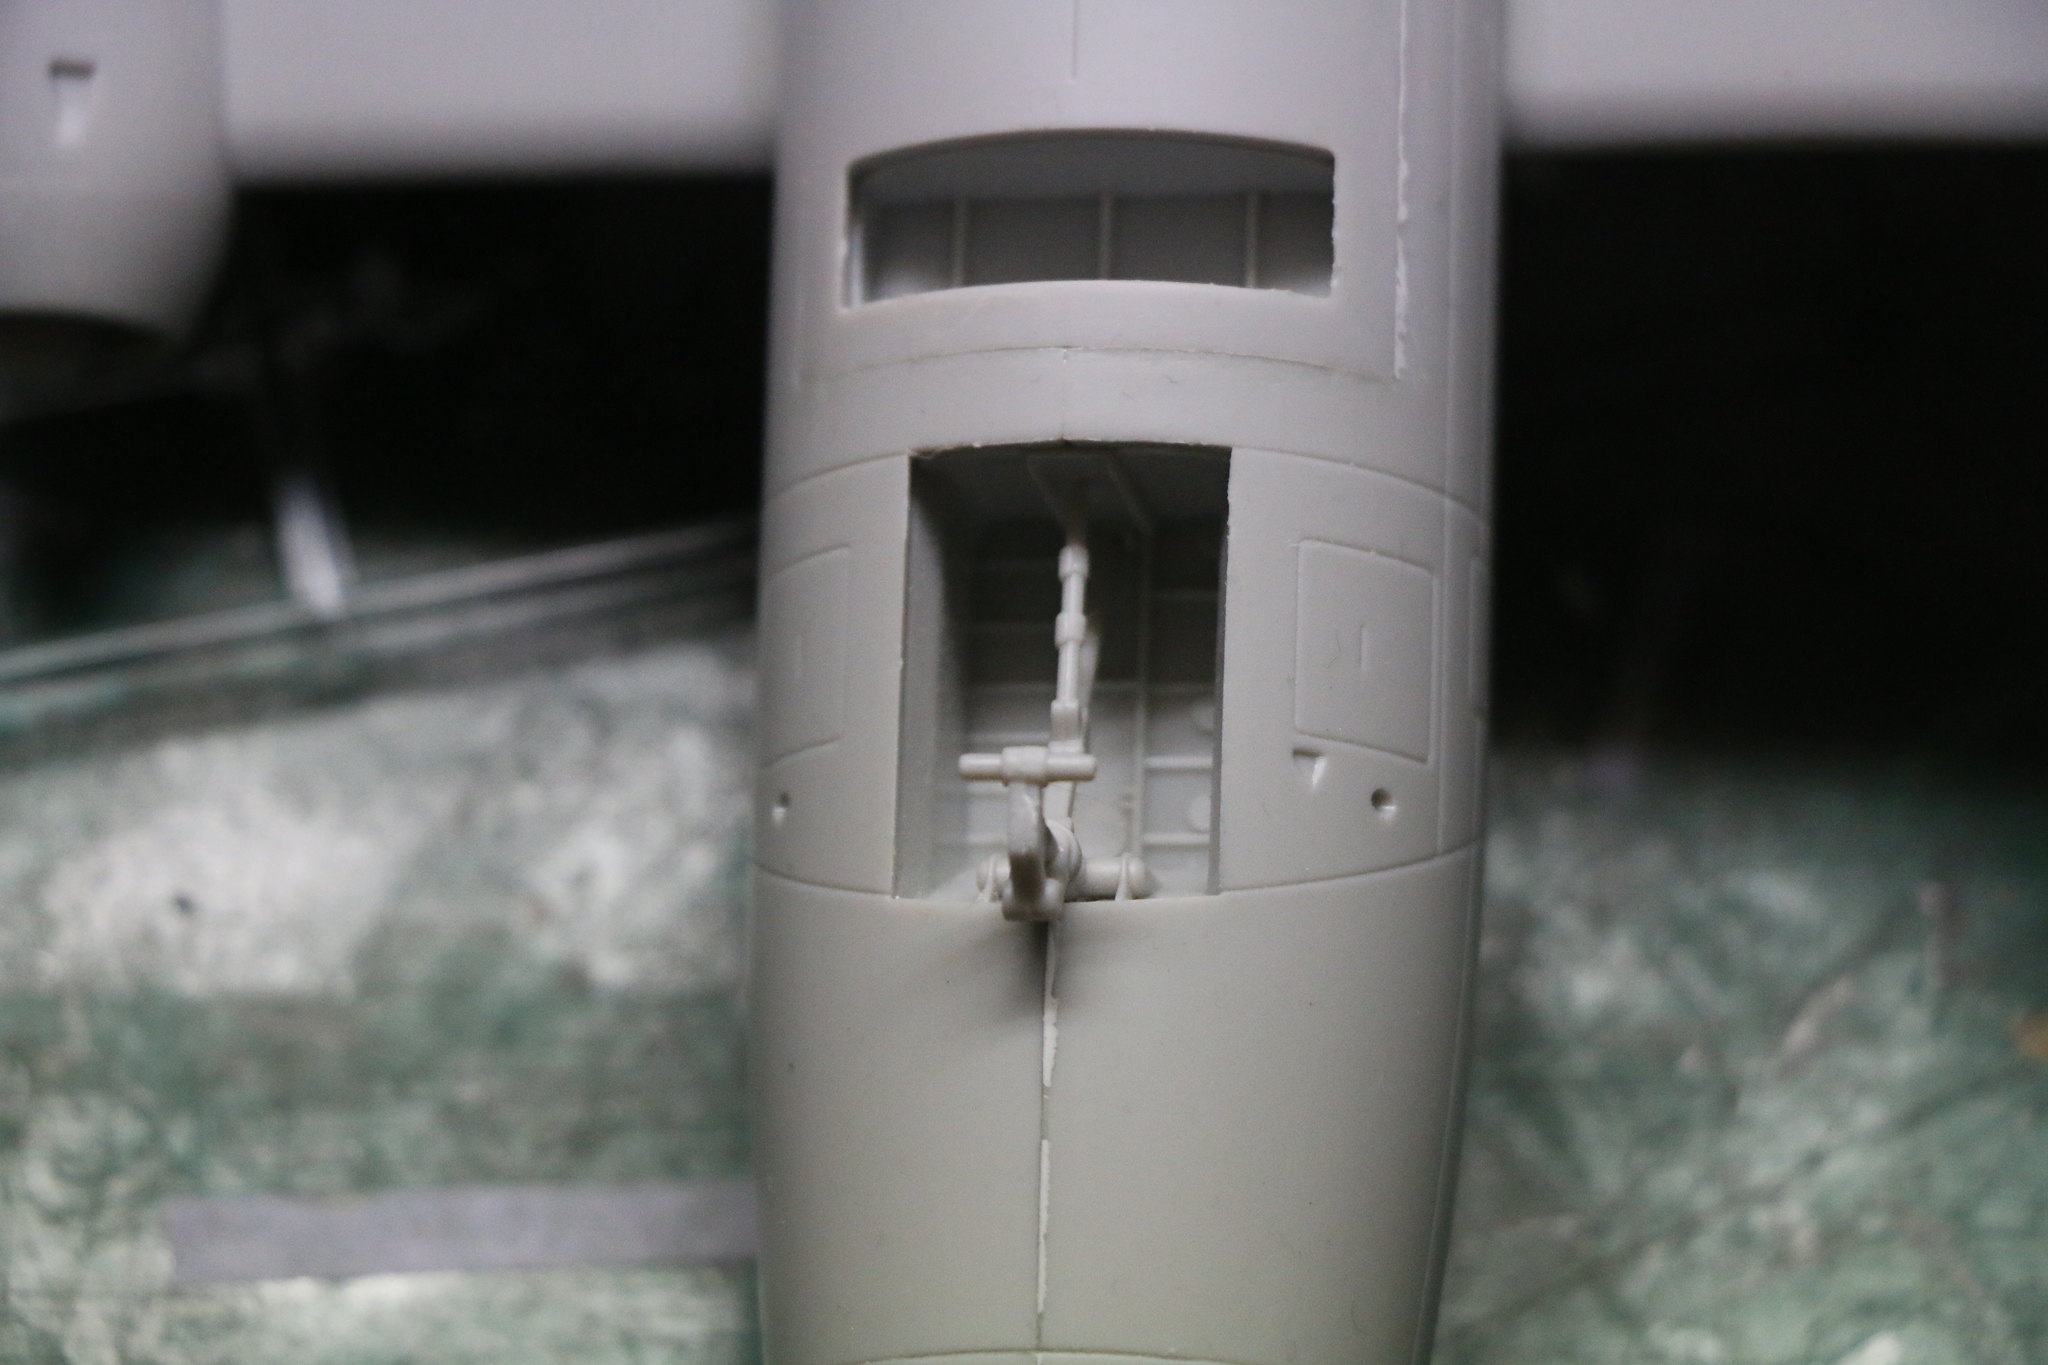
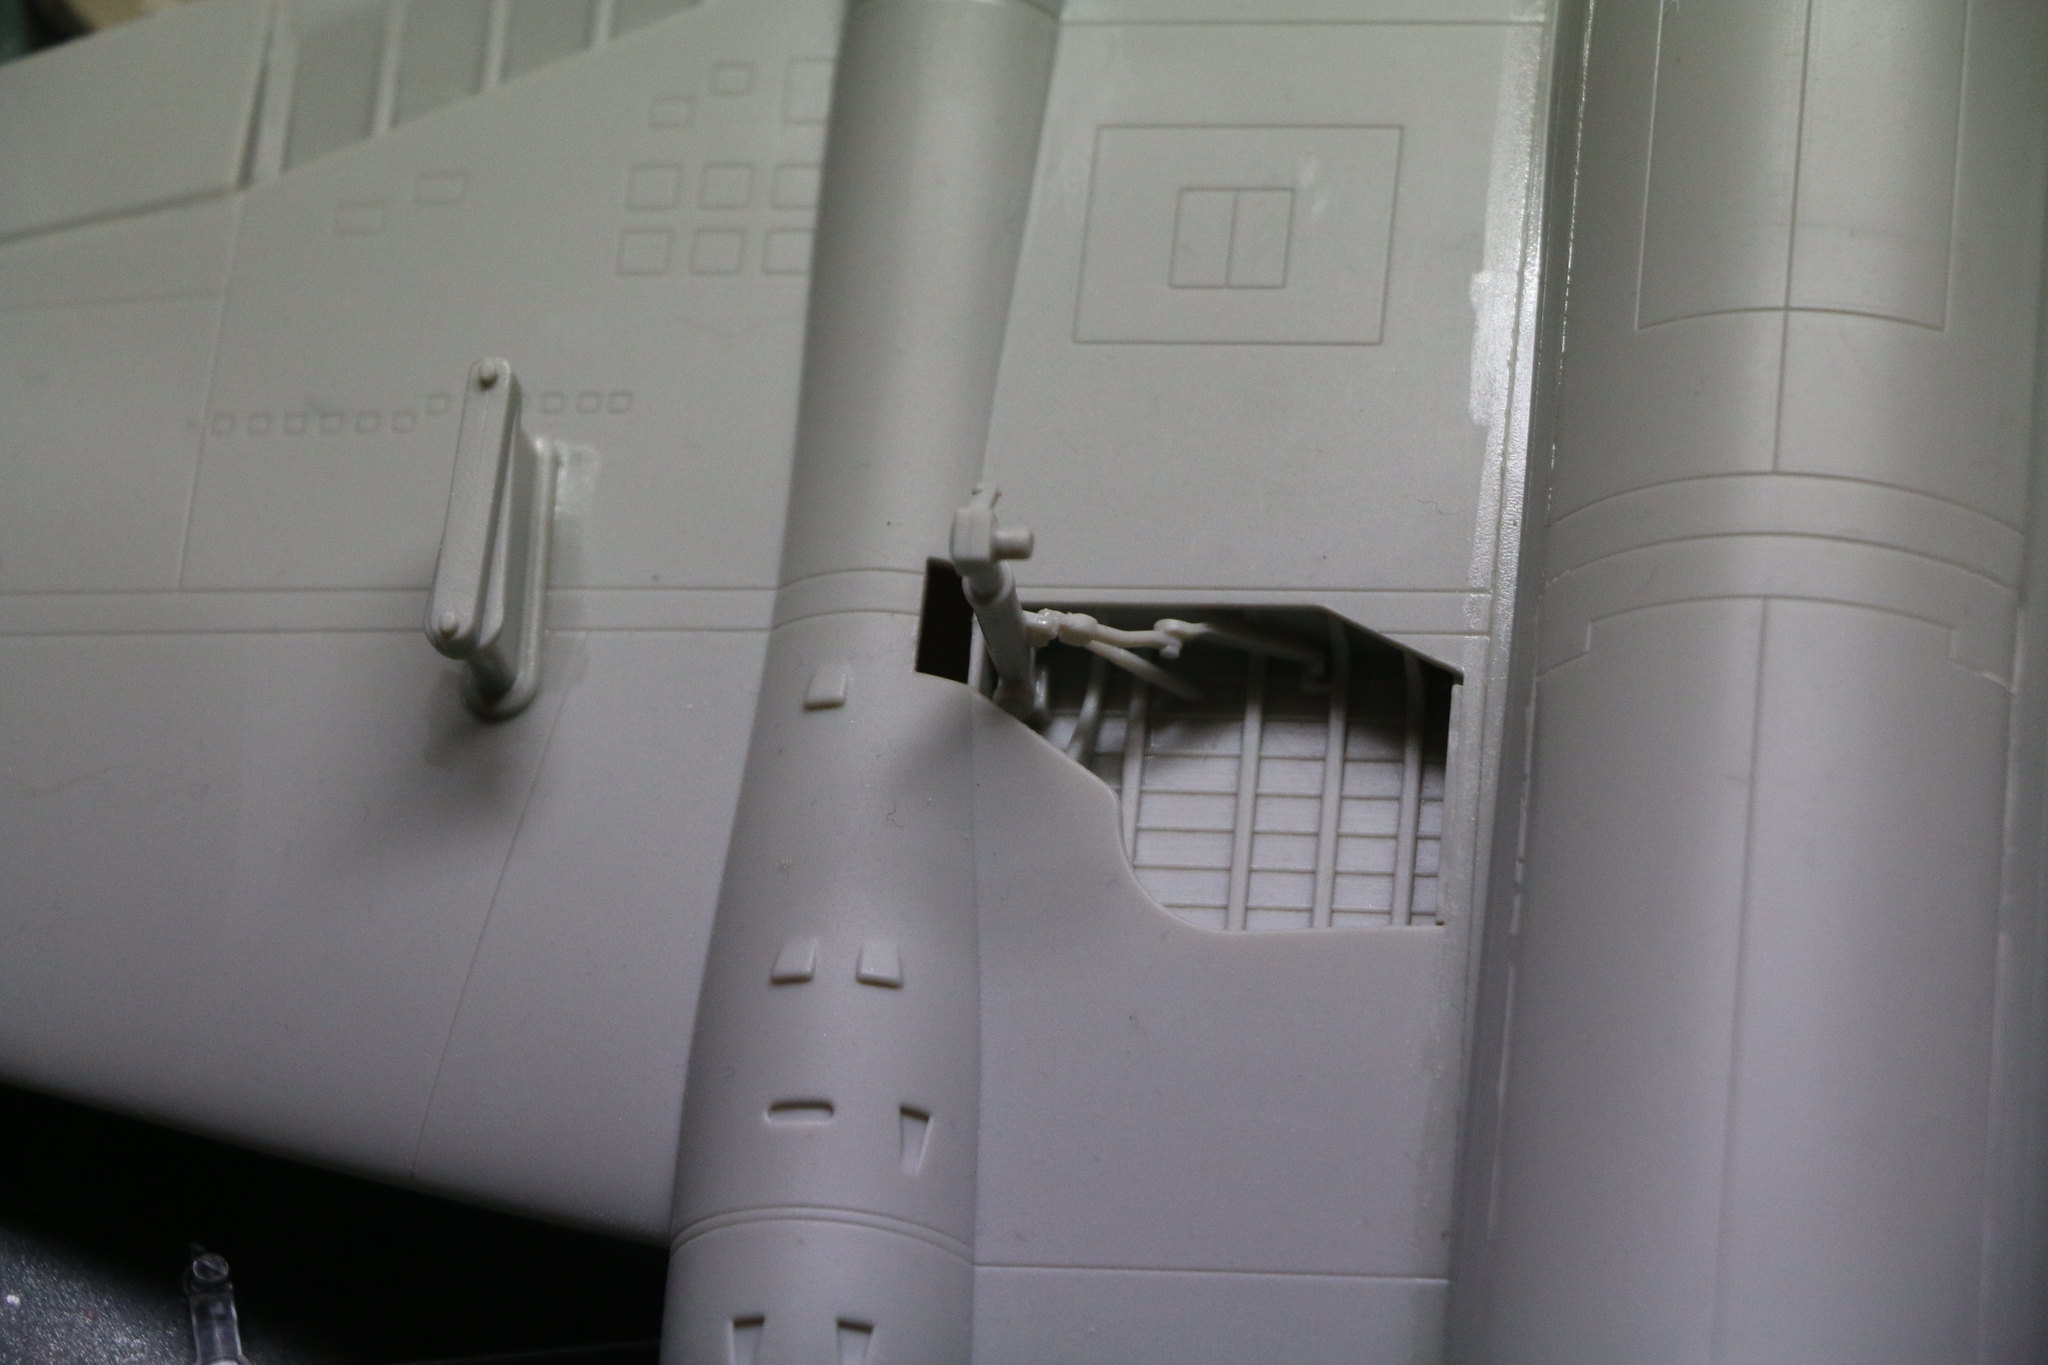
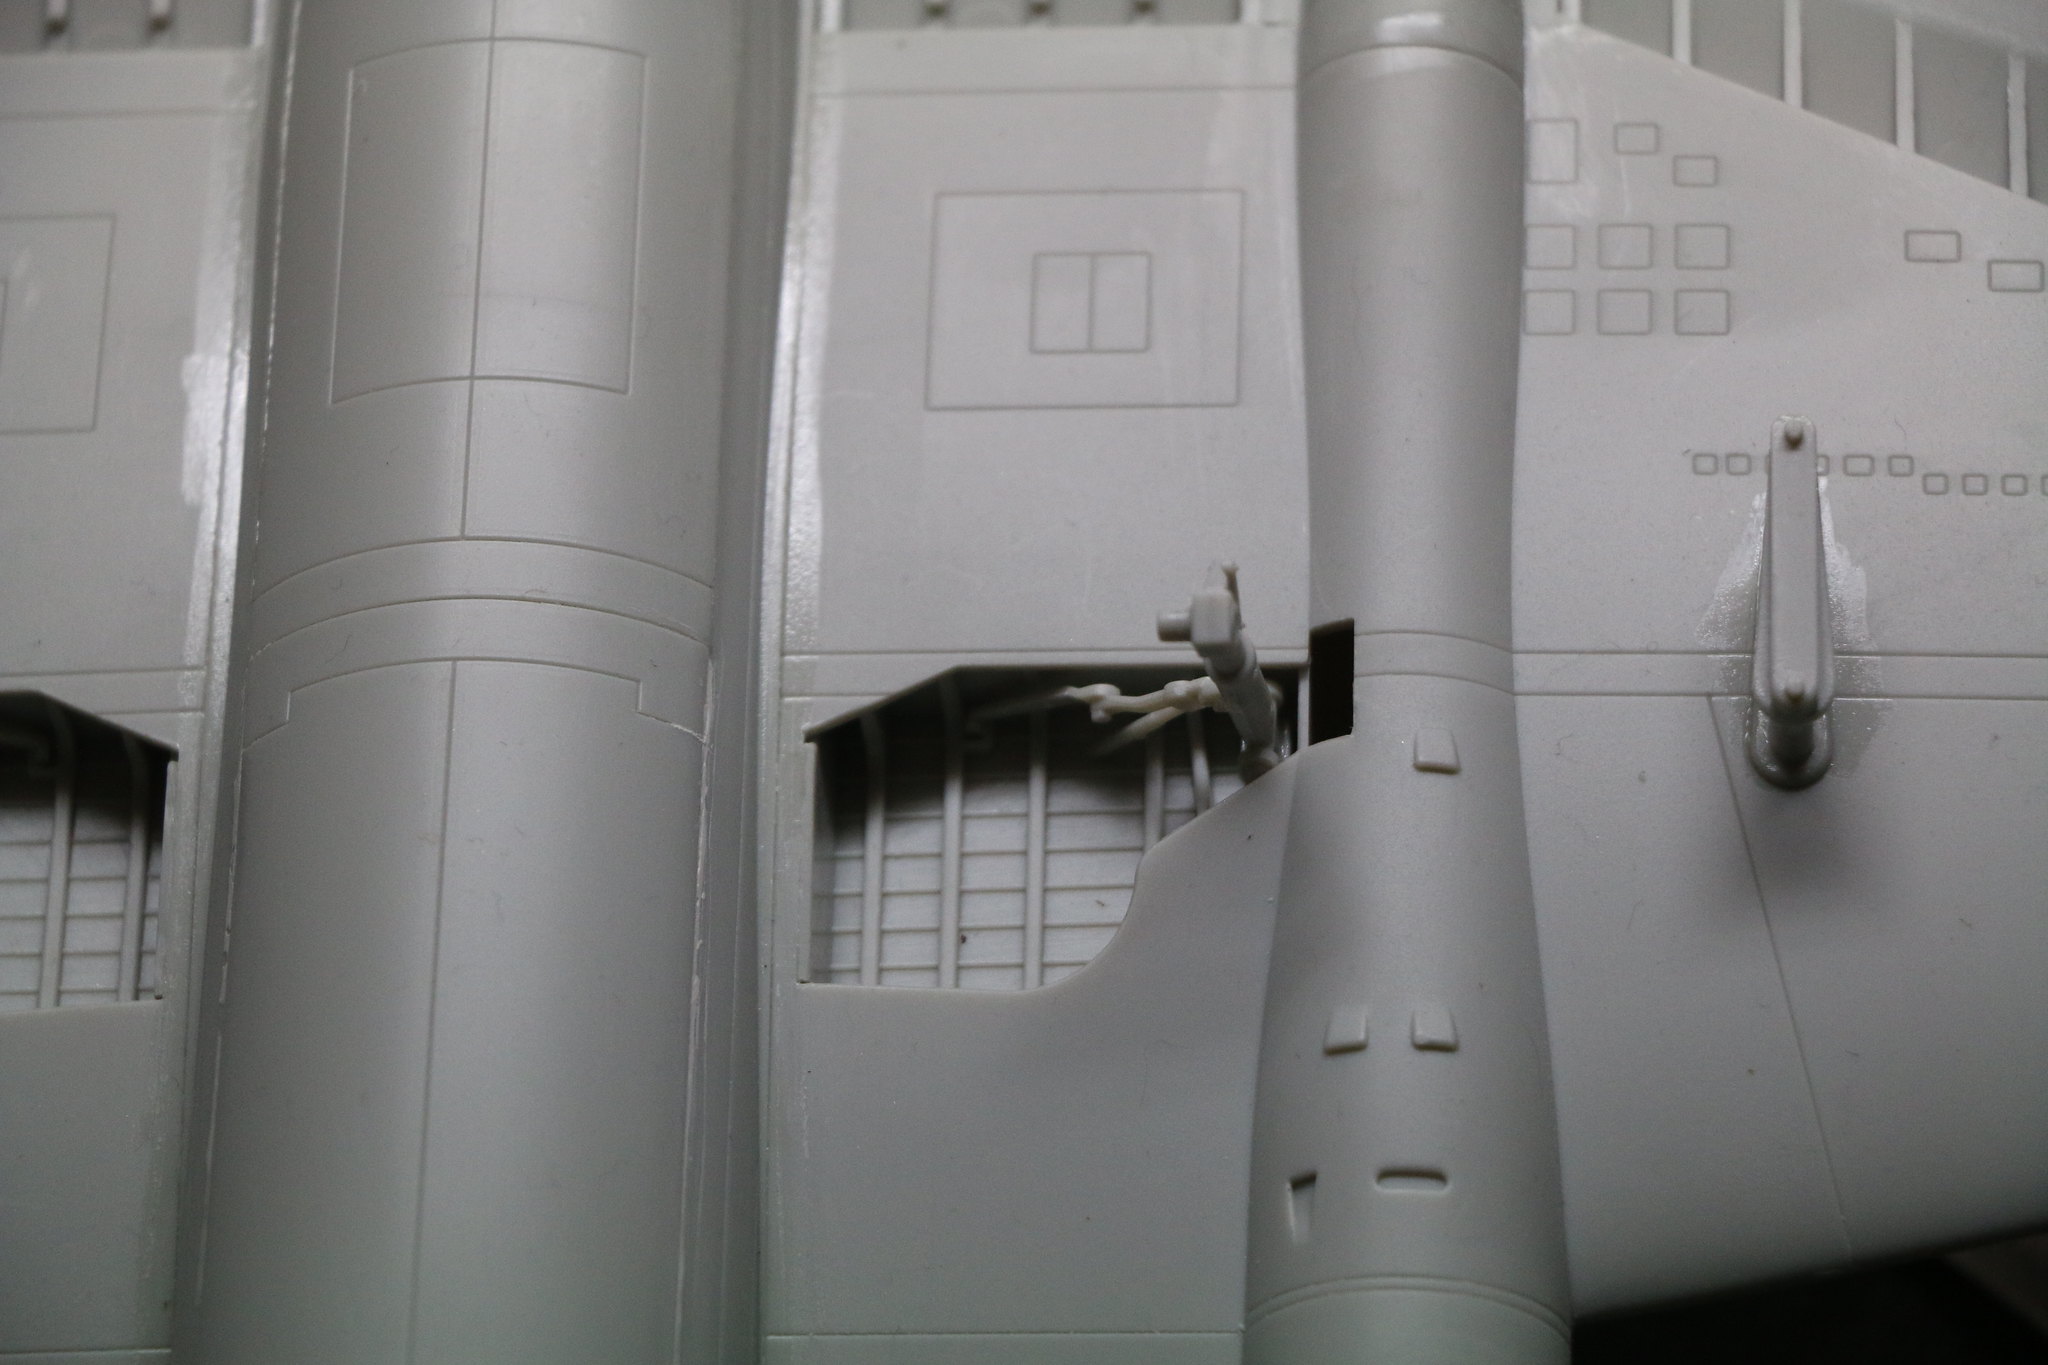
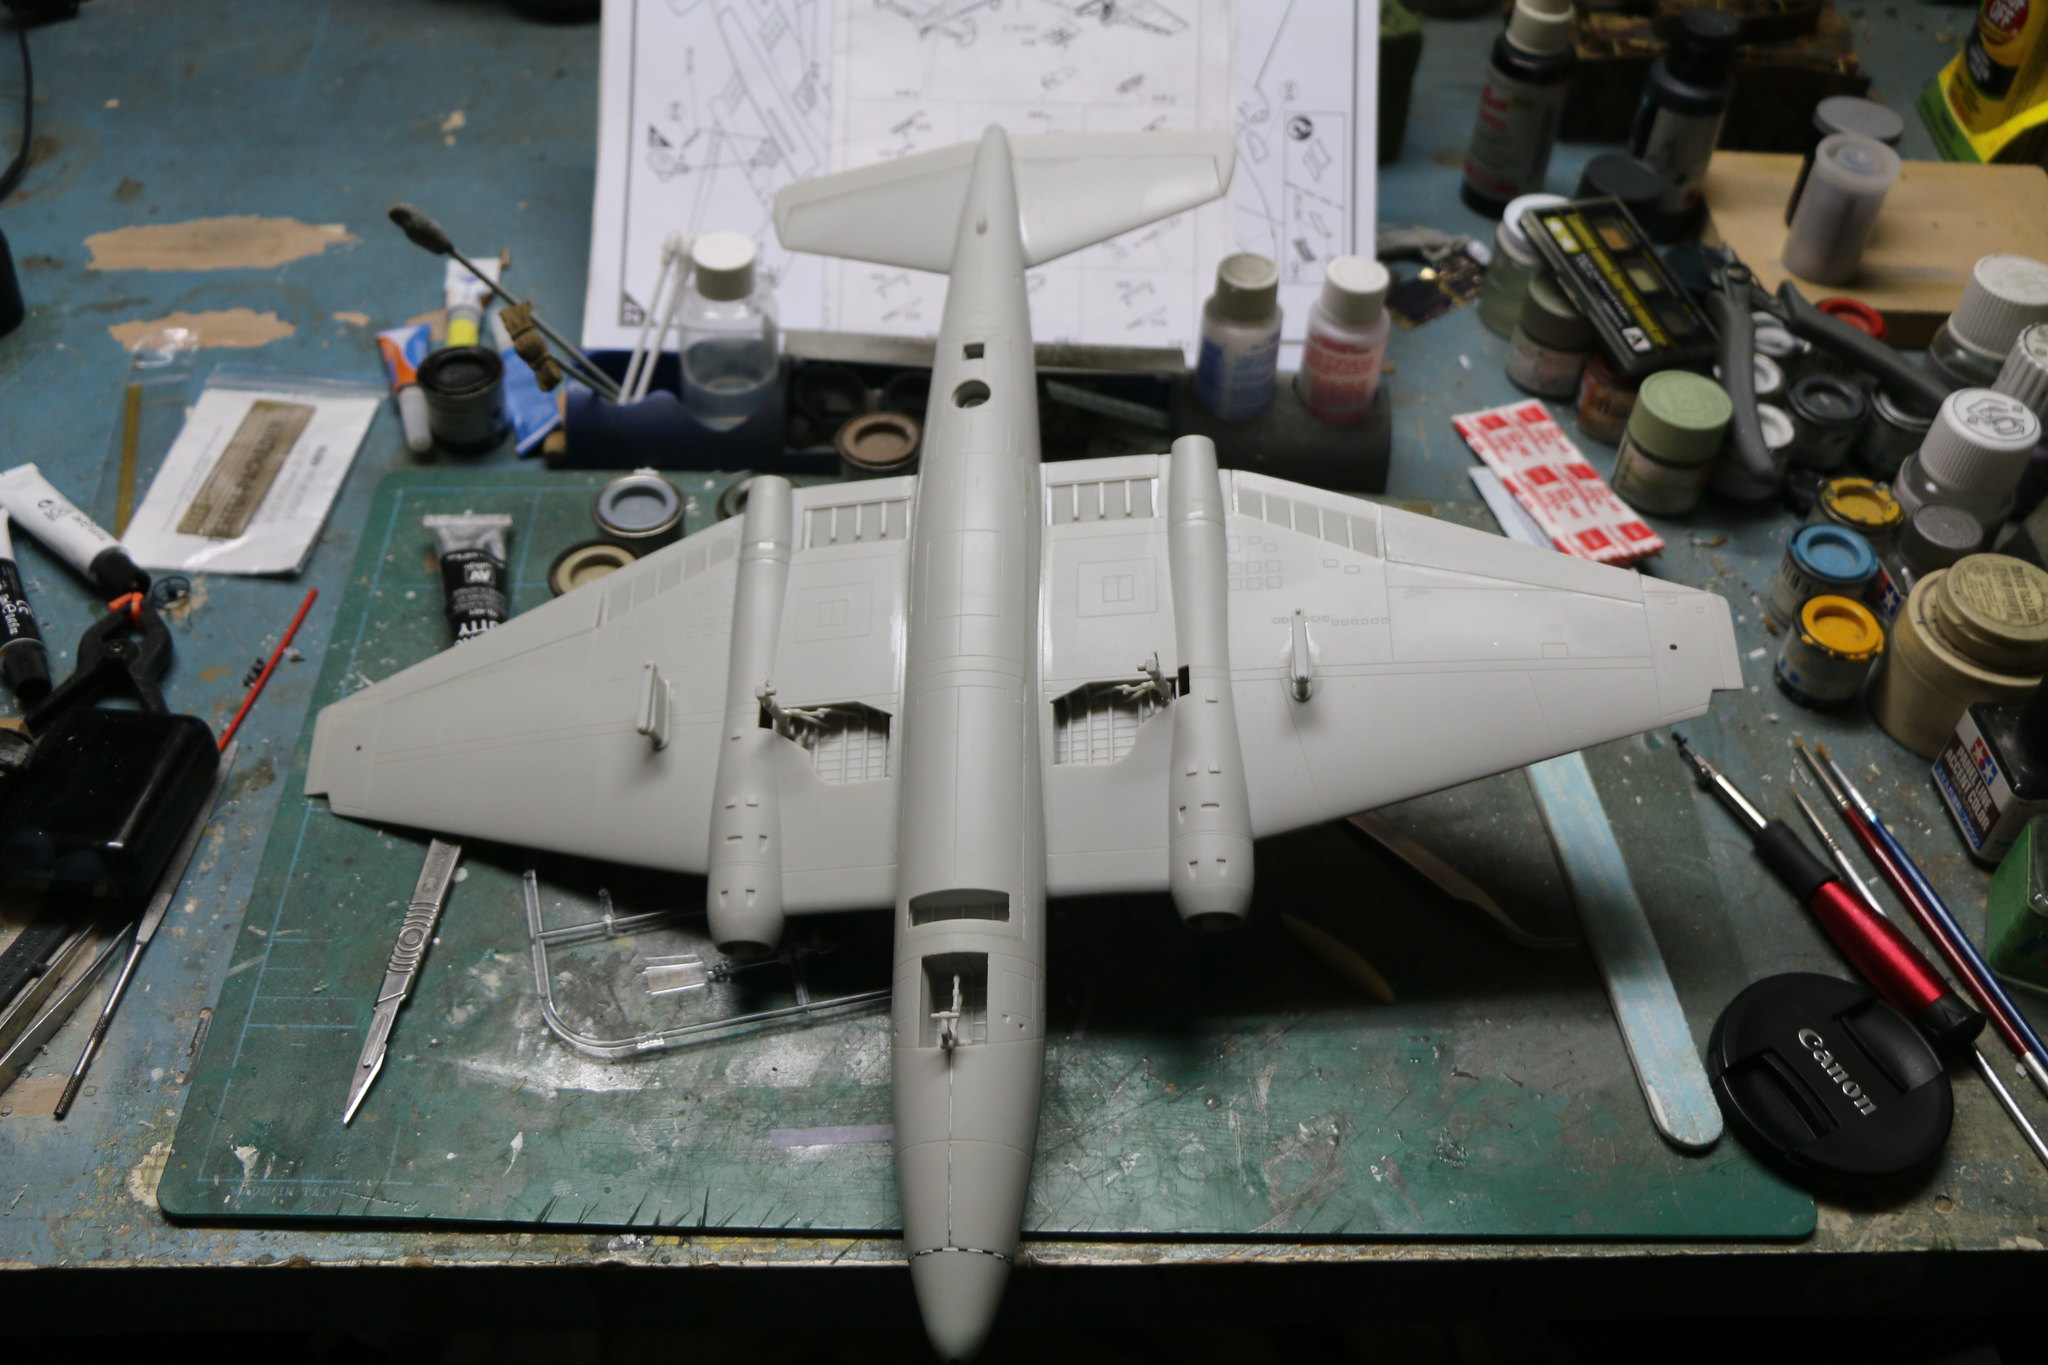
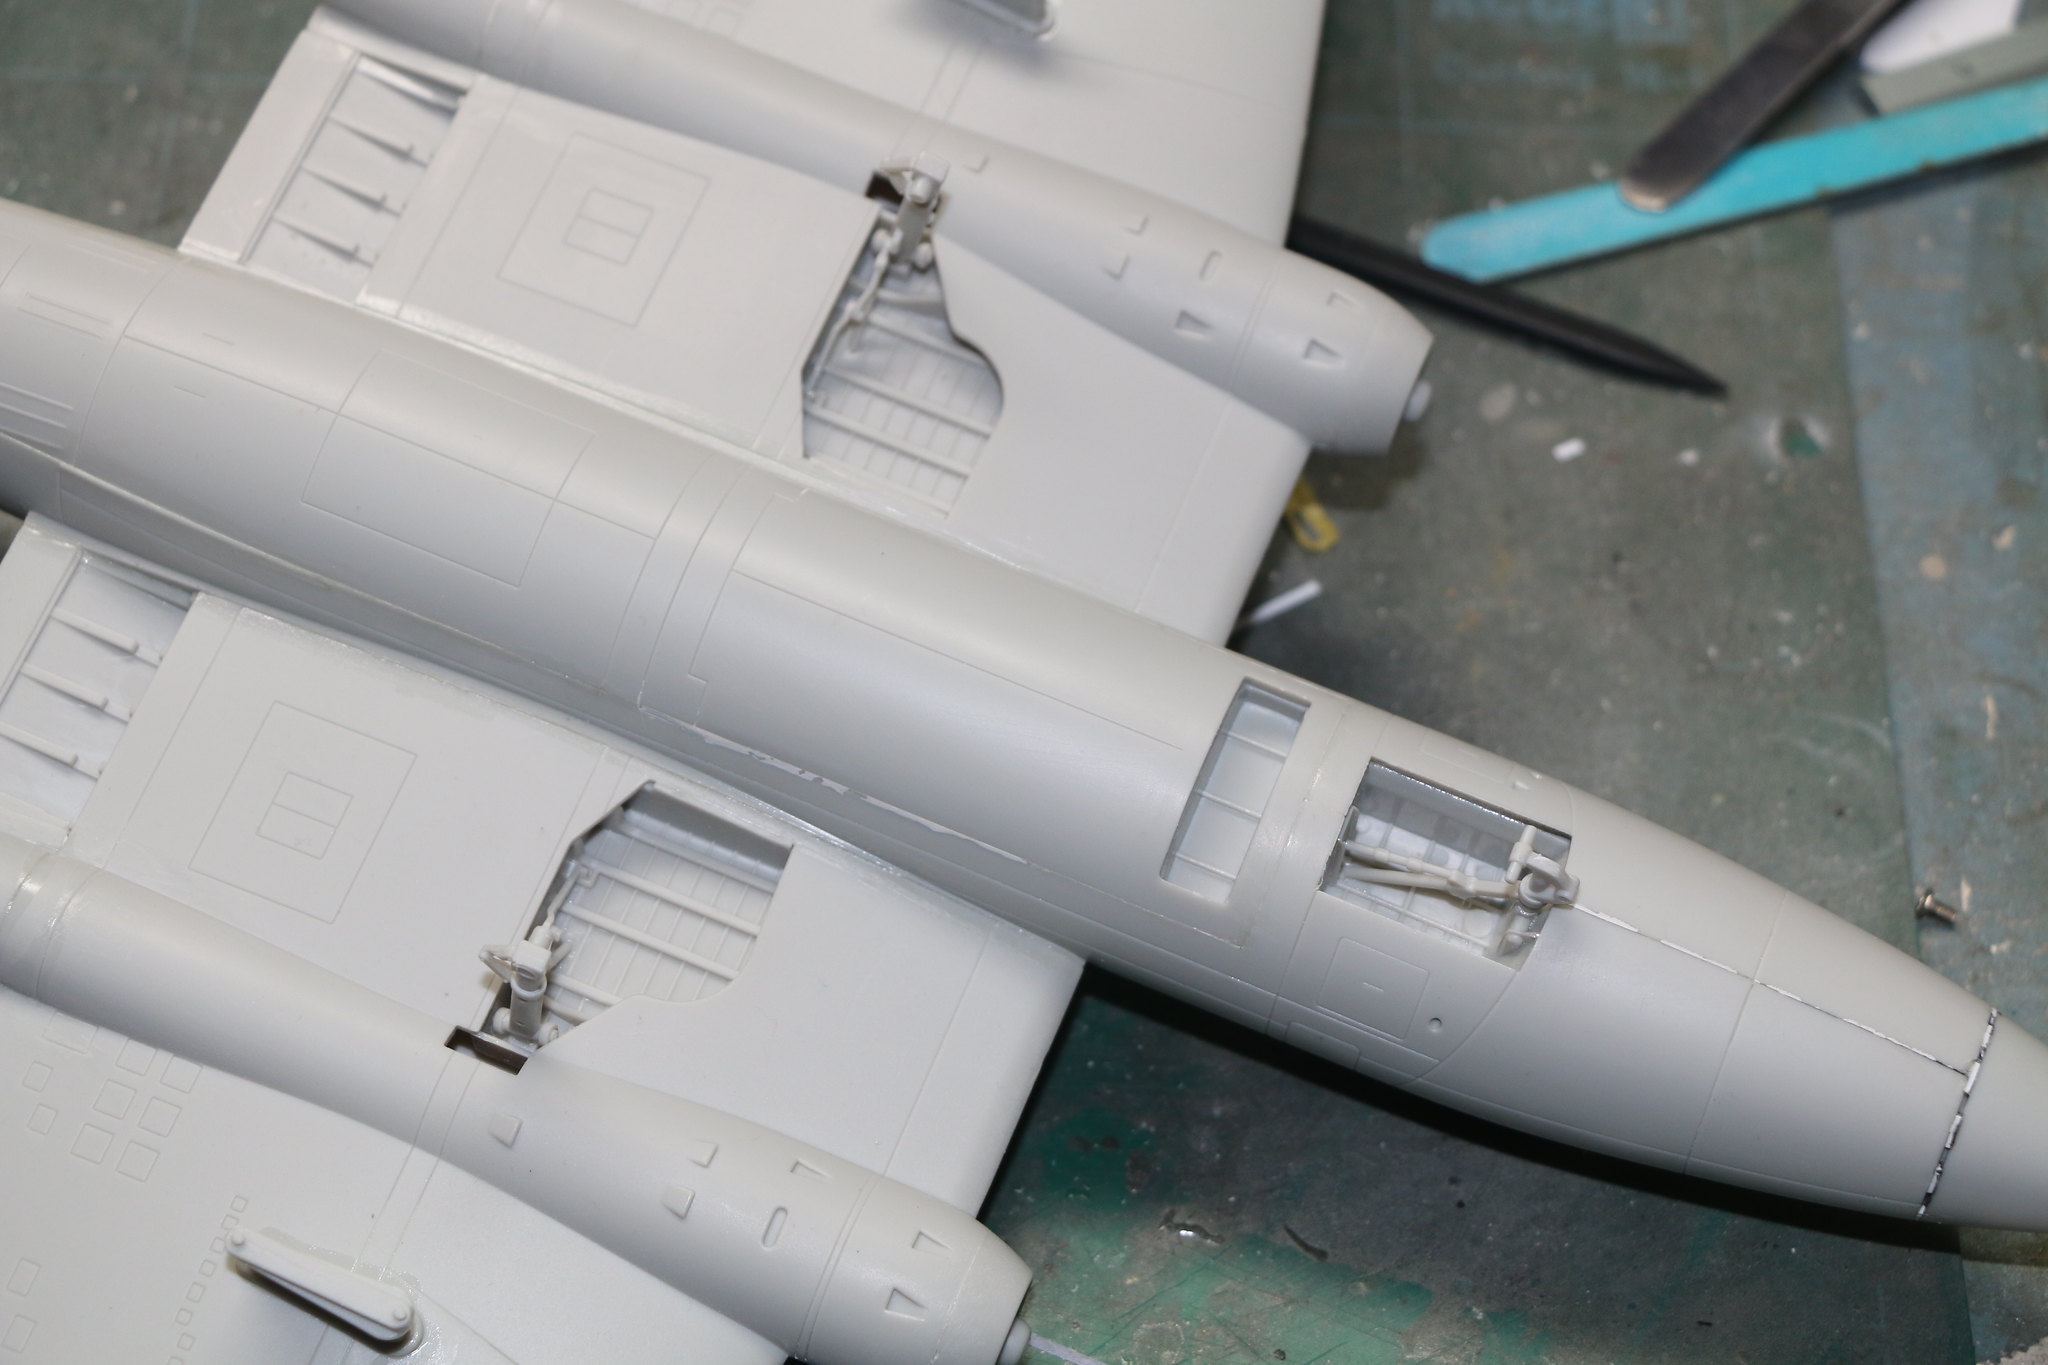
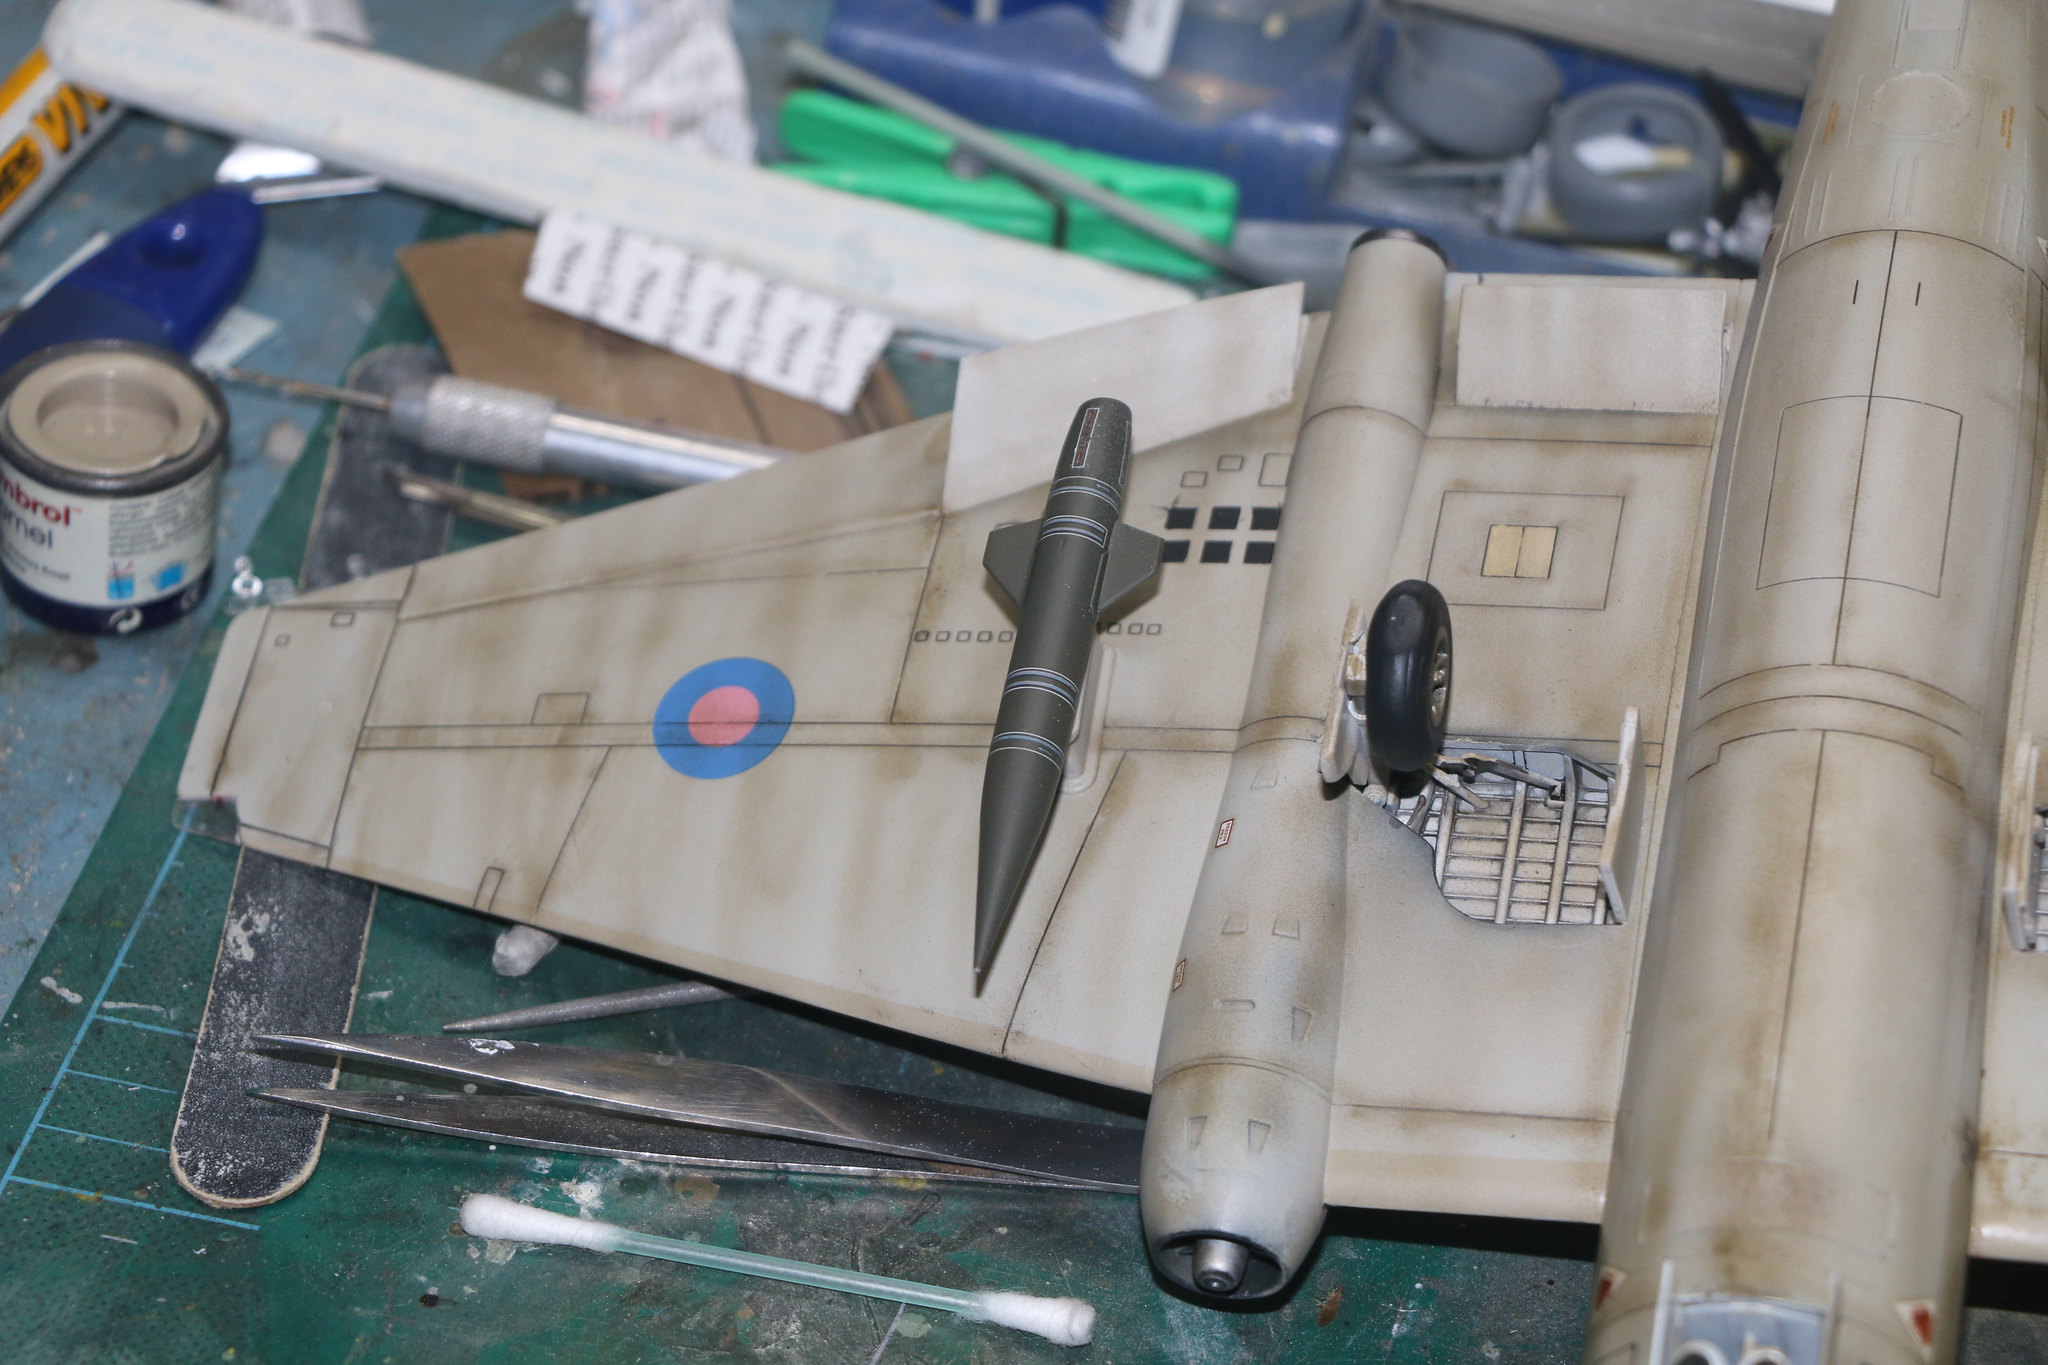
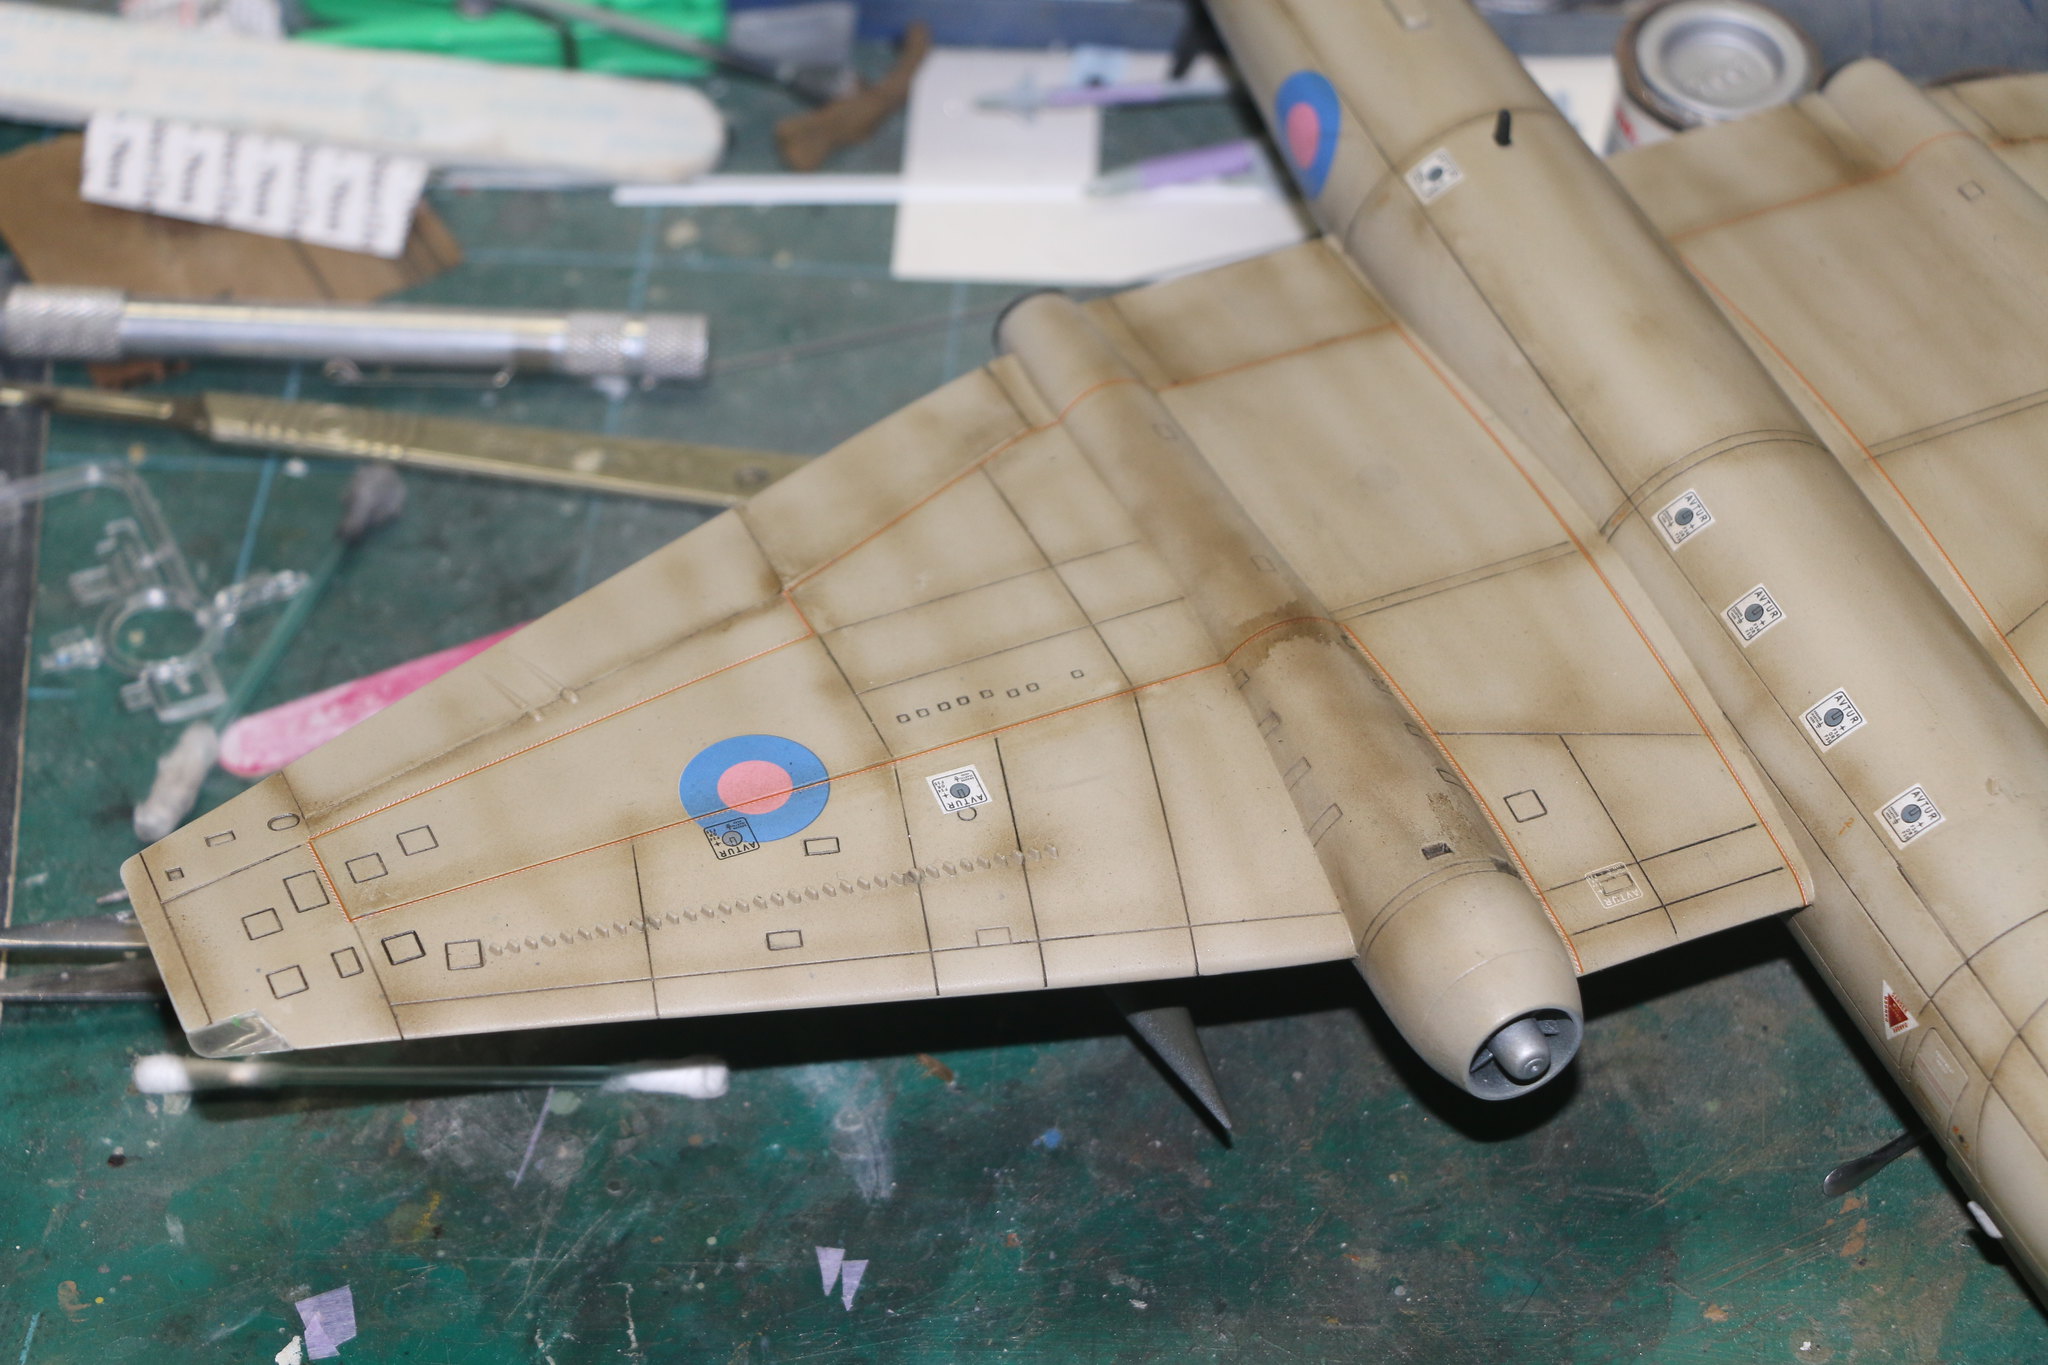
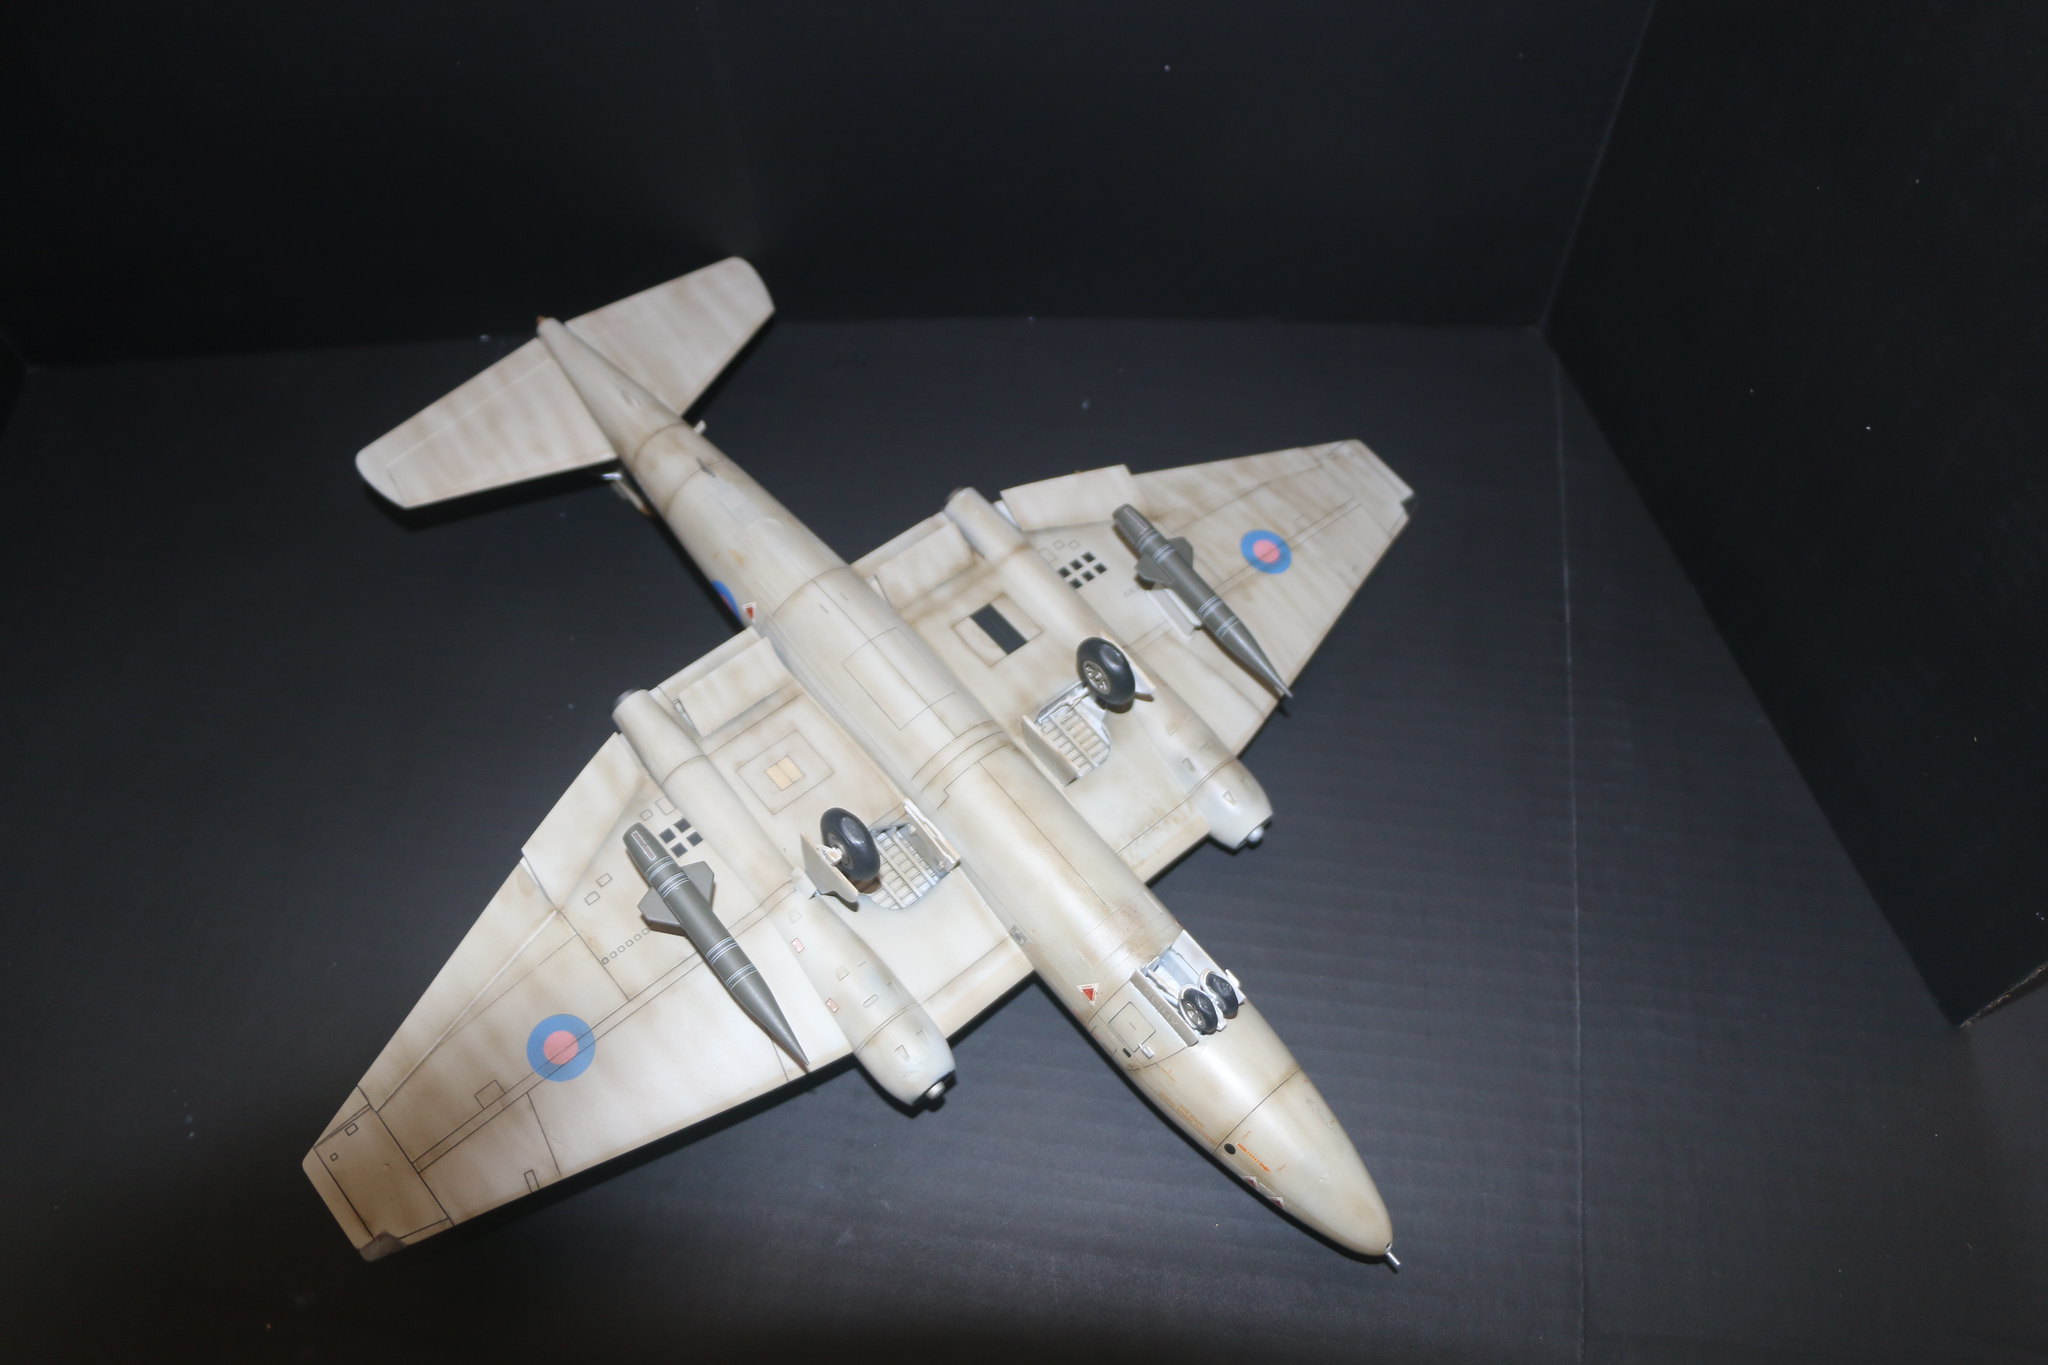
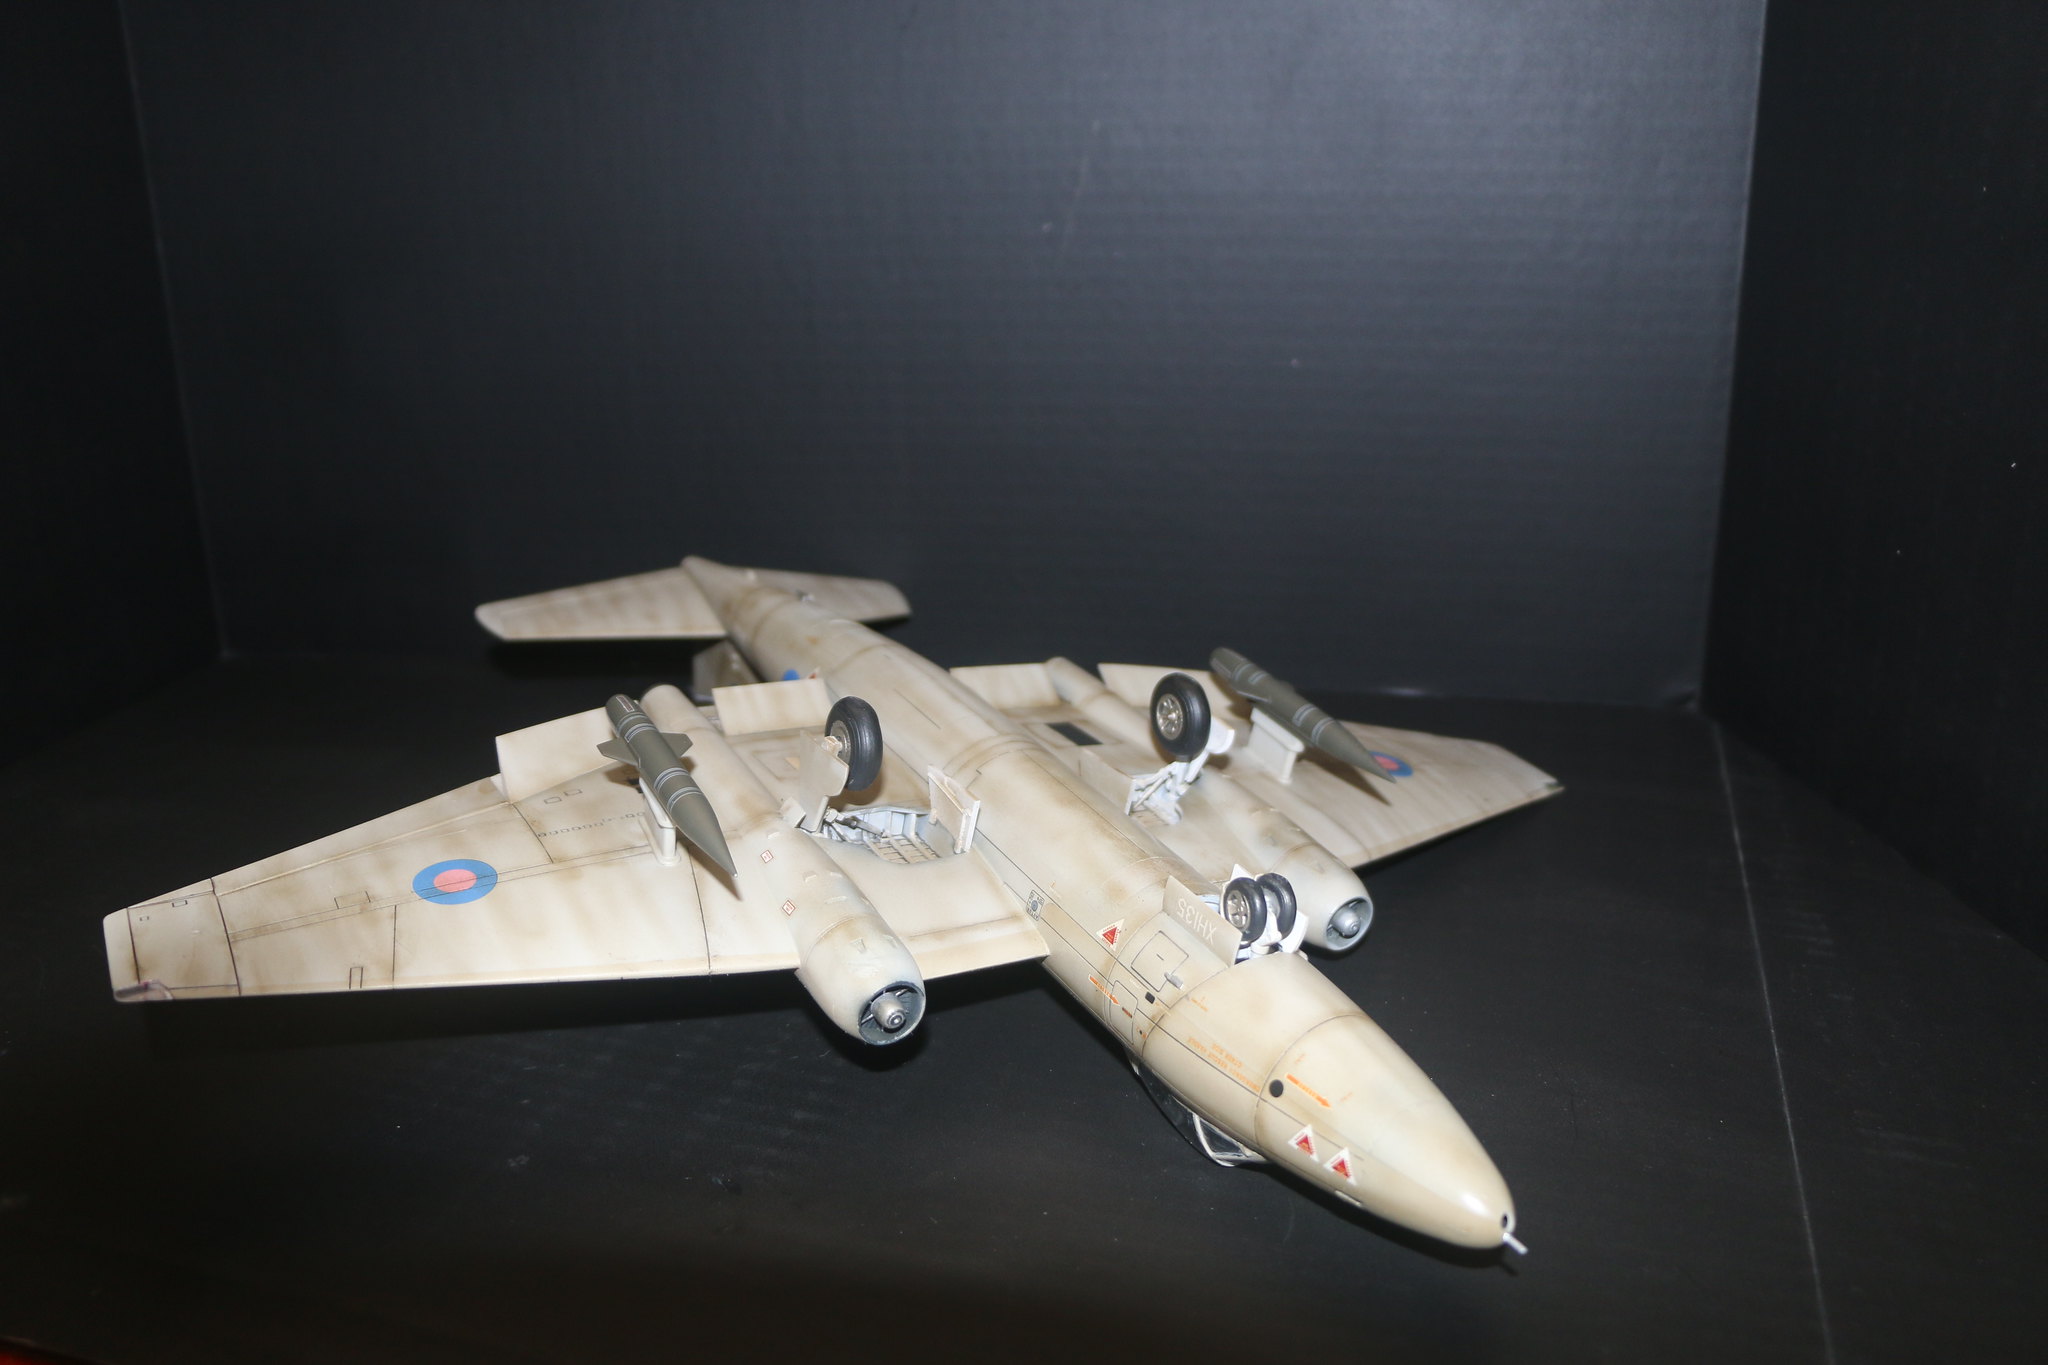
You can see in the underside pics the reason she doesn't sit on her tail (yes I forgot to add nose weights!) the jack used for exactly that purpose by the ground crew. The airbreaks have no positive attachment points like you'd find on Tamyia or Hasegawa kit I did toss up the idea of scratch building the open and closing mechanism but given the time frame thought better of it. I settled for packing it out with blue-tack and then gluing it in place.
The undercarriage doors were relatively simple to attach still now positive mounting arrangement but the tabs that were there made it easy to glue them in place. So here we are down to the wire wish me luck!
IMG_1806 by Chris WIlson, on Flickr
IMG_1807 by Chris WIlson, on Flickr
IMG_1808 by Chris WIlson, on Flickr
IMG_1809 by Chris WIlson, on Flickr
Here's the jack I have to use to keep her on an even keel.
IMG_1810 by Chris WIlson, on Flickr
IMG_1811 by Chris WIlson, on Flickr
IMG_1812 by Chris WIlson, on Flickr
IMG_1813 by Chris WIlson, on Flickr
IMG_1814 by Chris WIlson, on Flickr
IMG_1815 by Chris WIlson, on Flickr
IMG_1816 by Chris WIlson, on Flickr
IMG_1819 by Chris WIlson, on Flickr
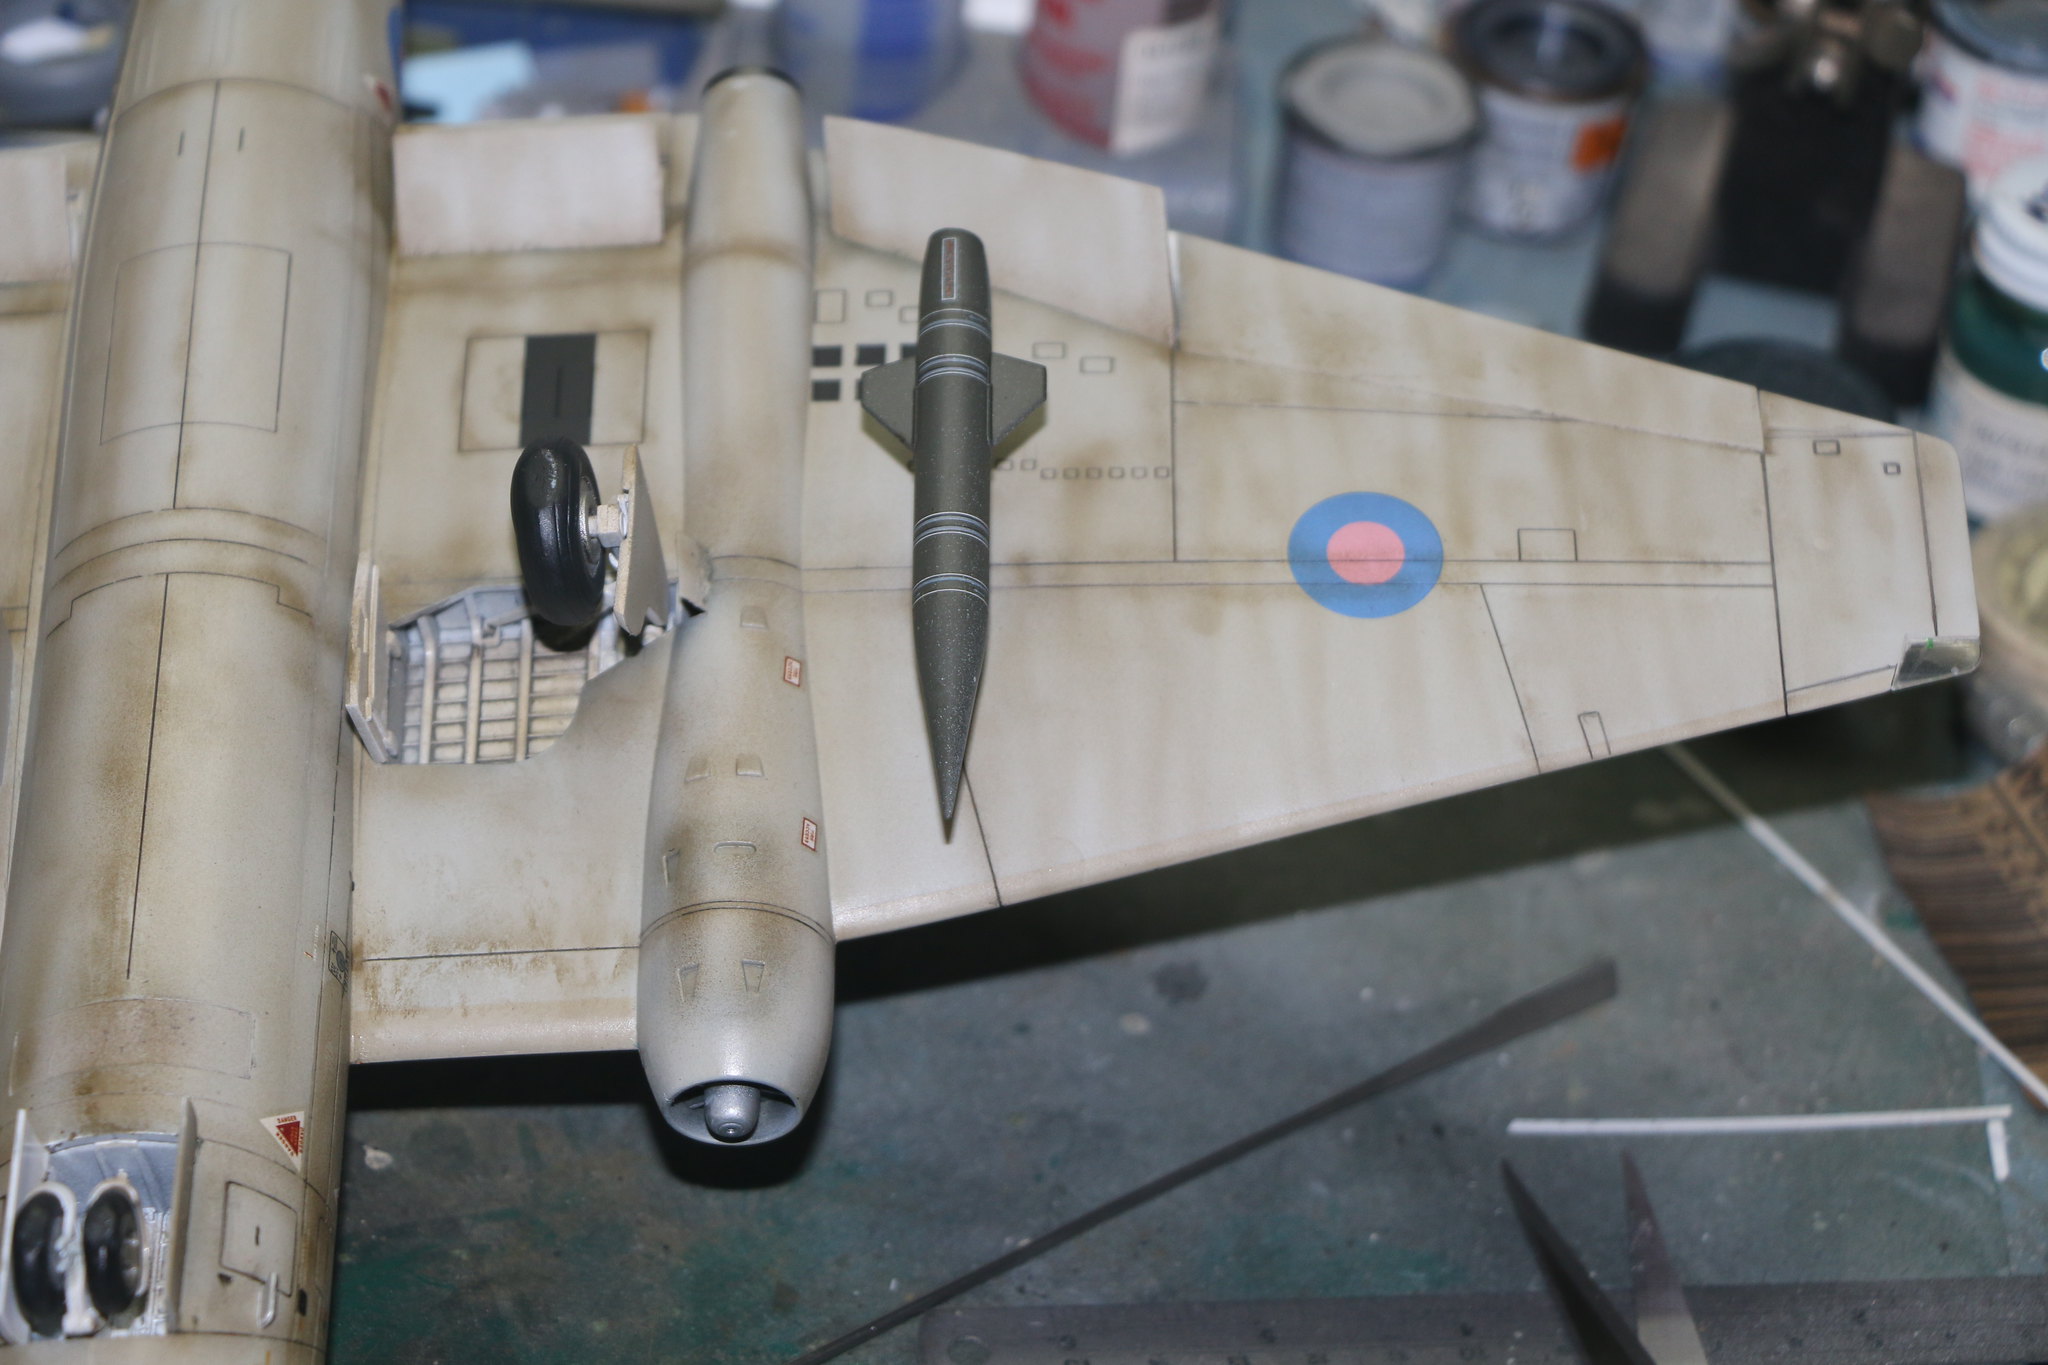
You can see in the underside pics the reason she doesn't sit on her tail (yes I forgot to add nose weights!) the jack used for exactly that purpose by the ground crew. The airbreaks have no positive attachment points like you'd find on Tamyia or Hasegawa kit I did toss up the idea of scratch building the open and closing mechanism but given the time frame thought better of it. I settled for packing it out with blue-tack and then gluing it in place.
The undercarriage doors were relatively simple to attach still now positive mounting arrangement but the tabs that were there made it easy to glue them in place. So here we are down to the wire wish me luck!
IMG_1806 by Chris WIlson, on Flickr
IMG_1807 by Chris WIlson, on Flickr
IMG_1808 by Chris WIlson, on Flickr
IMG_1809 by Chris WIlson, on Flickr
Here's the jack I have to use to keep her on an even keel.
IMG_1810 by Chris WIlson, on Flickr
IMG_1811 by Chris WIlson, on Flickr
IMG_1812 by Chris WIlson, on Flickr
IMG_1813 by Chris WIlson, on Flickr
IMG_1814 by Chris WIlson, on Flickr
IMG_1815 by Chris WIlson, on Flickr
IMG_1816 by Chris WIlson, on Flickr
IMG_1819 by Chris WIlson, on Flickr
Posted: Saturday, December 02, 2017 - 04:25 AM UTC
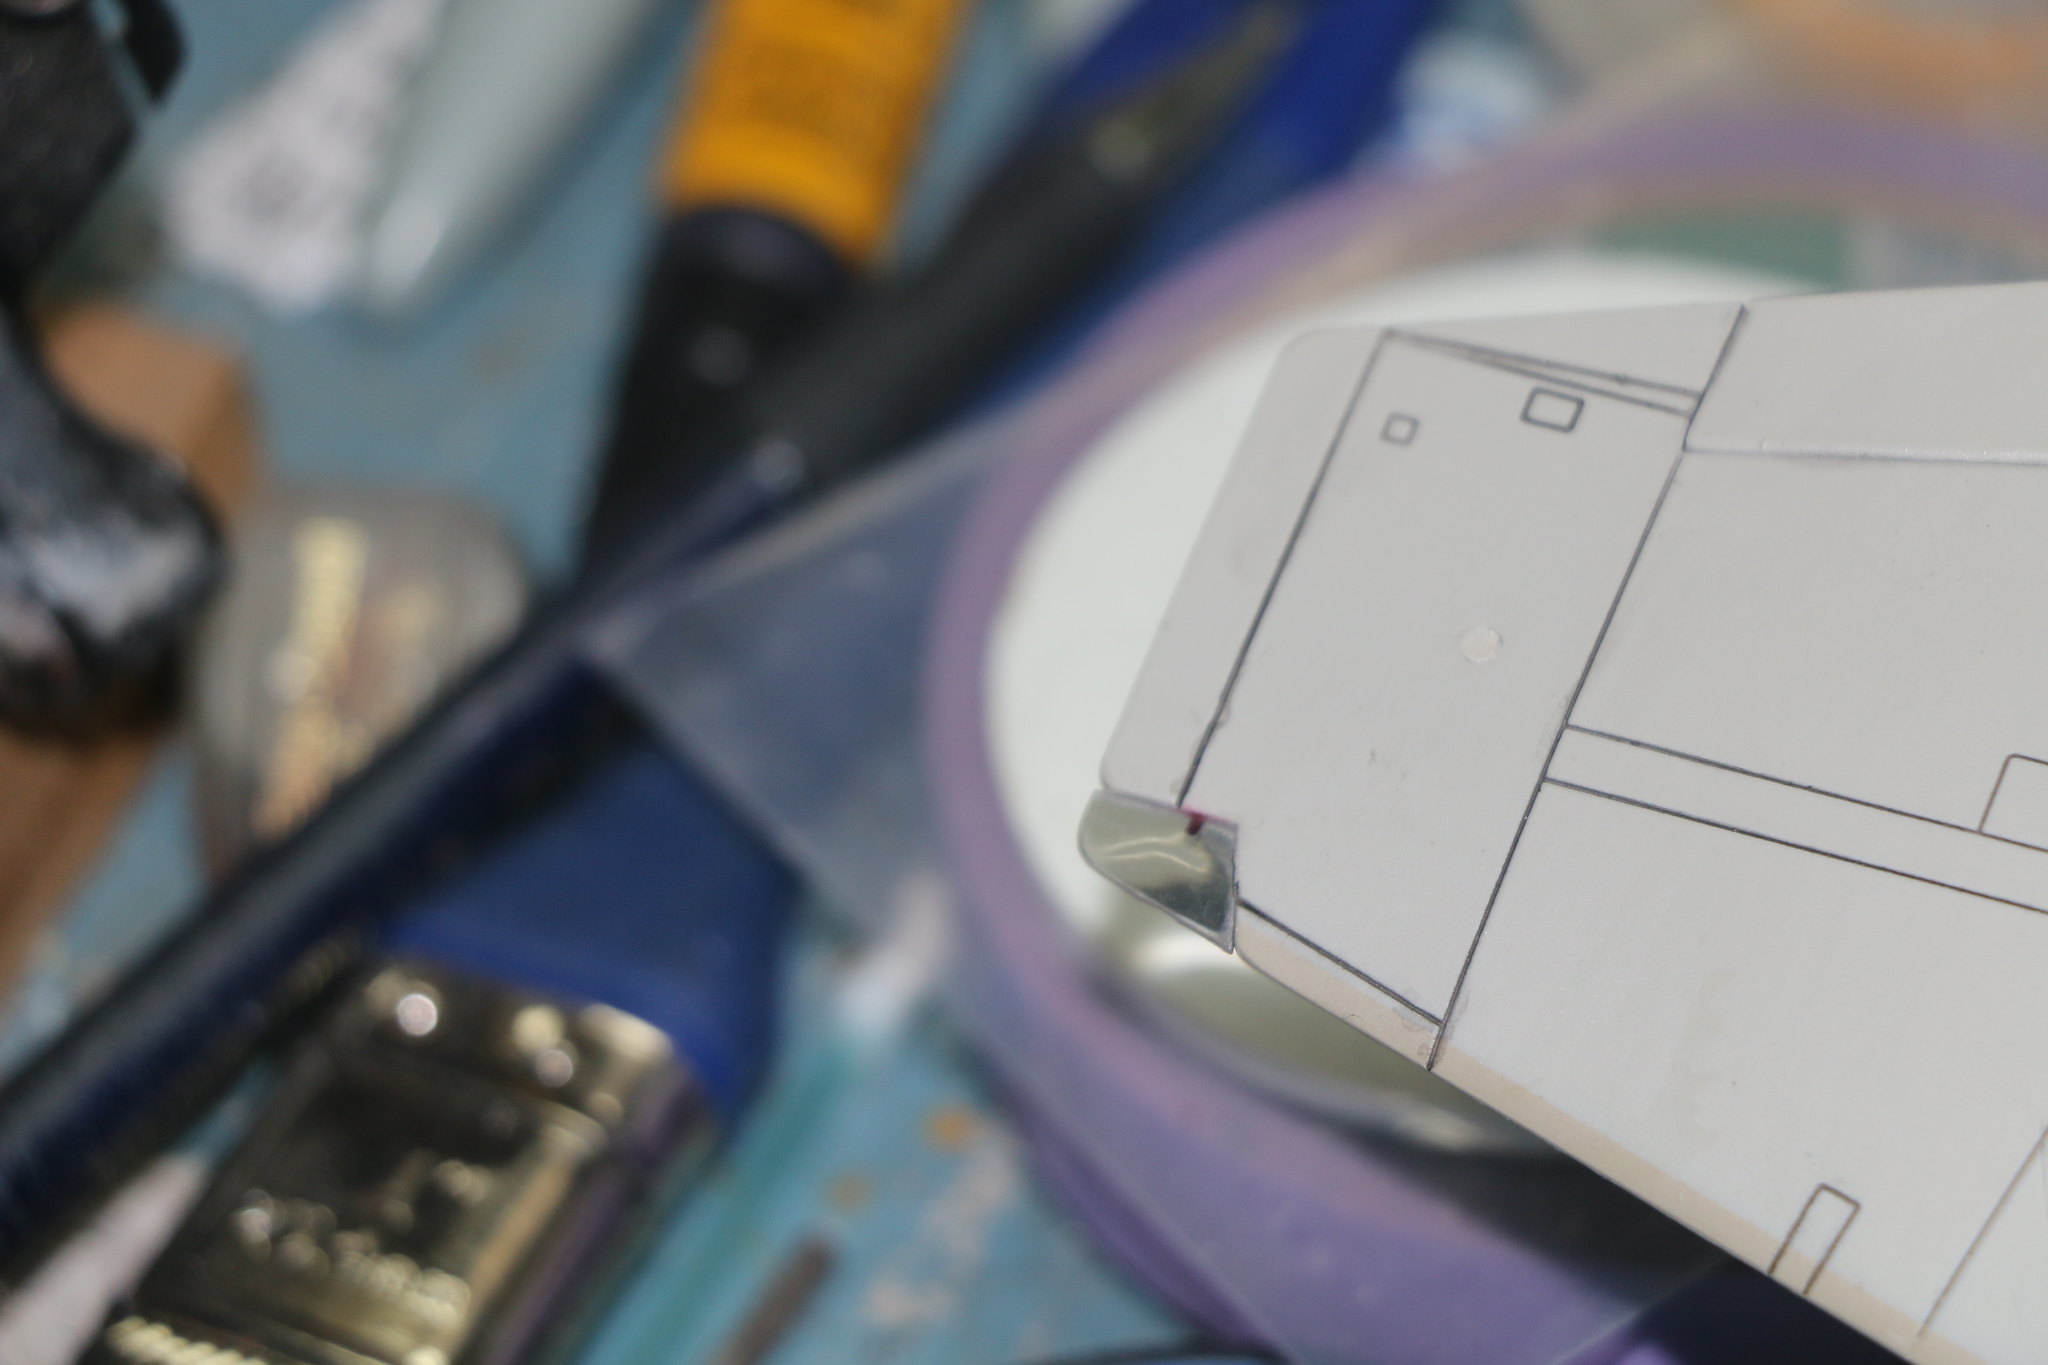
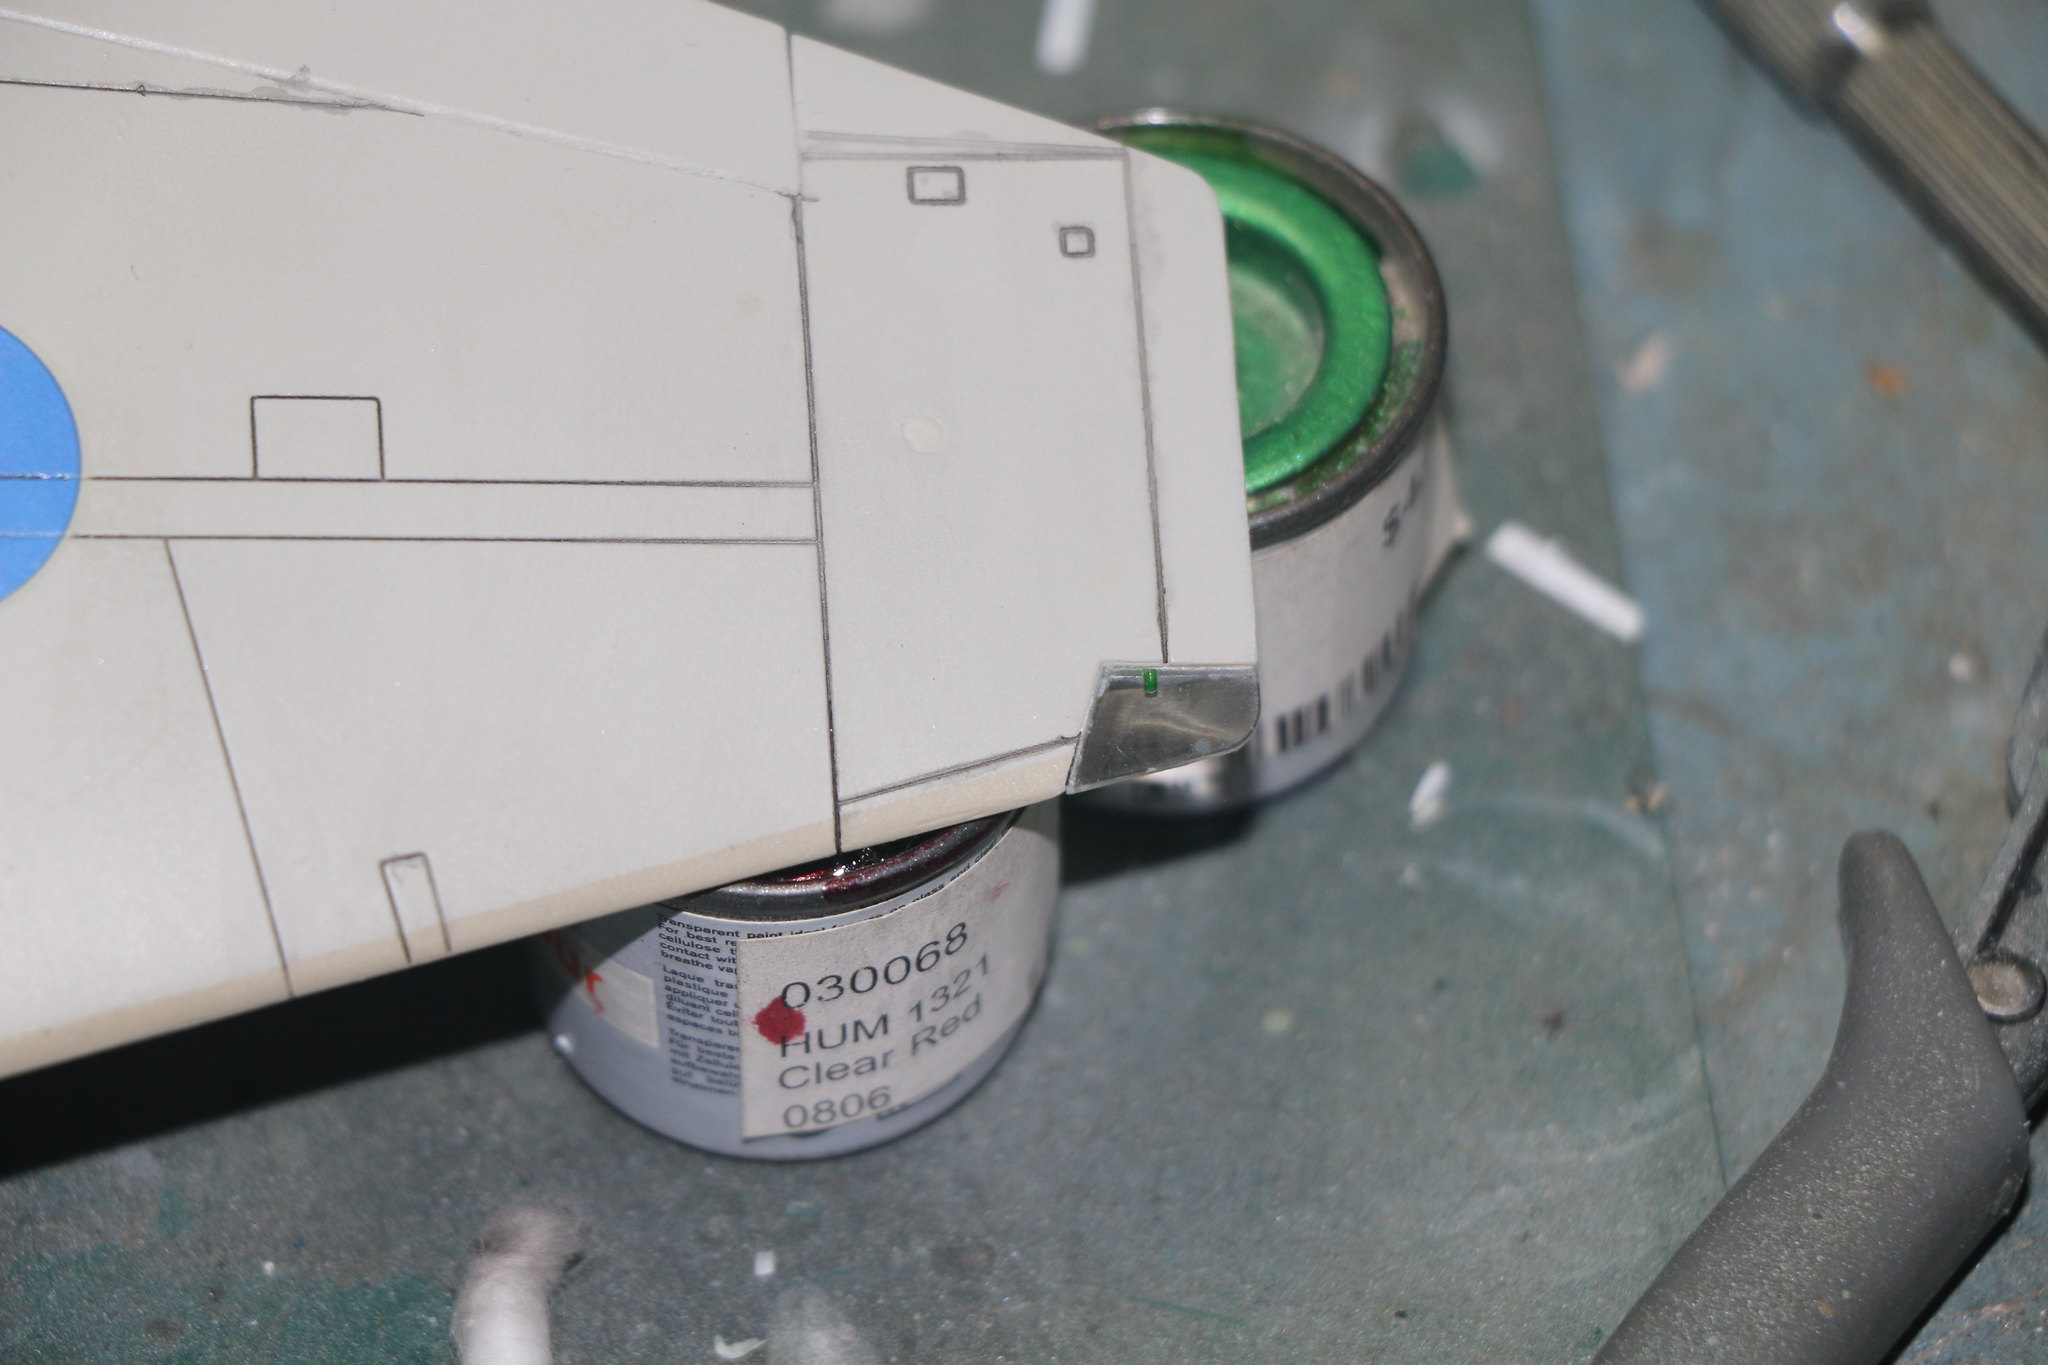
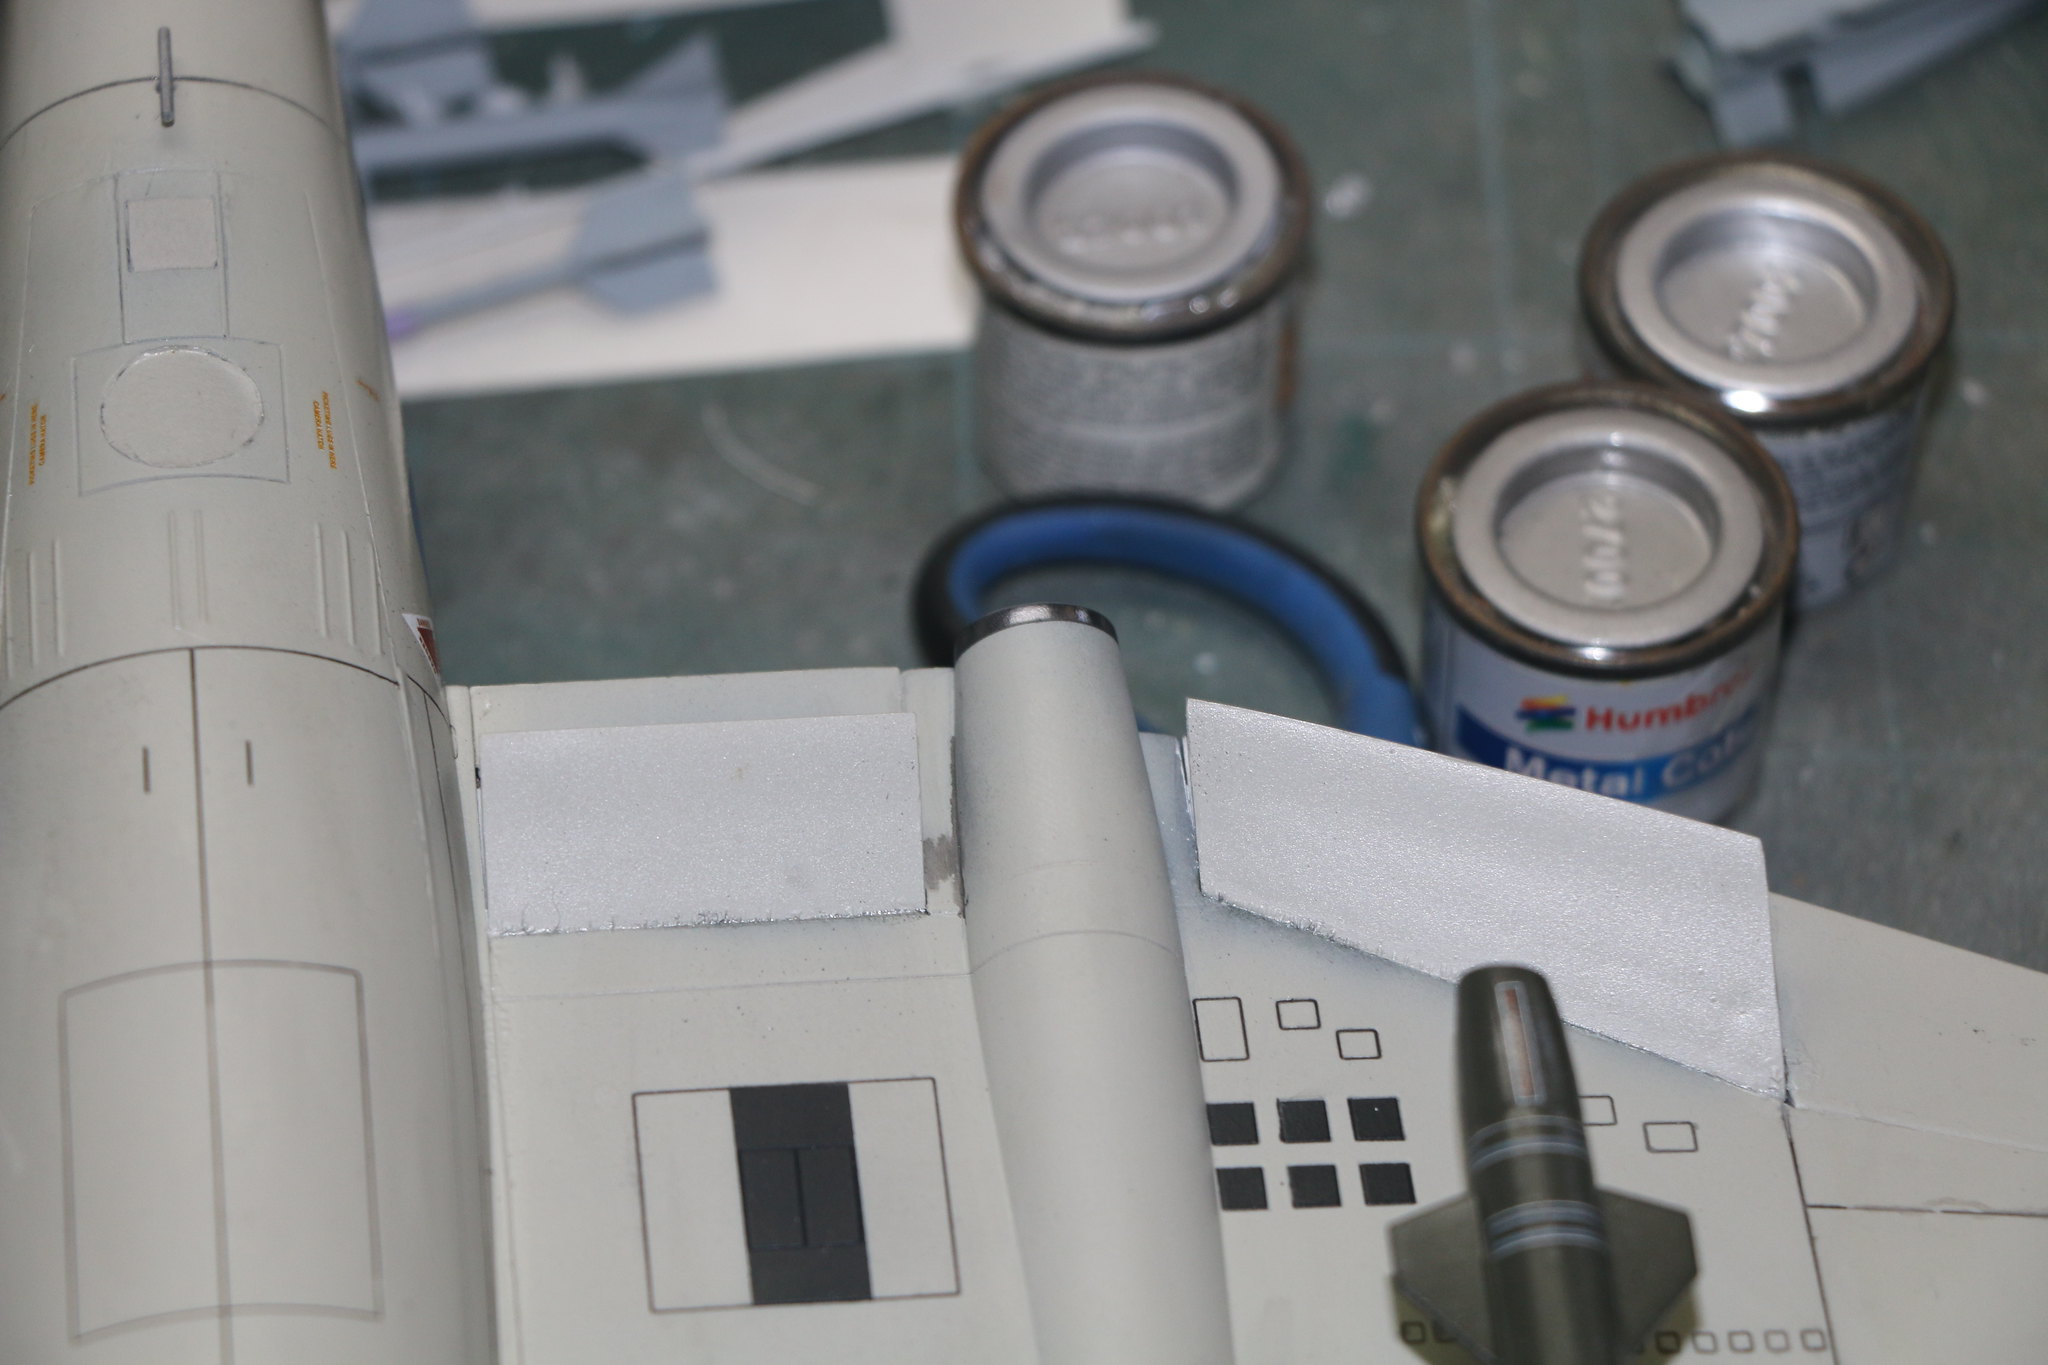
Still working on the Canberra and while I had the Humbrol metalisers out painting the Tomcat I masked off the area around the rear of the engines and sprayed them bright steel. Just a very small ring which I contemplated leaving off but thought better of it when I had the paint out.
I've sprayed and buffed the ring and I've found a cotton bud (Q-tip for our American brethren) works best as I can't quite get the same shine with a piece of t-shirt material.
Here's a look at the result.
IMG_1843 by Chris WIlson, on Flickr
IMG_1842 by Chris WIlson, on Flickr
IMG_1841 by Chris WIlson, on Flickr
IMG_1840 by Chris WIlson, on Flickr
I've sprayed and buffed the ring and I've found a cotton bud (Q-tip for our American brethren) works best as I can't quite get the same shine with a piece of t-shirt material.
Here's a look at the result.
IMG_1843 by Chris WIlson, on Flickr
IMG_1842 by Chris WIlson, on Flickr
IMG_1841 by Chris WIlson, on Flickr
IMG_1840 by Chris WIlson, on Flickr
Posted: Tuesday, December 05, 2017 - 10:53 AM UTC
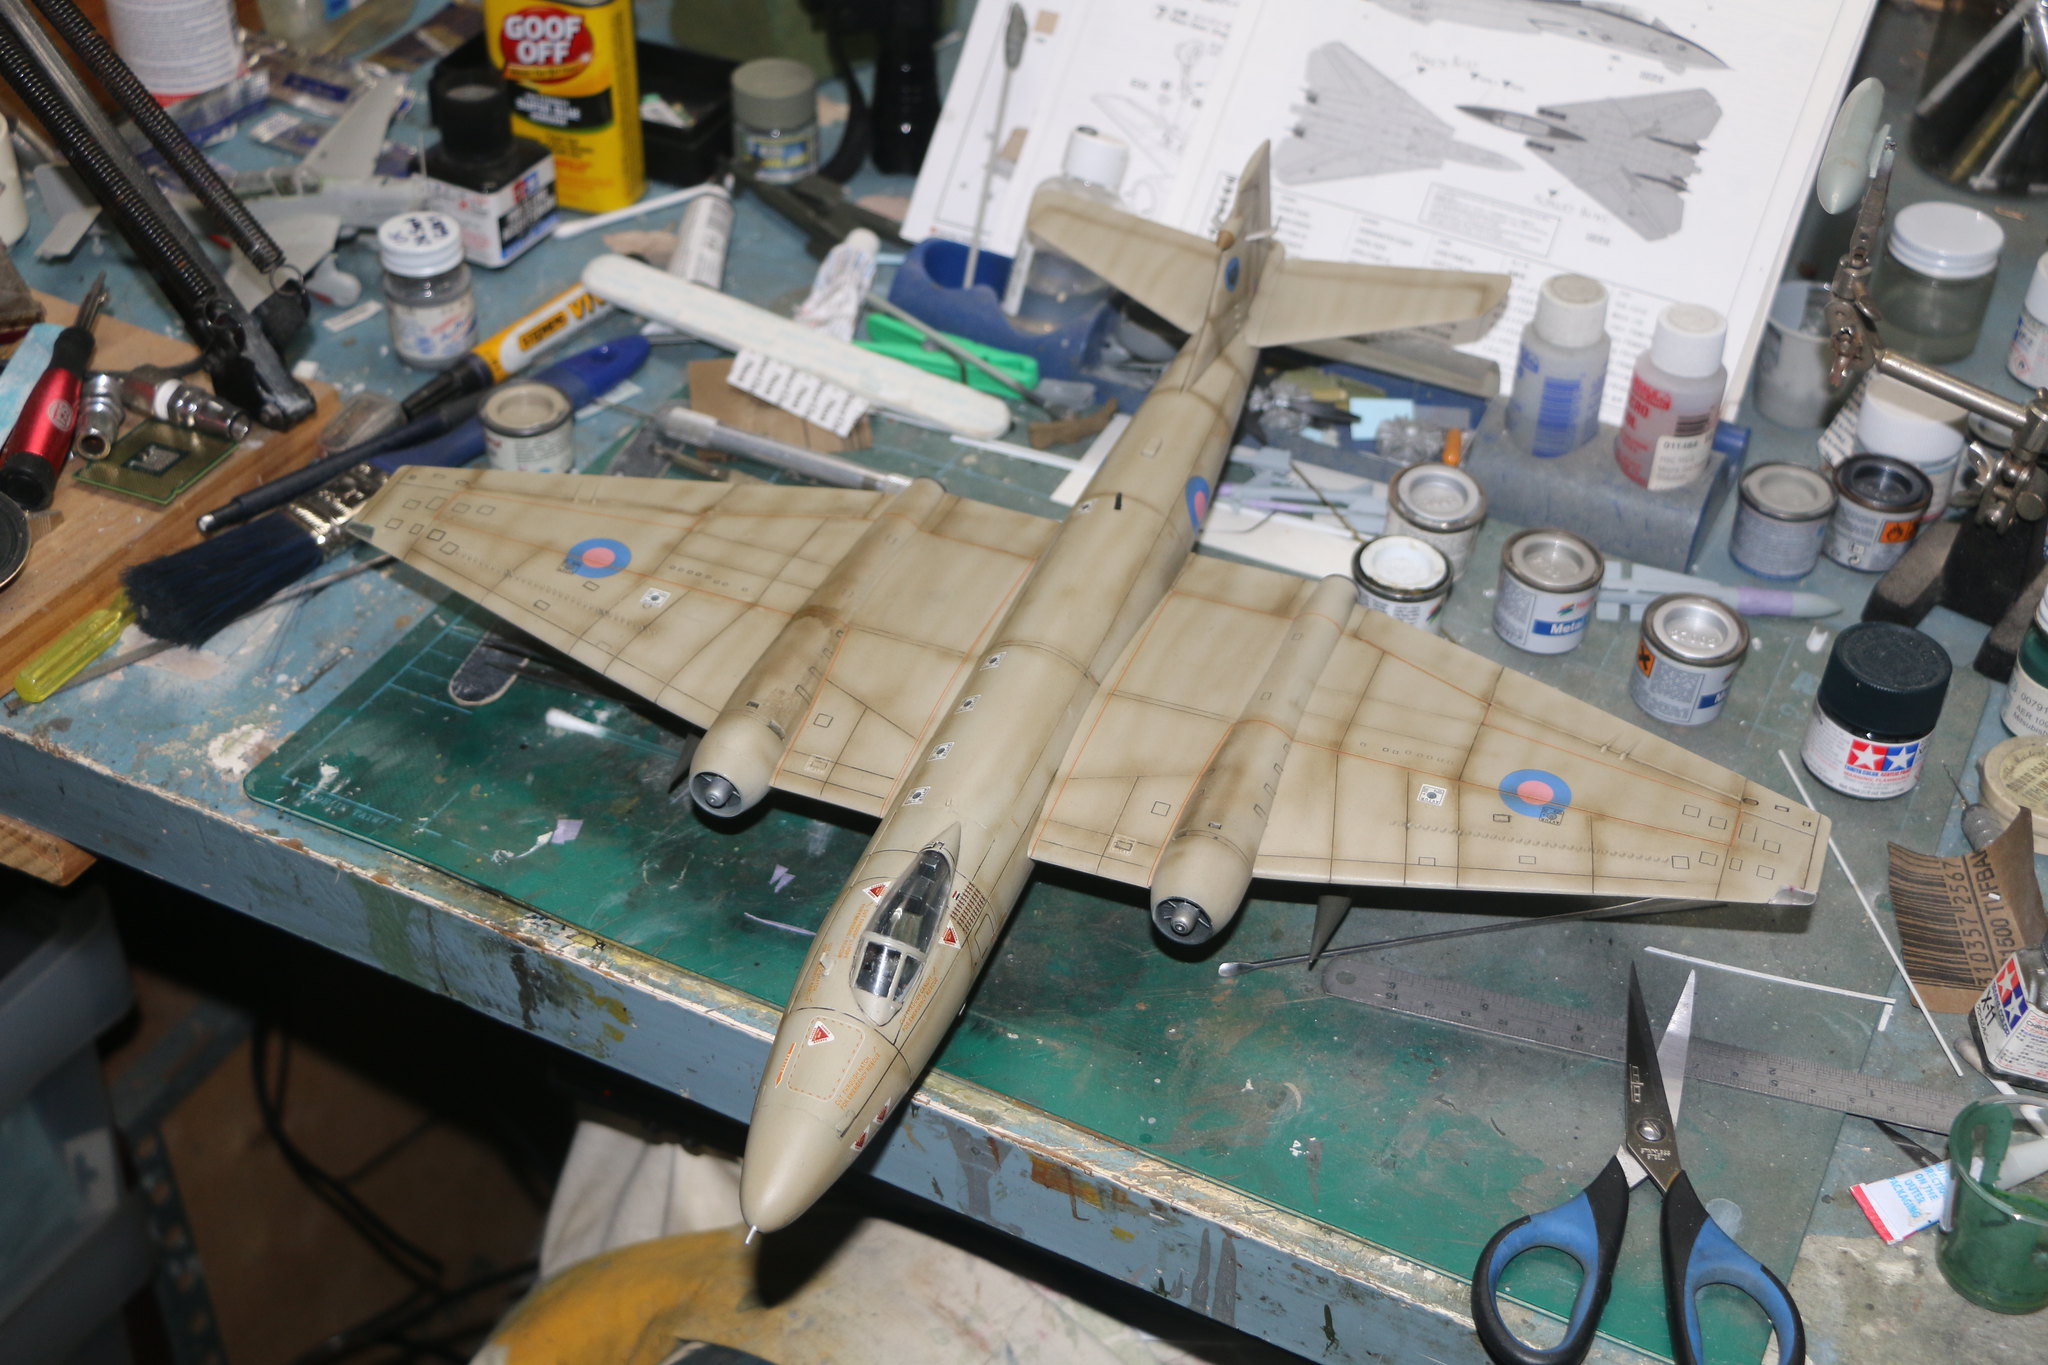
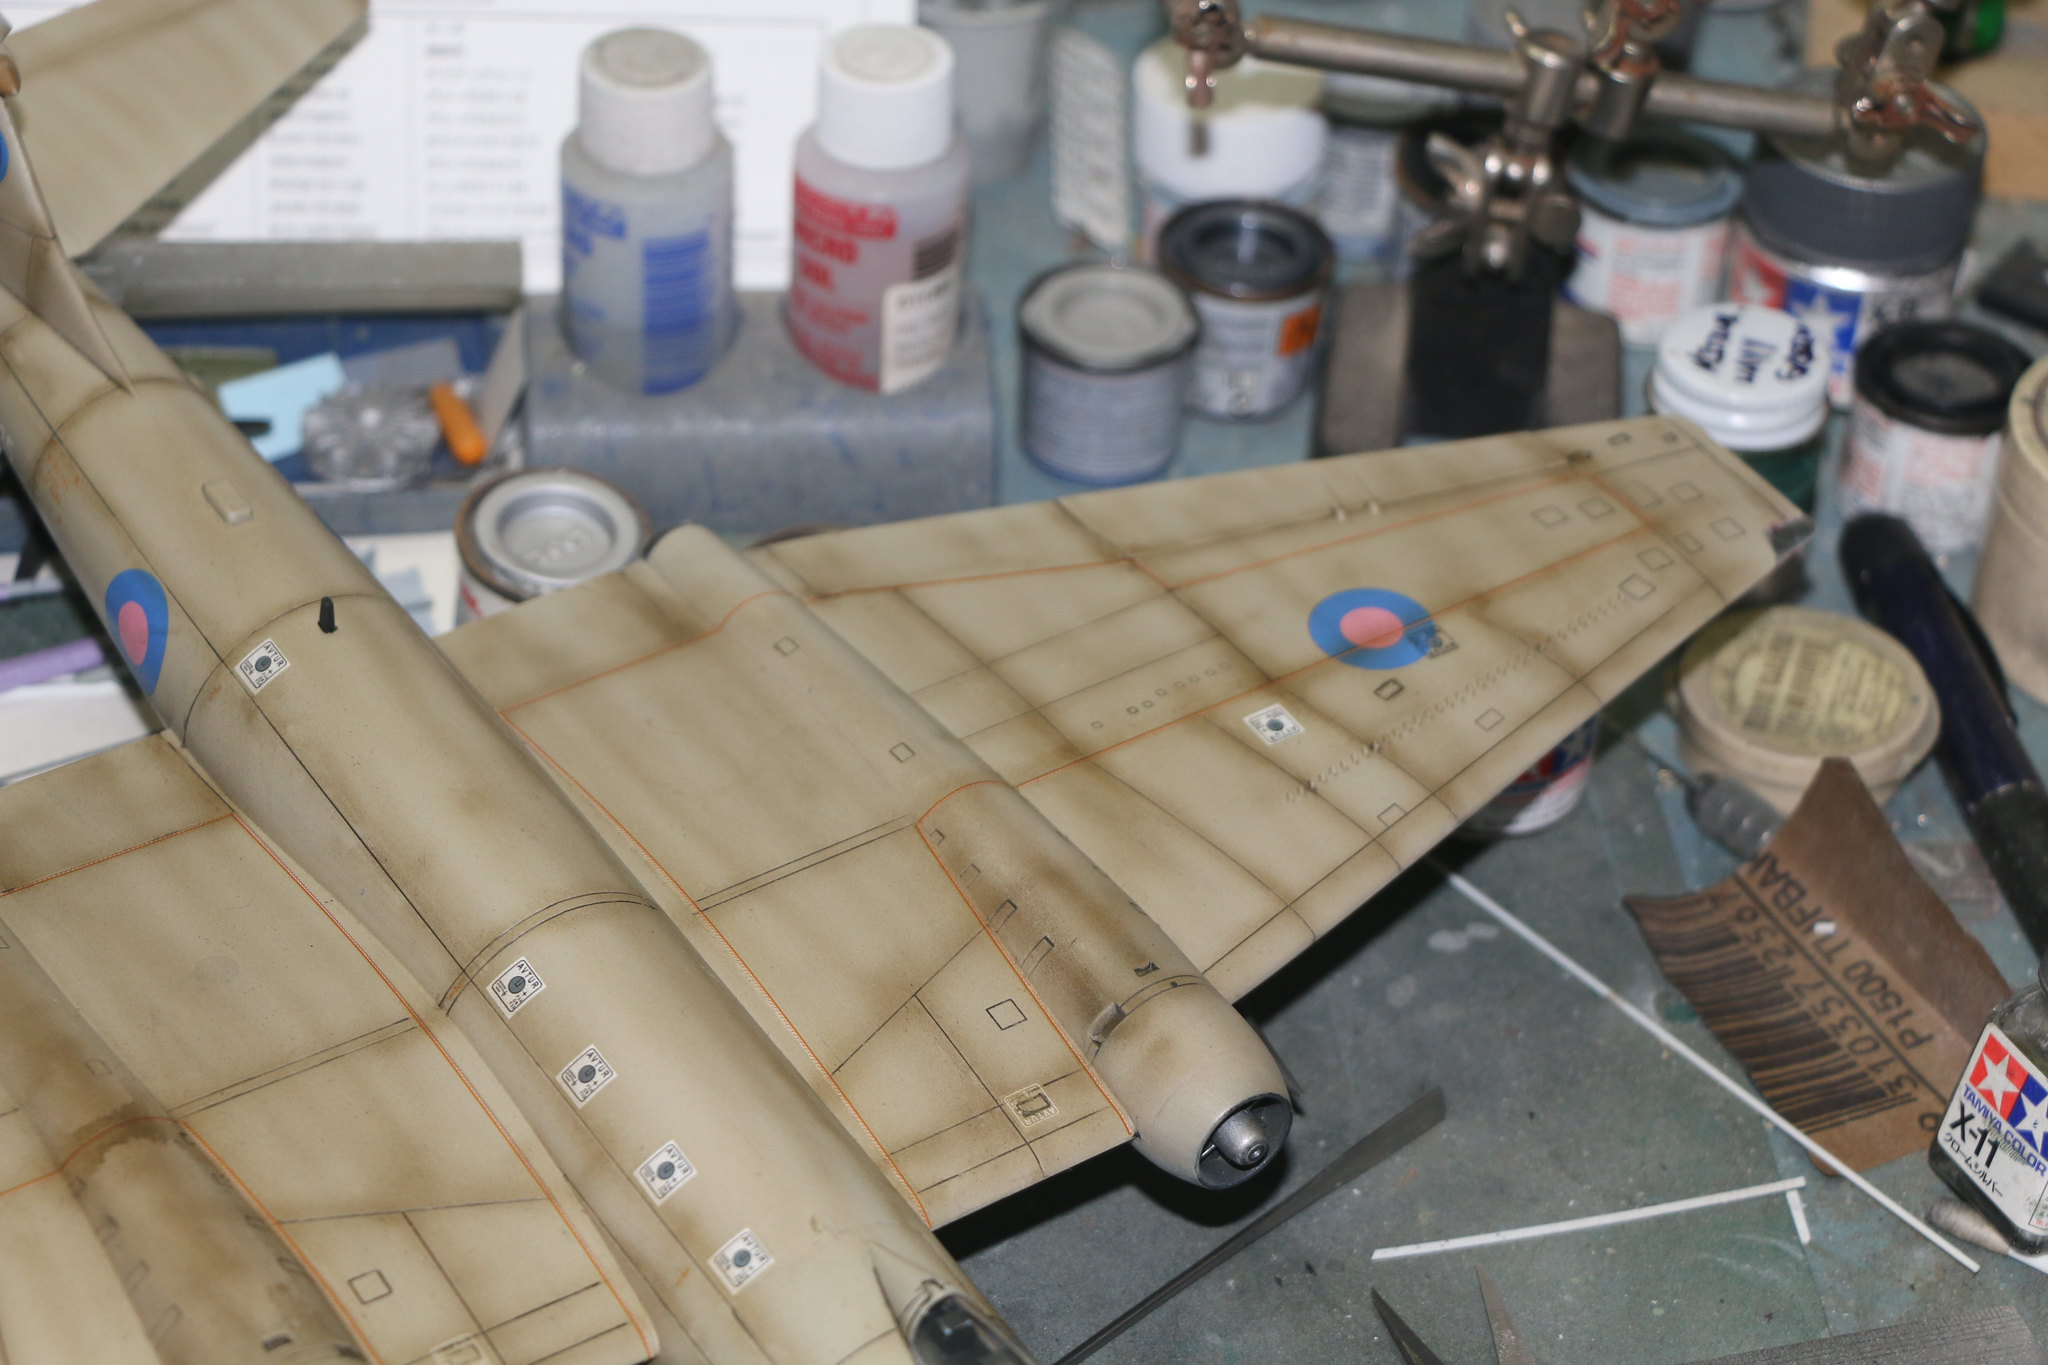
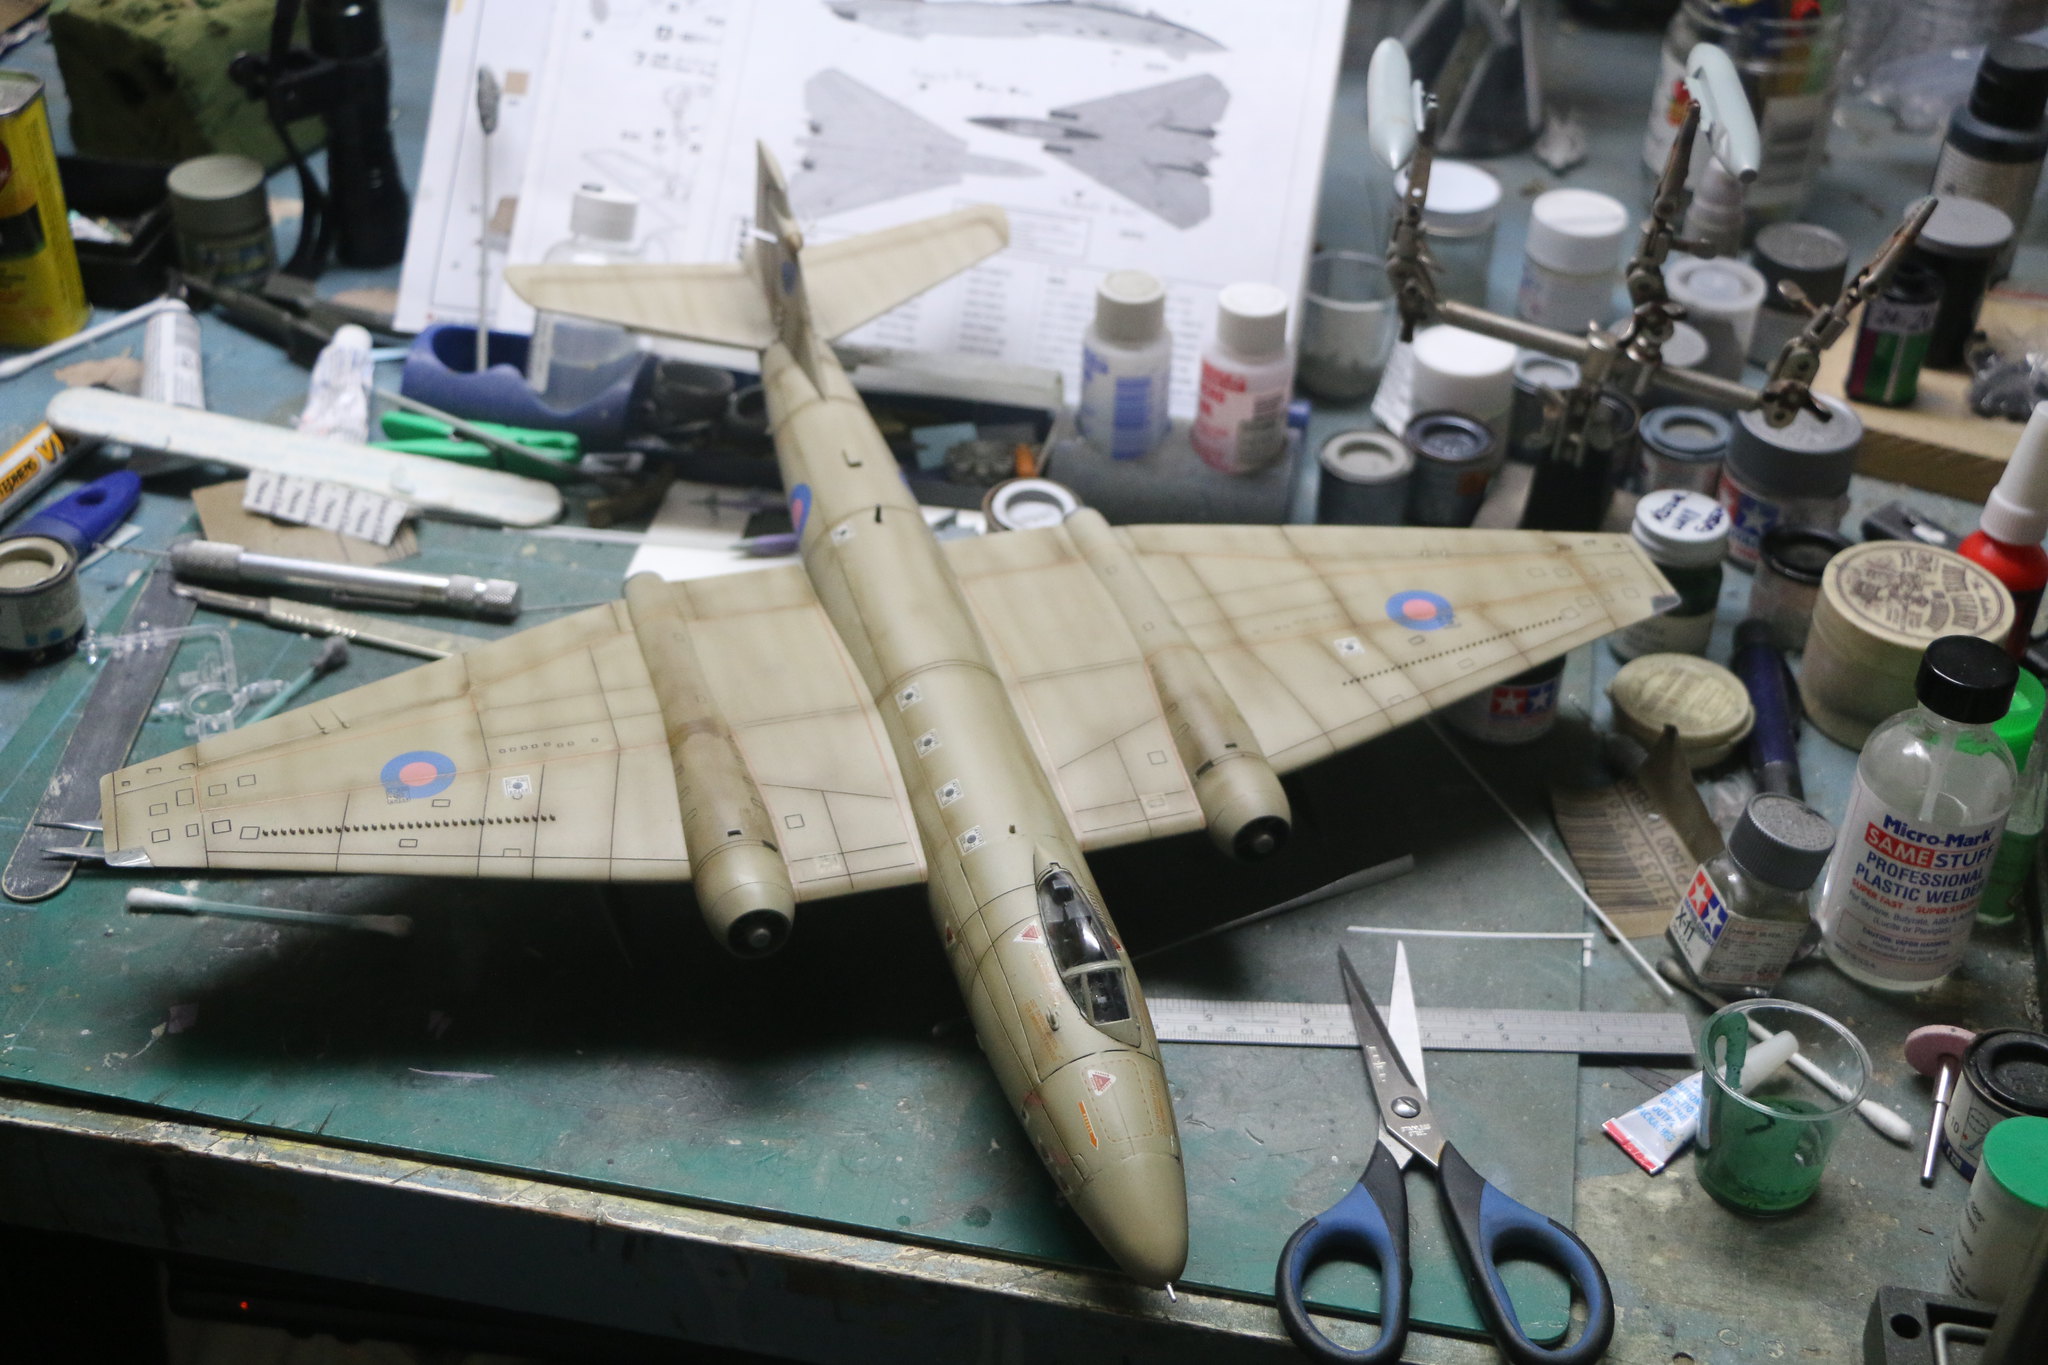
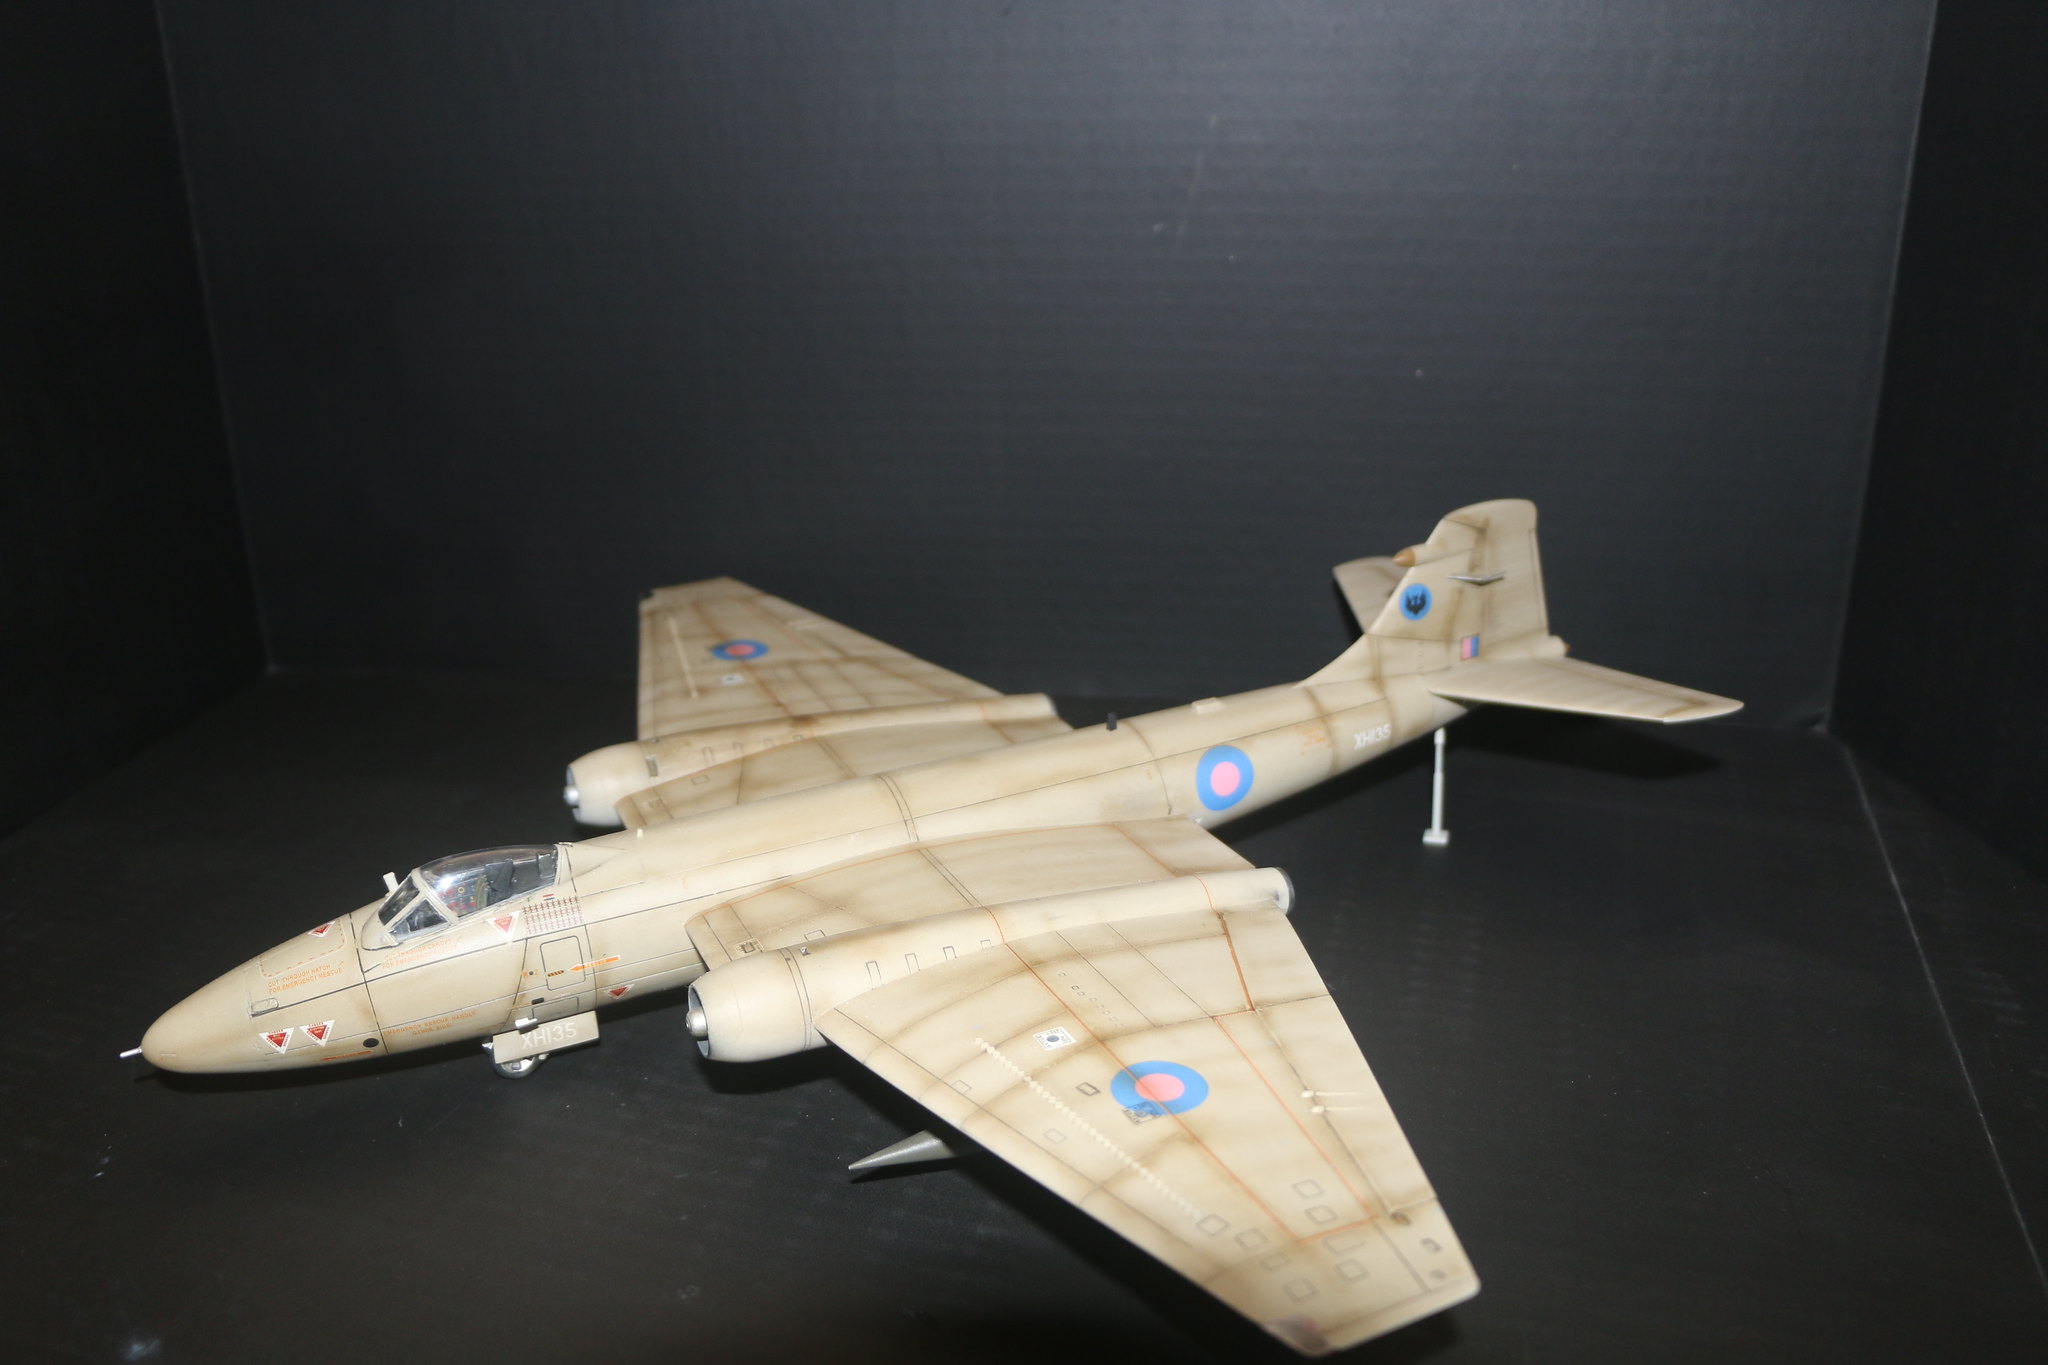
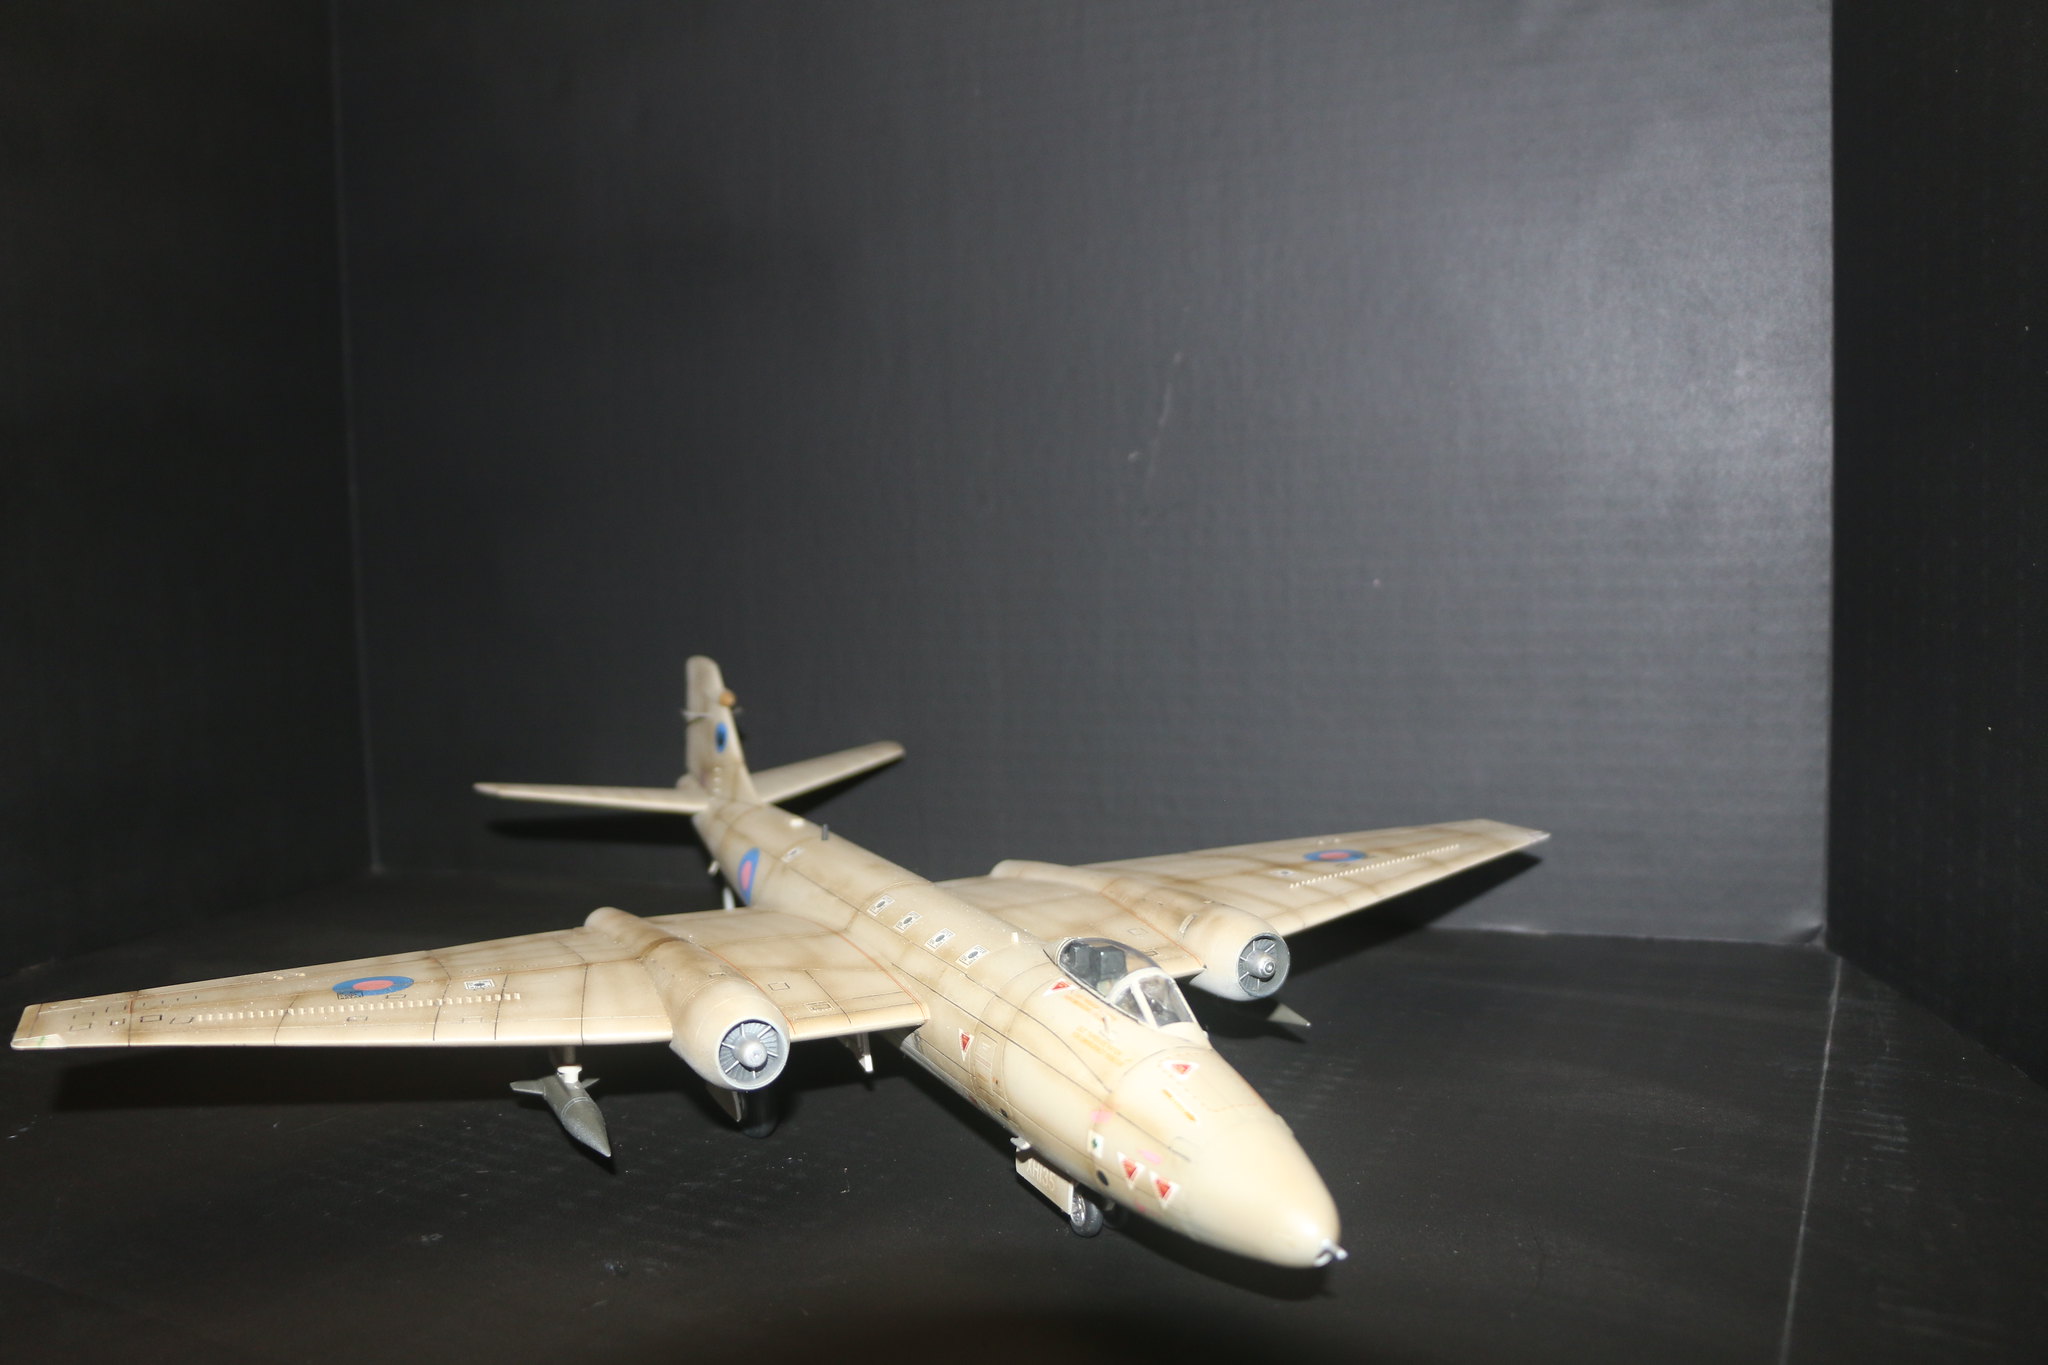
So after a small miscalculation with the post shading of panel lines I went with a very dirty airframe for the Canberra. It's actually more restrained than it appears in the photo's but I'm pleased with the result regardless.
IMG_1849 by Chris WIlson, on Flickr
IMG_1850 by Chris WIlson, on Flickr
IMG_1851 by Chris WIlson, on Flickr
IMG_1852 by Chris WIlson, on Flickr
IMG_1853 by Chris WIlson, on Flickr
IMG_1854 by Chris WIlson, on Flickr
IMG_1855 by Chris WIlson, on Flickr
This the Canberra as it appears with out the harshness of the flash.
IMG_1857 by Chris WIlson, on Flickr
Posted: Tuesday, December 05, 2017 - 01:40 PM UTC
Chris, I've just found this thread and read through: I have to say this is superb craftsmanship and I can only be sorry to think that I've come in so late to the build and you'll finish it soon, but what a build!
Posted: Tuesday, December 05, 2017 - 02:07 PM UTC
Never too late Russell and my thanks for your compliments. It's a really great kit regardless of what some might say. I don't feel I really did it justice as I was rushing it at the end. But your vote of confidence gives me heart that it was still an okay effort.
Posted: Sunday, December 10, 2017 - 03:41 PM UTC
Quoted Text
Never too late Russell and my thanks for your compliments. It's a really great kit regardless of what some might say. I don't feel I really did it justice as I was rushing it at the end. But your vote of confidence gives me heart that it was still an okay effort.
Way better than my effort on the Tiffy, Chris hey, at least you managed to finish before the Airfix IV campaign.
Posted: Friday, December 15, 2017 - 10:43 AM UTC
Here a few pics of the finished article against a neutral back ground.
IMG_1892 by Chris WIlson, on Flickr
IMG_1891 by Chris WIlson, on Flickr
IMG_1889 by Chris WIlson, on Flickr
IMG_1886 by Chris WIlson, on Flickr
IMG_1892 by Chris WIlson, on Flickr
IMG_1891 by Chris WIlson, on Flickr
IMG_1889 by Chris WIlson, on Flickr
IMG_1886 by Chris WIlson, on Flickr
Posted: Saturday, December 16, 2017 - 04:39 PM UTC
Chris, your Canberra looks great!
I think the weather is just about right for a heavily used machine. The decision to use brown and not black has paid off
Thanks for sharing your build-look forward to seeing what you do next
I think the weather is just about right for a heavily used machine. The decision to use brown and not black has paid off
Thanks for sharing your build-look forward to seeing what you do next
Joel_W
Associate Editor
New York, United States
Joined: December 04, 2010
KitMaker: 11,666 posts
AeroScale: 7,410 posts
Joined: December 04, 2010
KitMaker: 11,666 posts
AeroScale: 7,410 posts
Posted: Saturday, December 16, 2017 - 09:03 PM UTC
Chris,
I can't believe that I forgot to post earlier, my apologies.
The Canberra is another one of those aircraft we just don't see very often built up in model form, so seeing yours is a treat for sure.
I'm most impressed with the overall finish. Simple, but effective overall Gray scheme with excellent decaling. it's your weathering had has brought your build to the next level. You've captured what I call a well maintained operational aircraft but haven't gone to far so it looses that effectiveness.
Joel
Posted: Monday, December 18, 2017 - 06:14 AM UTC
Joel, Russell my thanks gents I appreciate the positive feed back. LOL gives me hope I'm doing something right!
Joel_W
Associate Editor
New York, United States
Joined: December 04, 2010
KitMaker: 11,666 posts
AeroScale: 7,410 posts
Joined: December 04, 2010
KitMaker: 11,666 posts
AeroScale: 7,410 posts
Posted: Tuesday, December 19, 2017 - 01:02 AM UTC
Quoted Text
Joel, Russell my thanks gents I appreciate the positive feed back. LOL gives me hope I'm doing something right!
Chris,
Believe me, you're doing it more then just right.
Joel
badwolf
England - East Anglia, United Kingdom
Joined: November 16, 2009
KitMaker: 79 posts
AeroScale: 75 posts
Joined: November 16, 2009
KitMaker: 79 posts
AeroScale: 75 posts
Posted: Wednesday, December 20, 2017 - 05:33 PM UTC
When i worked in a model shop some ten years ago, and Airfix releashed these, i think they did four, customers on hearing Airfix where doing these couldn't wait to get their hands on them, when they did come in and on the shelf, [i think they where bewteen £25 to £30], did they fly out the door, out of 24 kits on the shelf we sold one, couldn't give them away! Which didn't make my boss happy!
As for your model it does look stunning!
Posted: Wednesday, December 20, 2017 - 06:26 PM UTC
Hi Keith thanks for the compliment! I've got another two Canberra's in the stash to do. I think pricing and some glaring errors made them hard to move.
Joel_W
Associate Editor
New York, United States
Joined: December 04, 2010
KitMaker: 11,666 posts
AeroScale: 7,410 posts
Joined: December 04, 2010
KitMaker: 11,666 posts
AeroScale: 7,410 posts
Posted: Wednesday, December 20, 2017 - 10:27 PM UTC
Quoted Text
When i worked in a model shop some ten years ago, and Airfix releashed these, i think they did four, customers on hearing Airfix where doing these couldn't wait to get their hands on them, when they did come in and on the shelf, [i think they where bewteen £25 to £30], did they fly out the door, out of 24 kits on the shelf we sold one, couldn't give them away! Which didn't make my boss happy!
As for your model it does look stunning!
Keith,
I've heard stories like that before. We as modelers tend to rave about any kit that strikes our fancy, or is within the scope of our interests, yet we rarely buy a majority of them. I guess it's just the nature of game, and a real gamble for the retailers.
joel