I recently finished my first Fw190 ever as a campaign build and it's my 7th build since coming back to the hobby after decades of ignoring.
Didn't planned to submit a single thread rather just wanted to give only a link to the great ETO-Campaign were you can find it and many more fantastic work and builds of our community. OFFICIAL: Western Front/ETO Campaign
But as all pics were gone because of Photobucket issues I will give a short overview and log with reloaded pics of that build.
I think the kit is still common despite the Tamigawa and Eduard kits and I hope I can give some hints on some tricky stages.
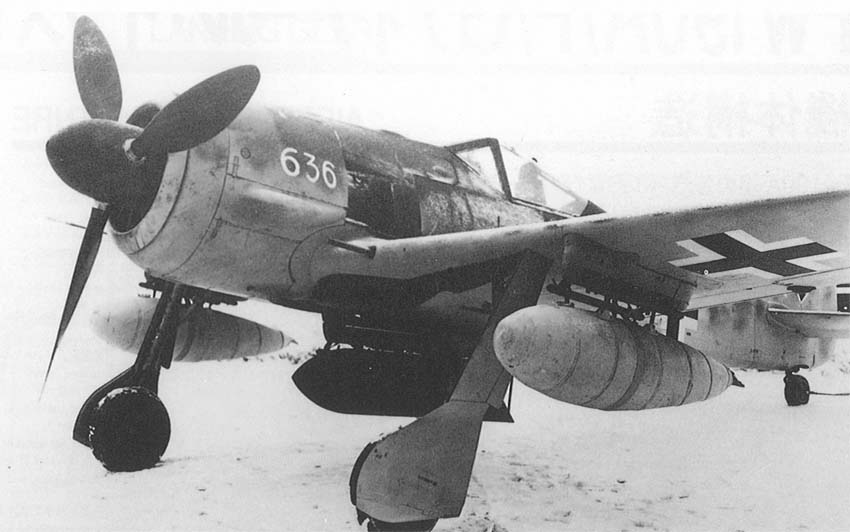
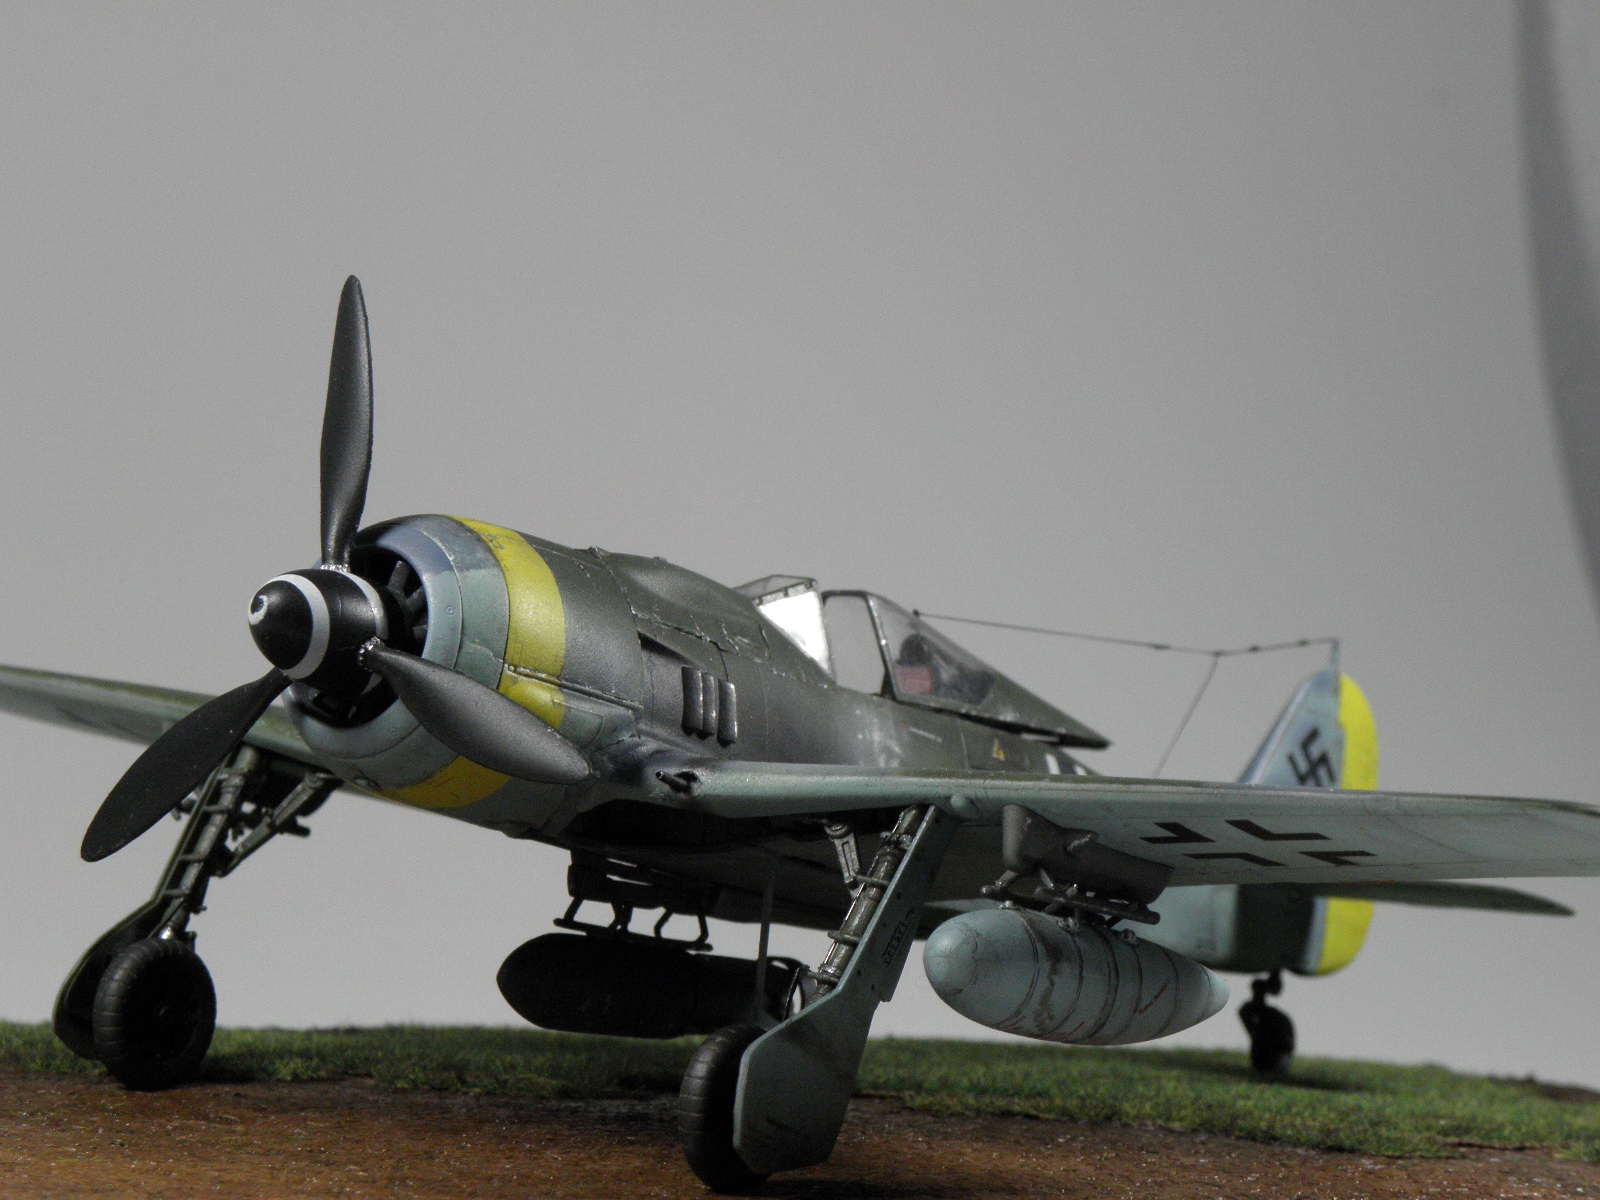
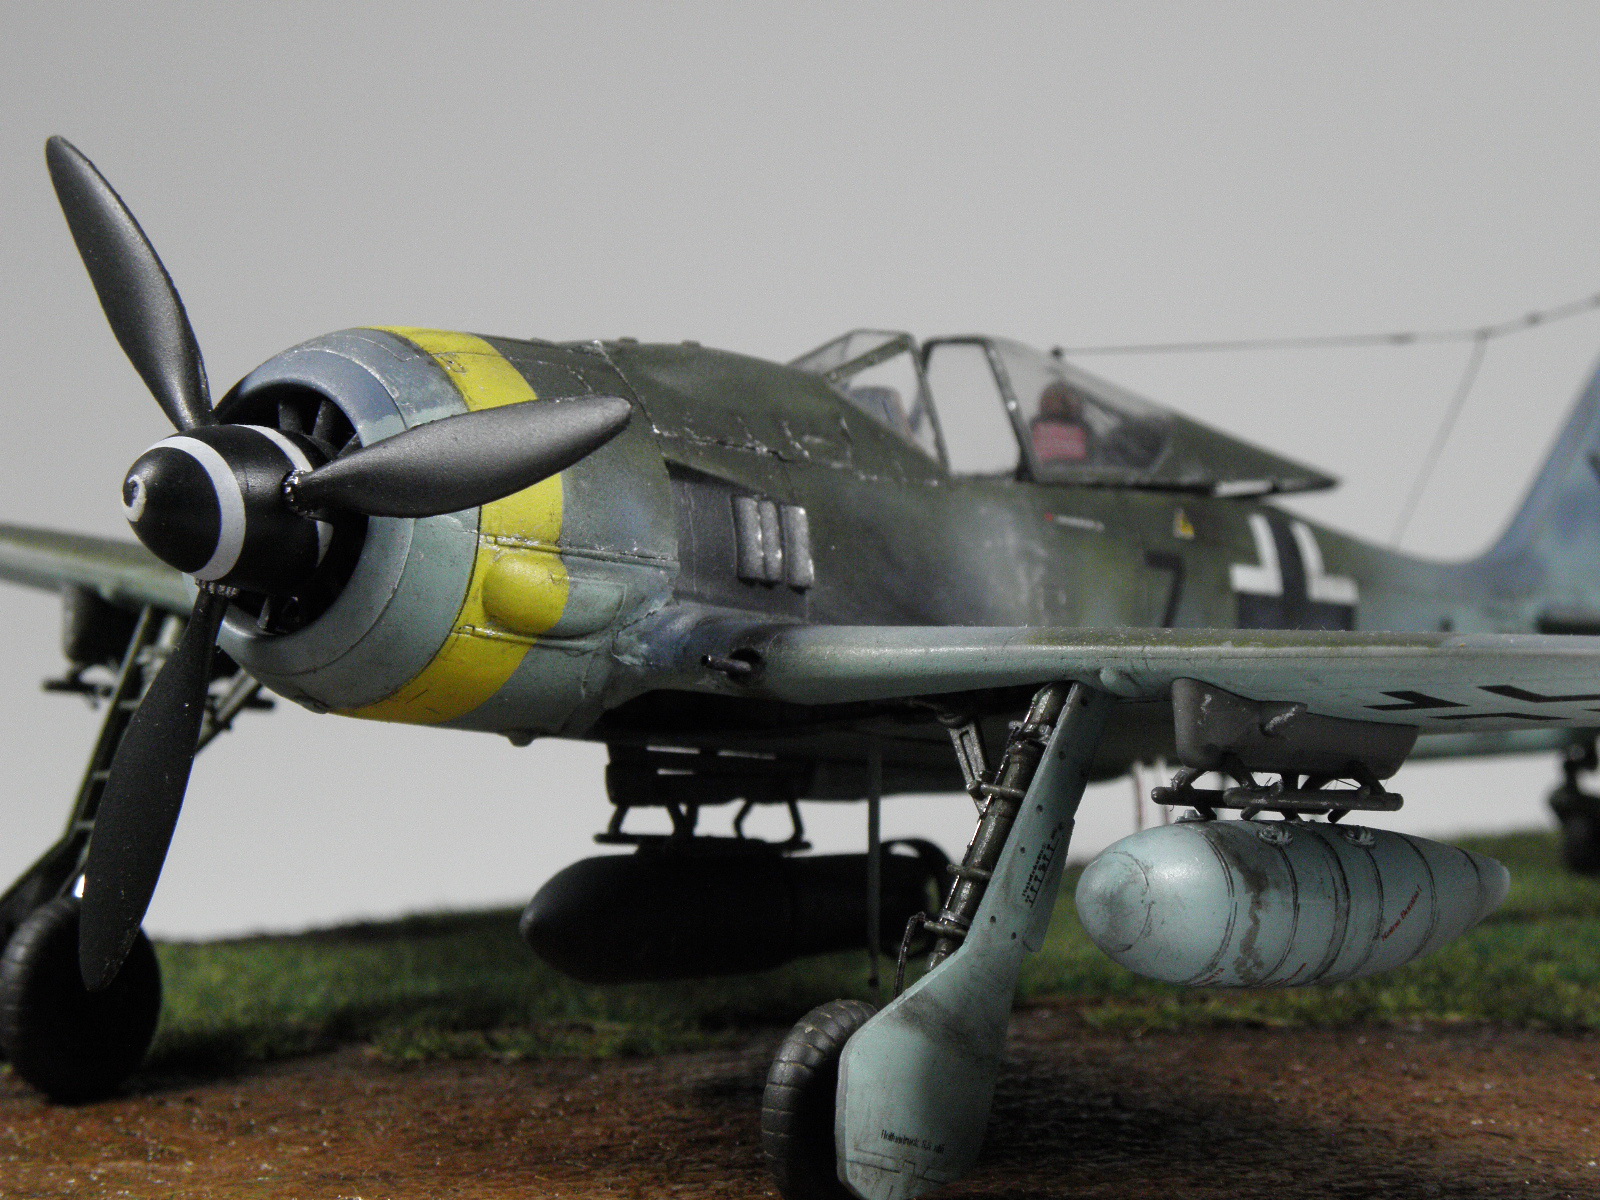
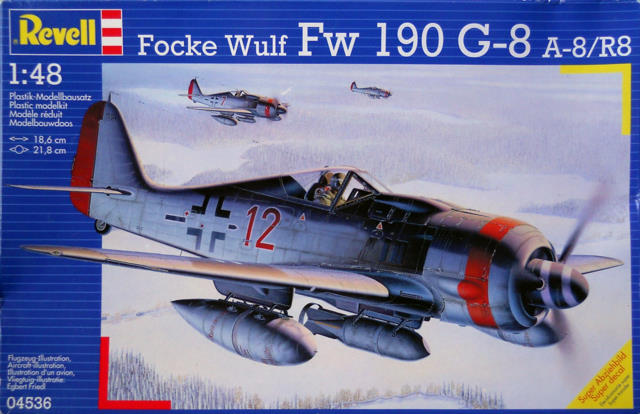
REVELL'S reboxed (Trimaster/Dragon) kit of Focke Wulf Fw190 G-8(A-8) R8 1/48
First steps...
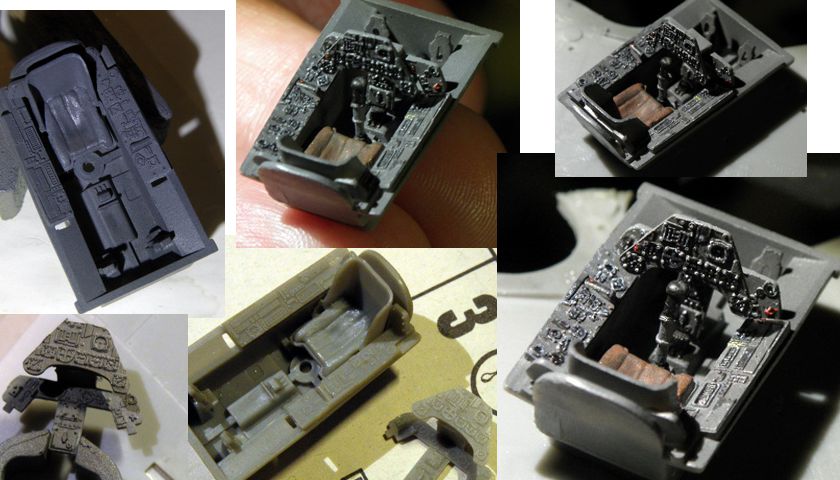
Doing mainly OOB except some modifications. Engine is not existent, but after the the fan prop is installed there won't be much visible.
This kit is quite nicely molded and has fine details on the surface but the fit of some assemblies isn't that good and fiddling.
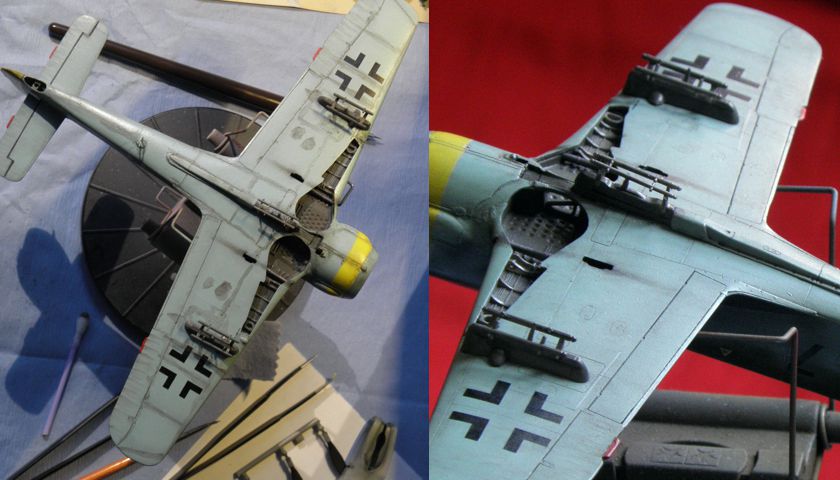
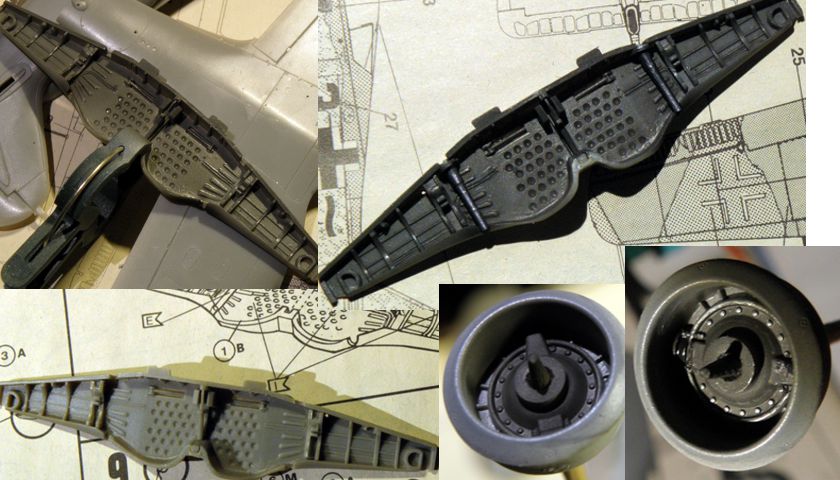
Before glueing the wing halves together you have to fix the wheel wells and check carefully the alignment especially for the gun openings (had to be drilled properly for better shape) and front closure. So better you glue it step by step.
Also the empty shell chutes are closed and had to be cutted out.
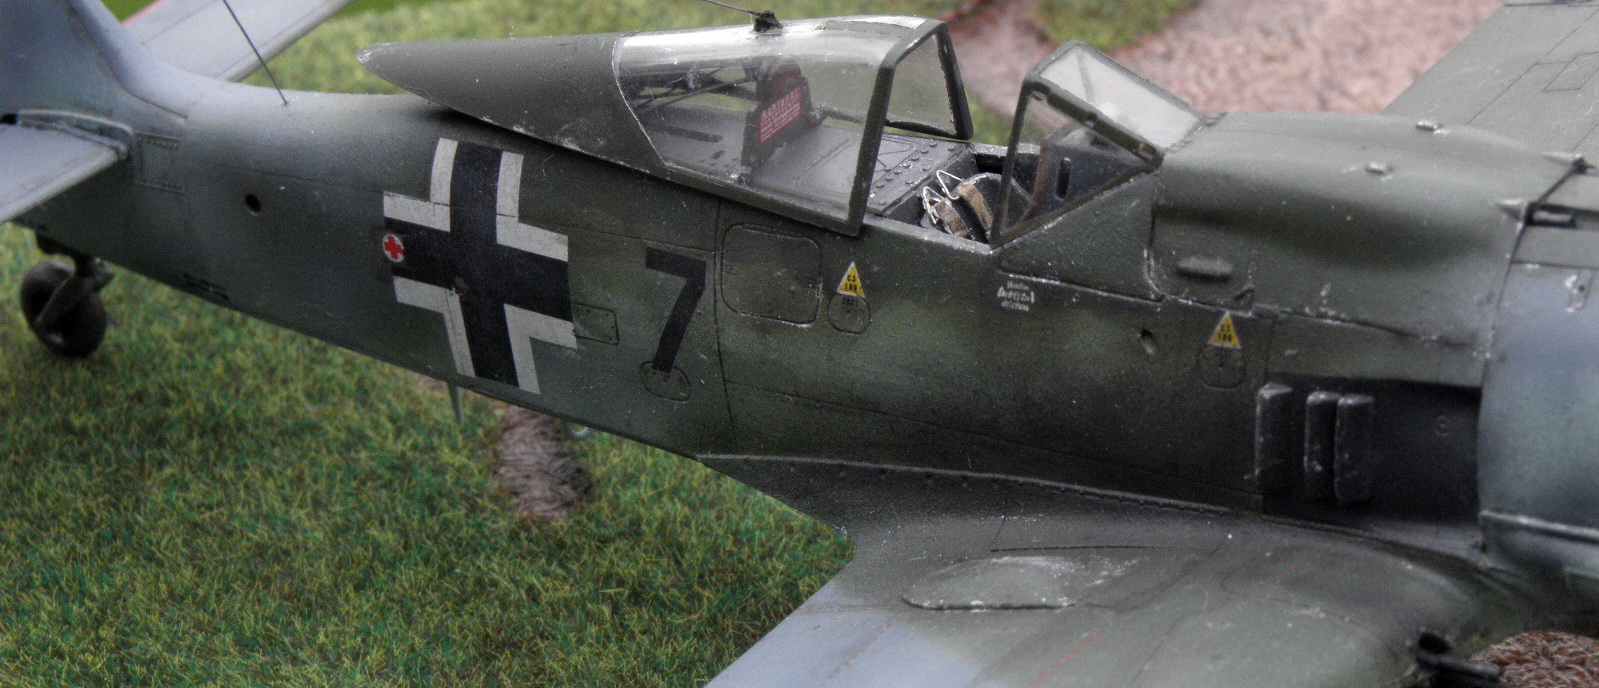
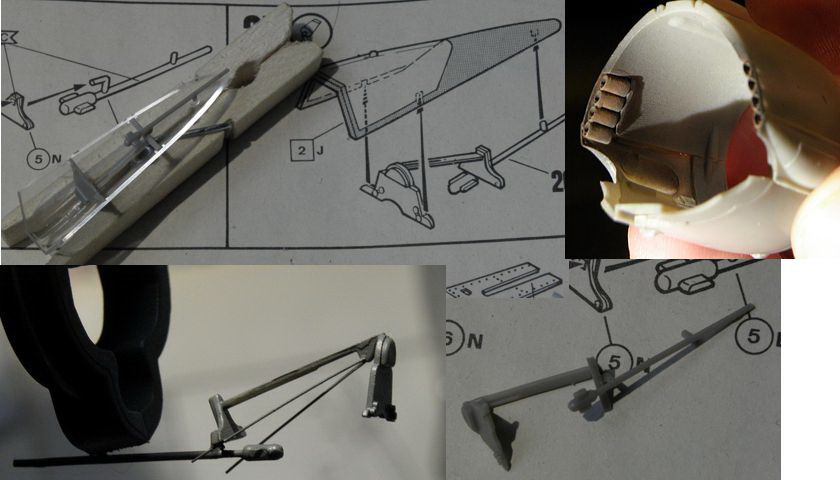
Done the headrest/canopy-mechanism (4 parts, and added 2 additional struts from sprue). To align in wright angles you have to use the canopy while glue them together for a correct fit later on.
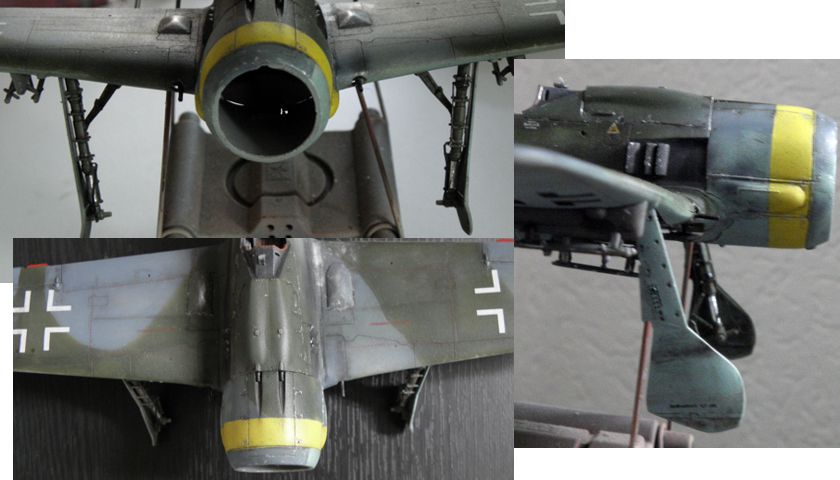
Painted the (drilled out) exhausts, won't be much visible when the cowling is on.
Btw the cowling: 4+3 parts and a challenge to glue... Pay attention here for the correct shape, important for the fit on the fuselage!
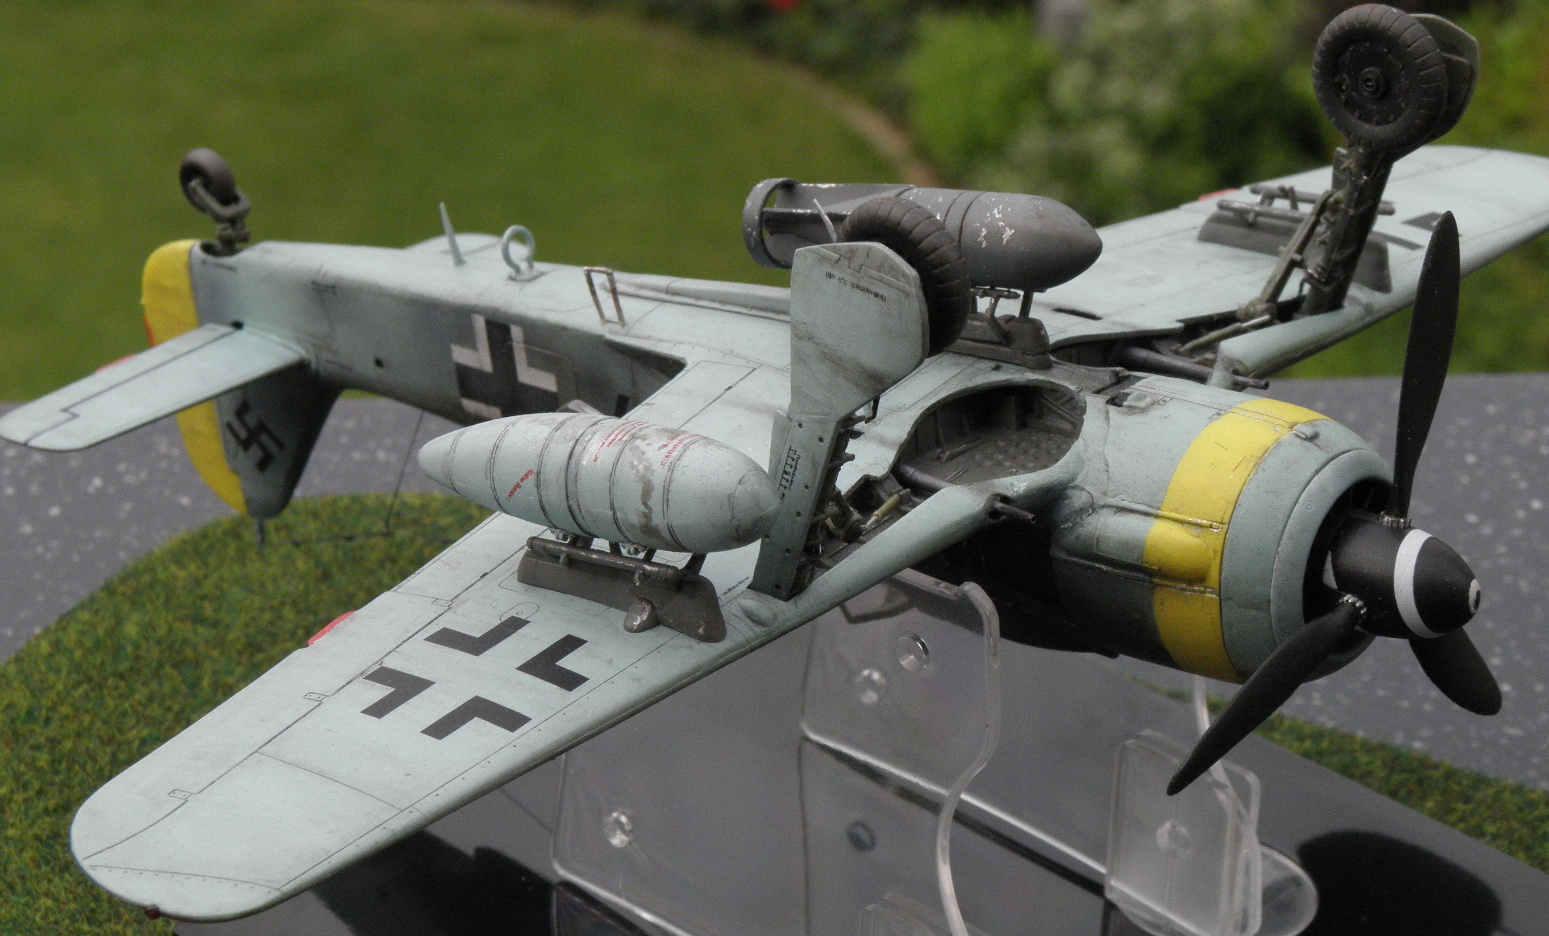
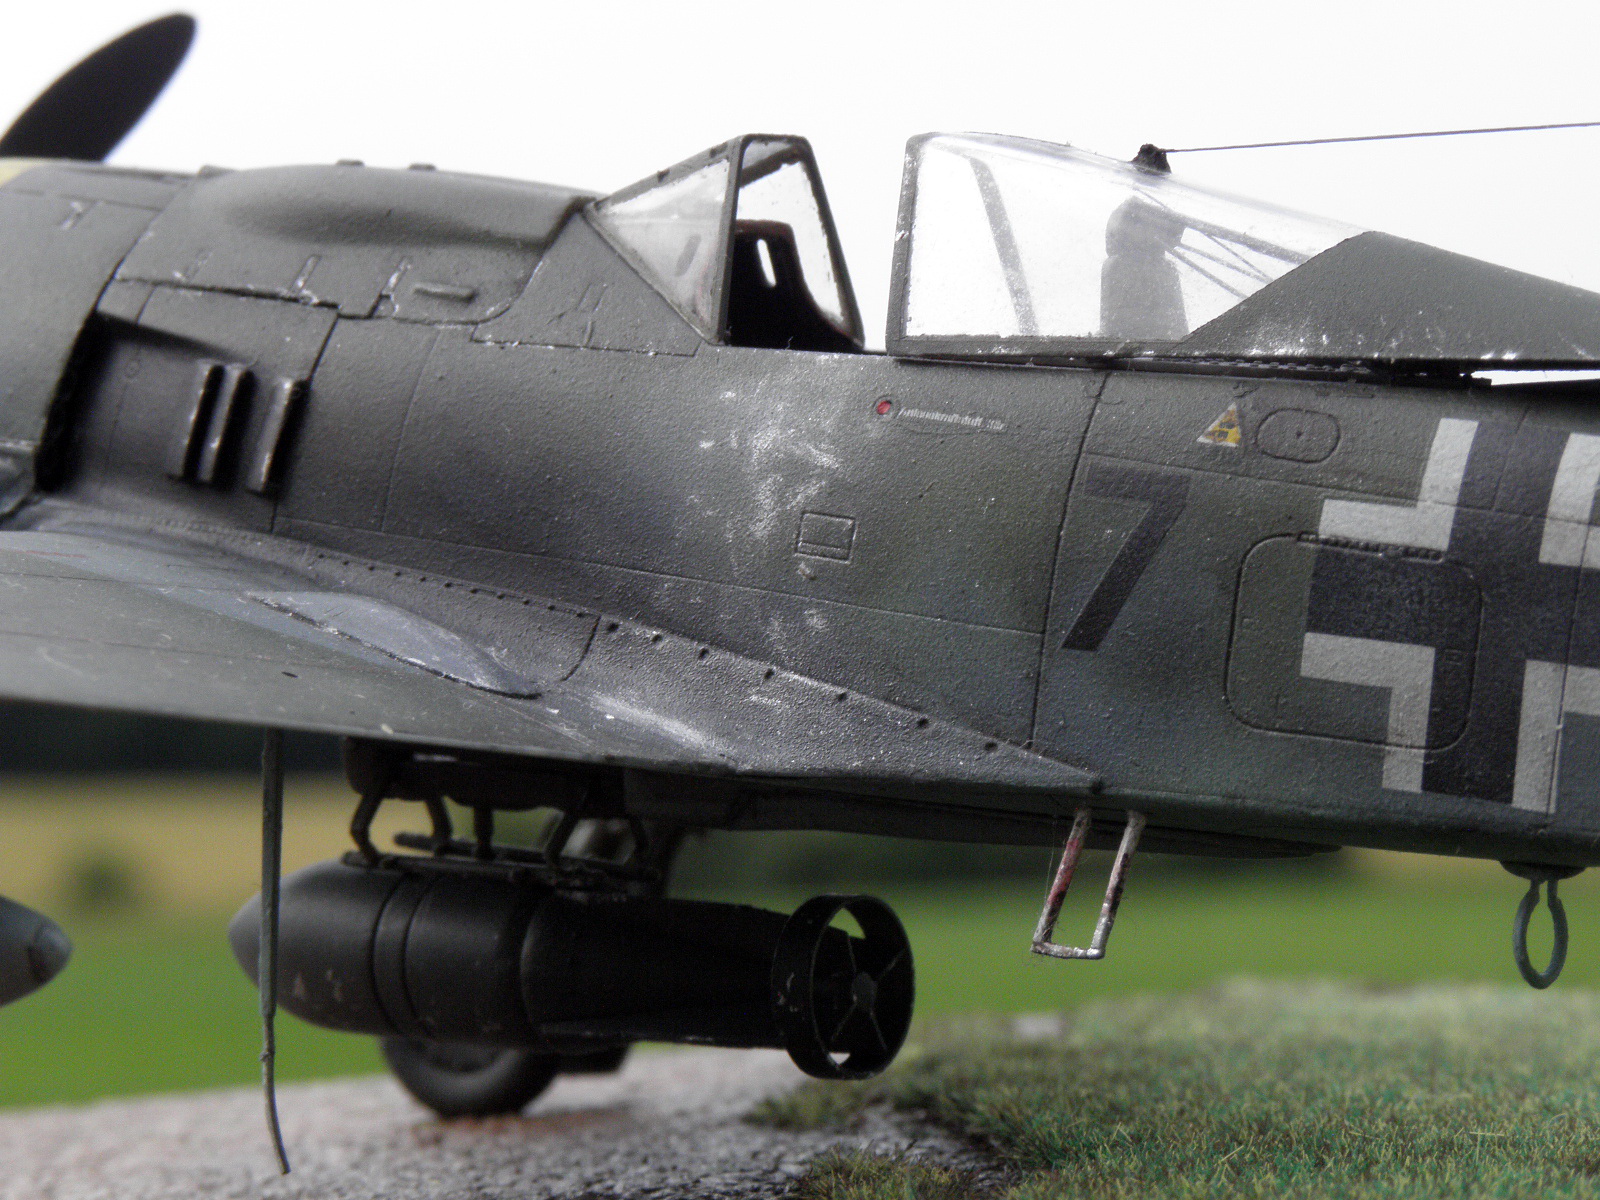
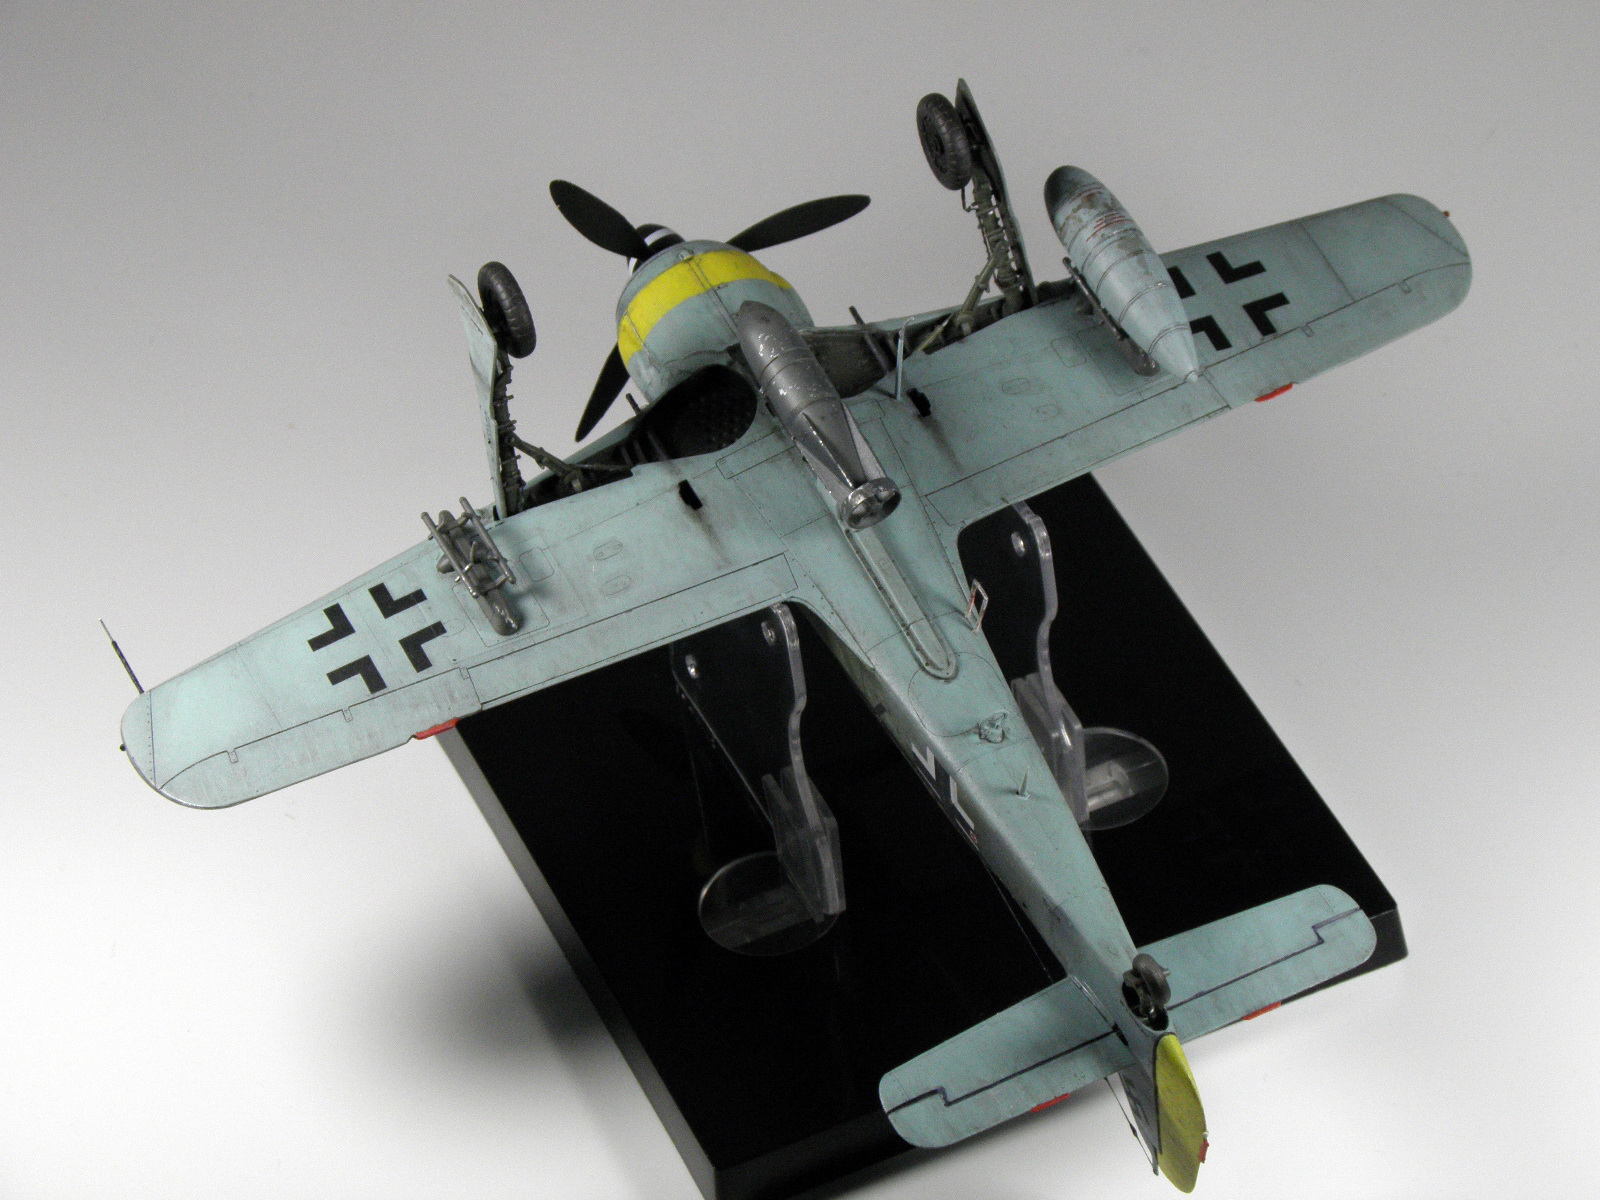
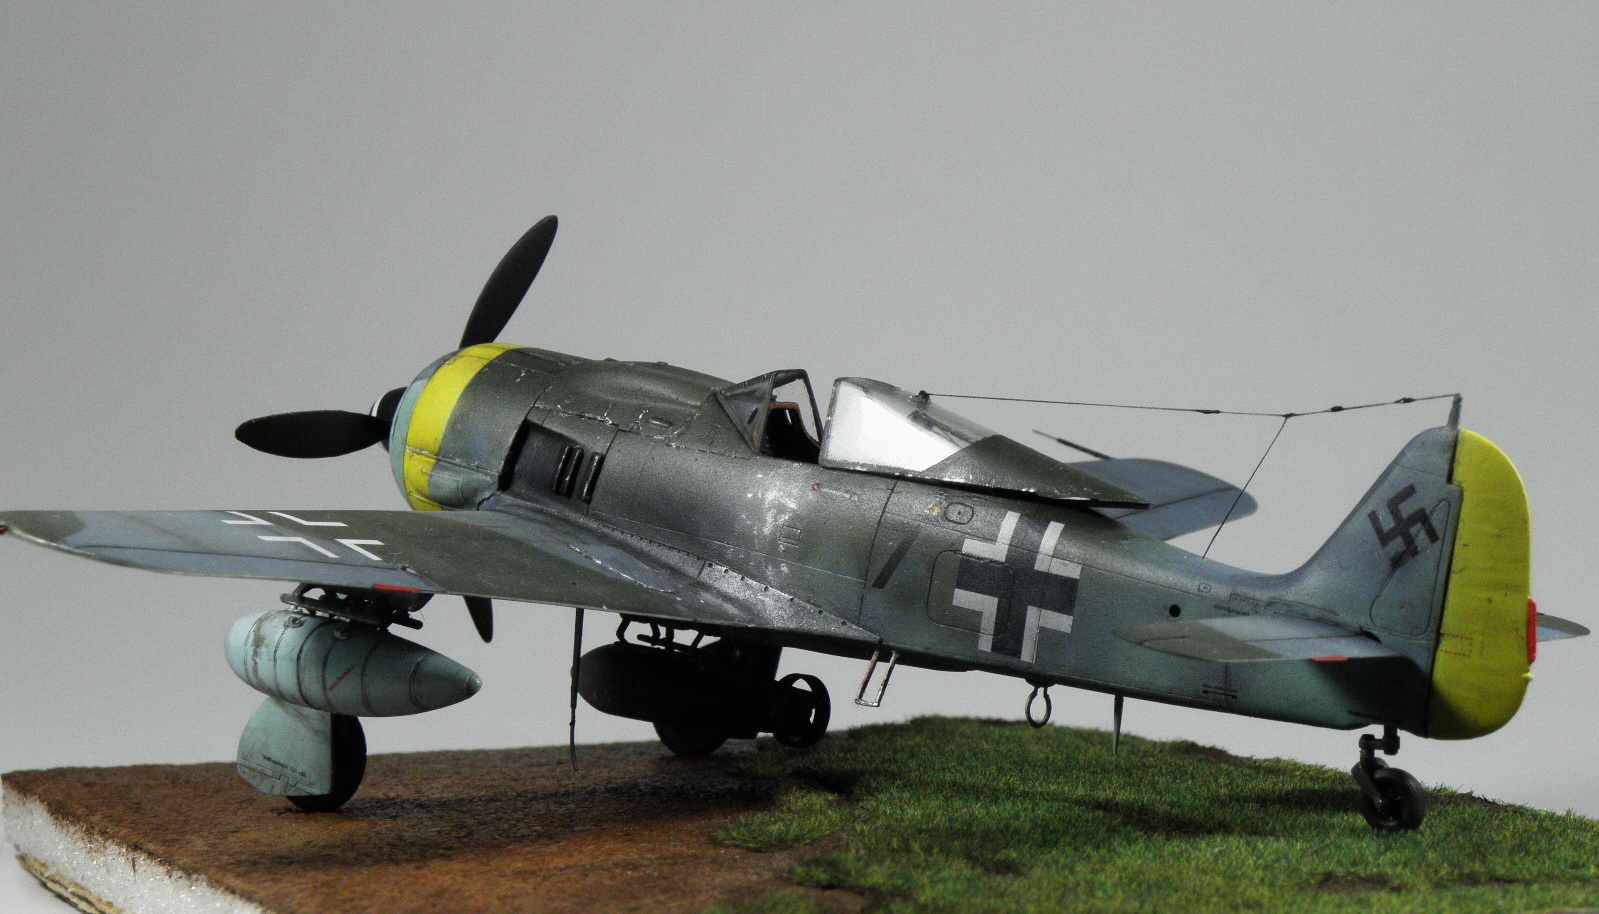
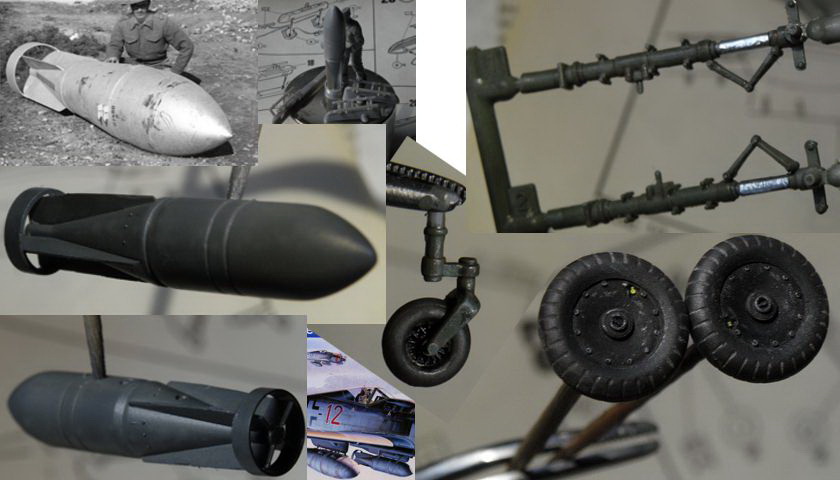
Some sub-assamblies : Wheels, struts and the 7-part SD/PC 1400 bomb.
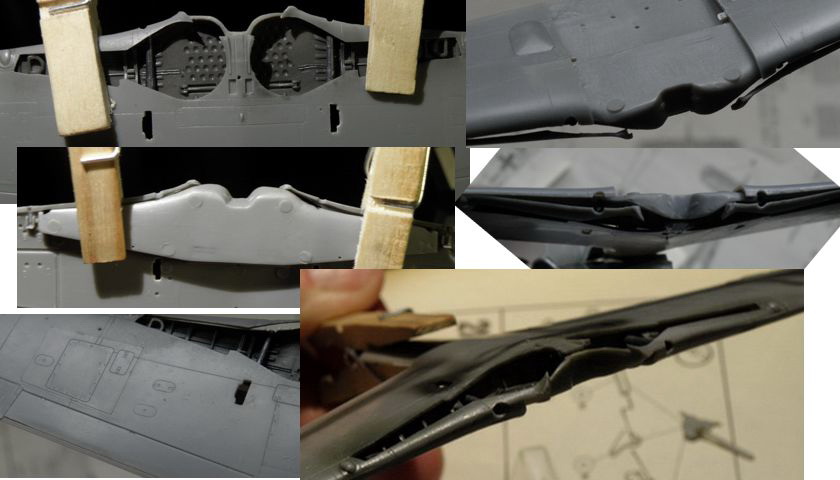
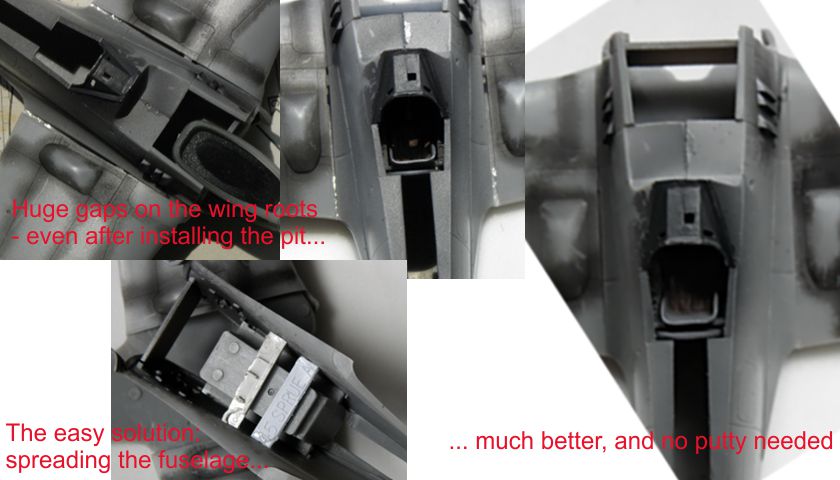
As for my kit there is a major issue with the wing roots. Comparing my last post it wasn't easy to fit the wings. So there was no chance of fixing the wing roots on the fuselage before assembling the whole wing/wing halves.
... and of course there is a huge gap on both sides.
But instead of using amounts of putty I spreaded the fuselage with 2 styrene spacers to fit - turned out much better, just few putty should be enough.
Next step is joining the cowling/fuselage - first look shows a hard way too...
And again, as expected the fit is awful.
The cowling/fuselage connection is horrible! To join at least the upper and under portion (guns and wheel wells) and aligning the exhausts I had to use a trusty stick of a cotton bud to stretch the cowling. So there will be "only" gaps on both sides...

After filling, sanding and a coat of primer over the cowling I'm here now...
Quite happy, much more useful now. Mybe still some minor touch up's.


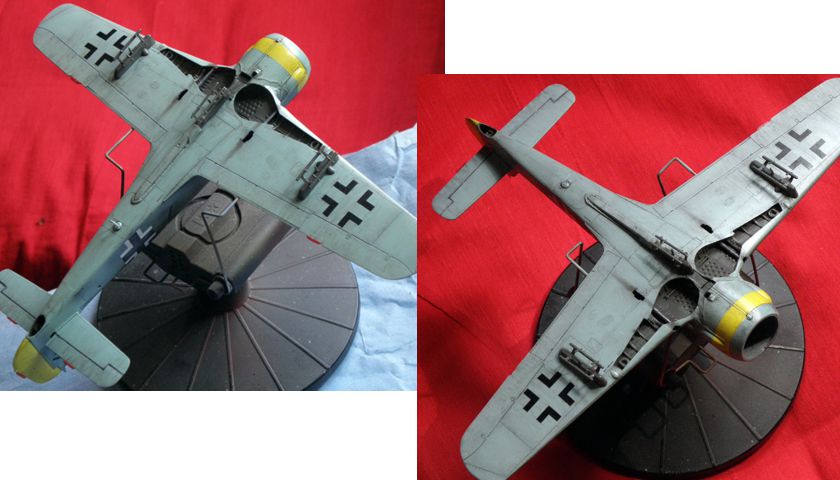
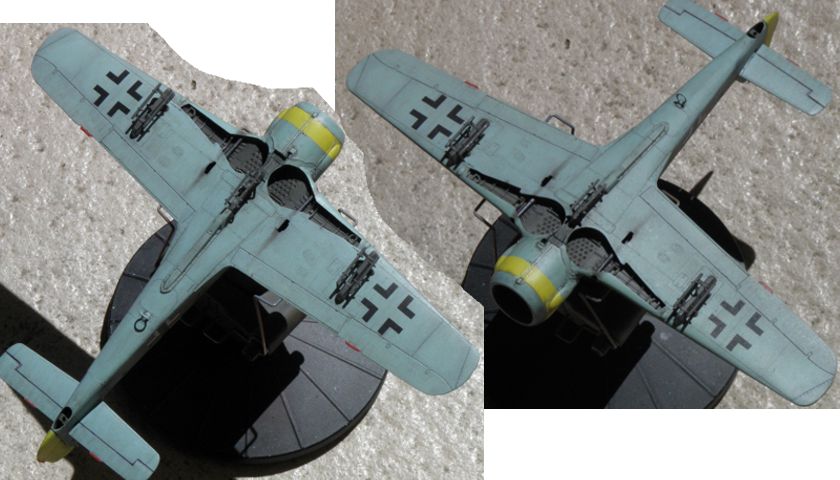
RLM 76 is on, canopy painted in- and outside and the gliding mechanism was fixed. Also produced some seatbelts from some stuff (metal,tape,foil) lying around to improve (? not sure) the pit.

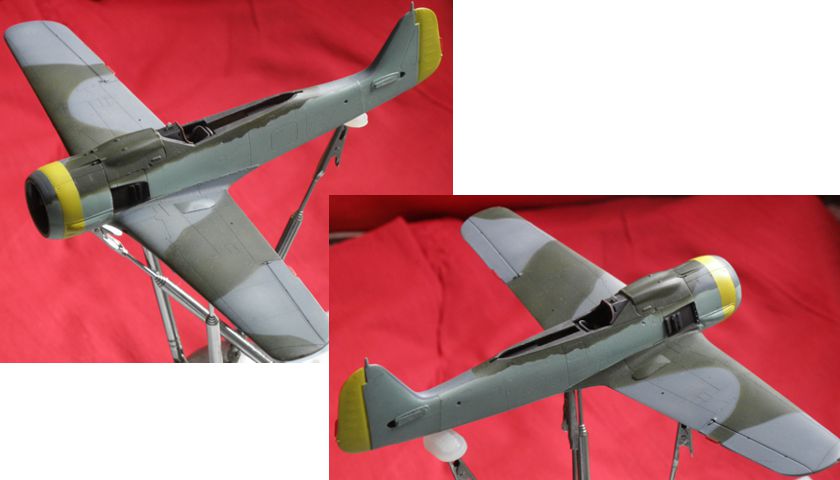
Some more colour on...
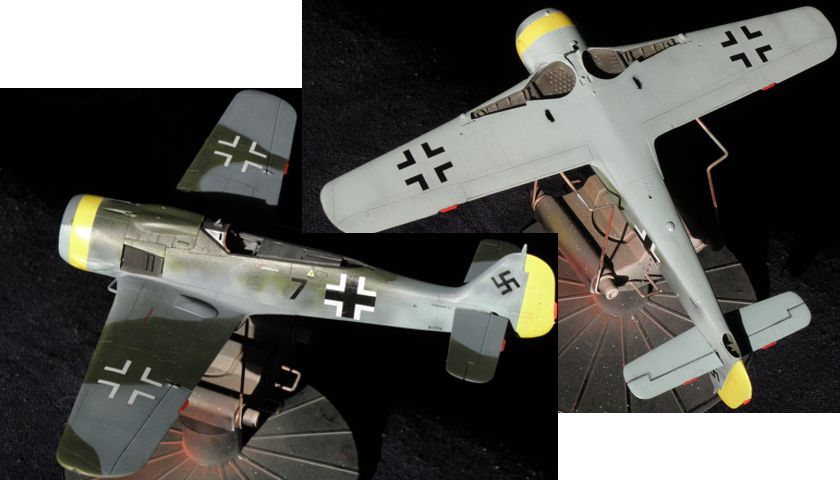
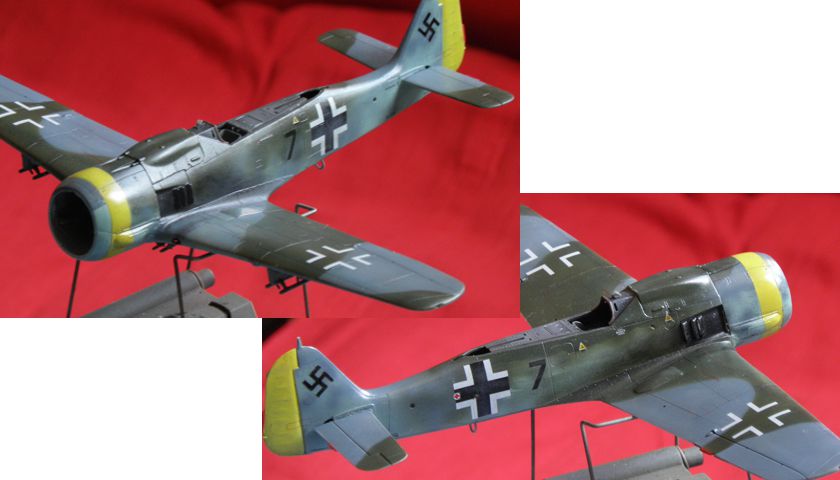
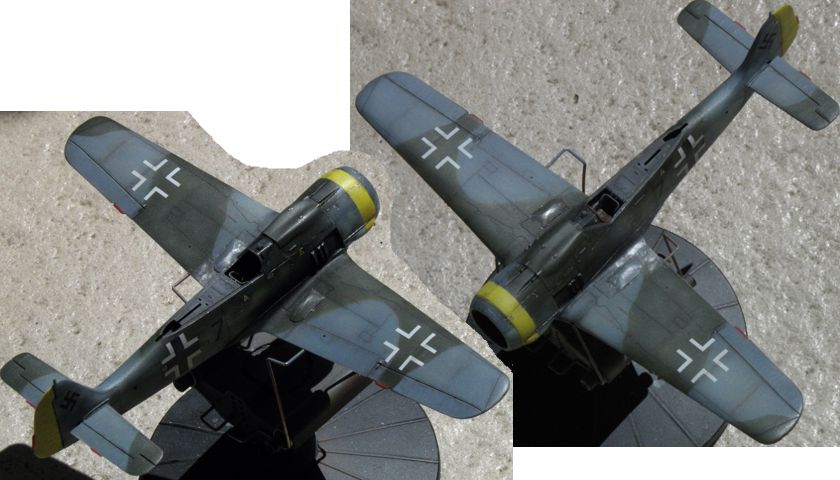
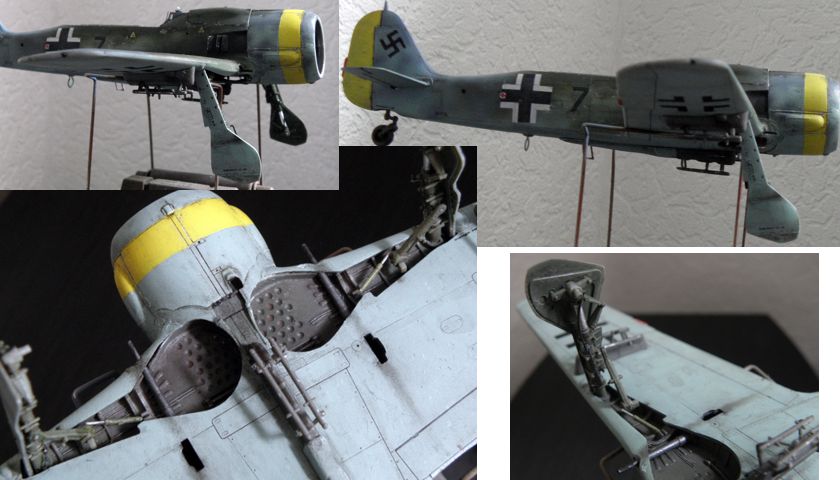
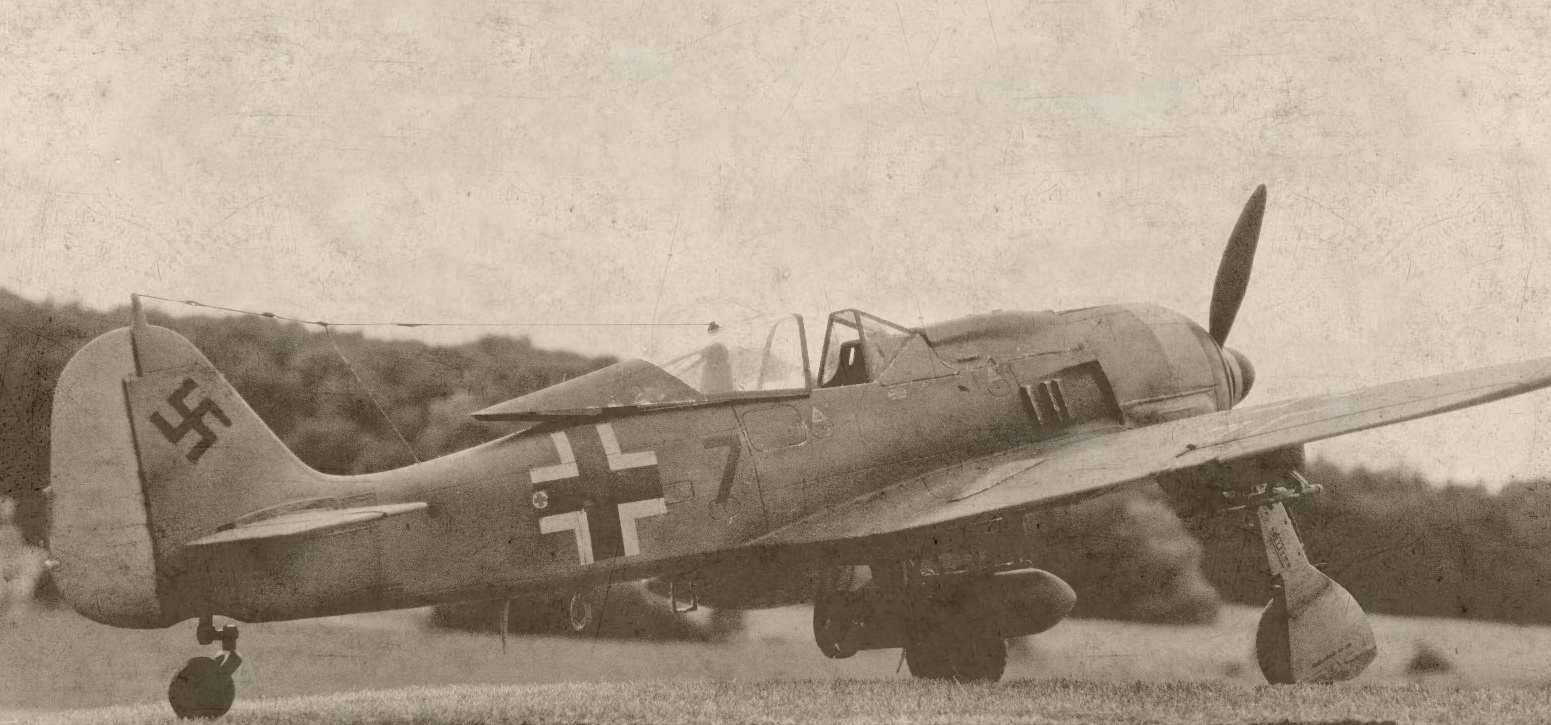
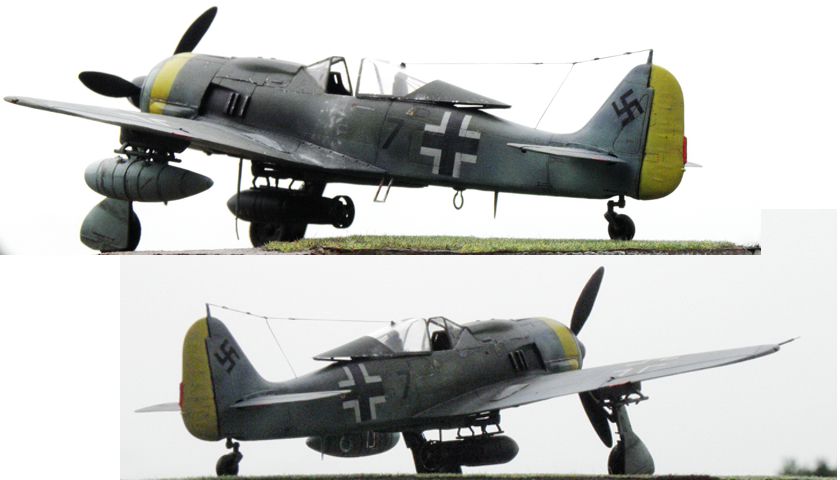
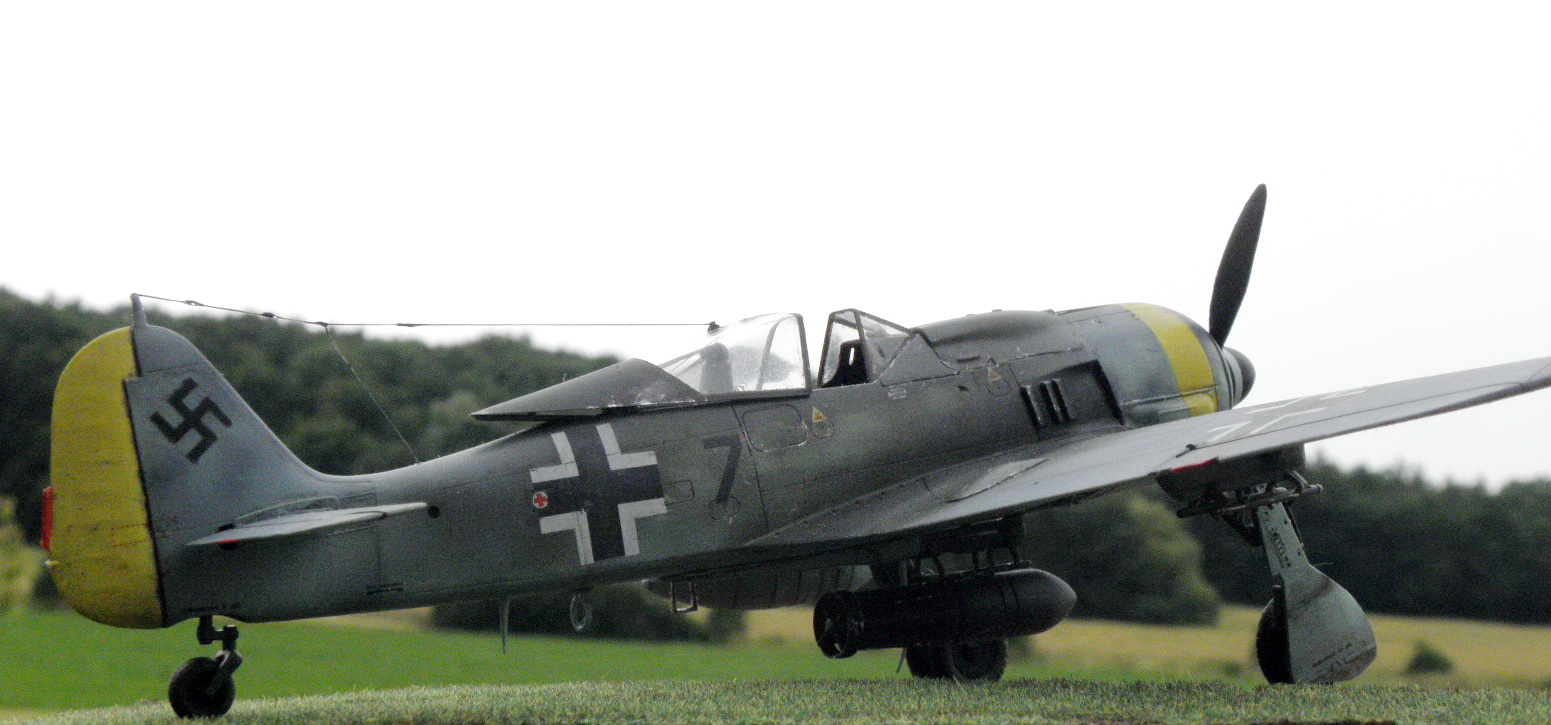
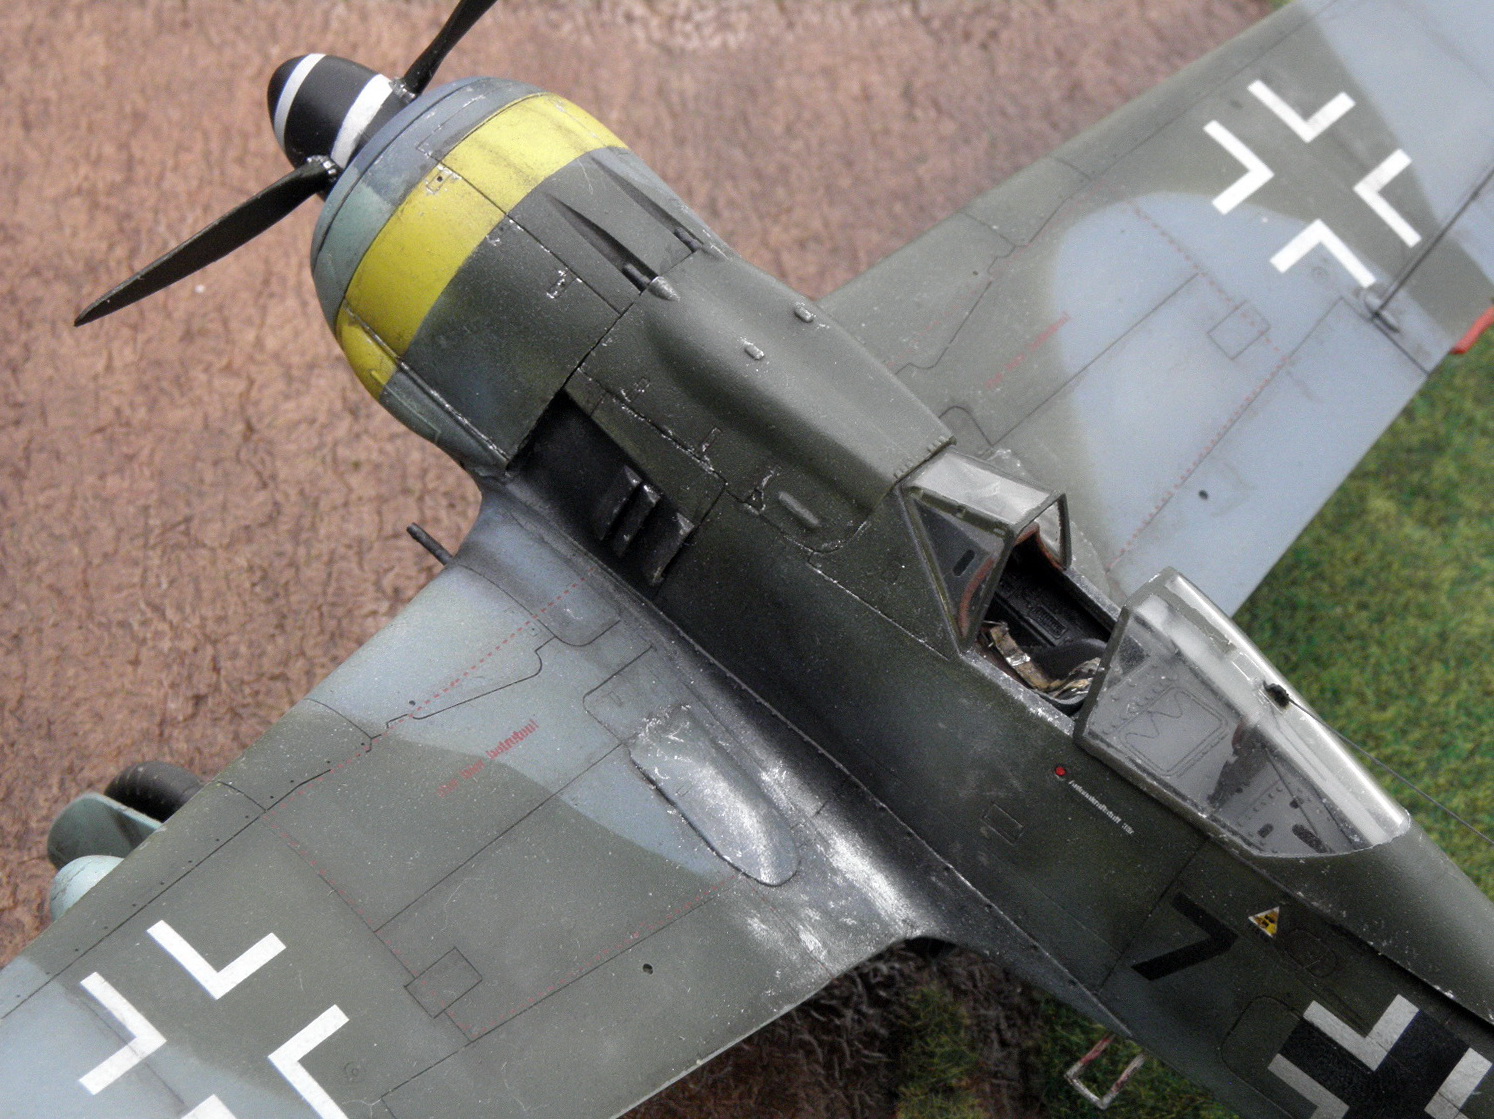
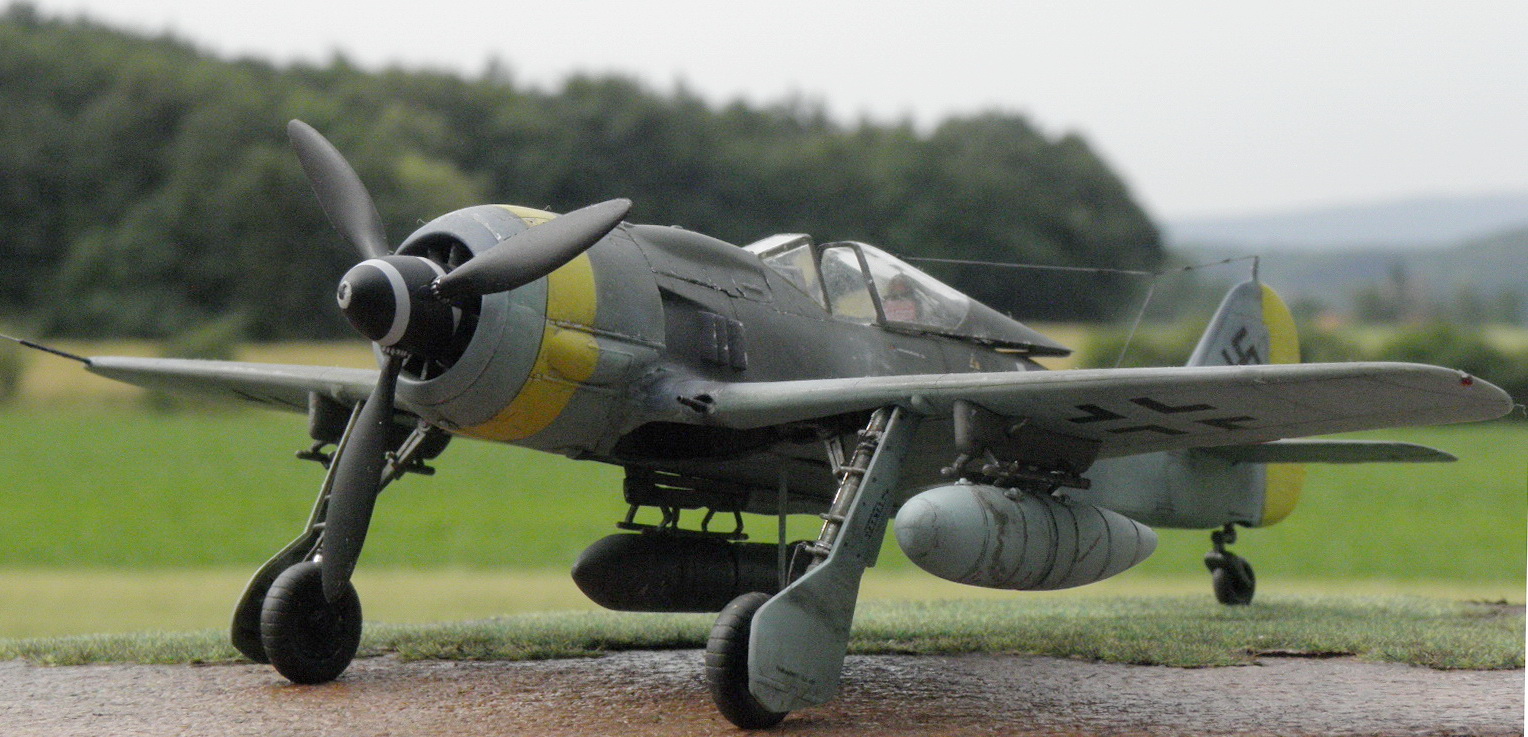
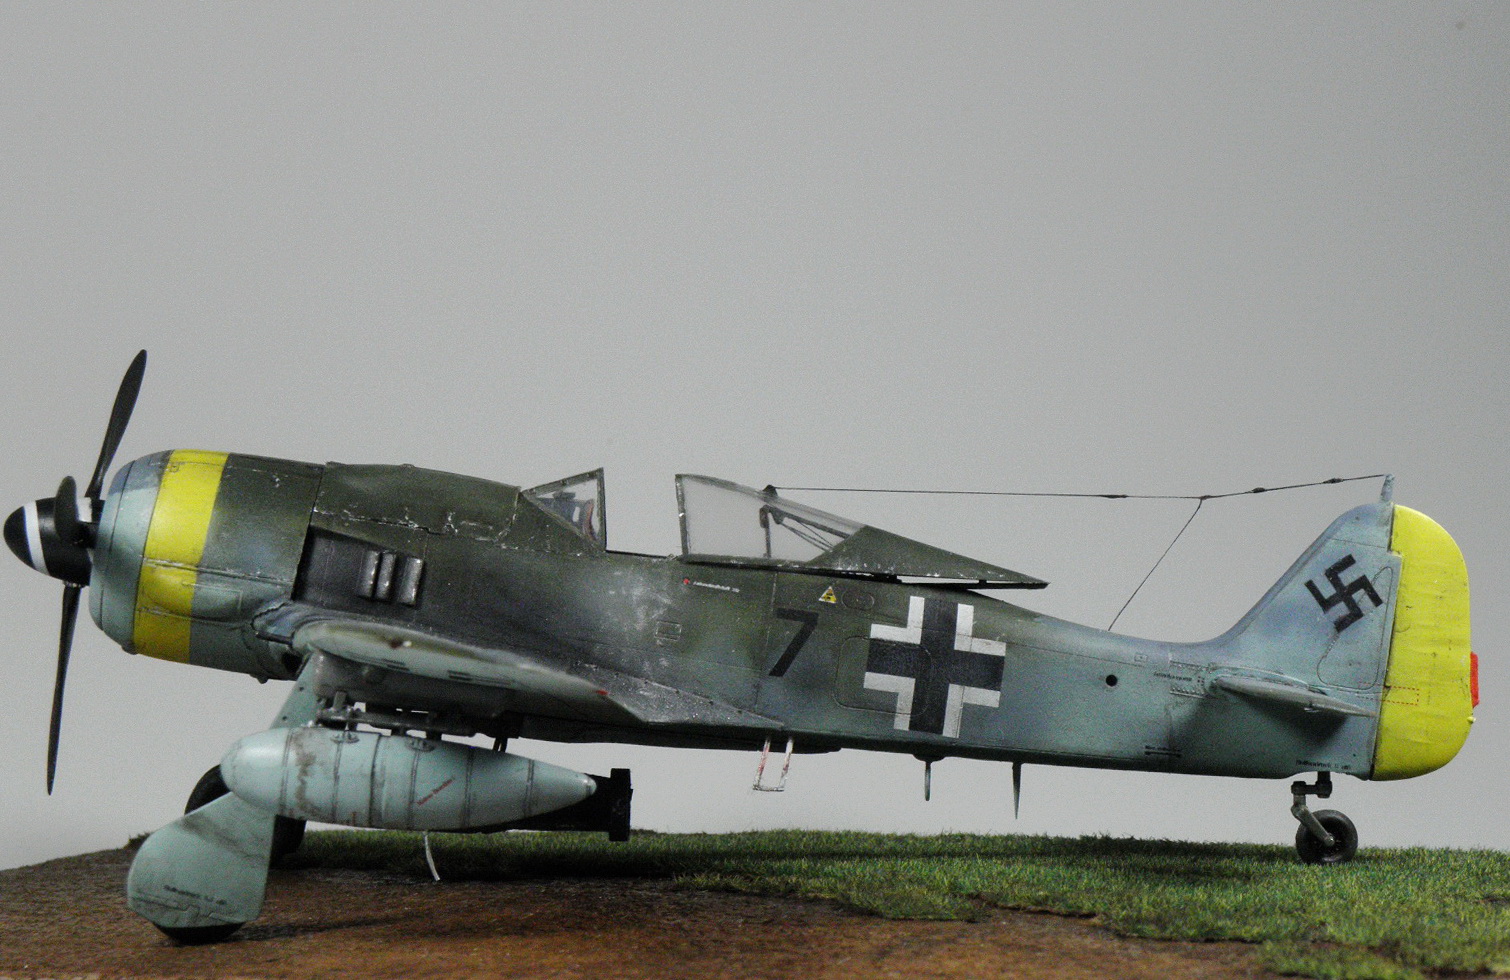
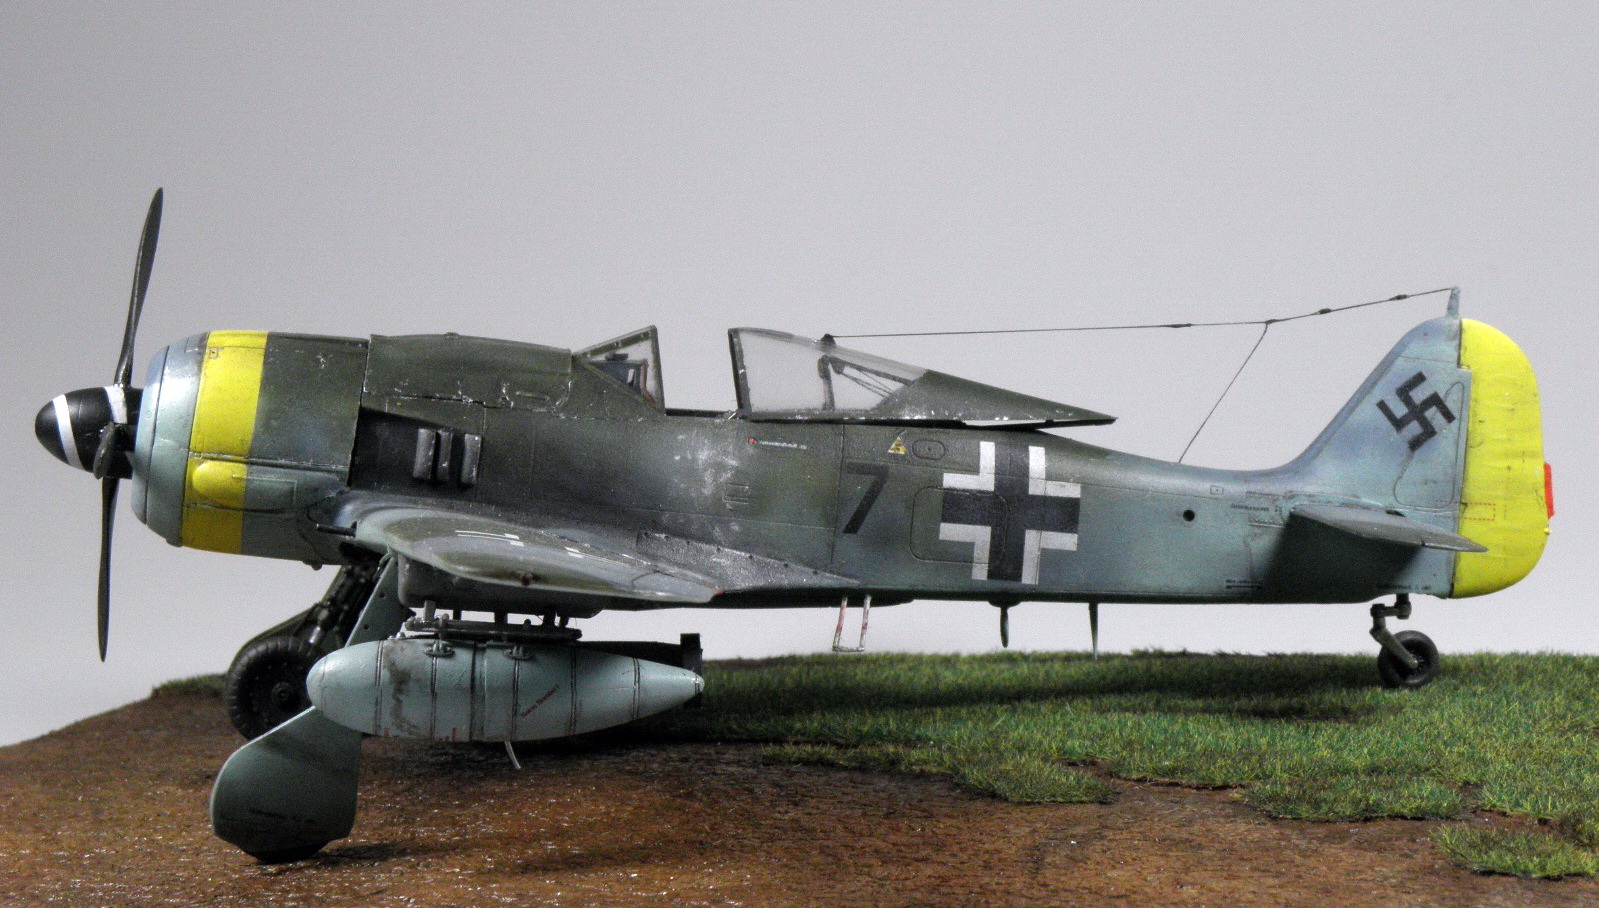
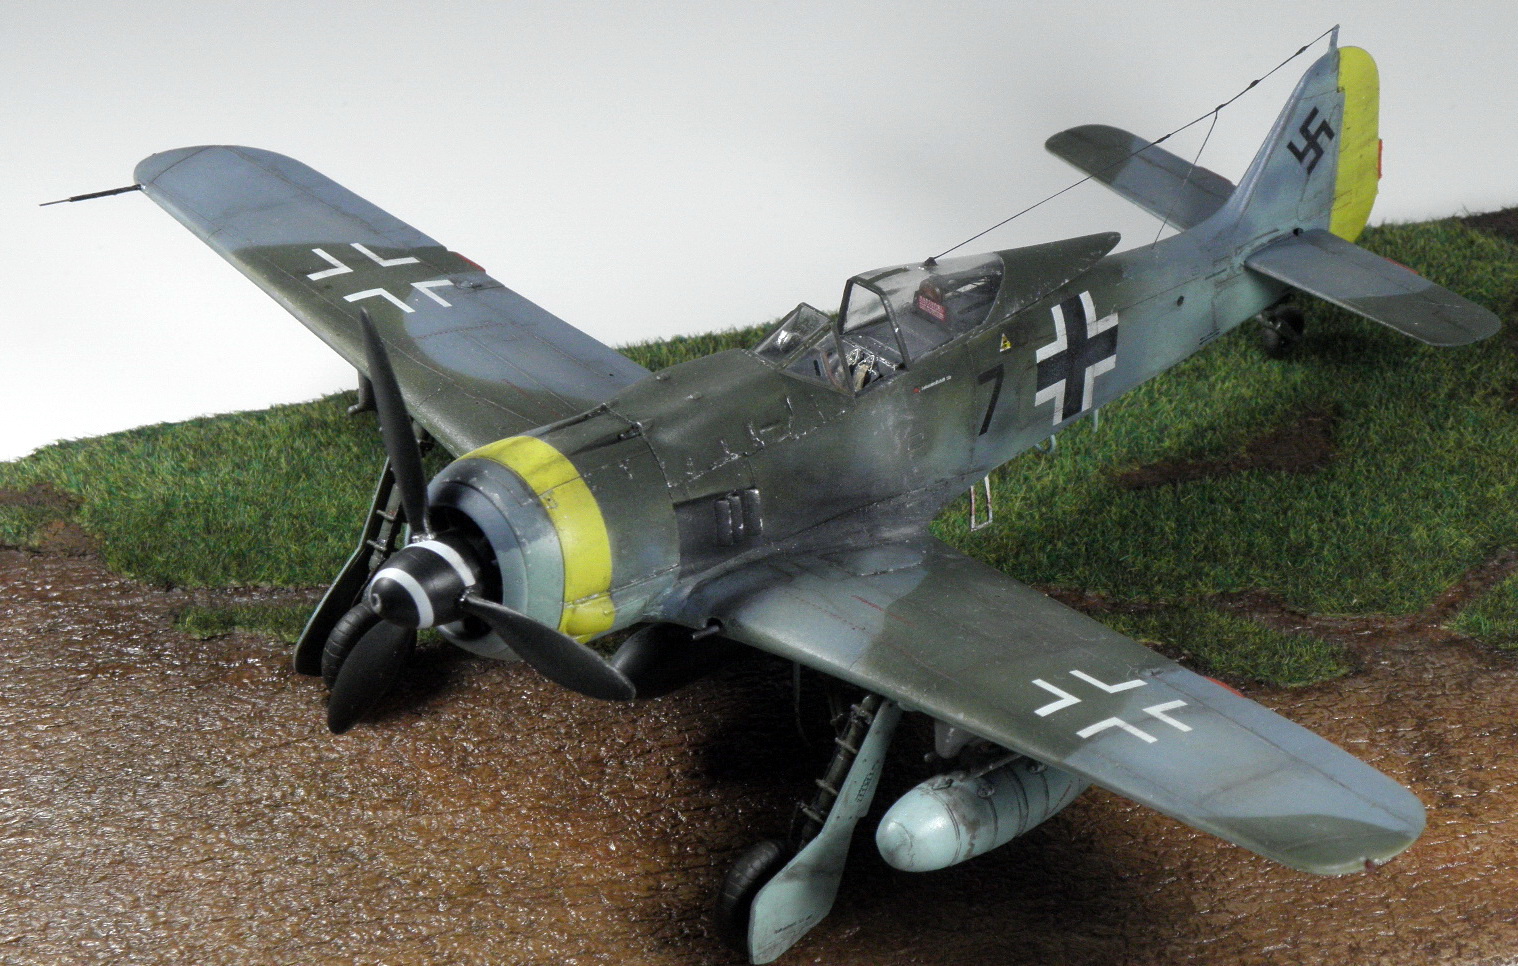
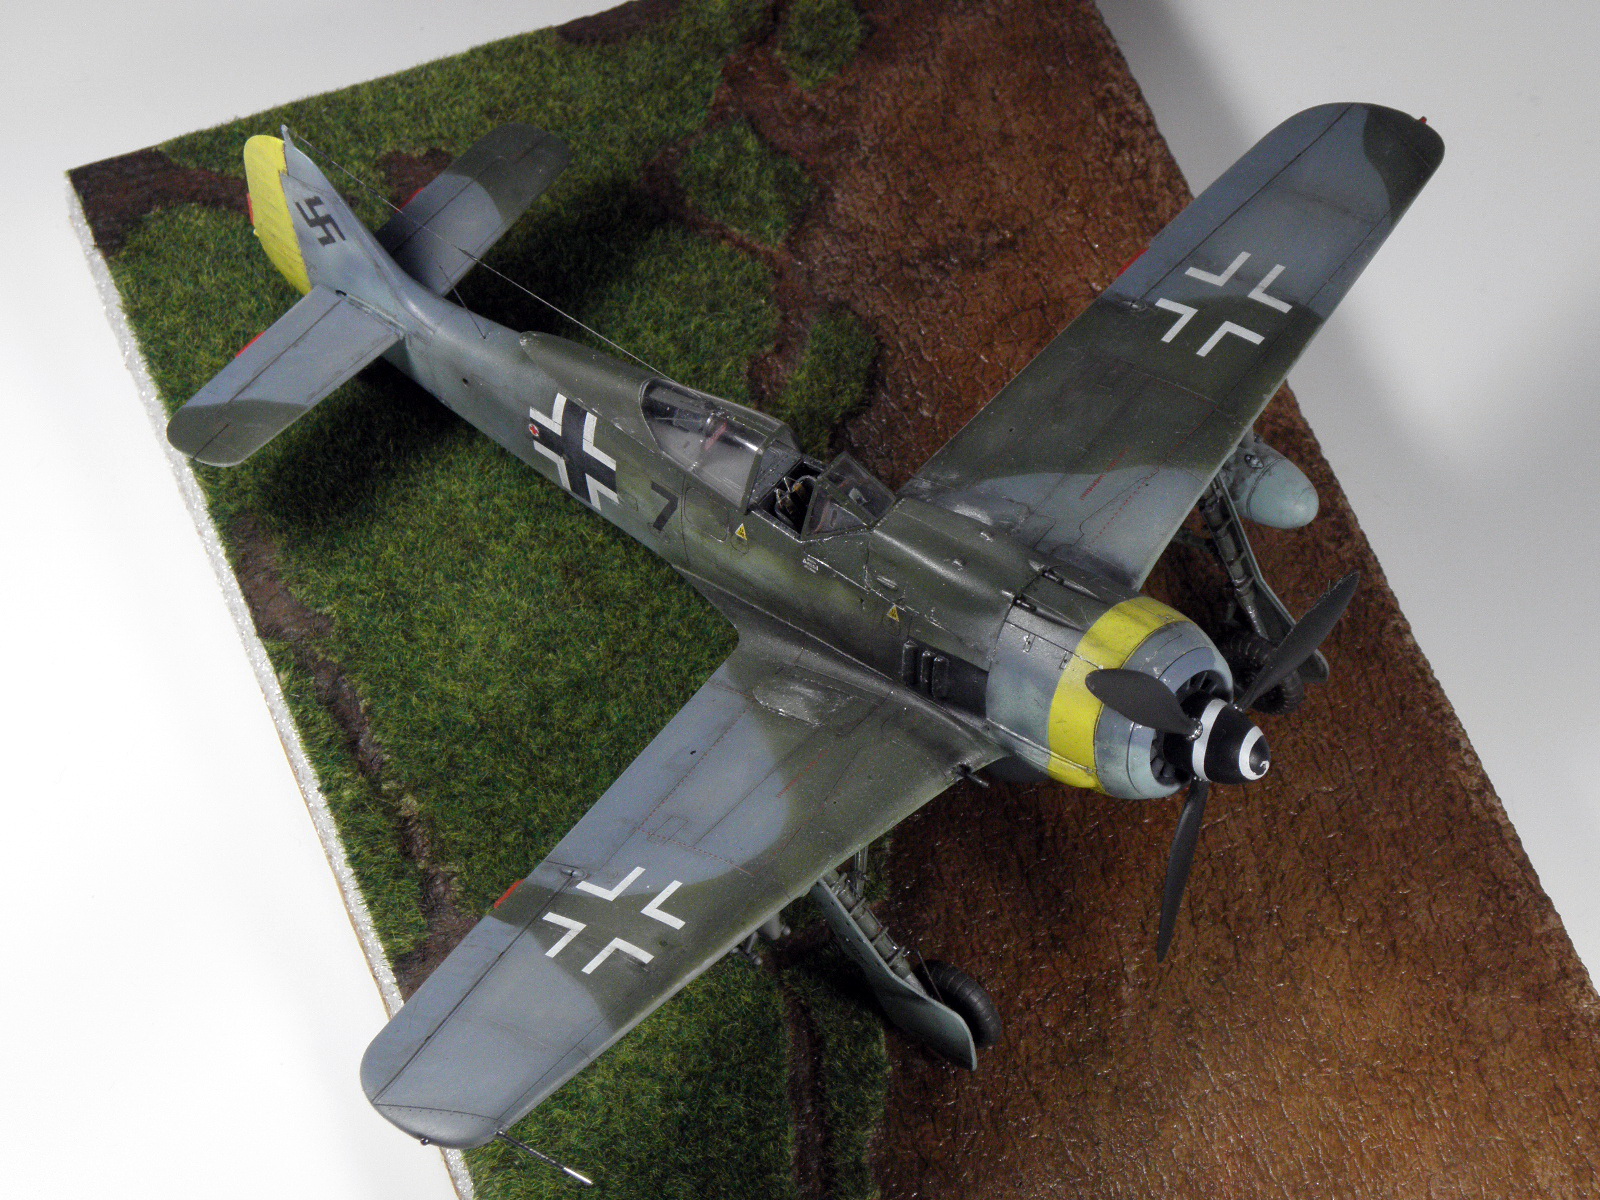
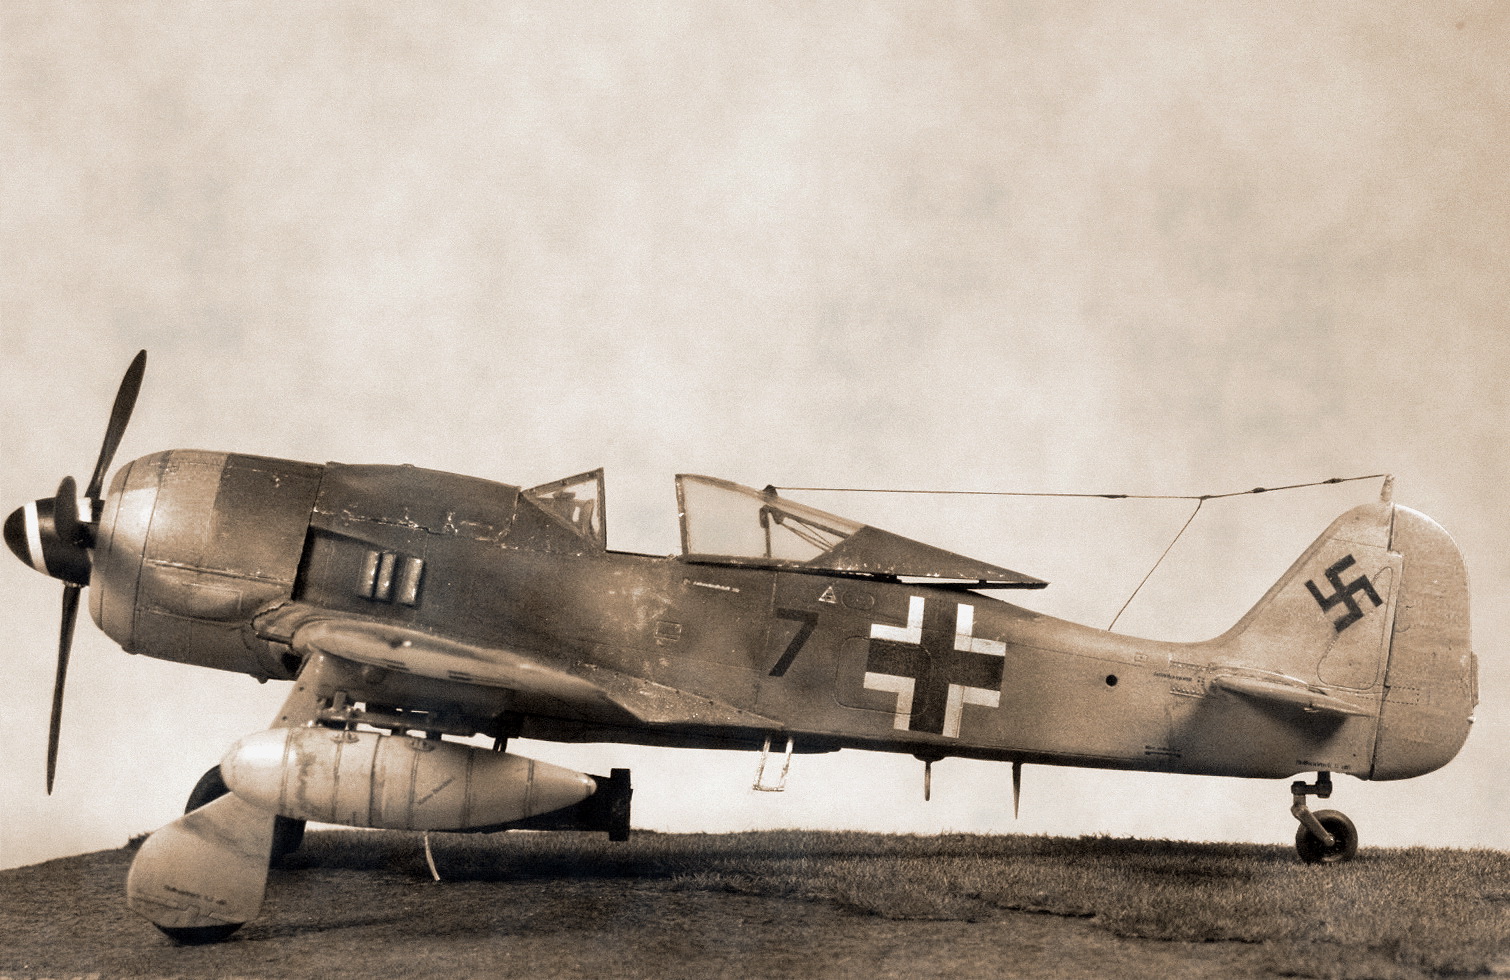
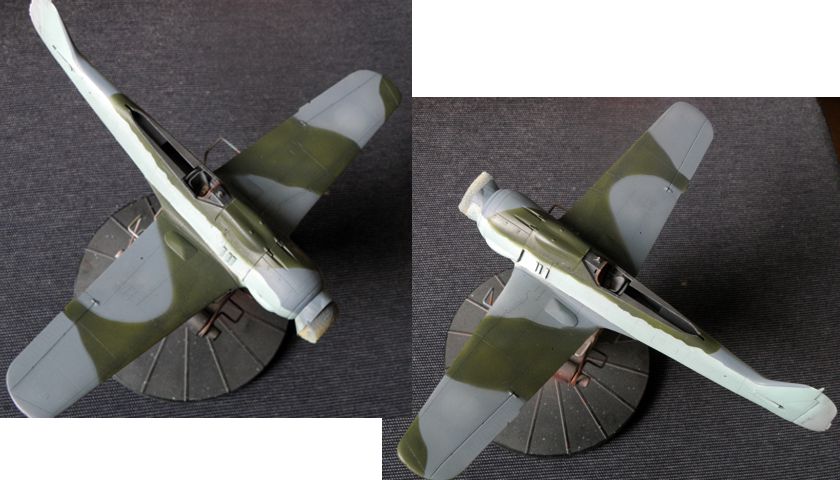
Went for RLM 74/82 over 76 for a better contrast. Cowling band and rudder made than yellow RLM 04 as those were the main markings for ground attack units.
Revell's instructions are already known for it's wrong paint guideline giving the tail fin and band a red colour!
O.K. folks, that's it for the first part. Hope I'm not weary you - more to come soon...

Thomas