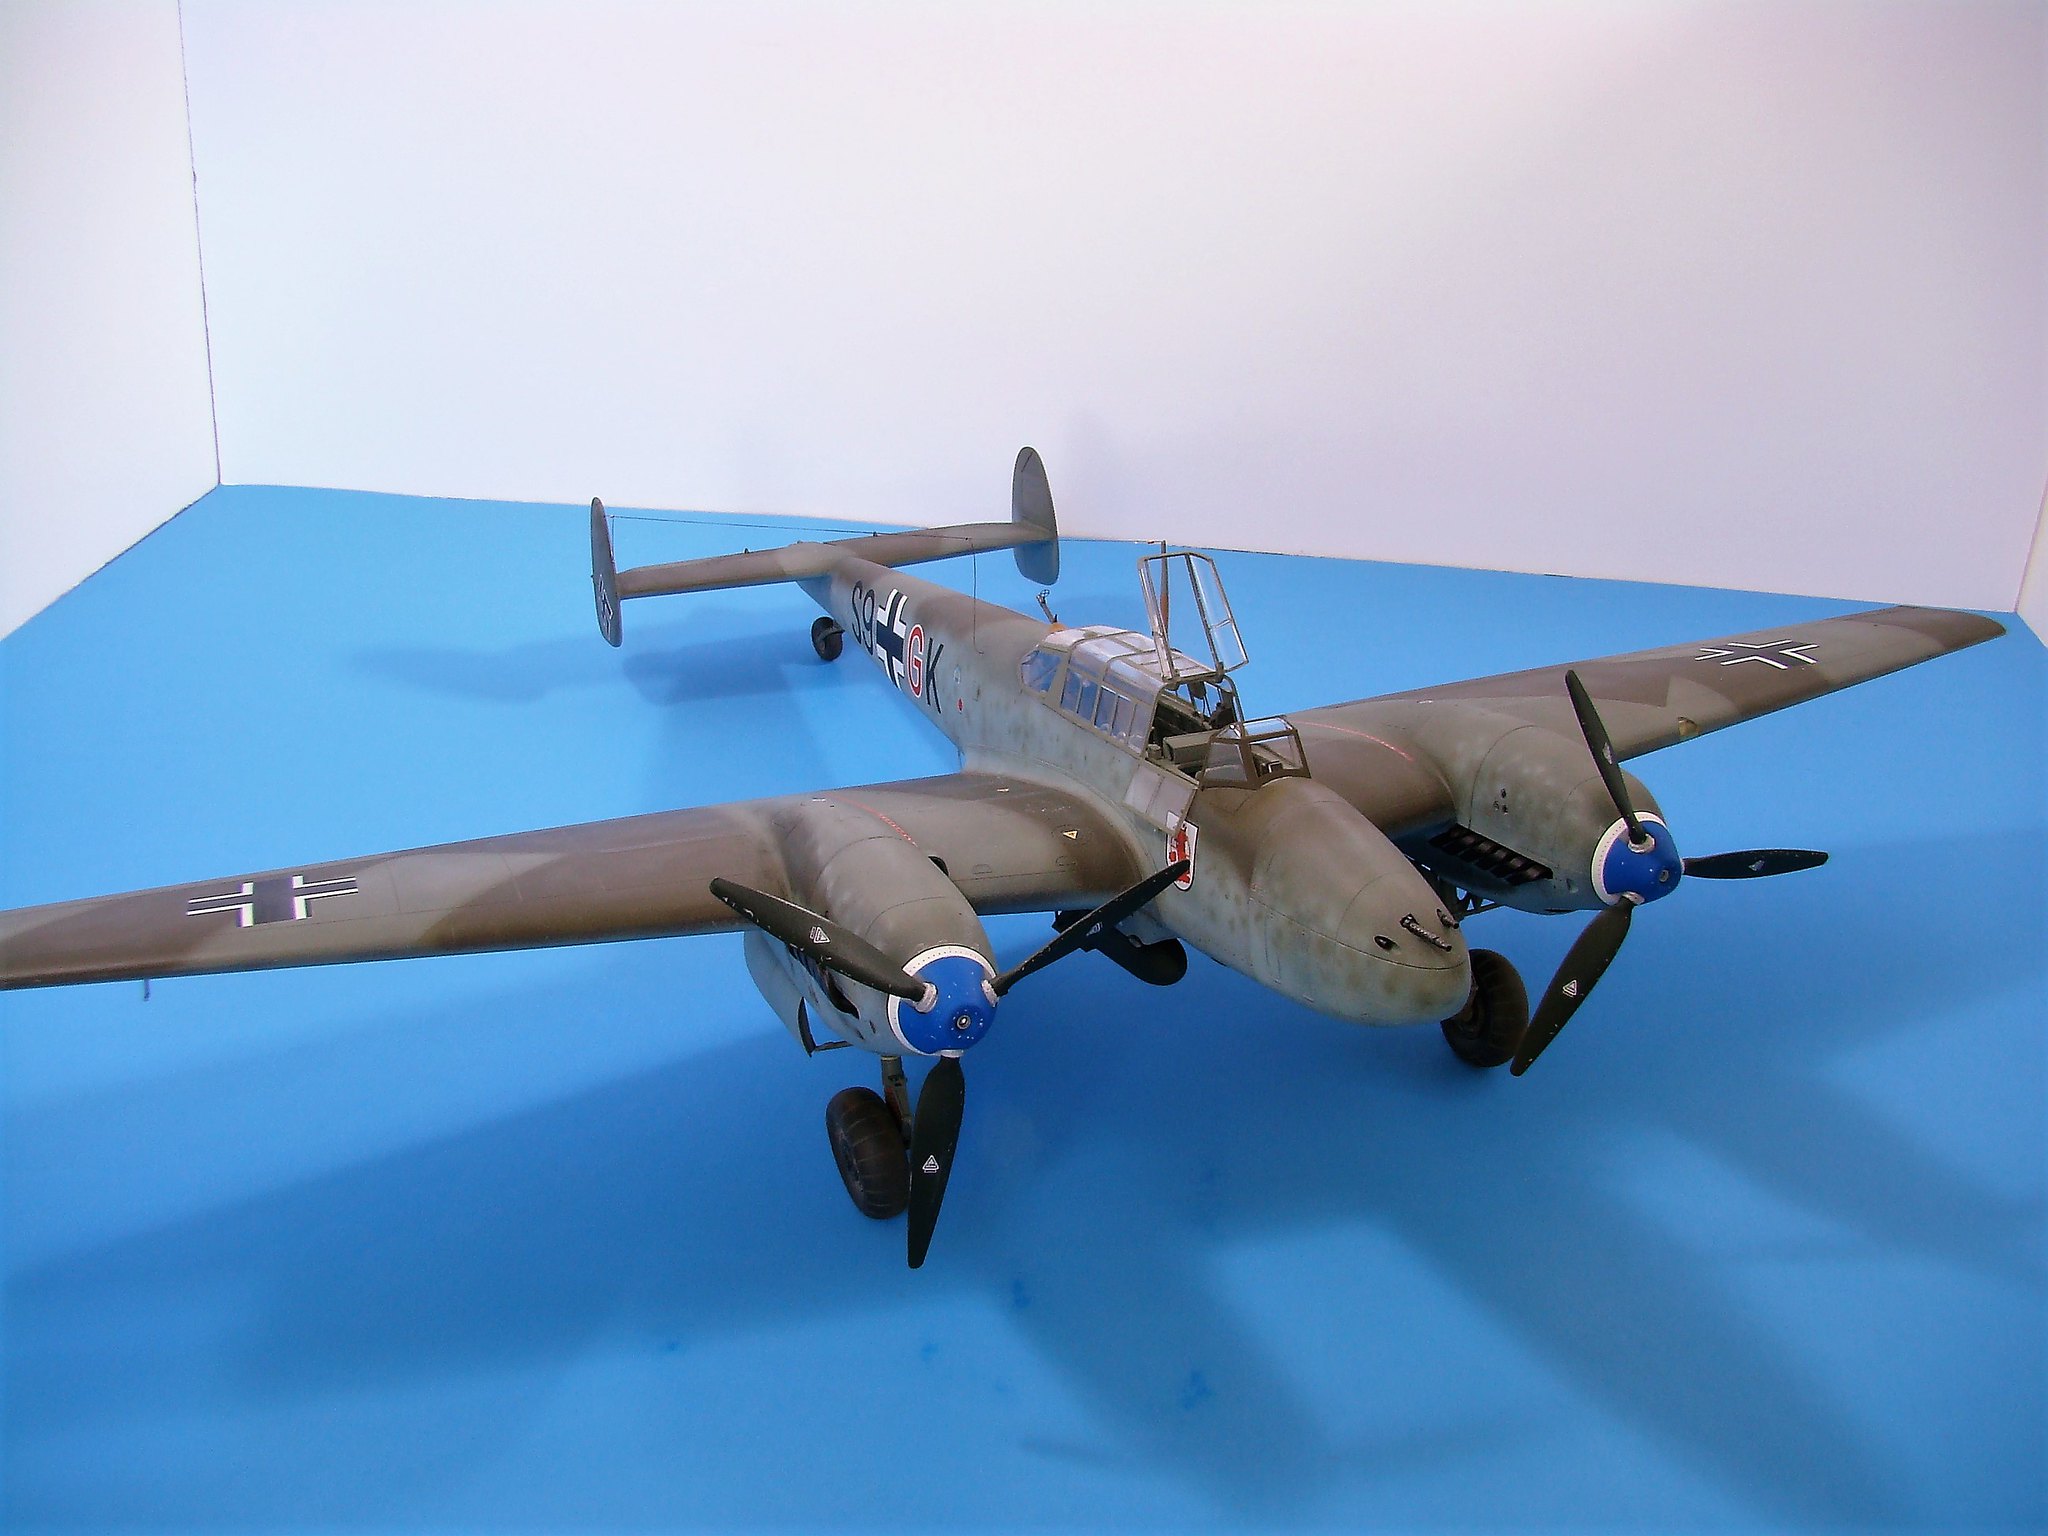
Hi all, it has been a long time since I have posted, or even been to the website, work and life conspired to suck my time away. I have completed a few builds in the past several months and I thought I would share a build a just finished for a friend. It is Dragon's Bf110 D-3, built to resemble a Bf110 D-0 of Erprobungsgruppe 210 sometime in August or September 1940. I have also just started using Flickr as my photo storage/sharing source; so this will be a bit of a test run using Flickr to share photos.
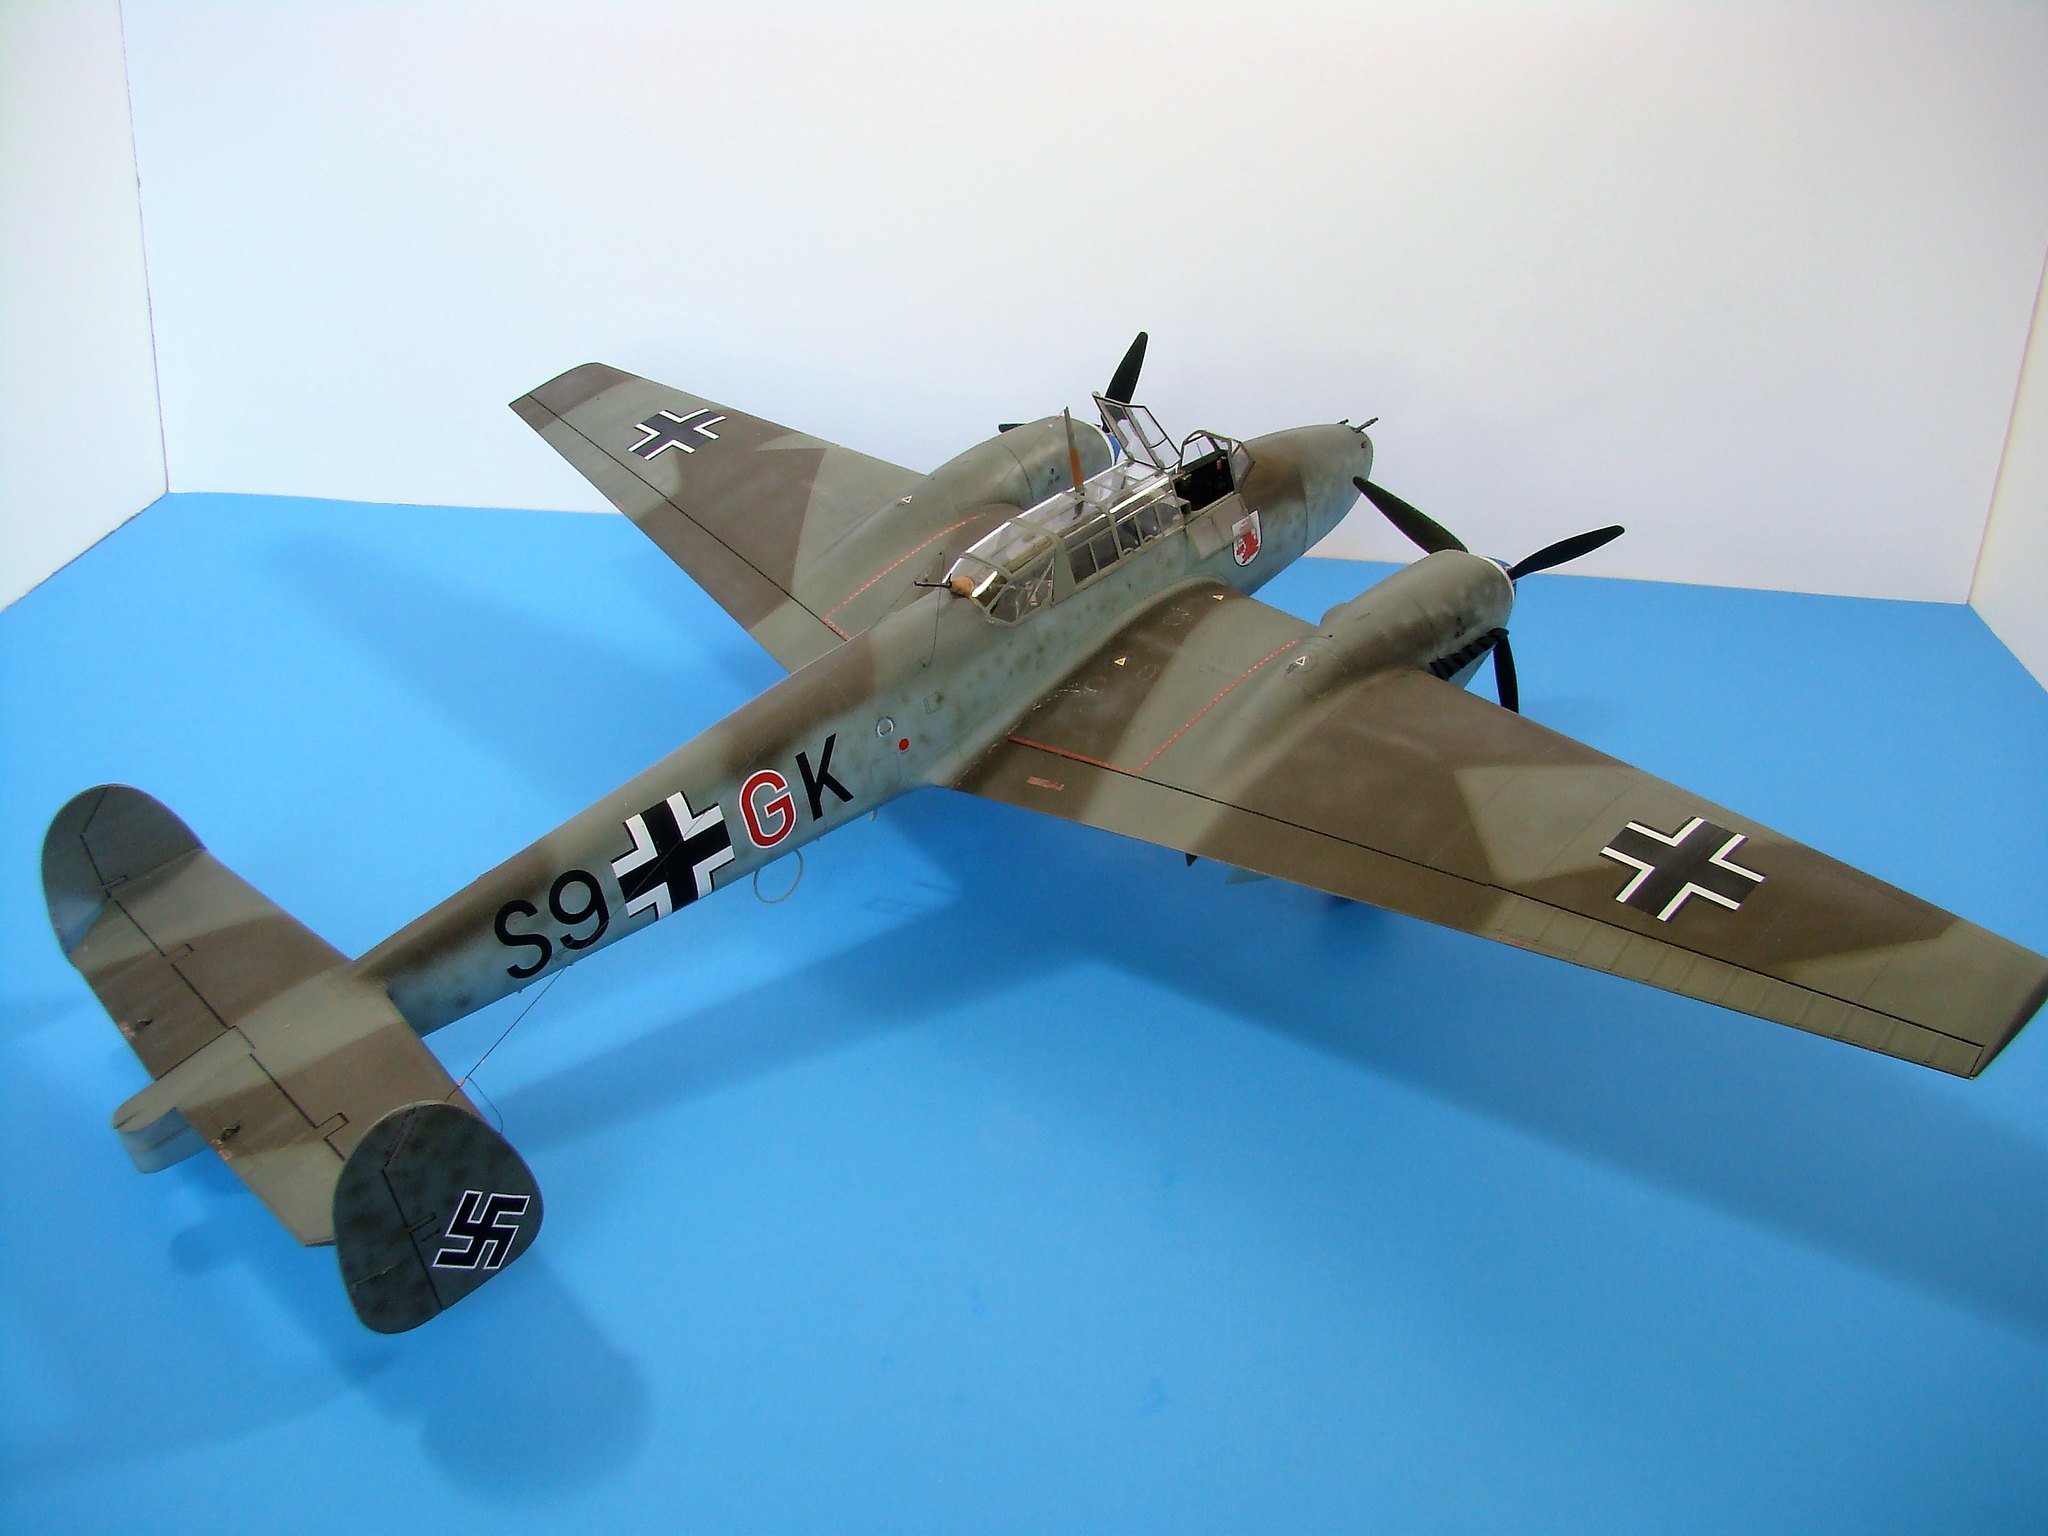
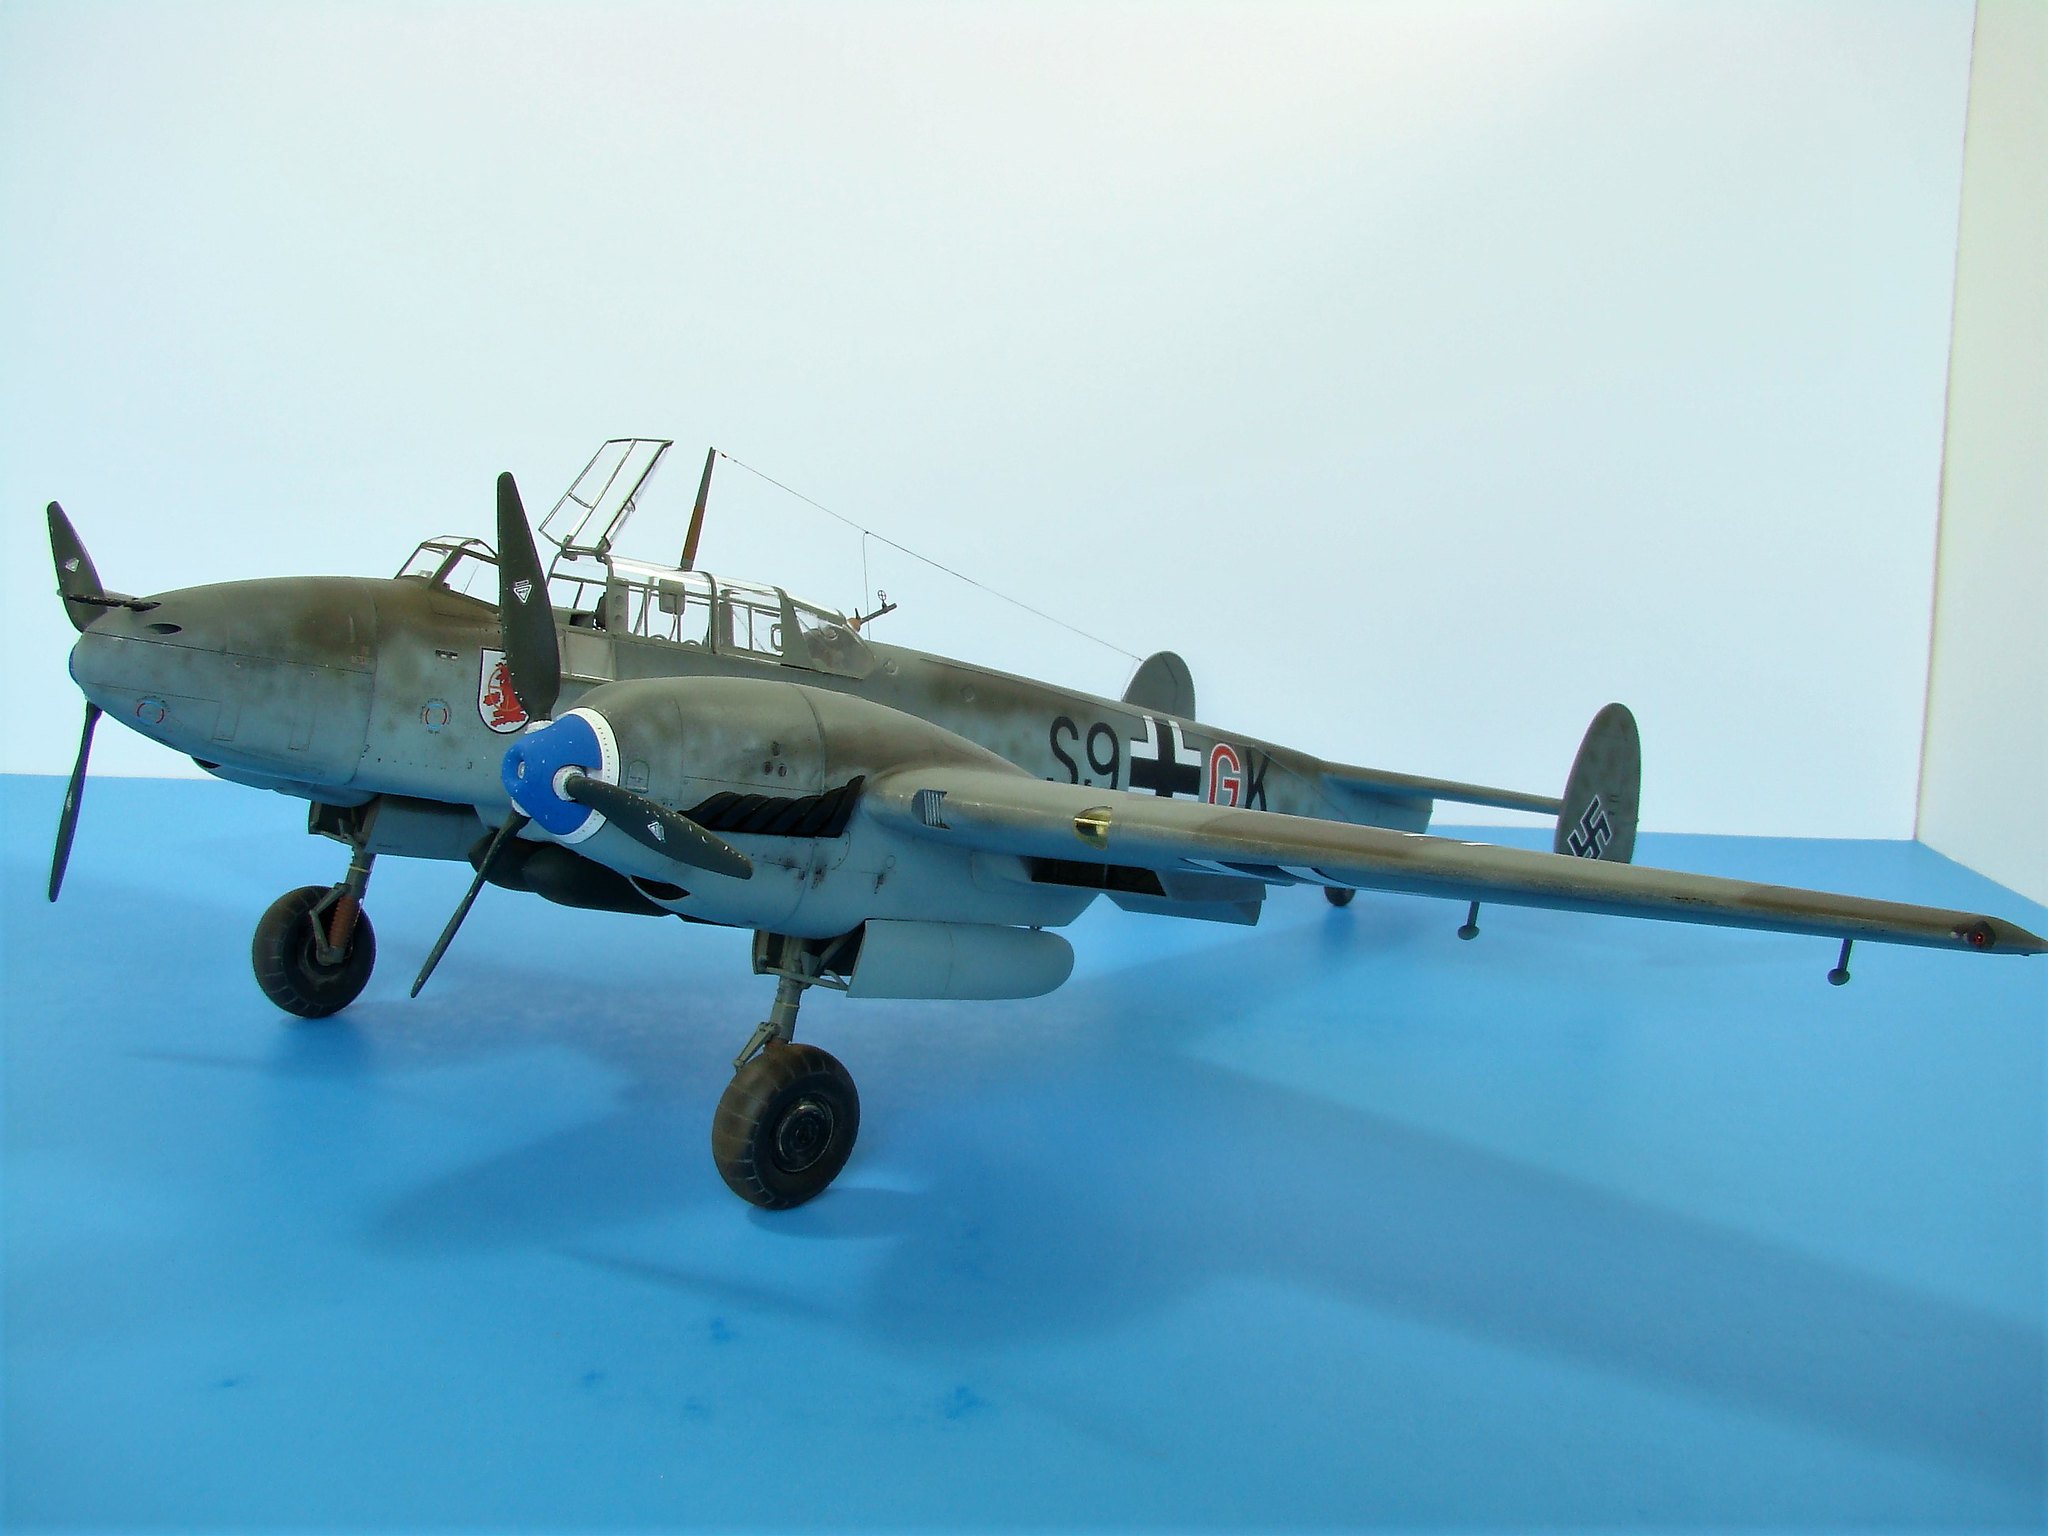
First up are some overall shots. Not the best perspective for seeing detail, but they do give a good impression of how the model looks.
DSC03387 by Ernest Roth, on Flickr
DSC03390 by Ernest Roth, on Flickr
DSC03387 by Ernest Roth, on Flickr
DSC03386 by Ernest Roth, on Flickr
World War II
Discuss WWII and the era directly before and after the war from 1935-1949.
Hosted by Rowan Baylis
Dragon 1/32 Scale Bf110 D-3
greif8
Bayern, Germany
Joined: January 17, 2006
KitMaker: 673 posts
AeroScale: 492 posts
Joined: January 17, 2006
KitMaker: 673 posts
AeroScale: 492 posts
Posted: Saturday, July 08, 2017 - 08:13 PM UTC
greif8
Bayern, Germany
Joined: January 17, 2006
KitMaker: 673 posts
AeroScale: 492 posts
Joined: January 17, 2006
KitMaker: 673 posts
AeroScale: 492 posts
Posted: Saturday, July 08, 2017 - 08:26 PM UTC
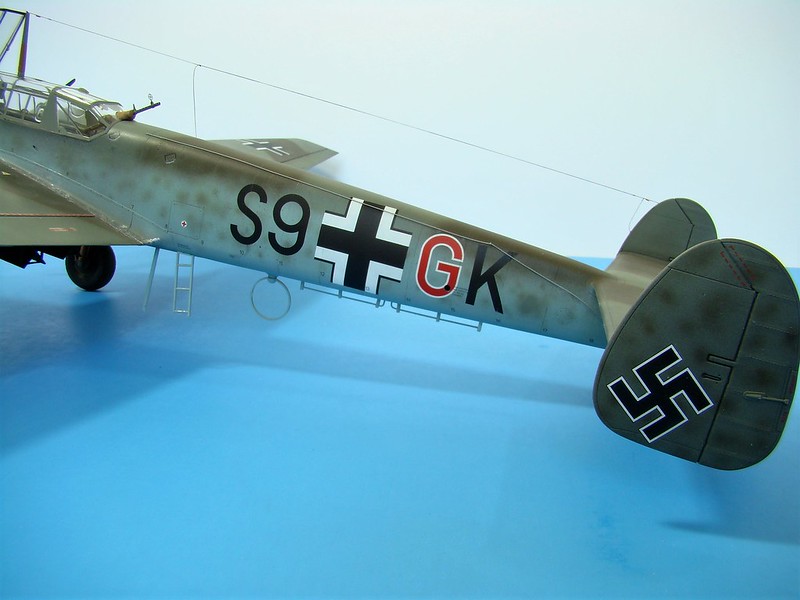
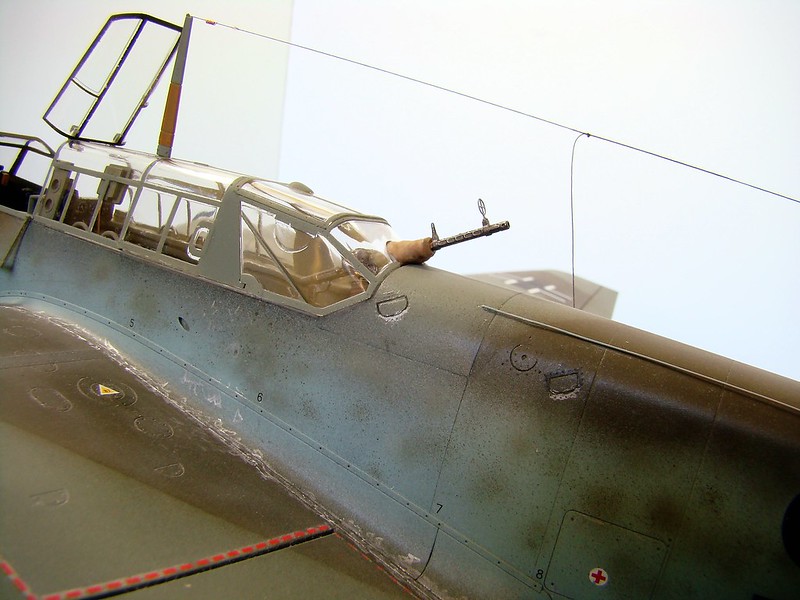
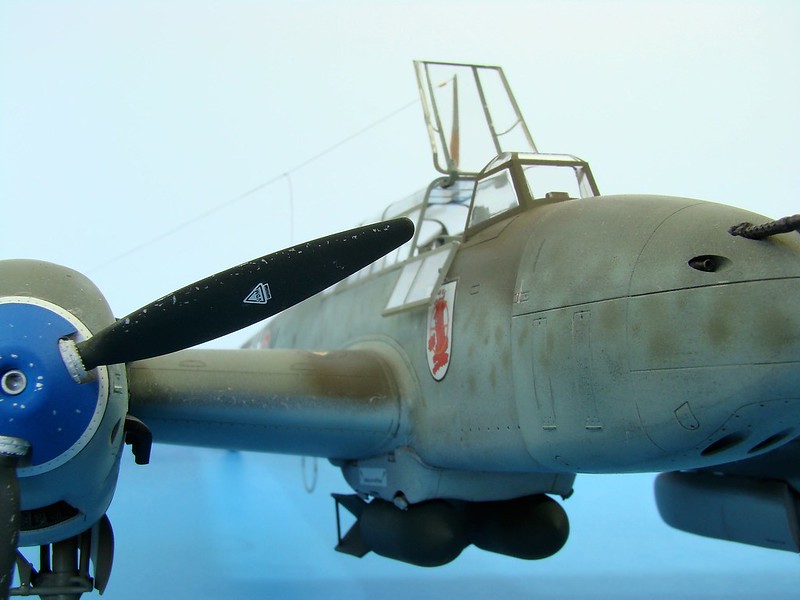
Well that worked after a fashion, though I think I will try "medium sized" photos for this post. The camo scheme reflects the one used by 2nd Staffel of ErPro 210 during the main stage of the Battle of Britain. The camo consisted of a tight overspray of RLM02 and RLM71 over the RLM65 fuselage sides and rudders. RLM 65 and RLM71 were mottled on the engine nacelles. There is one historical error on the build. My friend really wanted the large decal of England in a bombsight on a white background to be placed on the model. Even after I explained to him that that unit symbol was not used until after BoB, the correct one not having a white background, he insisted. As he paid for the kit and would enjoy it in his home I did a mental shrug and placed the decal.
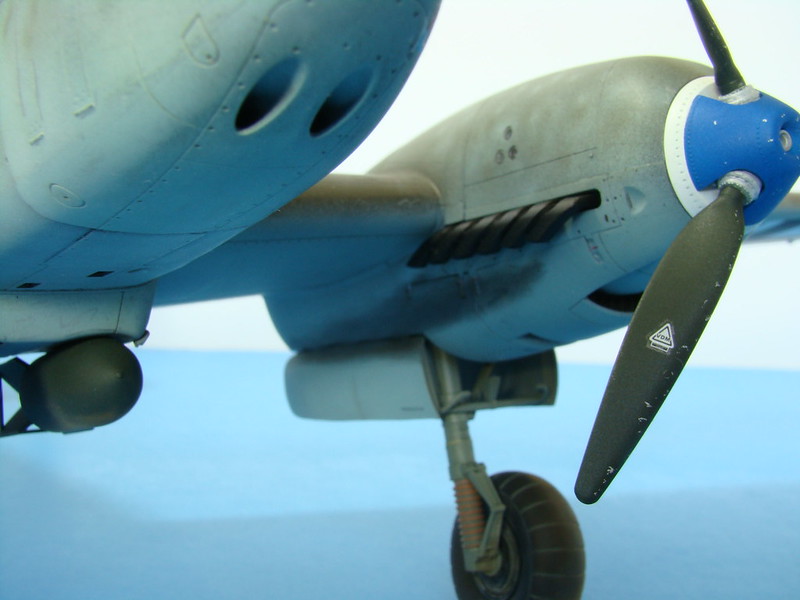
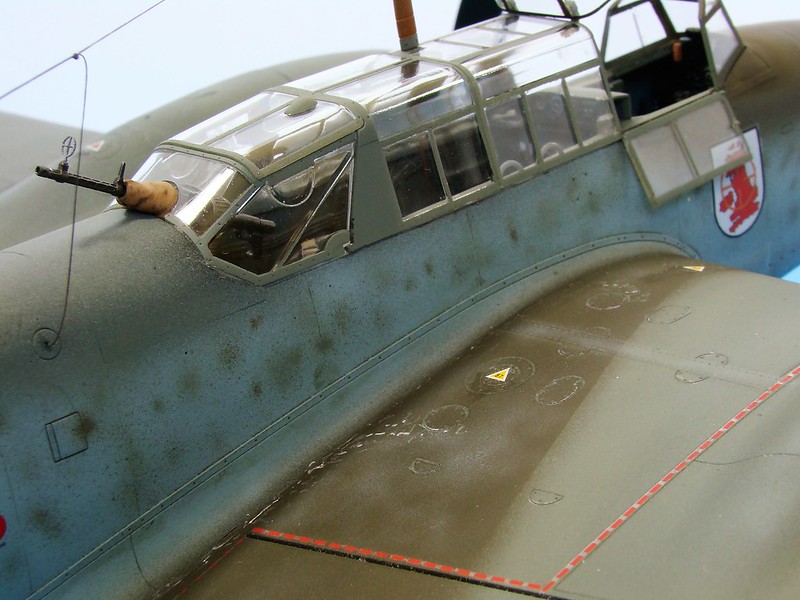
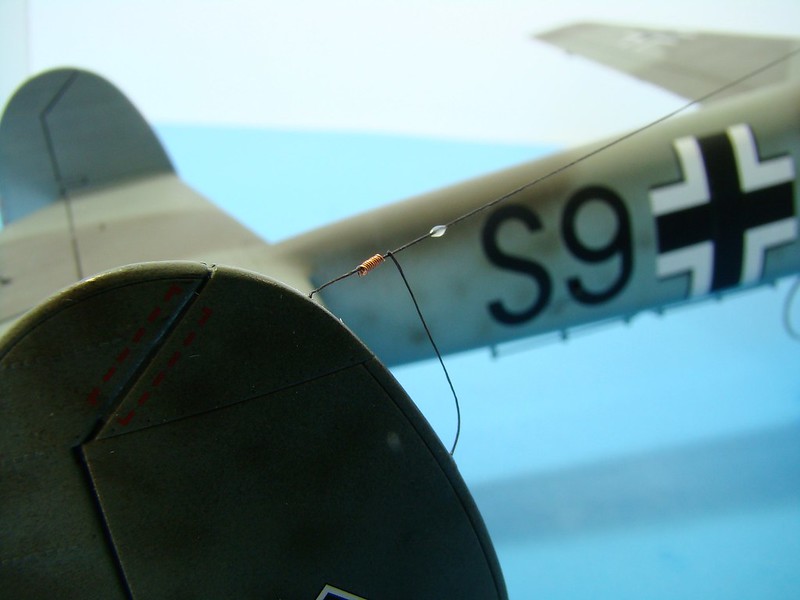
The following shots show a bit more detail. The life raft release cable running along the port side of the fuselage and "clothesline" antenna on the bottom of the fuselage were scratchbuilt. The chipping on the props was done using the hairspray technique, and the exhaust stains were put on with Tamiya pastels.
Ernest
DSC03397 by Ernest Roth, on Flickr
DSC03418 by Ernest Roth, on Flickr
DSC03400 by Ernest Roth, on Flickr
DSC03407 by Ernest Roth, on Flickr
DSC03426 by Ernest Roth, on Flickr
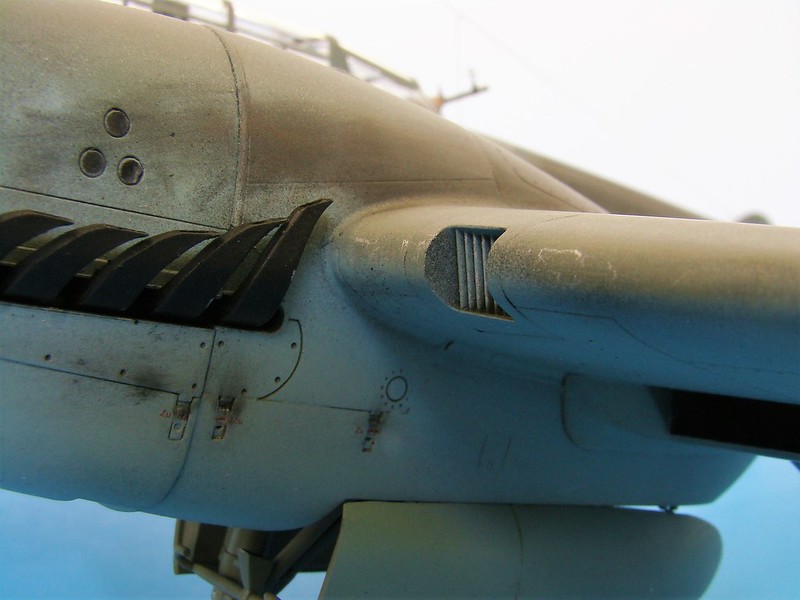
The following shots show a bit more detail. The life raft release cable running along the port side of the fuselage and "clothesline" antenna on the bottom of the fuselage were scratchbuilt. The chipping on the props was done using the hairspray technique, and the exhaust stains were put on with Tamiya pastels.
Ernest
DSC03397 by Ernest Roth, on Flickr
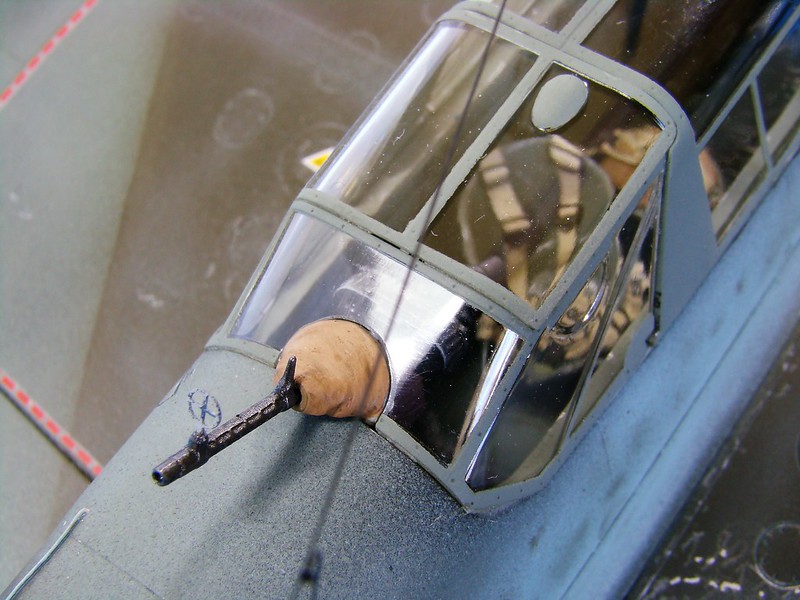
DSC03418 by Ernest Roth, on Flickr
DSC03400 by Ernest Roth, on Flickr
DSC03407 by Ernest Roth, on Flickr
DSC03426 by Ernest Roth, on Flickr
greif8
Bayern, Germany
Joined: January 17, 2006
KitMaker: 673 posts
AeroScale: 492 posts
Joined: January 17, 2006
KitMaker: 673 posts
AeroScale: 492 posts
Posted: Saturday, July 08, 2017 - 08:42 PM UTC
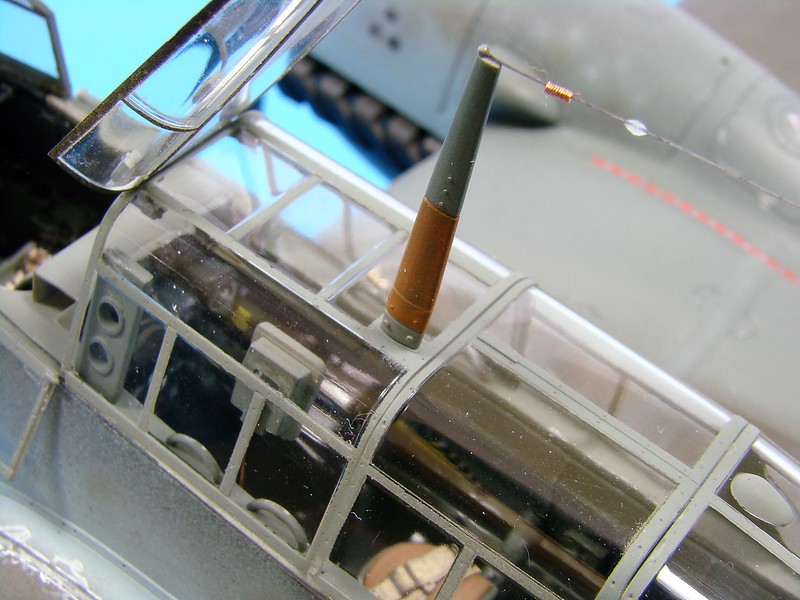
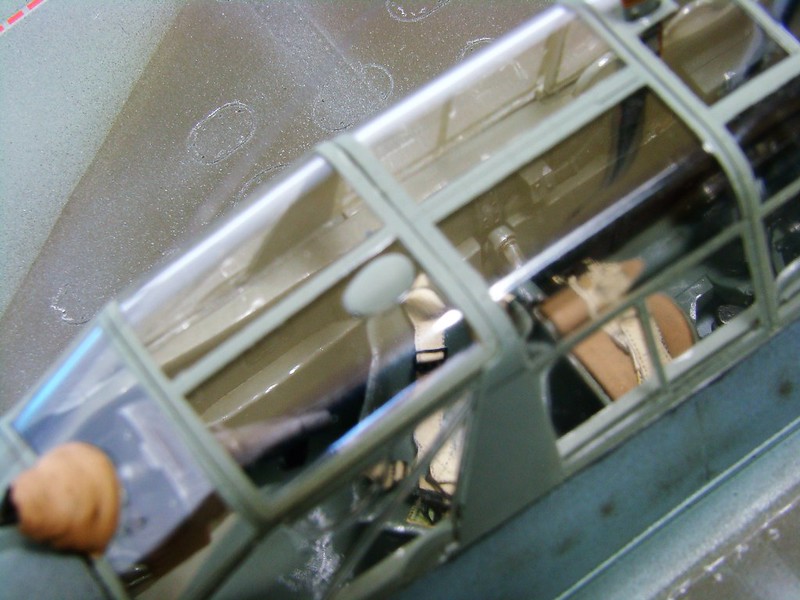
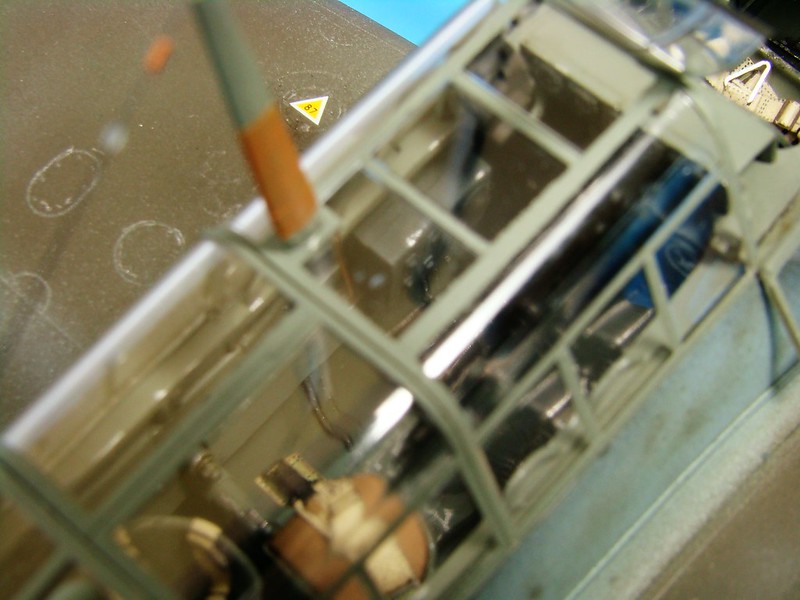
The following close up shots show some of the wear on the wing root, which was done using a silver pencil and pen. The antenna entry and connections are also shown. I still have to color the insulators white. I added the round sight on the barrel of the gunner's MG15. You may notice how soft the camo edges are and the amount of overspray there is on the fuselage. My source photos showed that effect on the actual aircraft and I did my best to capture it in scale.
Ernest
DSC03419 by Ernest Roth, on Flickr
DSC03423 by Ernest Roth, on Flickr
DSC03445 by Ernest Roth, on Flickr
DSC03436 by Ernest Roth, on Flickr
DSC03427 by Ernest Roth, on Flickr
DSC03419 by Ernest Roth, on Flickr
DSC03410 by Ernest Roth, on Flickr
Ernest
DSC03419 by Ernest Roth, on Flickr
DSC03423 by Ernest Roth, on Flickr
DSC03445 by Ernest Roth, on Flickr
DSC03436 by Ernest Roth, on Flickr
DSC03427 by Ernest Roth, on Flickr
DSC03419 by Ernest Roth, on Flickr
DSC03410 by Ernest Roth, on Flickr
greif8
Bayern, Germany
Joined: January 17, 2006
KitMaker: 673 posts
AeroScale: 492 posts
Joined: January 17, 2006
KitMaker: 673 posts
AeroScale: 492 posts
Posted: Saturday, July 08, 2017 - 08:49 PM UTC
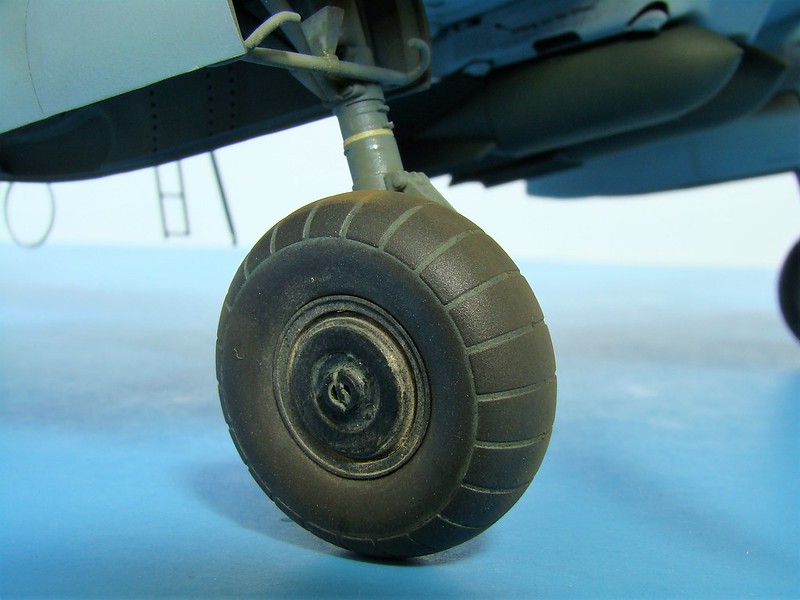
This final series shows the undercarriage and cockpit. I forgot to paint the brake line RLM02 - big duh there. Overall though, the build turned out alright; at least my friend is happy with it.
Ernest
DSC03428 by Ernest Roth, on Flickr
DSC03430 by Ernest Roth, on Flickr
DSC03447 by Ernest Roth, on Flickr
DSC03442 by Ernest Roth, on Flickr
DSC03439 by Ernest Roth, on Flickr
DSC03443 by Ernest Roth, on Flickr
DSC03442 by Ernest Roth, on Flickr
Ernest
DSC03428 by Ernest Roth, on Flickr
DSC03430 by Ernest Roth, on Flickr
DSC03447 by Ernest Roth, on Flickr
DSC03442 by Ernest Roth, on Flickr
DSC03439 by Ernest Roth, on Flickr
DSC03443 by Ernest Roth, on Flickr
DSC03442 by Ernest Roth, on Flickr
Posted: Sunday, July 09, 2017 - 02:48 AM UTC
Ernest,
Thank you for sharing your 110 with us! Fantastic job!! There are too few pictures of ErPrGr 210 around, and I didn't know that the badge wasn't used until after BoB.
Gaz
Thank you for sharing your 110 with us! Fantastic job!! There are too few pictures of ErPrGr 210 around, and I didn't know that the badge wasn't used until after BoB.
Gaz
greif8
Bayern, Germany
Joined: January 17, 2006
KitMaker: 673 posts
AeroScale: 492 posts
Joined: January 17, 2006
KitMaker: 673 posts
AeroScale: 492 posts
Posted: Sunday, July 09, 2017 - 08:27 AM UTC
Hi Gary, thank you for the kind words. The badge was used during BoB; however, it did not have the white background added until after the battle was over.
Sincerely,
Ernest
Sincerely,
Ernest
FalkeEins
England - South East, United Kingdom
Joined: March 07, 2005
KitMaker: 868 posts
AeroScale: 690 posts
Joined: March 07, 2005
KitMaker: 868 posts
AeroScale: 690 posts
Posted: Sunday, July 09, 2017 - 12:22 PM UTC
lovely work Ernest!
rochaped
Lisboa, Portugal
Joined: August 27, 2010
KitMaker: 679 posts
AeroScale: 669 posts
Joined: August 27, 2010
KitMaker: 679 posts
AeroScale: 669 posts
Posted: Sunday, July 09, 2017 - 05:58 PM UTC
Ernst,
That's a very good looking 110. I especially like the first photos, that gives us a very good resemblance of some B/W photos of the real thing. That camo looks spot on!
The kits seems good, thou I've never seen the plastic upclose. What is your opinion about it?
Cheers
Pedro
That's a very good looking 110. I especially like the first photos, that gives us a very good resemblance of some B/W photos of the real thing. That camo looks spot on!
The kits seems good, thou I've never seen the plastic upclose. What is your opinion about it?
Cheers
Pedro
Scrodes
Ontario, Canada
Joined: July 22, 2012
KitMaker: 771 posts
AeroScale: 763 posts
Joined: July 22, 2012
KitMaker: 771 posts
AeroScale: 763 posts
Posted: Sunday, July 09, 2017 - 10:07 PM UTC
phenomenal build! Looks amazing.