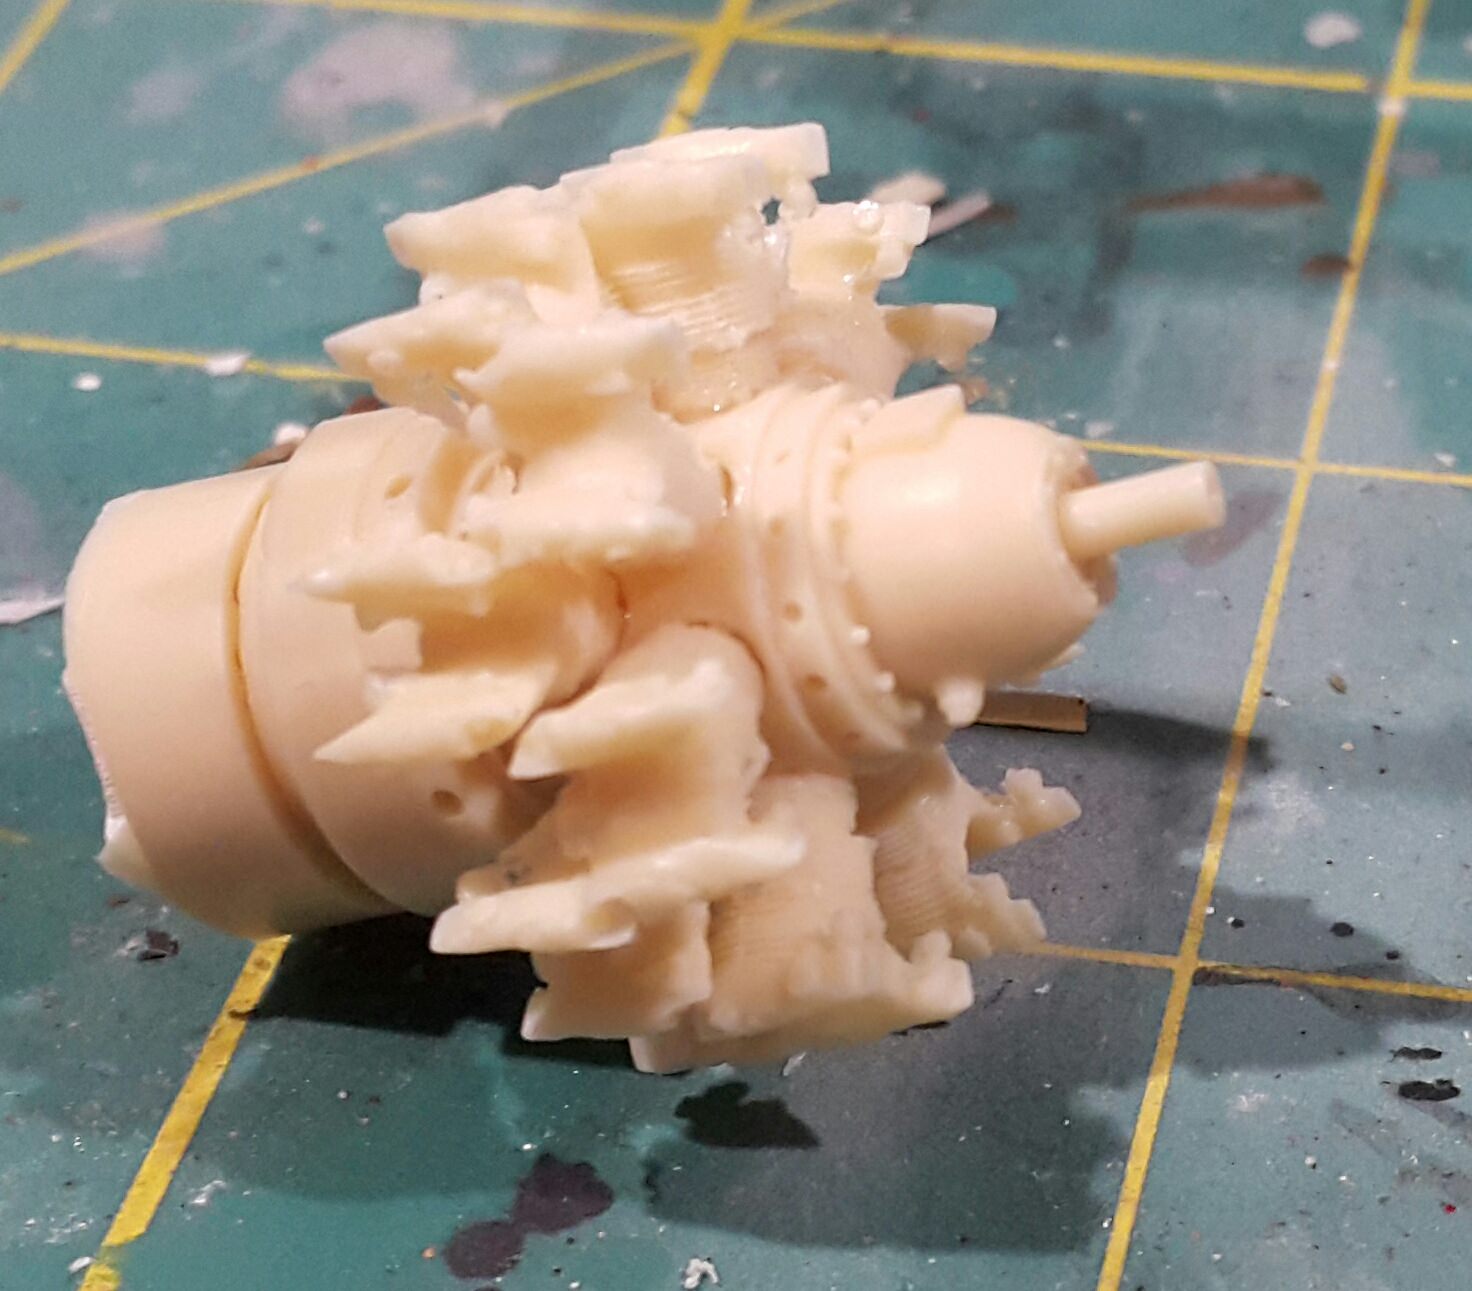
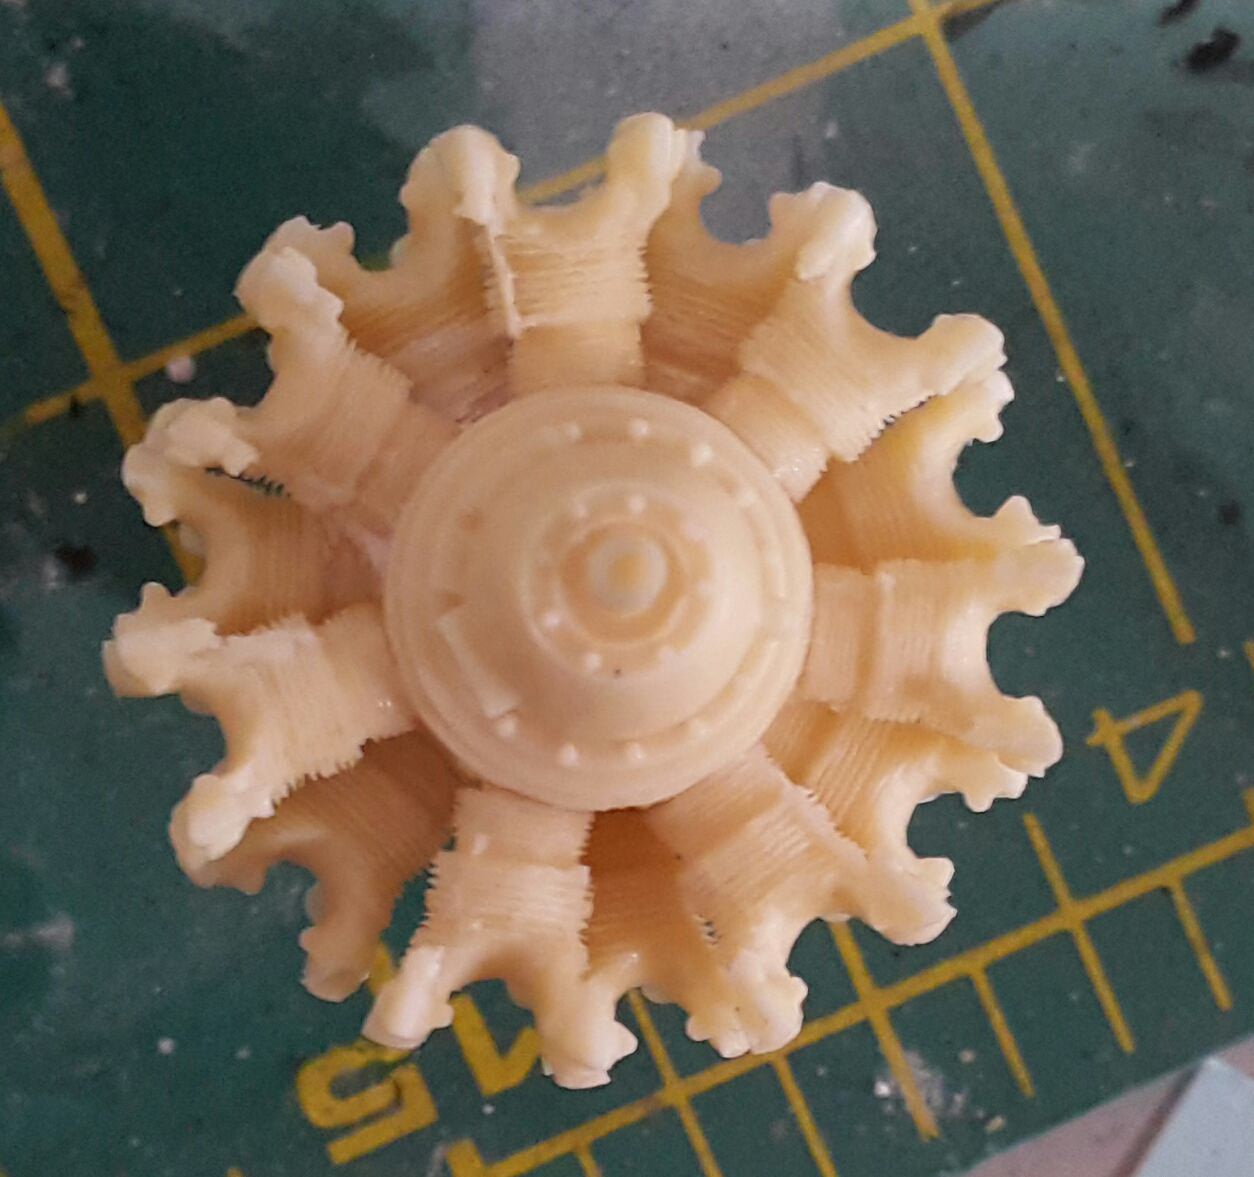
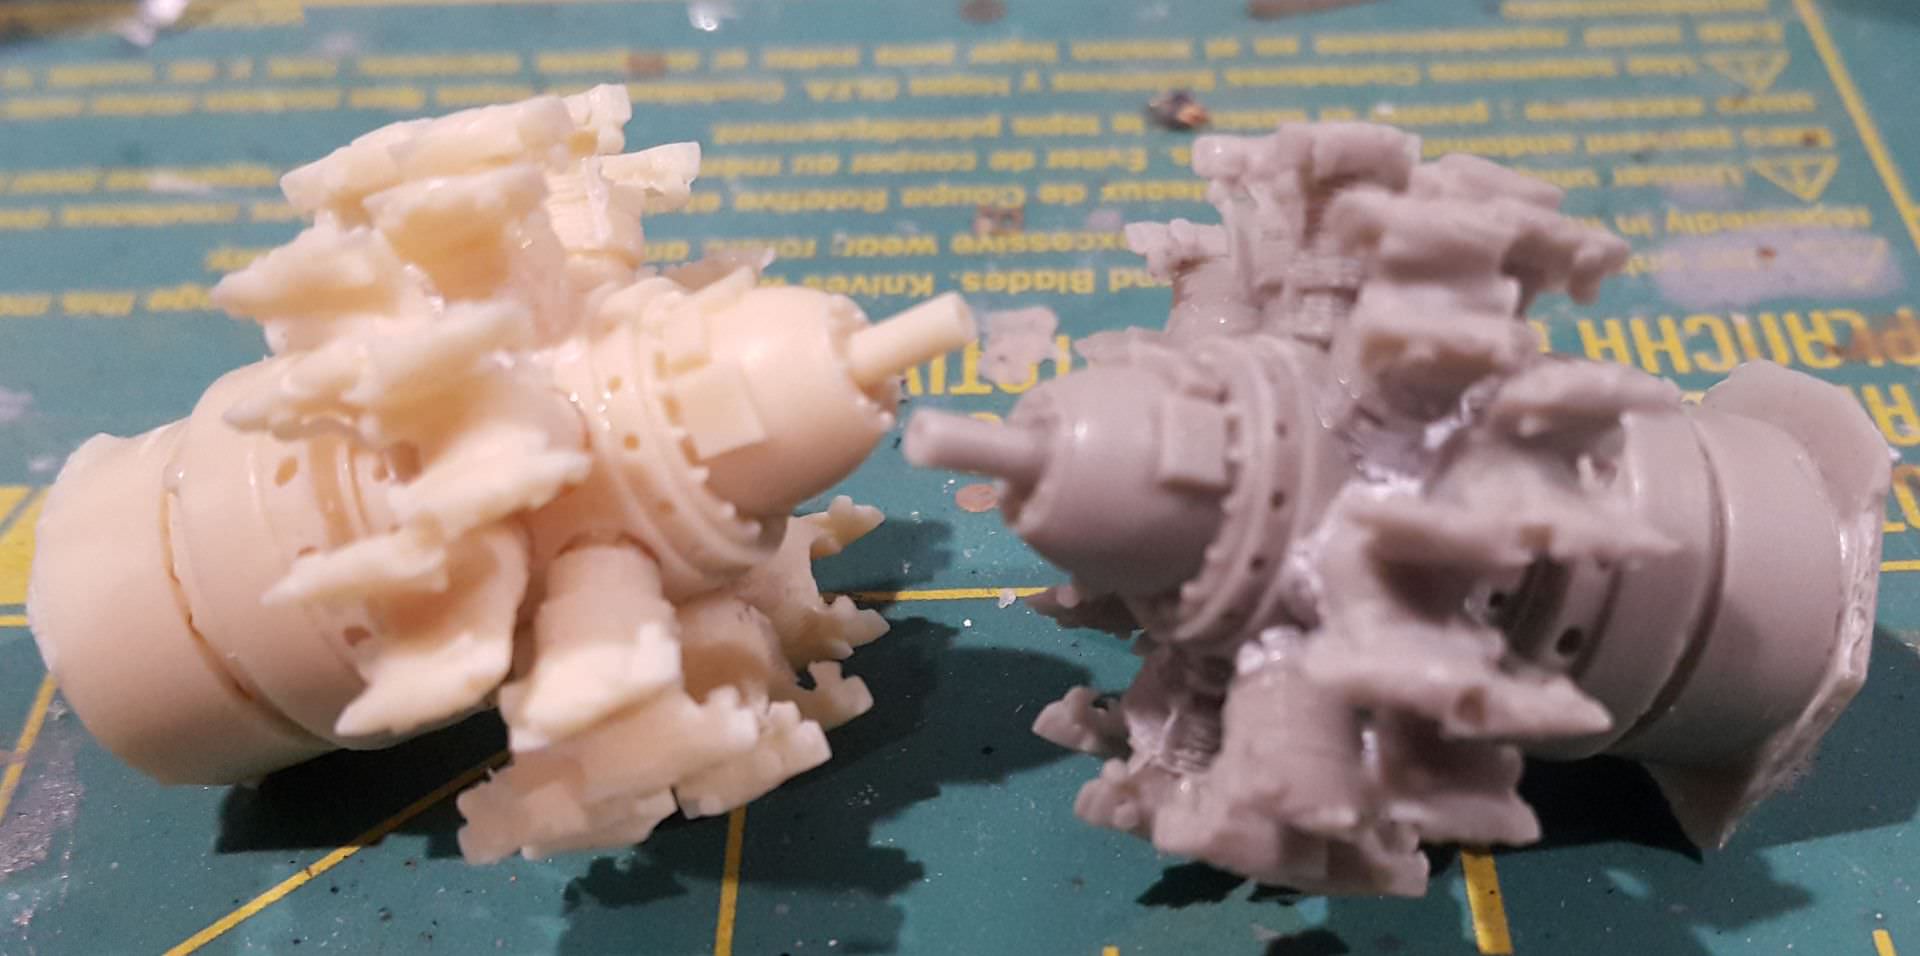
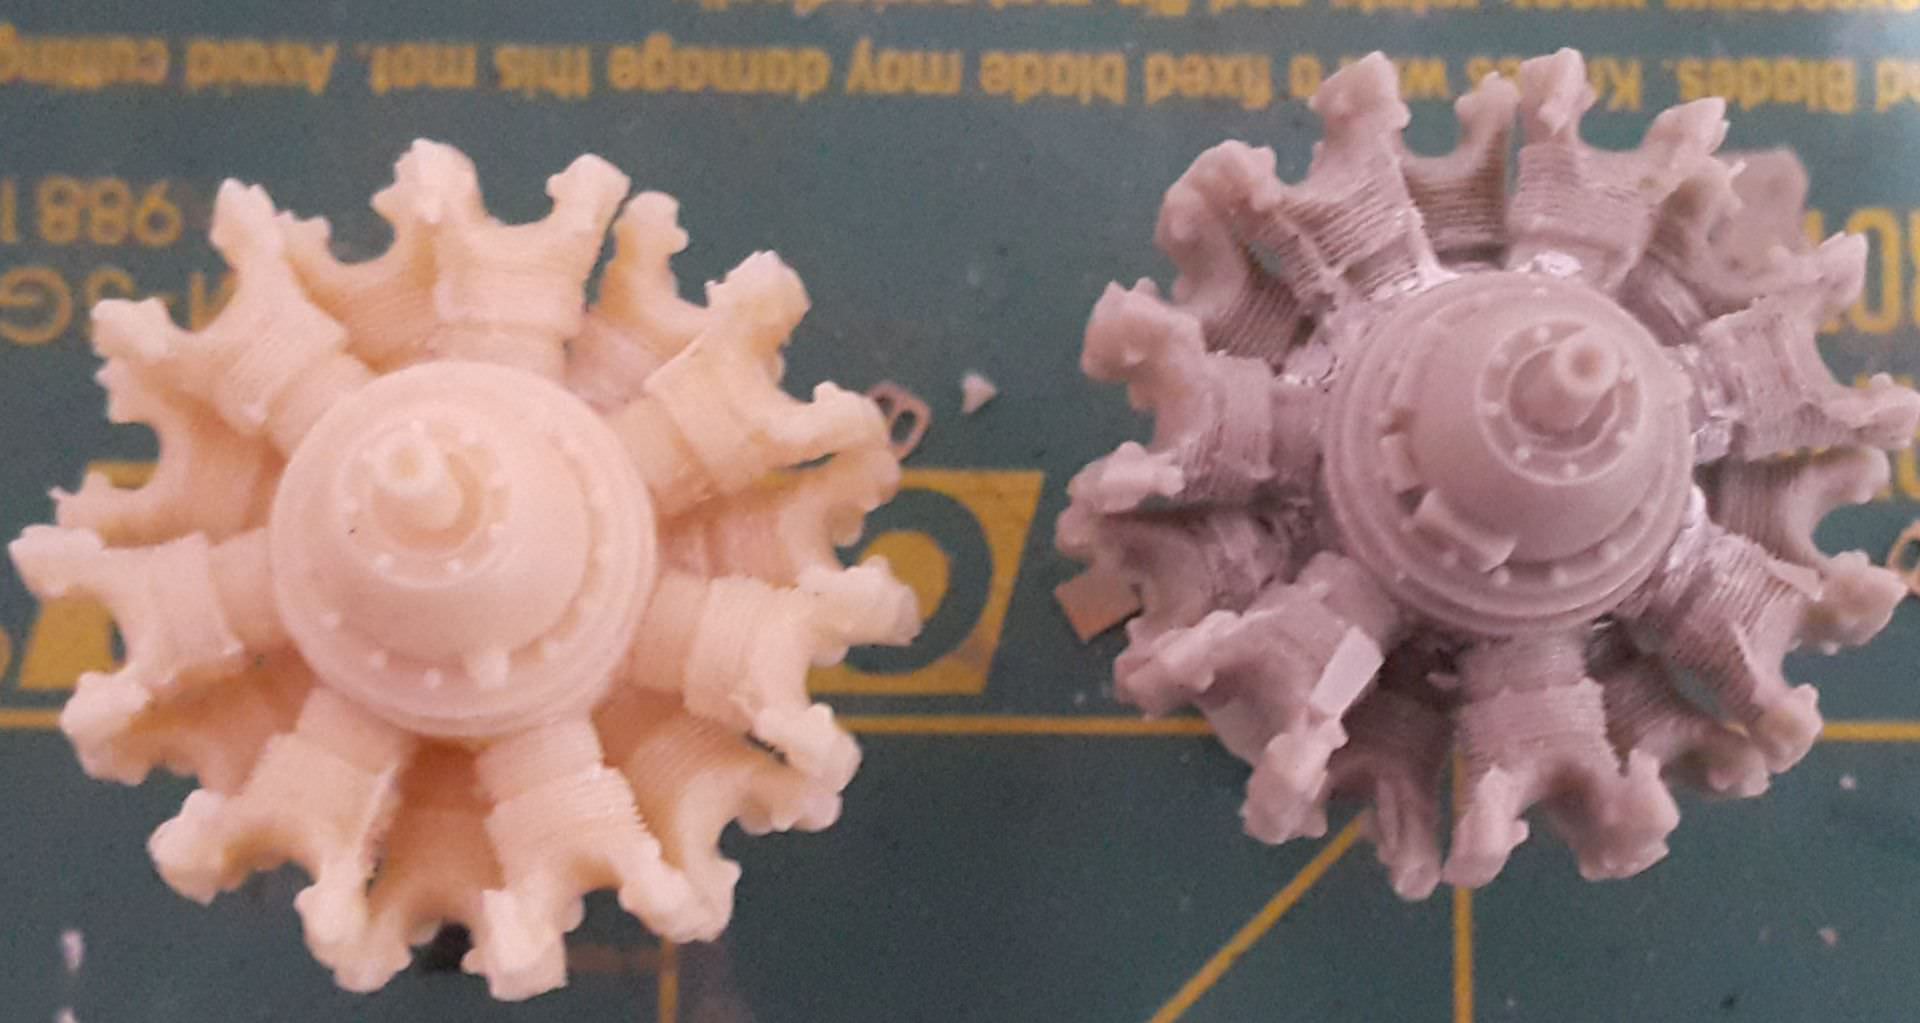
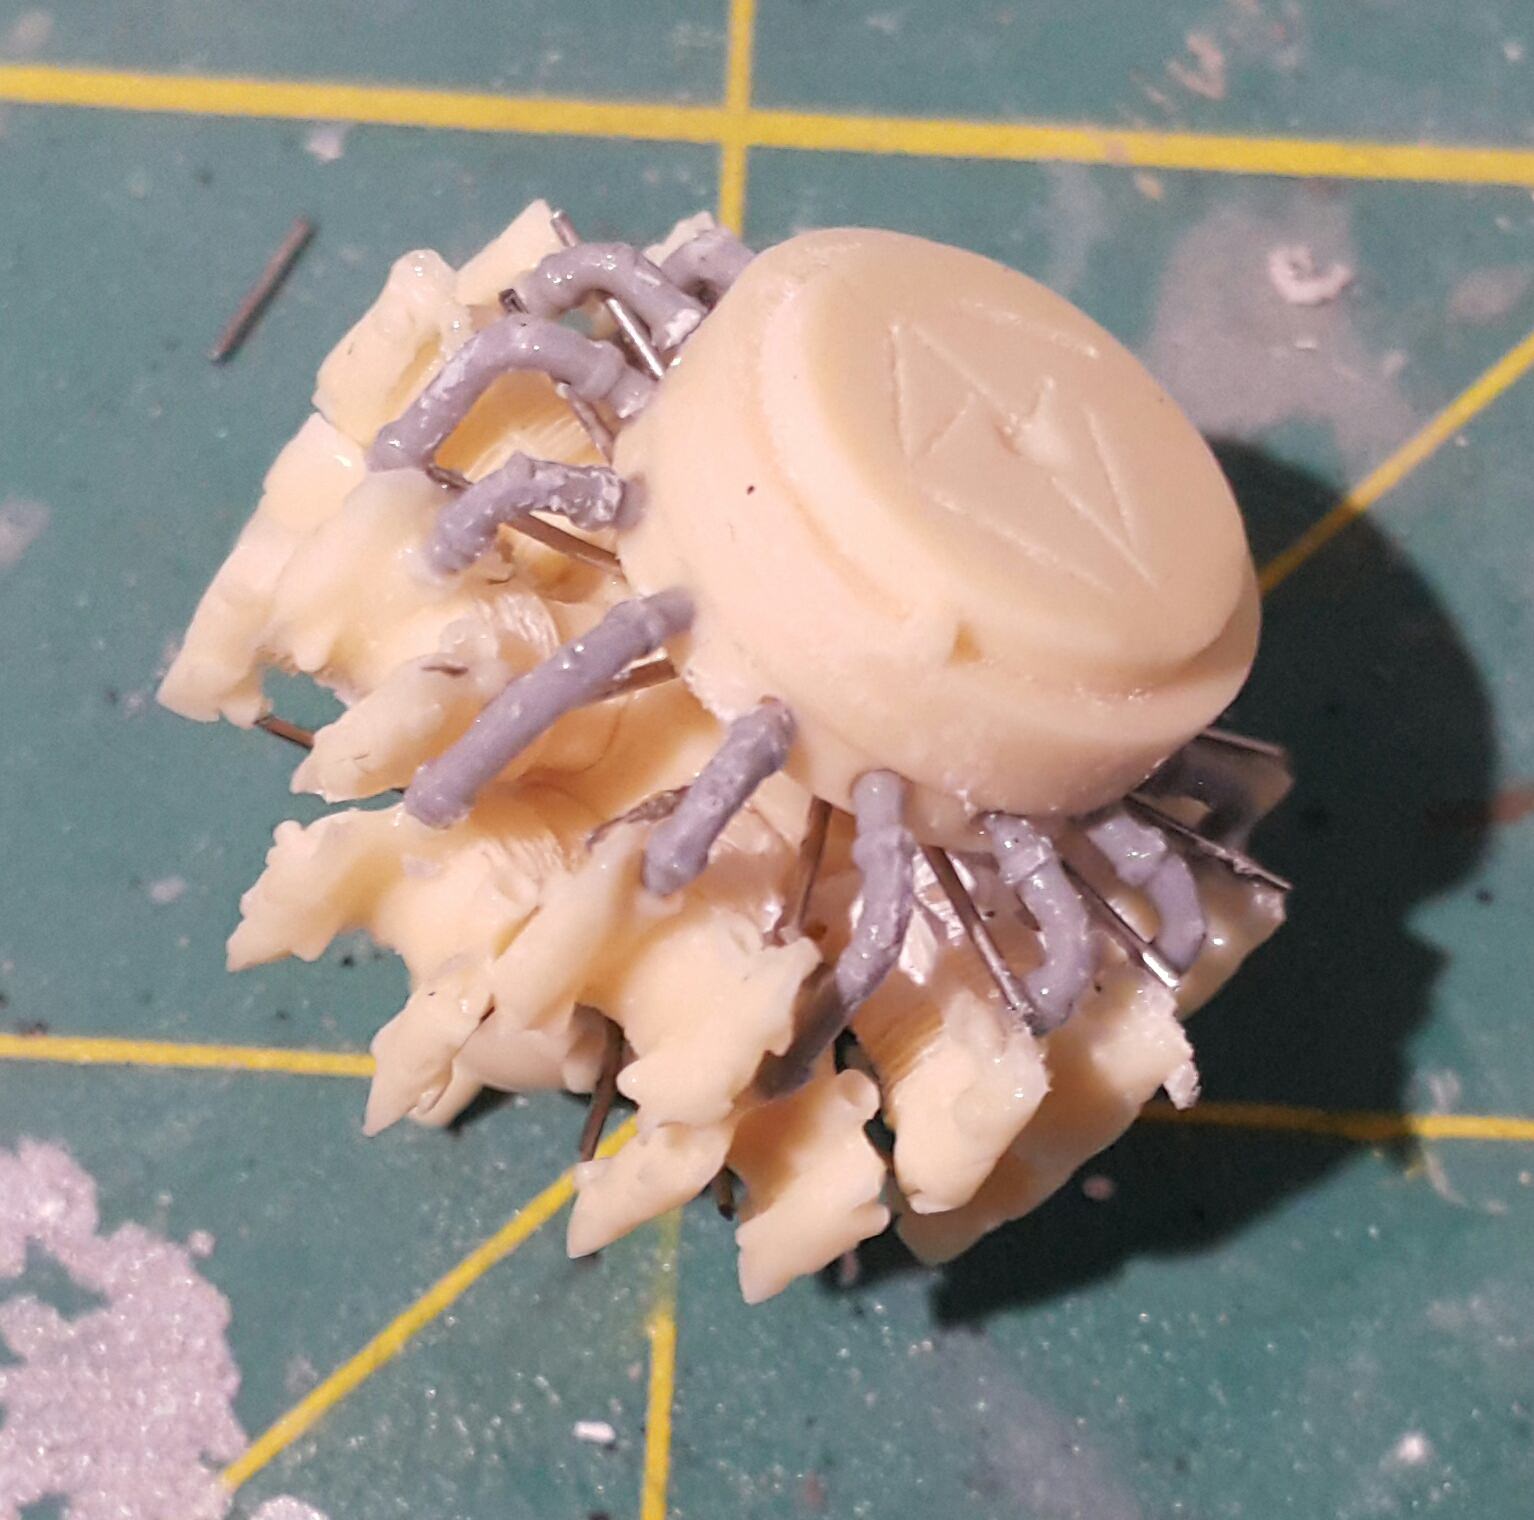
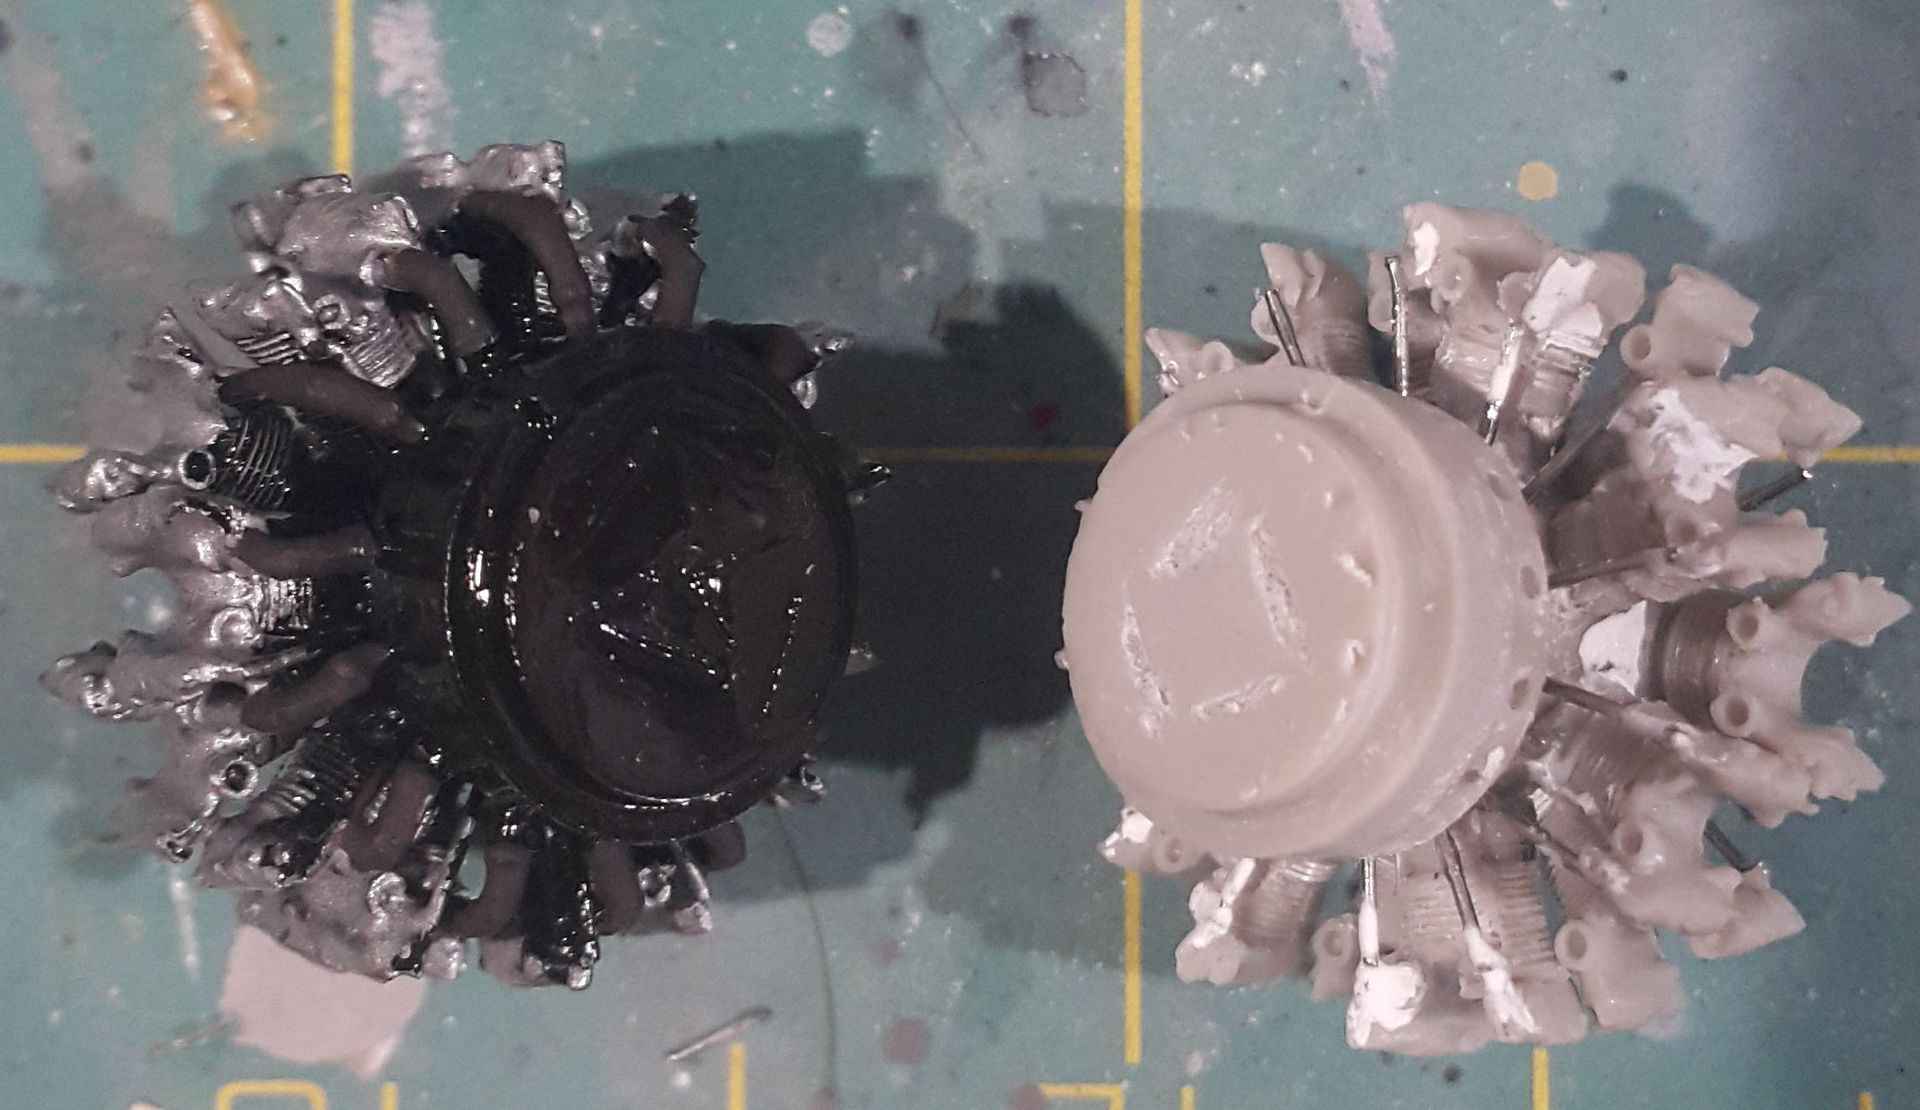
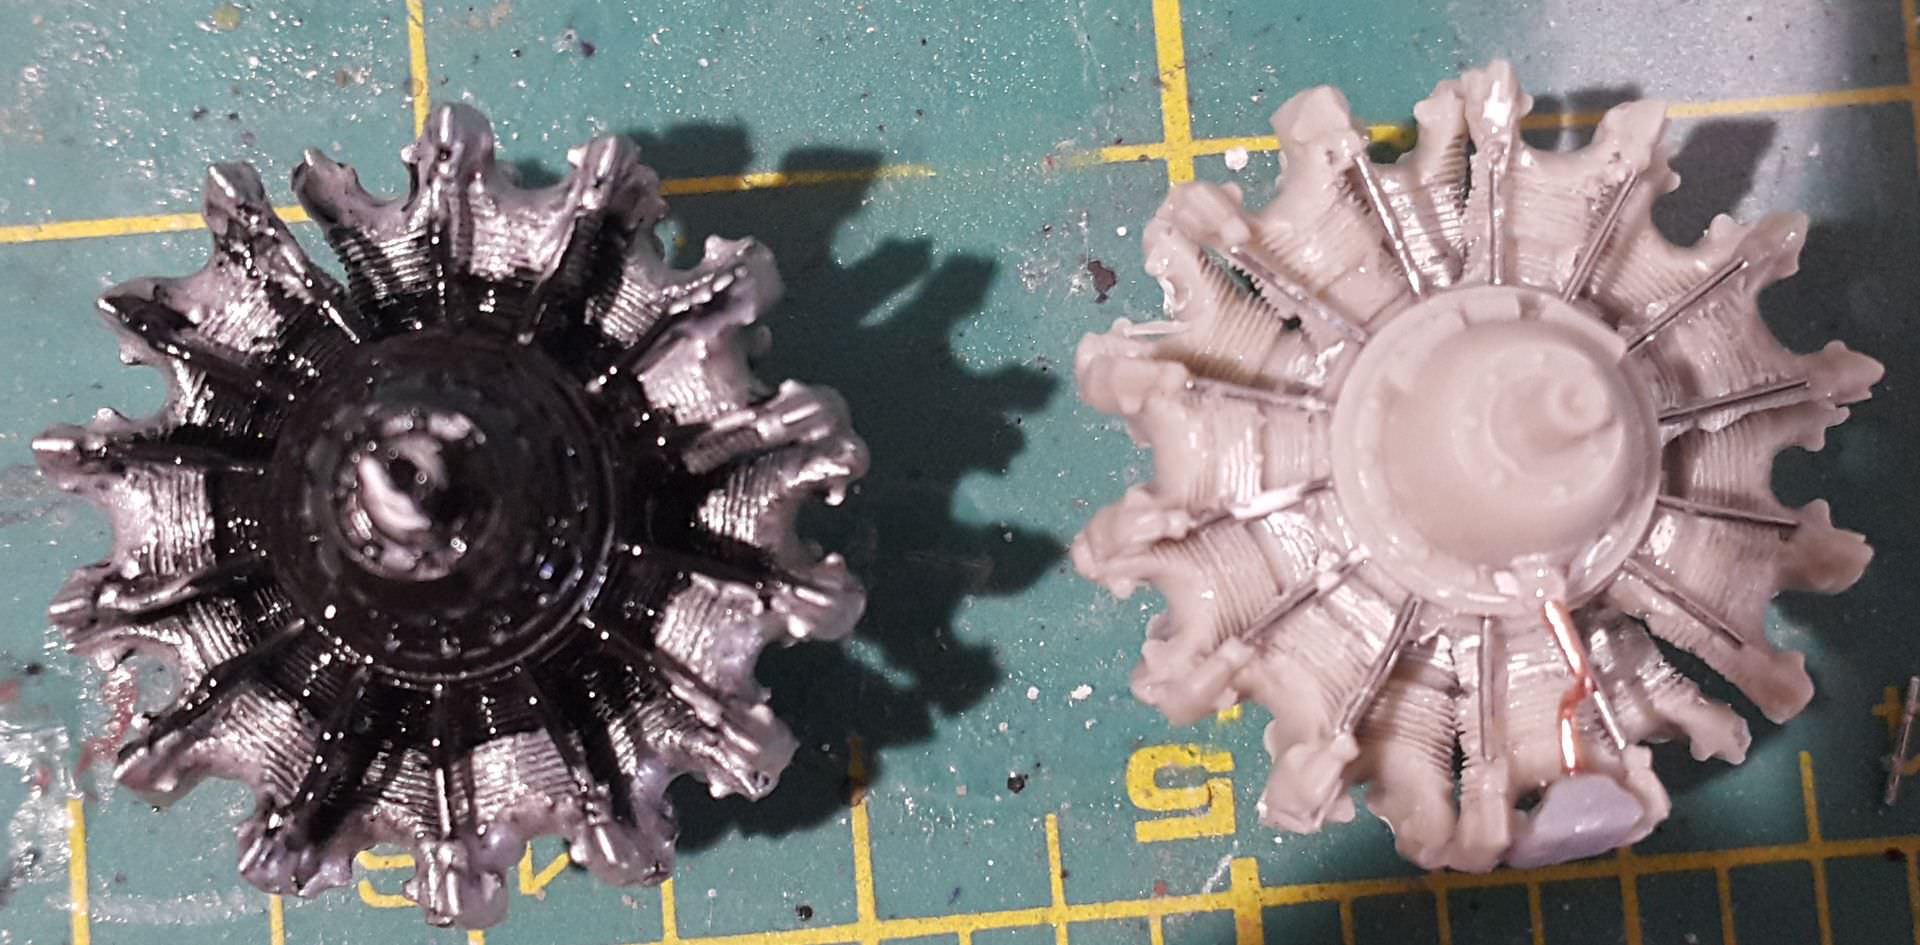
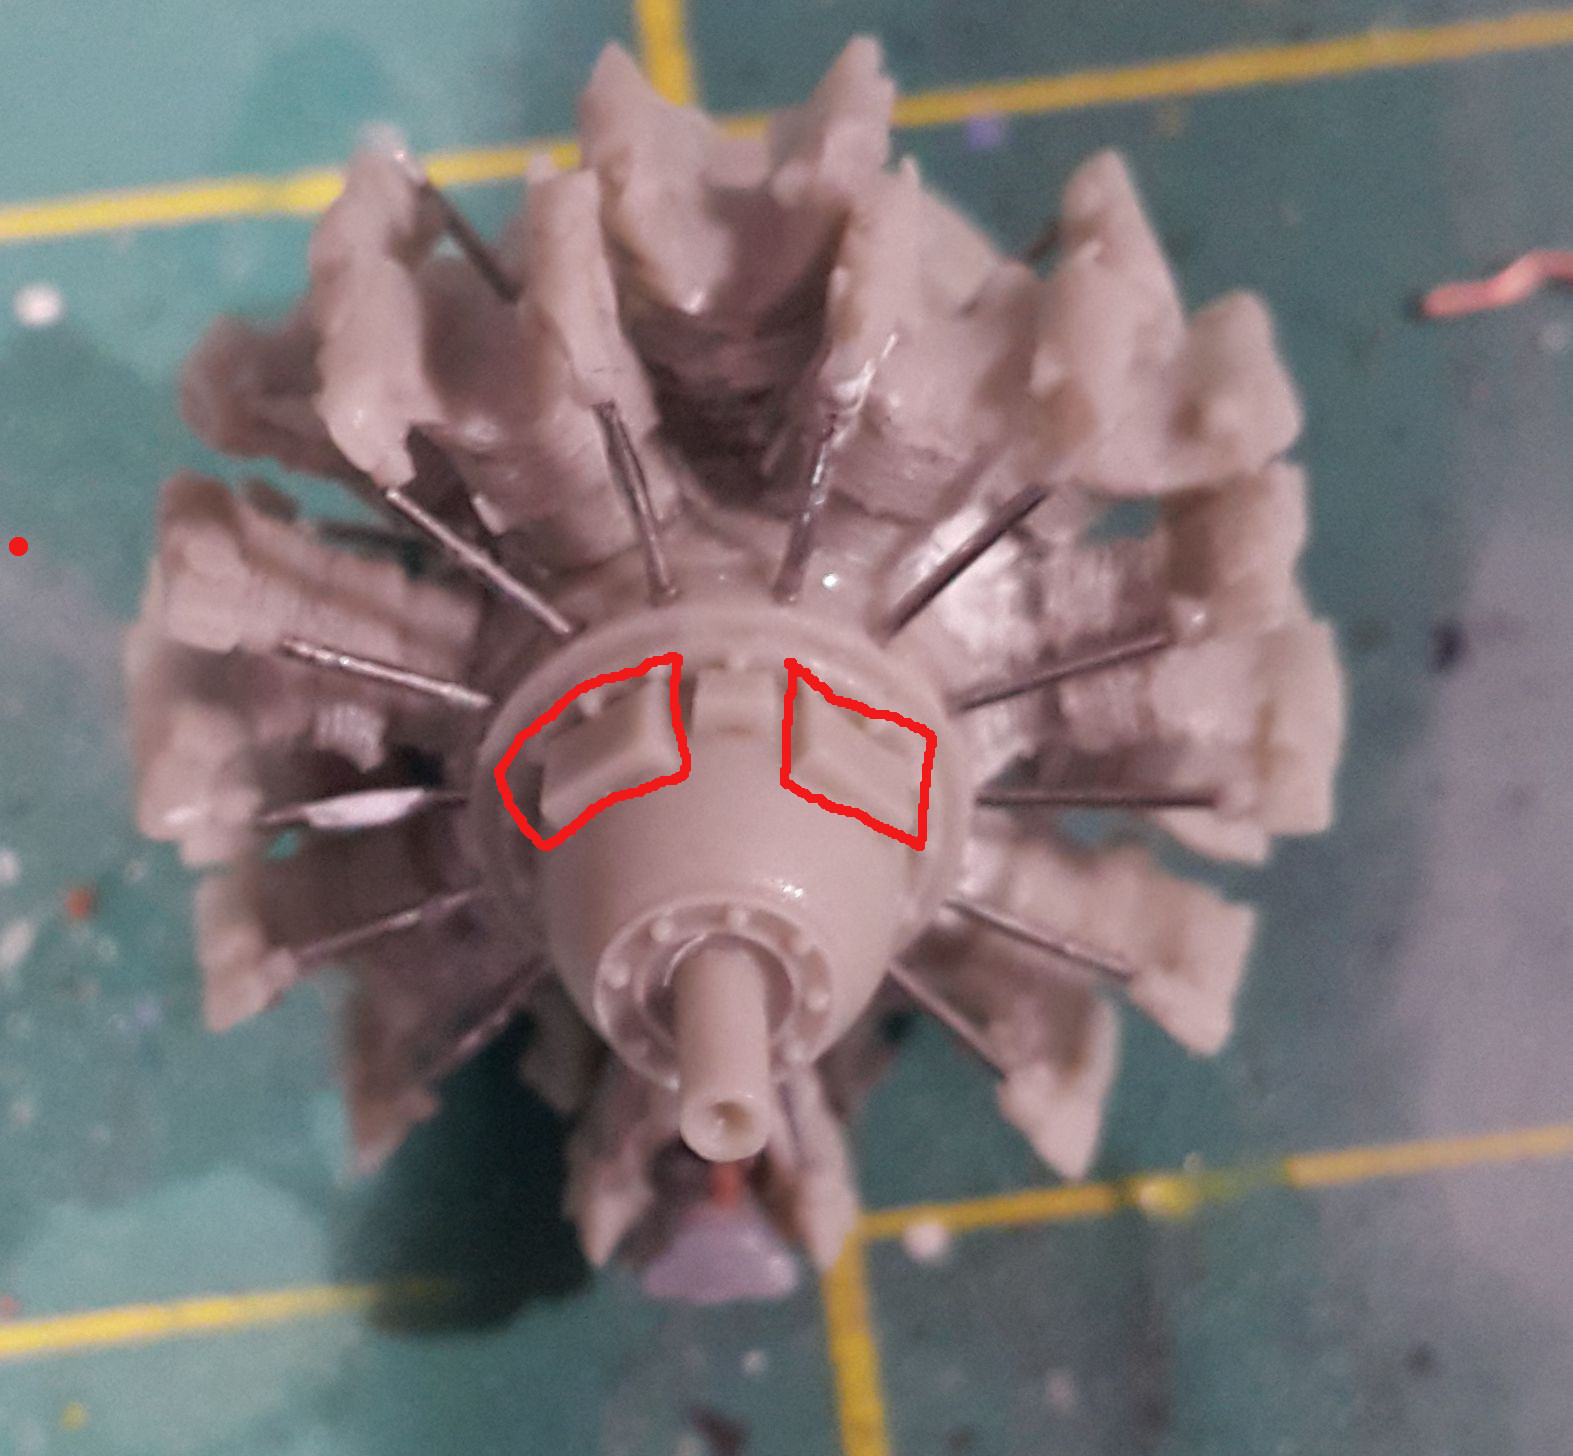
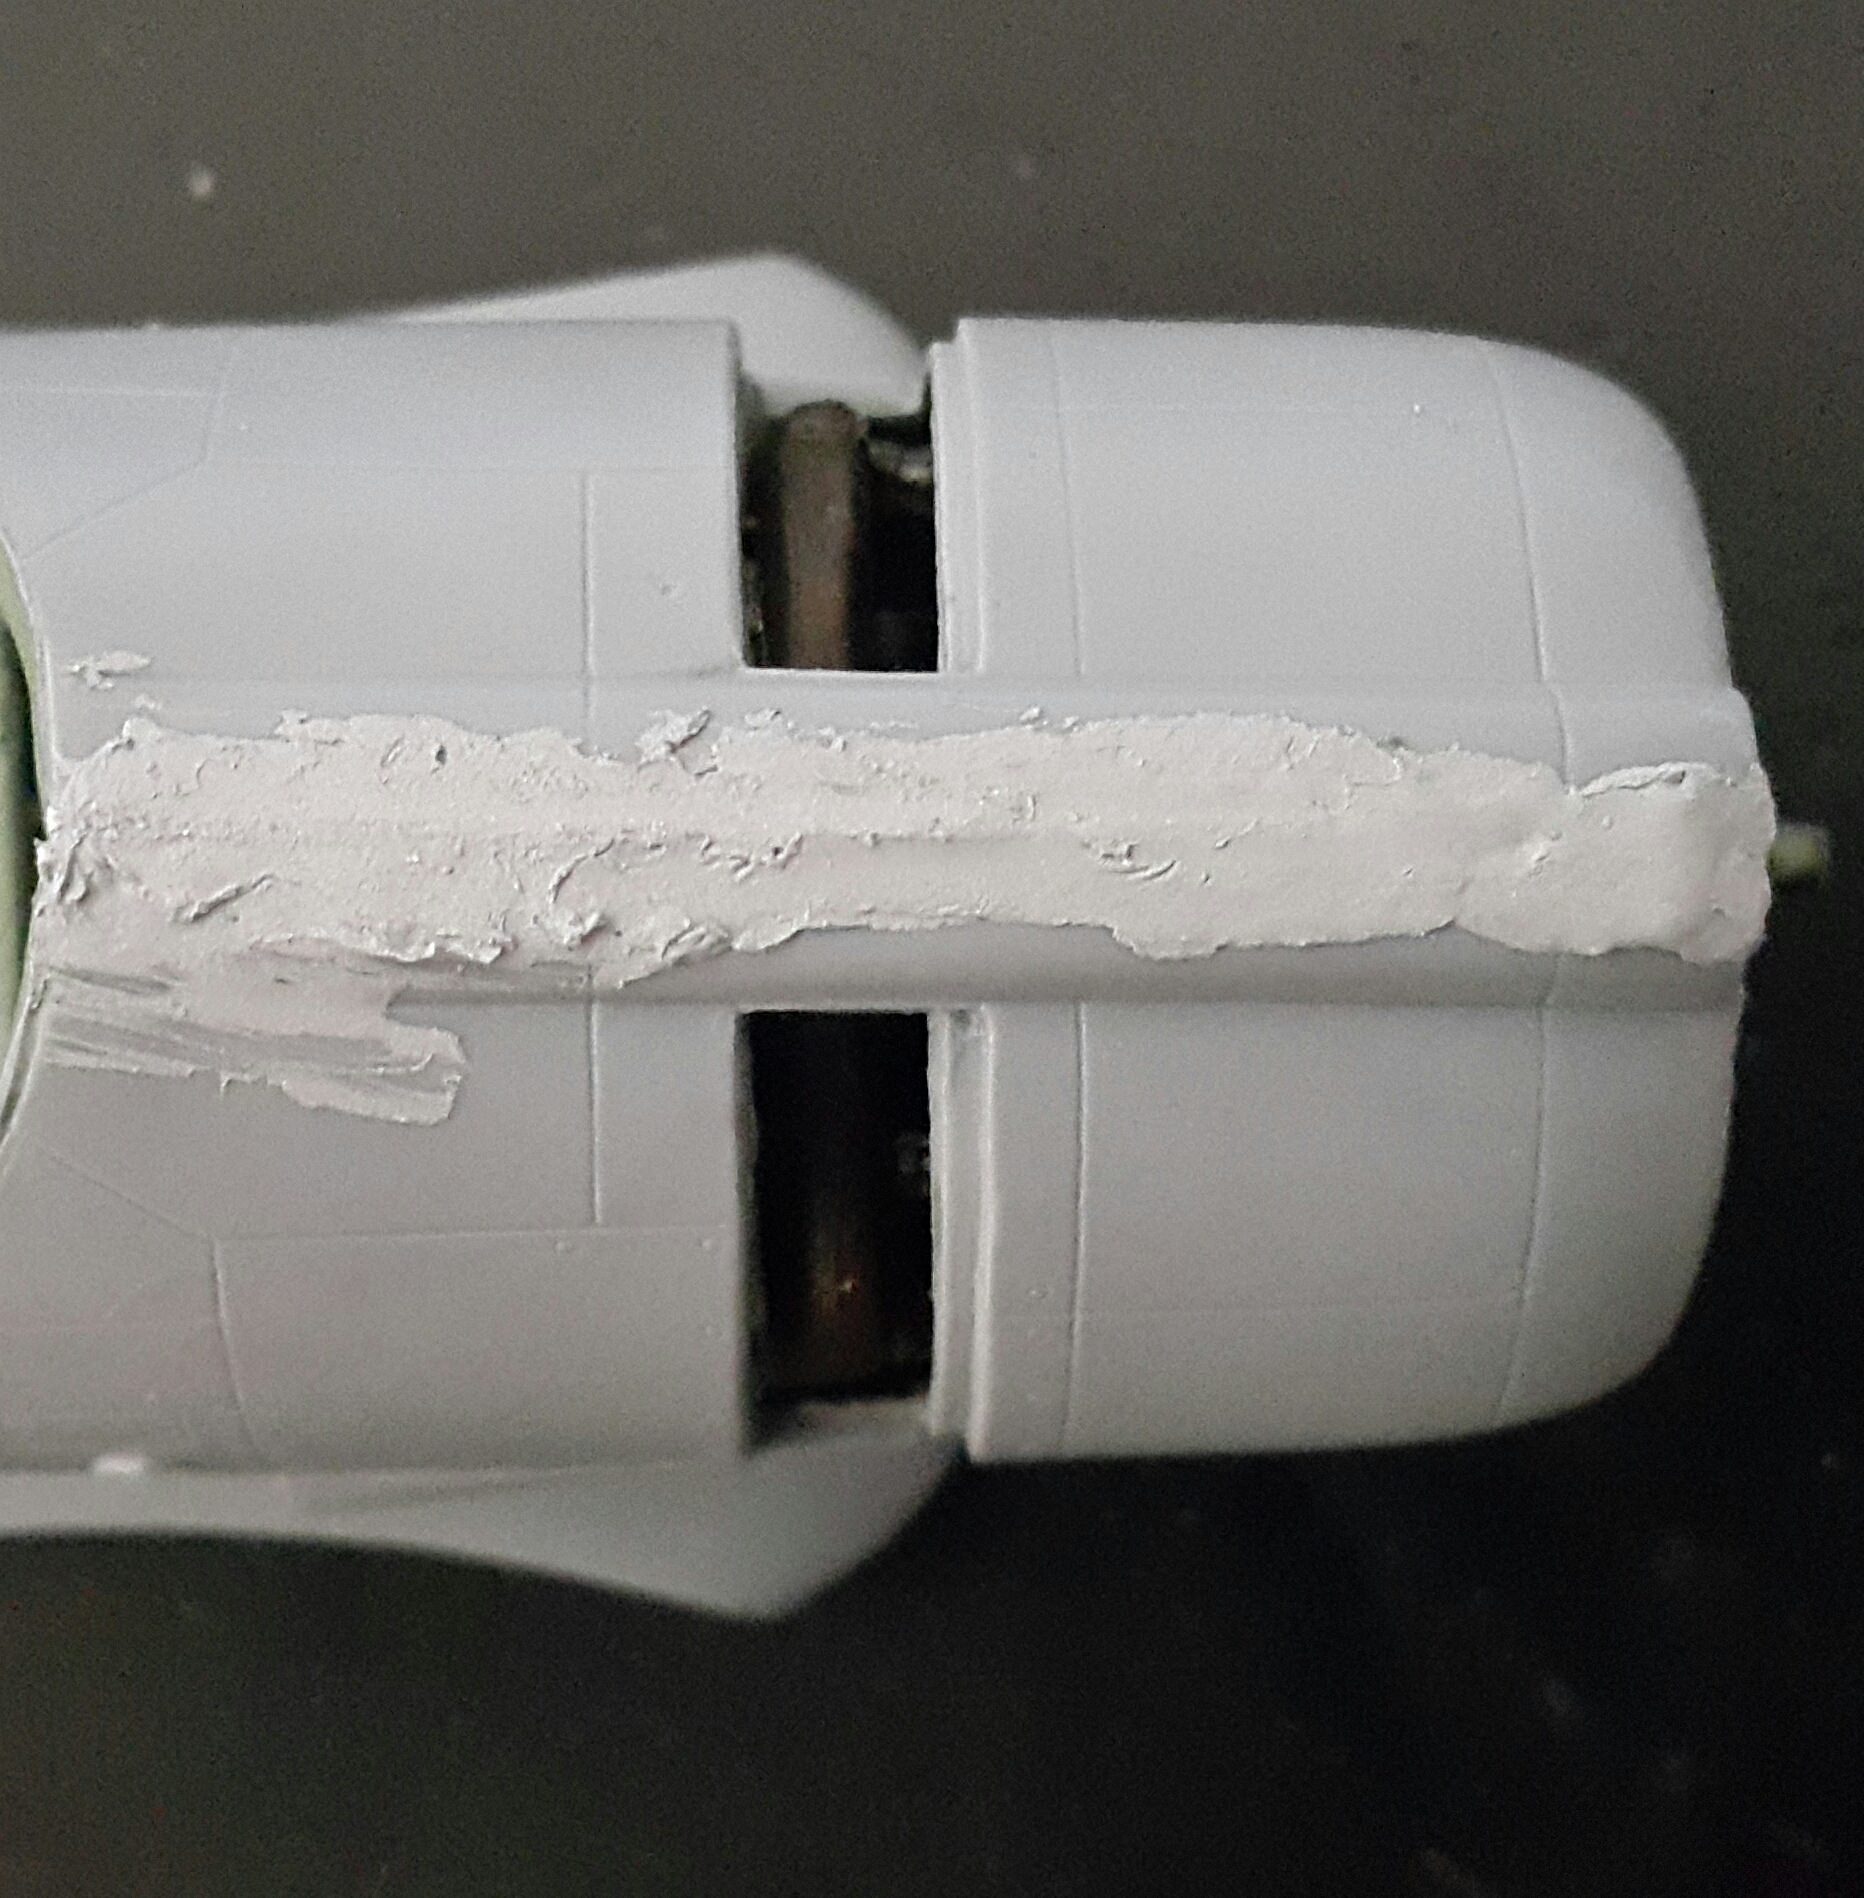
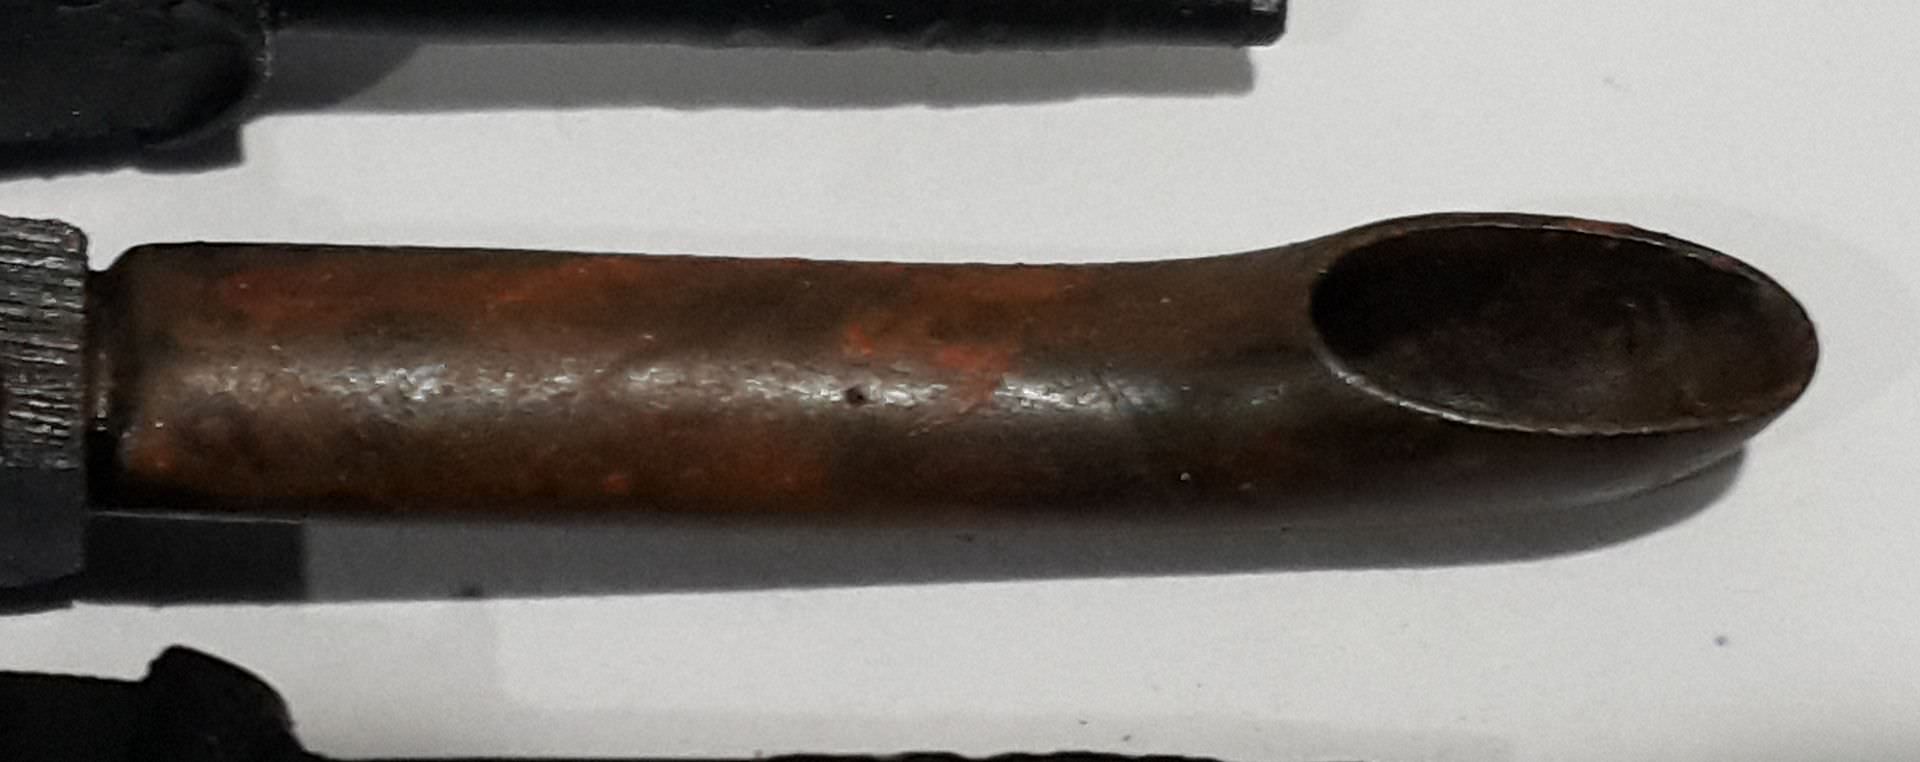
Work continues, as you can see here the front cylinder exhausts are to short to reach the main exhaust ring.
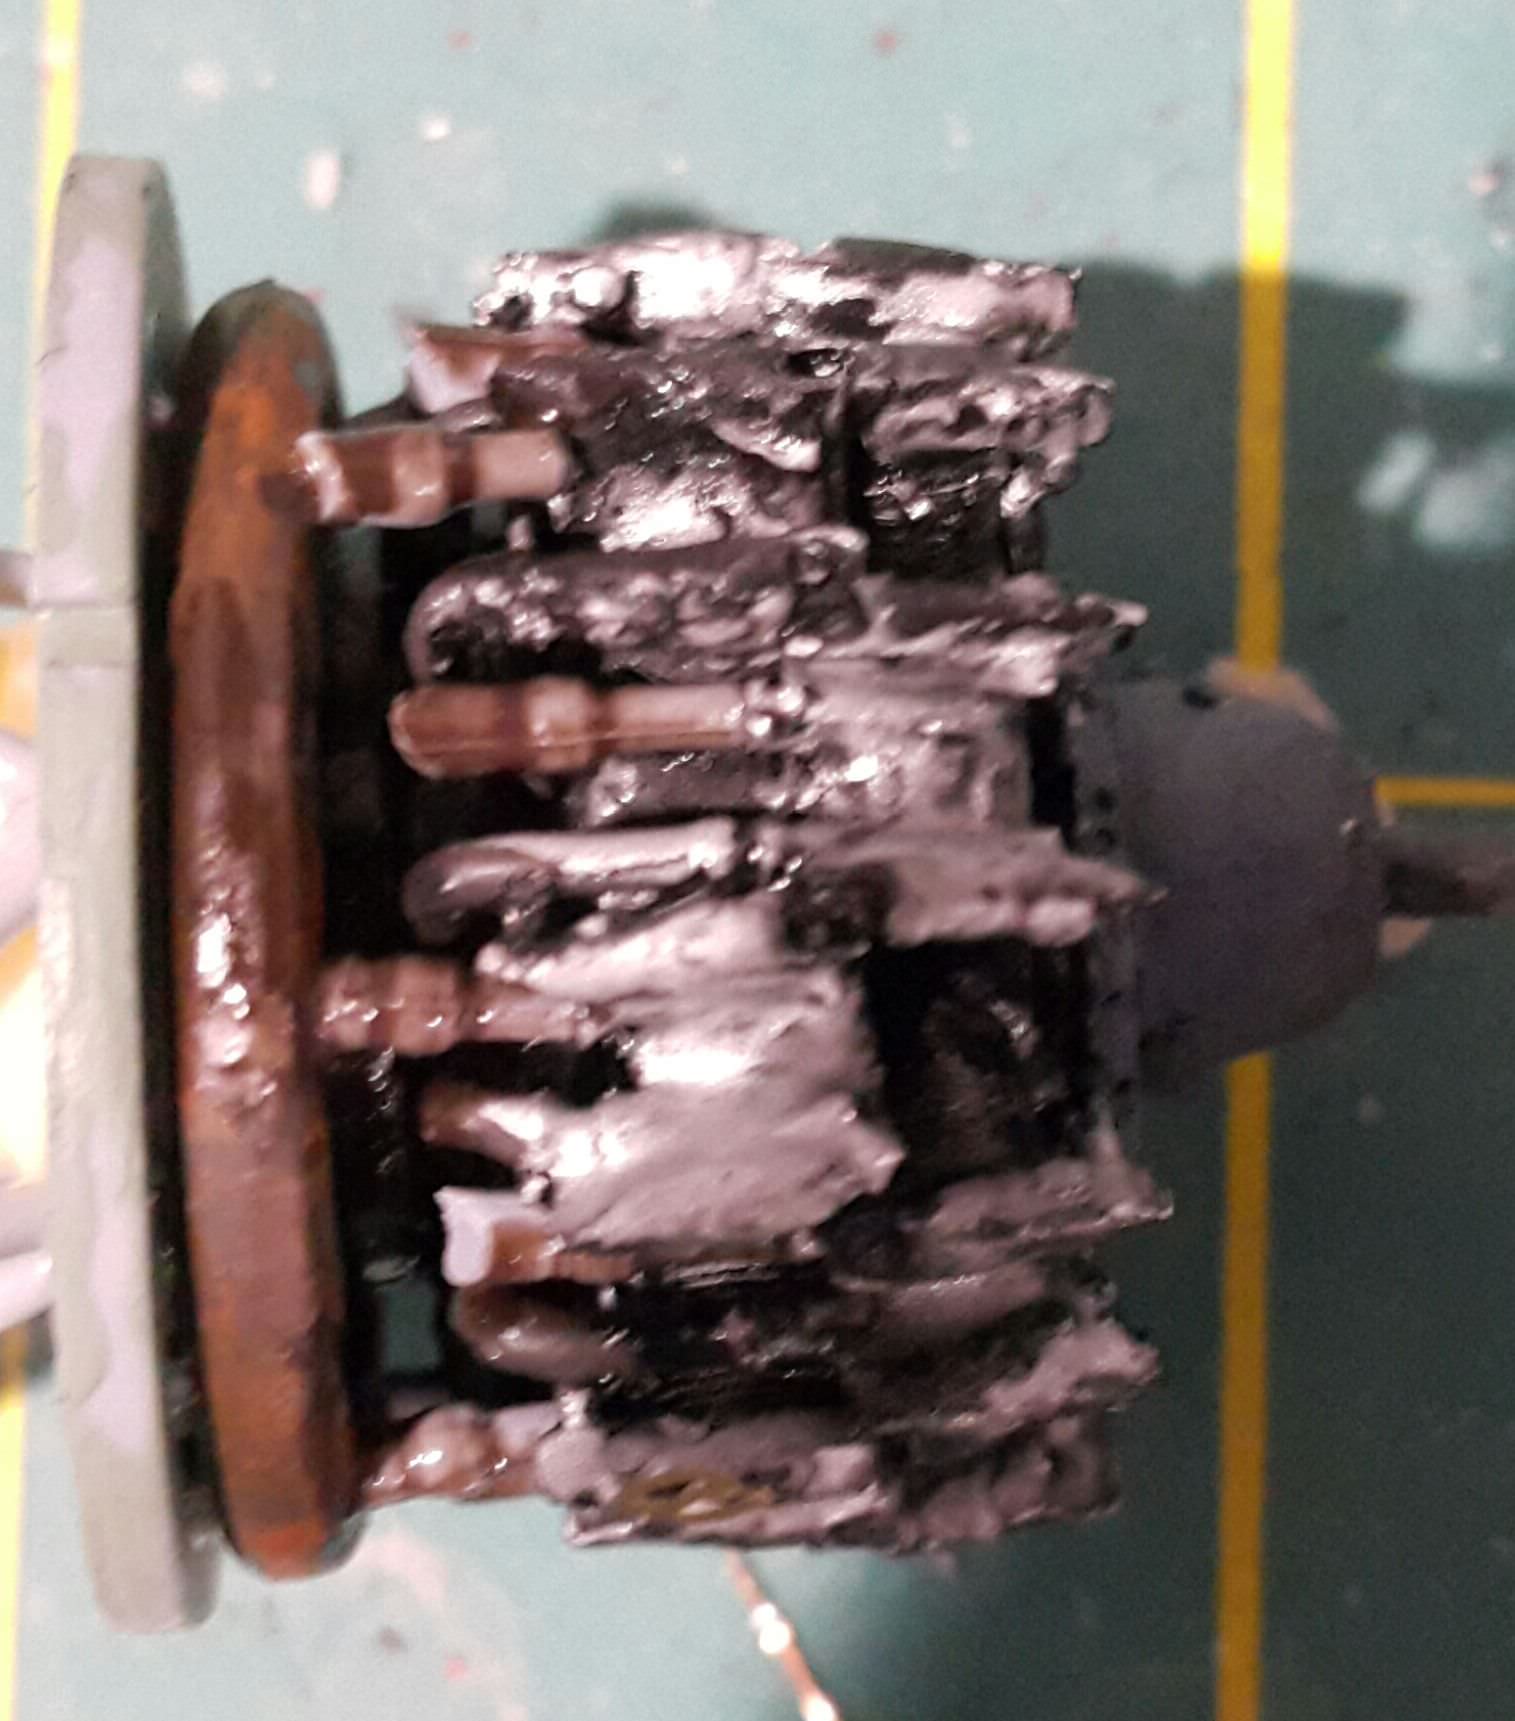
Next time I think I need to install the front exhausts after the rear have been attached to the main ring, that way you won't be able to see the gap they will leave at the cylinder.
The fuselage is too narrow to fit eveything properly, which also gives it the wrong shape overall, so some shims are required:
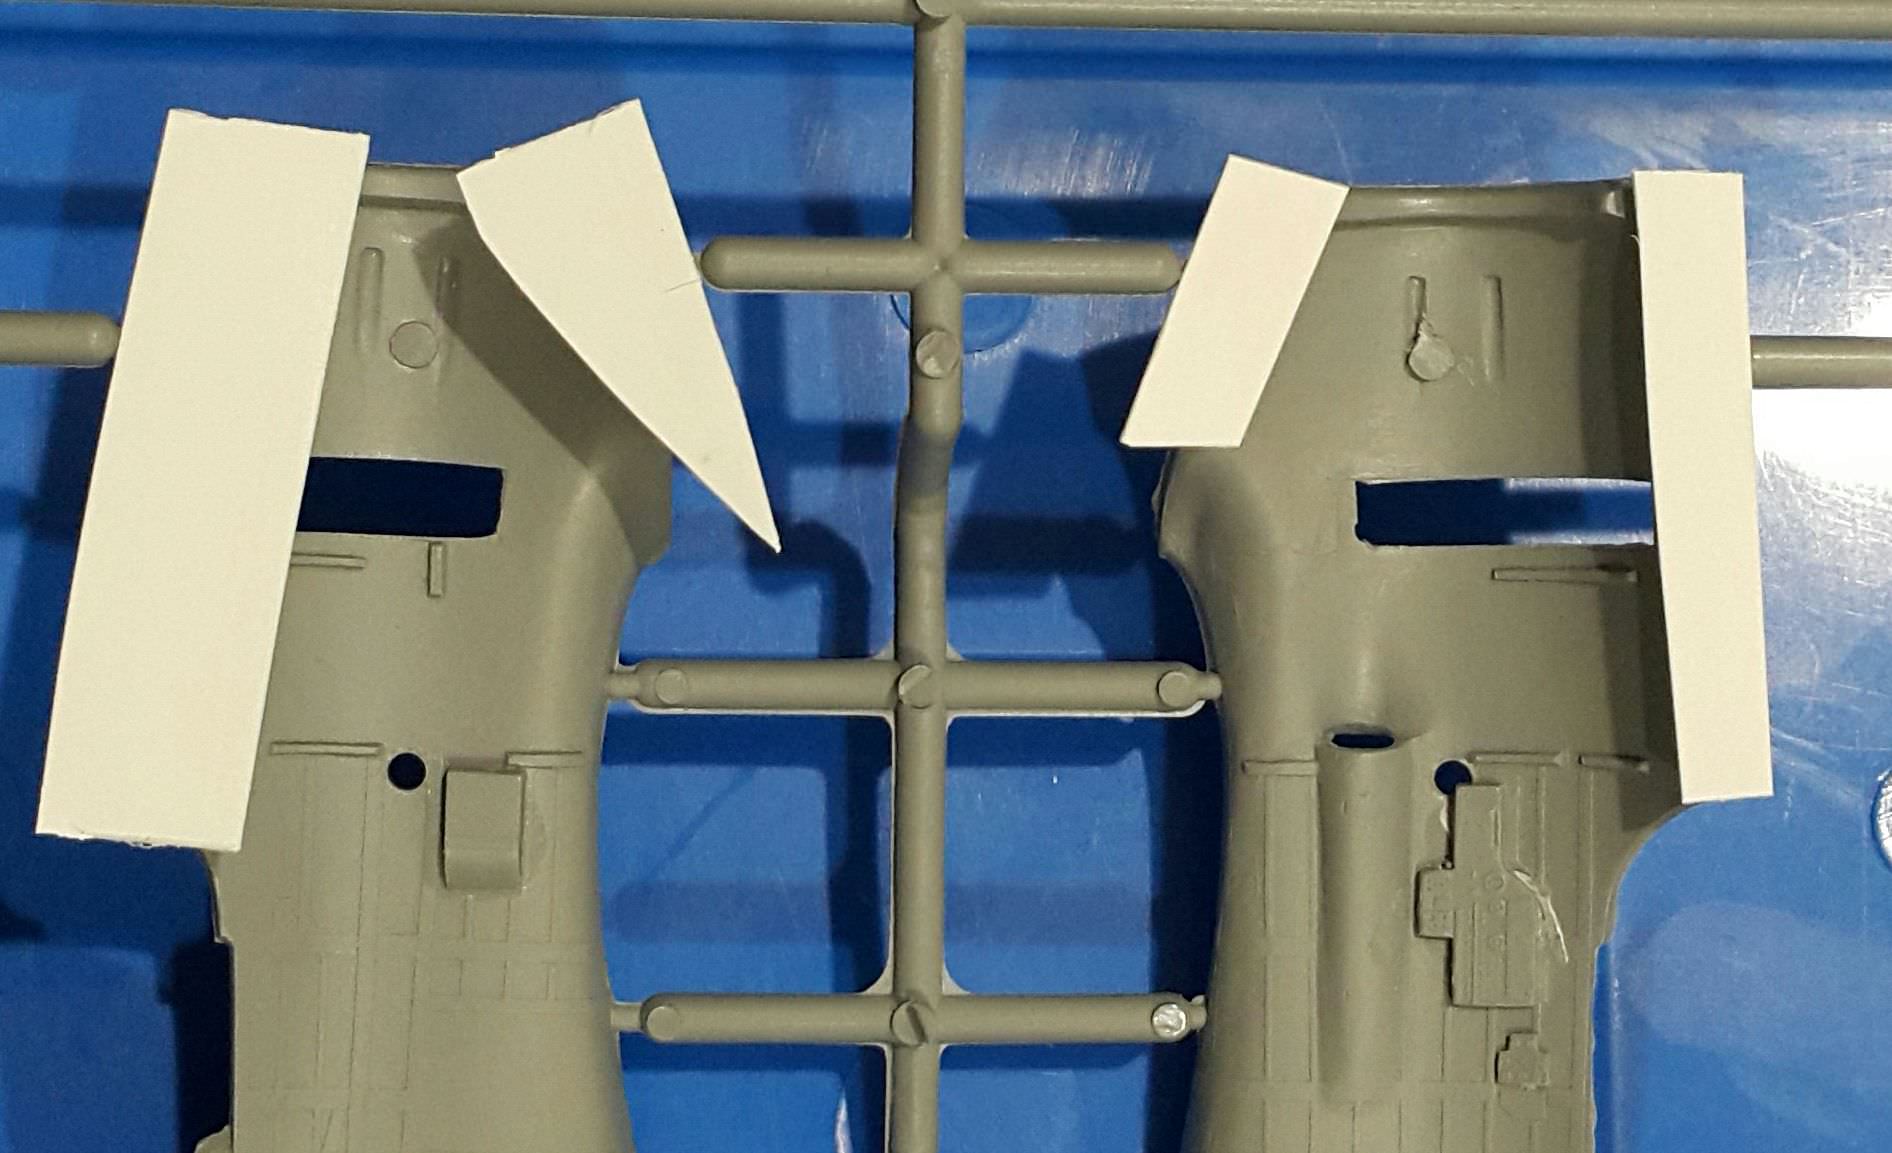
Not sure what Thickness I used as it was some scraps I had that looked about right with some testing before glue.
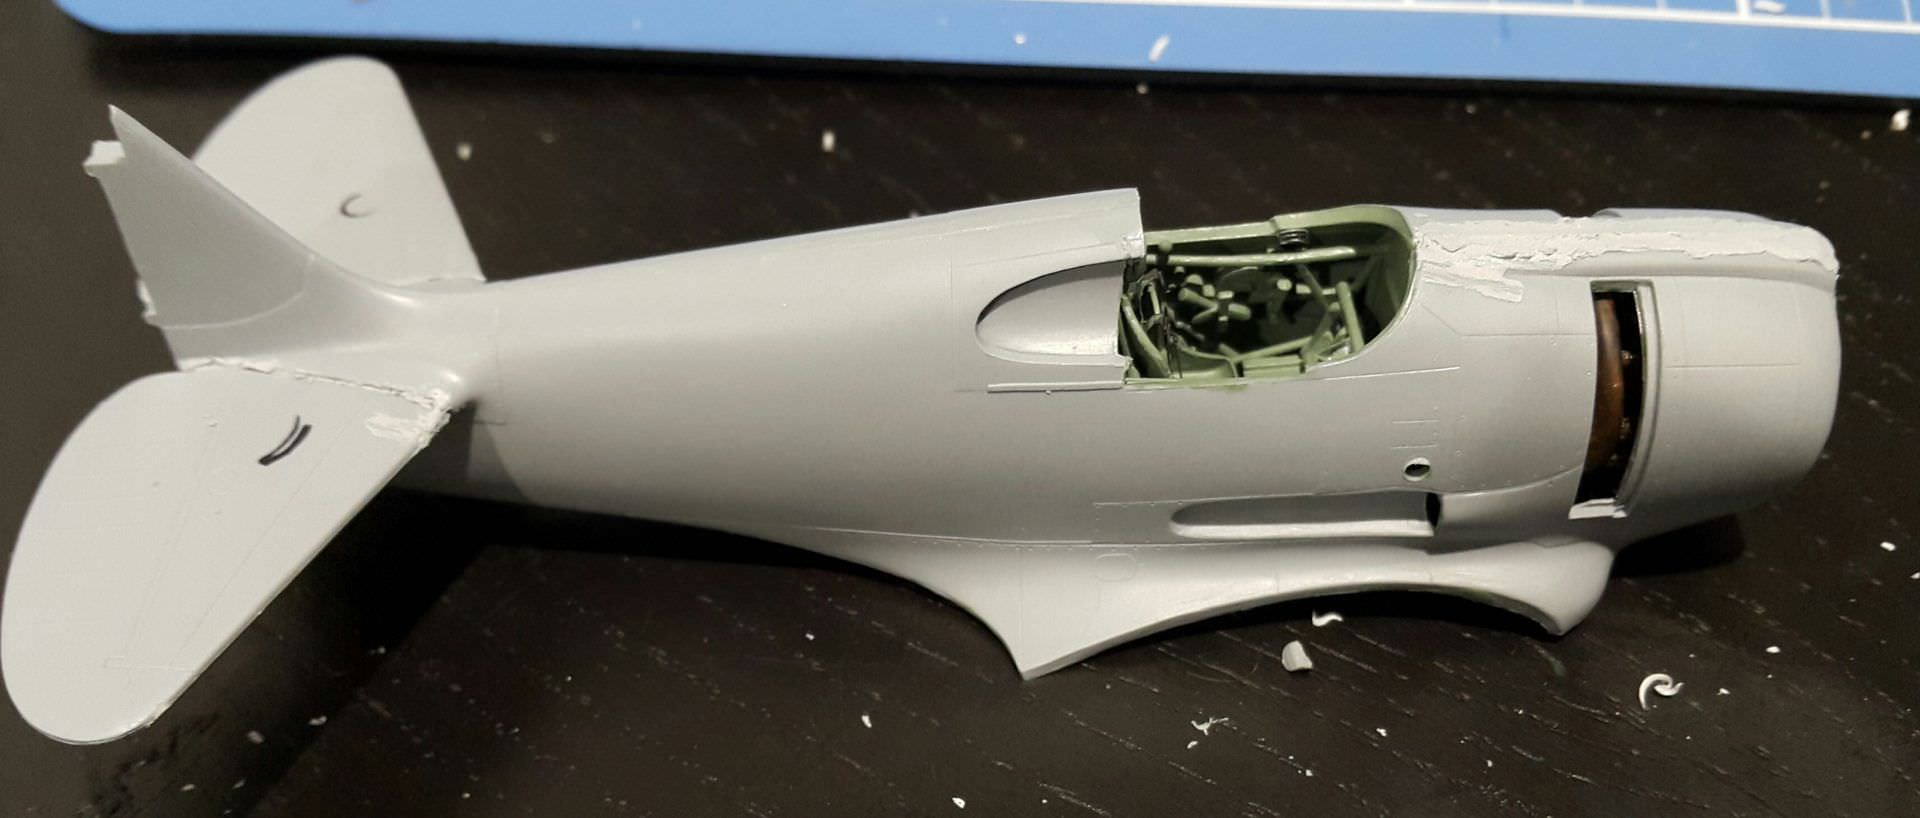
Even with care I still ended up with the engine slightly askew:

The upper intake also needed reshaping with epoxy, as it didn't look anything like the real thing.
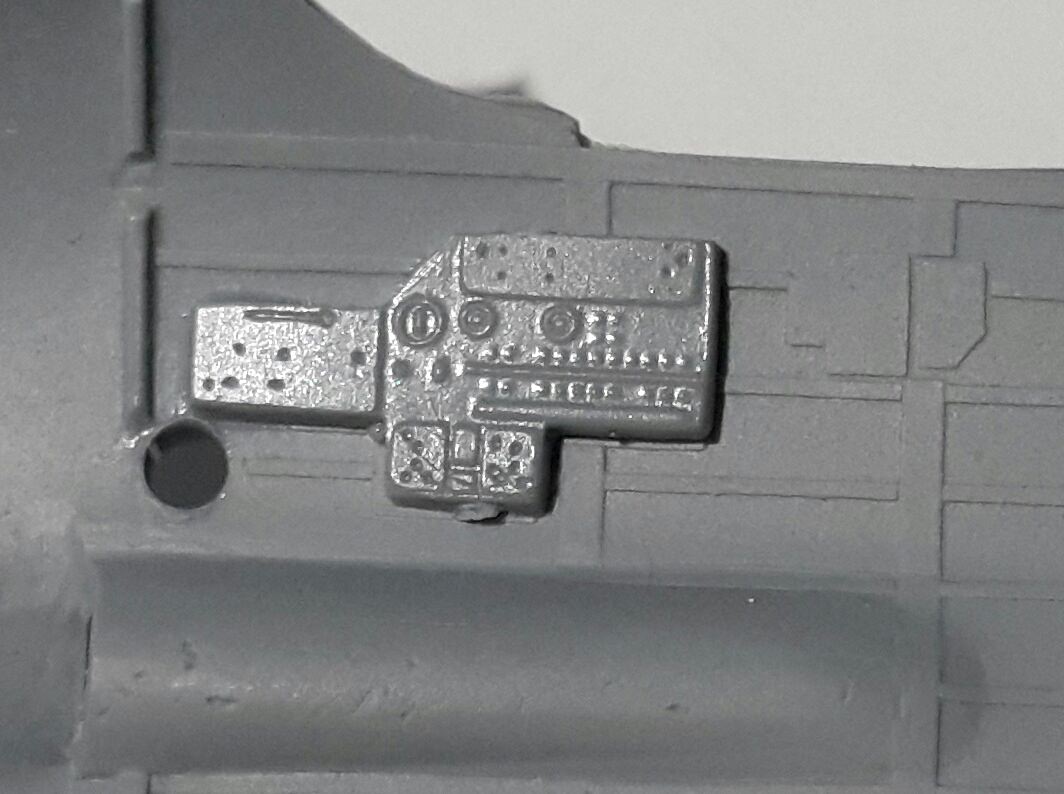
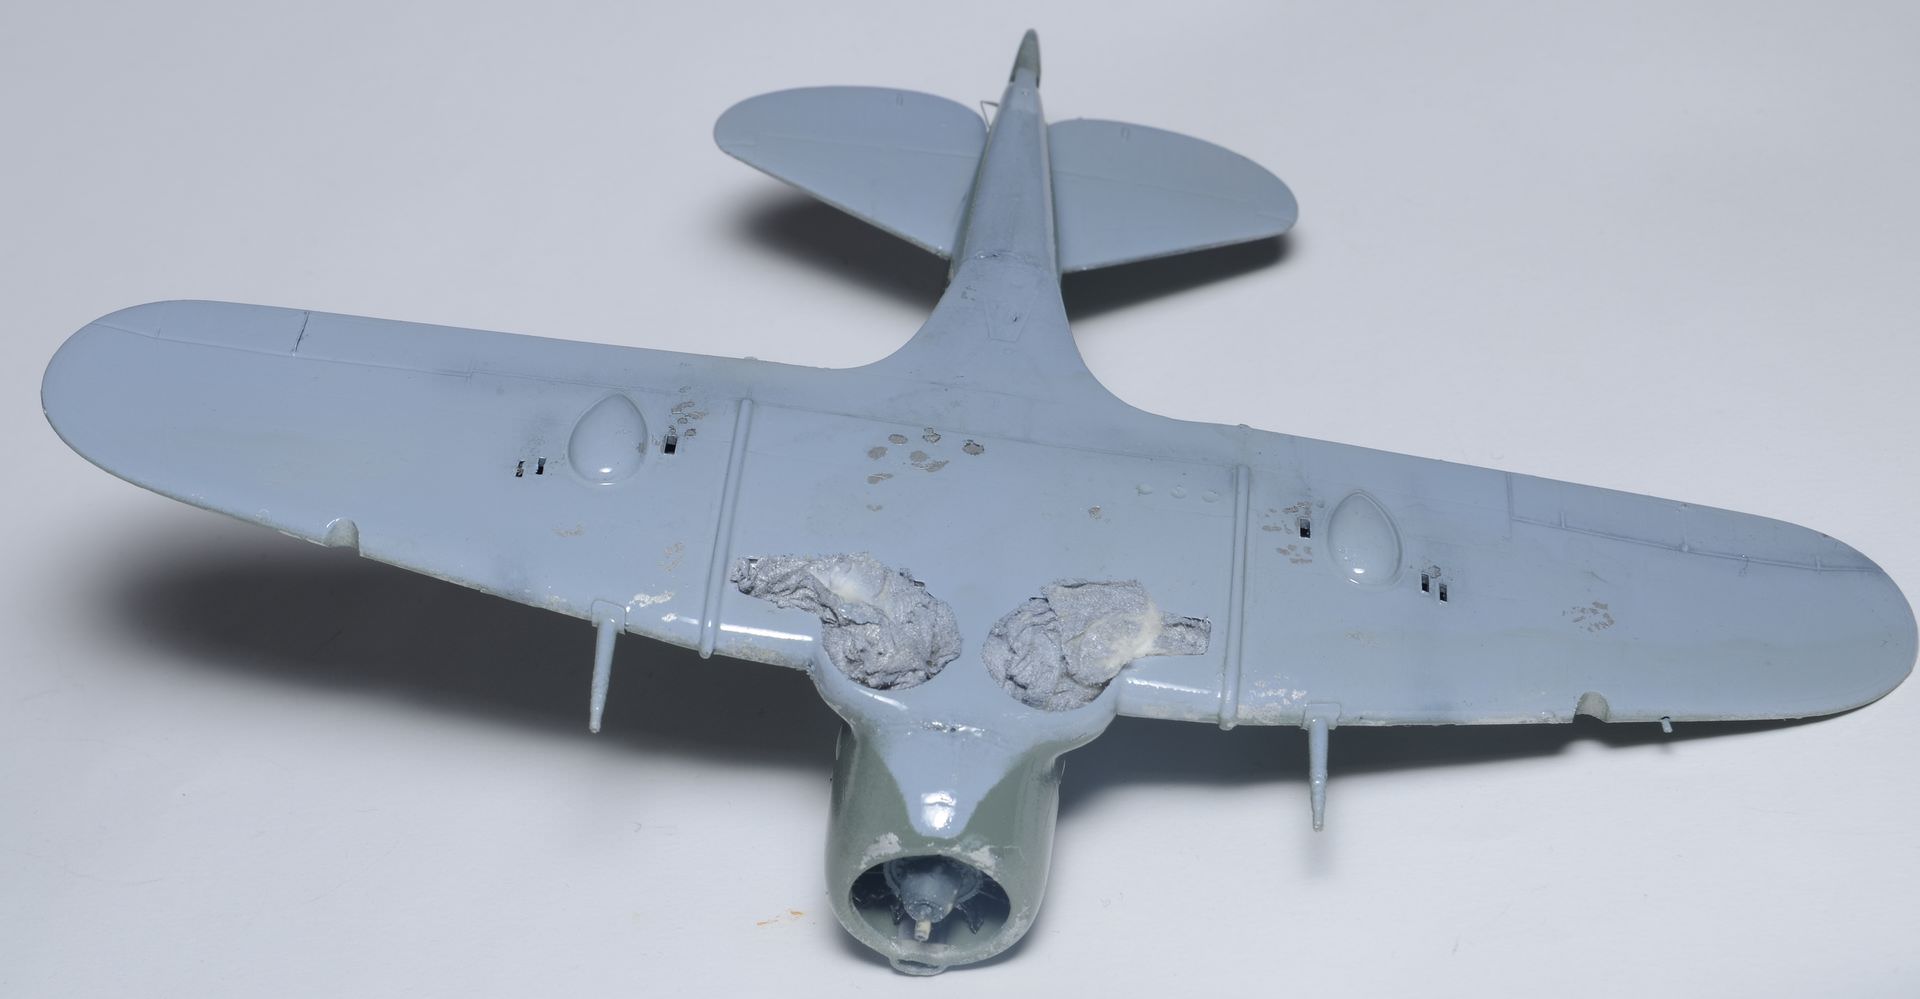
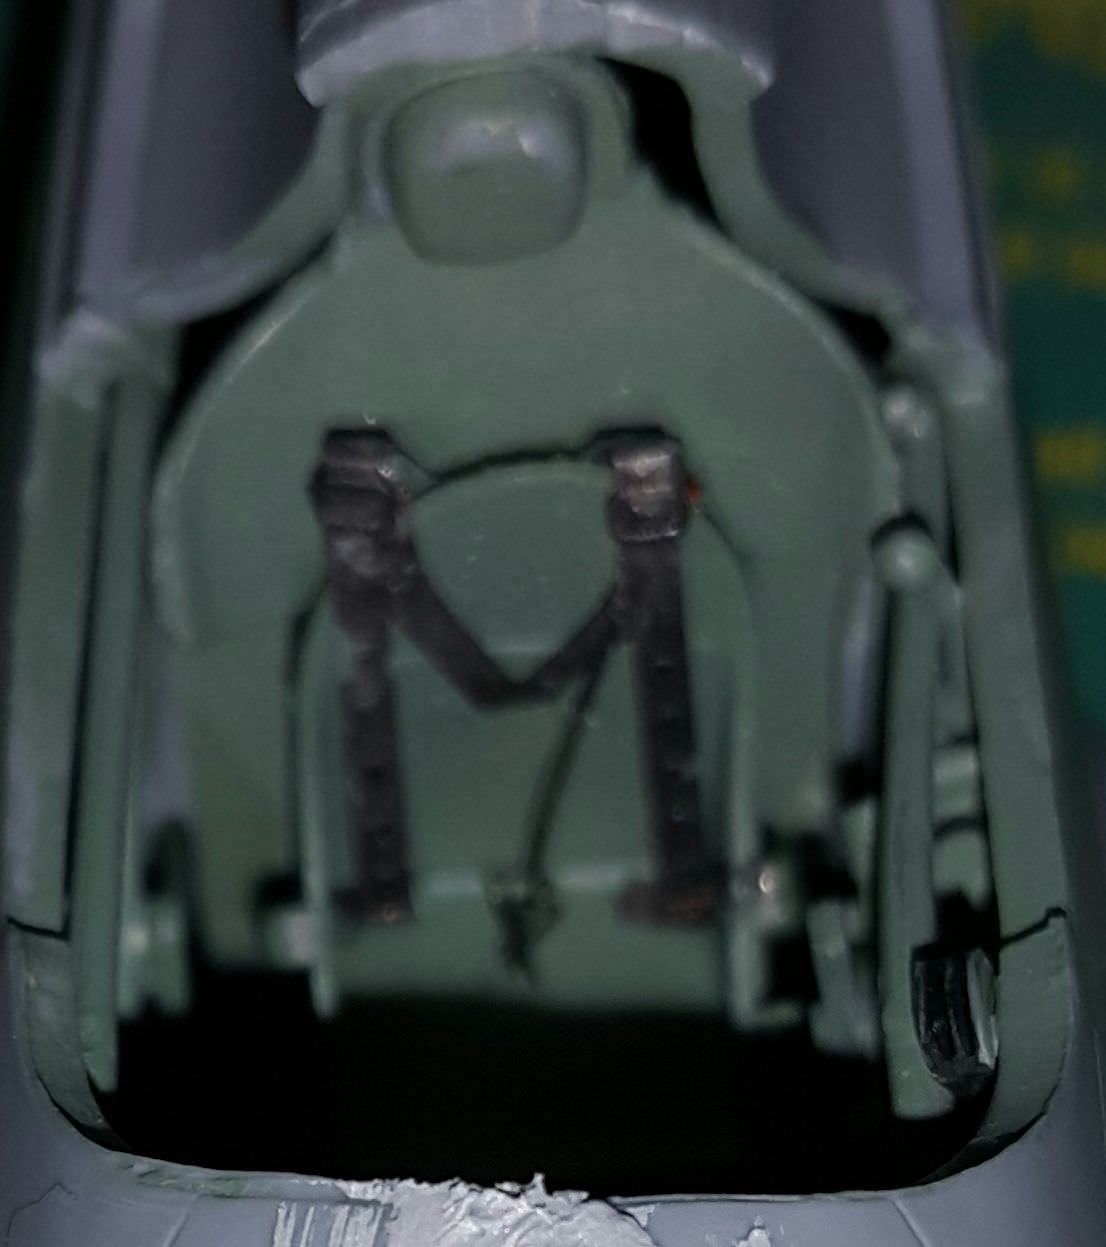
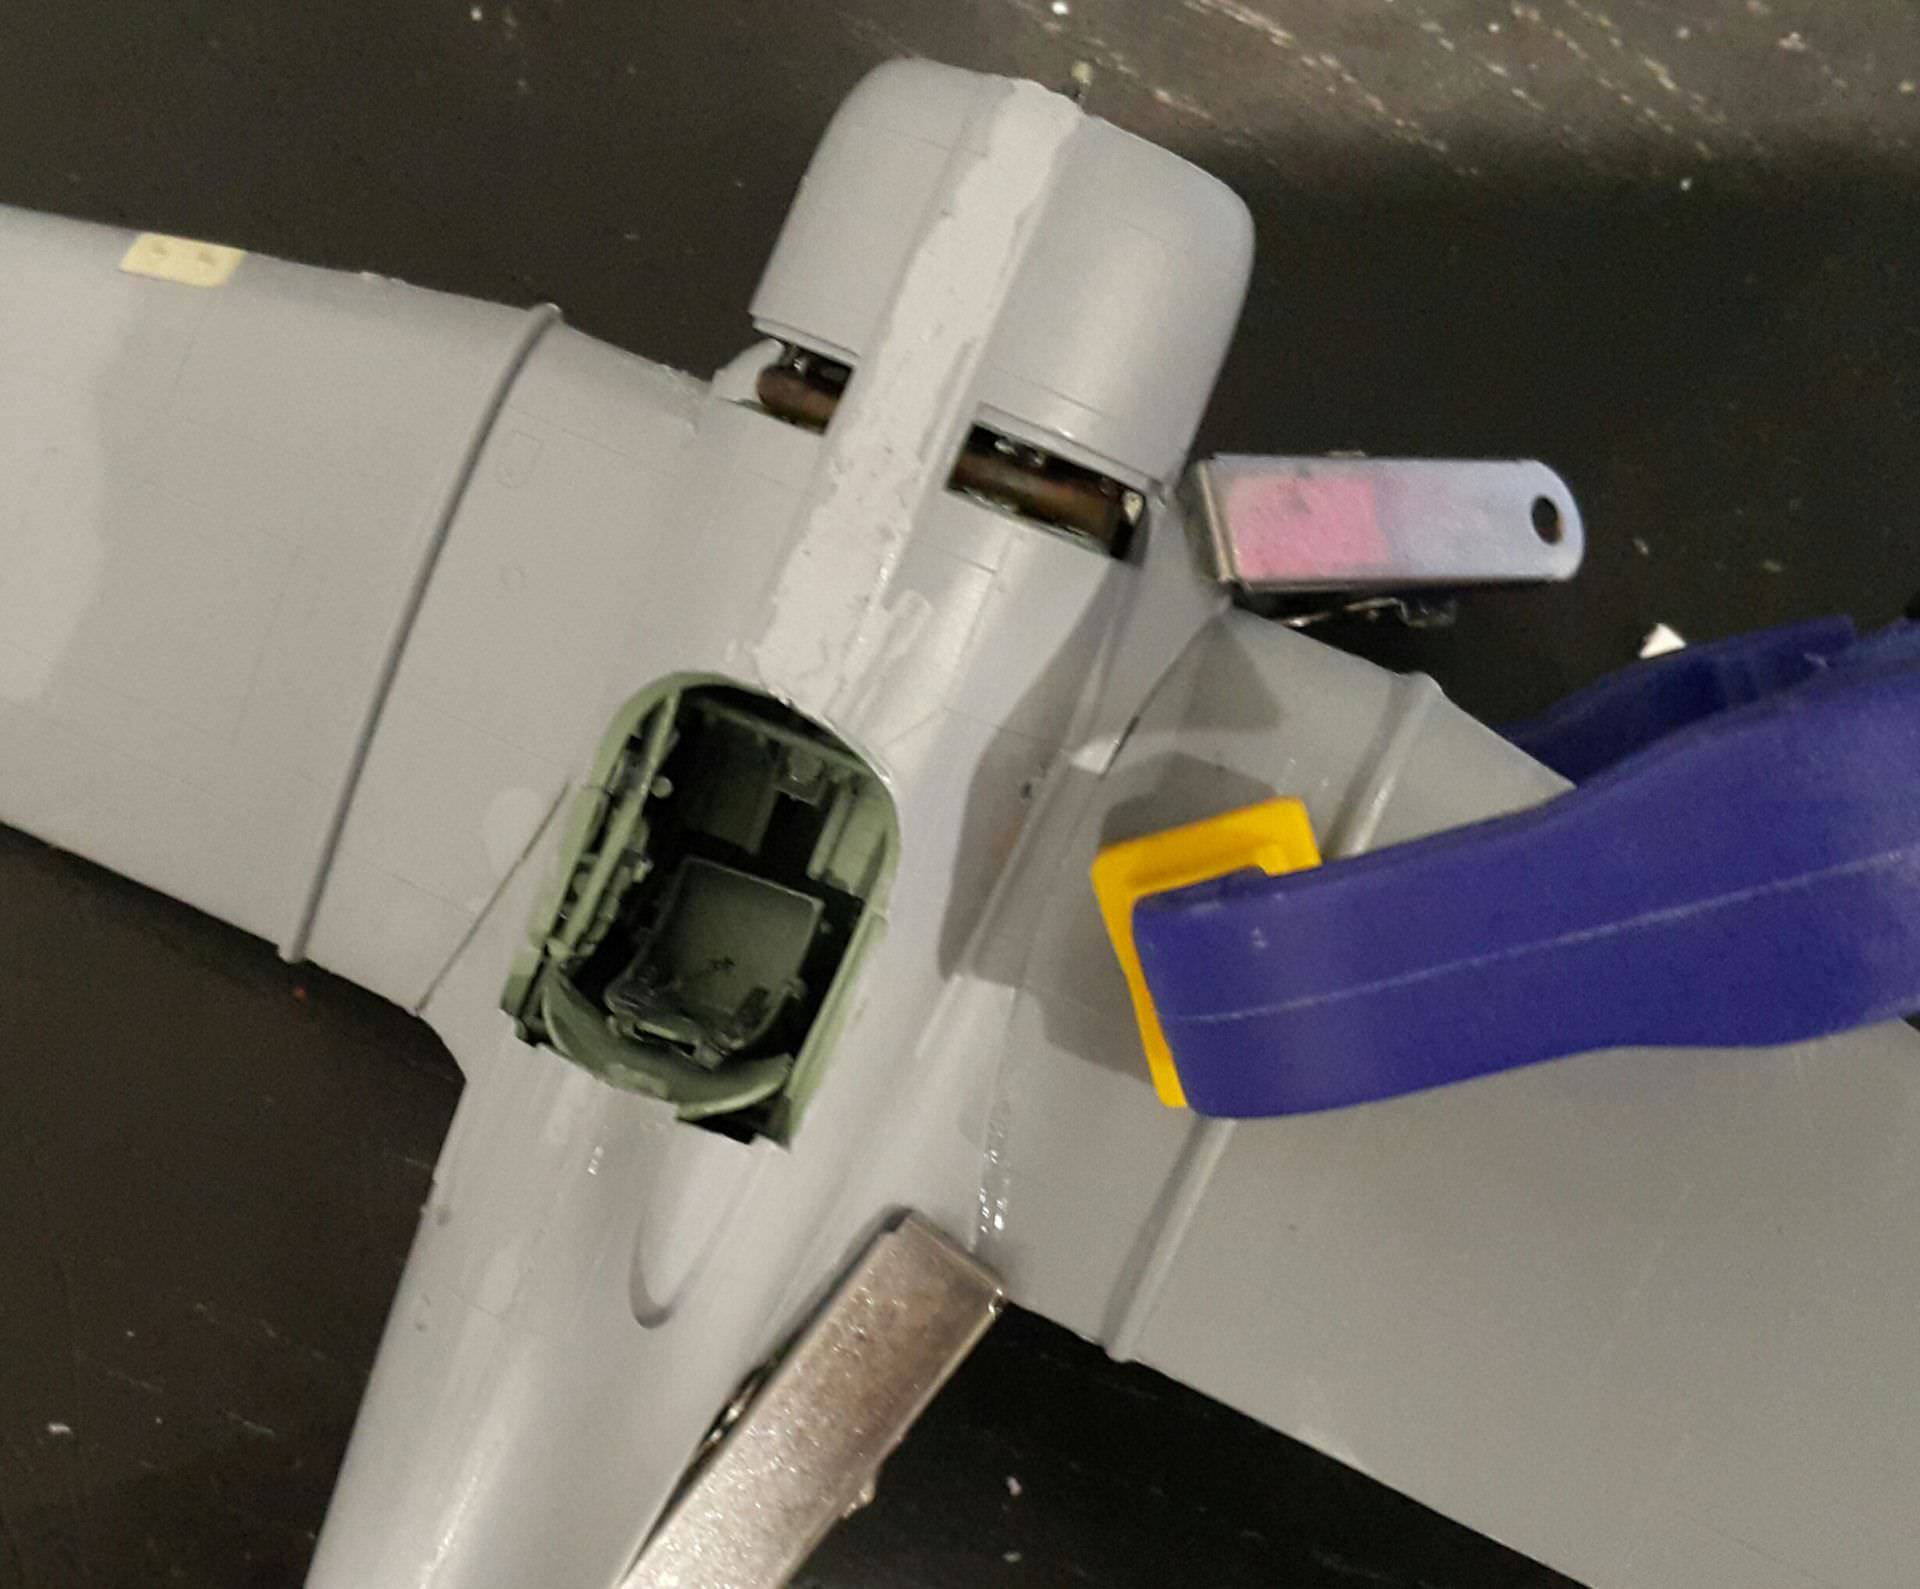
Most of this stuff will be visible through the main gear bays for anyone that cares to look:
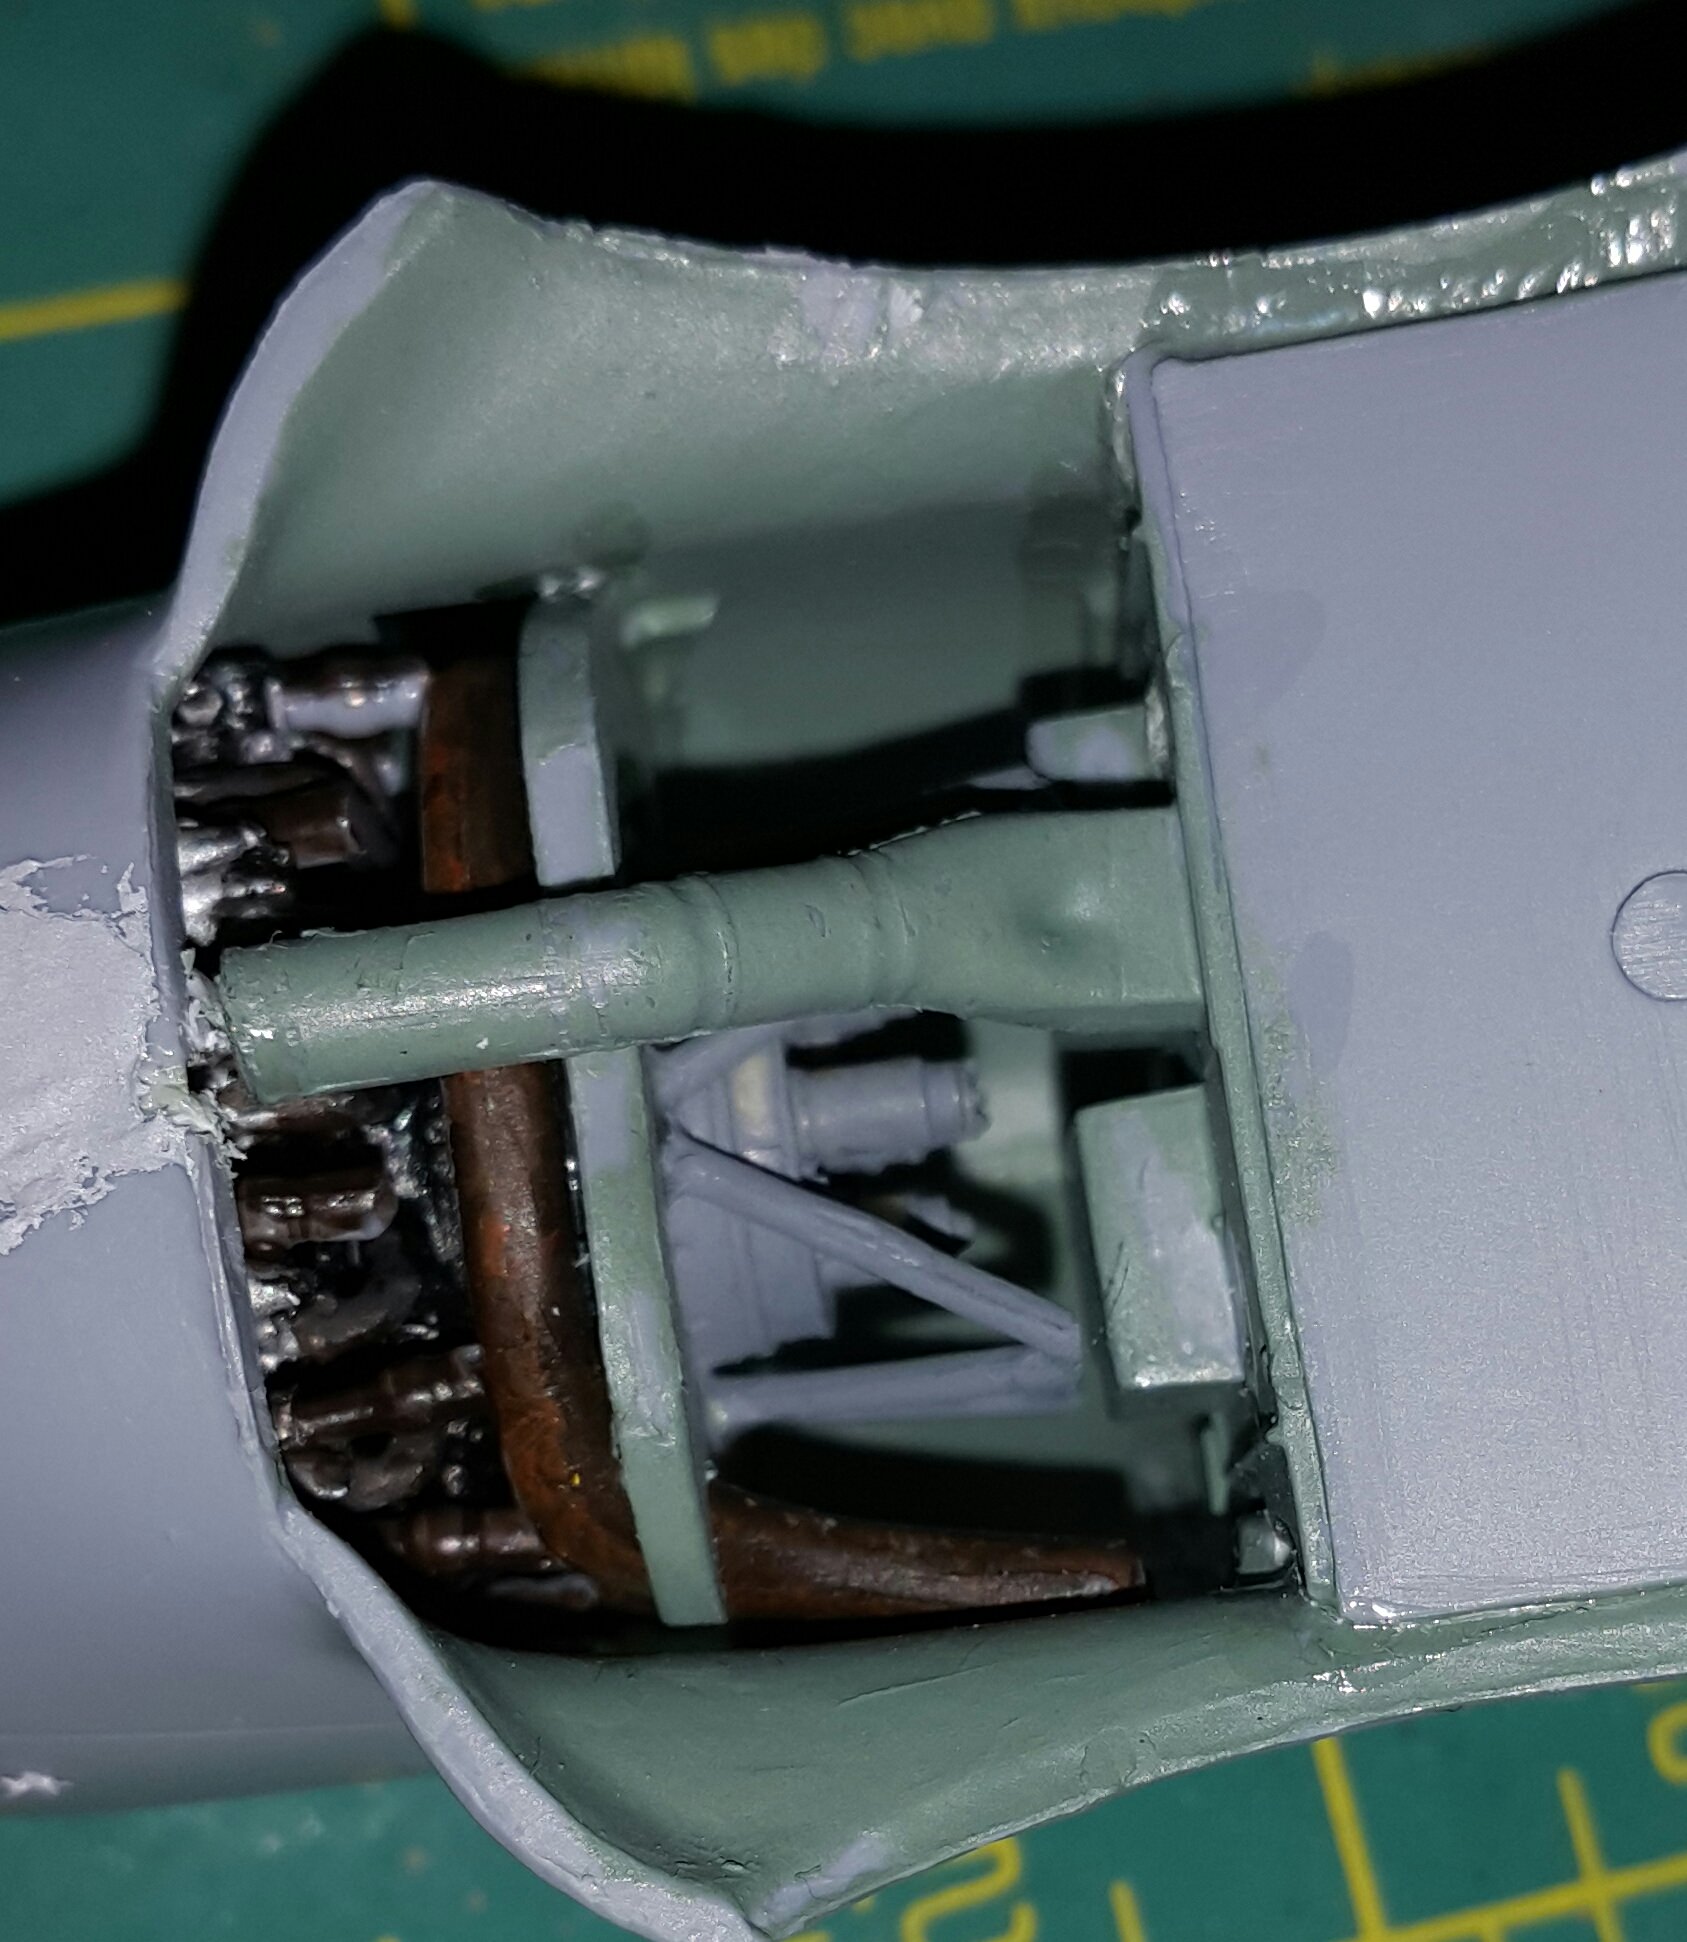
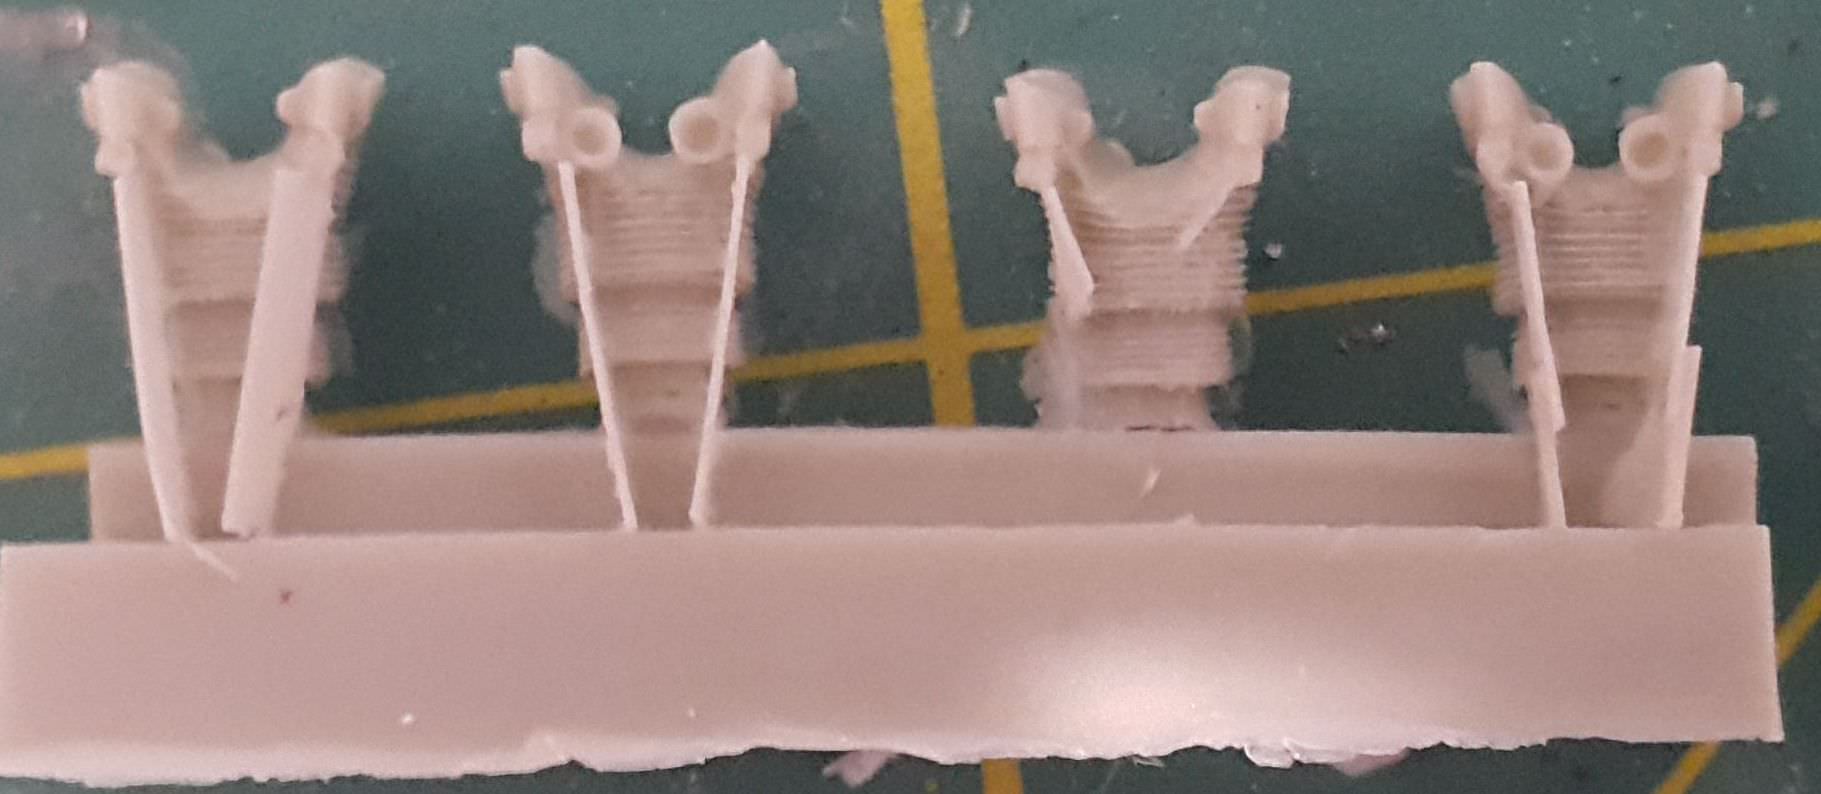
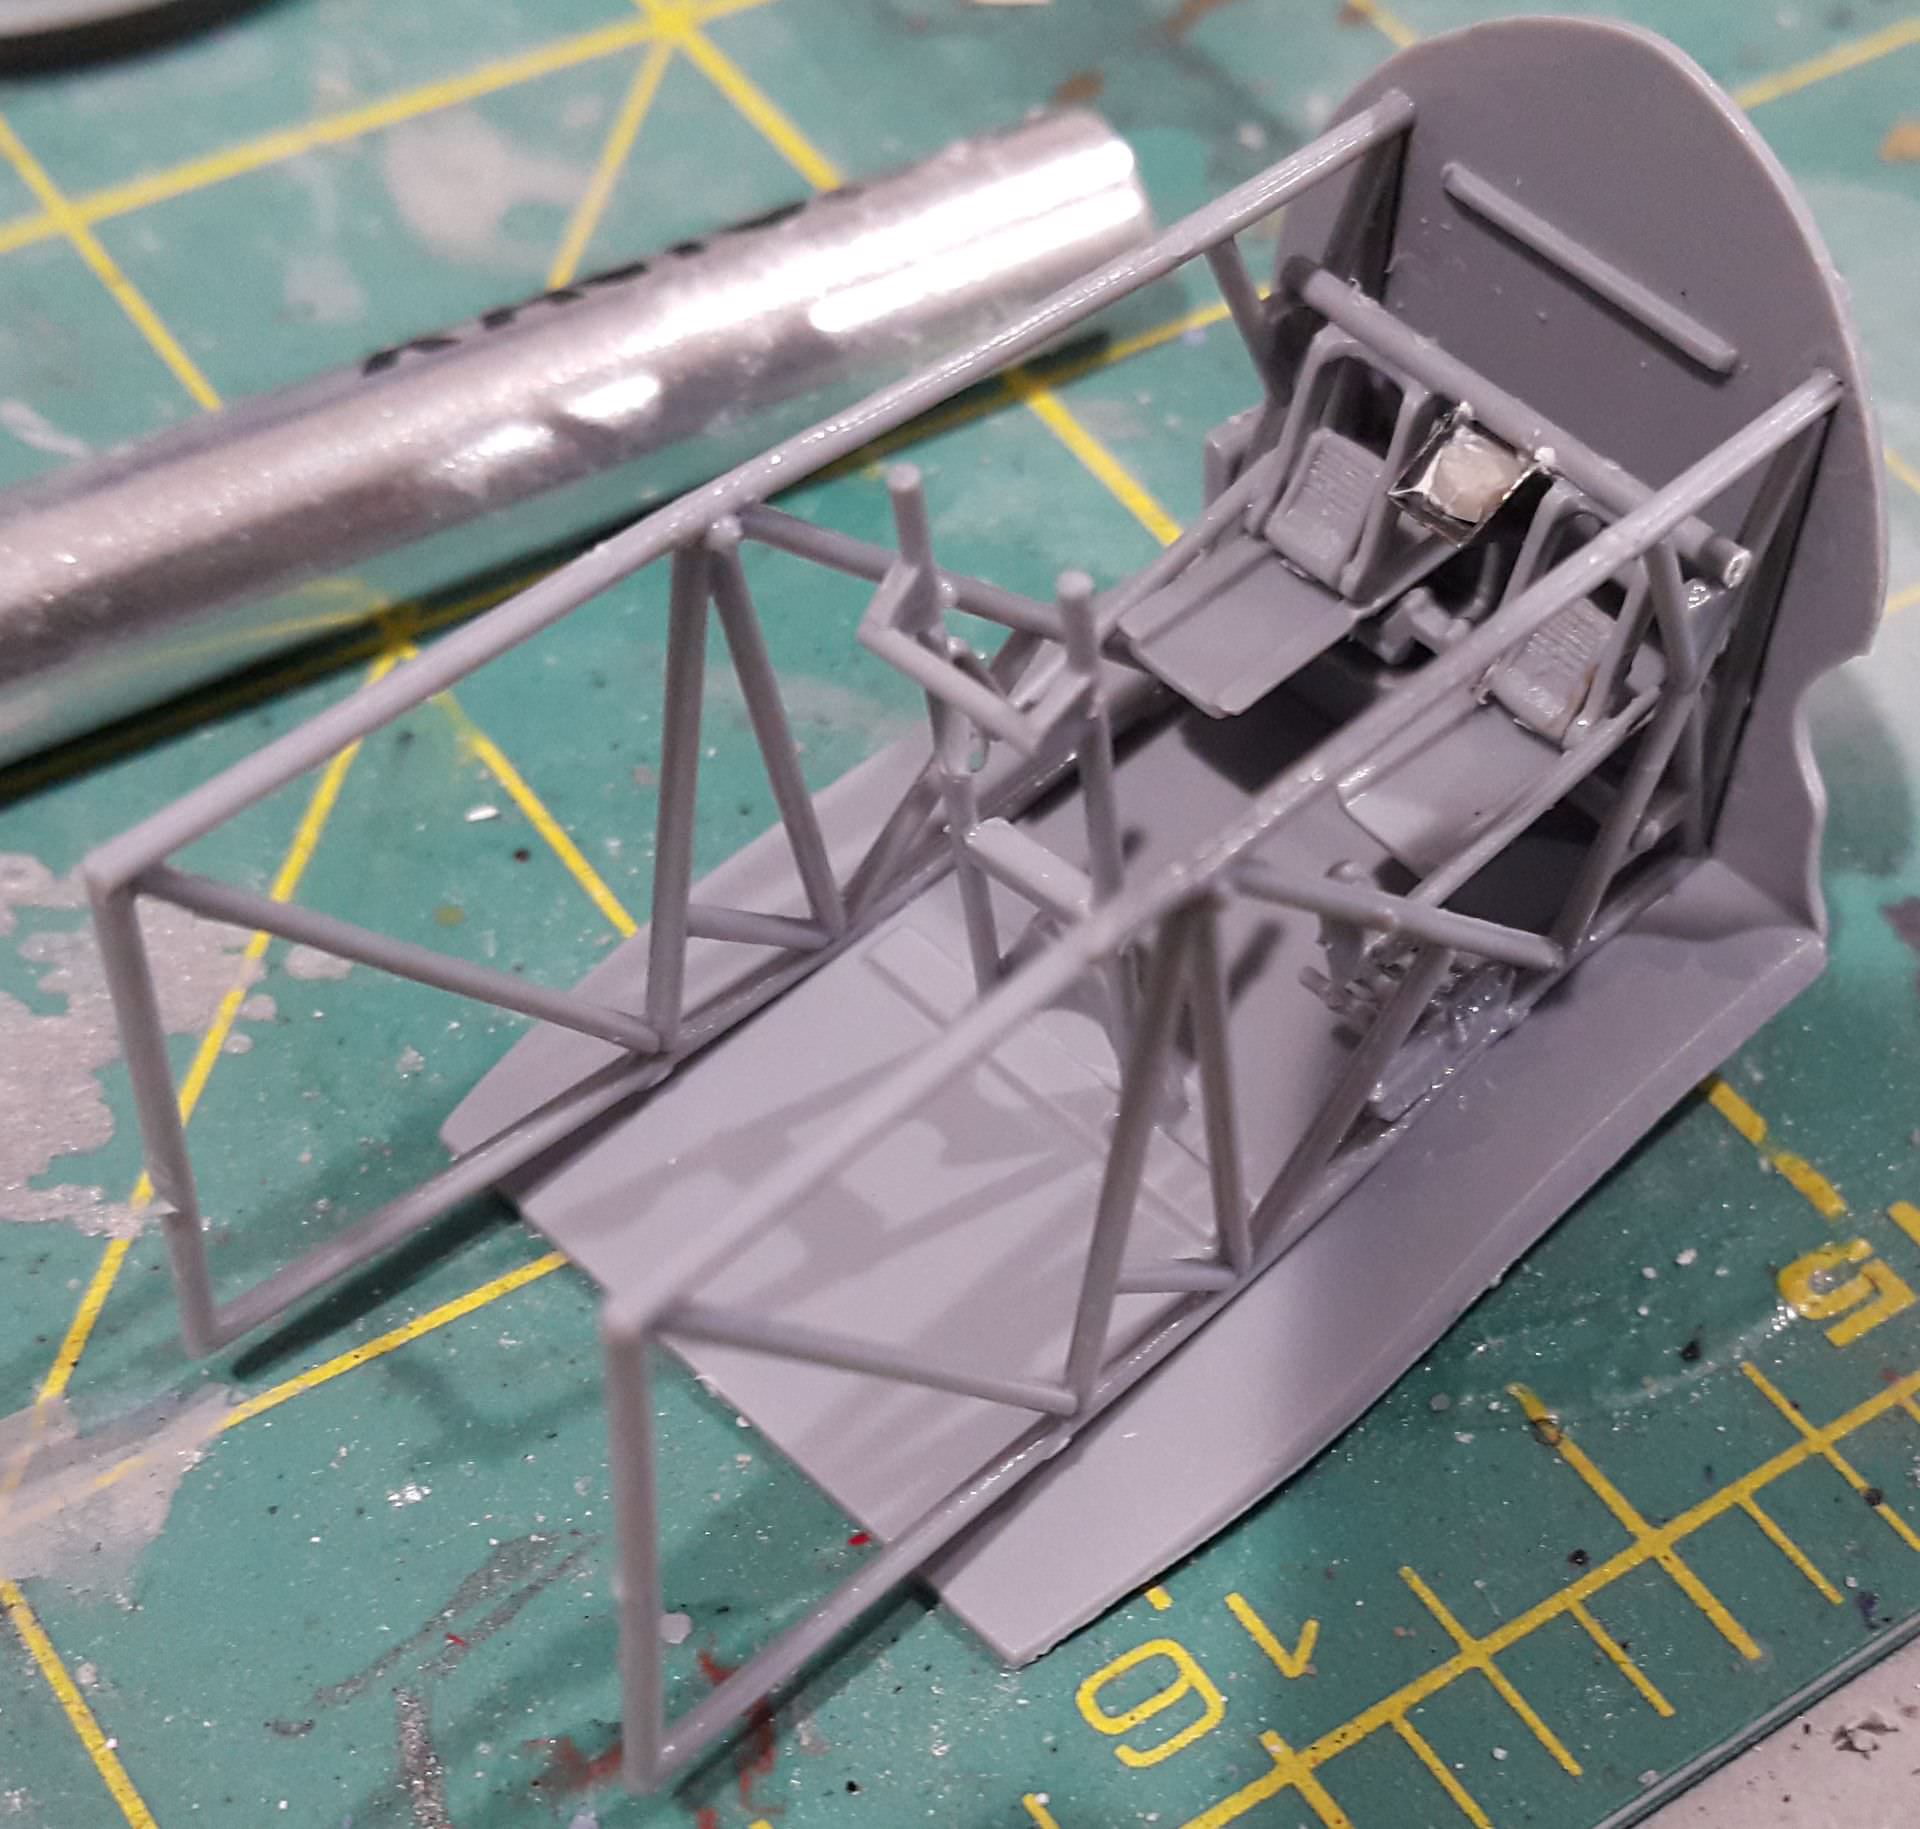
The engine mounts are terrible. They are different lengths and poorly shaped, and I ending up cutting them back off the cockpit firewall as nothing would fit properly with them installed.
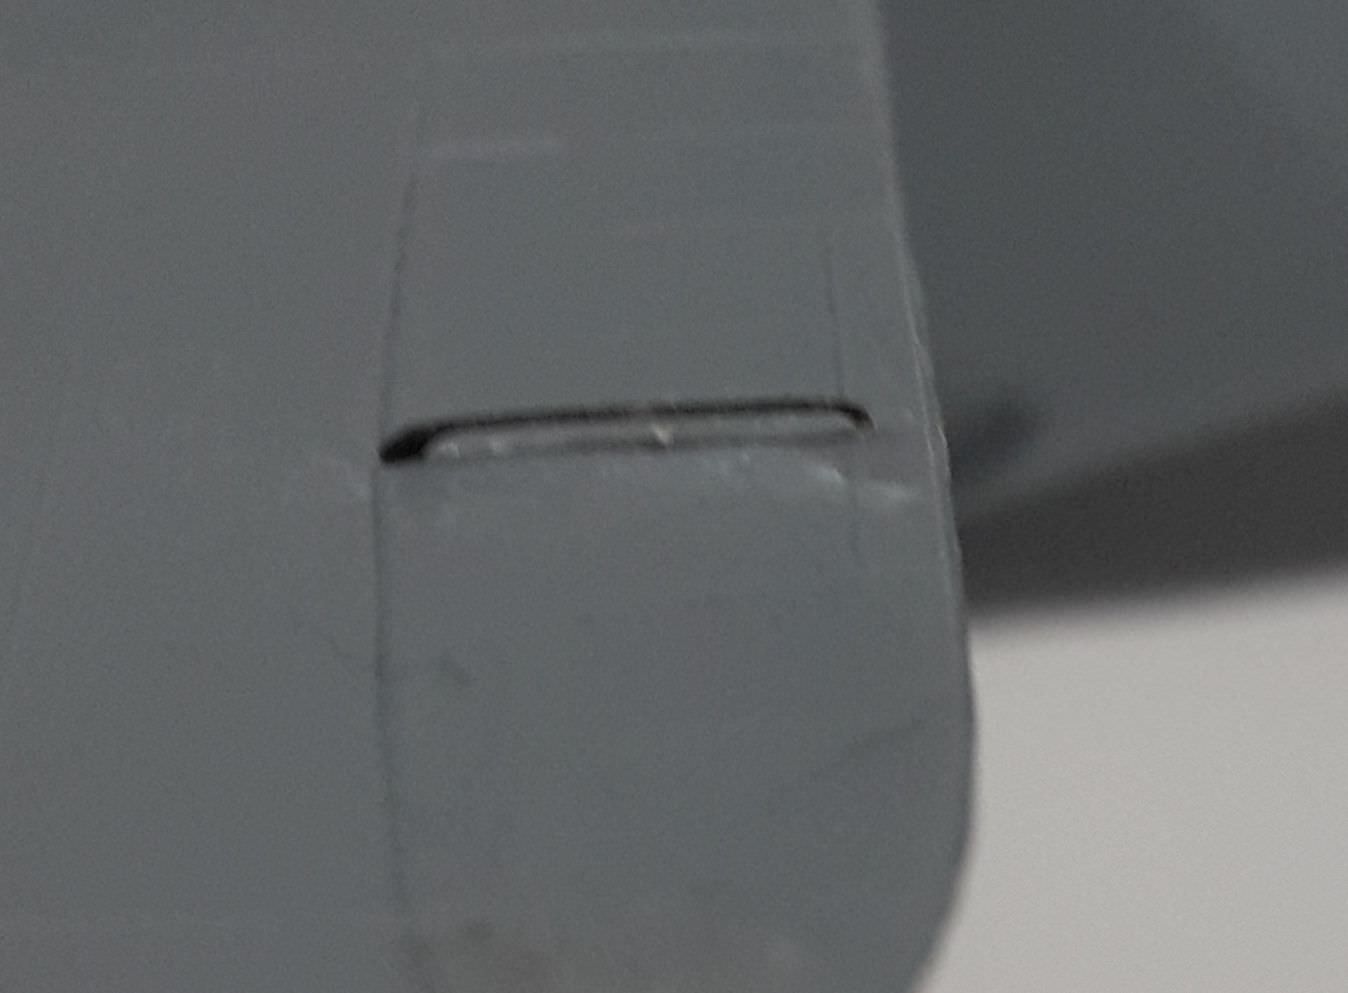
Even with the shims you can see some of what doesn't quite fit with the fuselages closed up, starting with the left upper cockpit bar:
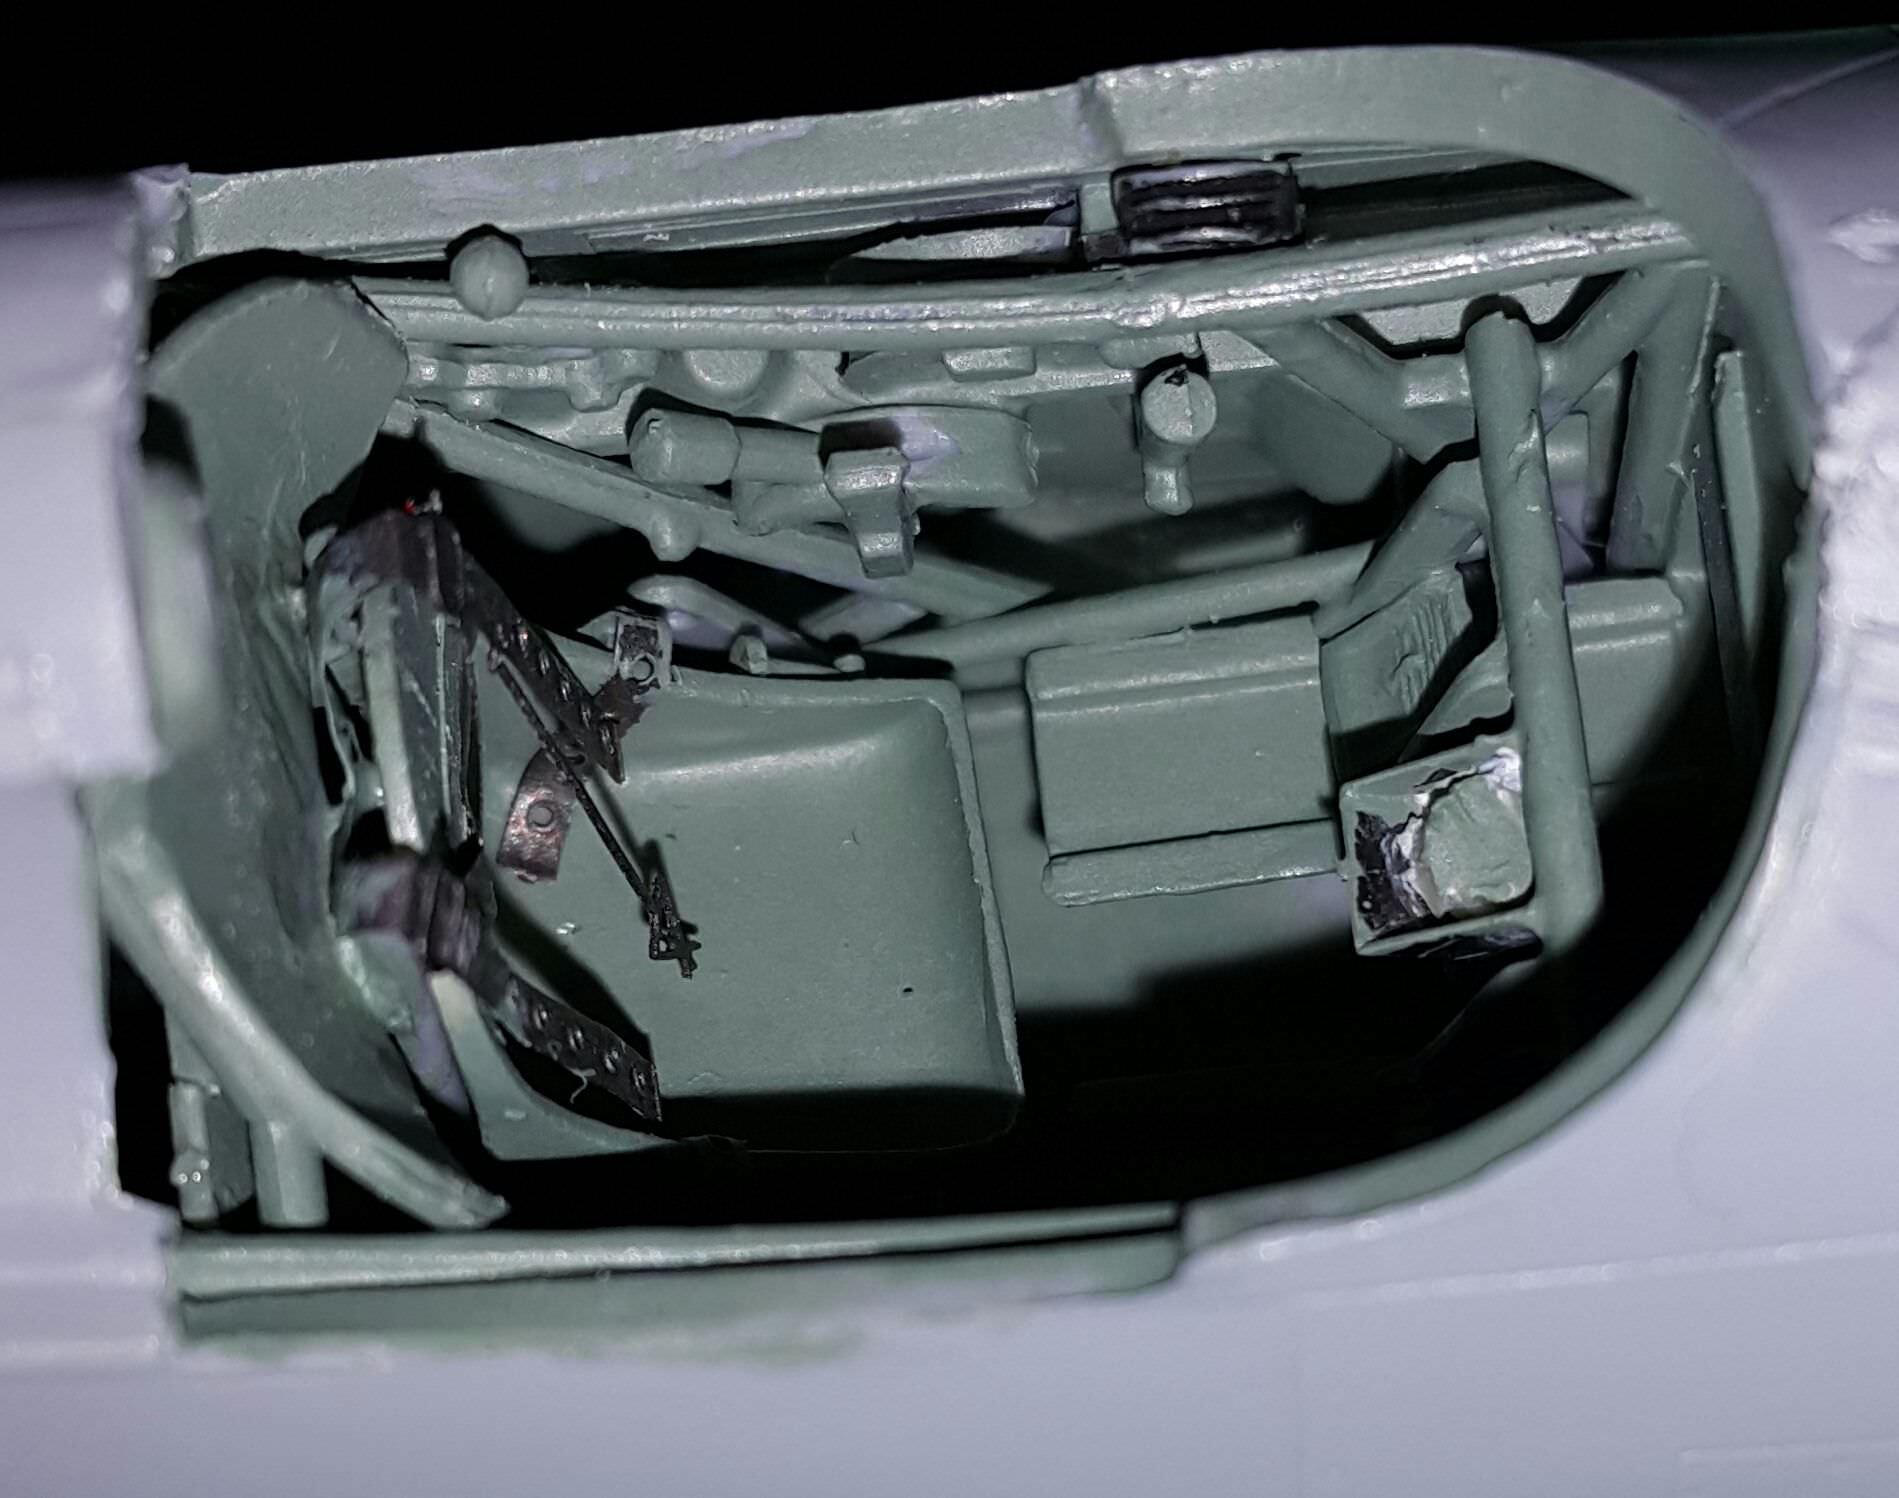
and the armour/headrest got pushed askew:
Fuselage assembled
Putty over the shims
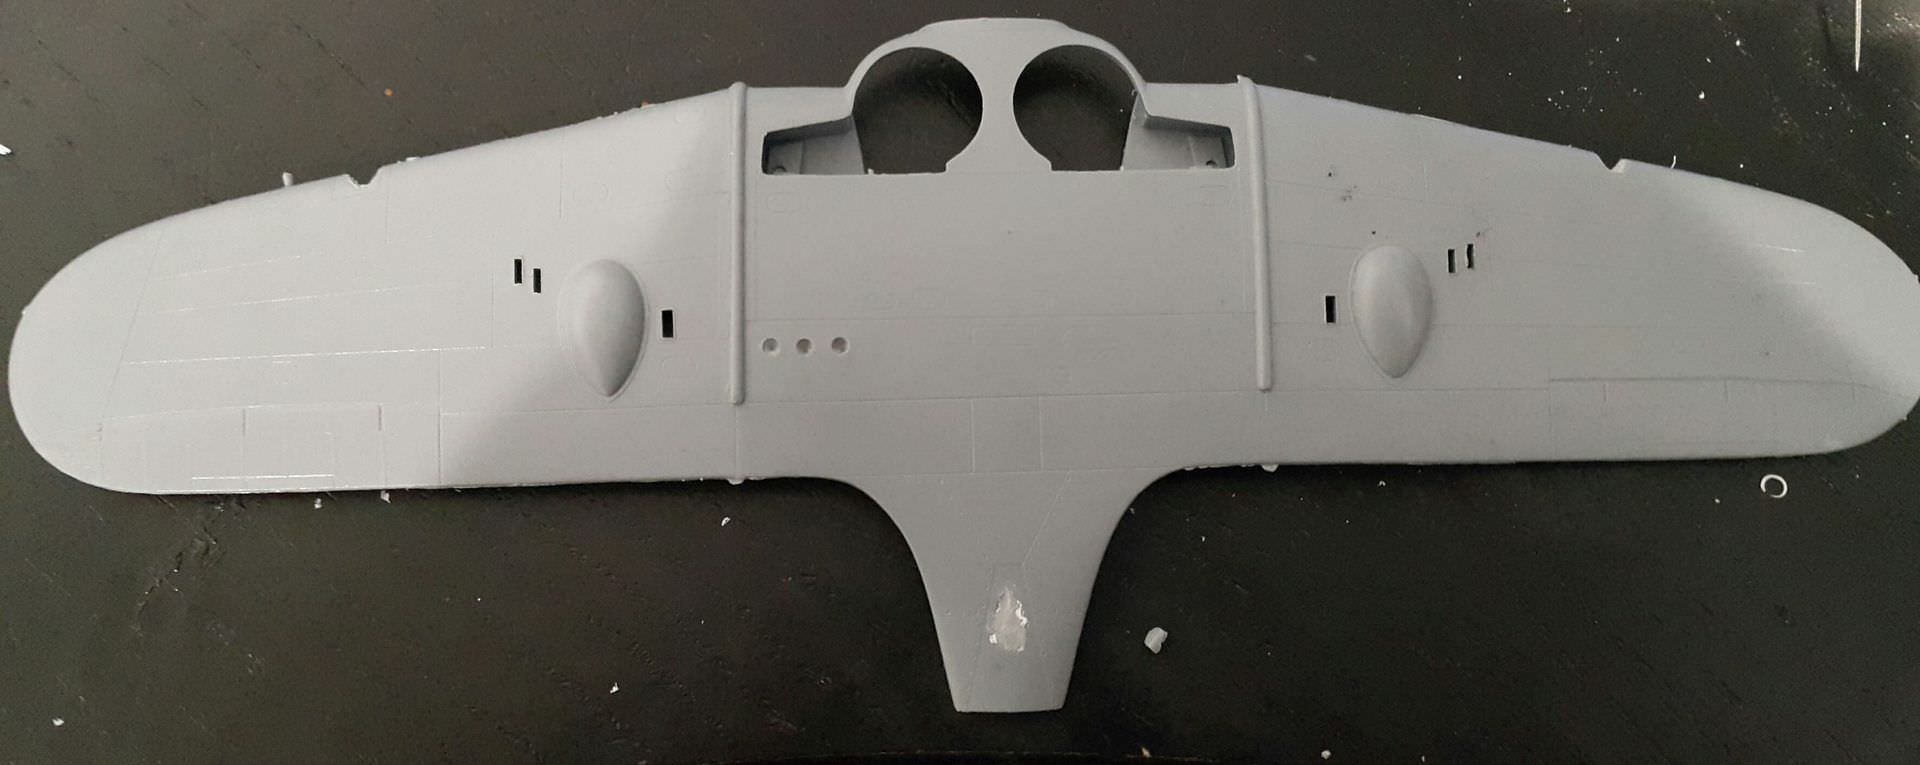
Wings needed care to assemble correctly, had to take time to ensure everything was aligned. Ports for the resin machine guns needed to be cleaned up and checked.

Undersides, the three clear lenses had to be installed before the upper wings were attached, which took a lot of cleaning and test fitting, as there is a lot of flash around some of the ports, and around the ammo chute ports as well:
Lots of clamps and take your time to get the wings on the fuselage:
Lots of fiddly photoetch thats easy to damage:

Masked up and nearly ready for paint
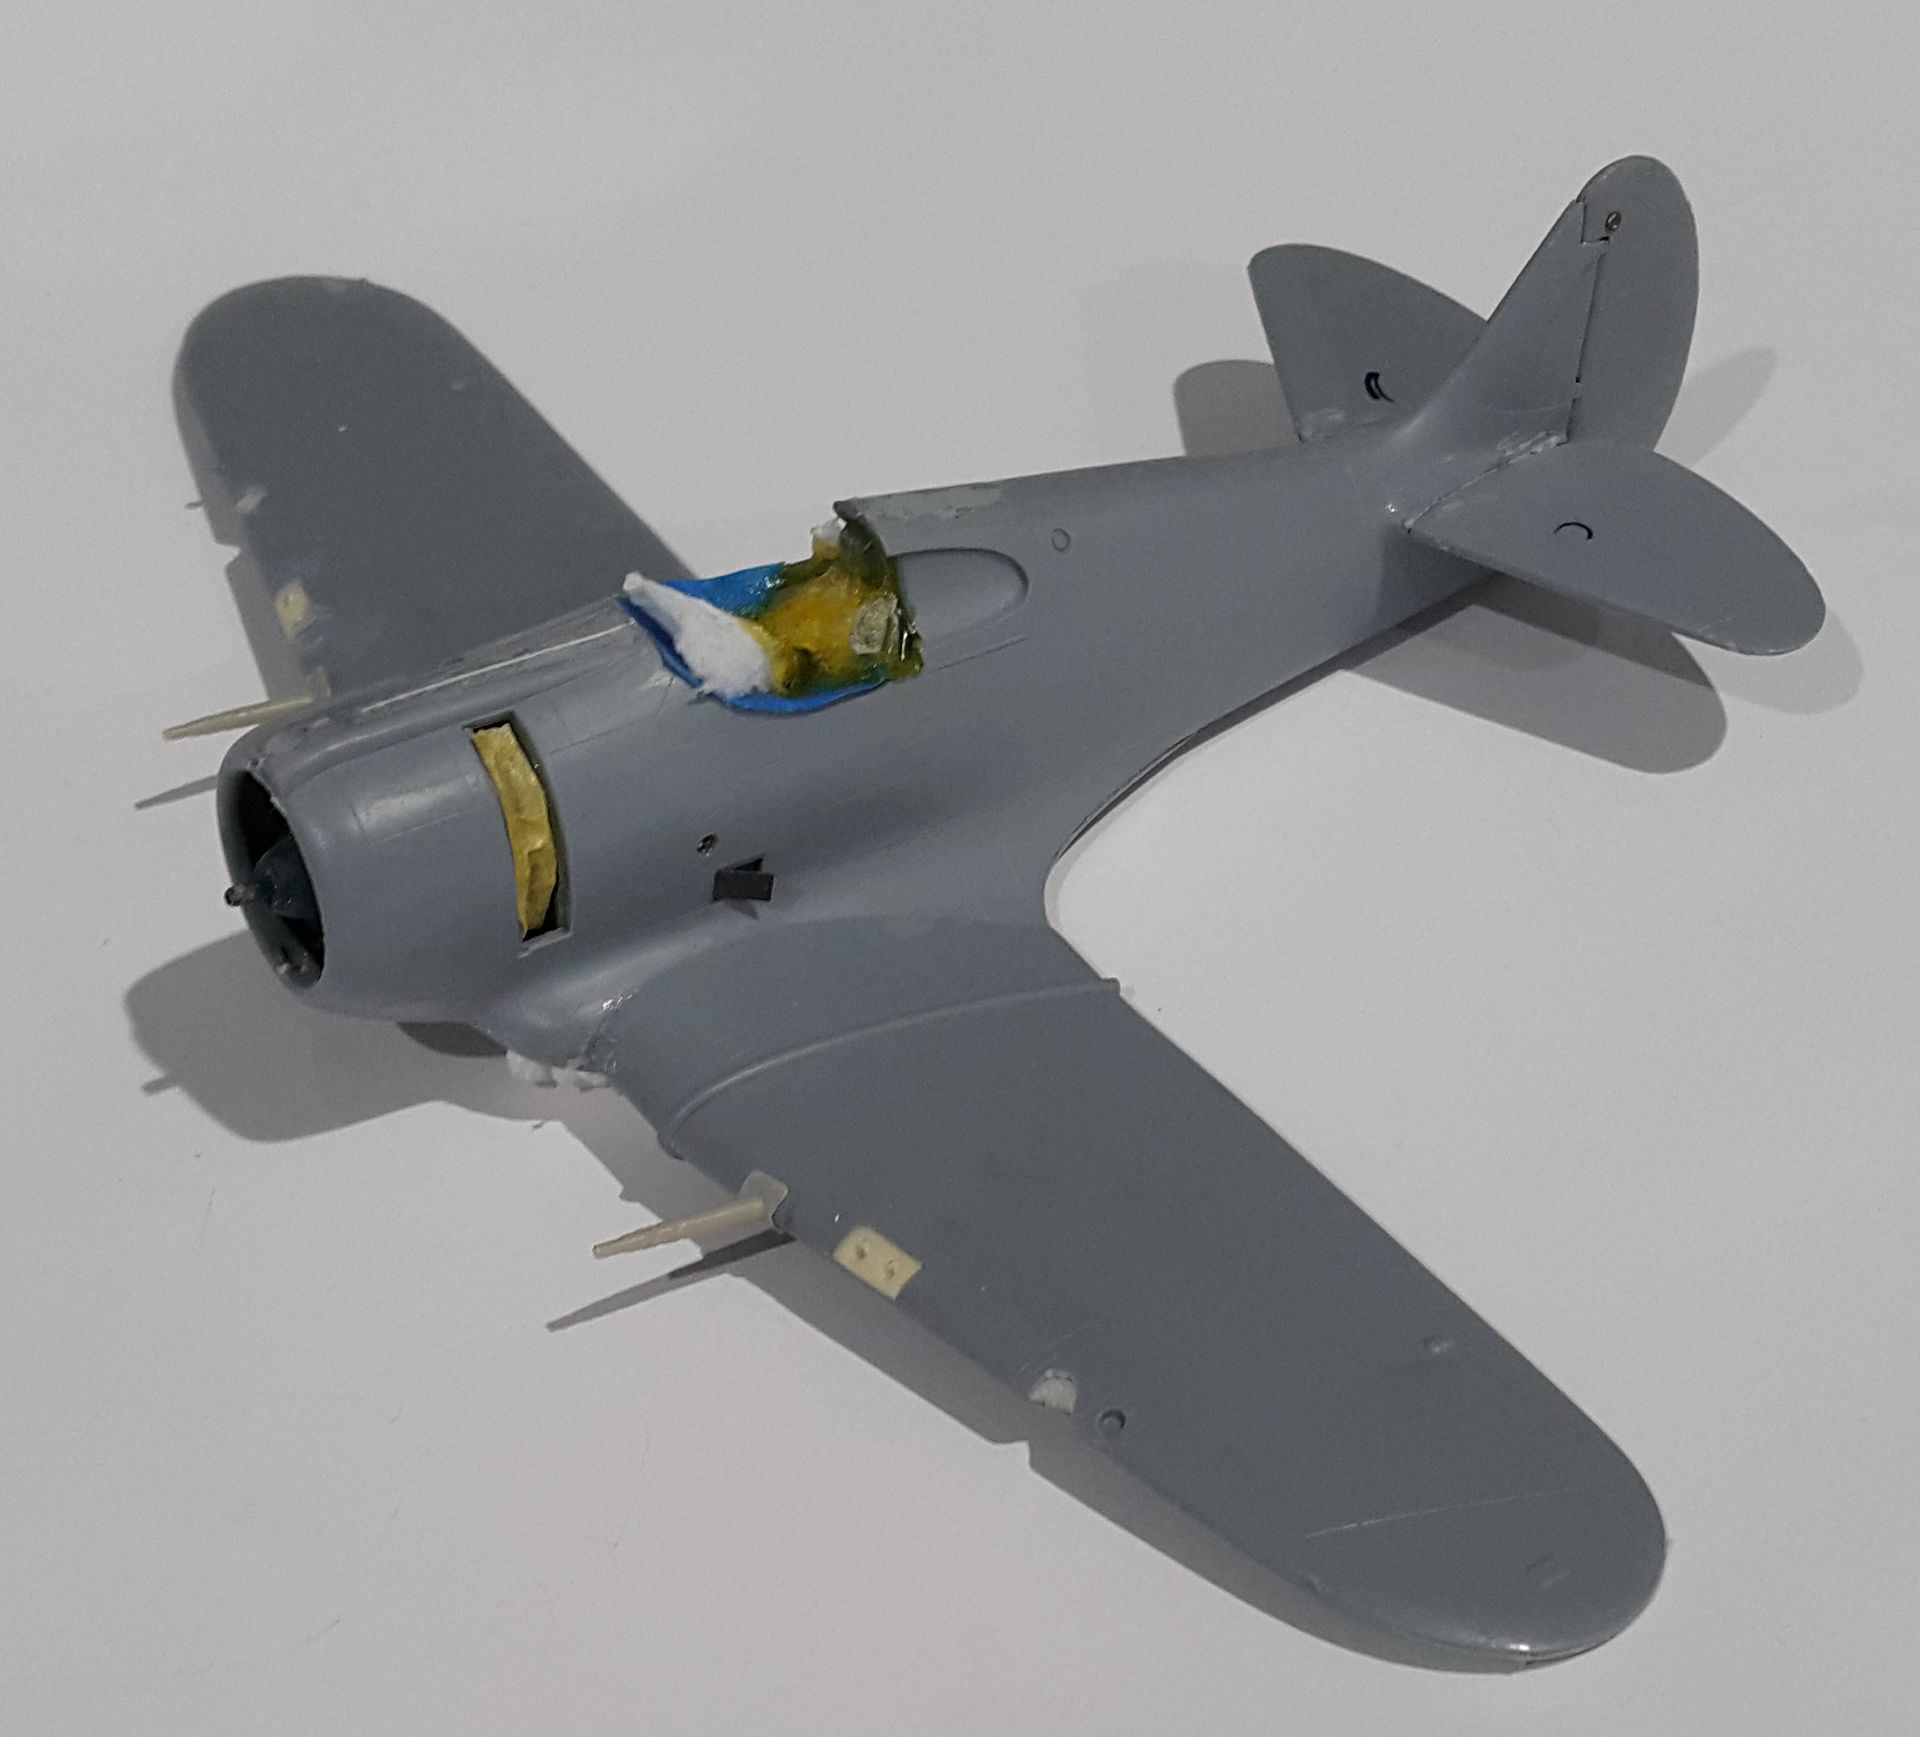
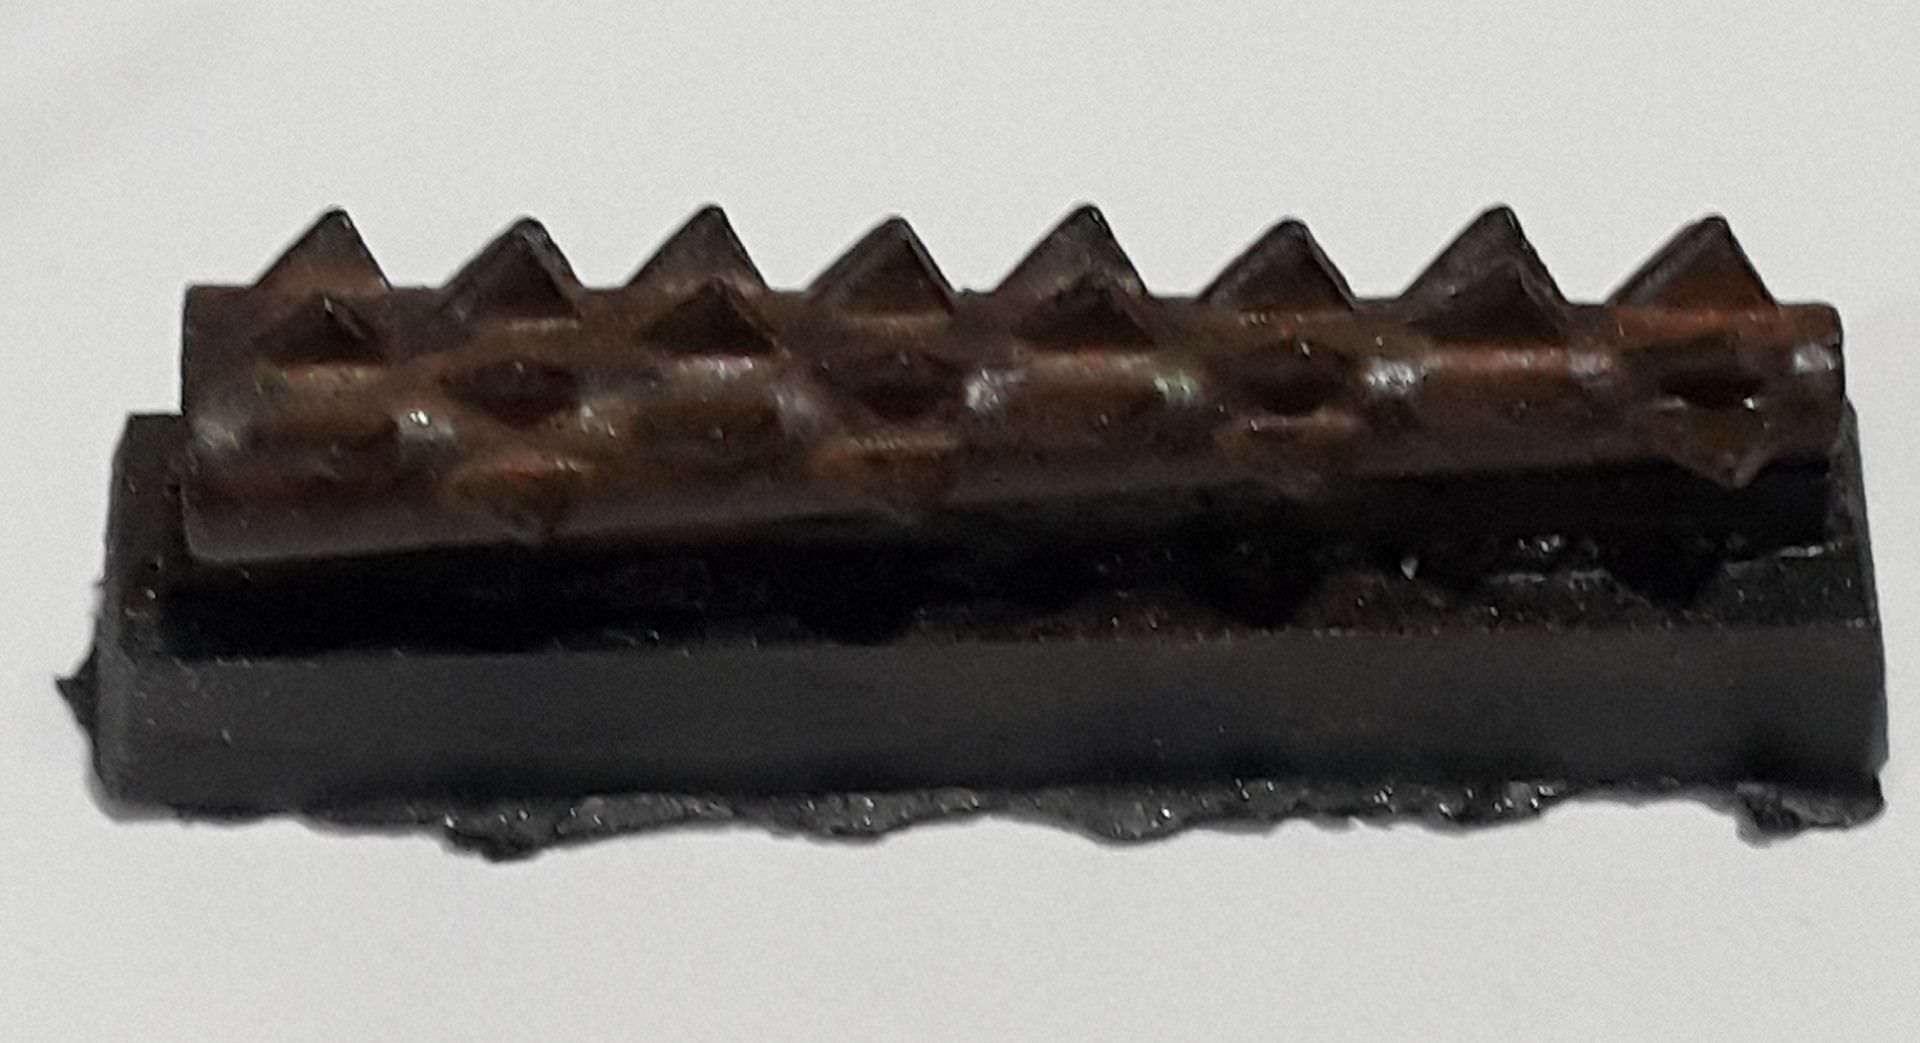
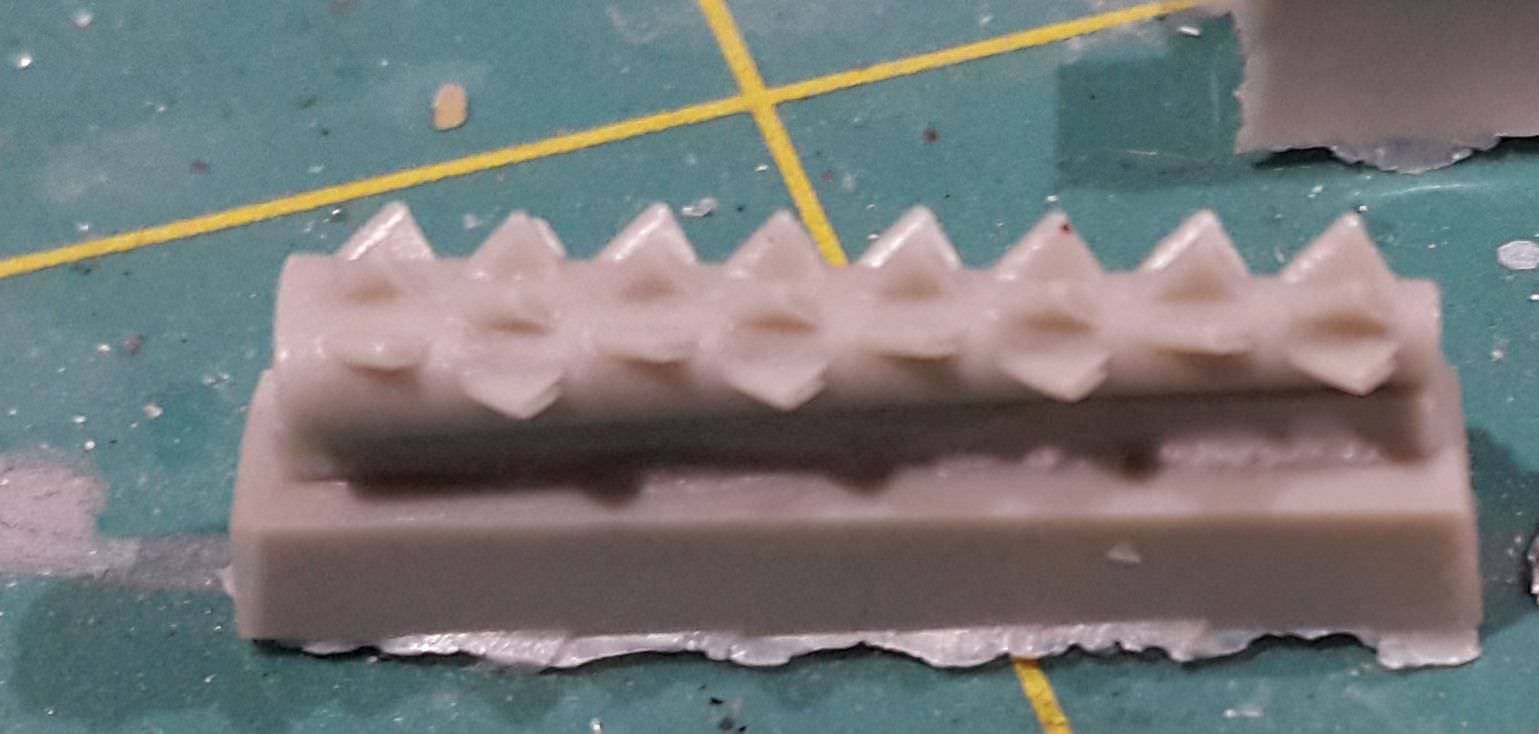
Resin exhausts are painted and awaiting a completed model to attach to.
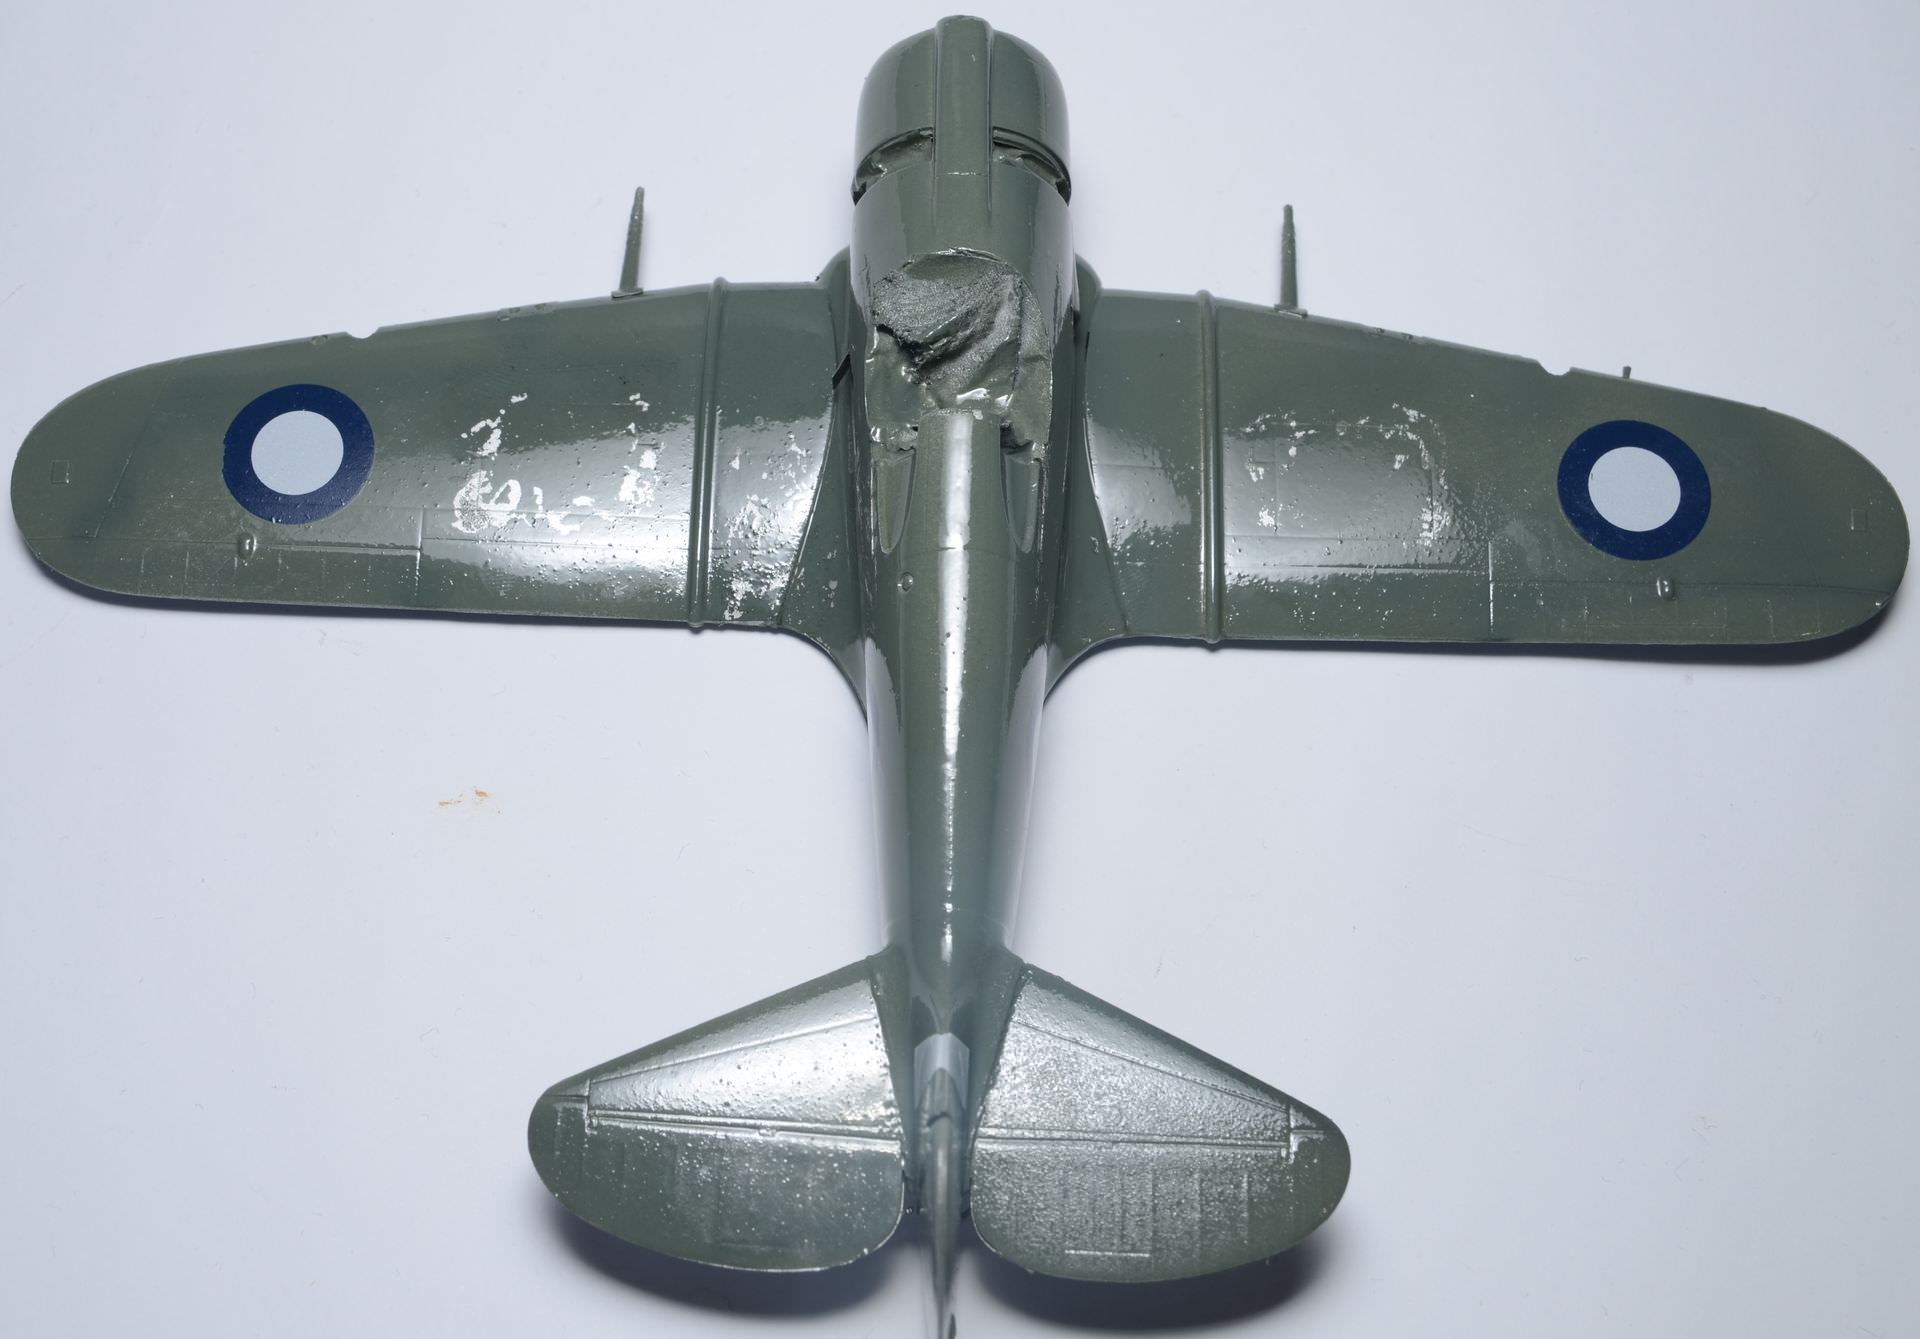
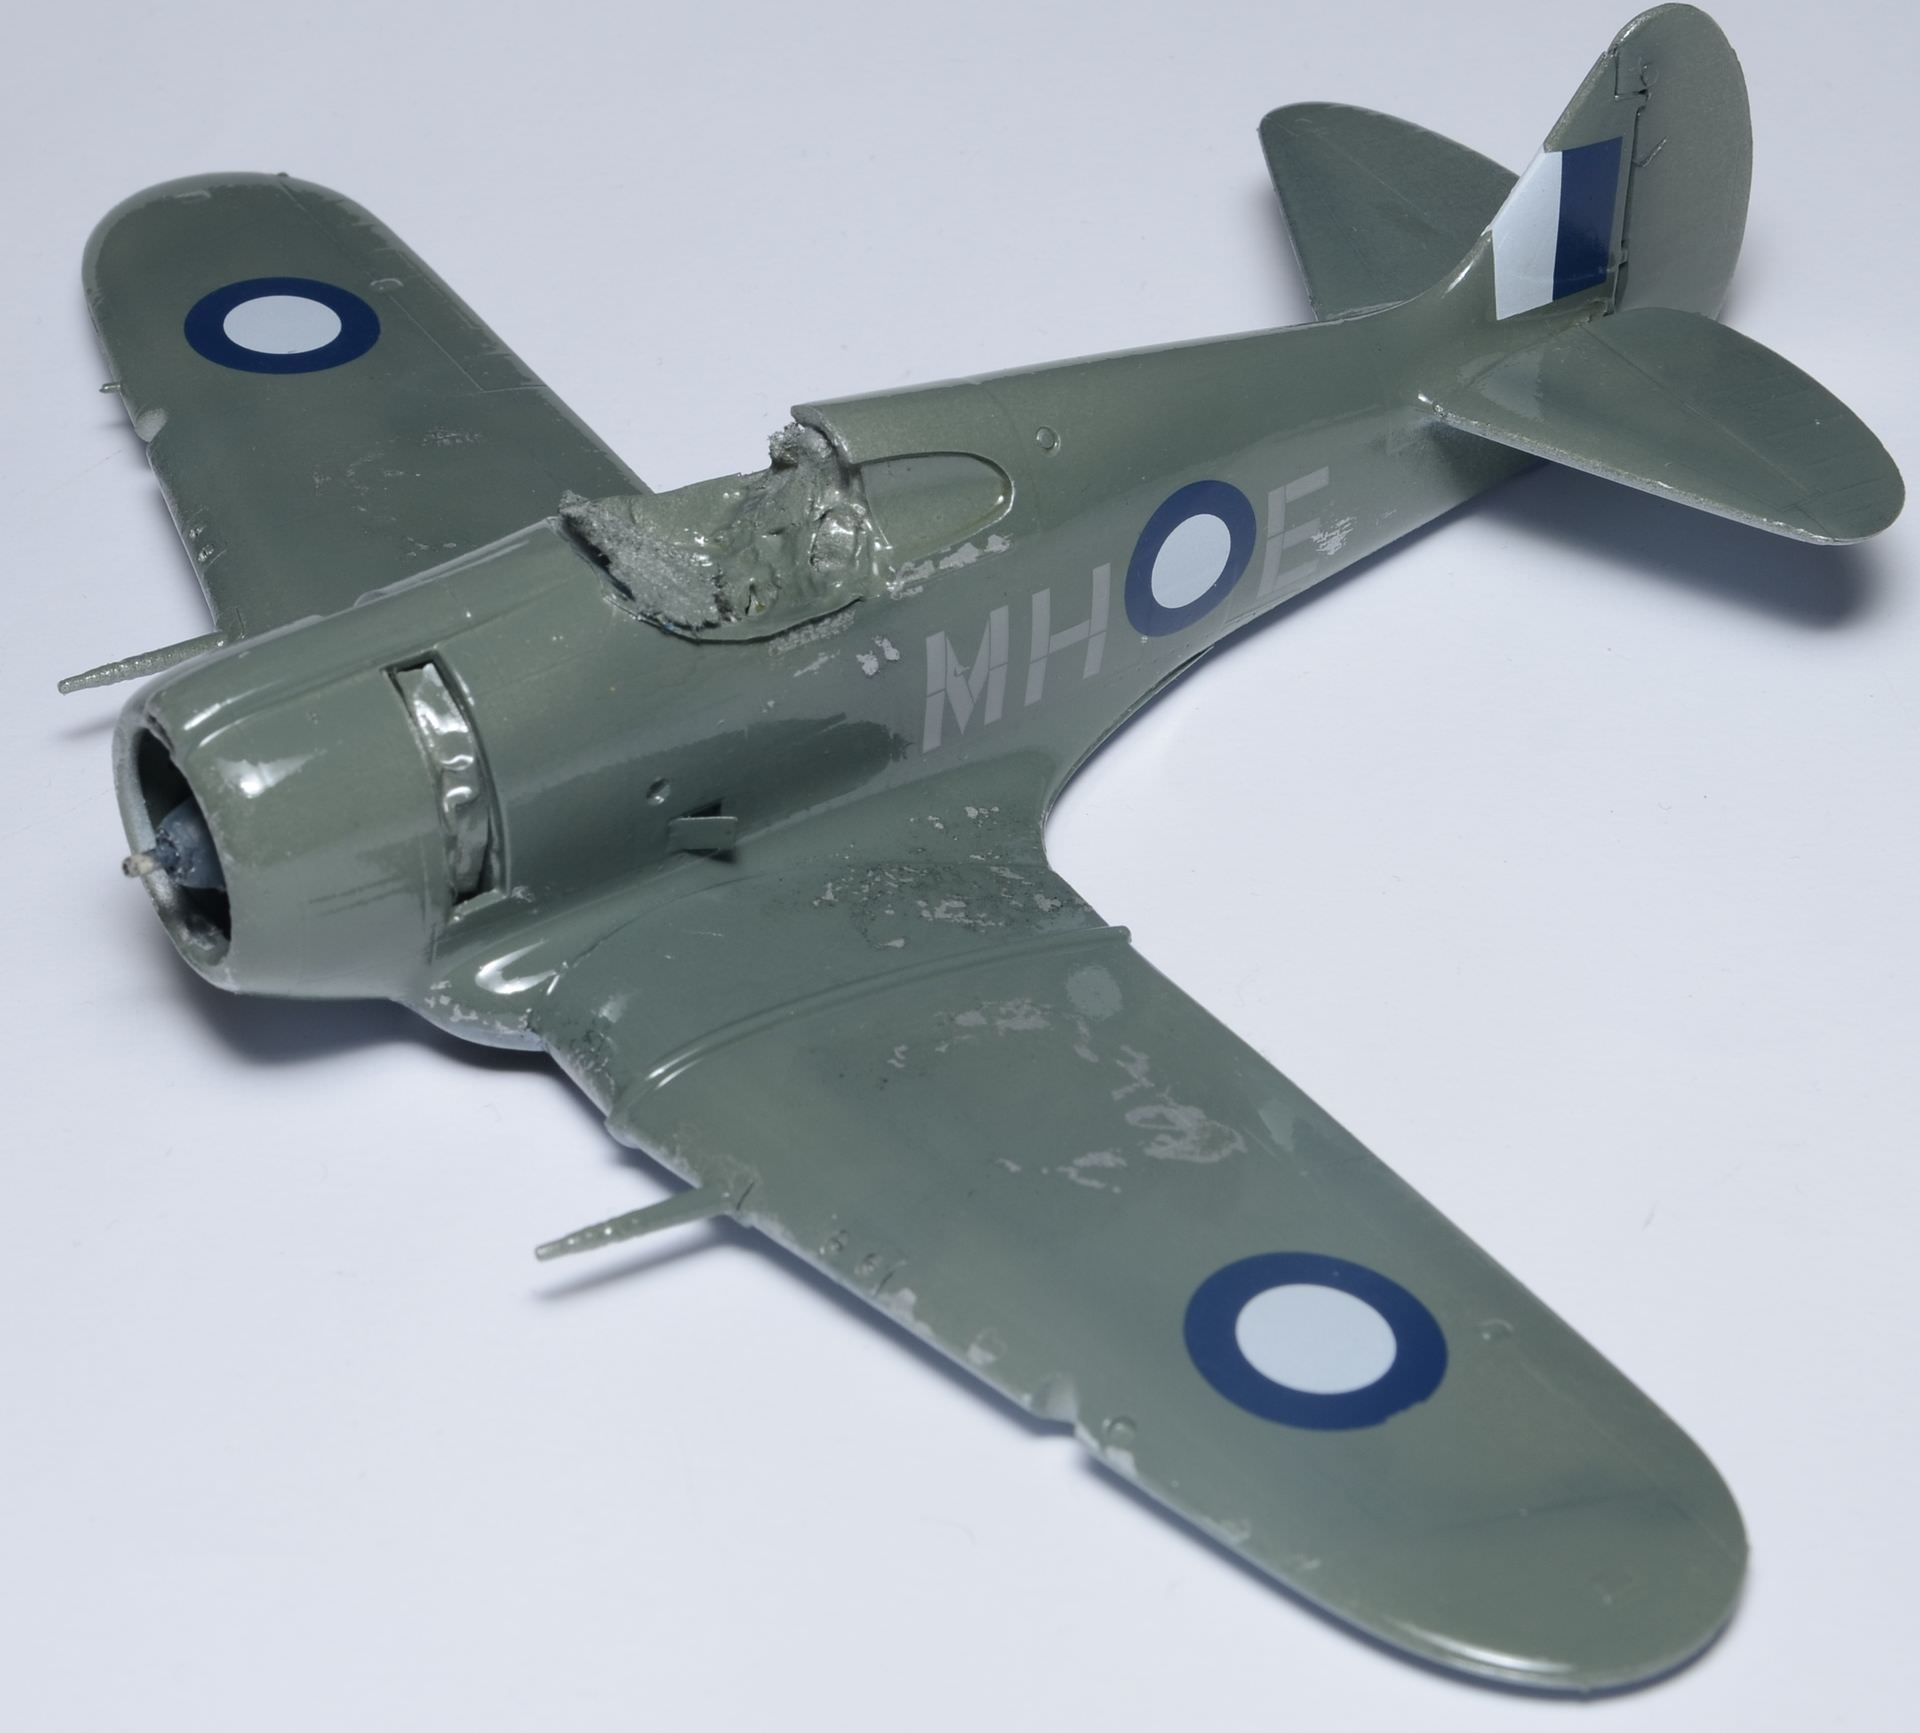
CA-12:
CA-13: