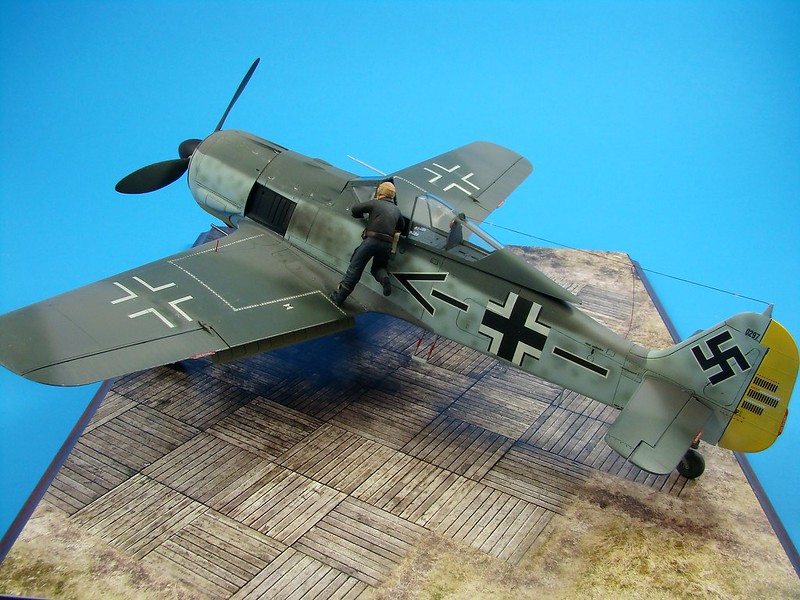
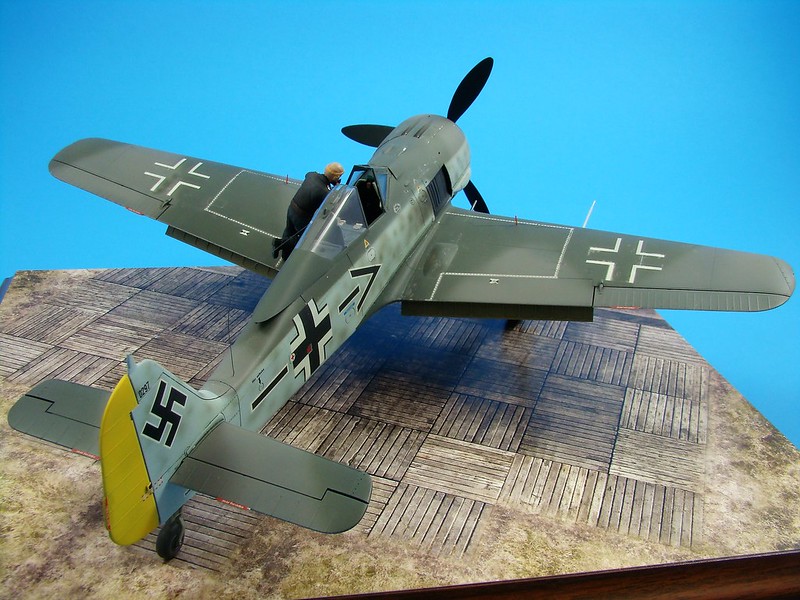
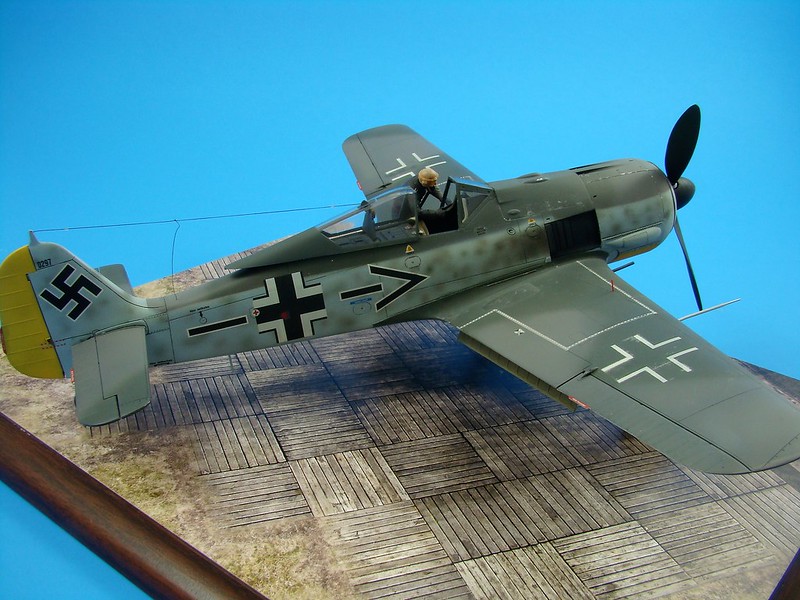
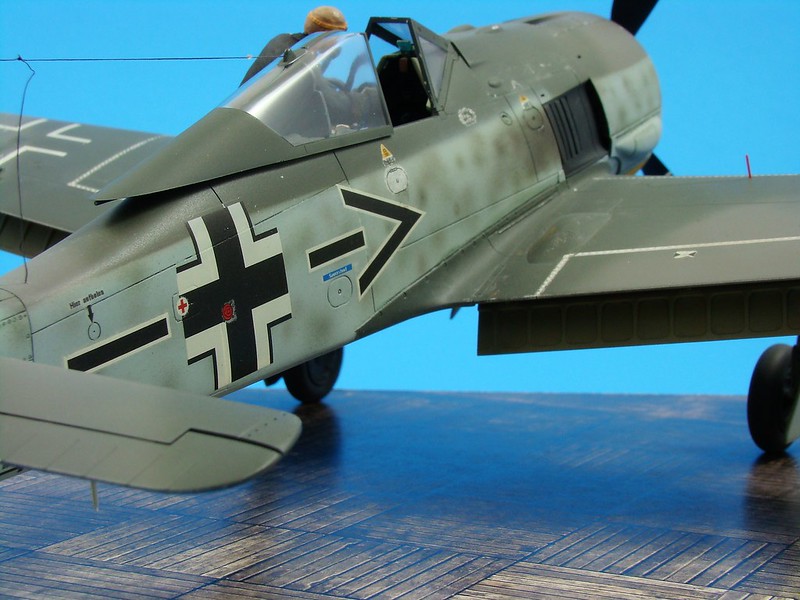
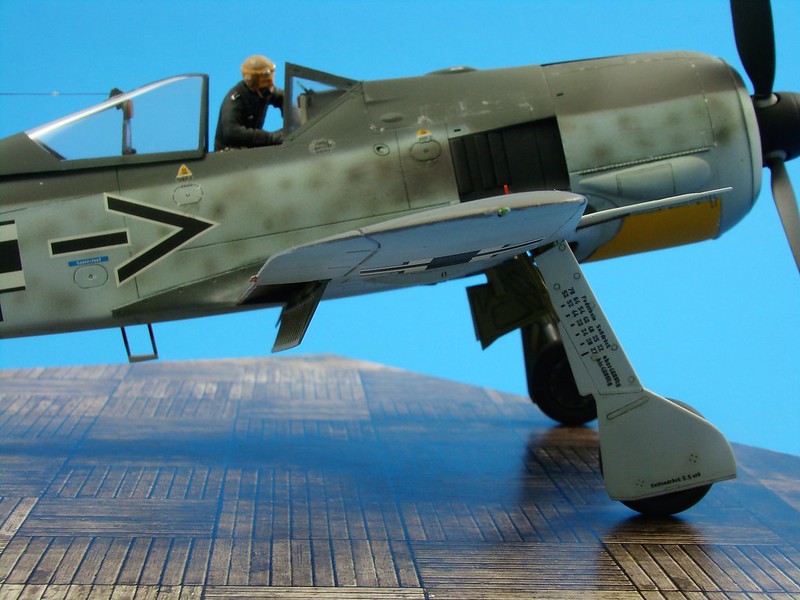
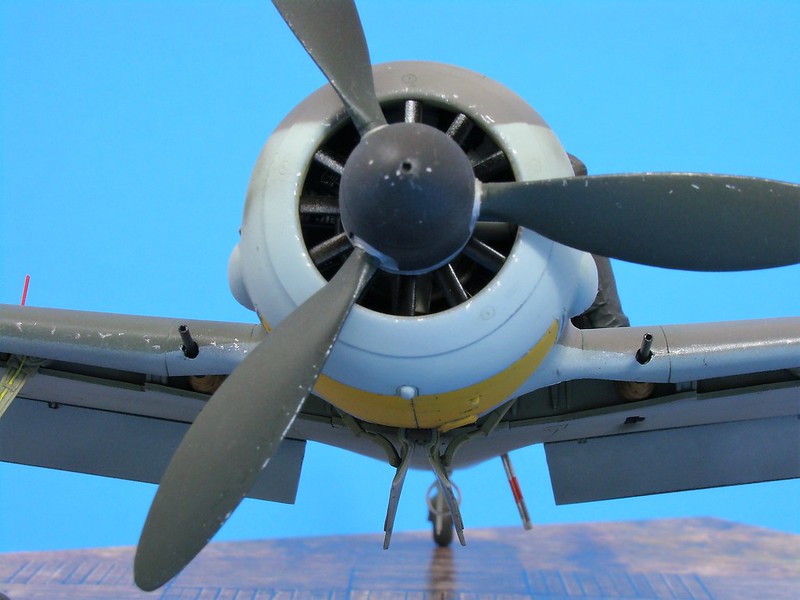
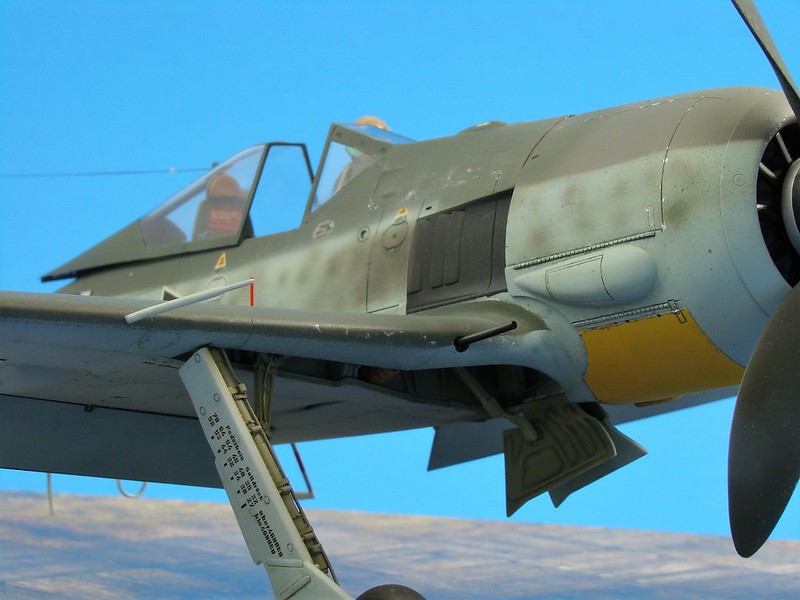
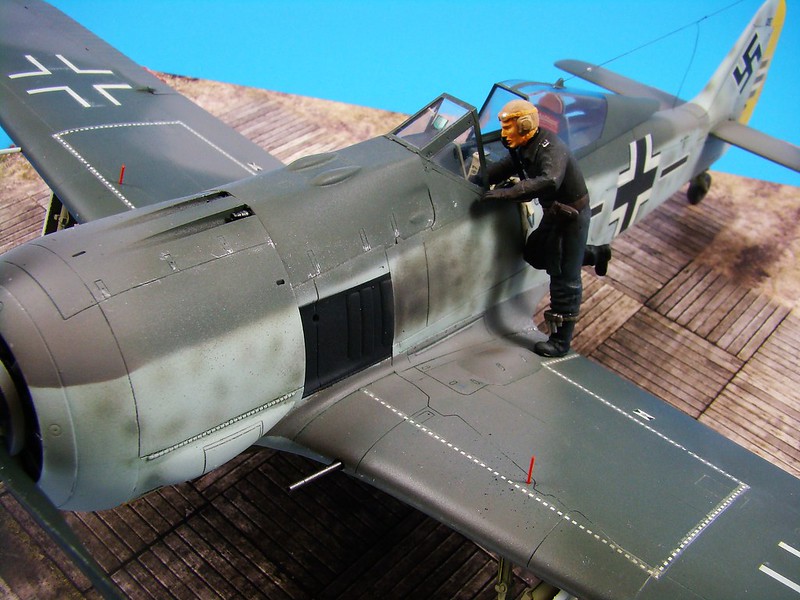
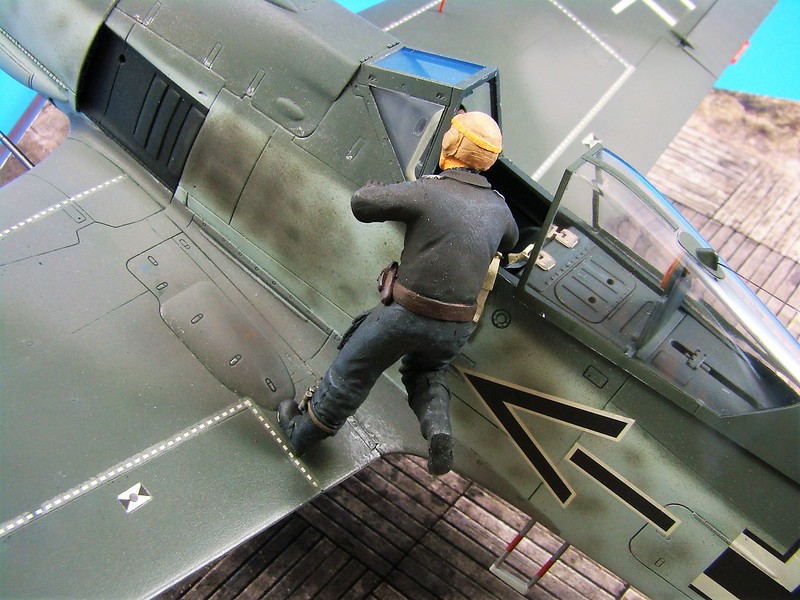
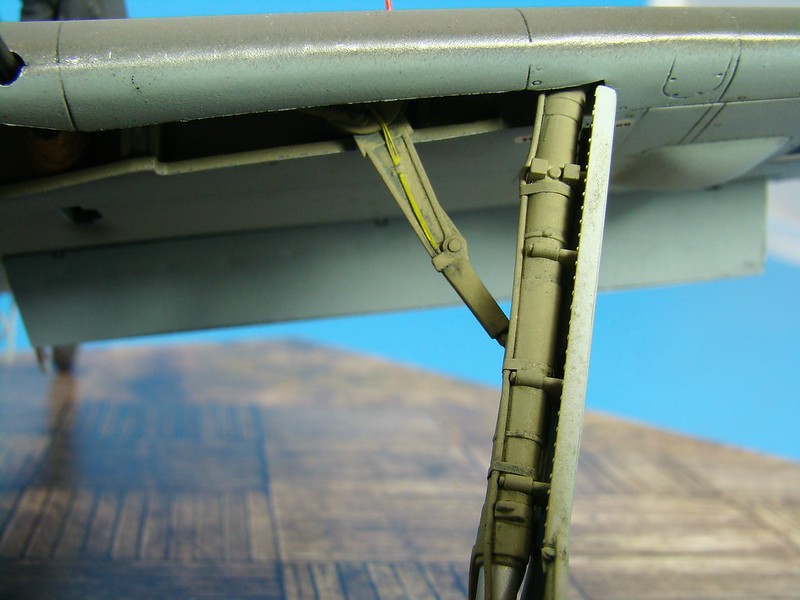
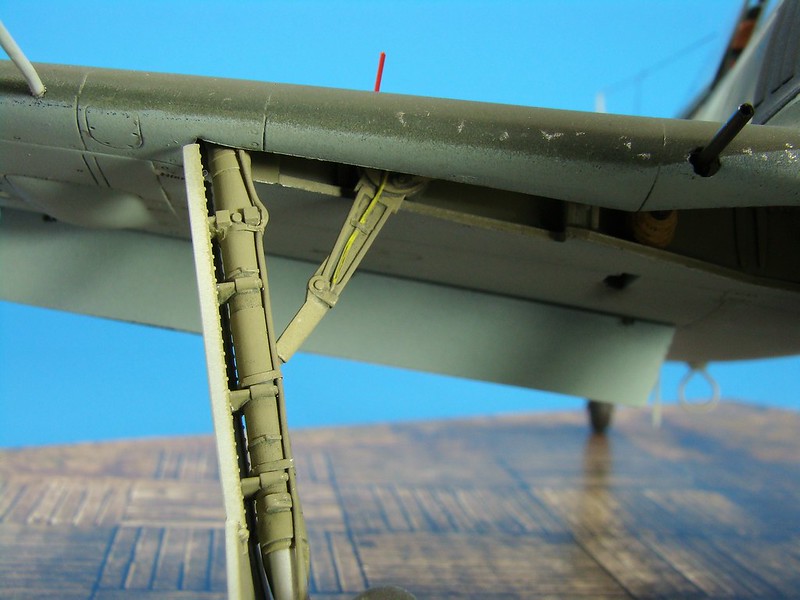
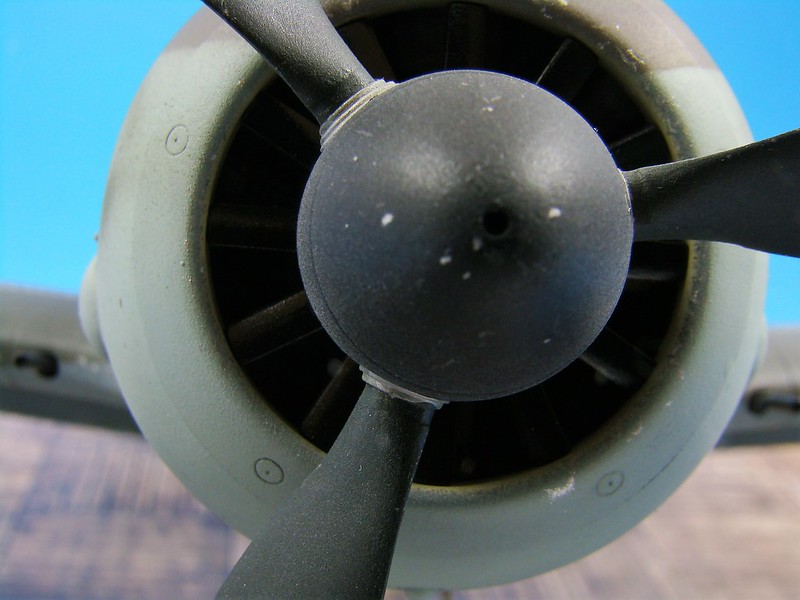
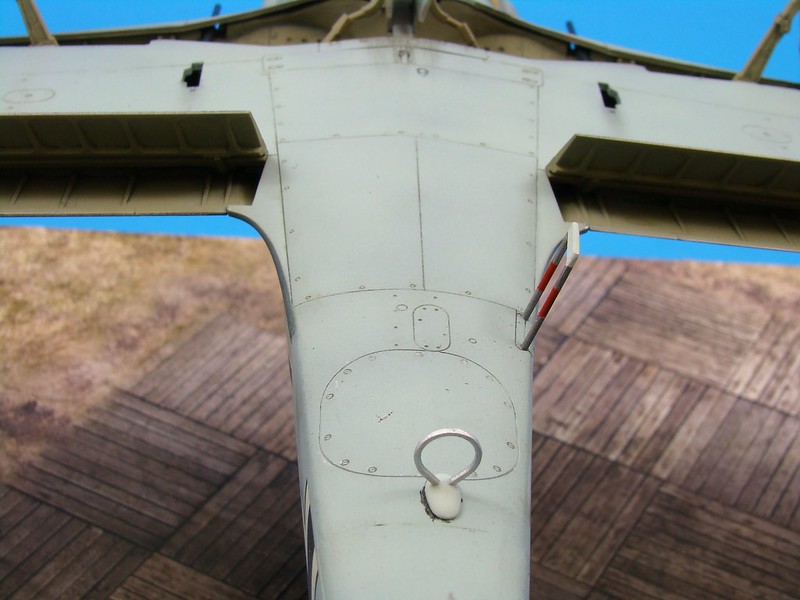
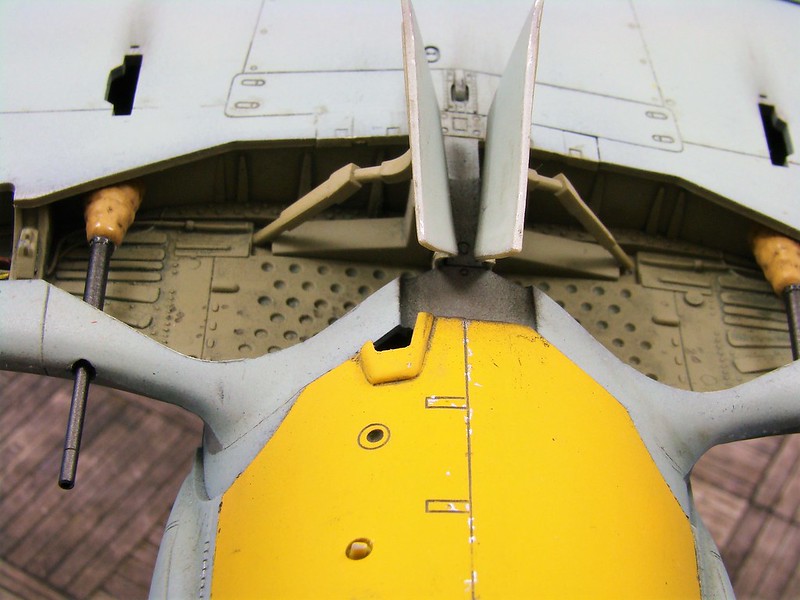
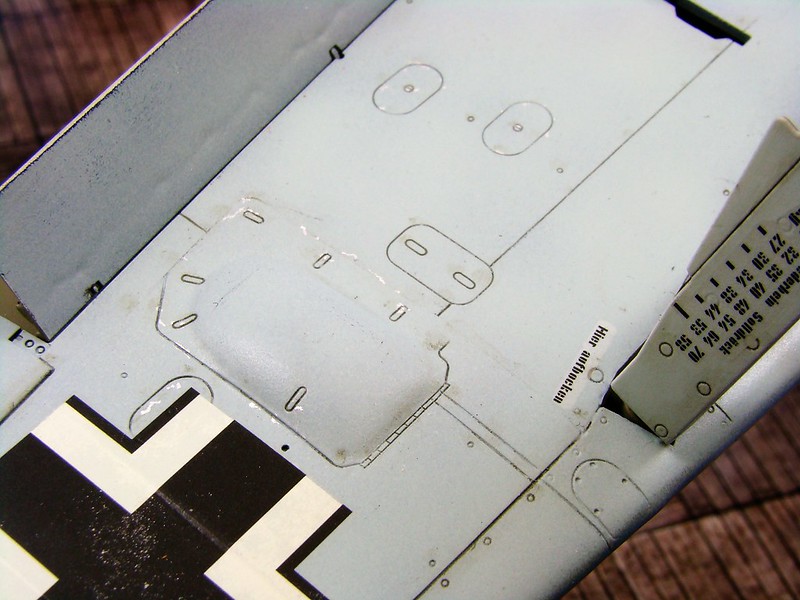
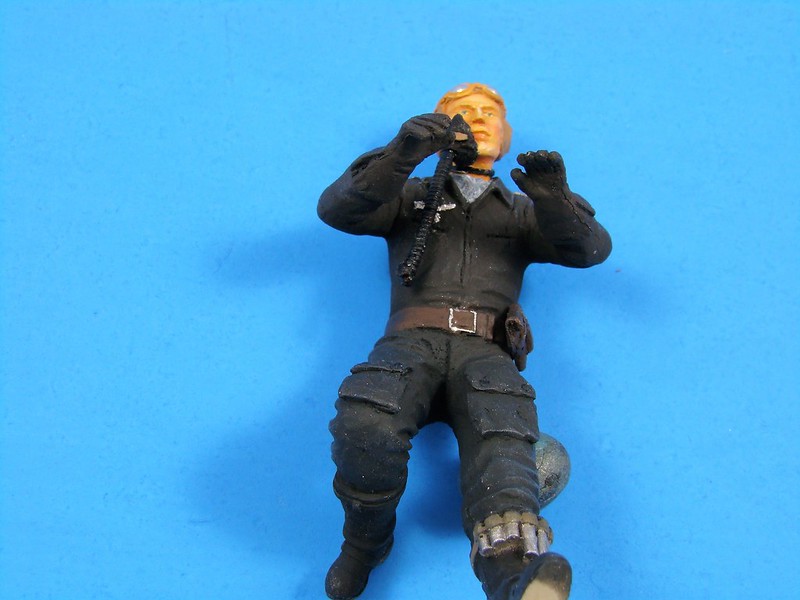
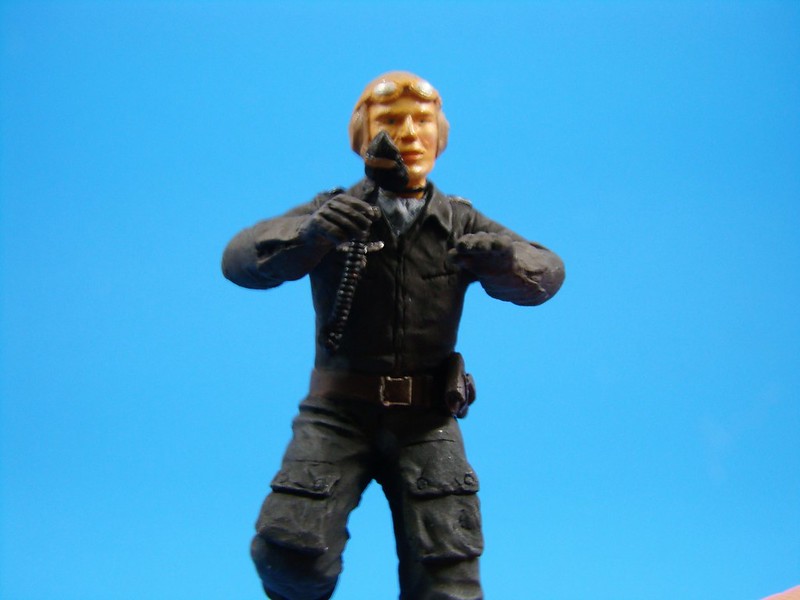
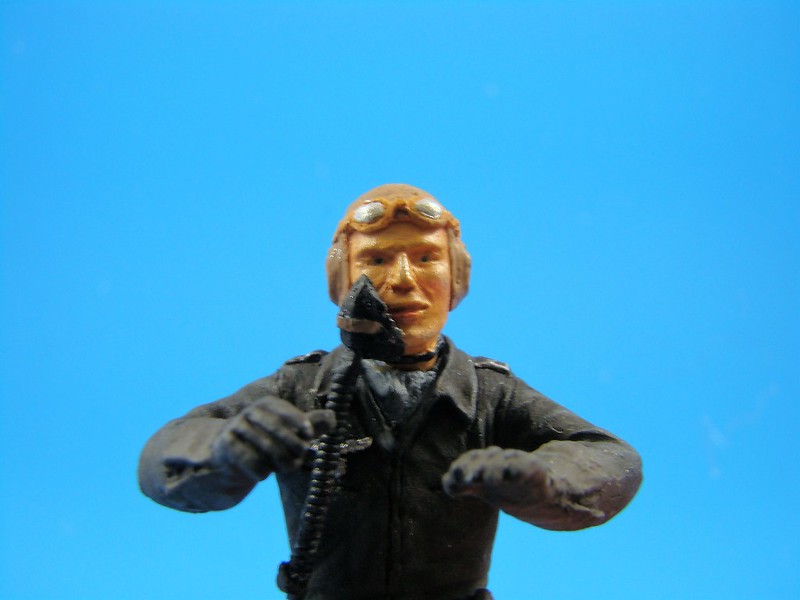
I have mentioned to a few of you that I was working on a 1/32 scale Hasegawa Würger. Well, I finished it this morning and thought I would make a few posts with some photos of the build. Overall it went together well, and I built it mostly out of box adding an HGW seatbelt, and using four of the barrels and the exhausts from a couple of Quickboost sets. The only scratch building I did on this build was adding brake and electrical lines to the undercarriage, undercarriage indicating rods and an antenna. The pilot is a PF Productions casting and turned out fairly well; he actually looks better than the photos. (One of these I am goinf to buy a better camera.). The quality of the build is what I call "a six inch build"; i.e. you have to get within six inches to see any mistakes or build errors I made. Finally the base is a heavy cardstock scene glued to an awards frame. I need to spray a matte coat on it to cut down the reflection. I'll shut my trap now and get on with posting the photos.
This first set is shot from a distance to give the overall perspective.
DSC03748 by Ernest Roth, on Flickr
DSC03746 by Ernest Roth, on Flickr
DSC03744 by Ernest Roth, on Flickr
DSC03742 by Ernest Roth, on Flickr
And now a bit closer!
DSC03723 by Ernest Roth, on Flickr
DSC03727 by Ernest Roth, on Flickr
DSC03732 by Ernest Roth, on Flickr
DSC03740 by Ernest Roth, on Flickr
World War II
Discuss WWII and the era directly before and after the war from 1935-1949.
Hosted by Rowan Baylis
Fw190 A-5
greif8
Bayern, Germany
Joined: January 17, 2006
KitMaker: 673 posts
AeroScale: 492 posts
Joined: January 17, 2006
KitMaker: 673 posts
AeroScale: 492 posts
Posted: Saturday, January 06, 2018 - 07:18 PM UTC
greif8
Bayern, Germany
Joined: January 17, 2006
KitMaker: 673 posts
AeroScale: 492 posts
Joined: January 17, 2006
KitMaker: 673 posts
AeroScale: 492 posts
Posted: Saturday, January 06, 2018 - 07:23 PM UTC
And even closer!
DSC03735 by Ernest Roth, on Flickr
DSC03736 by Ernest Roth, on Flickr
DSC03749 by Ernest Roth, on Flickr
DSC03752 by Ernest Roth, on Flickr
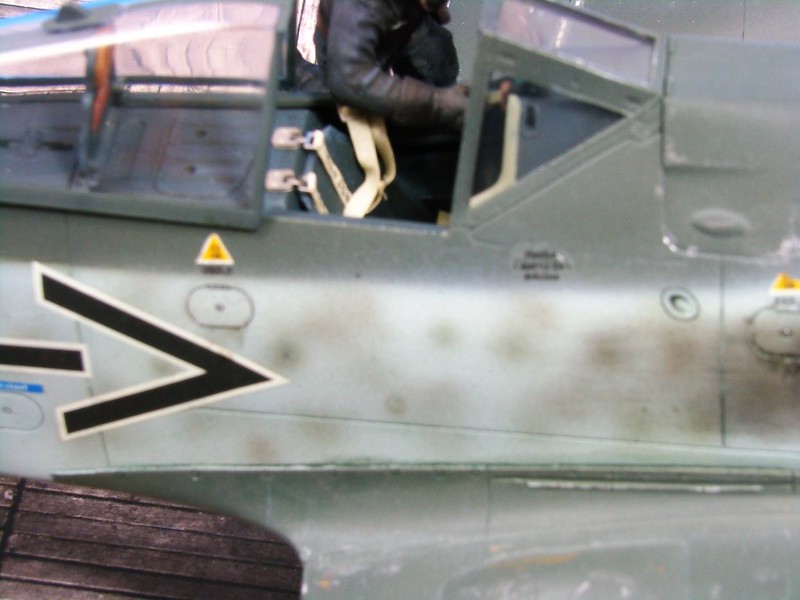
A few shots showing the cockpit area and a bit of the pilot figure.
DSC03760 by Ernest Roth, on Flickr
DSC03759 by Ernest Roth, on Flickr
DSC03756 by Ernest Roth, on Flickr
greif8
Bayern, Germany
Joined: January 17, 2006
KitMaker: 673 posts
AeroScale: 492 posts
Joined: January 17, 2006
KitMaker: 673 posts
AeroScale: 492 posts
Posted: Saturday, January 06, 2018 - 07:31 PM UTC
The undercarriage.
DSC03775 by Ernest Roth, on Flickr
DSC03780 by Ernest Roth, on Flickr
DSC03772 by Ernest Roth, on Flickr
DSC03776 by Ernest Roth, on Flickr
Cowling and underneath the plane.
DSC03778 by Ernest Roth, on Flickr
DSC03784 by Ernest Roth, on Flickr
DSC03787 by Ernest Roth, on Flickr
DSC03789 by Ernest Roth, on Flickr
greif8
Bayern, Germany
Joined: January 17, 2006
KitMaker: 673 posts
AeroScale: 492 posts
Joined: January 17, 2006
KitMaker: 673 posts
AeroScale: 492 posts
Posted: Saturday, January 06, 2018 - 07:33 PM UTC
And finally, a few shots of the pilot.
DSC03790 by Ernest Roth, on Flickr
DSC03798 by Ernest Roth, on Flickr
DSC03795 by Ernest Roth, on Flickr
DSC03790 by Ernest Roth, on Flickr
DSC03798 by Ernest Roth, on Flickr
DSC03795 by Ernest Roth, on Flickr
rochaped
Lisboa, Portugal
Joined: August 27, 2010
KitMaker: 679 posts
AeroScale: 669 posts
Joined: August 27, 2010
KitMaker: 679 posts
AeroScale: 669 posts
Posted: Sunday, January 07, 2018 - 03:07 AM UTC
Nice model Ernest!
Just one suggestion if I may, why not go free hand with the spray? Getting a soft edge on along the fuselage I mean.
Keep them coming
Just one suggestion if I may, why not go free hand with the spray? Getting a soft edge on along the fuselage I mean.
Keep them coming
greif8
Bayern, Germany
Joined: January 17, 2006
KitMaker: 673 posts
AeroScale: 492 posts
Joined: January 17, 2006
KitMaker: 673 posts
AeroScale: 492 posts
Posted: Sunday, January 07, 2018 - 12:15 PM UTC
Hi Pedro, thank you for the kind words. The camo edge on between the colors on the fuselage is soft edged, as it is along the wings. There is a short section on the port side of the cowling that is not as "soft" as the other areas. On the reference photos I have of this particular aircraft it looks like that area had been repainted and I tried to bring off the effect on the build. I usually build specific aircraft, as I enjoy researching the history prior to a build, and do my best to make them look as close to the actual aircraft as possible. Sometimes I am not as successful as I would like. Perhaps that is the case with this build.
Sincerely,
Ernest
Sincerely,
Ernest
Quoted Text
Nice model Ernest!
Just one suggestion if I may, why not go free hand with the spray? Getting a soft edge on along the fuselage I mean.
Keep them coming
Posted: Sunday, January 07, 2018 - 12:39 PM UTC
Ernest,
That's a fantastic build! Great painting and lovely subtle wear on the paint.
Wonderful!
Gaz
That's a fantastic build! Great painting and lovely subtle wear on the paint.
Wonderful!
Gaz
robinsonm
United Kingdom
Joined: February 01, 2014
KitMaker: 35 posts
AeroScale: 4 posts
Joined: February 01, 2014
KitMaker: 35 posts
AeroScale: 4 posts
Posted: Sunday, January 07, 2018 - 01:20 PM UTC
great work
rochaped
Lisboa, Portugal
Joined: August 27, 2010
KitMaker: 679 posts
AeroScale: 669 posts
Joined: August 27, 2010
KitMaker: 679 posts
AeroScale: 669 posts
Posted: Sunday, January 07, 2018 - 05:24 PM UTC
Quoted Text
I usually build specific aircraft, as I enjoy researching the history prior to a build, and do my best to make them look as close to the actual aircraft as possible. Sometimes I am not as successful as I would like. Perhaps that is the case with this build]
Not all Ernest! Your model looks great.
Mine was a suggestion of personal taste, induced by the different edges you achieved in the upper wings, with the 74/75 and those seen on the 76 to 74/75 on the fuselage... and unlike you I have no idea how the real bird looked like
Cheers
Pedro
thegirl
Alberta, Canada
Joined: January 19, 2008
KitMaker: 6,743 posts
AeroScale: 6,151 posts
Joined: January 19, 2008
KitMaker: 6,743 posts
AeroScale: 6,151 posts
Posted: Monday, January 08, 2018 - 05:32 AM UTC
Very nicely done Ernest
Terri
Terri
greif8
Bayern, Germany
Joined: January 17, 2006
KitMaker: 673 posts
AeroScale: 492 posts
Joined: January 17, 2006
KitMaker: 673 posts
AeroScale: 492 posts
Posted: Monday, January 08, 2018 - 11:15 AM UTC
Thank you for the kind words everyone. Pedro, no worries at all my friend! I should have explained that the build was an attempt to replicate an original aircraft as it looked during a very specific timeframe. Part of the draw for me when I build aircraft is to tie each build to a specific pilot or crew, and build the plane to look like it did during a certain time period. I enjoy the research and I find that having that connection to the history of the plane and crew motivates me during the build. Pretty geeky, but it works for me!
Ernest
Ernest
chrispap
Thessaloniki, Greece / Ελλάδα
Joined: August 30, 2016
KitMaker: 62 posts
AeroScale: 60 posts
Joined: August 30, 2016
KitMaker: 62 posts
AeroScale: 60 posts
Posted: Tuesday, January 09, 2018 - 01:06 AM UTC
Beautiful work Ernest! Christos