Ernest,
I really feel your pain and frustration. I've had it happen to me many years ago The good news is that you do have a 2nd kit. So far the cockpit looks really good, and like you said the curve of the fuselage side walls, hides a great deal of it.
My other long time hobby is photography. If I can help in any way, I'll be more then glade to. One of my varied interests is Macro and I shot with a Nikon D7100 and a Nikkor 105 macro lens most of the time. DOF is a real challenge without using stacking.
Joel
Hosted by Rowan Baylis
Trumpeter F4F-4 Wildcat Build
Joel_W

Joined: December 04, 2010
KitMaker: 11,666 posts
AeroScale: 7,410 posts

Posted: Friday, February 23, 2018 - 09:31 PM UTC

greif8

Joined: January 17, 2006
KitMaker: 673 posts
AeroScale: 492 posts

Posted: Friday, February 23, 2018 - 11:08 PM UTC
Michael, thank you for the kind words. TO answer your question, the wings seemed to be firm when folded on the build that was destroyed, so I am guessing they will be the same with the reboot build.
Joel, thank your kind words as well. It took me a couple of days to find the mojo again. I have a Canon Rebel T6 and the new lens is the 60mm Macro. When I take photos of the finished builds I setup my photo tent and shot from a tripod. That way I can shoot in manual mode and control DoF and other aspects to get the best shots that I can do at least. It is too much bother to set all the stuff up for in progress shots on the bench; color me lazy on that!
Ernest

greif8

Joined: January 17, 2006
KitMaker: 673 posts
AeroScale: 492 posts

Posted: Tuesday, March 06, 2018 - 01:55 AM UTC
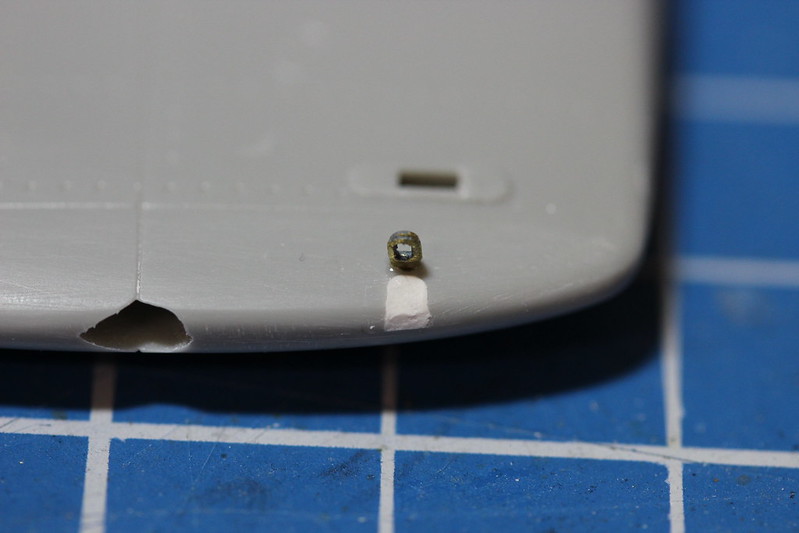
Not much photo worthy progress over the past week. the vast majority of the work has been a repeat of the work I did on the first build before its unfortunate demise. I did take to opportunity to scratch build more realistic looking attachment points. The below photos show that effort in the early phase of working them into position. I already like the looks of them compared to the first ones I made.
Ernest
 IMG_0722 by Ernest Roth, on Flickr
 IMG_0720 by Ernest Roth, on Flickr
Ernest
 IMG_0722 by Ernest Roth, on Flickr
 IMG_0720 by Ernest Roth, on Flickr
 Joel_W

Joined: December 04, 2010
KitMaker: 11,666 posts
AeroScale: 7,410 posts

Posted: Tuesday, March 06, 2018 - 02:44 AM UTC
Ernest,
A huge improvement to say the least.
Joel
A huge improvement to say the least.
Joel

greif8

Joined: January 17, 2006
KitMaker: 673 posts
AeroScale: 492 posts

Posted: Tuesday, March 20, 2018 - 12:47 AM UTC
I am going to call this build complete. Following are several posts of the finished model. I bought a new macro lens a few weeks ago and used it for the first time seriously to take some of the shots; boy does it bring things up close and personal - in all their glory, and ugliness to boot. Having said that, I really like the lens and will enjoy getting to learn how to use it better.
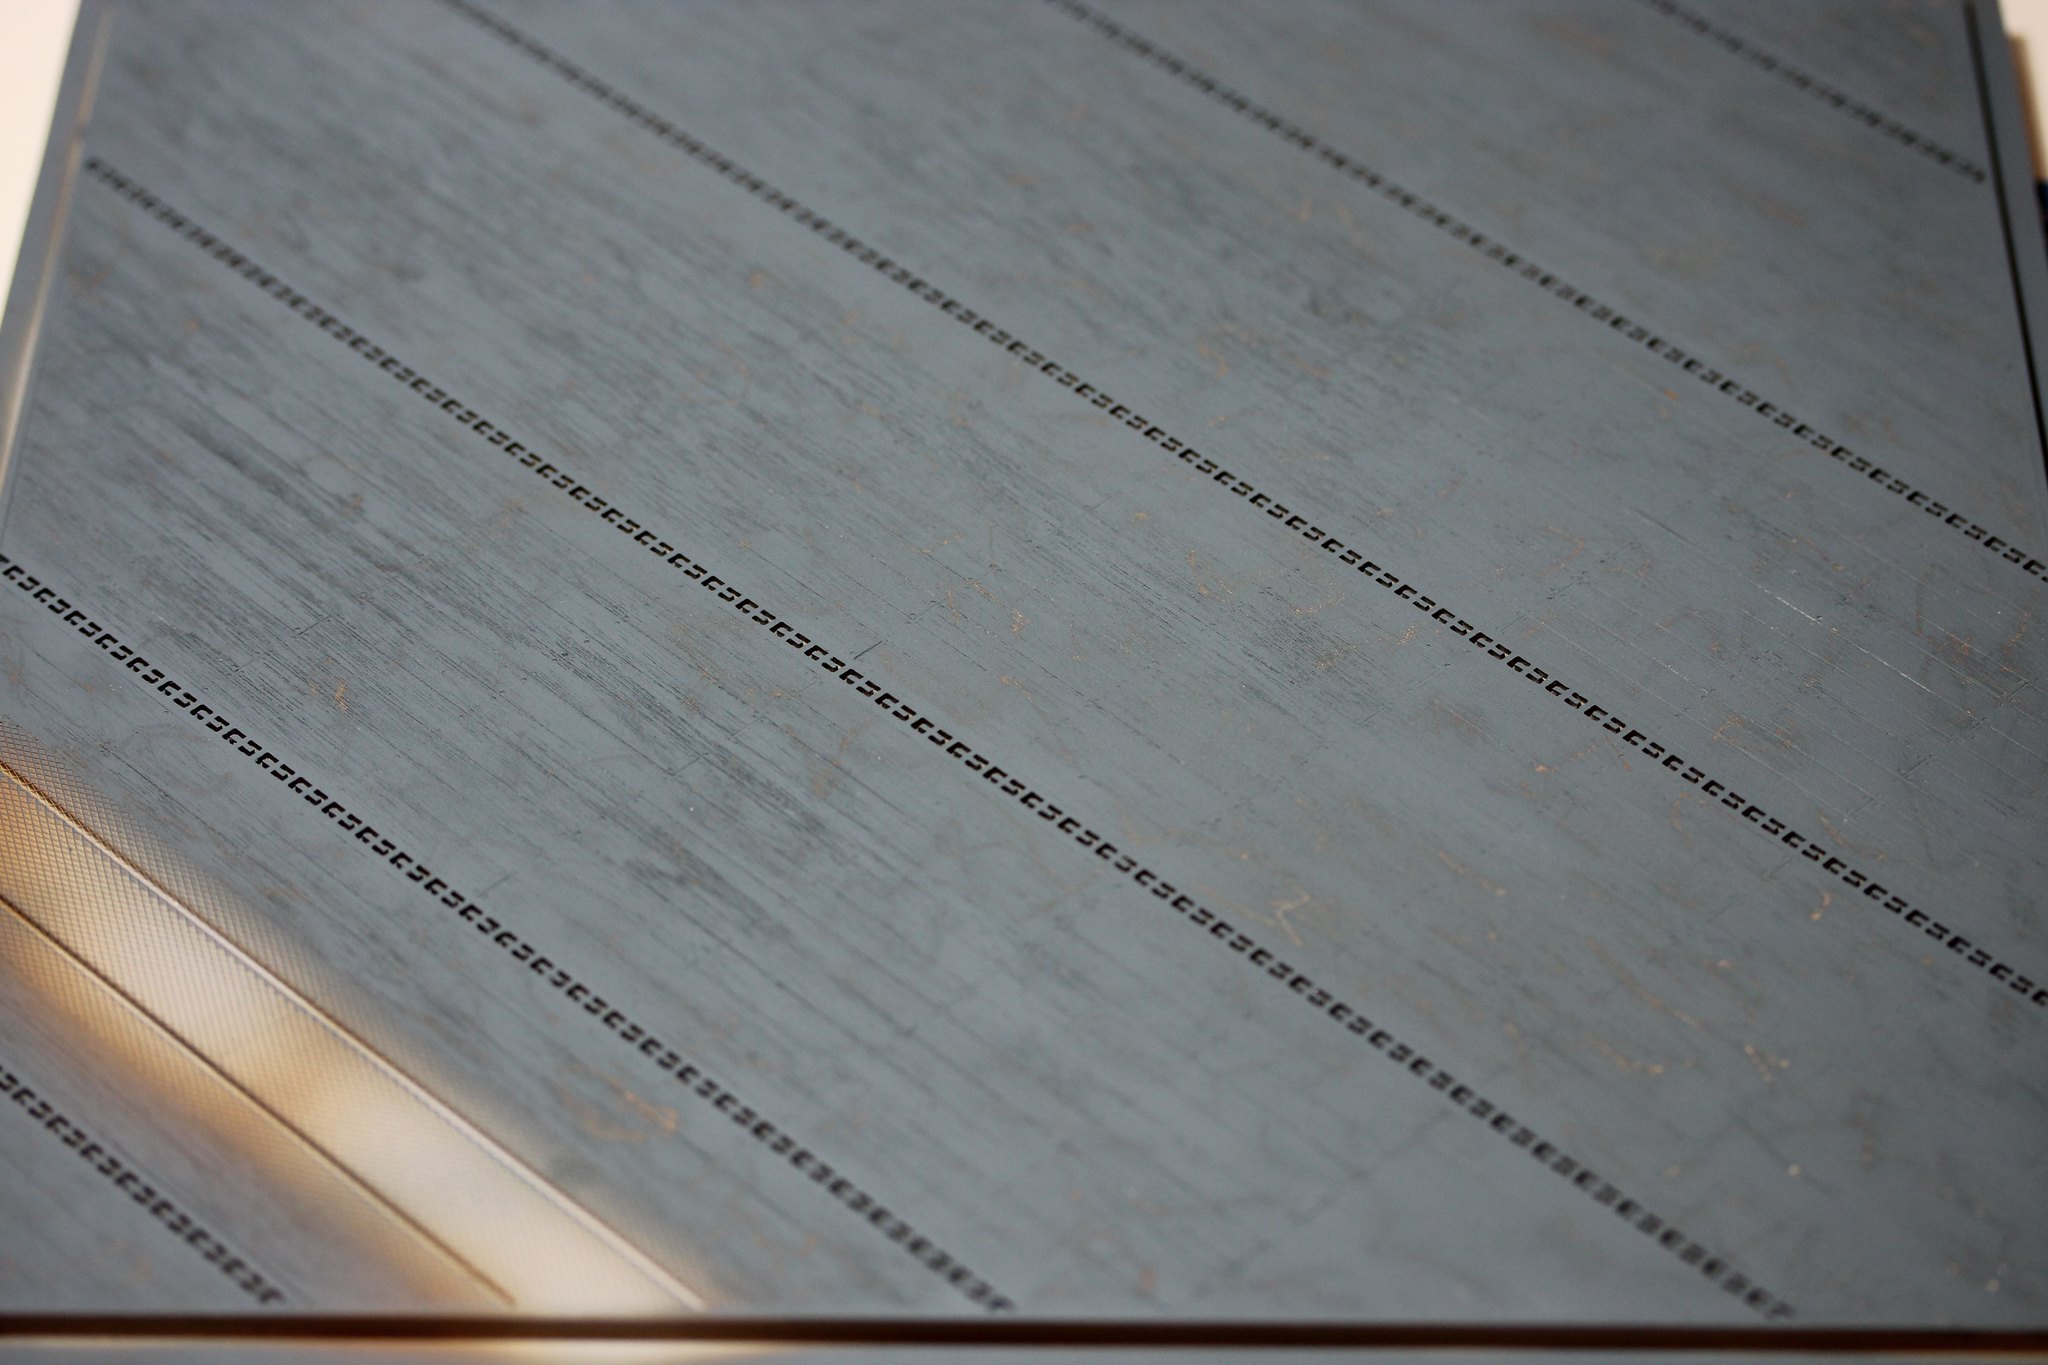
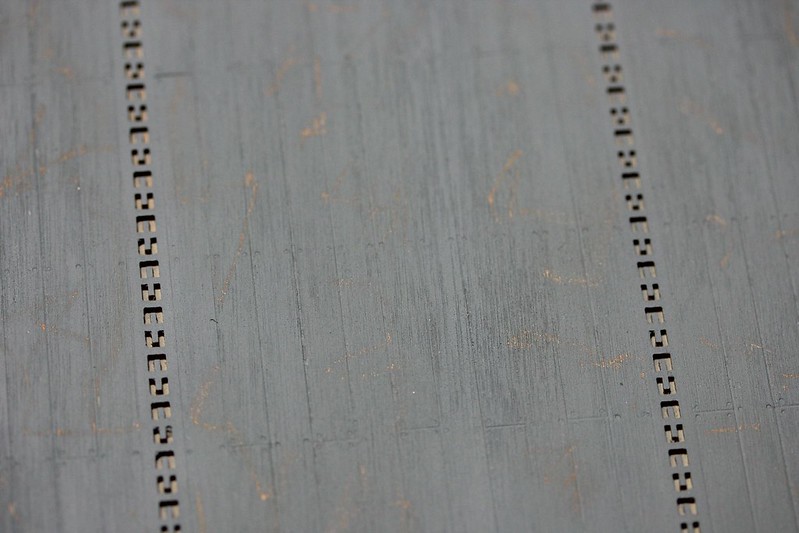
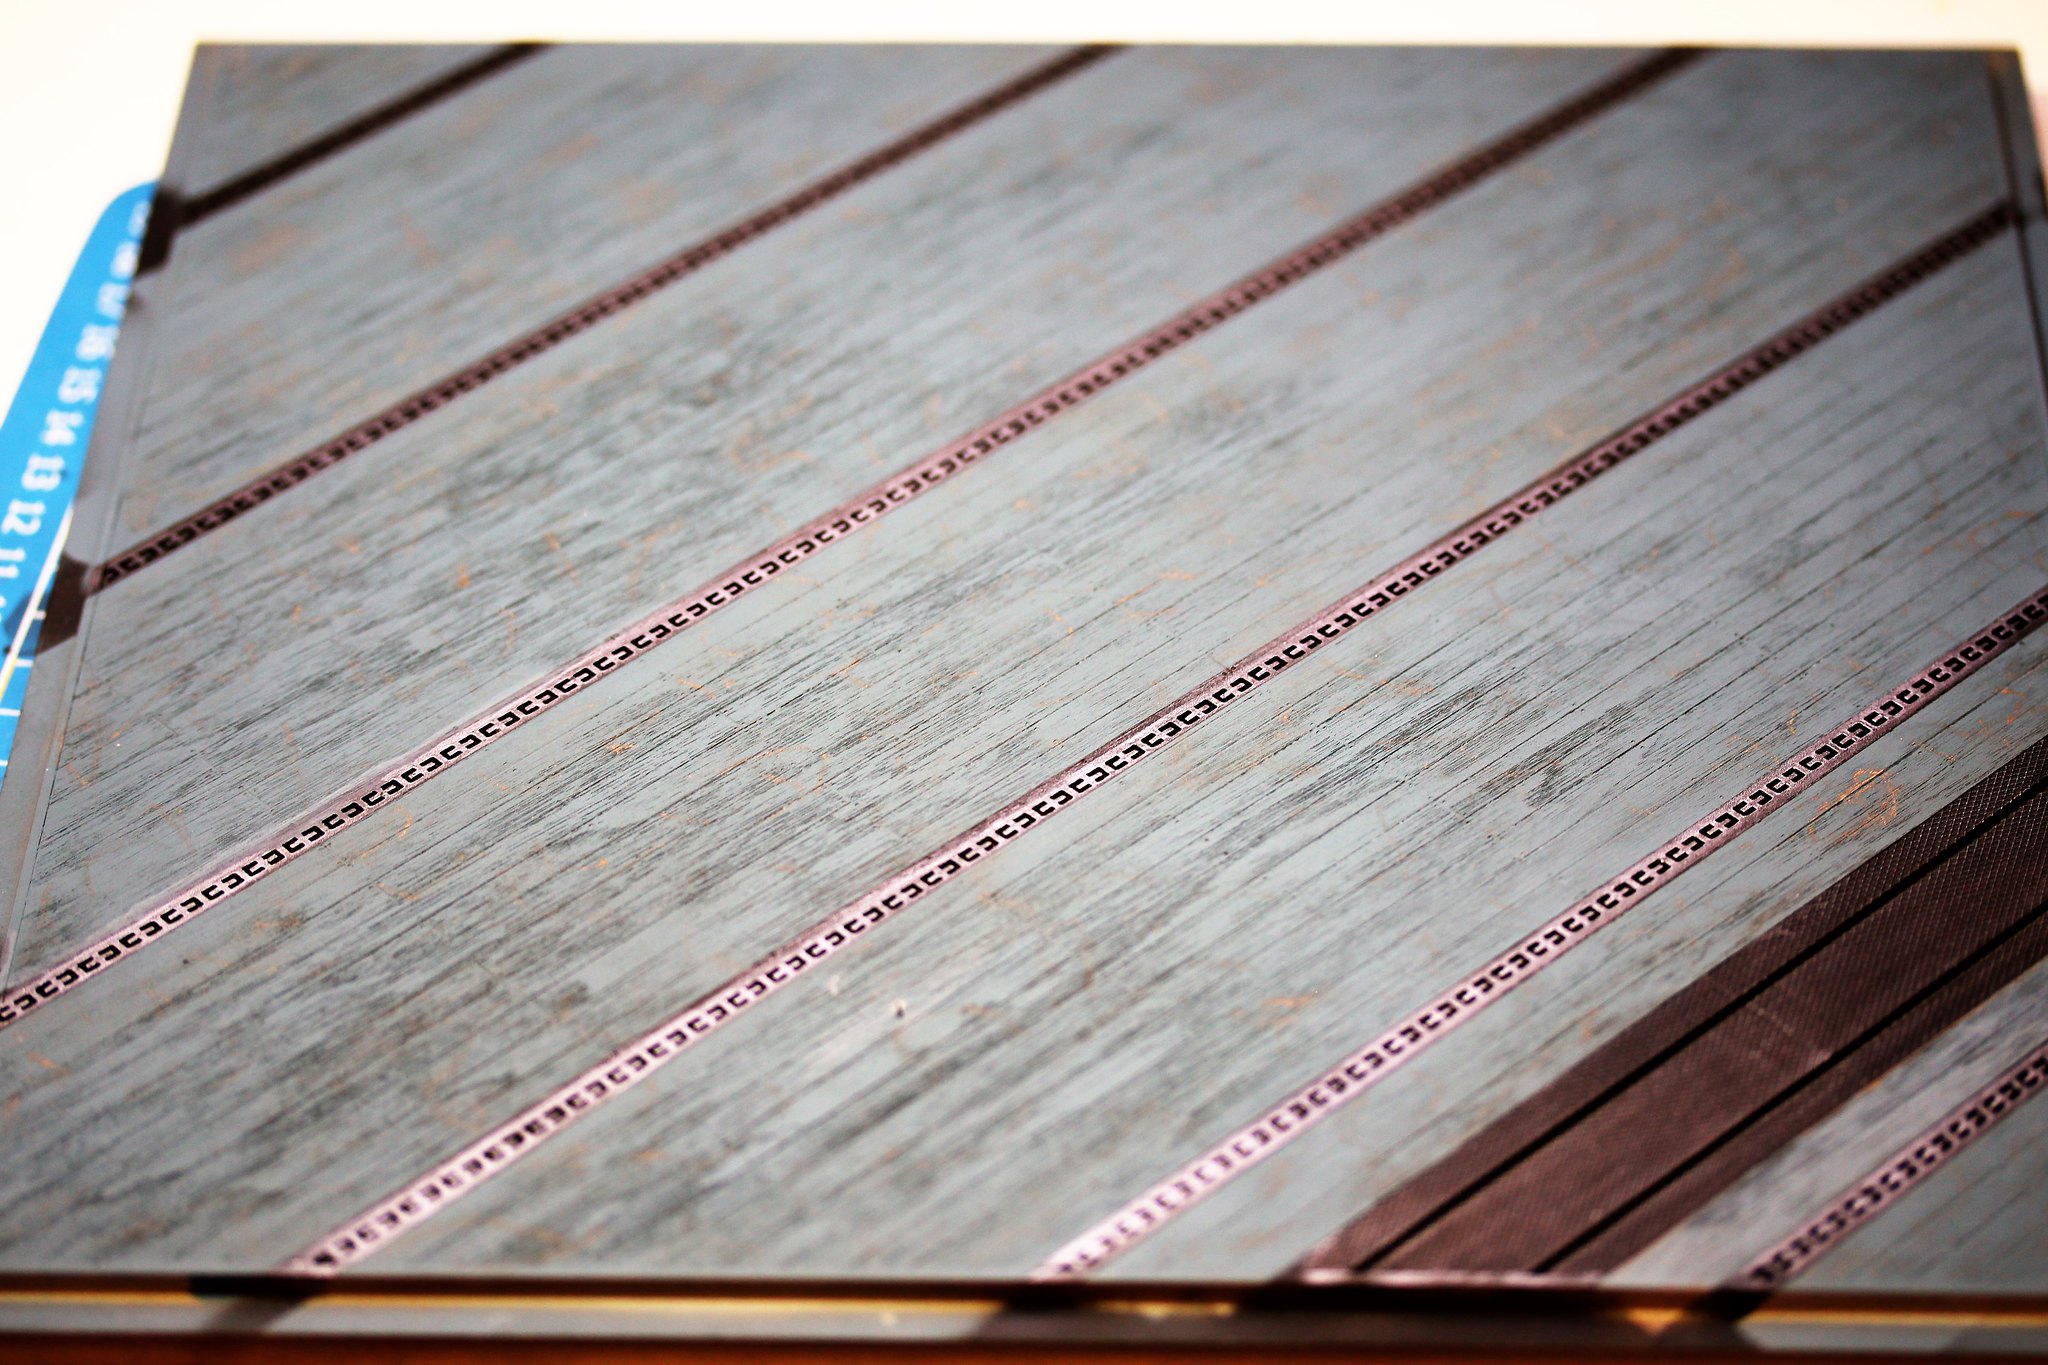
The first set of shots is the base for the model. I painted it a teak color, then sprayed it a blue to resemble the blue stain the USN used for flight decks during WWII. I then scuffed and scratched the surface randomly to show a bit of wear and tear. The metal sections were sprayed black and than given a rub down with a graphite pencil. Finally, I splattered a few oil and lub stains on the deck. Over all, I am pleased with the finished product.
Ernest
 IMG_0723 by Ernest Roth, on Flickr
Blue sprayed on
 IMG_0724 by Ernest Roth, on Flickr
Scratches and scuffs
 IMG_0733 by Ernest Roth, on Flickr
Metal areas painted and a bit of weathering
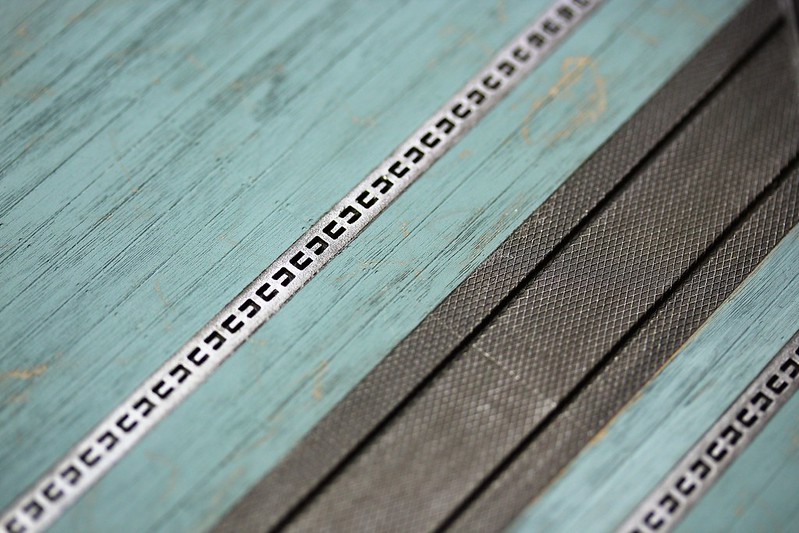 IMG_0732 by Ernest Roth, on Flickr
Close up one
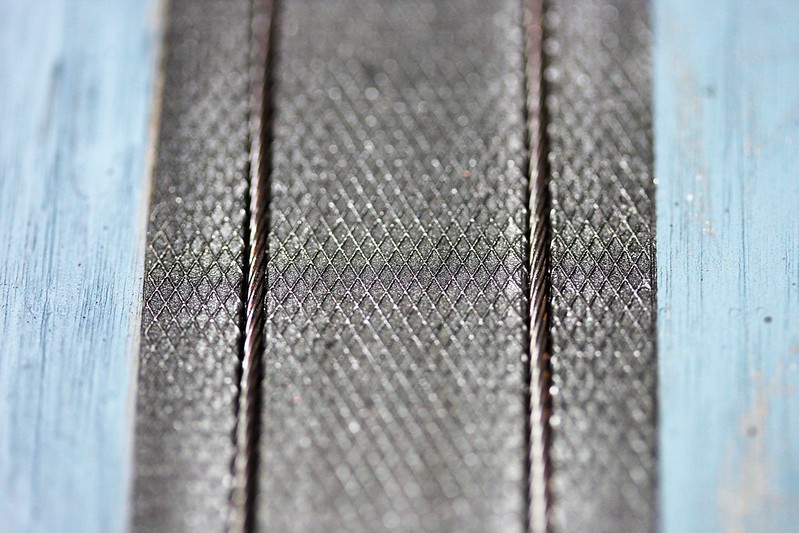 IMG_0736 by Ernest Roth, on Flickr
Cables
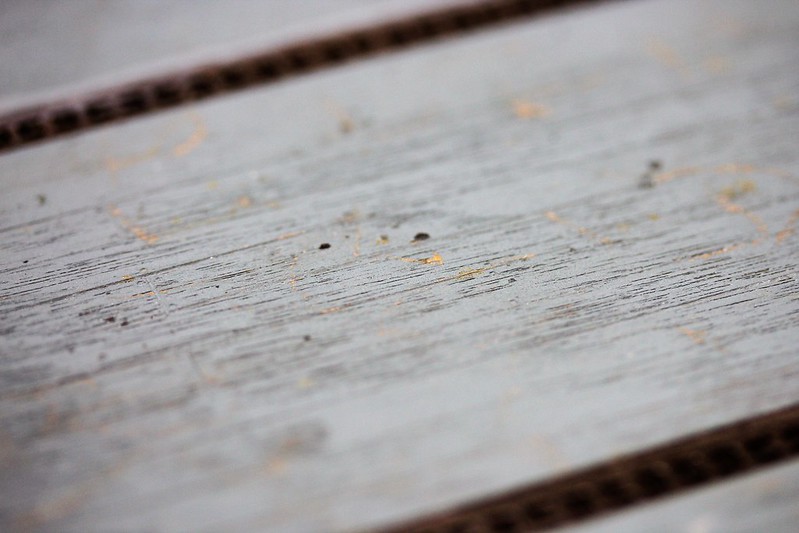 IMG_0735 by Ernest Roth, on Flickr
Close up of finished weathering
The first set of shots is the base for the model. I painted it a teak color, then sprayed it a blue to resemble the blue stain the USN used for flight decks during WWII. I then scuffed and scratched the surface randomly to show a bit of wear and tear. The metal sections were sprayed black and than given a rub down with a graphite pencil. Finally, I splattered a few oil and lub stains on the deck. Over all, I am pleased with the finished product.
Ernest
 IMG_0723 by Ernest Roth, on Flickr
Blue sprayed on
 IMG_0724 by Ernest Roth, on Flickr
Scratches and scuffs
 IMG_0733 by Ernest Roth, on Flickr
Metal areas painted and a bit of weathering
 IMG_0732 by Ernest Roth, on Flickr
Close up one
 IMG_0736 by Ernest Roth, on Flickr
Cables
 IMG_0735 by Ernest Roth, on Flickr
Close up of finished weathering

greif8

Joined: January 17, 2006
KitMaker: 673 posts
AeroScale: 492 posts

Posted: Tuesday, March 20, 2018 - 12:57 AM UTC
Next up are some medium distance shots with the model and figure posed on the base.
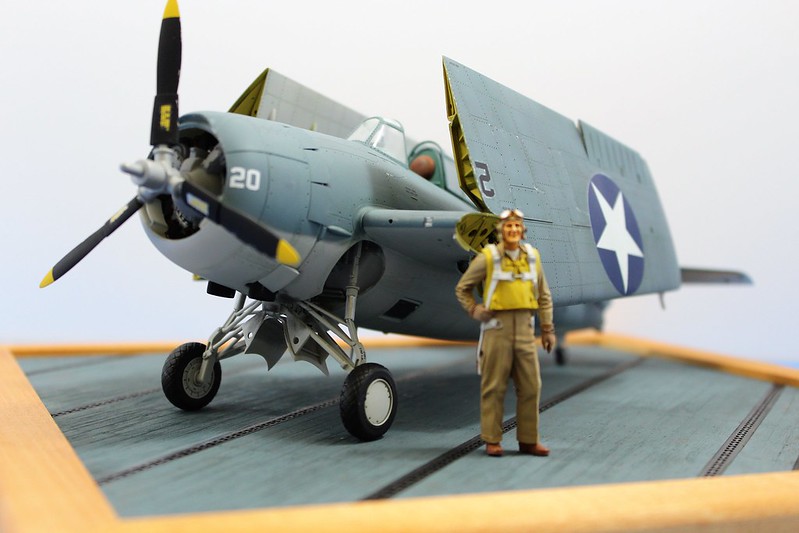 IMG_0740 by Ernest Roth, on Flickr
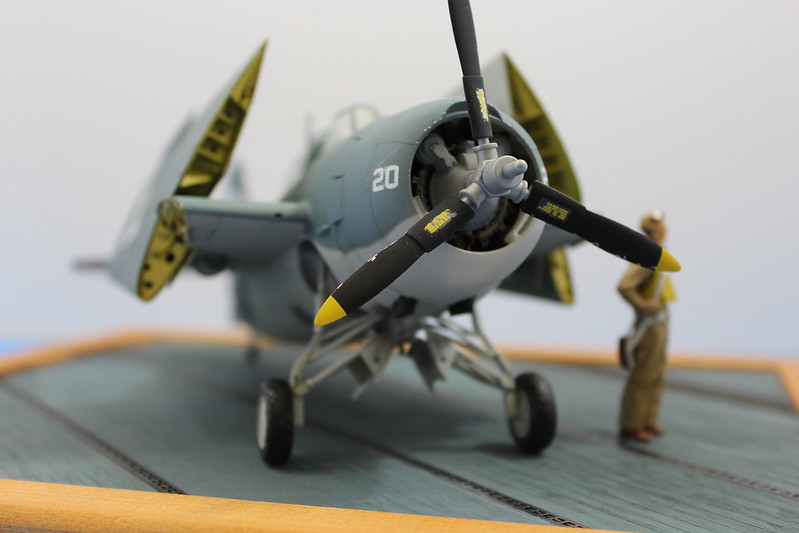 IMG_0741 by Ernest Roth, on Flickr
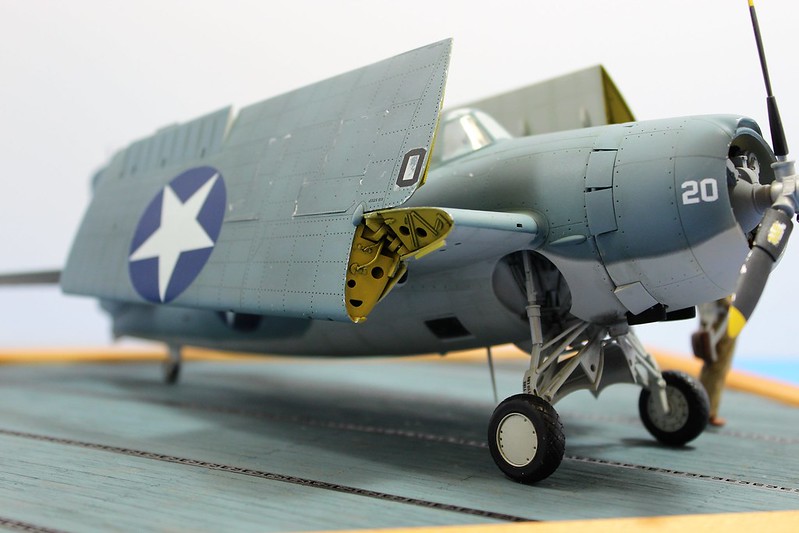 IMG_0743 by Ernest Roth, on Flickr
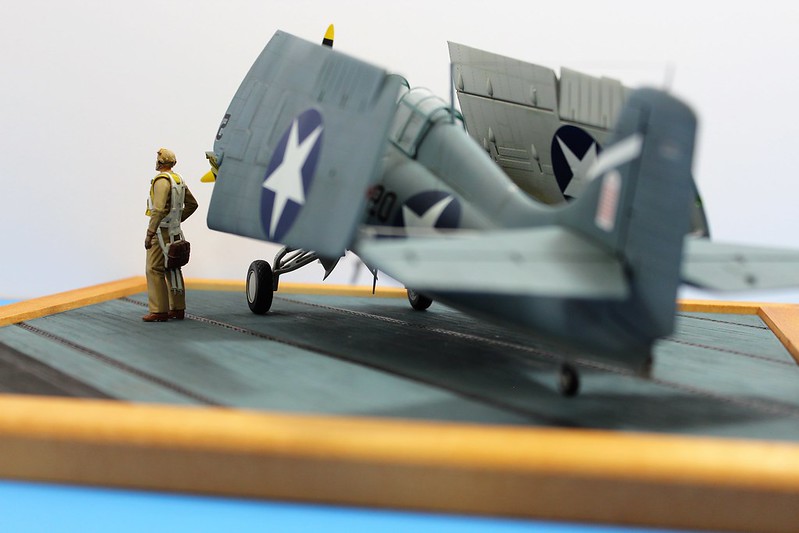 IMG_0745 by Ernest Roth, on Flickr
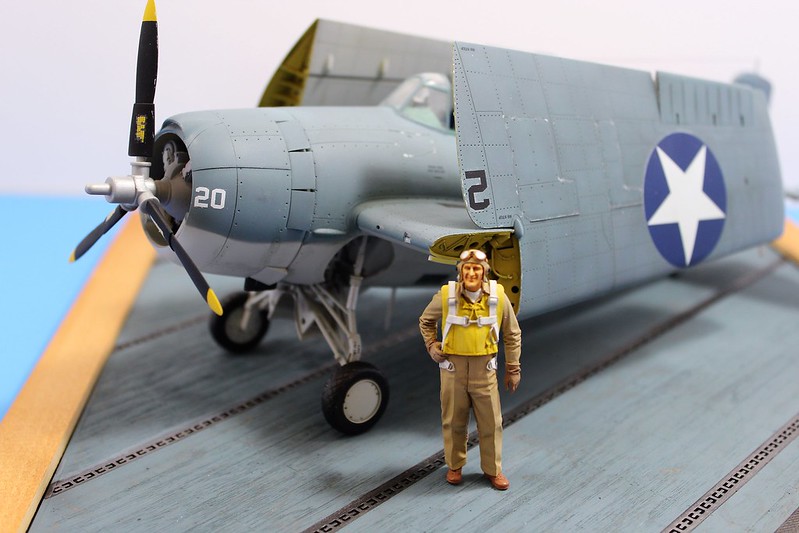 IMG_0748 by Ernest Roth, on Flickr
 IMG_0740 by Ernest Roth, on Flickr
 IMG_0741 by Ernest Roth, on Flickr
 IMG_0743 by Ernest Roth, on Flickr
 IMG_0745 by Ernest Roth, on Flickr
 IMG_0748 by Ernest Roth, on Flickr
greif8

Joined: January 17, 2006
KitMaker: 673 posts
AeroScale: 492 posts

Posted: Tuesday, March 20, 2018 - 01:18 AM UTC
Now for some close up shots. As many of you know depth of field is always a challenge when shooting macro photos. I took the shots in manual mode so I could control the depth of field with the F-Stops, the white balance and focus. Overall, the pictures turned out ok, but I still have a lot to learn before I can get the most out of the lens.
Three shots of the pit - two at close range and one very close range shot of the seatbelt.
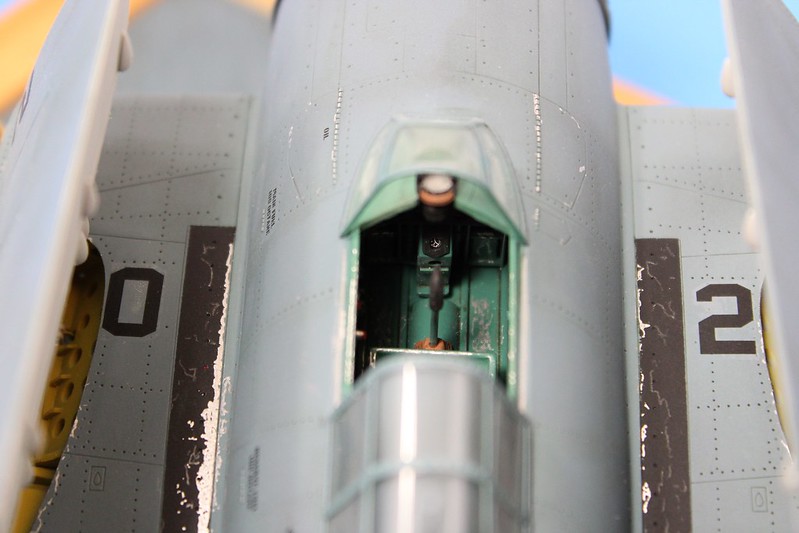 IMG_0754 by Ernest Roth, on Flickr
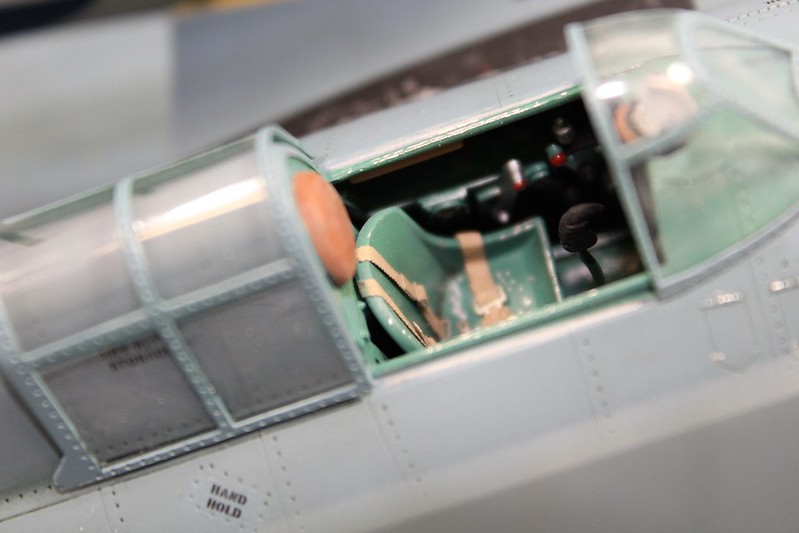 IMG_0755 by Ernest Roth, on Flickr
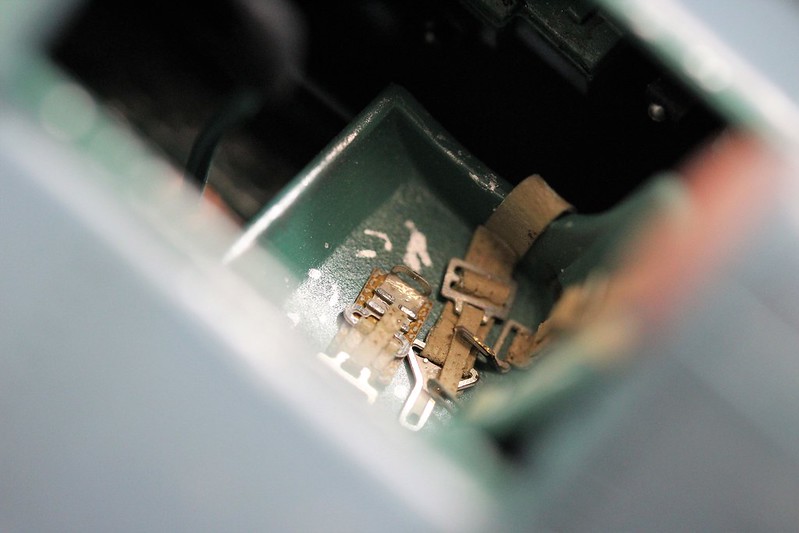 IMG_0771 by Ernest Roth, on Flickr
The next three photos show the undercarriage, a wing at the fold area and an access panel for checking the oil, again at very close range.
 IMG_0762 by Ernest Roth, on Flickr
 IMG_0770 by Ernest Roth, on Flickr
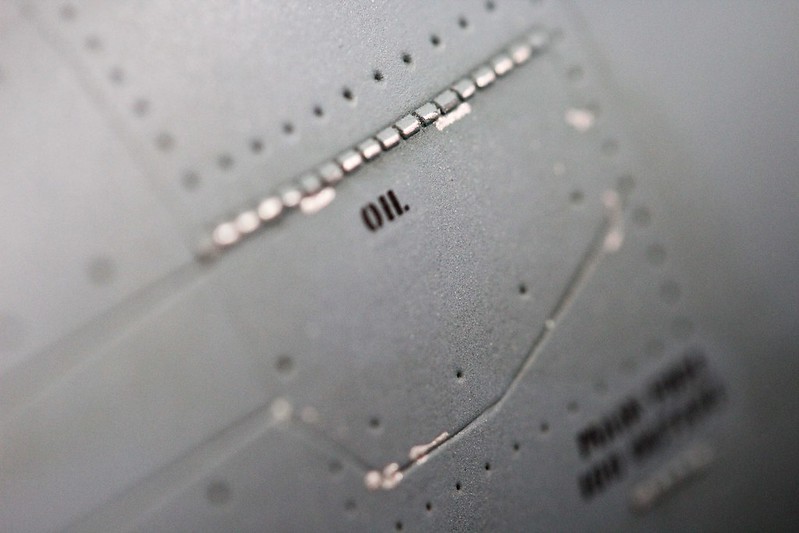 IMG_0772 by Ernest Roth, on Flickr
And finally, a wing interior (I did some very minimal scratchbuilding here adding some cabling); the walkway area, the chipping was done with a silver pen and pencil; a close up of one of the Jury Struts and attachment points that I scratchbuilt. Last but not least is a fairly close shot of the pilot - who looks a lot like the skipper of Torpedo 8 at Midway!
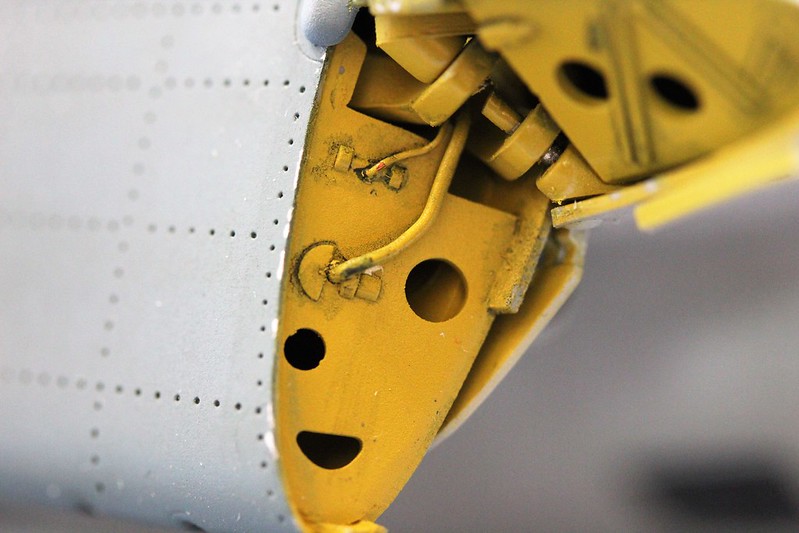 IMG_0764 by Ernest Roth, on Flickr
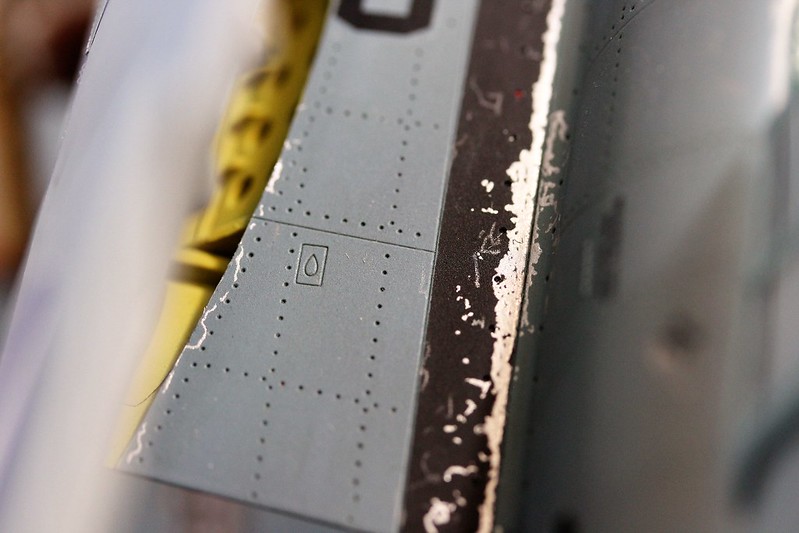 IMG_0769 by Ernest Roth, on Flickr
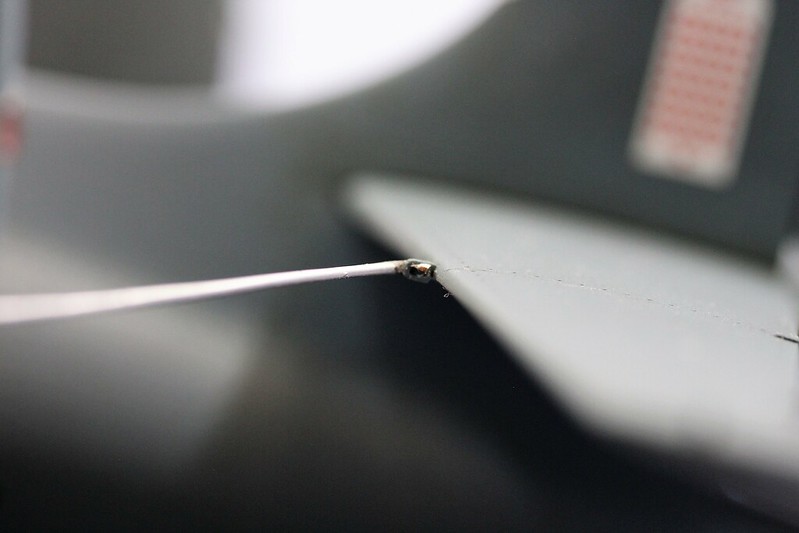 IMG_0765 by Ernest Roth, on Flickr
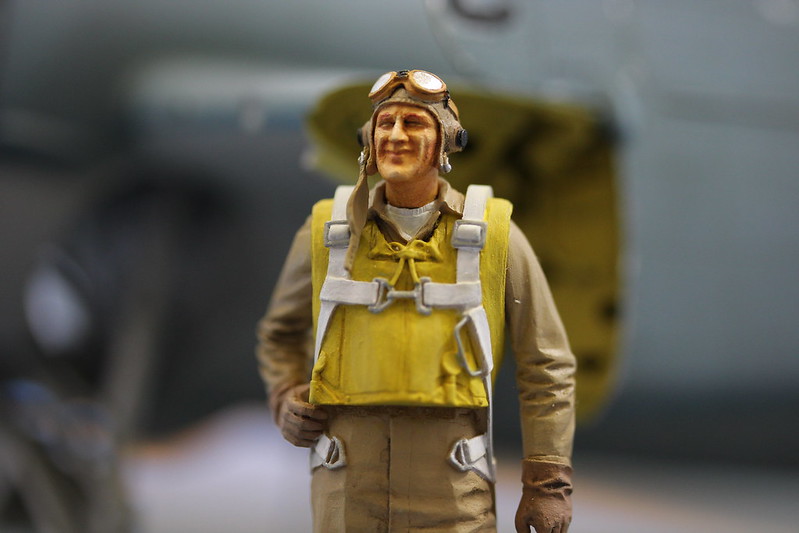 IMG_0739 by Ernest Roth, on Flickr
Three shots of the pit - two at close range and one very close range shot of the seatbelt.
 IMG_0754 by Ernest Roth, on Flickr
 IMG_0755 by Ernest Roth, on Flickr
 IMG_0771 by Ernest Roth, on Flickr
The next three photos show the undercarriage, a wing at the fold area and an access panel for checking the oil, again at very close range.
 IMG_0762 by Ernest Roth, on Flickr
 IMG_0770 by Ernest Roth, on Flickr
 IMG_0772 by Ernest Roth, on Flickr
And finally, a wing interior (I did some very minimal scratchbuilding here adding some cabling); the walkway area, the chipping was done with a silver pen and pencil; a close up of one of the Jury Struts and attachment points that I scratchbuilt. Last but not least is a fairly close shot of the pilot - who looks a lot like the skipper of Torpedo 8 at Midway!
 IMG_0764 by Ernest Roth, on Flickr
 IMG_0769 by Ernest Roth, on Flickr
 IMG_0765 by Ernest Roth, on Flickr
 IMG_0739 by Ernest Roth, on Flickr
Joel_W

Joined: December 04, 2010
KitMaker: 11,666 posts
AeroScale: 7,410 posts

Posted: Tuesday, March 20, 2018 - 02:16 AM UTC
Ernest,
A truly excellent build of a rather difficult Trumpeter kit. I should know as I built their -3. Your carrier deck display base is truly outstanding and weathered to perfection. and the pilot figure, really is quite well done.
My only question is the color of the lower section of the landing gear. I do believe that the -4s still had them painted in Black.
As for Macro photography, DOF is something I've been chasing for years on end. To complicate matters is the Bokeh effect I strive for in the backgrounds, so I just can't use the smallest f stop on my Nikkor 105mm Macro lens.
Joel
Joel

rdt1953

Joined: February 06, 2015
KitMaker: 1,098 posts
AeroScale: 900 posts

Posted: Tuesday, March 20, 2018 - 04:09 PM UTC
Ernest- beautiful job all around - the aircraft , base , figure and your
Photography skills . I am envious and between you and Joel I have some catching up to do where taking pictures is concerned. Thanks for sharing.
Richard
Photography skills . I am envious and between you and Joel I have some catching up to do where taking pictures is concerned. Thanks for sharing.
Richard
Joel_W

Joined: December 04, 2010
KitMaker: 11,666 posts
AeroScale: 7,410 posts

Posted: Tuesday, March 20, 2018 - 06:34 PM UTC
Quoted Text
Ernest- beautiful job all around - the aircraft , base , figure and your
Photography skills . I am envious and between you and Joel I have some catching up to do where taking pictures is concerned. Thanks for sharing.
Richard
Richard
And I your advanced building skills.
Joel
thegirl

Joined: January 19, 2008
KitMaker: 6,743 posts
AeroScale: 6,151 posts

Posted: Tuesday, March 20, 2018 - 07:06 PM UTC
Great job on your build Ernest 
Terri

Terri

greif8

Joined: January 17, 2006
KitMaker: 673 posts
AeroScale: 492 posts

Posted: Friday, March 23, 2018 - 01:03 PM UTC
Hi Joel, thank you for your kind comments. I hemmed and hawed as to paint the lower half of the undercarriage black. After looking at quite a few photos of operational aircraft during the second half of 1942 it looked to me that though most F4F-4s did have the lower part of their undercarriage painted black, a significant minority had them completely light grey - I took the lazy man's route! .
I hear you on depth of field, and I have found that shooting in manual mode lets me fiddle with the different parameters to get the best shot - though I still end up deleting a lot of failures on my part.
Again, thank you for your kind words!
Sincerely,
Ernest
I hear you on depth of field, and I have found that shooting in manual mode lets me fiddle with the different parameters to get the best shot - though I still end up deleting a lot of failures on my part.
Again, thank you for your kind words!
Sincerely,
Ernest
Quoted Text
Ernest,
A truly excellent build of a rather difficult Trumpeter kit. I should know as I built their -3. Your carrier deck display base is truly outstanding and weathered to perfection. and the pilot figure, really is quite well done.
My only question is the color of the lower section of the landing gear. I do believe that the -4s still had them painted in Black.
As for Macro photography, DOF is something I've been chasing for years on end. To complicate matters is the Bokeh effect I strive for in the backgrounds, so I just can't use the smallest f stop on my Nikkor 105mm Macro lens.
Joel
Joel

greif8

Joined: January 17, 2006
KitMaker: 673 posts
AeroScale: 492 posts

Posted: Friday, March 23, 2018 - 01:06 PM UTC
Thank you Richard, coming from a scale modeler of your skill your kind words mean a lot. Believe me, when it comes to photos, most of mine end up in the little trash can in the top left corner of my screen.
Sincerely,
Ernest
Sincerely,
Ernest
Quoted Text
Ernest- beautiful job all around - the aircraft , base , figure and your
Photography skills . I am envious and between you and Joel I have some catching up to do where taking pictures is concerned. Thanks for sharing.
Richard

greif8

Joined: January 17, 2006
KitMaker: 673 posts
AeroScale: 492 posts

Posted: Friday, March 23, 2018 - 01:07 PM UTC
Thank you Terri!
Sincerely,
Ernest
Sincerely,
Ernest
Quoted Text
Great job on your build Ernest
Terri
MichaelSatin


Joined: January 19, 2008
KitMaker: 3,909 posts
AeroScale: 2,904 posts

Posted: Friday, March 23, 2018 - 06:29 PM UTC
Excellent work, Ernest! Makes me want to break mine out and have a crack at it.
Michael
Michael

Posted: Friday, March 23, 2018 - 08:16 PM UTC
Great build Ernest. The Wildcat looks fantastic on that deck.
Sorry to hear about the fate of the first build. Afraid to say that I was guilty of a few broken models when I was much younger. Had quite a few tellings off from my dad!
Sorry to hear about the fate of the first build. Afraid to say that I was guilty of a few broken models when I was much younger. Had quite a few tellings off from my dad!
Posted: Saturday, March 24, 2018 - 01:12 AM UTC
Wonderful work. The figure is most impressive!

rdt1953

Joined: February 06, 2015
KitMaker: 1,098 posts
AeroScale: 900 posts

Posted: Sunday, March 25, 2018 - 07:27 AM UTC
Hi again Ernest -
I am curious about the carrier deck base - can you tell me more about it ?
Is it scratch built or an aftermarket offering? I really like the cable detail of what I assume to be part of the arresting gear .
Thanks - Richard
I am curious about the carrier deck base - can you tell me more about it ?
Is it scratch built or an aftermarket offering? I really like the cable detail of what I assume to be part of the arresting gear .
Thanks - Richard
Posted: Sunday, March 25, 2018 - 06:07 PM UTC
Looks to me that you have the hang of that new micro lens. And unlike my models the closer you get to yours the BETTER they look!

greif8

Joined: January 17, 2006
KitMaker: 673 posts
AeroScale: 492 posts

Posted: Monday, March 26, 2018 - 11:26 AM UTC
Thank you Michael, and thank your for running all the group builds that you do.
Sincerely,
Ernest
Sincerely,
Ernest
Quoted Text
Excellent work, Ernest! Makes me want to break mine out and have a crack at it.
Michael

greif8

Joined: January 17, 2006
KitMaker: 673 posts
AeroScale: 492 posts

Posted: Monday, March 26, 2018 - 11:28 AM UTC
Hi Stephen, thank you for the kind words. It took me a few days to get over the first build being destroyed. I was more irritated by the attitude of my nephew's parents than the actual destruction of the model.
Sincerely,
Ernest
Sincerely,
Ernest
Quoted Text
Great build Ernest. The Wildcat looks fantastic on that deck.
Sorry to hear about the fate of the first build. Afraid to say that I was guilty of a few broken models when I was much younger. Had quite a few tellings off from my dad!

greif8

Joined: January 17, 2006
KitMaker: 673 posts
AeroScale: 492 posts

Posted: Monday, March 26, 2018 - 11:31 AM UTC
Thanks for the nice words Michael. I am still learning how to use the macro lens; there is a lot of things a good photographer can do with one, and I still have a ways to go before I can be considered in that crowd. I have to admit, that I winch a bit looking at a few of the really close up shots; one can really see all the imperfections!
Ernest
Ernest
Quoted Text
Looks to me that you have the hang of that new micro lens. And unlike my models the closer you get to yours the BETTER they look!

greif8

Joined: January 17, 2006
KitMaker: 673 posts
AeroScale: 492 posts

Posted: Monday, March 26, 2018 - 11:37 AM UTC
Hi Richard, the base is a resin AM one made by Eureka XXL, which I believe is a Polish AM firm. They mostly make tow cables and accessories for 1/35 scale armor models, but it looks like they are branching out.
I considered scratch building a carrier deck; I did one for the Tamiya 1/32 A6M2 Zero that I built a couple of years ago. That deck looks very good, but boy was it a project! I opted for a less work intensive route this time.
Ernest
I considered scratch building a carrier deck; I did one for the Tamiya 1/32 A6M2 Zero that I built a couple of years ago. That deck looks very good, but boy was it a project! I opted for a less work intensive route this time.
Ernest
Quoted Text
Hi again Ernest -
I am curious about the carrier deck base - can you tell me more about it ?
Is it scratch built or an aftermarket offering? I really like the cable detail of what I assume to be part of the arresting gear .
Thanks - Richard
 |


