Thank you!
Hello,
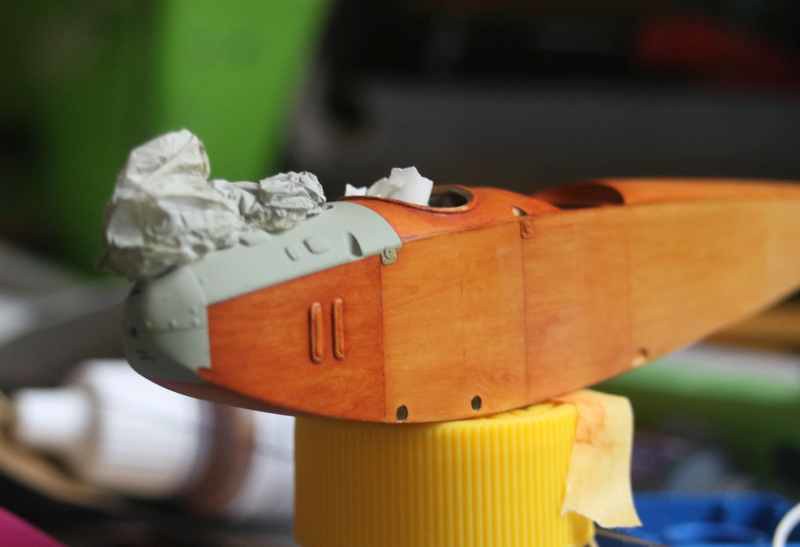
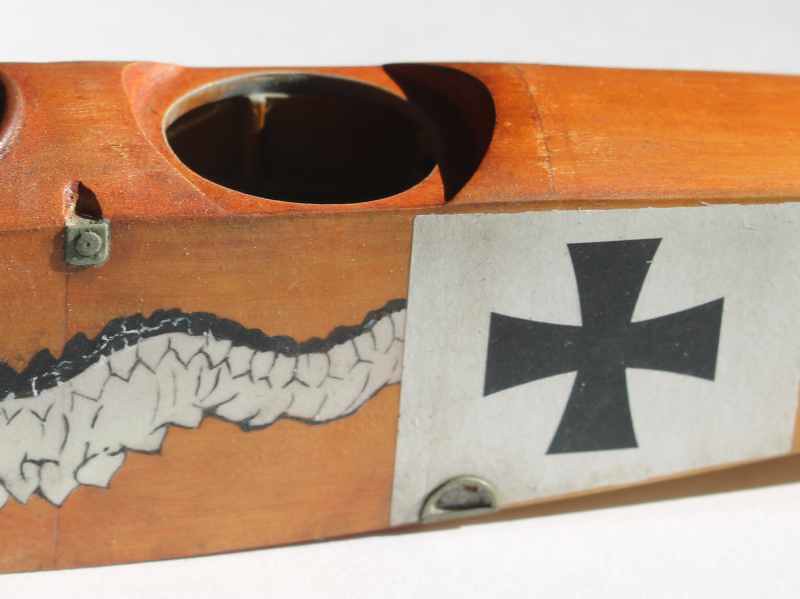
That's it, it's dry and varnished.
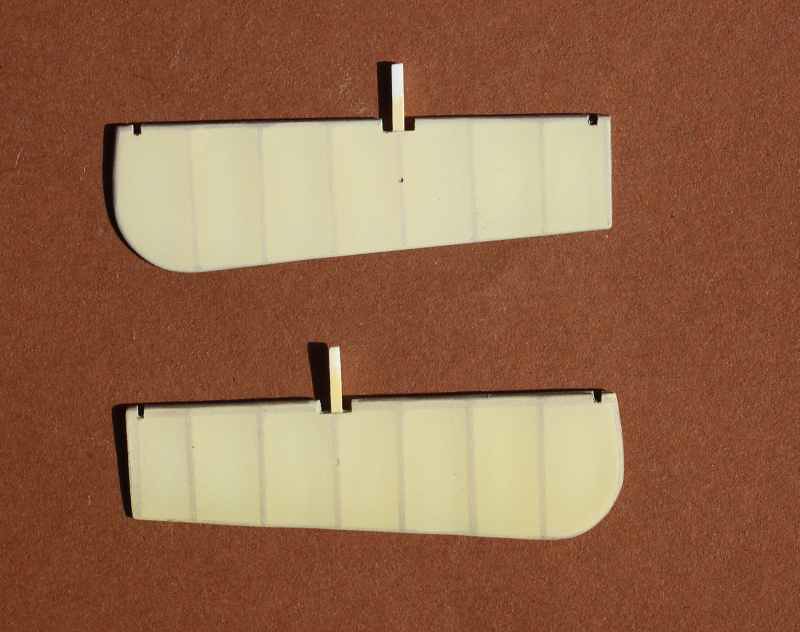
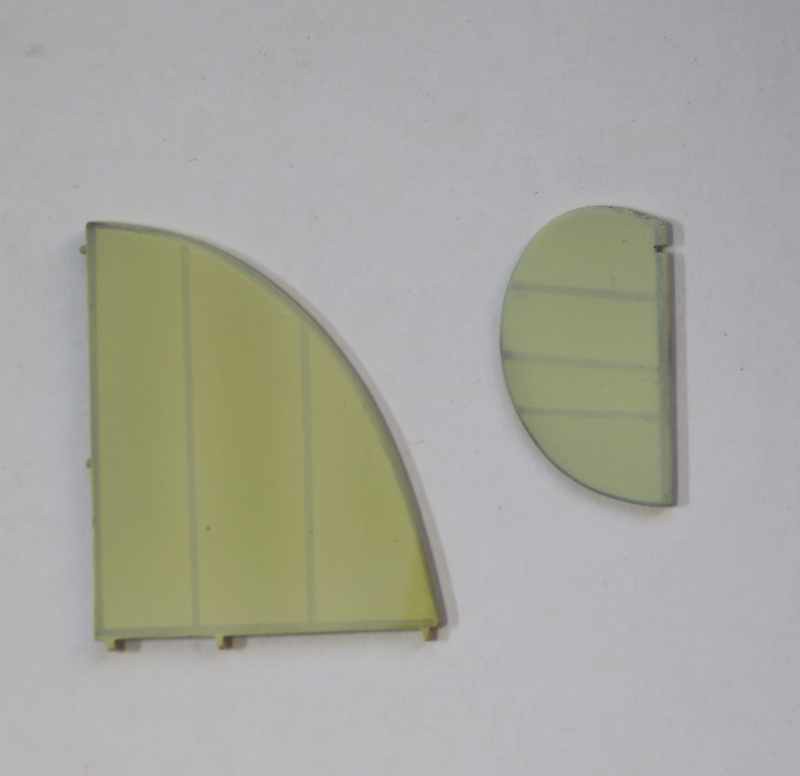
The covers are painted in light green XF76 (if not gray).
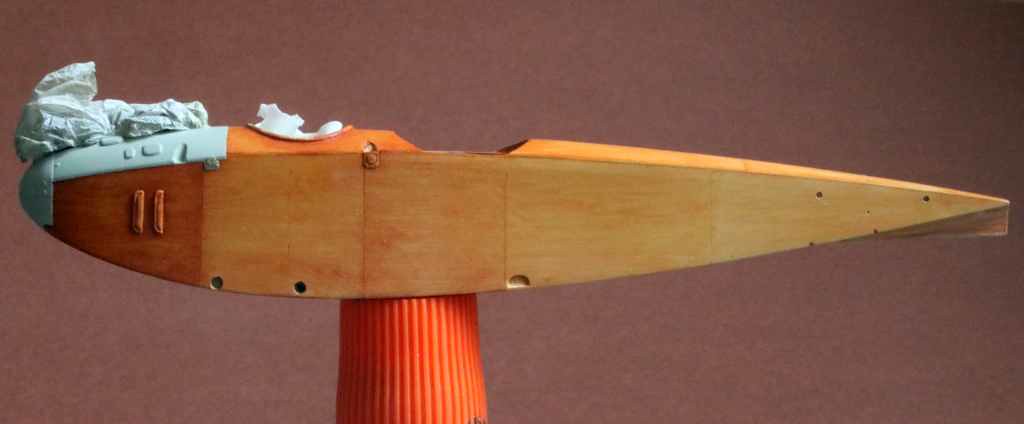
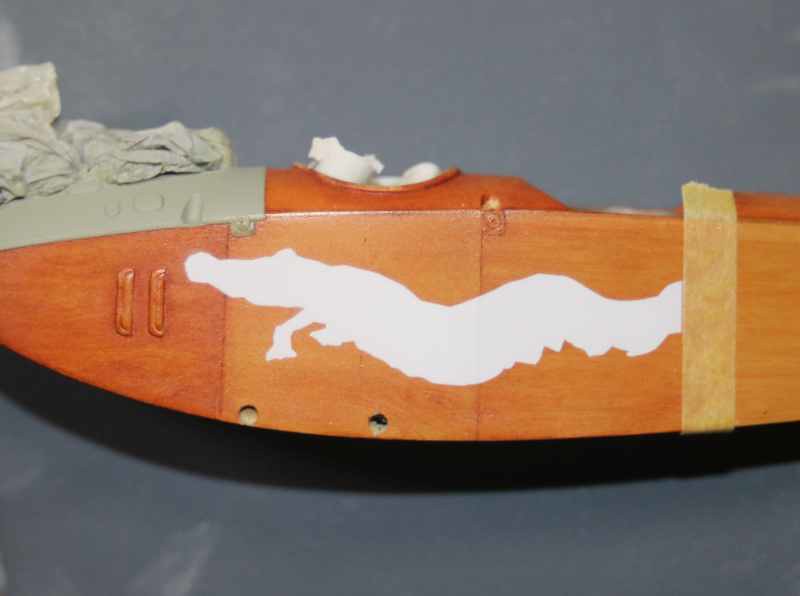
I tried to paint white oil paint to make the dragon and the crocodile ... it does not work, the white is not opaque.
It will be decals...
A +
Early Aviation
Discuss World War I and the early years of aviation thru 1934.
Hosted by Jim Starkweather
Albatros CIII 1/48
Louis
Bas-Rhin, France
Joined: May 21, 2006
KitMaker: 472 posts
AeroScale: 471 posts
Joined: May 21, 2006
KitMaker: 472 posts
AeroScale: 471 posts
Posted: Wednesday, August 15, 2018 - 08:43 AM UTC
Louis
Bas-Rhin, France
Joined: May 21, 2006
KitMaker: 472 posts
AeroScale: 471 posts
Joined: May 21, 2006
KitMaker: 472 posts
AeroScale: 471 posts
Posted: Wednesday, August 15, 2018 - 09:03 AM UTC
Quoted Text
1 If that "tank" is a tank is in the correct location to catch the over flow from the radiator. (much like my 1950 Plymouth inline six)
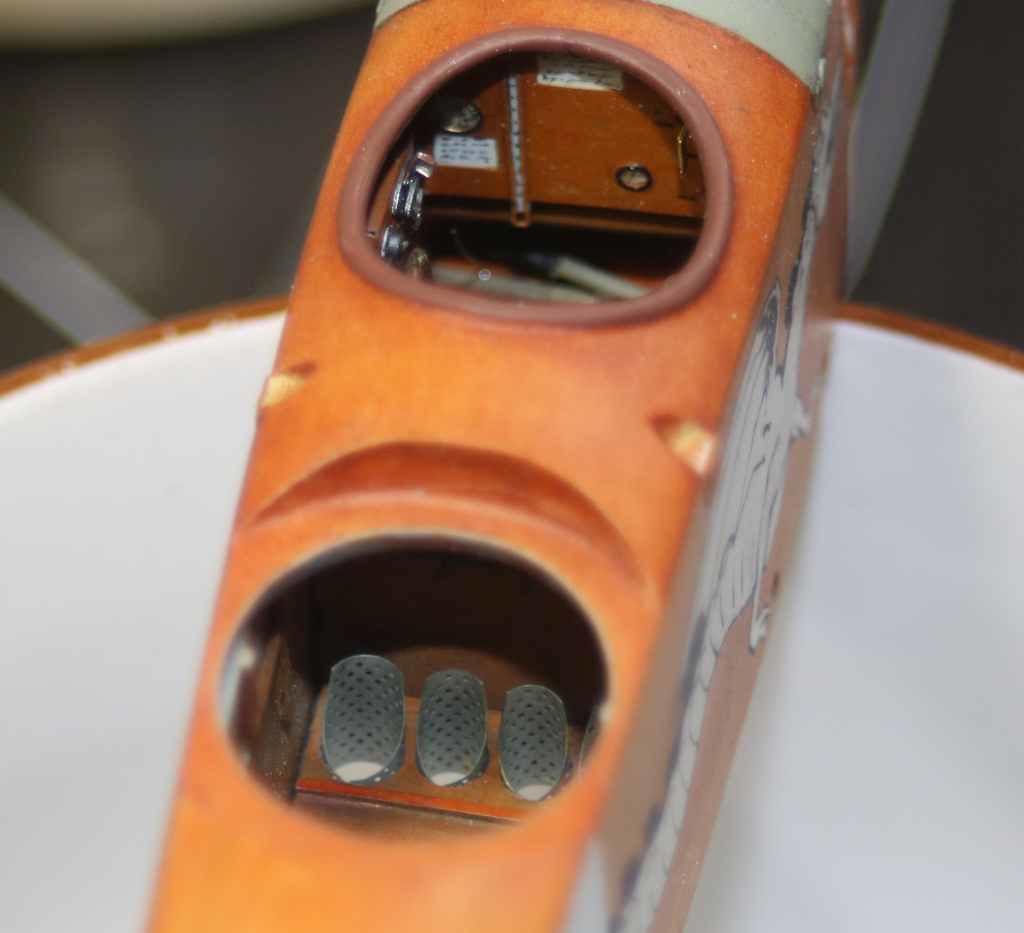
2 Note the seated gunner in the left side picture. His position indicates a seat on the right side of the gunner's cockpit. I recall (and I do not have it within reach) The Wellman or Model Airplane drawing/plan, had the seat on the side and the rear of the cockpit held four MG magazines. this would be a more logical layout...
3 The Model is beautiful. The wood is awesome.
4. If the gunner was standing on the varnished wood in his flight boots, there would be circular whitish scratch/wear marks on that floor. Like standing on wet pavement in muddy boots, and twisting around in circles.
Enjoy
Captn Tommy
Hello !
1. I believed it was a gravity fuel tank. It could be a tank for the overflow of the radiator. I do not know.
2. I have no picture of gunner's cockpit, only this plan:
On the plan (p14) there is a small dotted rectangle noted "CASIER". It is at the level of the bombshell on the right of the fuselage. This could indicate the position of the ammunition locker.
I think the gunner was standing too.
P21 Windsockdatafile, the gunner is standing (He breaks for the photographer. The plane is on the ground).
3. Thank you very much !!!
4. That is true. I did not think about it.
Thank you very much.
Regard.
Louis
Bas-Rhin, France
Joined: May 21, 2006
KitMaker: 472 posts
AeroScale: 471 posts
Joined: May 21, 2006
KitMaker: 472 posts
AeroScale: 471 posts
Posted: Saturday, August 18, 2018 - 07:39 AM UTC
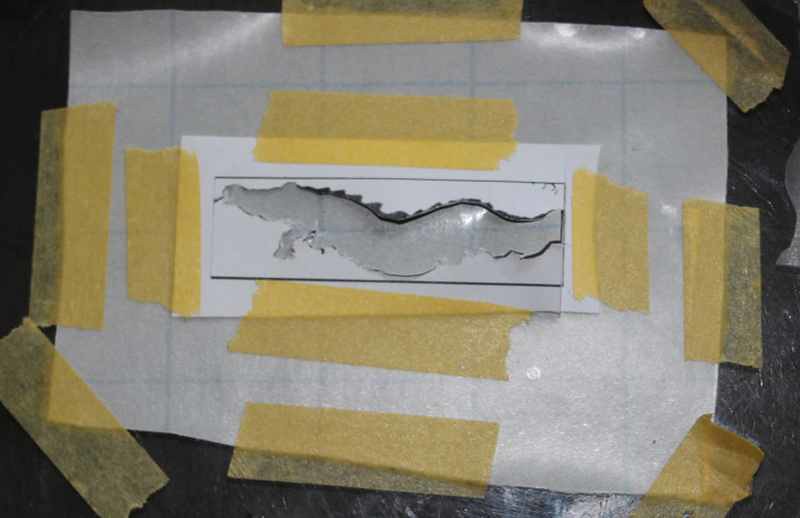
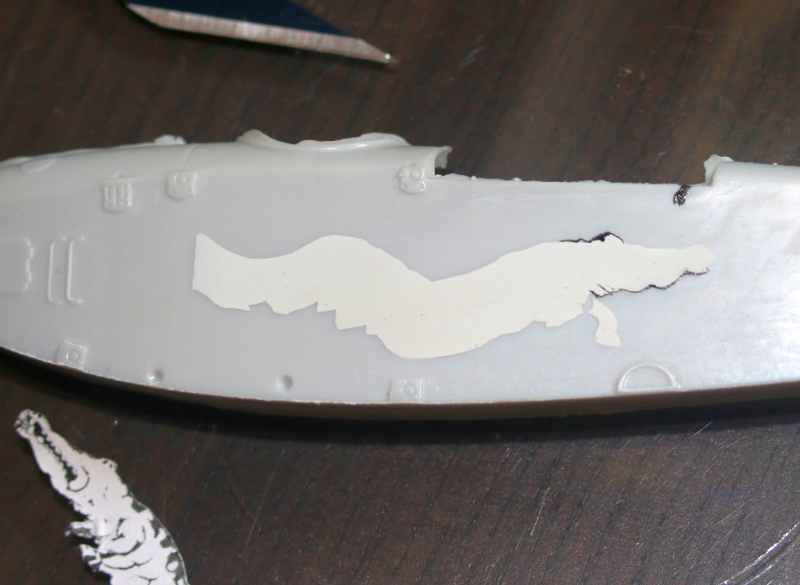
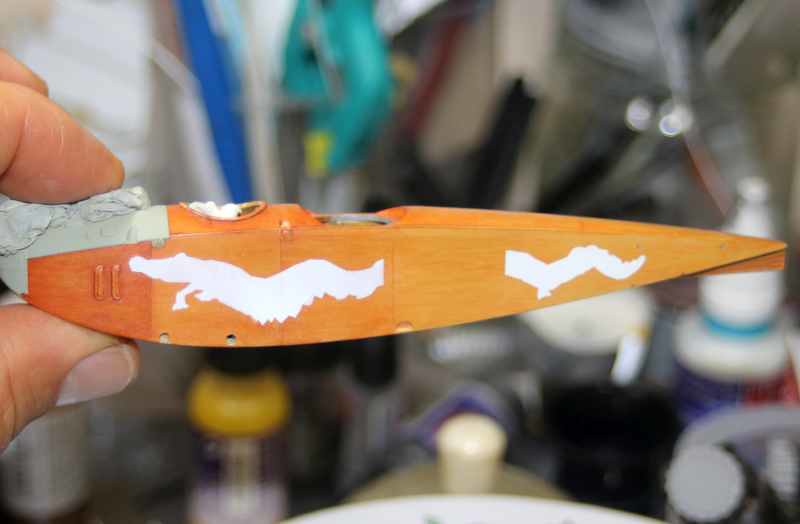
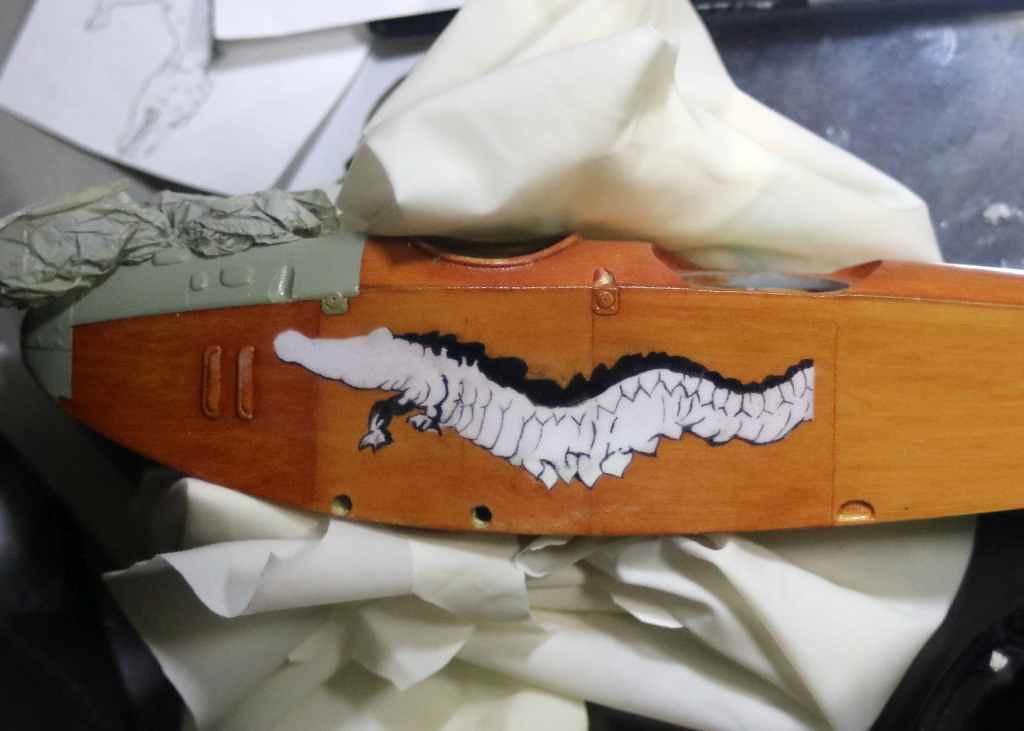
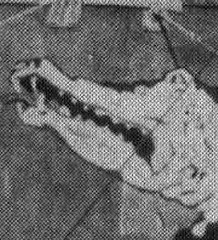
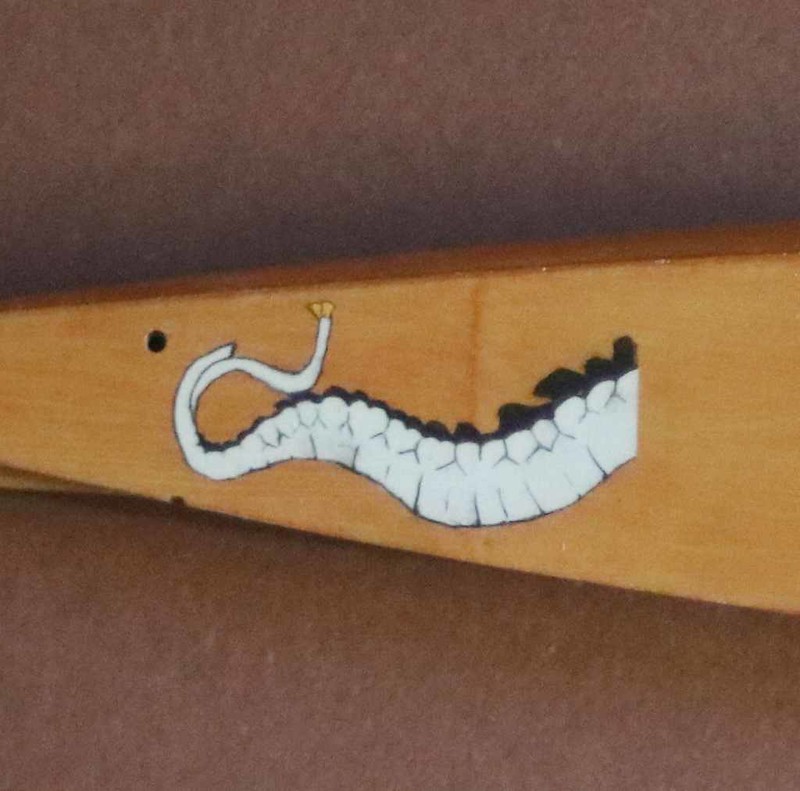
The crocodile in white is made with a stencil.
It is then varnished and the fine lines are painted with oil paint.
I tried (and I made a mistake by cutting the stencil that's why it's upside down ...):
Regards
It is then varnished and the fine lines are painted with oil paint.
I tried (and I made a mistake by cutting the stencil that's why it's upside down ...):
Regards
Louis
Bas-Rhin, France
Joined: May 21, 2006
KitMaker: 472 posts
AeroScale: 471 posts
Joined: May 21, 2006
KitMaker: 472 posts
AeroScale: 471 posts
Posted: Saturday, August 18, 2018 - 11:00 AM UTC
Regards
Louis
Bas-Rhin, France
Joined: May 21, 2006
KitMaker: 472 posts
AeroScale: 471 posts
Joined: May 21, 2006
KitMaker: 472 posts
AeroScale: 471 posts
Posted: Thursday, August 23, 2018 - 06:43 PM UTC
thank you,
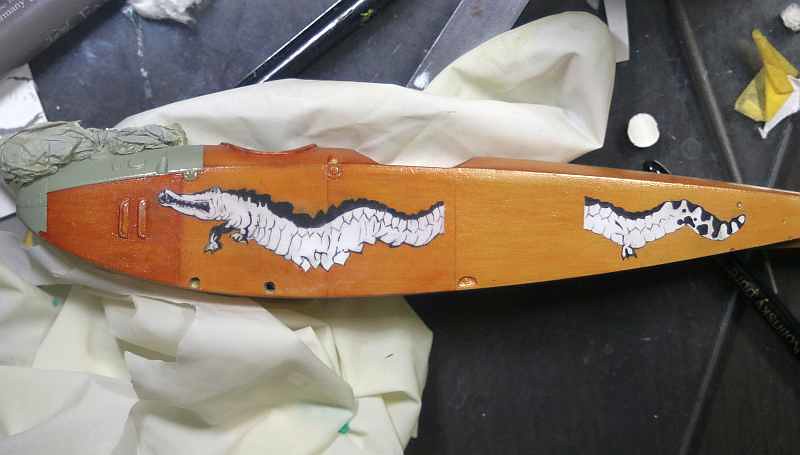
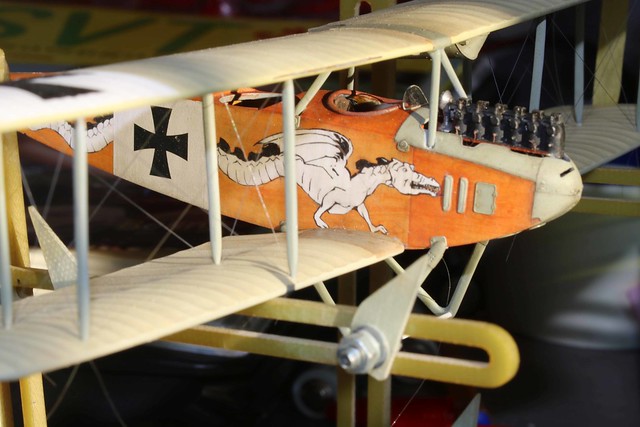
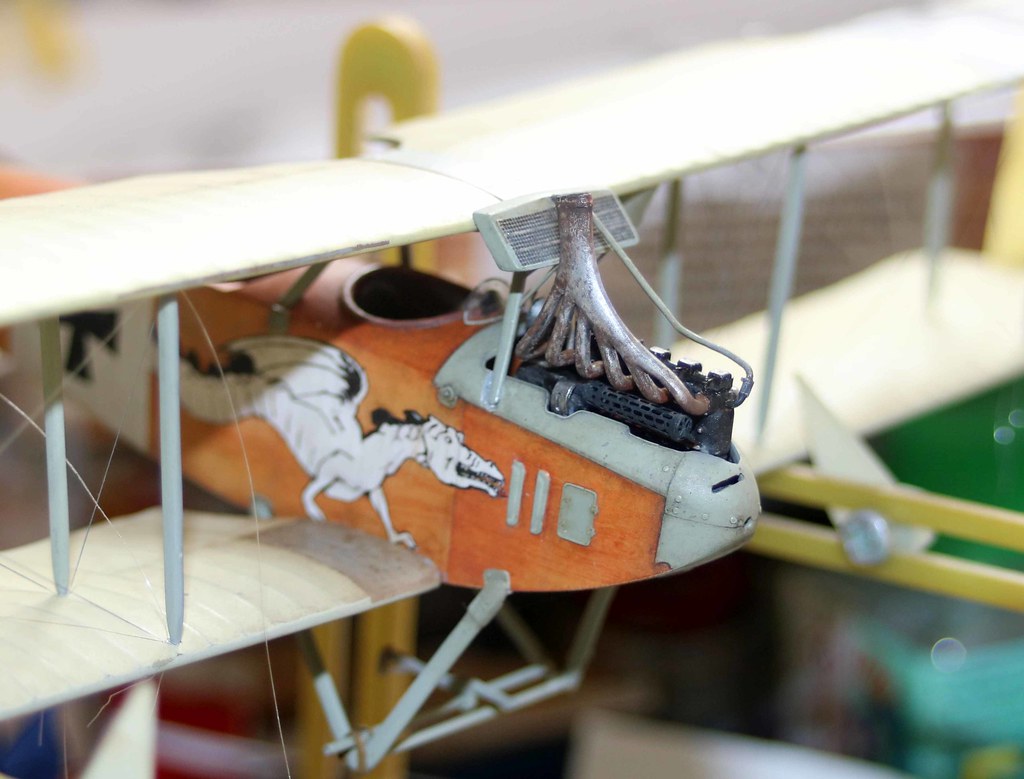
The dragon is finished:
It remains to remake the varnish that was damaged under the belly during sanding.
The crocodile has been modified with large scales under the belly. The hind legs (only one here) I put them a bit like everyone more or less random because there is no picture to my knowledge ...
Regards
The dragon is finished:
It remains to remake the varnish that was damaged under the belly during sanding.
The crocodile has been modified with large scales under the belly. The hind legs (only one here) I put them a bit like everyone more or less random because there is no picture to my knowledge ...
Regards
Louis
Bas-Rhin, France
Joined: May 21, 2006
KitMaker: 472 posts
AeroScale: 471 posts
Joined: May 21, 2006
KitMaker: 472 posts
AeroScale: 471 posts
Posted: Sunday, September 02, 2018 - 08:17 PM UTC
Hello,
Well ... that's not the best idea I had.
I have all varnish gloss with AK varnish to be able to correct errors more easily. Alas the varnish reacts badly to the solvent, and the white becomes ... gray.
I had a layer of Klir that actually resists solvent better but is not indestructible. I repeated several times each stroke and the Klir was therefore damaged (at the level of the crest and scales of the belly) where the black drips. It is much more difficult than expected. There is no landmark in the all-white crocodile to place the scales and all the folds. Some are therefore misplaced.
Cracks have appeared in the varnish, we do not see them with the naked eye but the solvent takes the opportunity to get in and everything is gray. I think it's the thick-layer AK varnish that was not dry enough to support the Klir.
Regards
Louis
Bas-Rhin, France
Joined: May 21, 2006
KitMaker: 472 posts
AeroScale: 471 posts
Joined: May 21, 2006
KitMaker: 472 posts
AeroScale: 471 posts
Posted: Friday, September 07, 2018 - 10:26 AM UTC
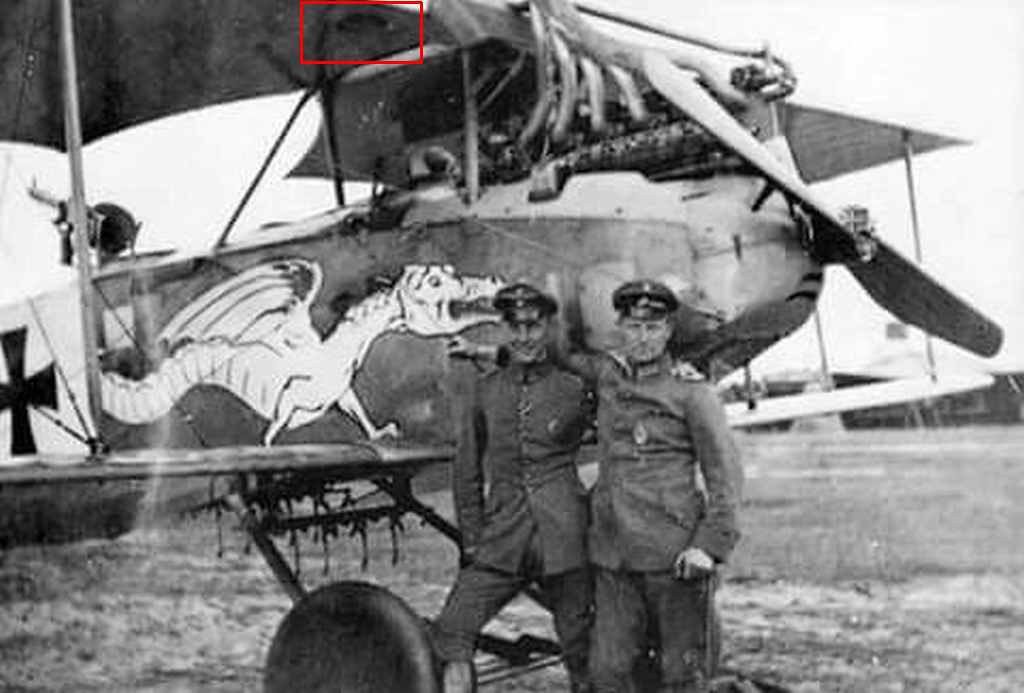
For the tail I more or less invented the area with the scales in circumflex accents, we distinguish them perhaps or vaguely in the photos.
Ditto for the webbed leg at the back. Not sure it's there or even there is one.
There remains the tooth to redo with white paint, white spots of the crest, the tongue, etc. etc.
The guy who painted this crocodile in 1916 was drawing very well. The scales and the different plates follow very well the shape of the body and their rounded shapes give a volume to the body. It is effective and very successful I think (we must look at the original ... of course).
A +
Louis
Bas-Rhin, France
Joined: May 21, 2006
KitMaker: 472 posts
AeroScale: 471 posts
Joined: May 21, 2006
KitMaker: 472 posts
AeroScale: 471 posts
Posted: Saturday, September 08, 2018 - 07:43 AM UTC
I let it dry and I put varnish.
Regards.
Louis
Bas-Rhin, France
Joined: May 21, 2006
KitMaker: 472 posts
AeroScale: 471 posts
Joined: May 21, 2006
KitMaker: 472 posts
AeroScale: 471 posts
Posted: Saturday, September 08, 2018 - 08:12 AM UTC
When I look at the mouth of the crocodile I do not understand why the commissure goes down so oddly.
She would be more "conventional" like that.
So I propose a more "colorful" alternative for those who like red.
Of course, this is pure speculation.
Regards.
She would be more "conventional" like that.
So I propose a more "colorful" alternative for those who like red.
Of course, this is pure speculation.
Regards.
Louis
Bas-Rhin, France
Joined: May 21, 2006
KitMaker: 472 posts
AeroScale: 471 posts
Joined: May 21, 2006
KitMaker: 472 posts
AeroScale: 471 posts
Posted: Wednesday, September 19, 2018 - 09:09 AM UTC
Hello.
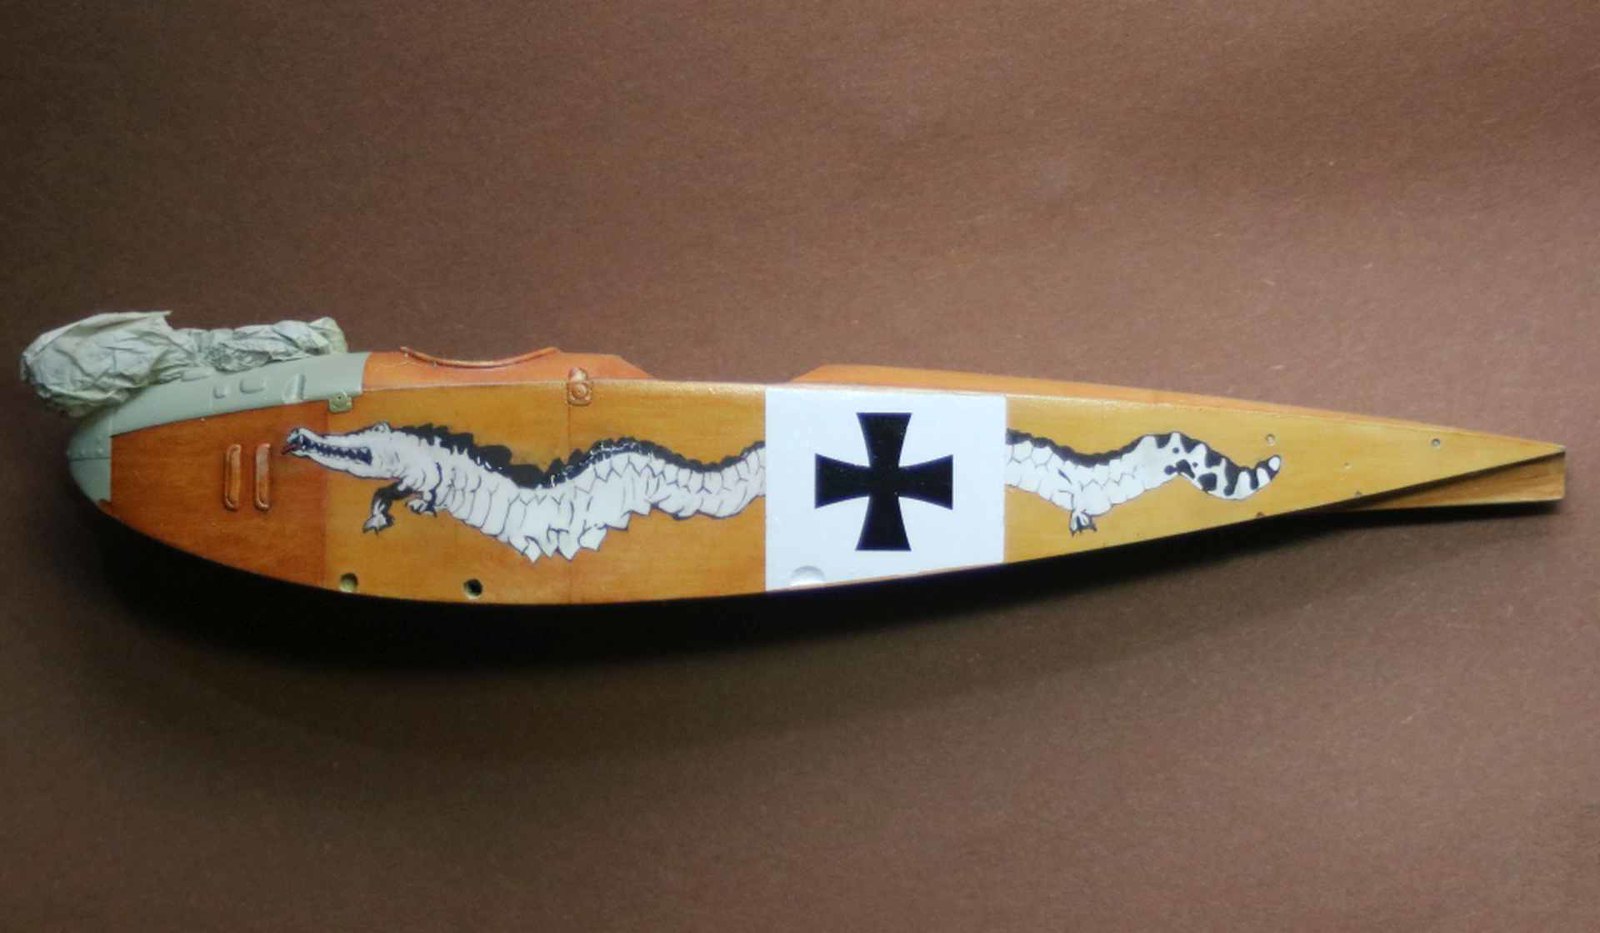
The dragon is finished or almost.
With errors as it should be.
The back of the wing should go down much lower (the files used for animals are drafts Dragon- Croco )
The chest is a little disproportionate and the leg misplaced. The ridge on the head is a little high, etc.
By working with a magnifying glass, I tend not to pay attention to the proportions and orientation of the details in relation to the whole. The scales of the neck are not well oriented.
The tail is partly out of "my artistic license" ... On the pictures have hardly seen any detail.
A +
Posted: Wednesday, September 19, 2018 - 11:52 AM UTC
Outstanding work Louis! You're work thus far is nothing short of inspiring mon ami!
Louis
Bas-Rhin, France
Joined: May 21, 2006
KitMaker: 472 posts
AeroScale: 471 posts
Joined: May 21, 2006
KitMaker: 472 posts
AeroScale: 471 posts
Posted: Saturday, September 29, 2018 - 09:20 AM UTC
Merci !
Hello,
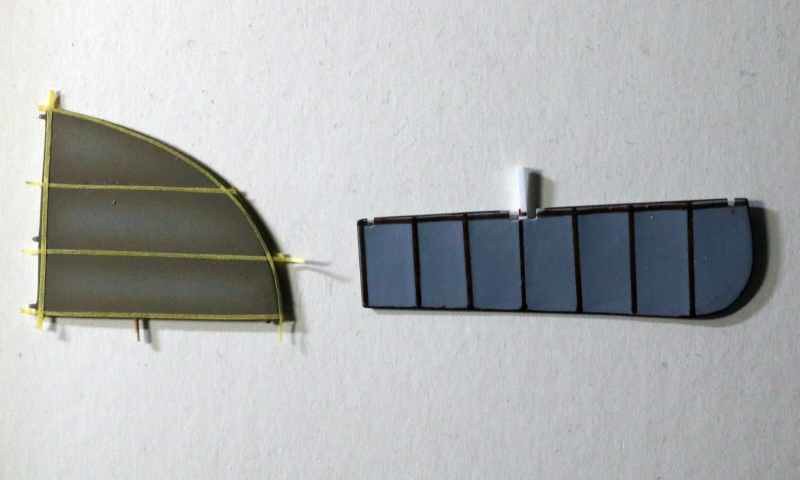
to change, I have colored the ribs of the wings with the indelible brown marker.
Once on the plastic, once on the background paint (which makes more sense).
The marker does not move, it is really indelible
During the painting:
This one (Sharpie marker):
https://www.scrapmalin.com/loisirs_creatifs/p-marqueur-permanent-pointe-fine-0-9-mm-marron-247803.html" TARGET="_blank">Sharpie marker
I stop the sticky paper strips!
Regards
Louis
Bas-Rhin, France
Joined: May 21, 2006
KitMaker: 472 posts
AeroScale: 471 posts
Joined: May 21, 2006
KitMaker: 472 posts
AeroScale: 471 posts
Posted: Saturday, September 29, 2018 - 09:24 AM UTC
A compass (Boussole in french) ???
Regards
Louis
Bas-Rhin, France
Joined: May 21, 2006
KitMaker: 472 posts
AeroScale: 471 posts
Joined: May 21, 2006
KitMaker: 472 posts
AeroScale: 471 posts
Posted: Wednesday, October 03, 2018 - 08:54 AM UTC
The brown color of the marker is reappeared above the paint of a rudder!!!
We stop the brown marker.
Sorry.
WIggus
Pennsylvania, United States
Joined: July 07, 2017
KitMaker: 78 posts
AeroScale: 74 posts
Joined: July 07, 2017
KitMaker: 78 posts
AeroScale: 74 posts
Posted: Wednesday, October 03, 2018 - 11:32 PM UTC
Oh no!!
That seemed like a really good idea.
Are you using lacquer of acrylic paint?
That seemed like a really good idea.
Are you using lacquer of acrylic paint?
Louis
Bas-Rhin, France
Joined: May 21, 2006
KitMaker: 472 posts
AeroScale: 471 posts
Joined: May 21, 2006
KitMaker: 472 posts
AeroScale: 471 posts
Posted: Thursday, October 04, 2018 - 09:28 AM UTC
Tamiya Paint !
Vicious
Queensland, Australia
Joined: September 04, 2015
KitMaker: 1,517 posts
AeroScale: 75 posts
Joined: September 04, 2015
KitMaker: 1,517 posts
AeroScale: 75 posts
Posted: Thursday, October 04, 2018 - 10:06 AM UTC
first .... very nice work !! .... i done the same mistake with the sharpie's both with acrylics and with enamel they reappear
Louis
Bas-Rhin, France
Joined: May 21, 2006
KitMaker: 472 posts
AeroScale: 471 posts
Joined: May 21, 2006
KitMaker: 472 posts
AeroScale: 471 posts
Posted: Saturday, October 20, 2018 - 09:51 AM UTC
Hi!
After several weeks the color of the ribs seem to want to stay under the paint. For how long ...
I scraped the varnish with a fiber pen and at the tip of the blade and I messed up the fuselage with oil paint.
Some hatches and grilles that direct the bombs out of the cockpit were stuck.
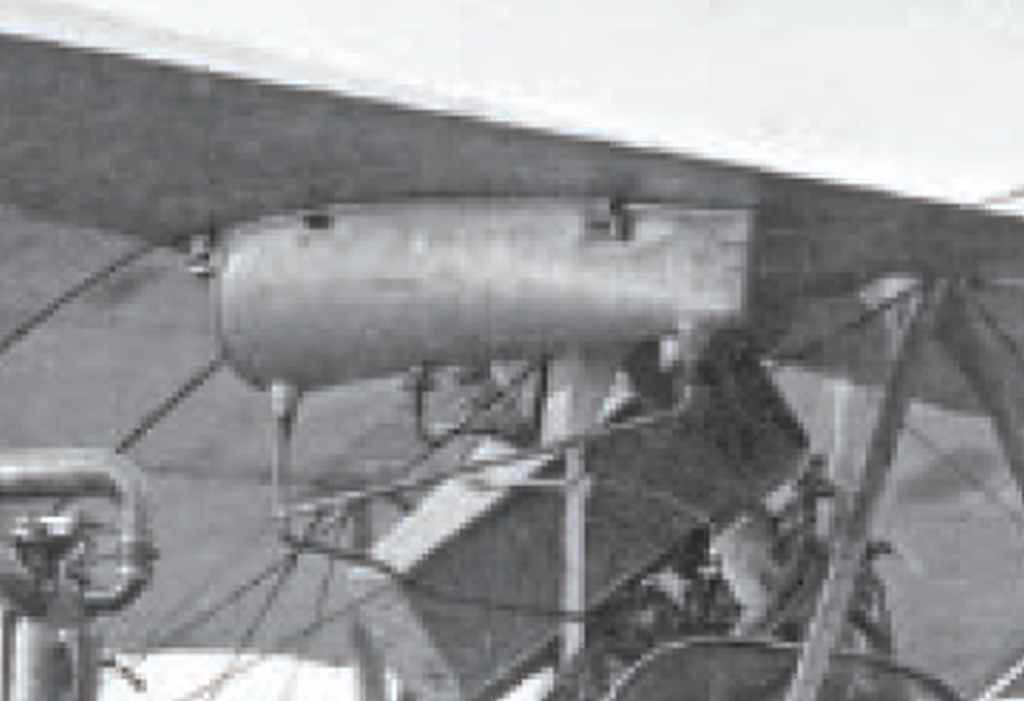
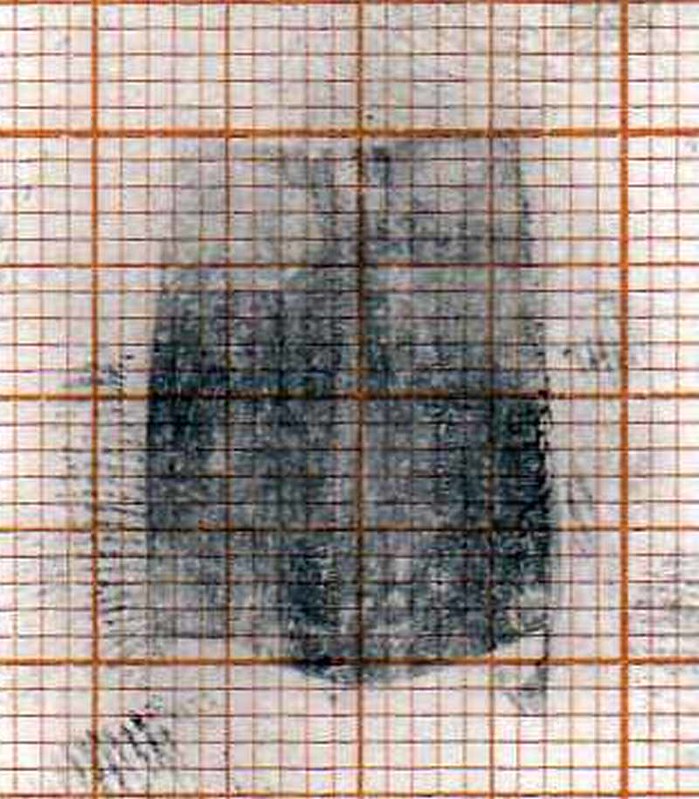
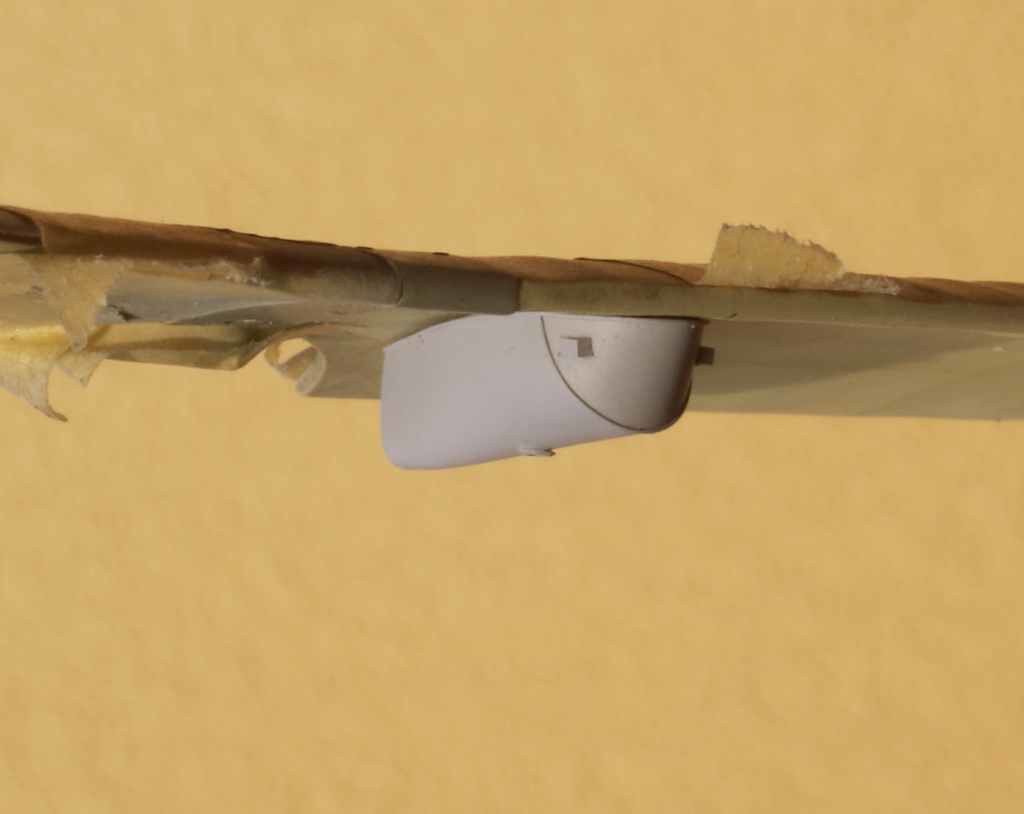
A new tank was made from the pictures in the WNW P24 Albatross BII (457/16) and the Albatros C1 P23 Windsock. Be careful, there are many sizes (I think).
Large ones that go from the front of the wing to the back, small ones that stop at 2/3.
Obviously I was wrong.
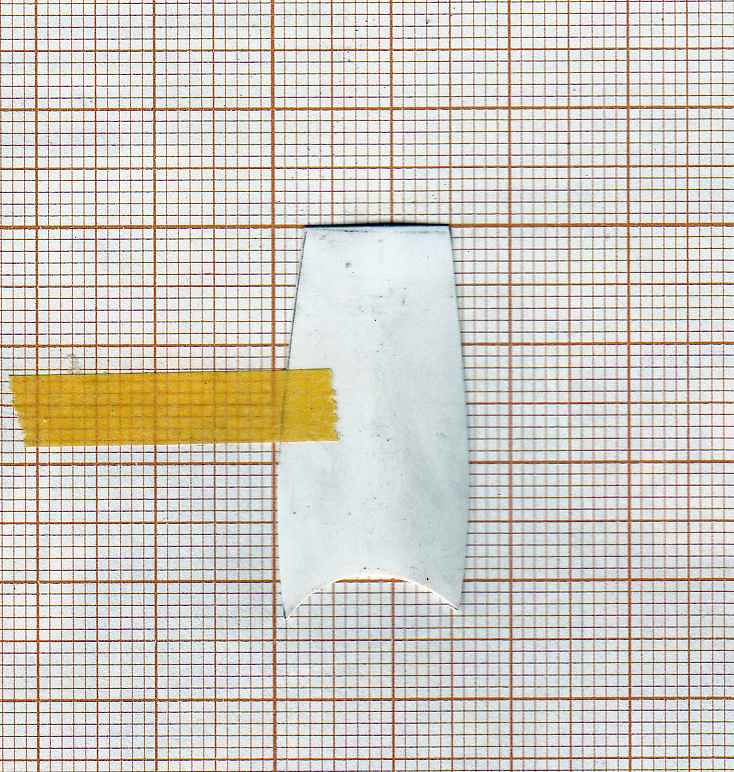
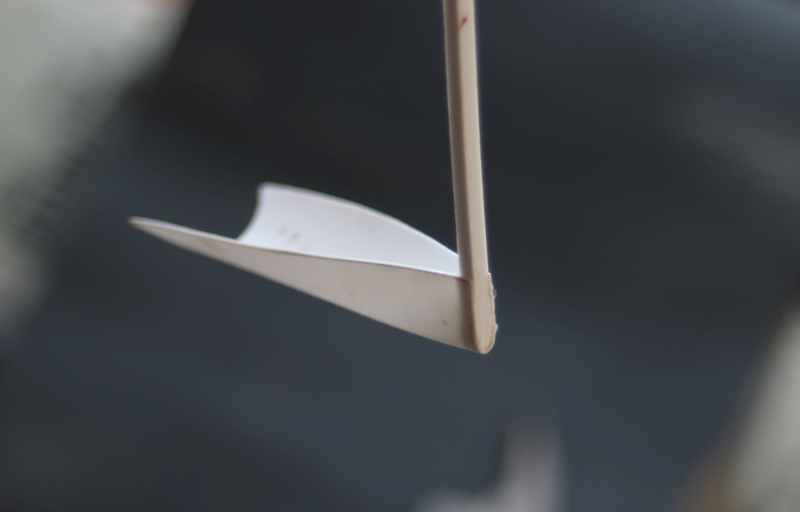
I made a template for a big one. Note that I was also wrong in cutting the round (bottom) that must be the other way ... I used the template provided by Eduard to hold the wings during their assembly to draw the sides of the tank template.
The tank is 23.5mm long.
During editing I made a "print" after retouching. If it can be useful to someone.
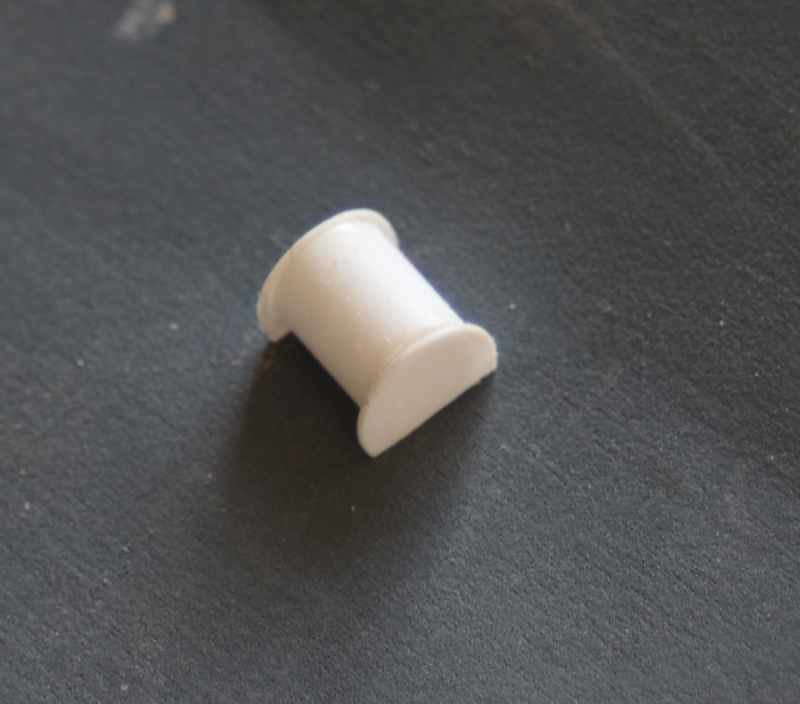
Inside I glued the two discs (8mm diameter) separated by 4mm. They give the shape of the front of the tank.
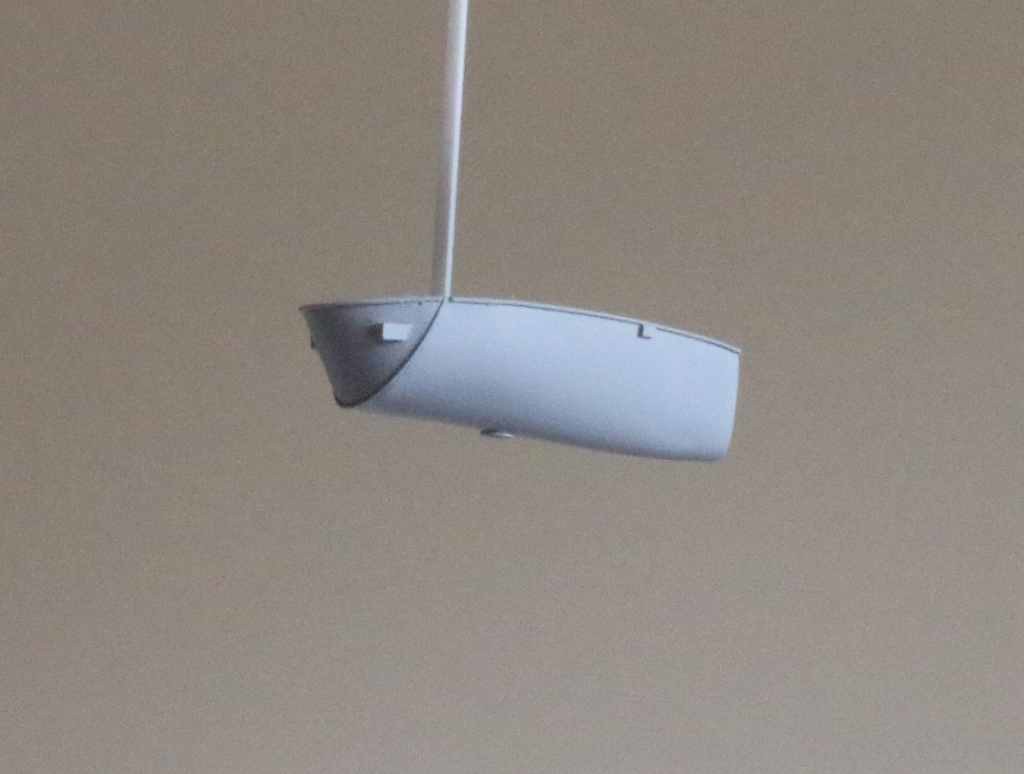
The length and height of the set have been resized to match the photos.
The welds are made of stretched plastic glued to tamiya glue.
The two square rods at the front are 1.5mm wide.
Below the large nut will receive the hose that will power the engine.
Still to paint, green or metal, or gray?
Regards
Louis
Bas-Rhin, France
Joined: May 21, 2006
KitMaker: 472 posts
AeroScale: 471 posts
Joined: May 21, 2006
KitMaker: 472 posts
AeroScale: 471 posts
Posted: Thursday, October 25, 2018 - 10:01 AM UTC
Thank you.
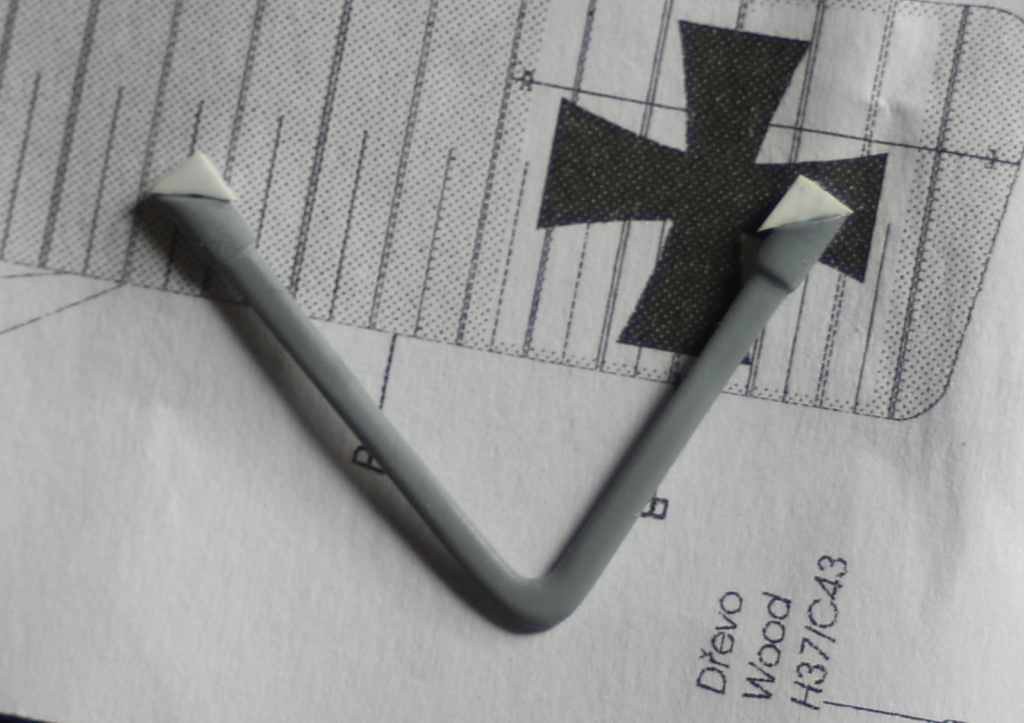
Special Hobby and Eduard have planned to fix the landing gear under the plane while it must be fixed on the flanks.
So I extended legs a bit and gave a fairer shape.They stay a little too thick.
I still have to make the plates that are between the flanks and the legs of the landing gear...
Regards
Hub.
ColinEdm
Associate Editor
Alberta, Canada
Joined: October 15, 2013
KitMaker: 1,355 posts
AeroScale: 107 posts
Joined: October 15, 2013
KitMaker: 1,355 posts
AeroScale: 107 posts
Posted: Saturday, October 27, 2018 - 12:16 AM UTC
Outstanding work with your corrections and added details Louis, and I especially love the wood grain look you have achieved.
Louis
Bas-Rhin, France
Joined: May 21, 2006
KitMaker: 472 posts
AeroScale: 471 posts
Joined: May 21, 2006
KitMaker: 472 posts
AeroScale: 471 posts
Posted: Thursday, December 06, 2018 - 07:41 PM UTC
Hello!!!
I stuck all the landing gear masts but there was still a lot of gap to fill. It has been filled with pieces of plastic sheets.
The tank is glued:
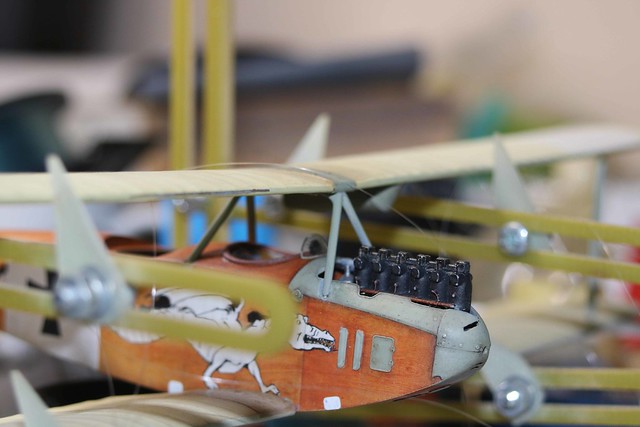
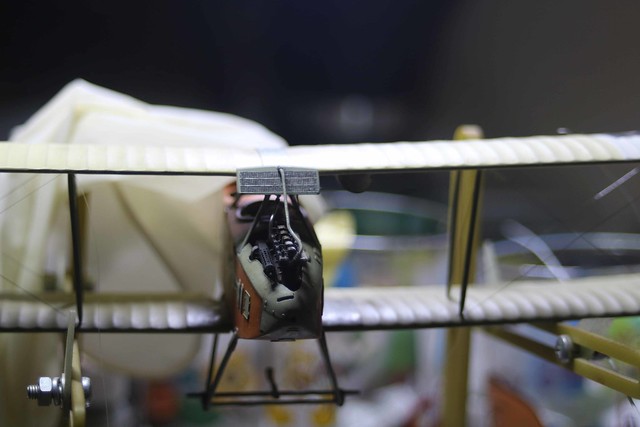
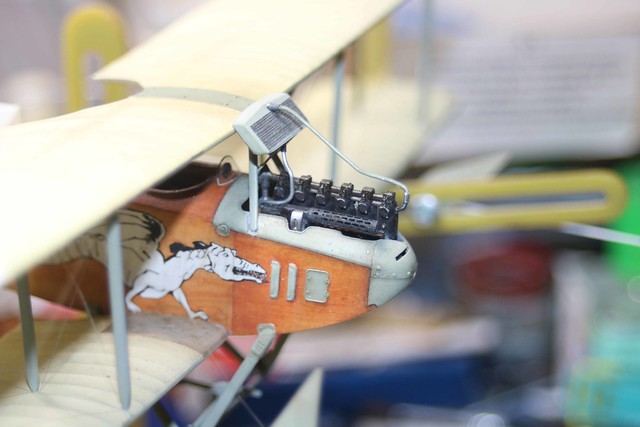
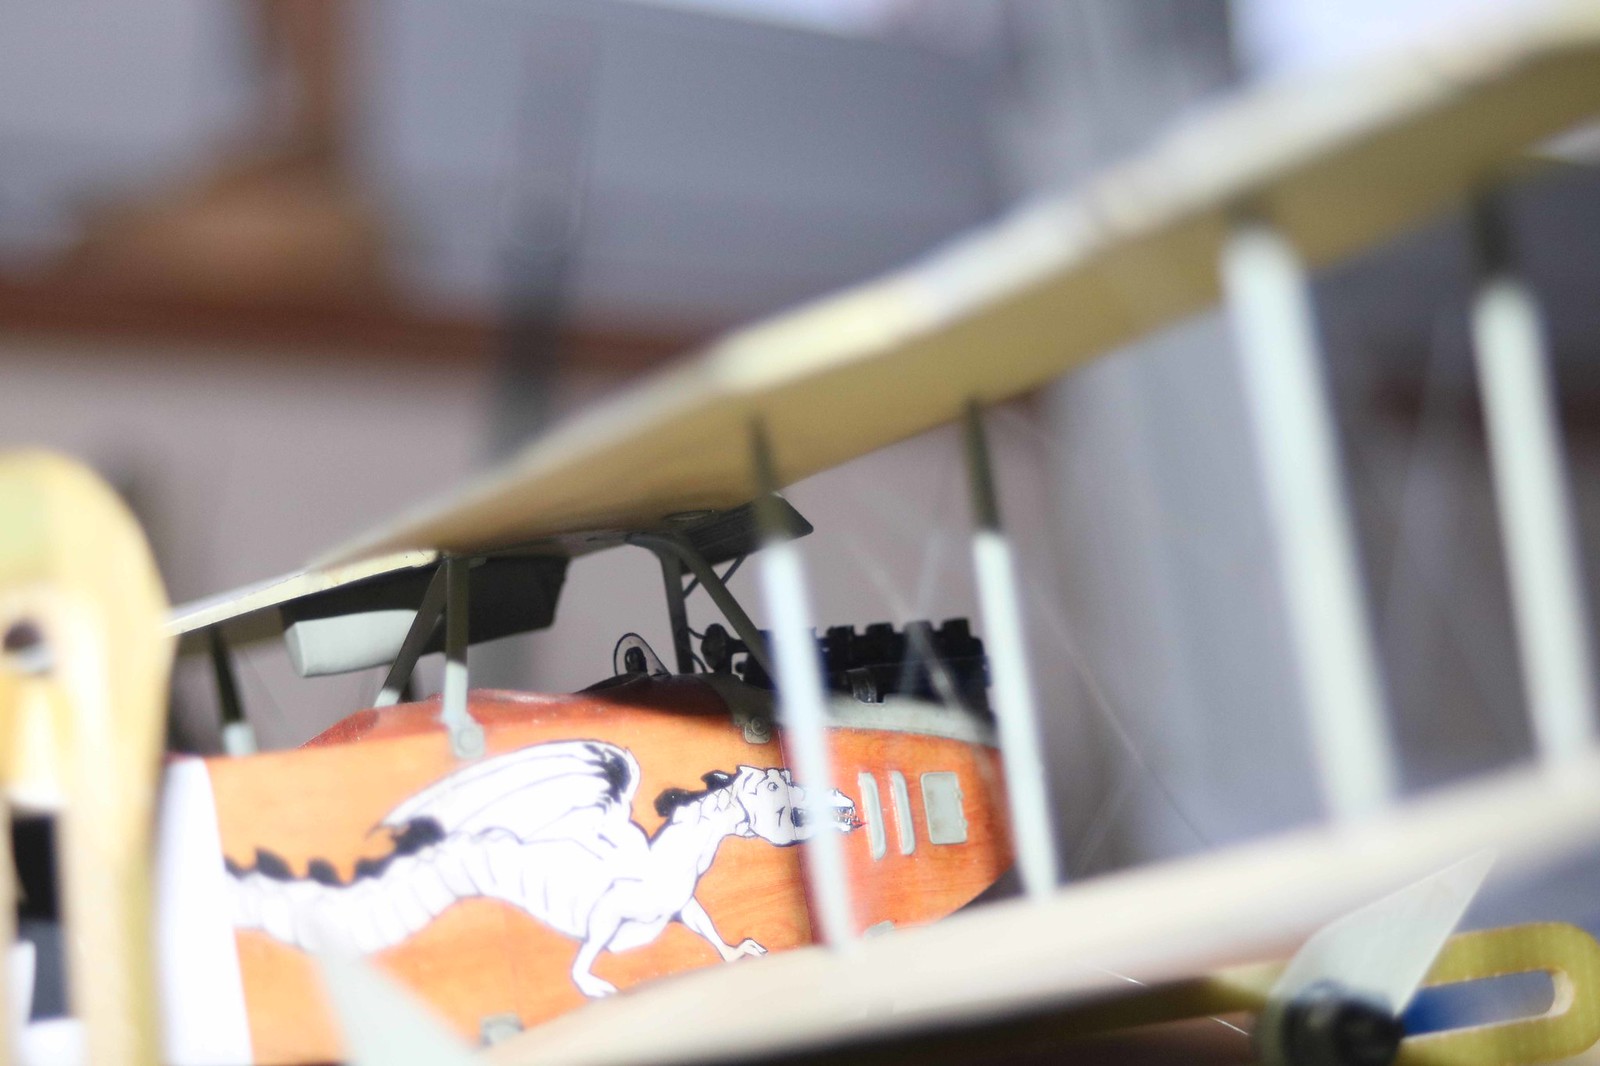
The upper plane is fixed without too much trouble except at the level of the mats of cabin. The notches in the hoods are not deep enough and are not well oriented. It had to be re-cut a lot with sandpaper.
The feet of mats do not have the good form. It should be thinner and there is a bell from where stretchers go. It is visible in the photos but I did not have the courage.
The hood machine gun is put in place.
The wooden feet are painted on the wings, the color is without guarantee. Note the hole in the fuselage at the lower wing spar. I had to redo all the tenons of the lower wings which yielded under the weight. I made the holes in the fuselage a bit too big ... It will be necessary to close them
The hoses coming and going from the radiator are glued. The one below the radiator is 0.5mm plastic, the other 0.5mm copper wire.
The windshield is that of the kit. It must be re-cut at both ends a little and round it. The shape is good for once.
The radiator is glued directly against the wing. Then the 4 masts that hold it (stretched plastic about 0.7mm).
The photoetched grid is too wide. It's nice, you have to remove a single (or two I know more) row of this grid.
Regards
Posted: Friday, December 07, 2018 - 09:49 AM UTC
Hi Louis
It's looking gorgeous! I hope you're going to submit an article for the Frontpage when this beauty is finished.
All the best
Rowan
It's looking gorgeous! I hope you're going to submit an article for the Frontpage when this beauty is finished.
All the best
Rowan
Louis
Bas-Rhin, France
Joined: May 21, 2006
KitMaker: 472 posts
AeroScale: 471 posts
Joined: May 21, 2006
KitMaker: 472 posts
AeroScale: 471 posts
Posted: Sunday, December 09, 2018 - 09:38 AM UTC
Hi Rowan!
I wil do that.
Thank you!
The exhaust:
Very clear on all the pictures with often paint flakes (?). Can be a paint silver / alu as on the collectors of some engines auto or on the old stovepipes like at my grandmother ...
So I tried this:
AT linkname
- Steel painting.
- buffered liquid mask.
- aluminum mixed with white.
- matt varnish
- dark spots made with a gray "watercolor" pencil rubbed on sandpaper and applied with a wet brush.
- Rusty pigments.
It remains to paint the black in the hole ...
Be careful, the exhausts do not match well with their location on the engine. It would have been necessary to twist the last three before painting.
The exhaust pit is a bit too short. Its attachment on the wing was, if I believe the photos, between the wings (under the green plate). So here it will not be possible.
That's about what I wanted to get. I would have preferred a lighter and more gray aluminum.
Regards.
Posted: Monday, December 10, 2018 - 12:15 PM UTC
Louis,
Extraordinary! Your work is an inspiration.
Louis
Bas-Rhin, France
Joined: May 21, 2006
KitMaker: 472 posts
AeroScale: 471 posts
Joined: May 21, 2006
KitMaker: 472 posts
AeroScale: 471 posts
Posted: Tuesday, December 11, 2018 - 06:37 AM UTC
Thank you!