Hi all, I have completed the cockpit and will make a few posts describing what I did along with the photos. I took a lot of pictures, but a good portion of them did not make the final cut. I am continuing to try out new methods with my macro lens, and some of the things I try do not turn out very well; so I lost most of the final shots of the cockpit before I buttoned up the fuselage - live and learn!
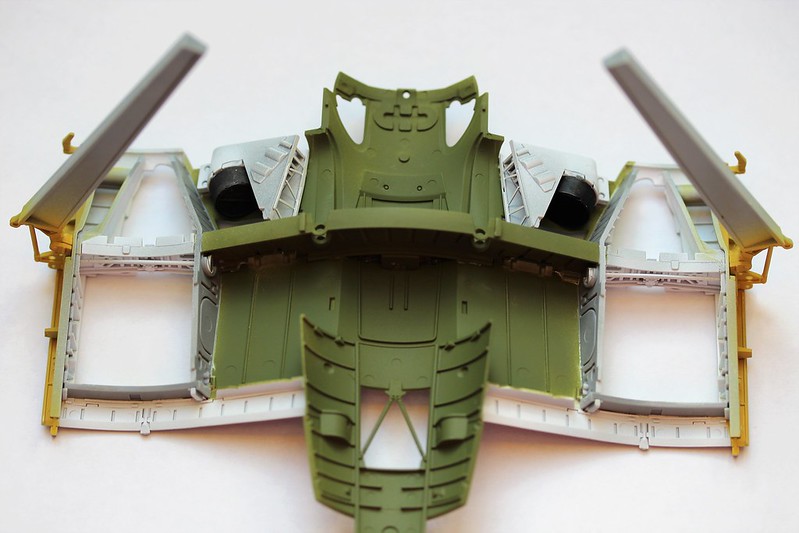
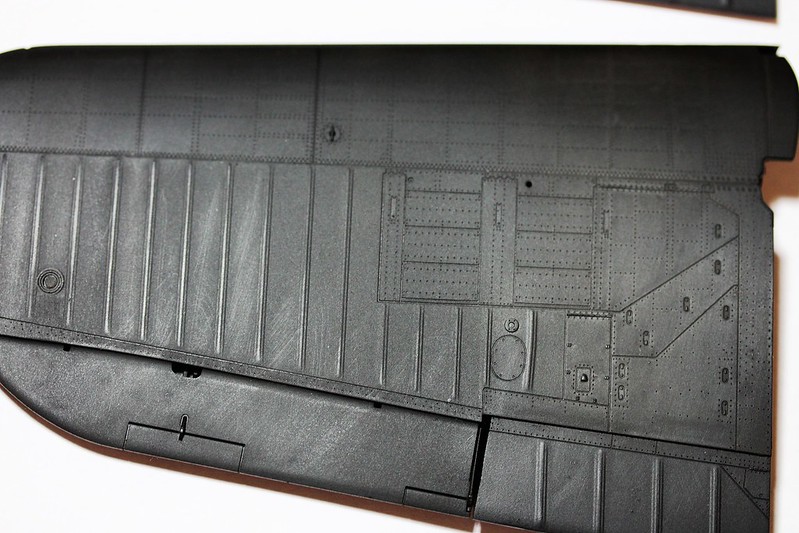
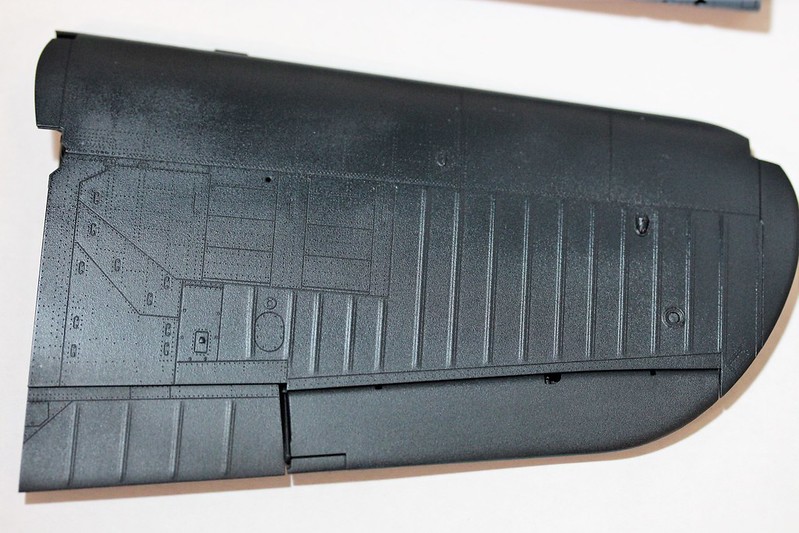
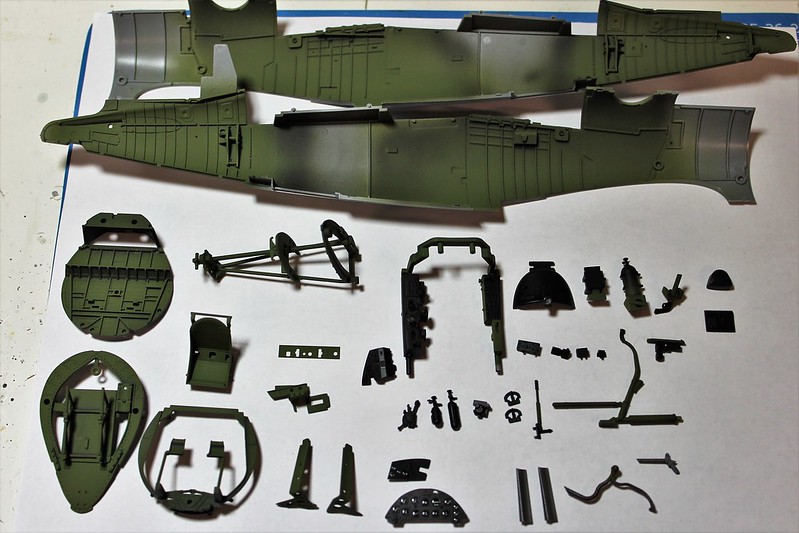
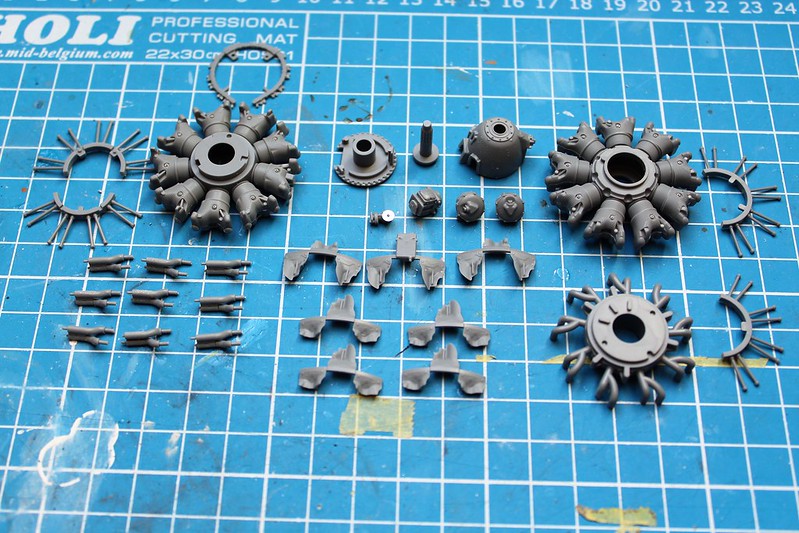
The shot below shows the parts with the basic painting of interior green, black and aluminum complete. I airbrushed black primer first so that when I sprayed the interior green, from a top down angle it gives the parts a bit more "pop". It turned out well enough that I did not use a wash. I tried to airbrush Vallejo Model Air Interior Green, but I just can't get that particular brand of paint to spray well. I ditched the attempt and mixed my own interior green using Tamiya's XF-4 (which is a good approximation of zinc chromate yellow) and XF-58 Olive Green. The results are below.
 IMG_0787
 by
Ernest Roth, on Flickr
 IMG_0794
 by
Ernest Roth, on Flickr
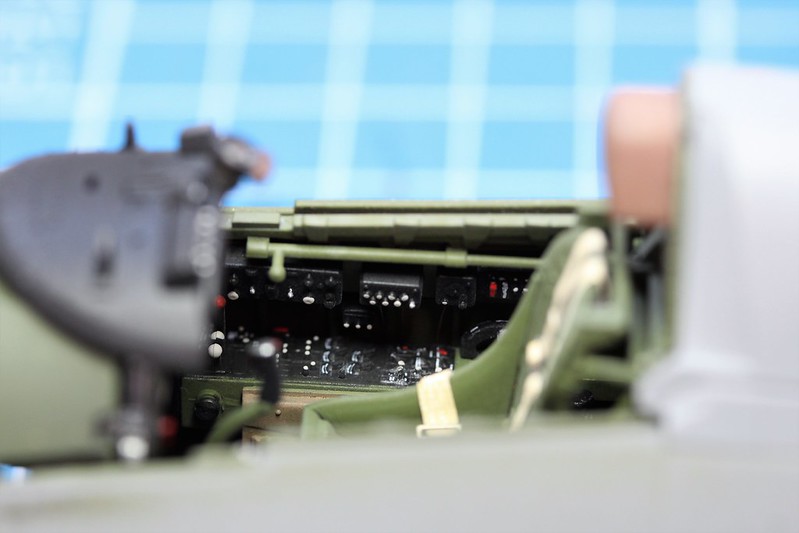
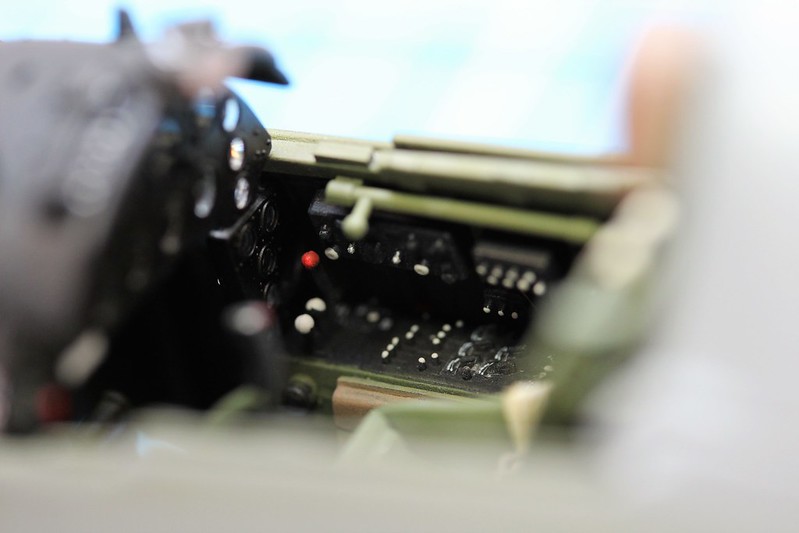
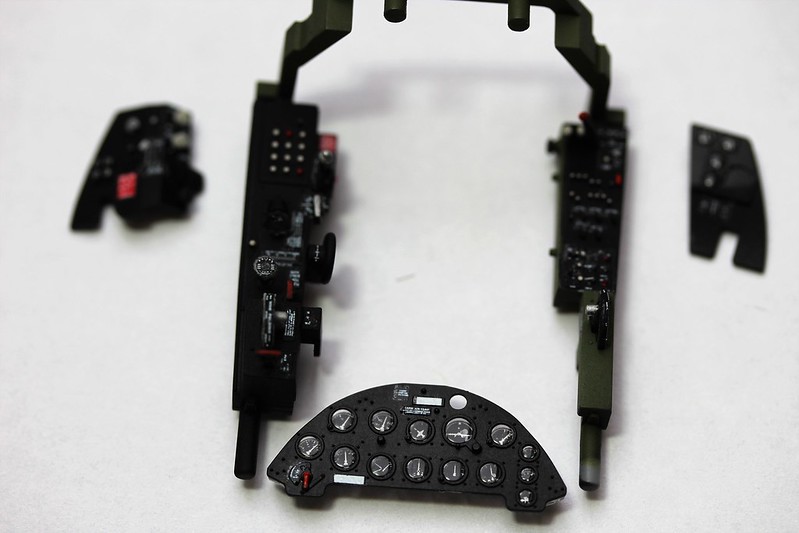
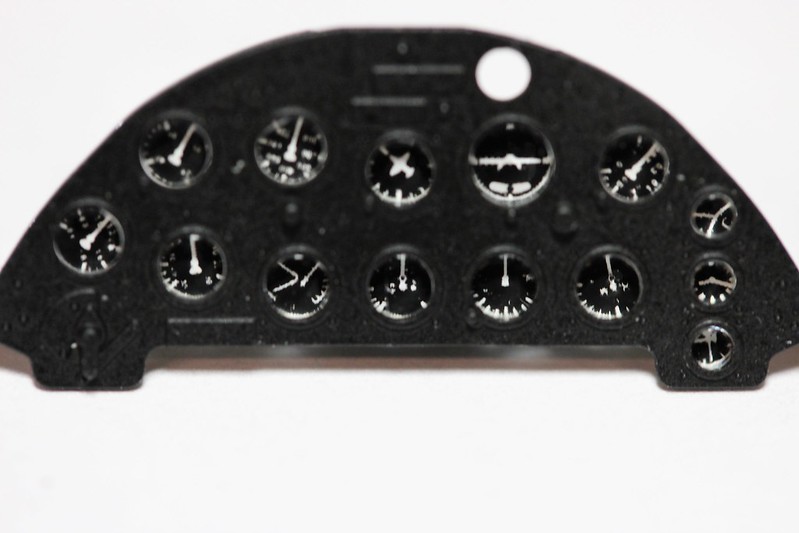
Instrument Panel and consoles after painting decaling
 IMG_0792
 by
Ernest Roth, on Flickr
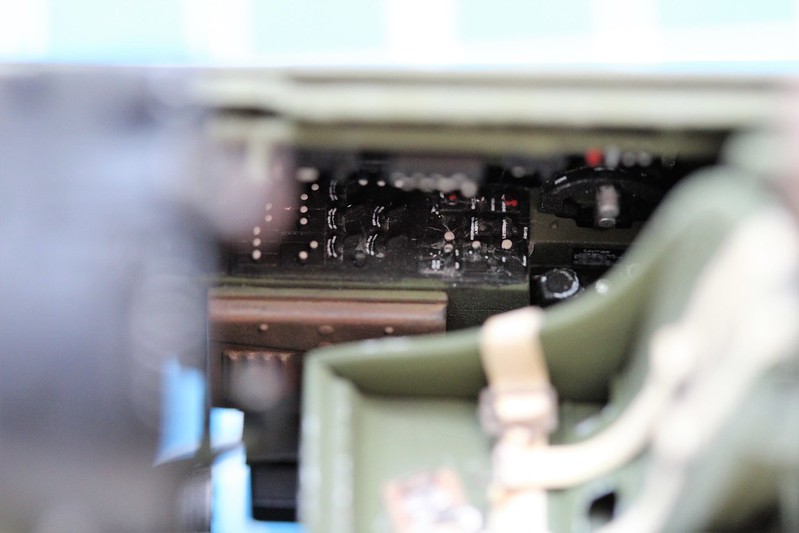
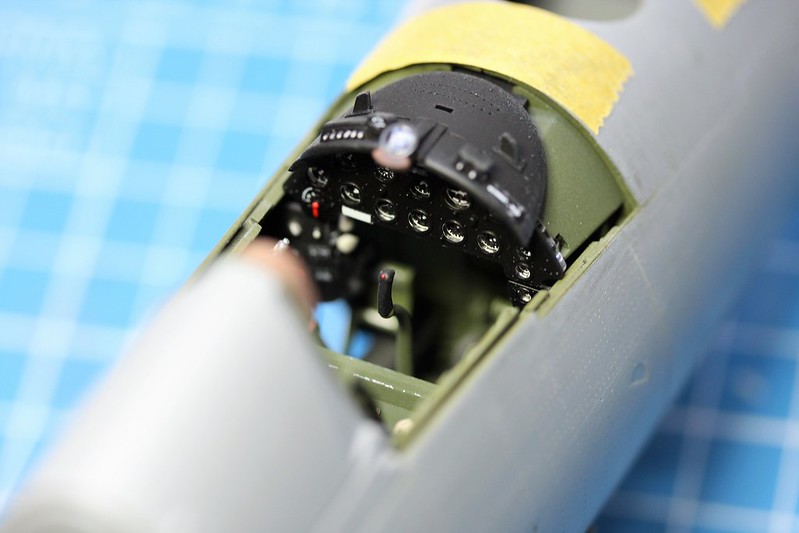
Close up of the IP. I did not have any US instrument decals so I used some Luftwaffe ones I had - wrong, but unless someone is going to look at the model with a macro lens it is not obvious.
 IMG_0795
 by
Ernest Roth, on Flickr
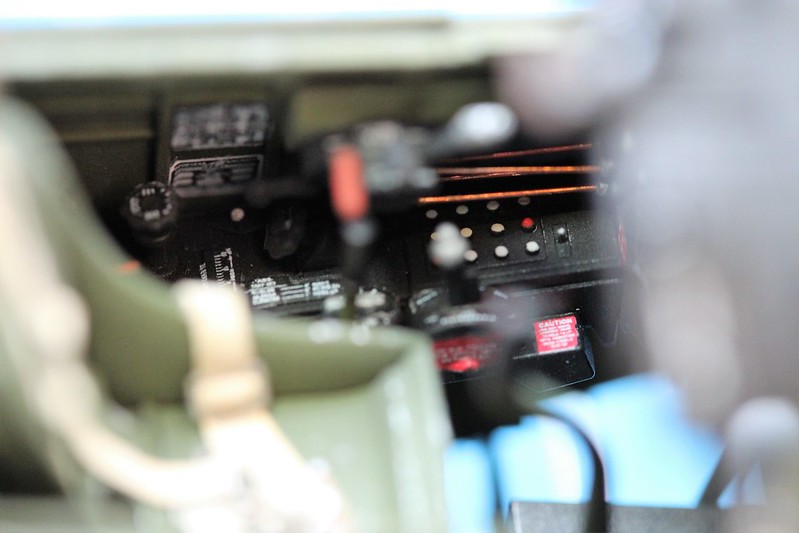
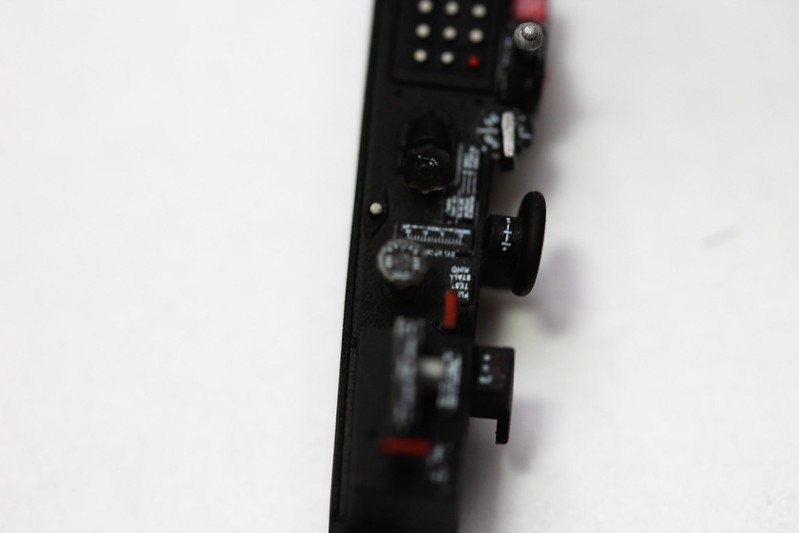
Left side Console.
 IMG_0799
 by
Ernest Roth, on Flickr
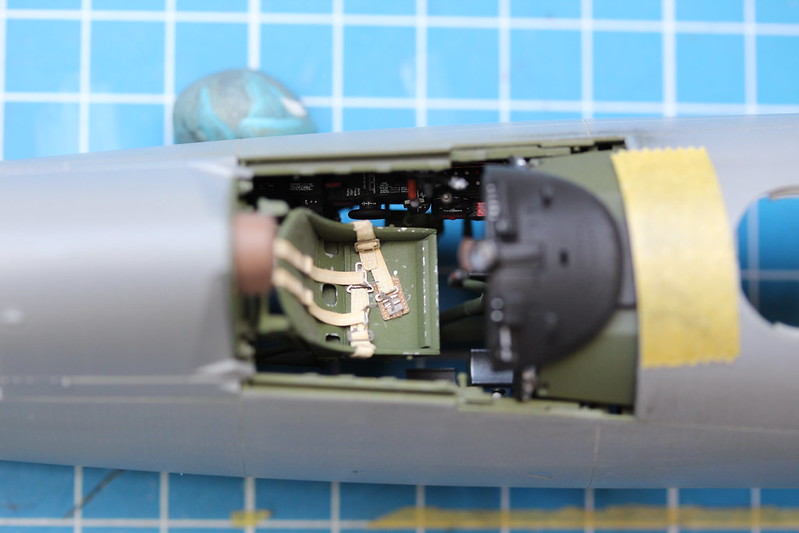
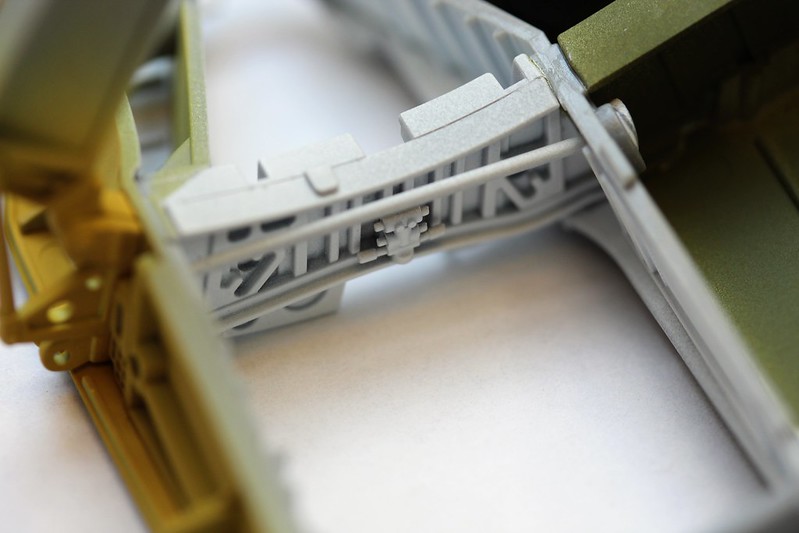
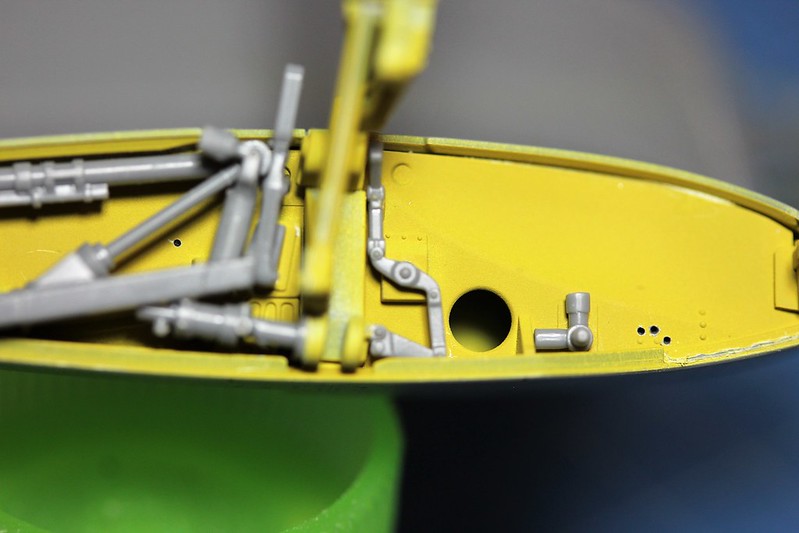
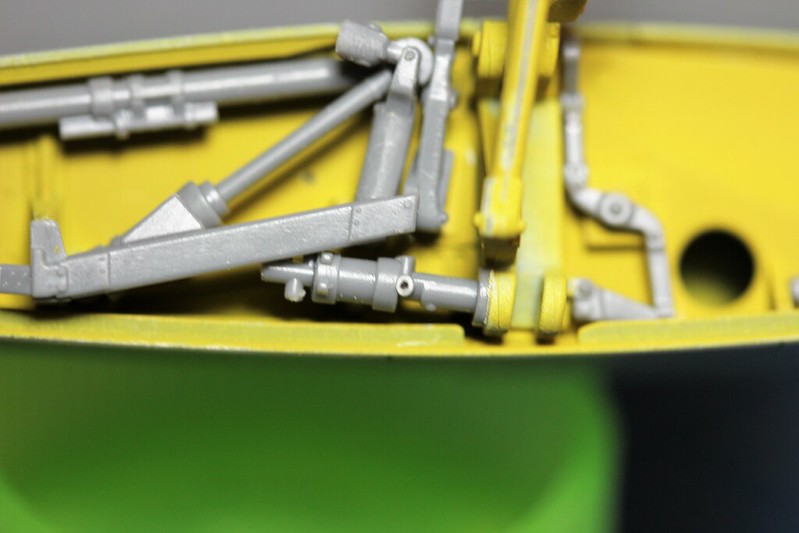
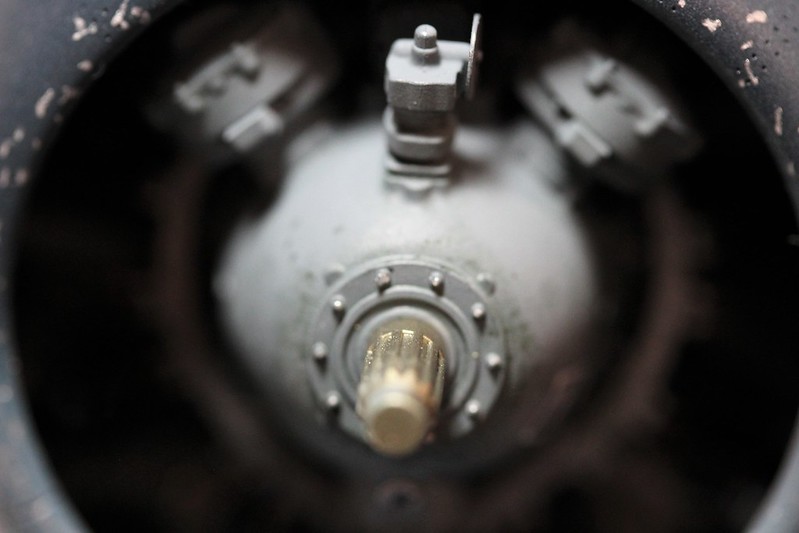
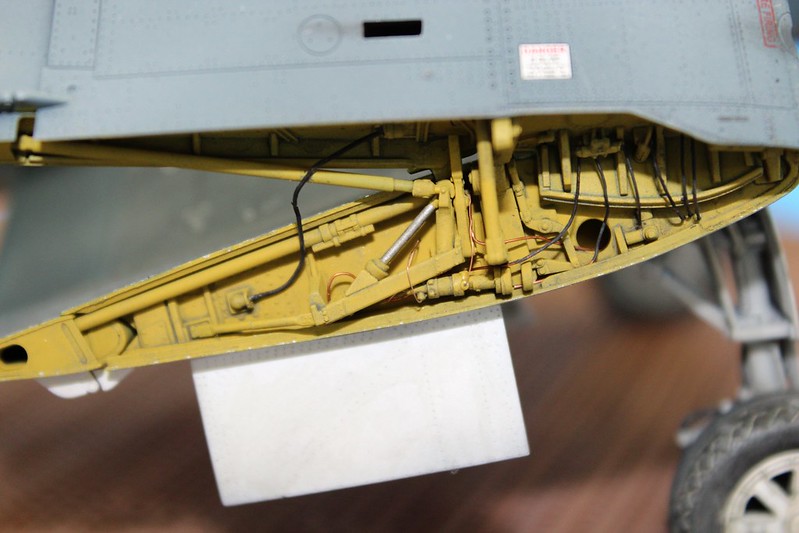
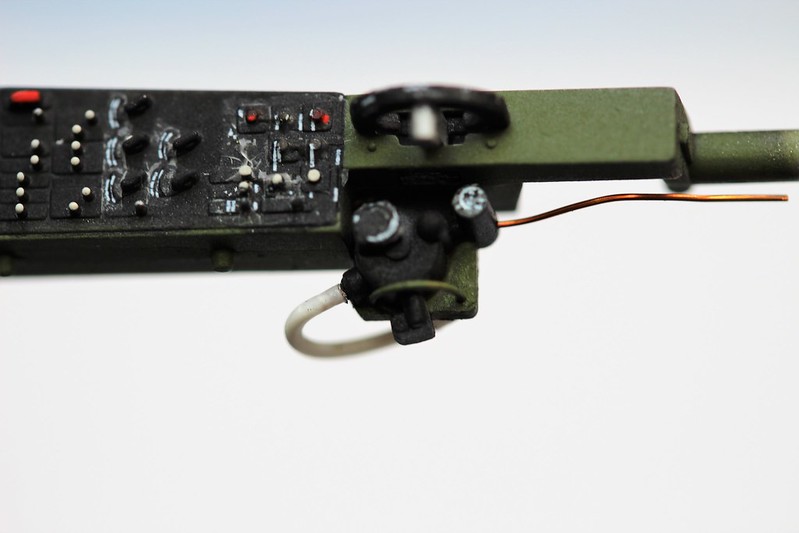
Small bit of super detailing on the O2 regulator. I added a protection bracket, the oxygen hose (made out of .020 rod) and the O2 line which will connect to the oxygen bottle.
 IMG_0798
 by
Ernest Roth, on Flickr
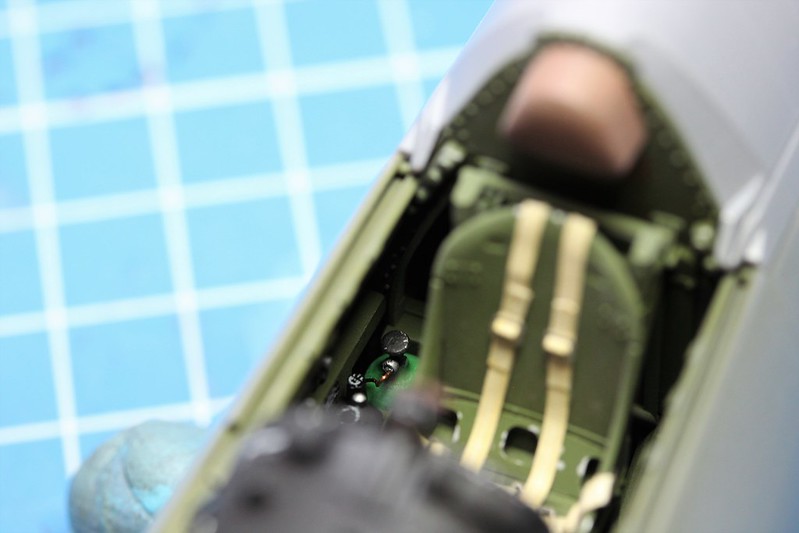
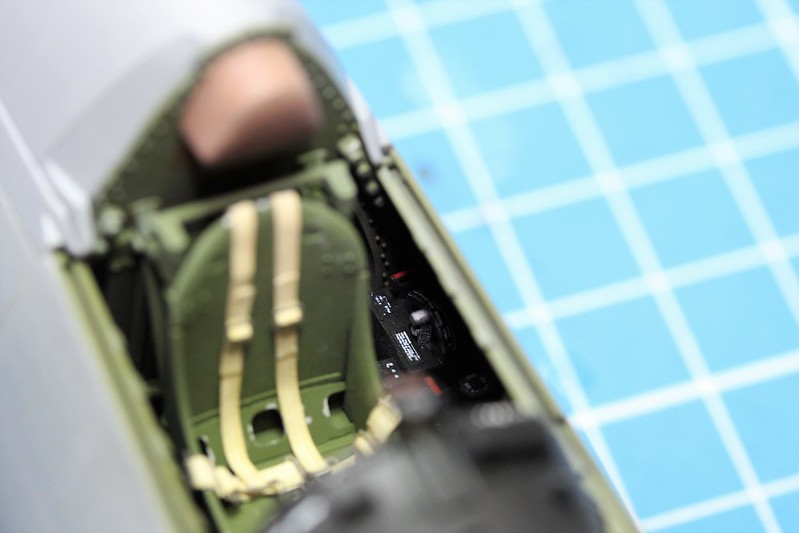
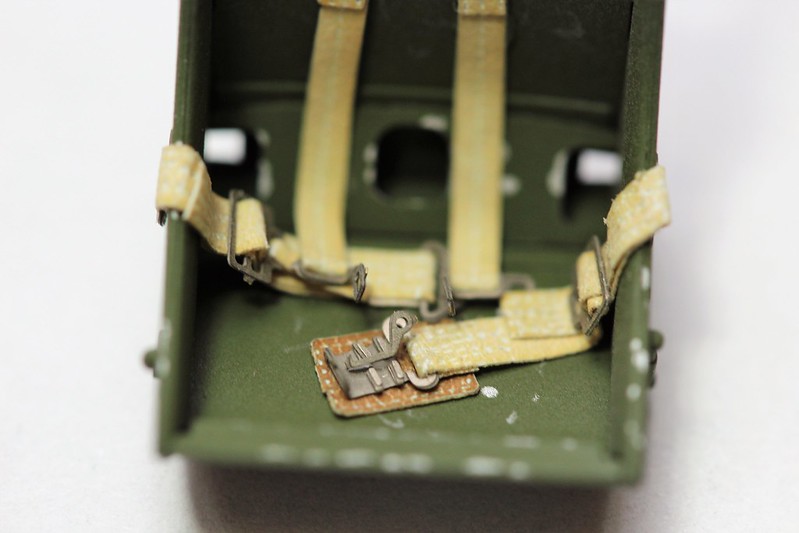
Close up of the seat with HGW's seatbelt.
 IMG_0801
 by
Ernest Roth, on Flickr
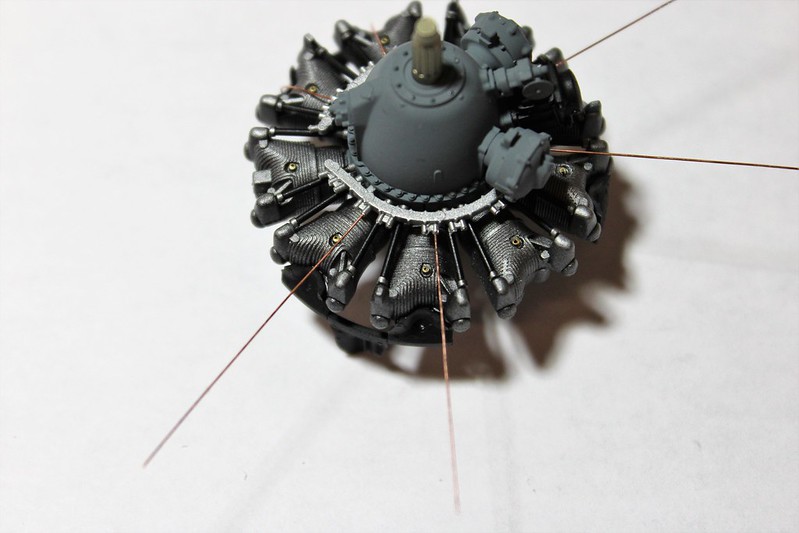
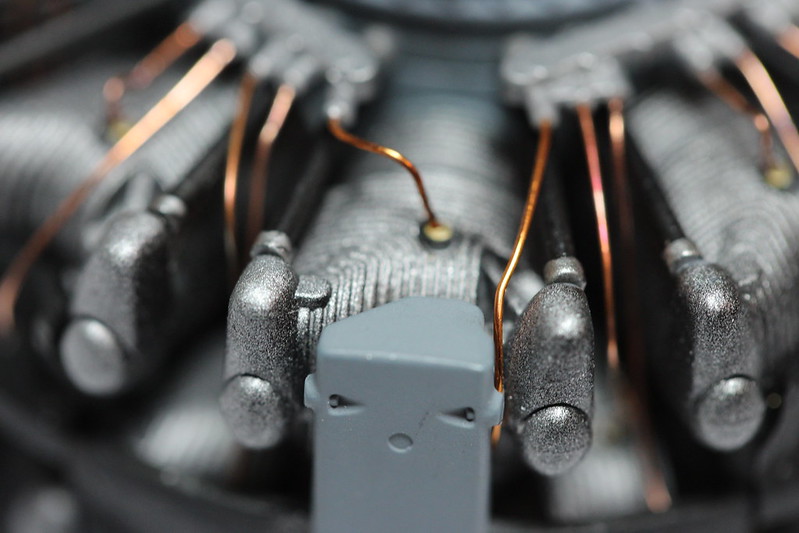
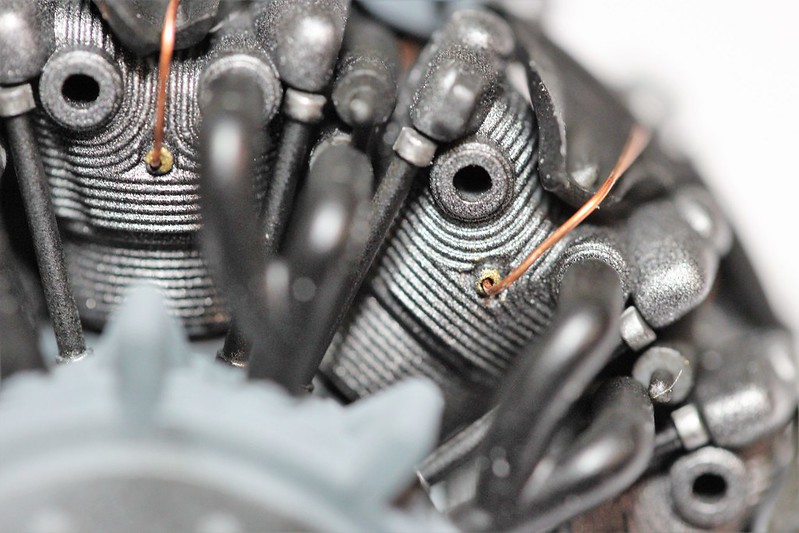
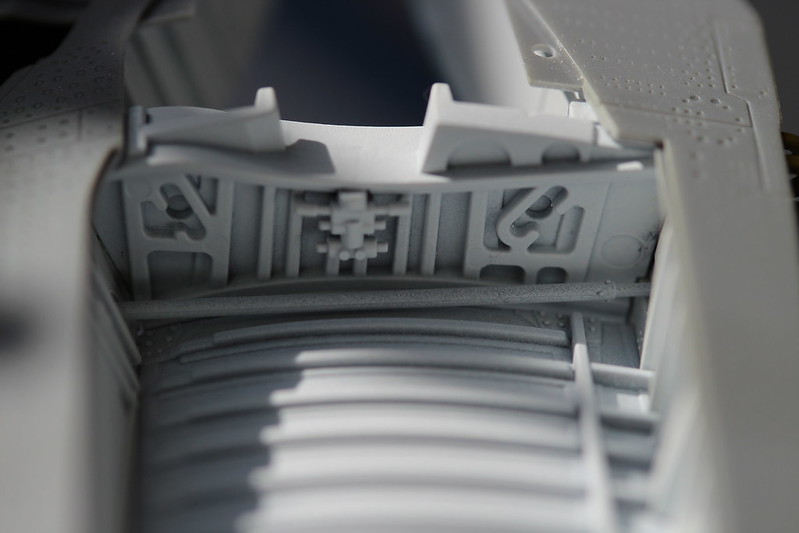
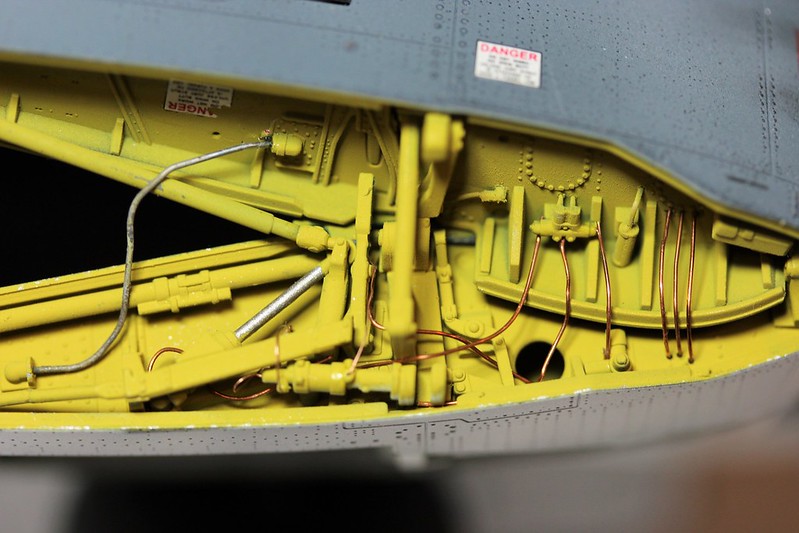
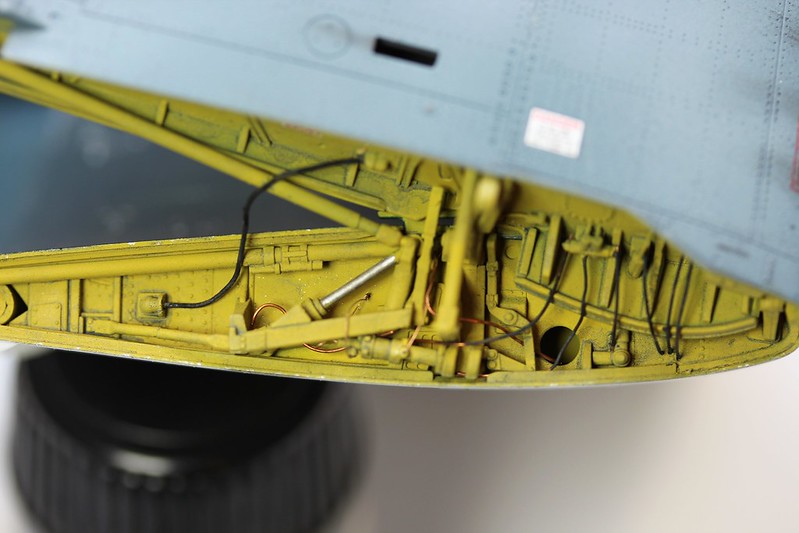
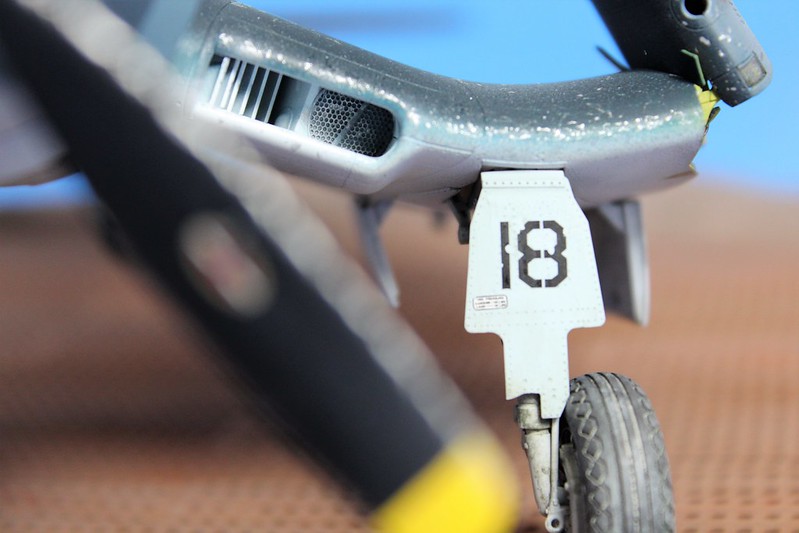
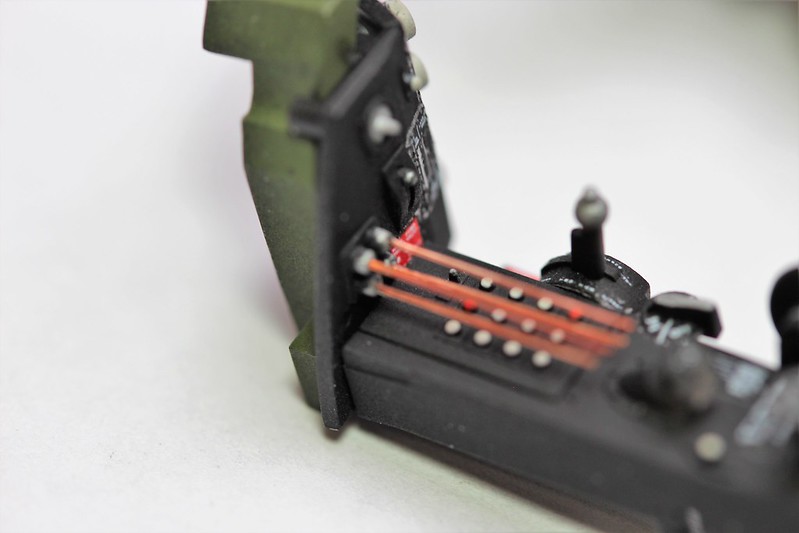
Finally, some copper wire masquerading as control rods - they will attach to the throttle control unit.


 IMG_0774 by Ernest Roth, on Flickr
 IMG_0773 by Ernest Roth, on Flickr
 IMG_0775 by Ernest Roth, on Flickr
 IMG_0778 by Ernest Roth, on Flickr