_GOTOBOTTOM
World War II: USA
Aircraft of the United States in WWII.
Hosted by Rowan Baylis
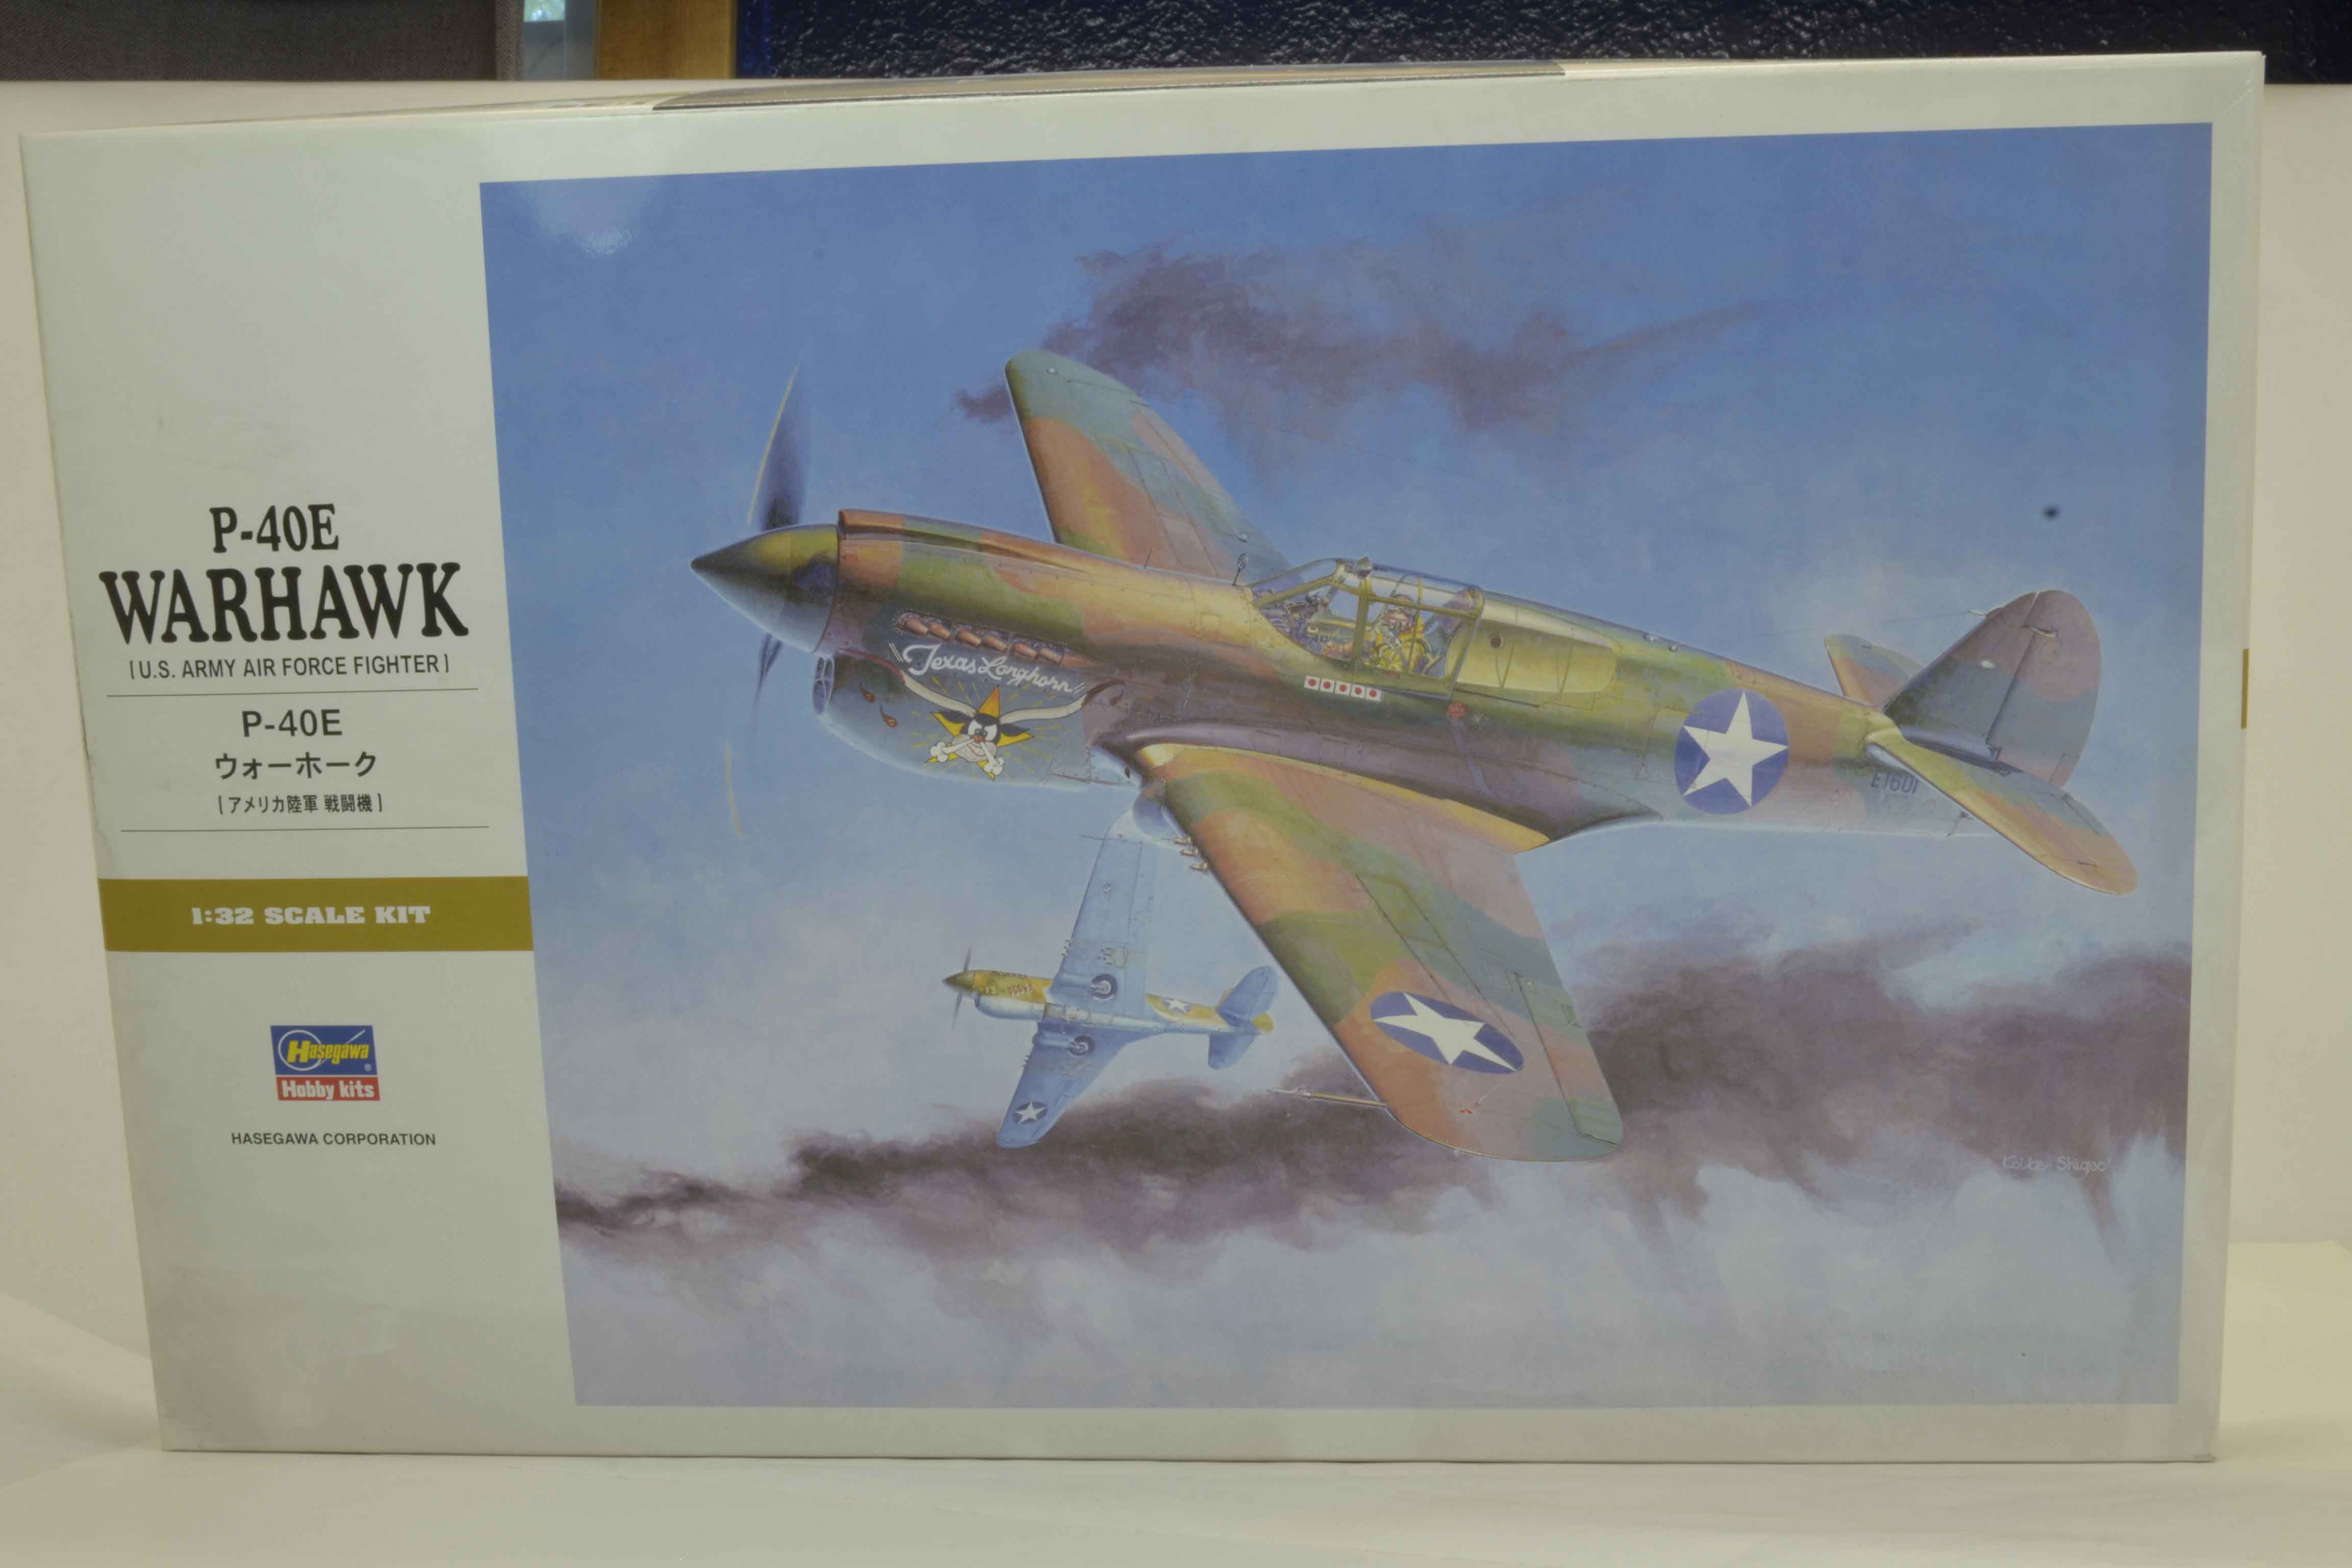
1/32 Hasegawa P-40E
fightnjoe
_VISITCOMMUNITY
Washington, United States
Joined: August 16, 2004
KitMaker: 603 posts
AeroScale: 565 posts
Posted: Sunday, September 16, 2018 - 02:29 PM UTC
Well it has been a while.

One of my current projects.


Joe
fightnjoe
_VISITCOMMUNITY
Washington, United States
Joined: August 16, 2004
KitMaker: 603 posts
AeroScale: 565 posts
Posted: Sunday, September 16, 2018 - 02:48 PM UTC
My plan with this build is to just go the way it takes me.

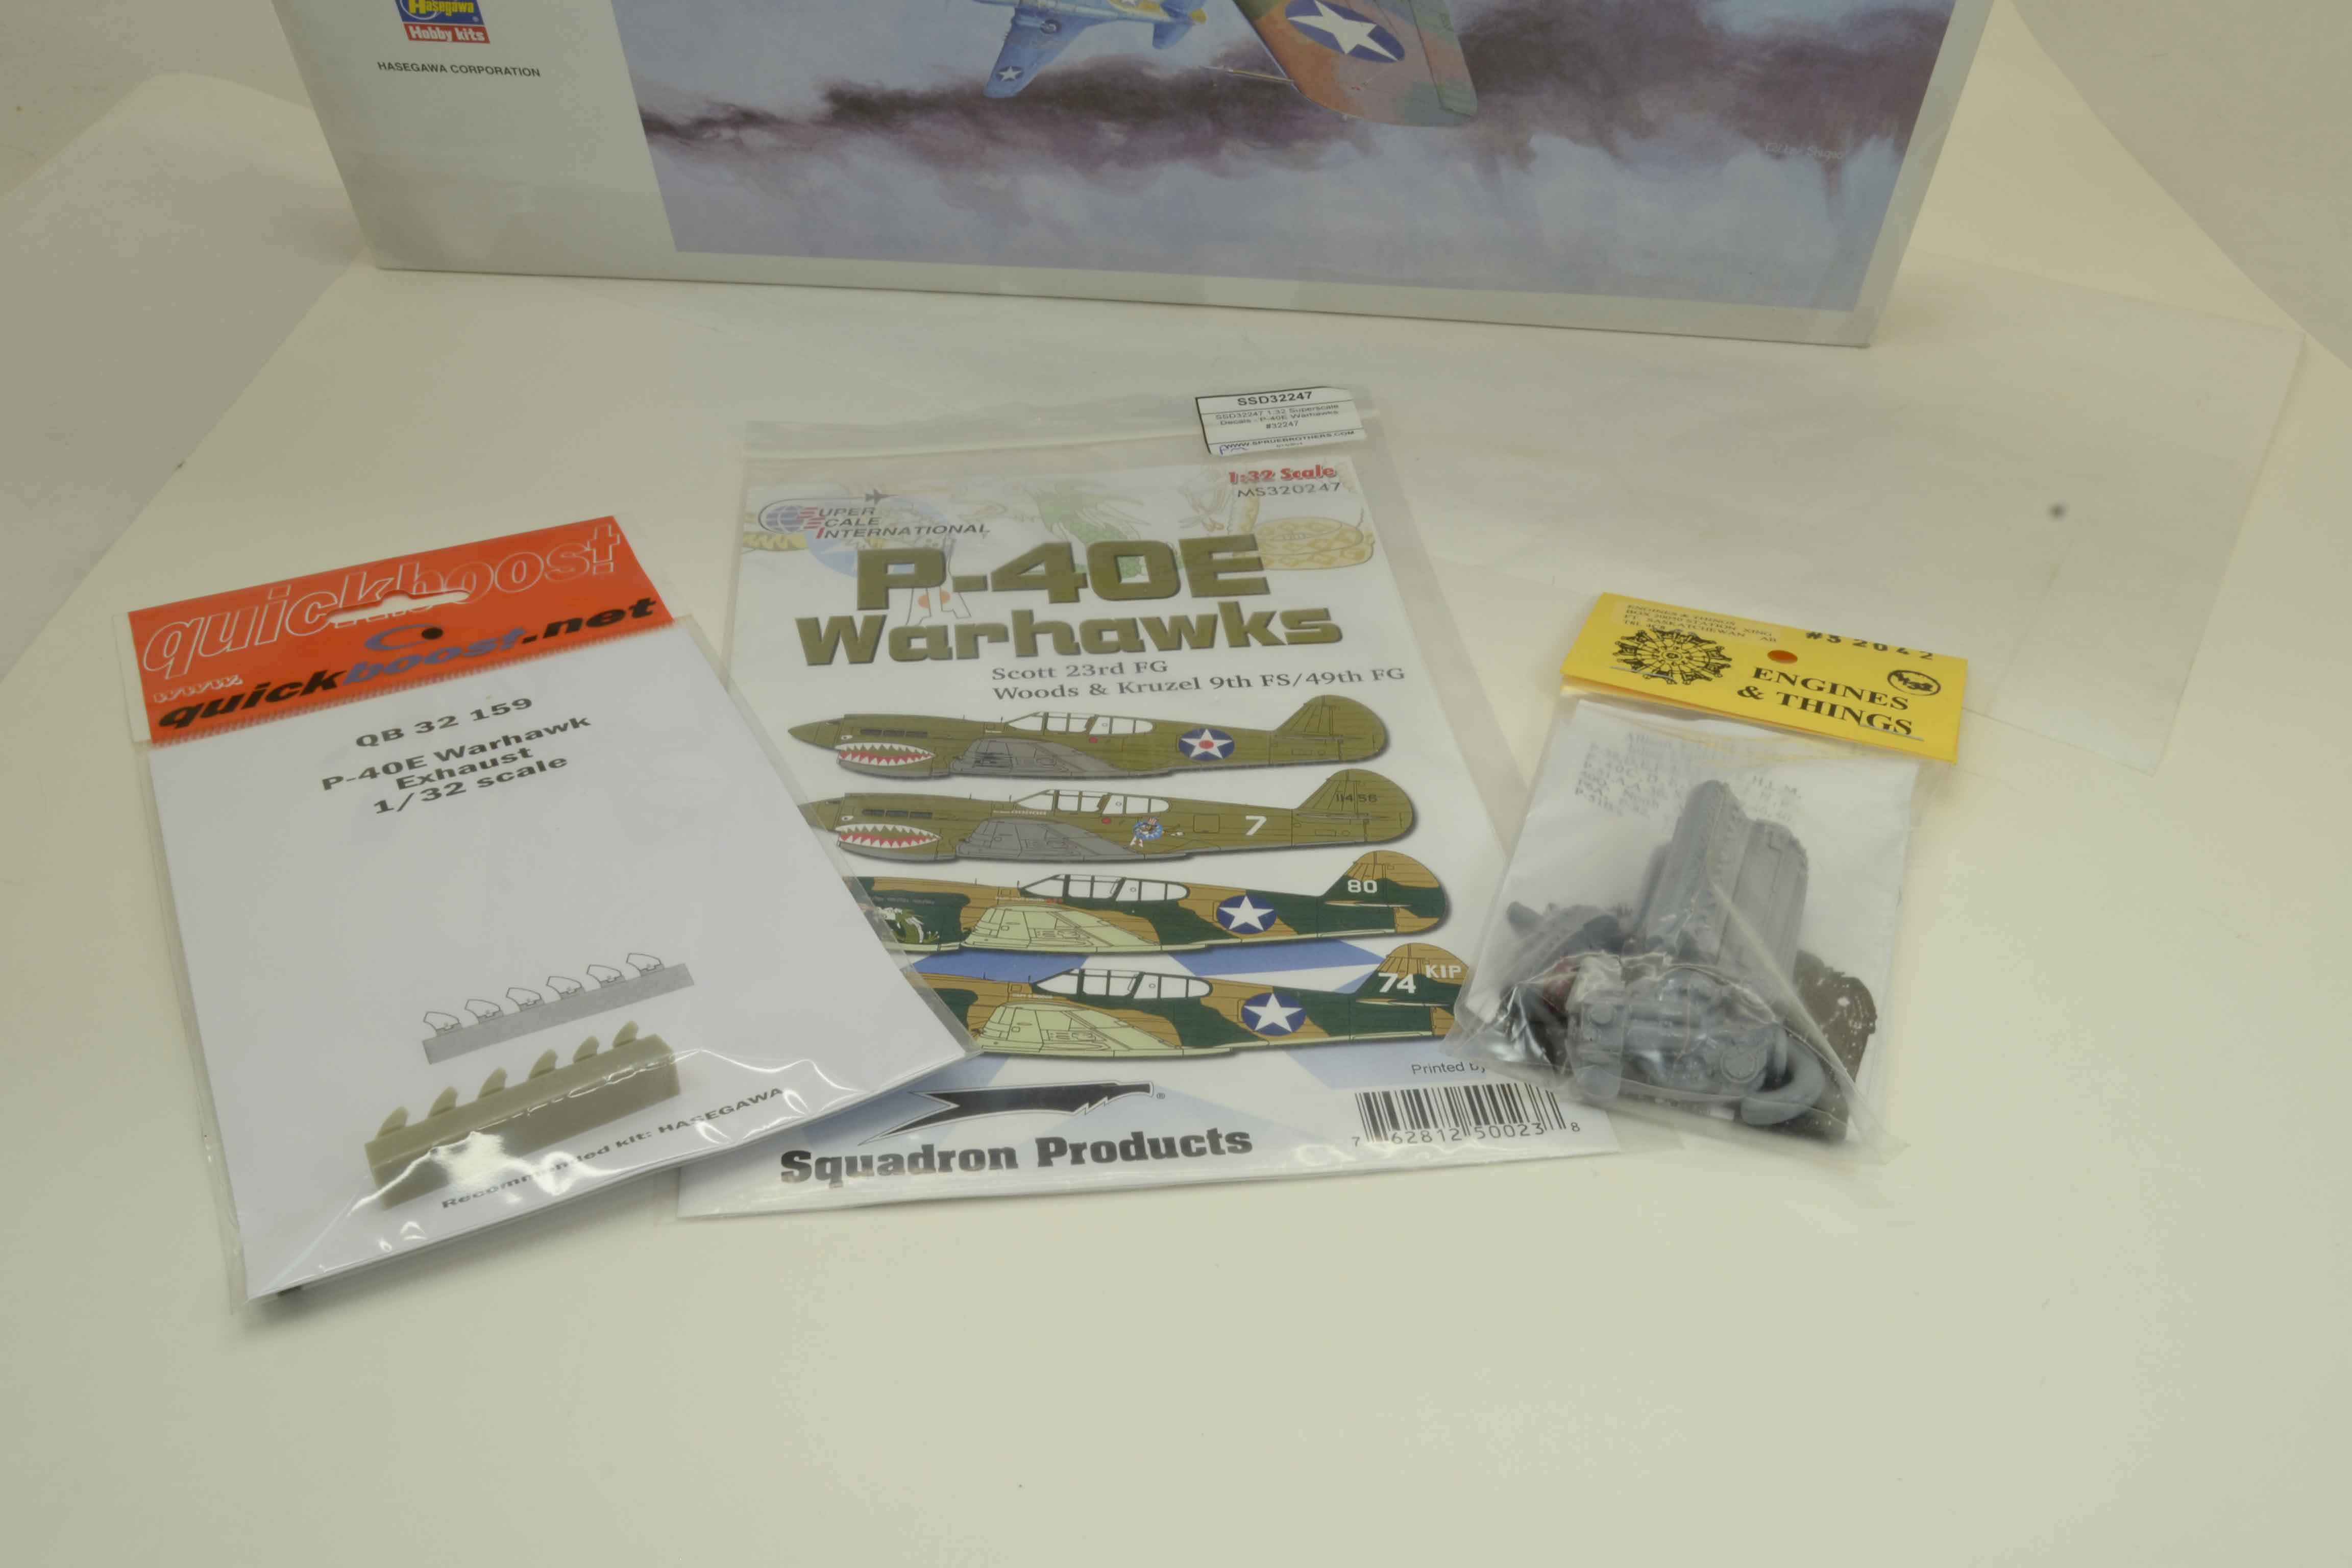
First up is I do actually plan to use some after market.


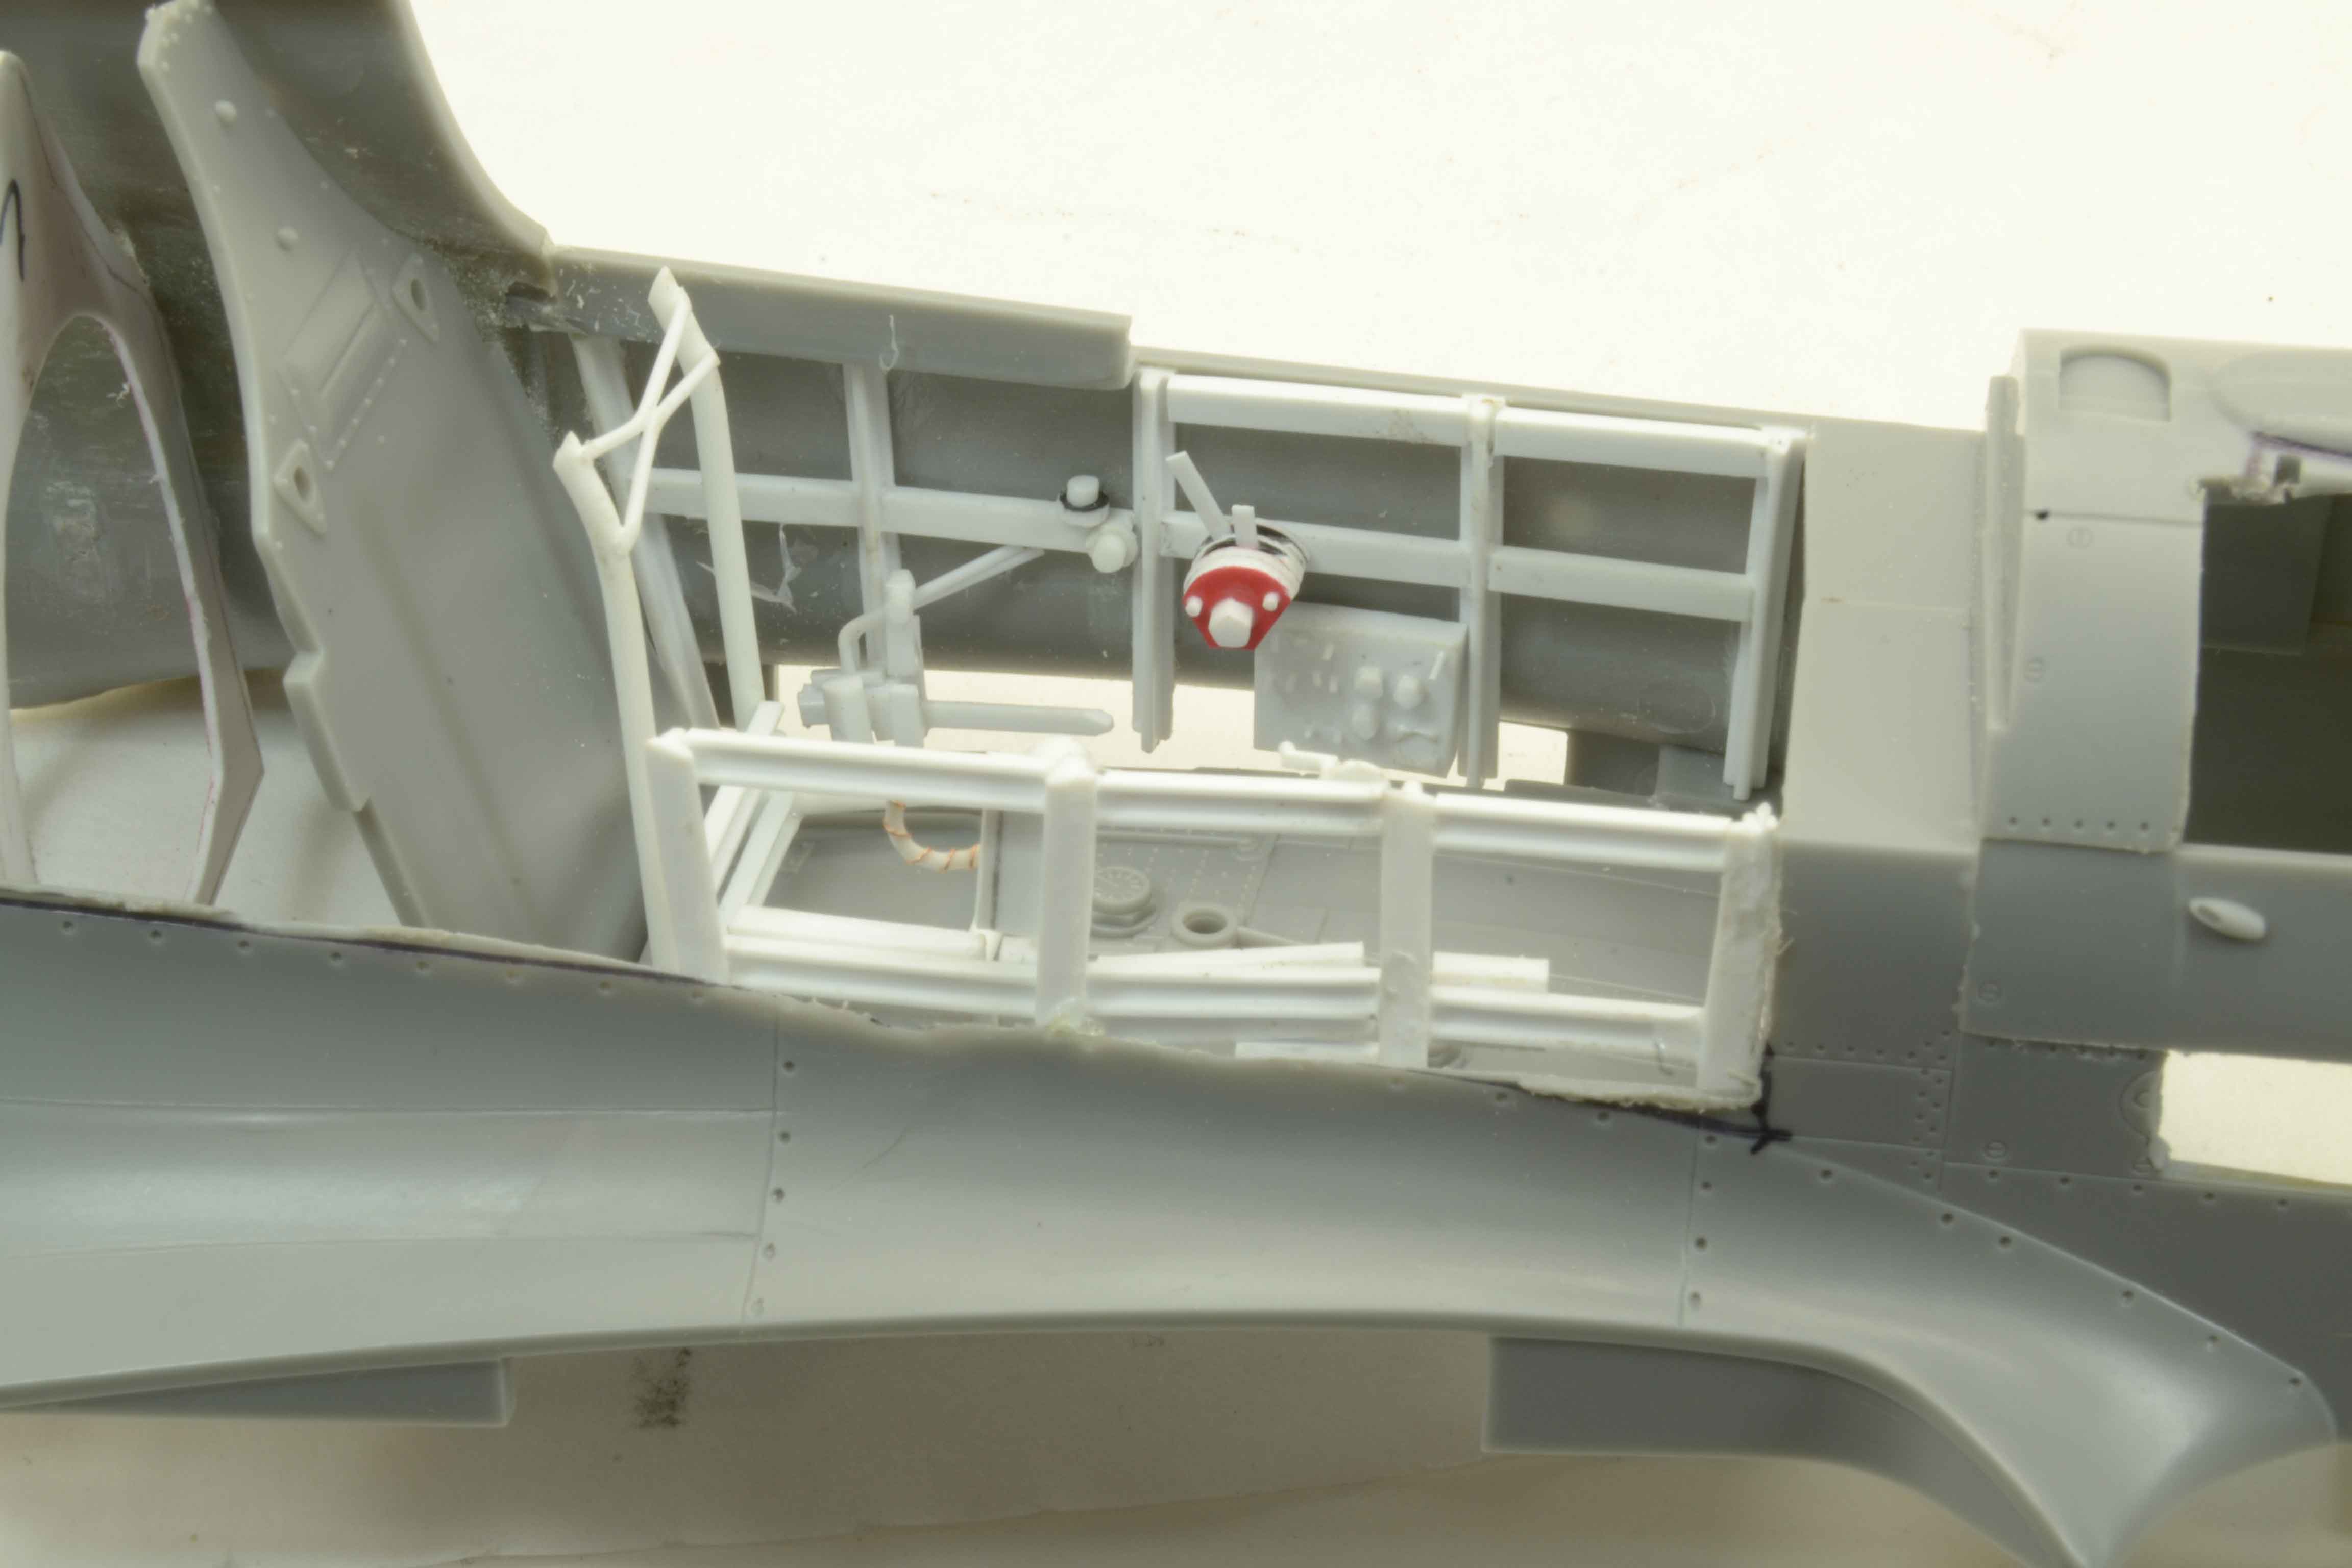
Some initial images.


And then I let the voices guide me.


Even a little off the wing.


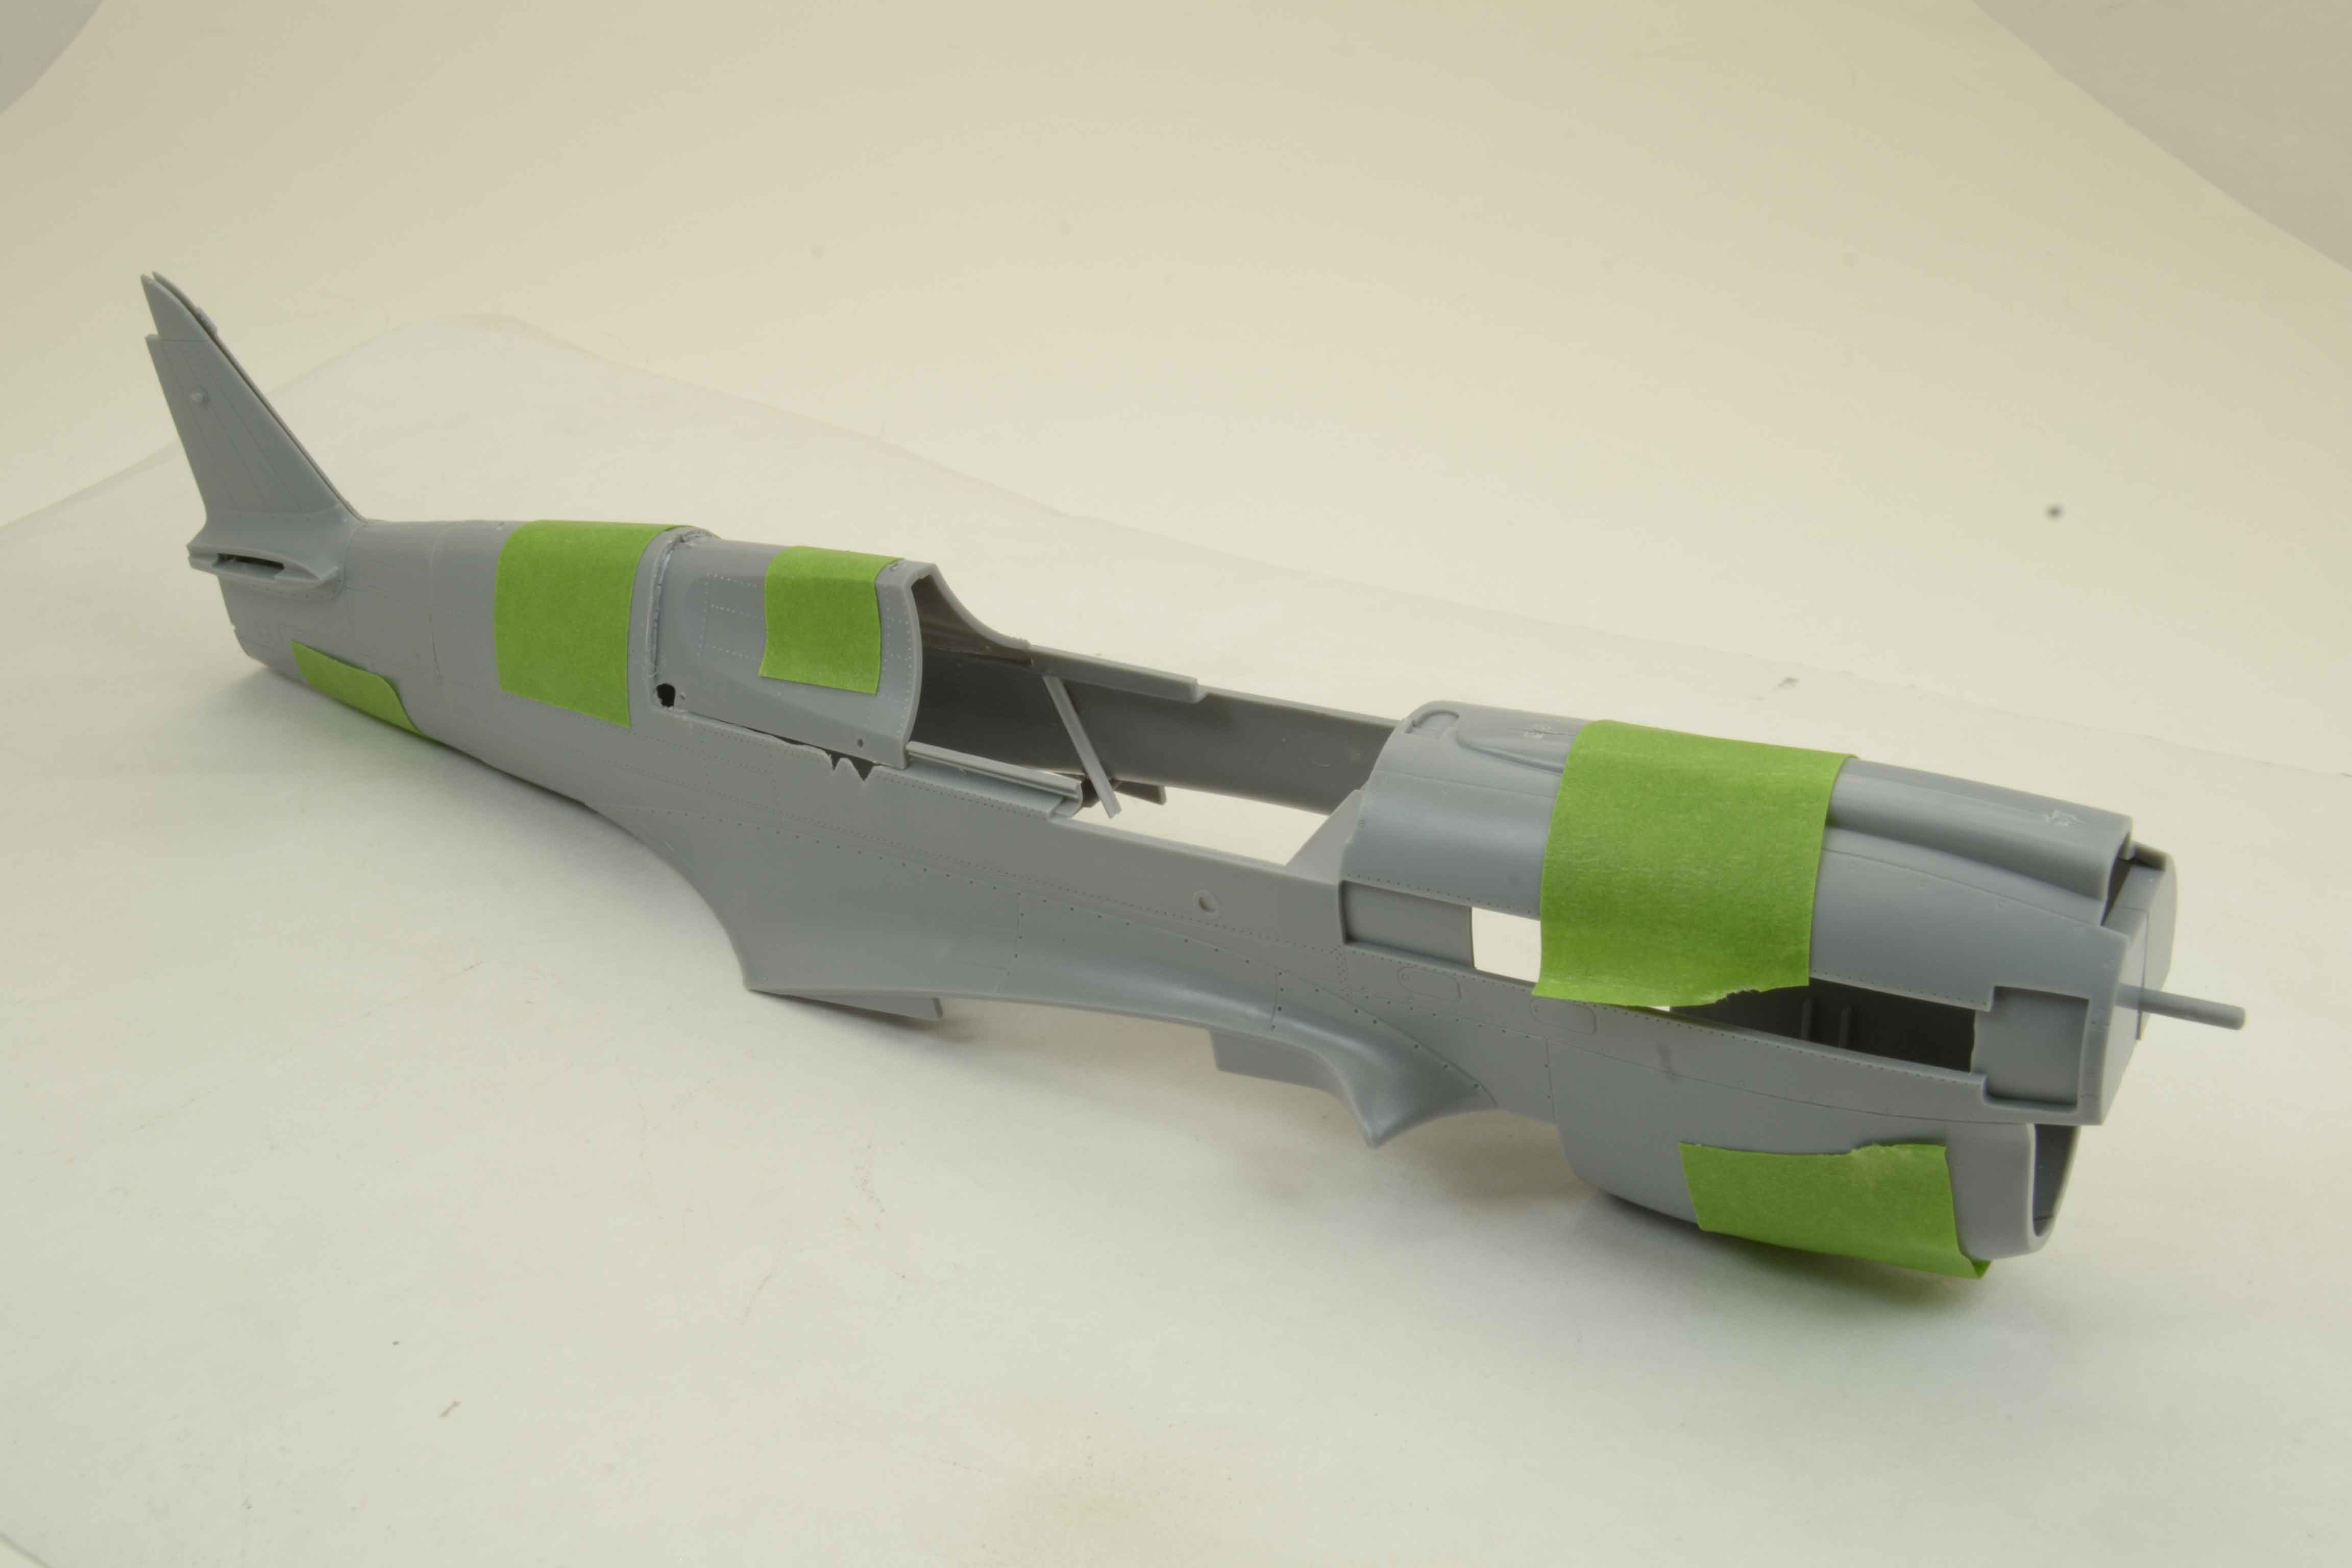
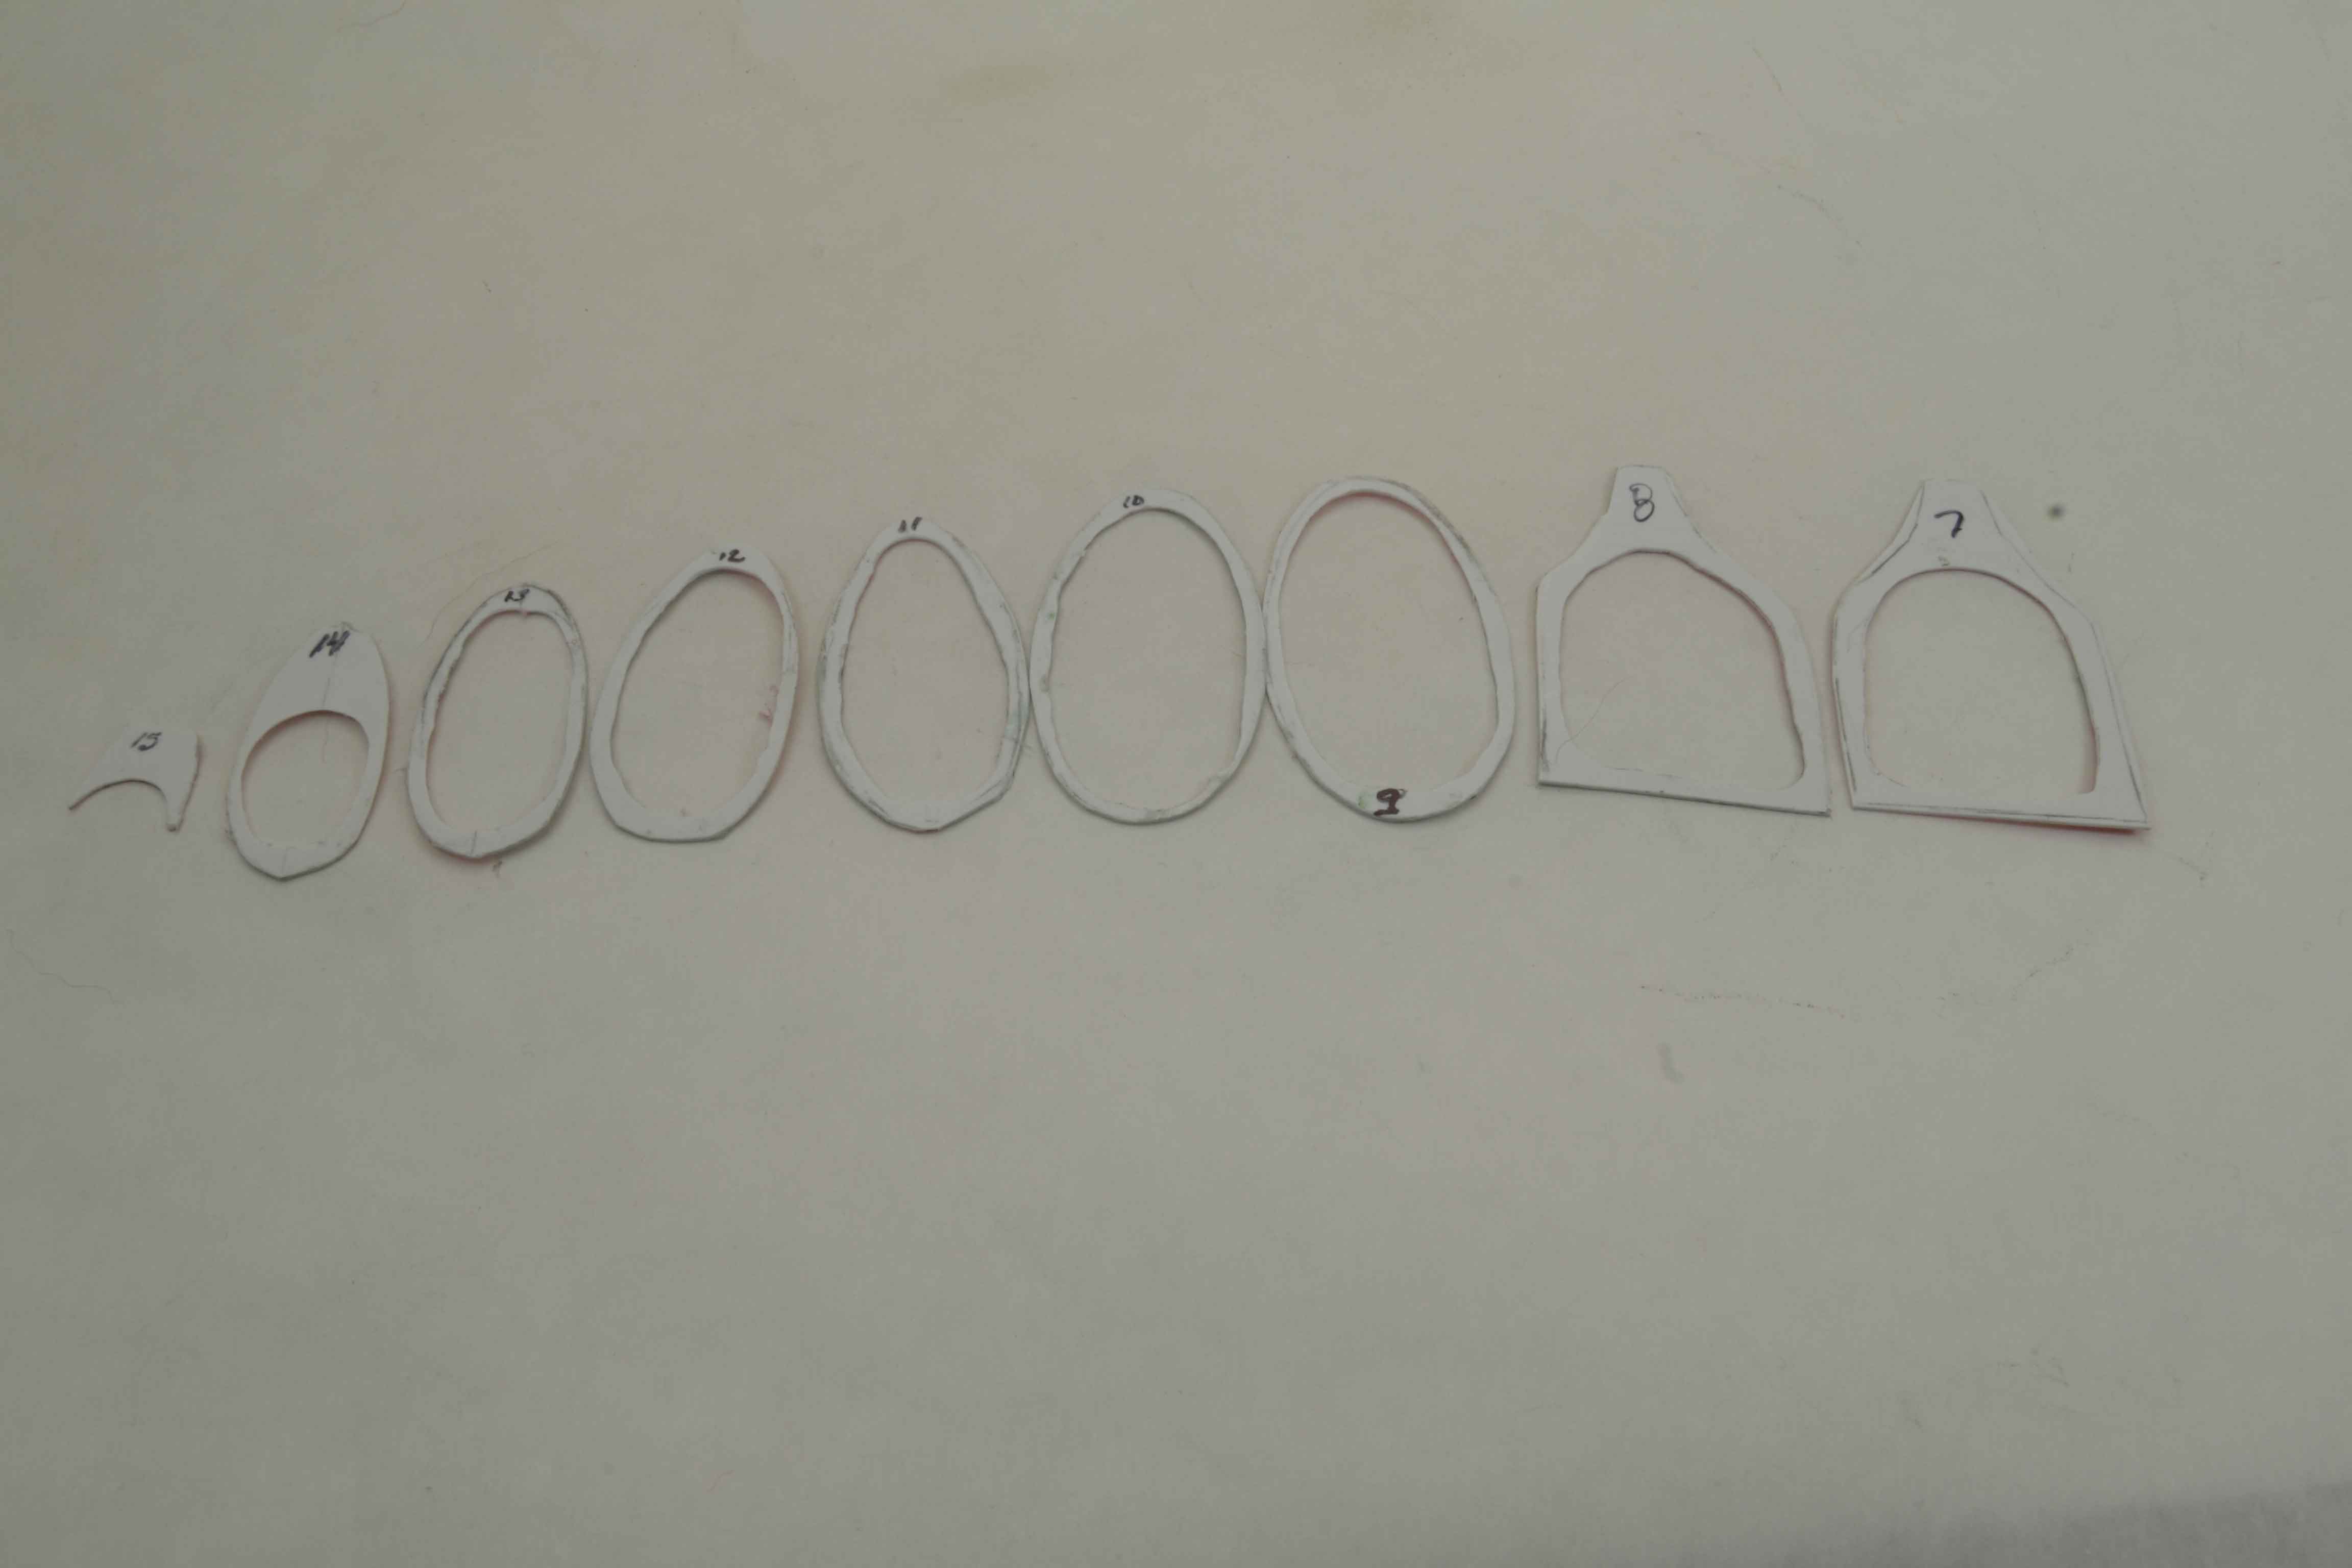
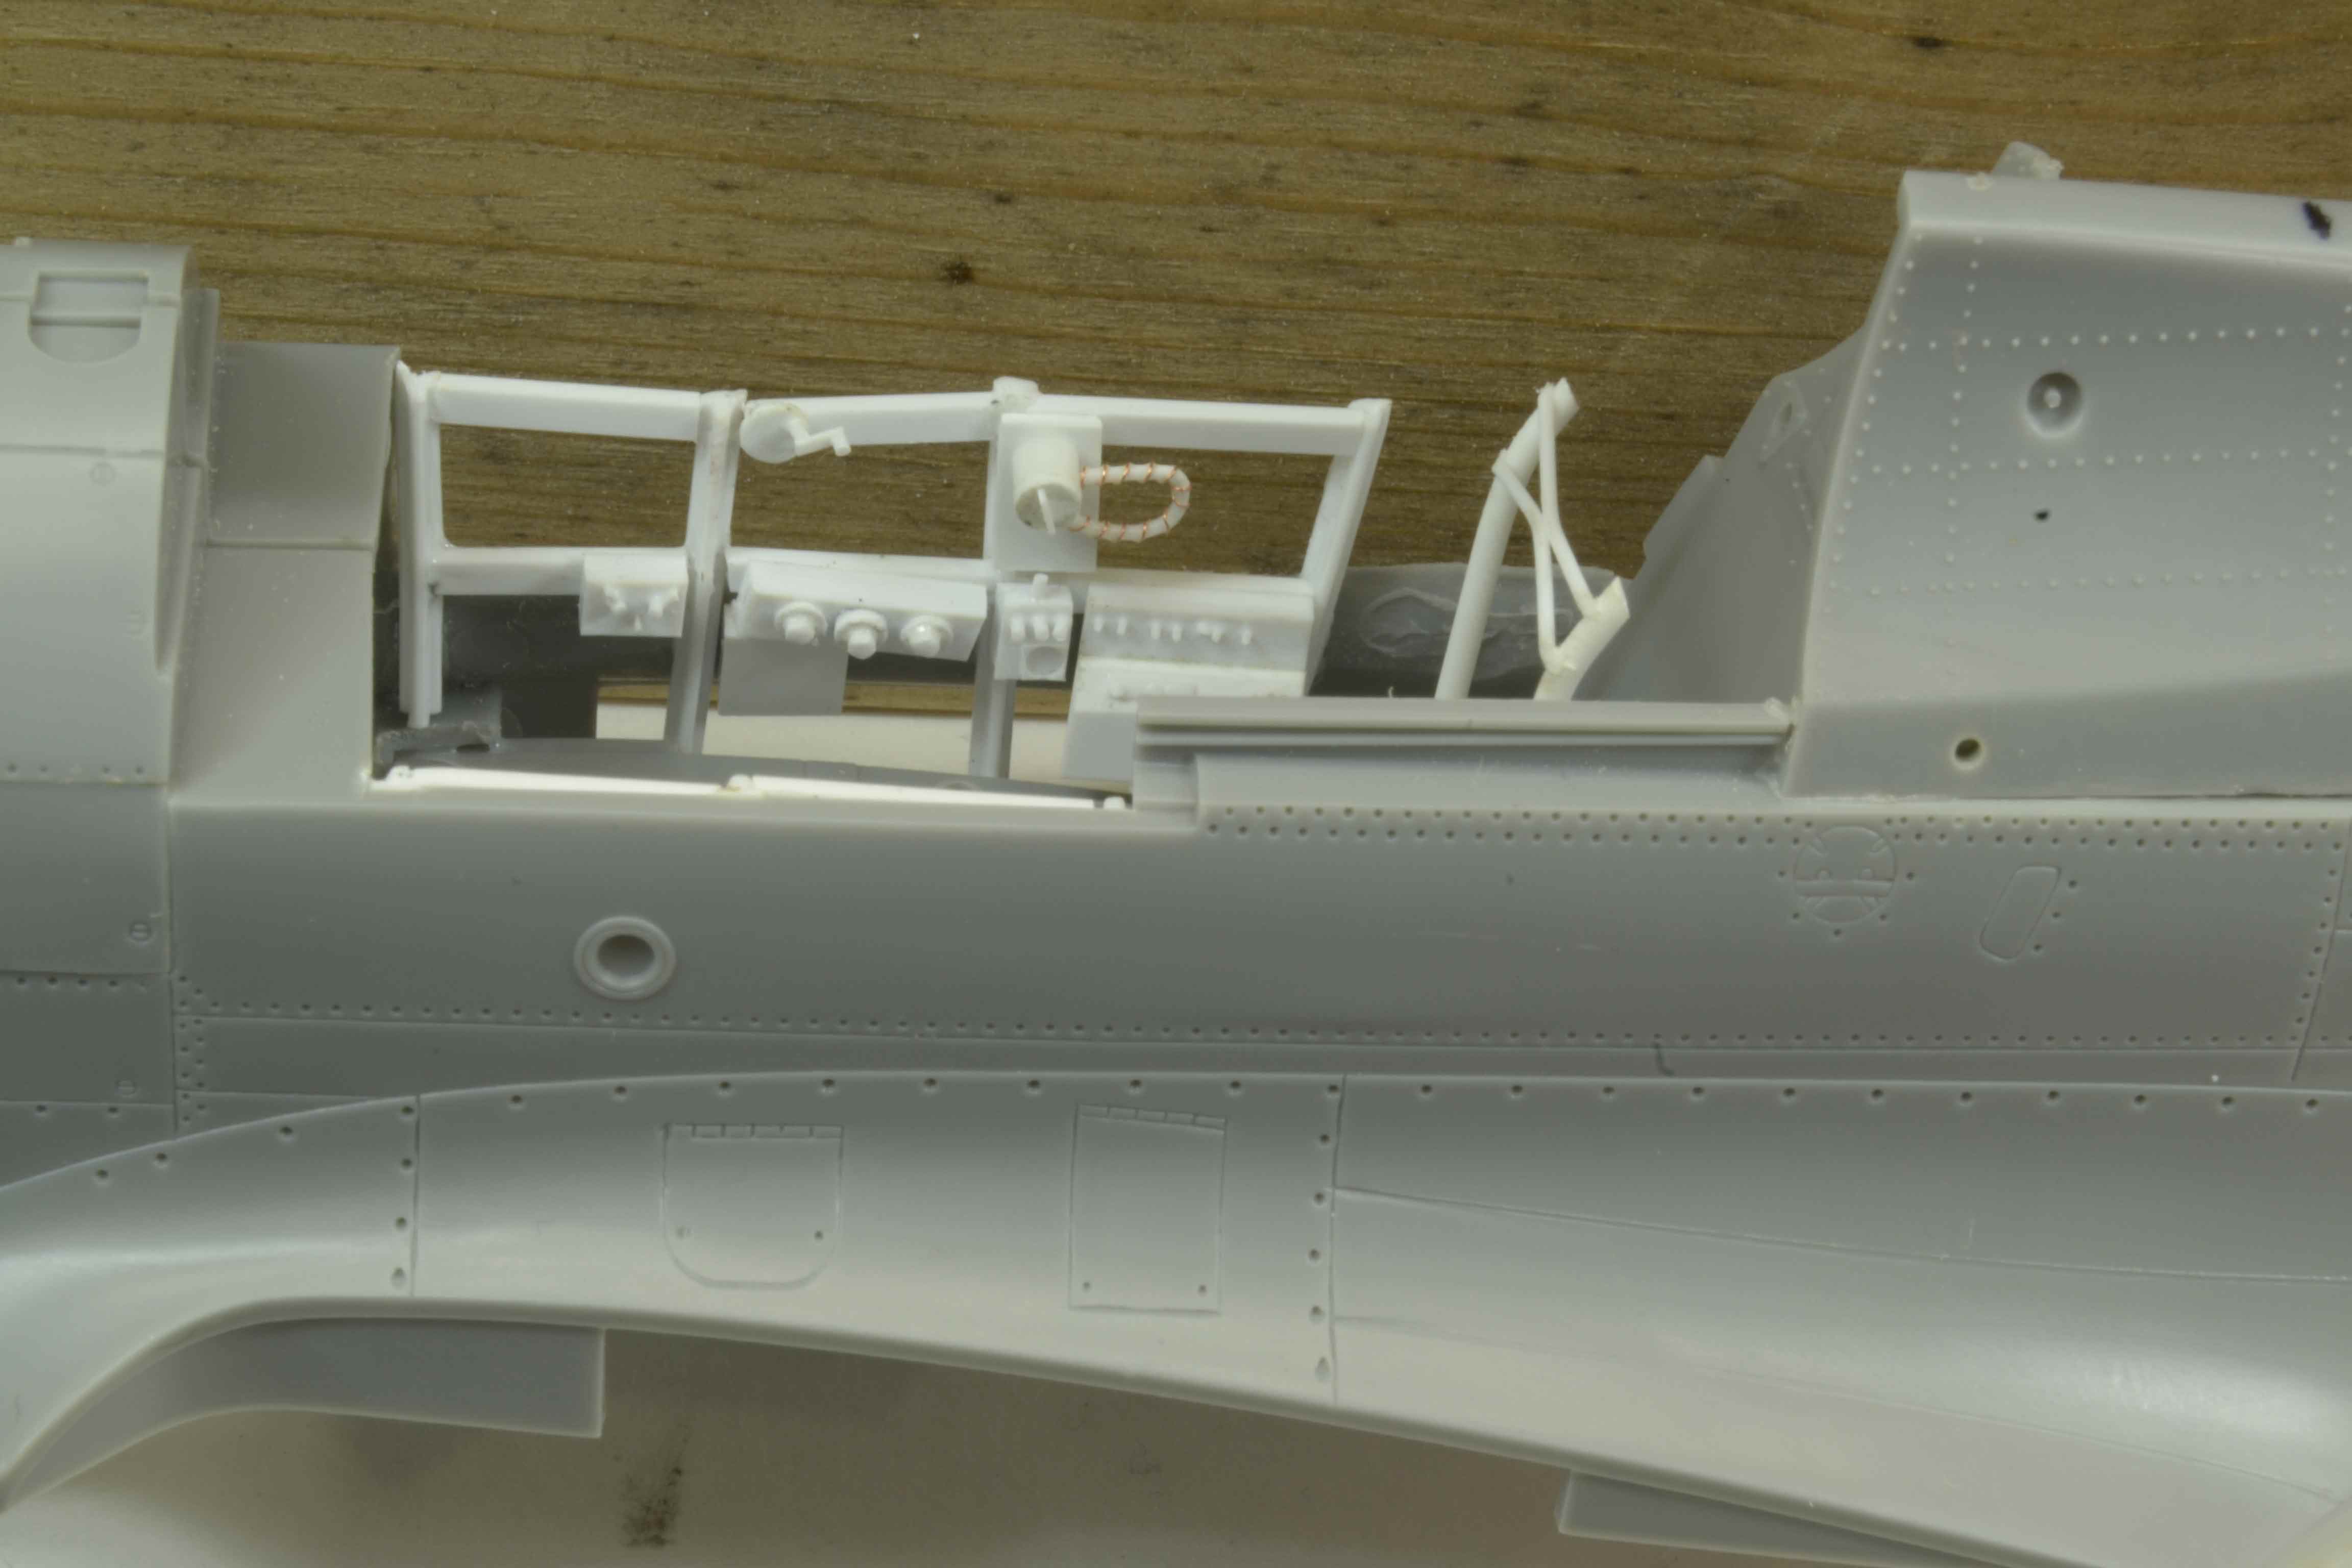
Overall there are some things I am not happy with and some I am. Happy with the work in the cockpit so far. The detail seems to resemble the pictures I have. I am however still not sold on the frames. The kit is the Grey.


All comments, critique, and criticism are encouraged.


Joe
redcap
_VISITCOMMUNITY
England - East Midlands, United Kingdom
Joined: November 06, 2005
KitMaker: 753 posts
AeroScale: 311 posts
Posted: Monday, September 17, 2018 - 06:46 AM UTC
Fabulous work Joe and I will be following and taking tips/notes from this build as you go - great stuff!

Gary
fightnjoe
_VISITCOMMUNITY
Washington, United States
Joined: August 16, 2004
KitMaker: 603 posts
AeroScale: 565 posts
Posted: Monday, September 17, 2018 - 01:48 PM UTC
You are very kind. Thank you.


Joe
JPTRR
Staff MemberManaging Editor
RAILROAD MODELING
#051
_VISITCOMMUNITY
Tennessee, United States
Joined: December 21, 2002
KitMaker: 7,772 posts
AeroScale: 3,175 posts
Posted: Monday, September 17, 2018 - 02:56 PM UTC
Hi Joe,

Great start on my favorite fighter!

You do such great work on these big models.

You probably already have seen it but here are 63 photos - inside and out - of a P-40E: http://gallery.kitmaker.net/showgallery.php/cat/21445
fightnjoe
_VISITCOMMUNITY
Washington, United States
Joined: August 16, 2004
KitMaker: 603 posts
AeroScale: 565 posts
Posted: Wednesday, September 19, 2018 - 04:25 PM UTC
You are very kind. Thank you.

I have looked them over and plan to use them as reference.


Joe
chris1
_VISITCOMMUNITY
Auckland, New Zealand
Joined: October 25, 2005
KitMaker: 949 posts
AeroScale: 493 posts
Posted: Wednesday, September 19, 2018 - 09:08 PM UTC
Joe,
Brilliant build.
An idea for the paint scheme.
The Waiarapa Wildcat Geoff Fisken RNZAF Highest scoring Commowealth Ace of the Pacific.

Just something a little different, you might want to consider

https://en.wikipedia.org/wiki/Geoffrey_Fisken
https://www.telegraph.co.uk/news/obituaries/8618826/Geoff-Fisken.html

Cheers


Chris


fightnjoe
_VISITCOMMUNITY
Washington, United States
Joined: August 16, 2004
KitMaker: 603 posts
AeroScale: 565 posts
Posted: Saturday, September 22, 2018 - 06:12 AM UTC
Chris many thanks. I have plans for a US bird OD/NG.


Joe
fightnjoe
_VISITCOMMUNITY
Washington, United States
Joined: August 16, 2004
KitMaker: 603 posts
AeroScale: 565 posts
Posted: Tuesday, October 09, 2018 - 02:59 PM UTC
Just a quick update to this point.

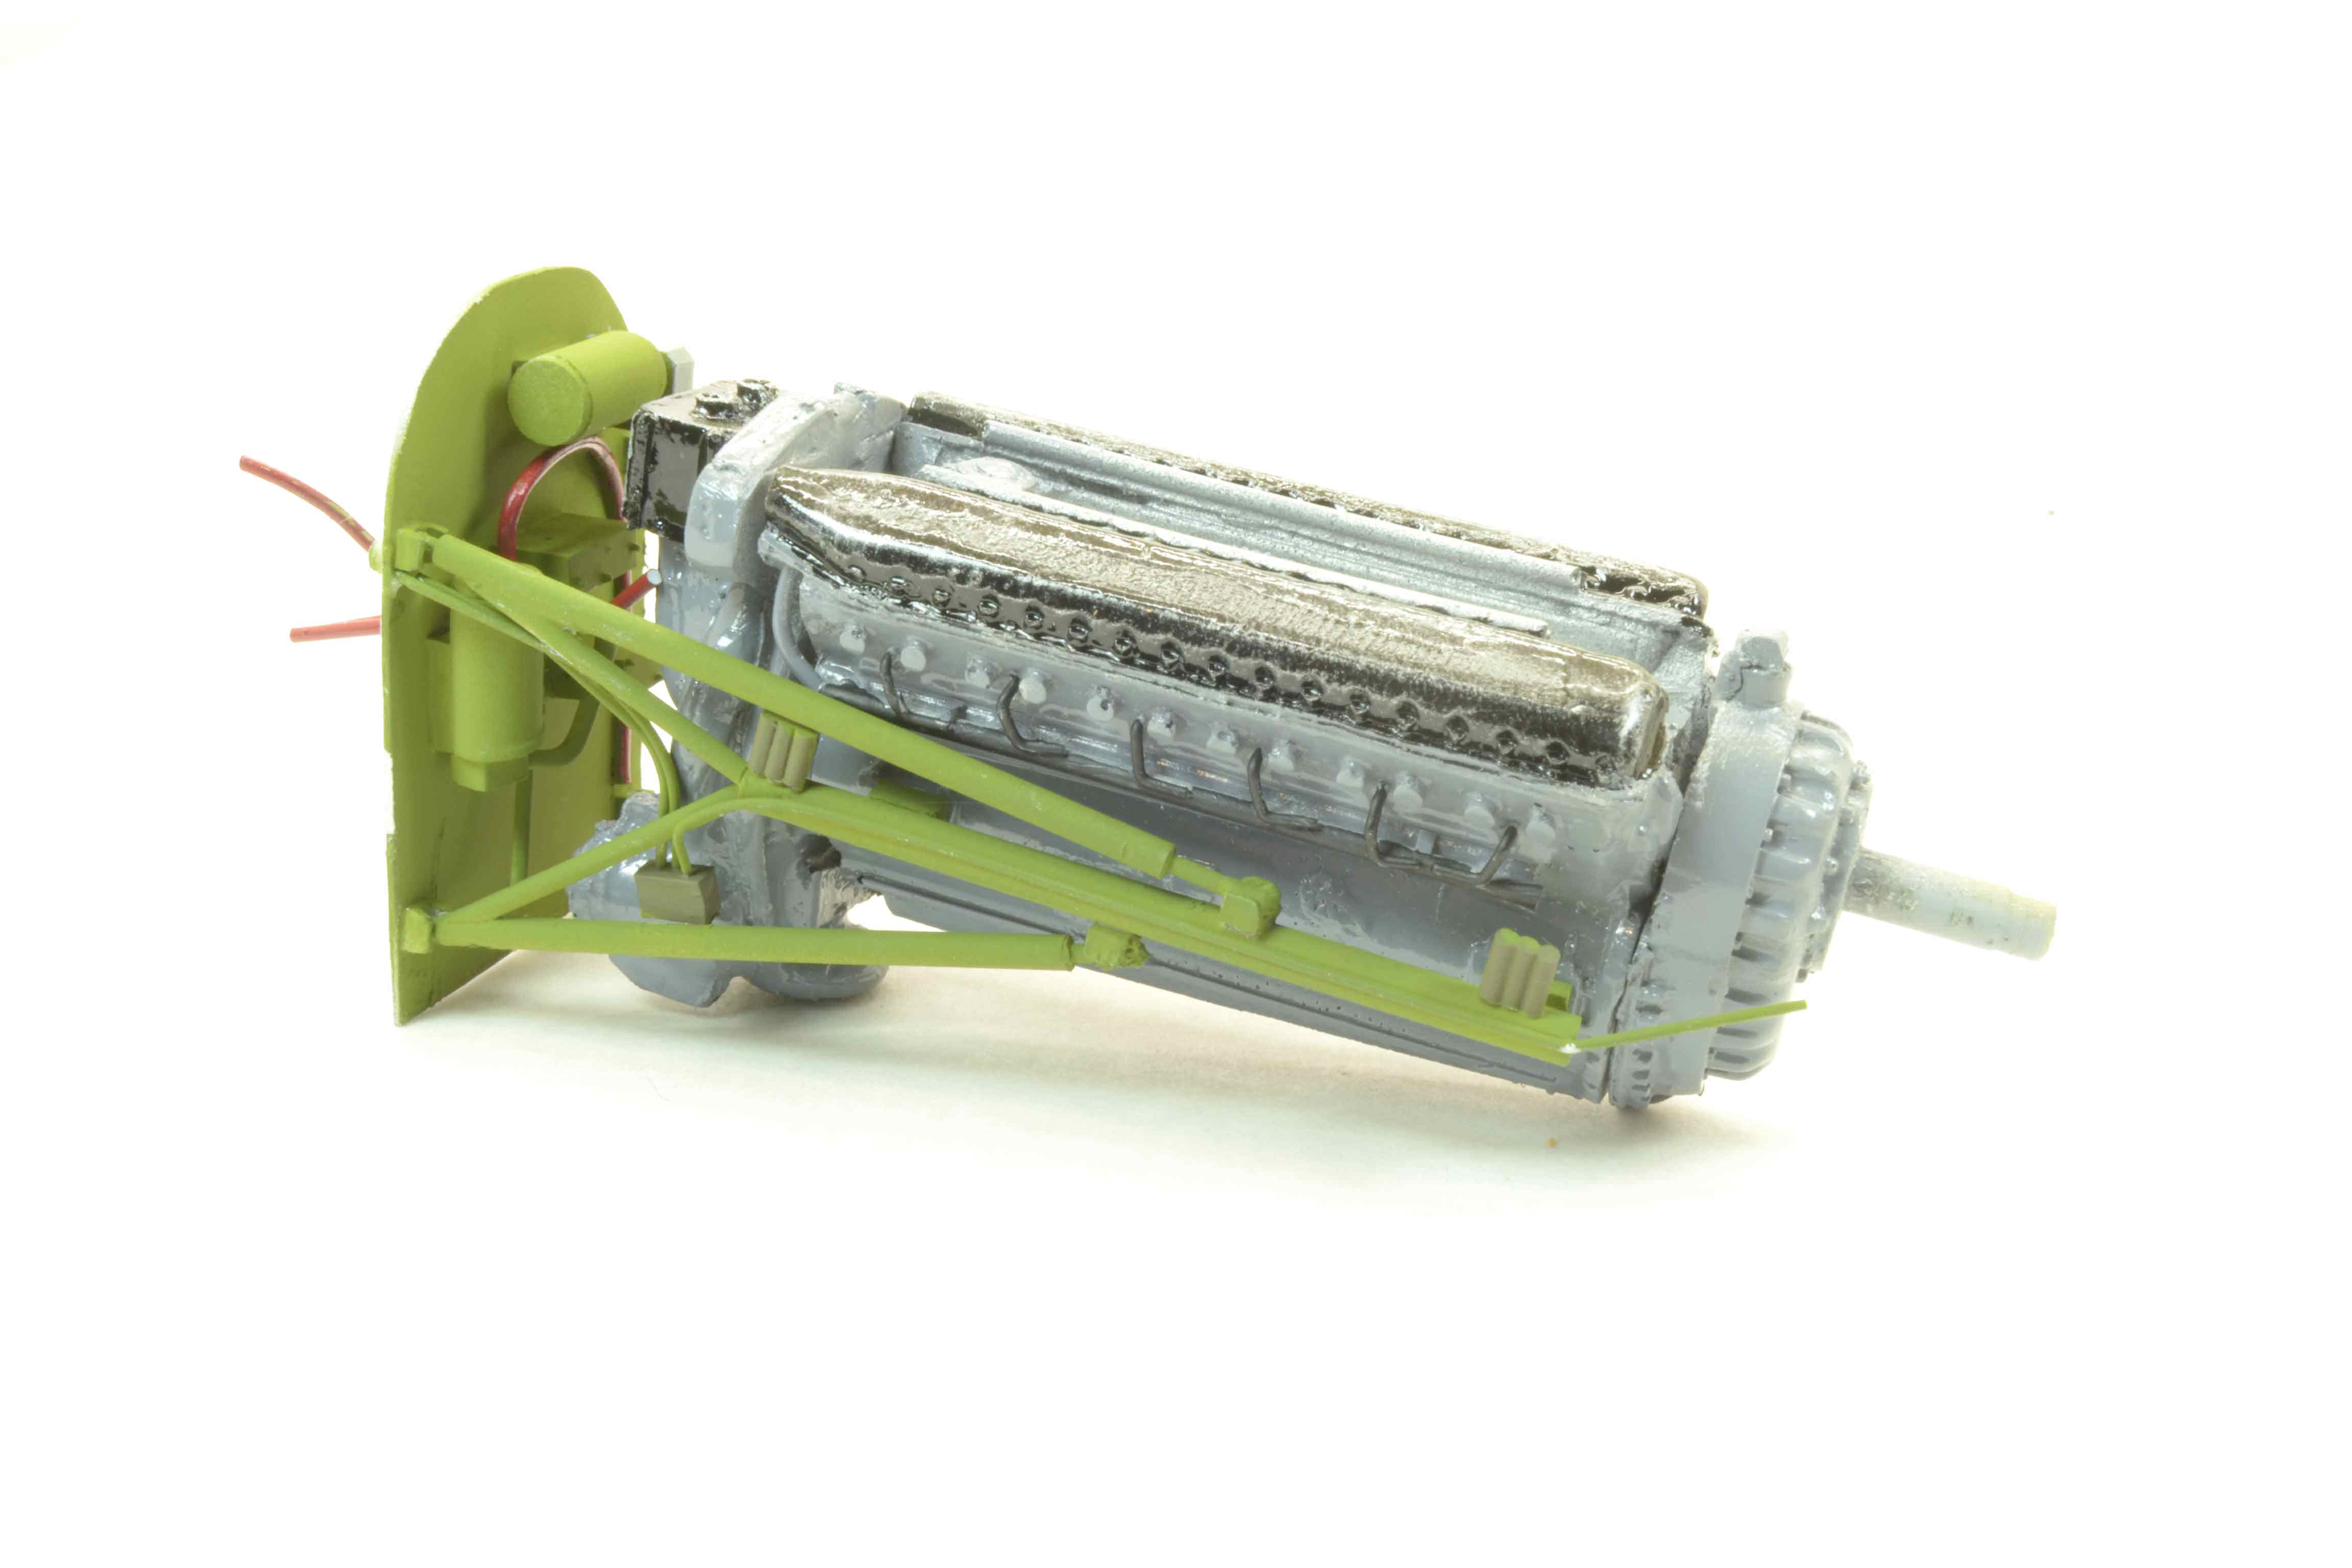
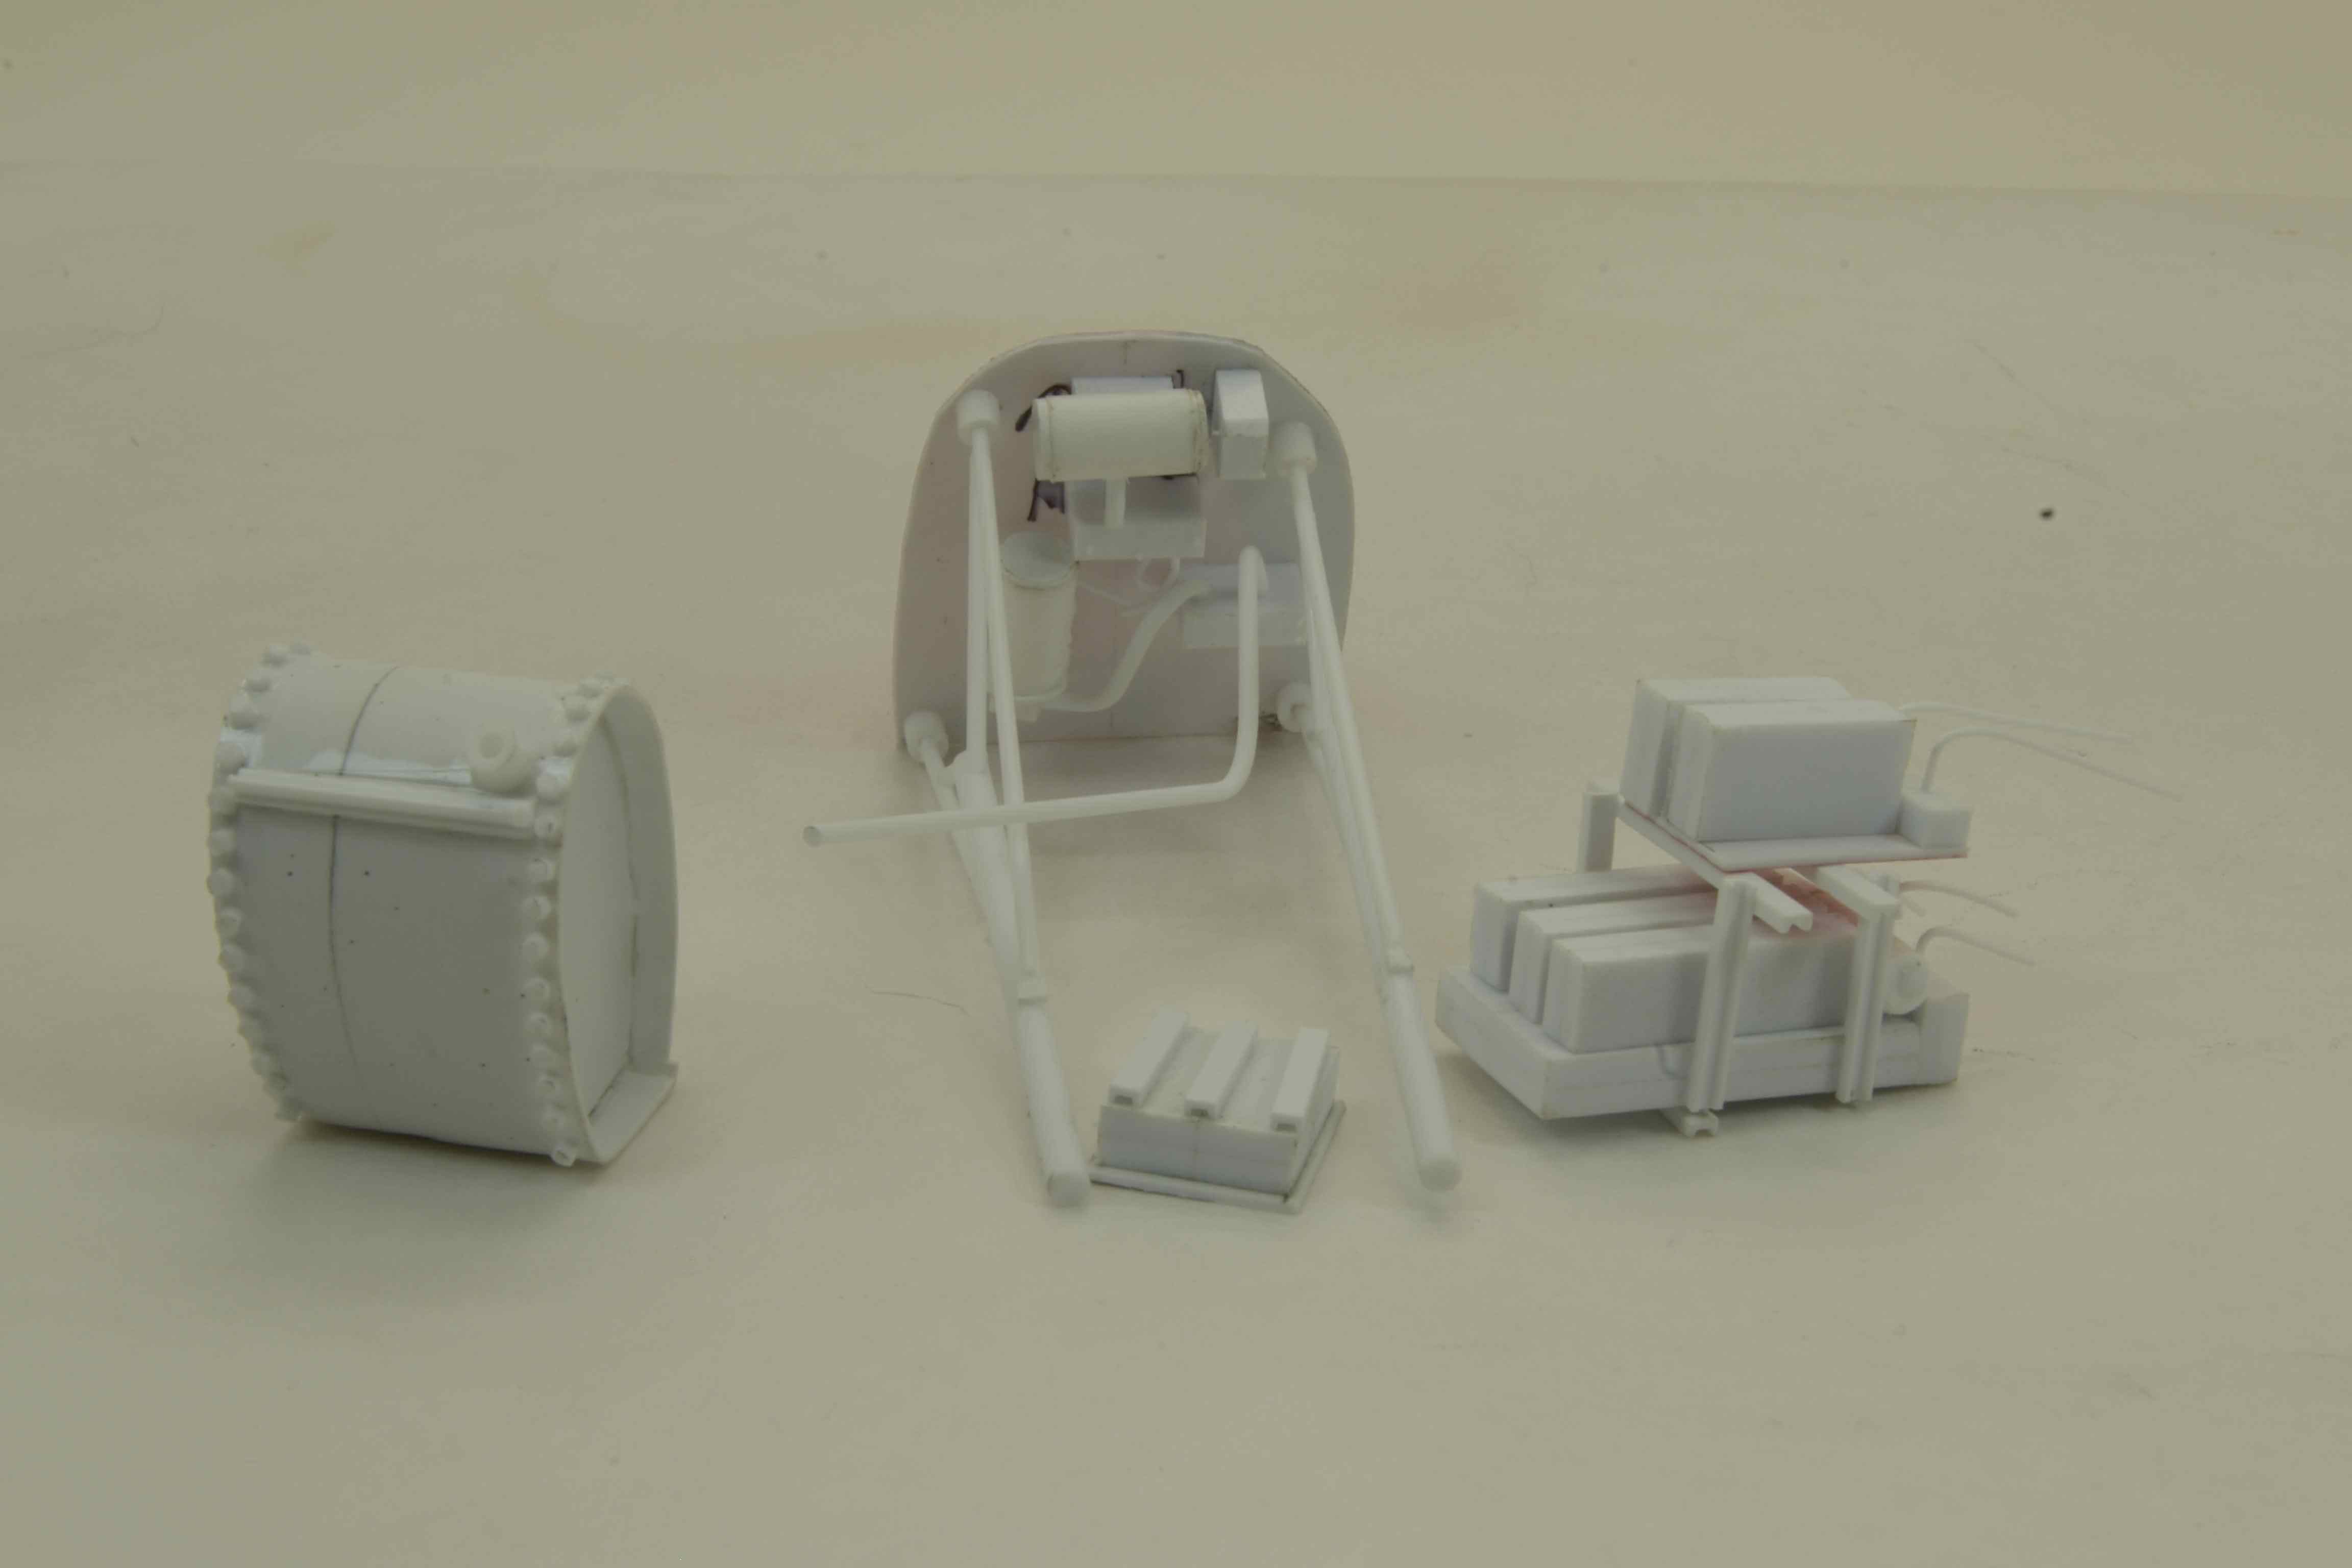
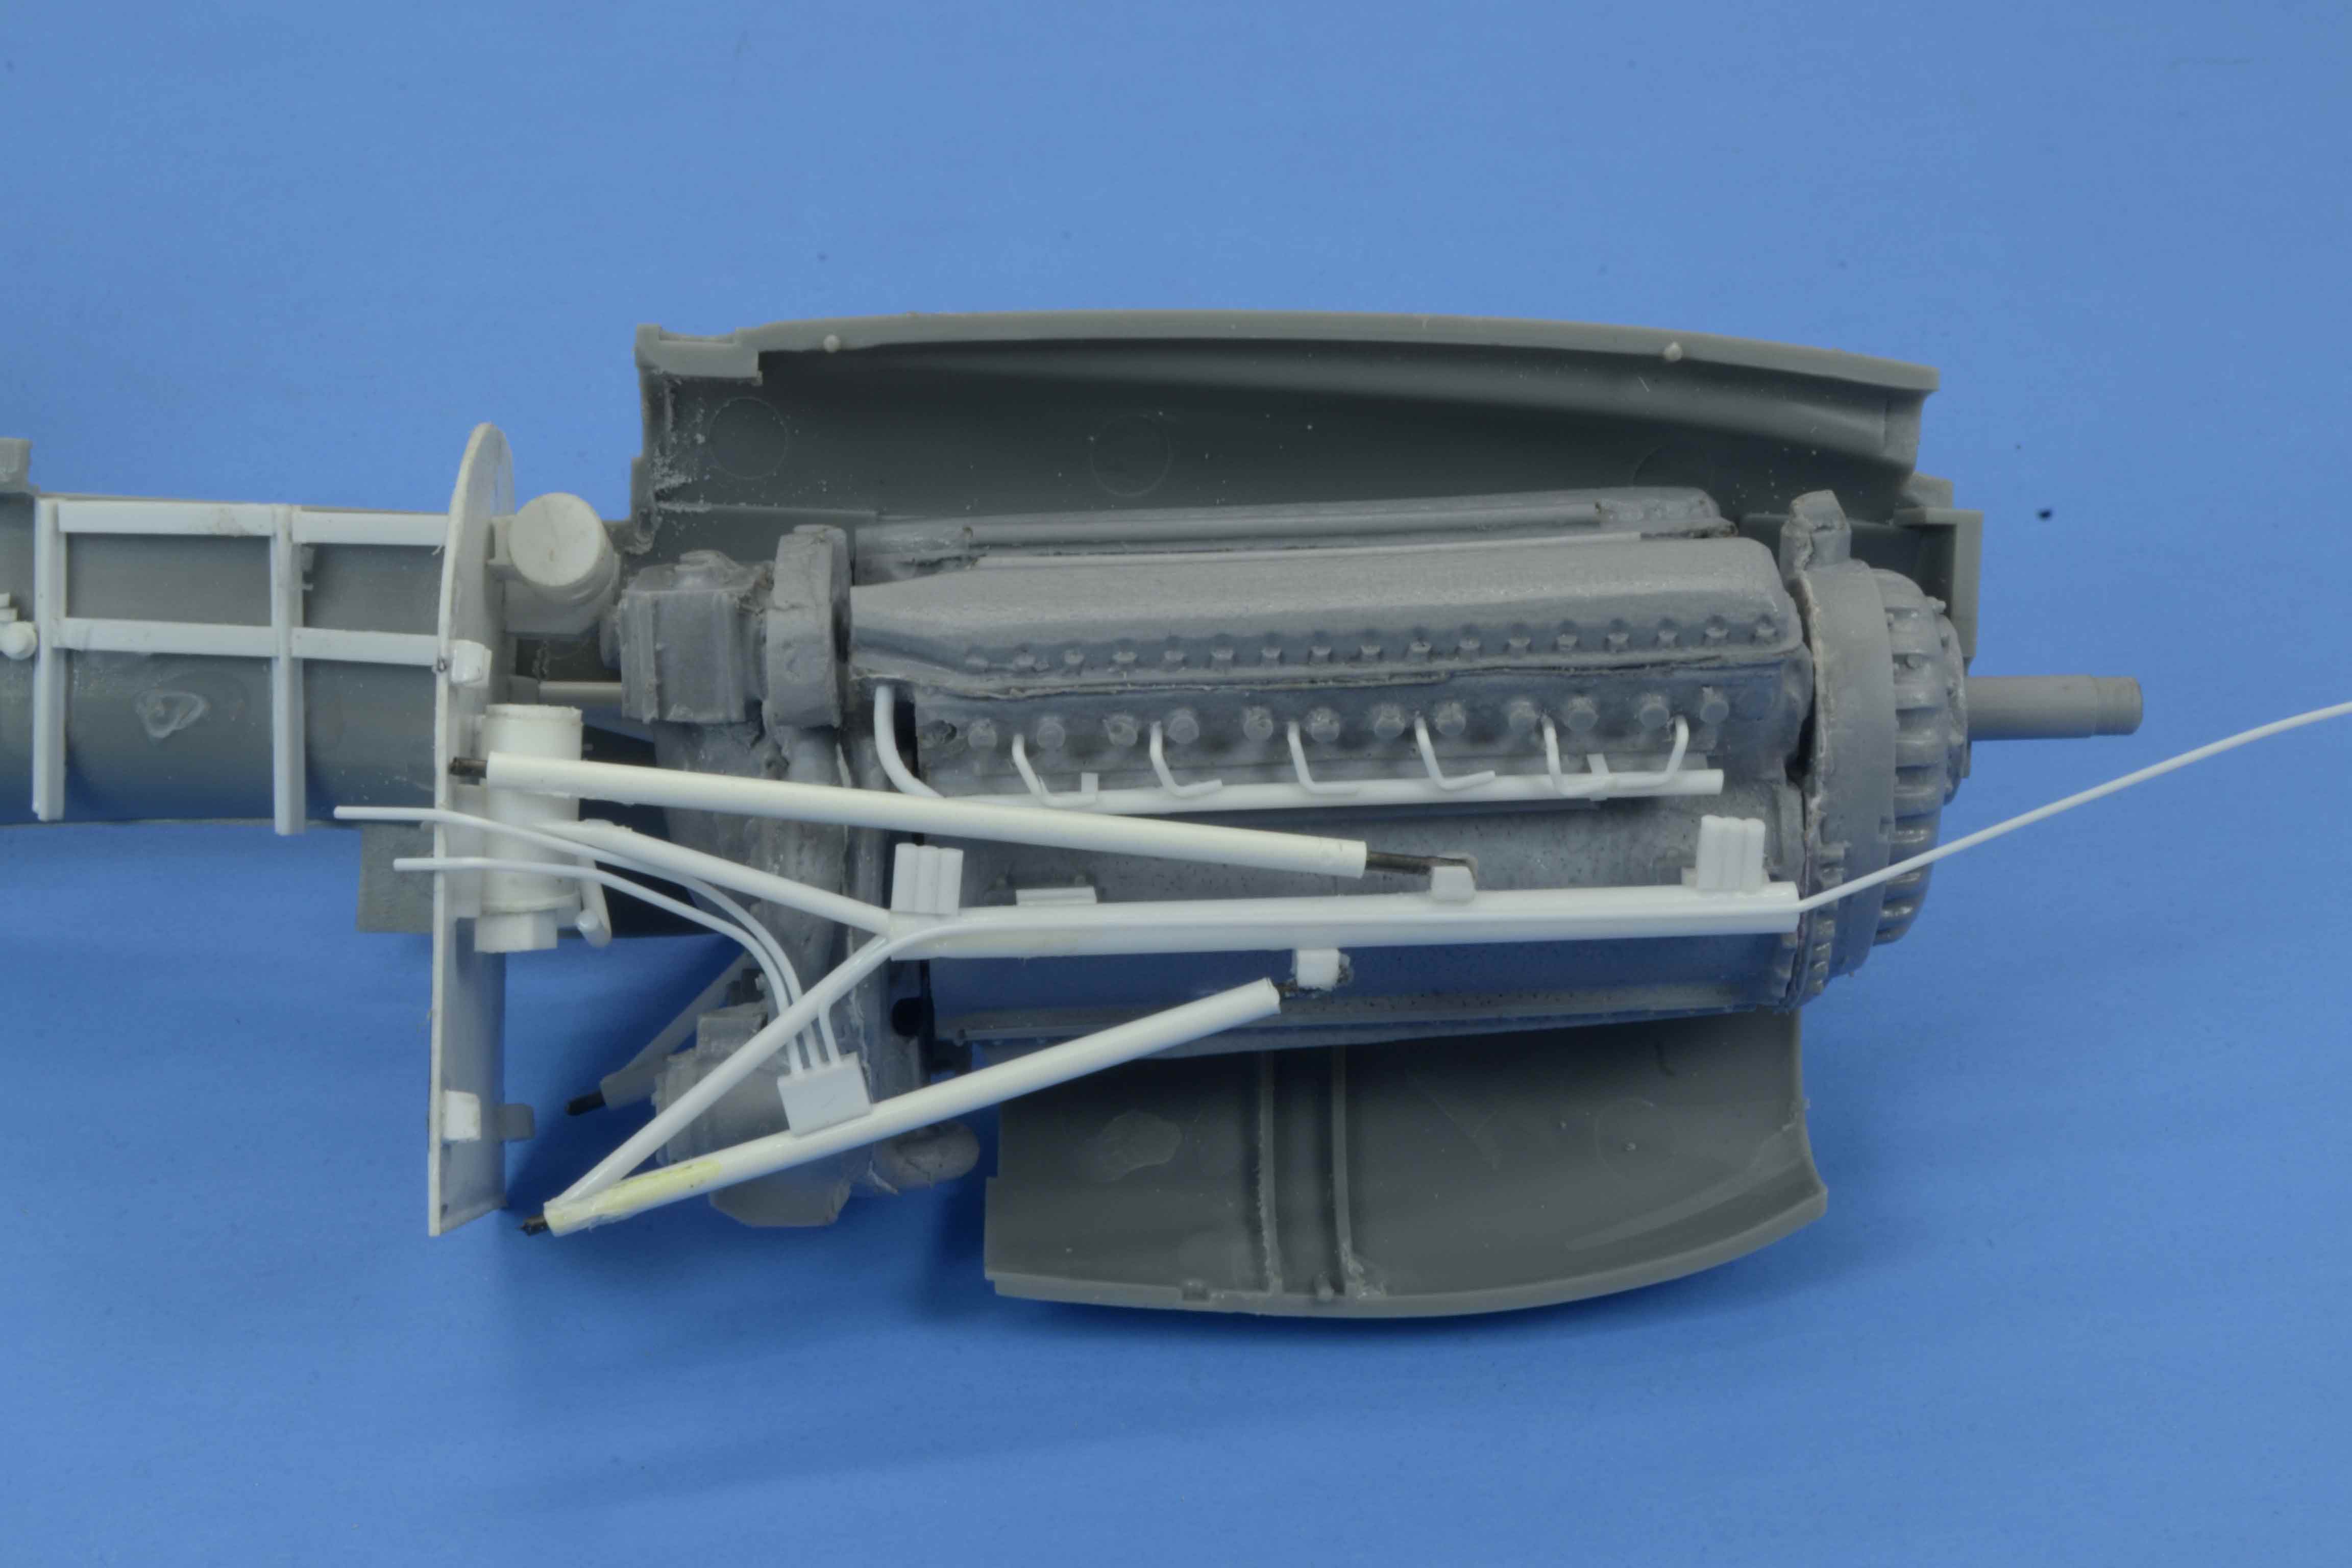
Work on the Hasegawa 1/32 P-40E continues with the mocking up of the engine, firewall, and instrument panel. This is just roughed but the radio equipment will be placed this way in the end. Much still has to be done. Wiring, plumbing, and assorted smaller parts need to be fashioned yet.

For this update however the engine received a bit of detail work.


A bit on the firewall and the rear of the instrument panel. Much more needs to happen here.


And finally the mock up.


Moving slowly towards the moment I can spray some color.


All comments, critiques, and criticism are encouraged.


Joe
ITALIANMLRS
_VISITCOMMUNITY
Treviso, Italy
Joined: June 24, 2018
KitMaker: 15 posts
AeroScale: 1 posts
Posted: Tuesday, October 09, 2018 - 07:09 PM UTC
It's Amazing!!!!!
SteveAndrews
_VISITCOMMUNITY
England - South East, United Kingdom
Joined: August 16, 2010
KitMaker: 693 posts
AeroScale: 551 posts
Posted: Wednesday, October 10, 2018 - 01:34 AM UTC
Hey Joe

That is a work of art. Brave and well executed scratch building which is a joy to see. I can't wait to see the paint go on.

Happy modelling,

Steve
fightnjoe
_VISITCOMMUNITY
Washington, United States
Joined: August 16, 2004
KitMaker: 603 posts
AeroScale: 565 posts
Posted: Thursday, October 11, 2018 - 09:50 AM UTC
Thank you both.


Joe
fightnjoe
_VISITCOMMUNITY
Washington, United States
Joined: August 16, 2004
KitMaker: 603 posts
AeroScale: 565 posts
Posted: Sunday, November 11, 2018 - 05:03 PM UTC
Well folks time for another update.

This time with a little color.

Now before I get into that let me set the background a bit. Trying to avoid the overspray into the sections that have been cut open I plan to get the exterior of at least the cut side painted. I also need to do this prior to installing some of the bits and pieces.

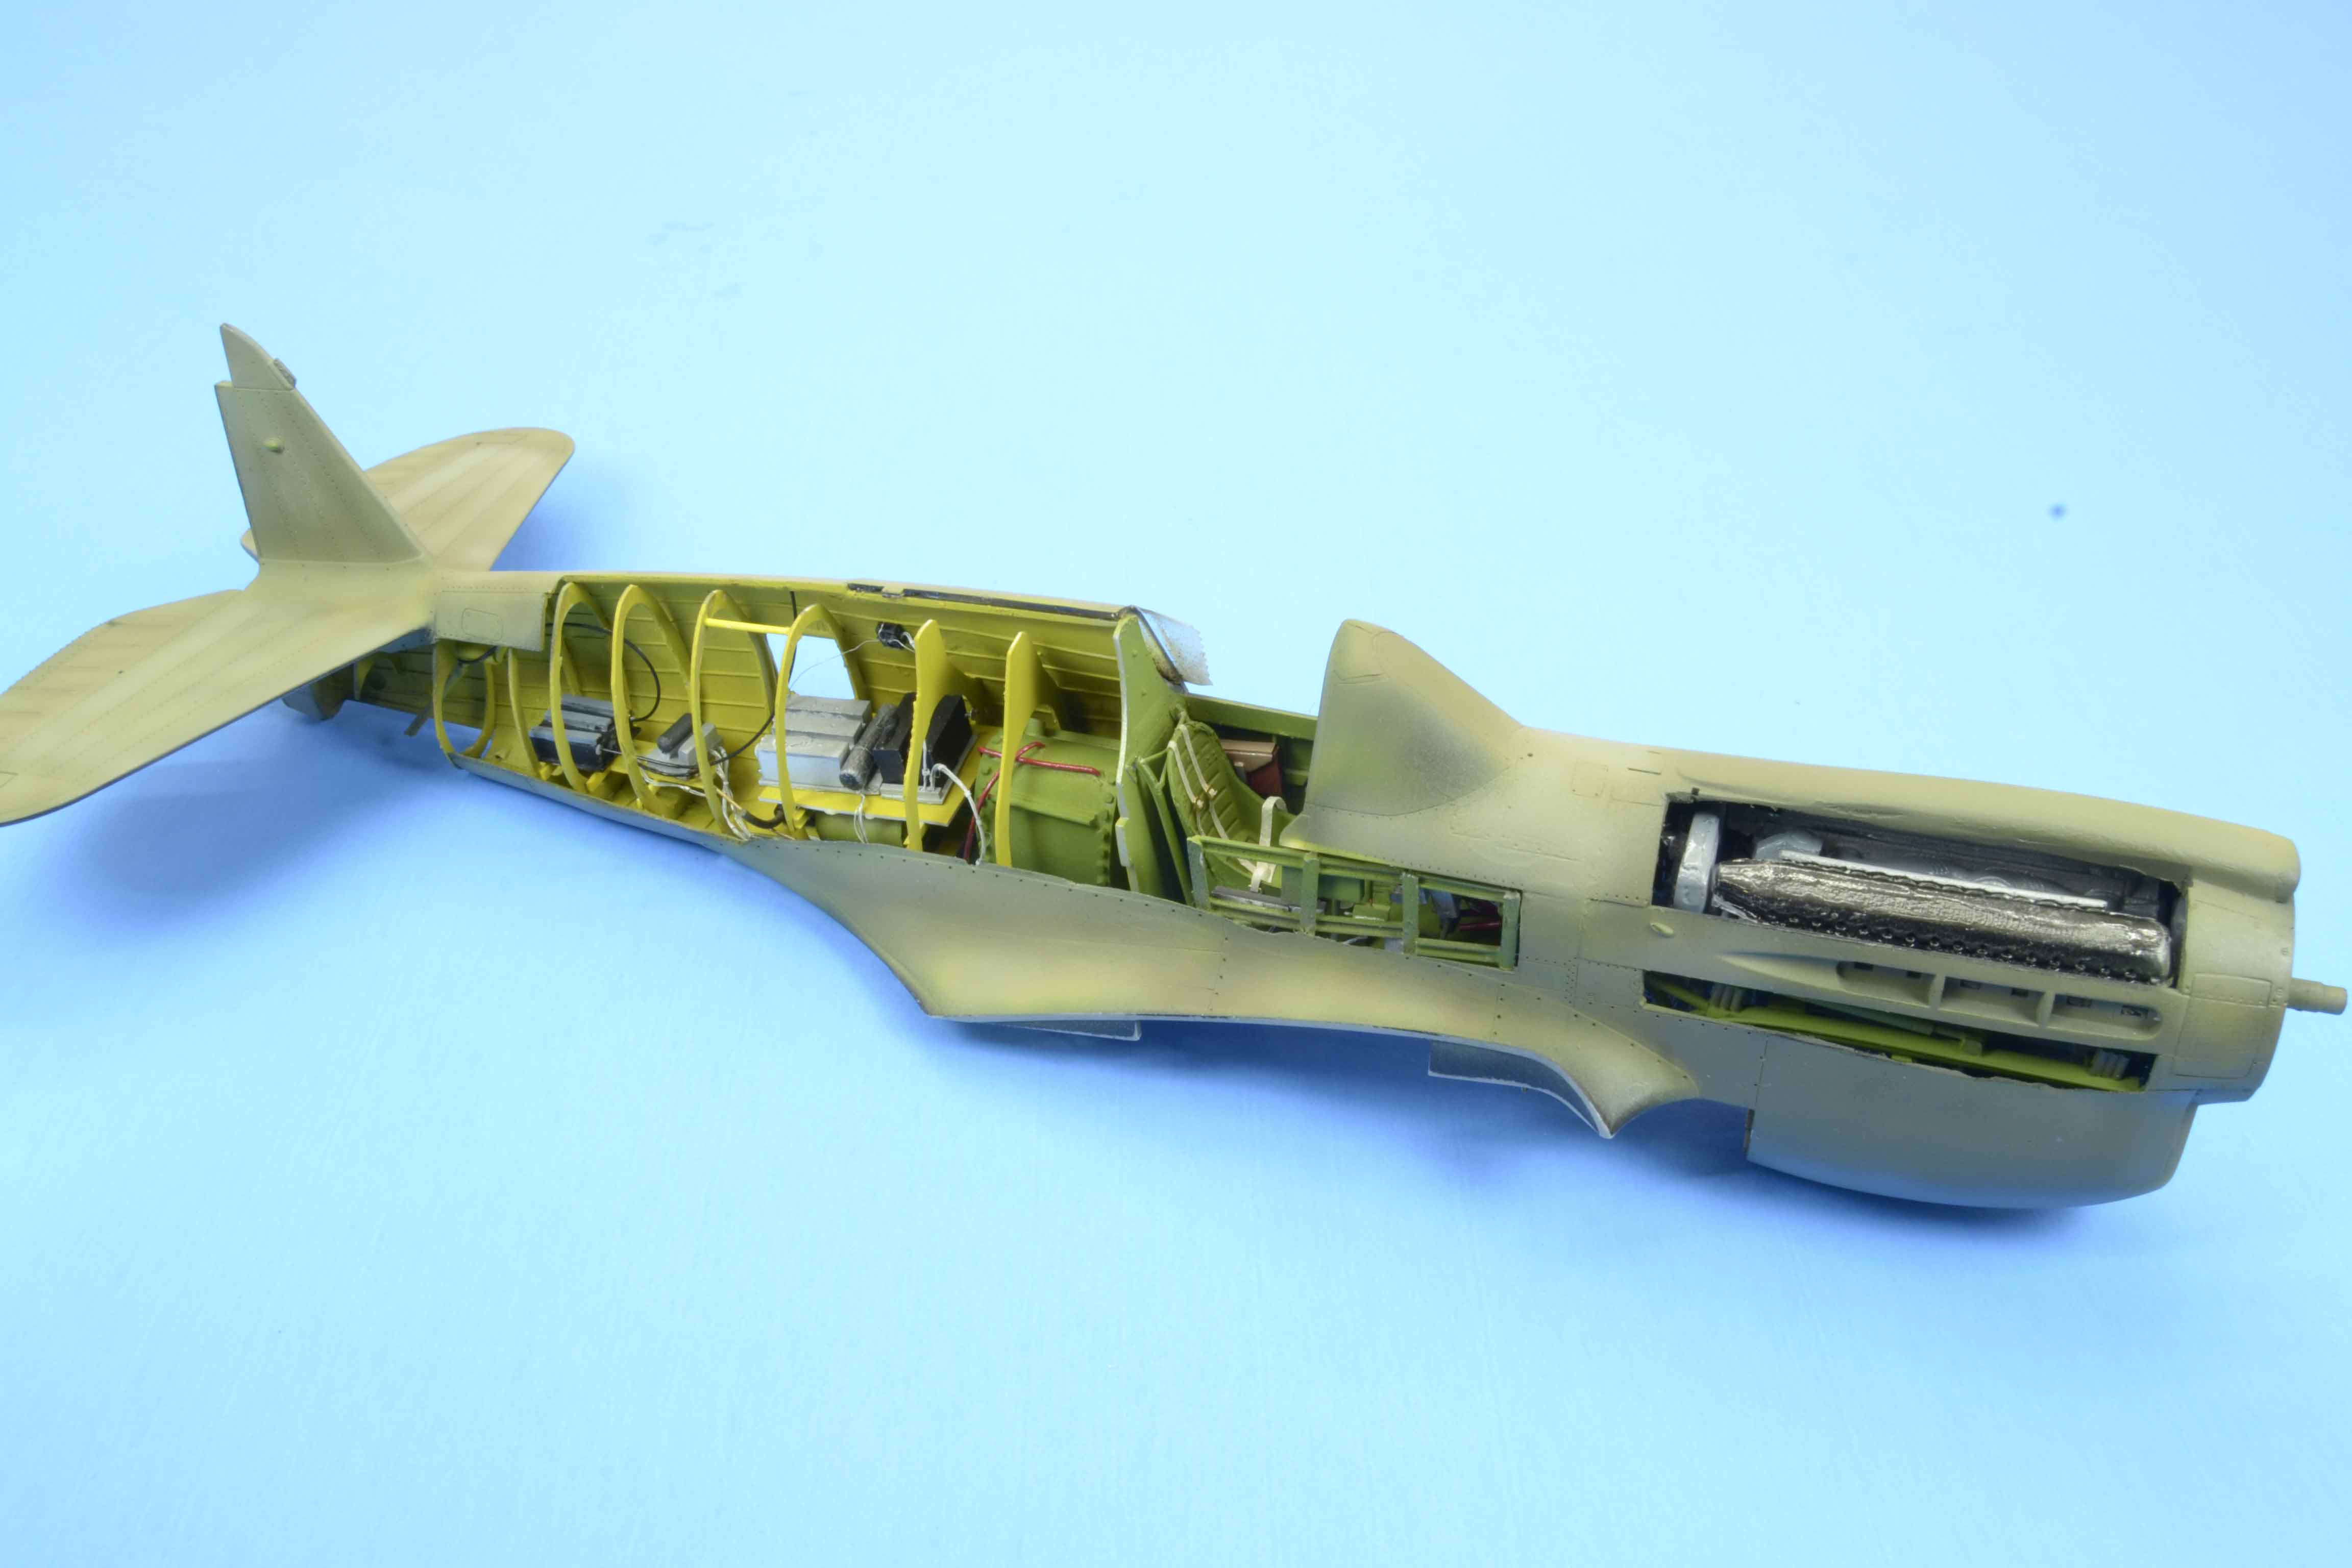
So with that in mind here we go. The over all interior had been painted with Stynlrez Metal primer. Once dry Model Master Acrylic Zinc Chromate has been sprayed into the area to the rear of the cockpit. Model Master Interior Green is sprayed into the cockpit area and the engine area is left with the Metal primer. In the photos you will notice I did begin placing some of the easier detail parts.

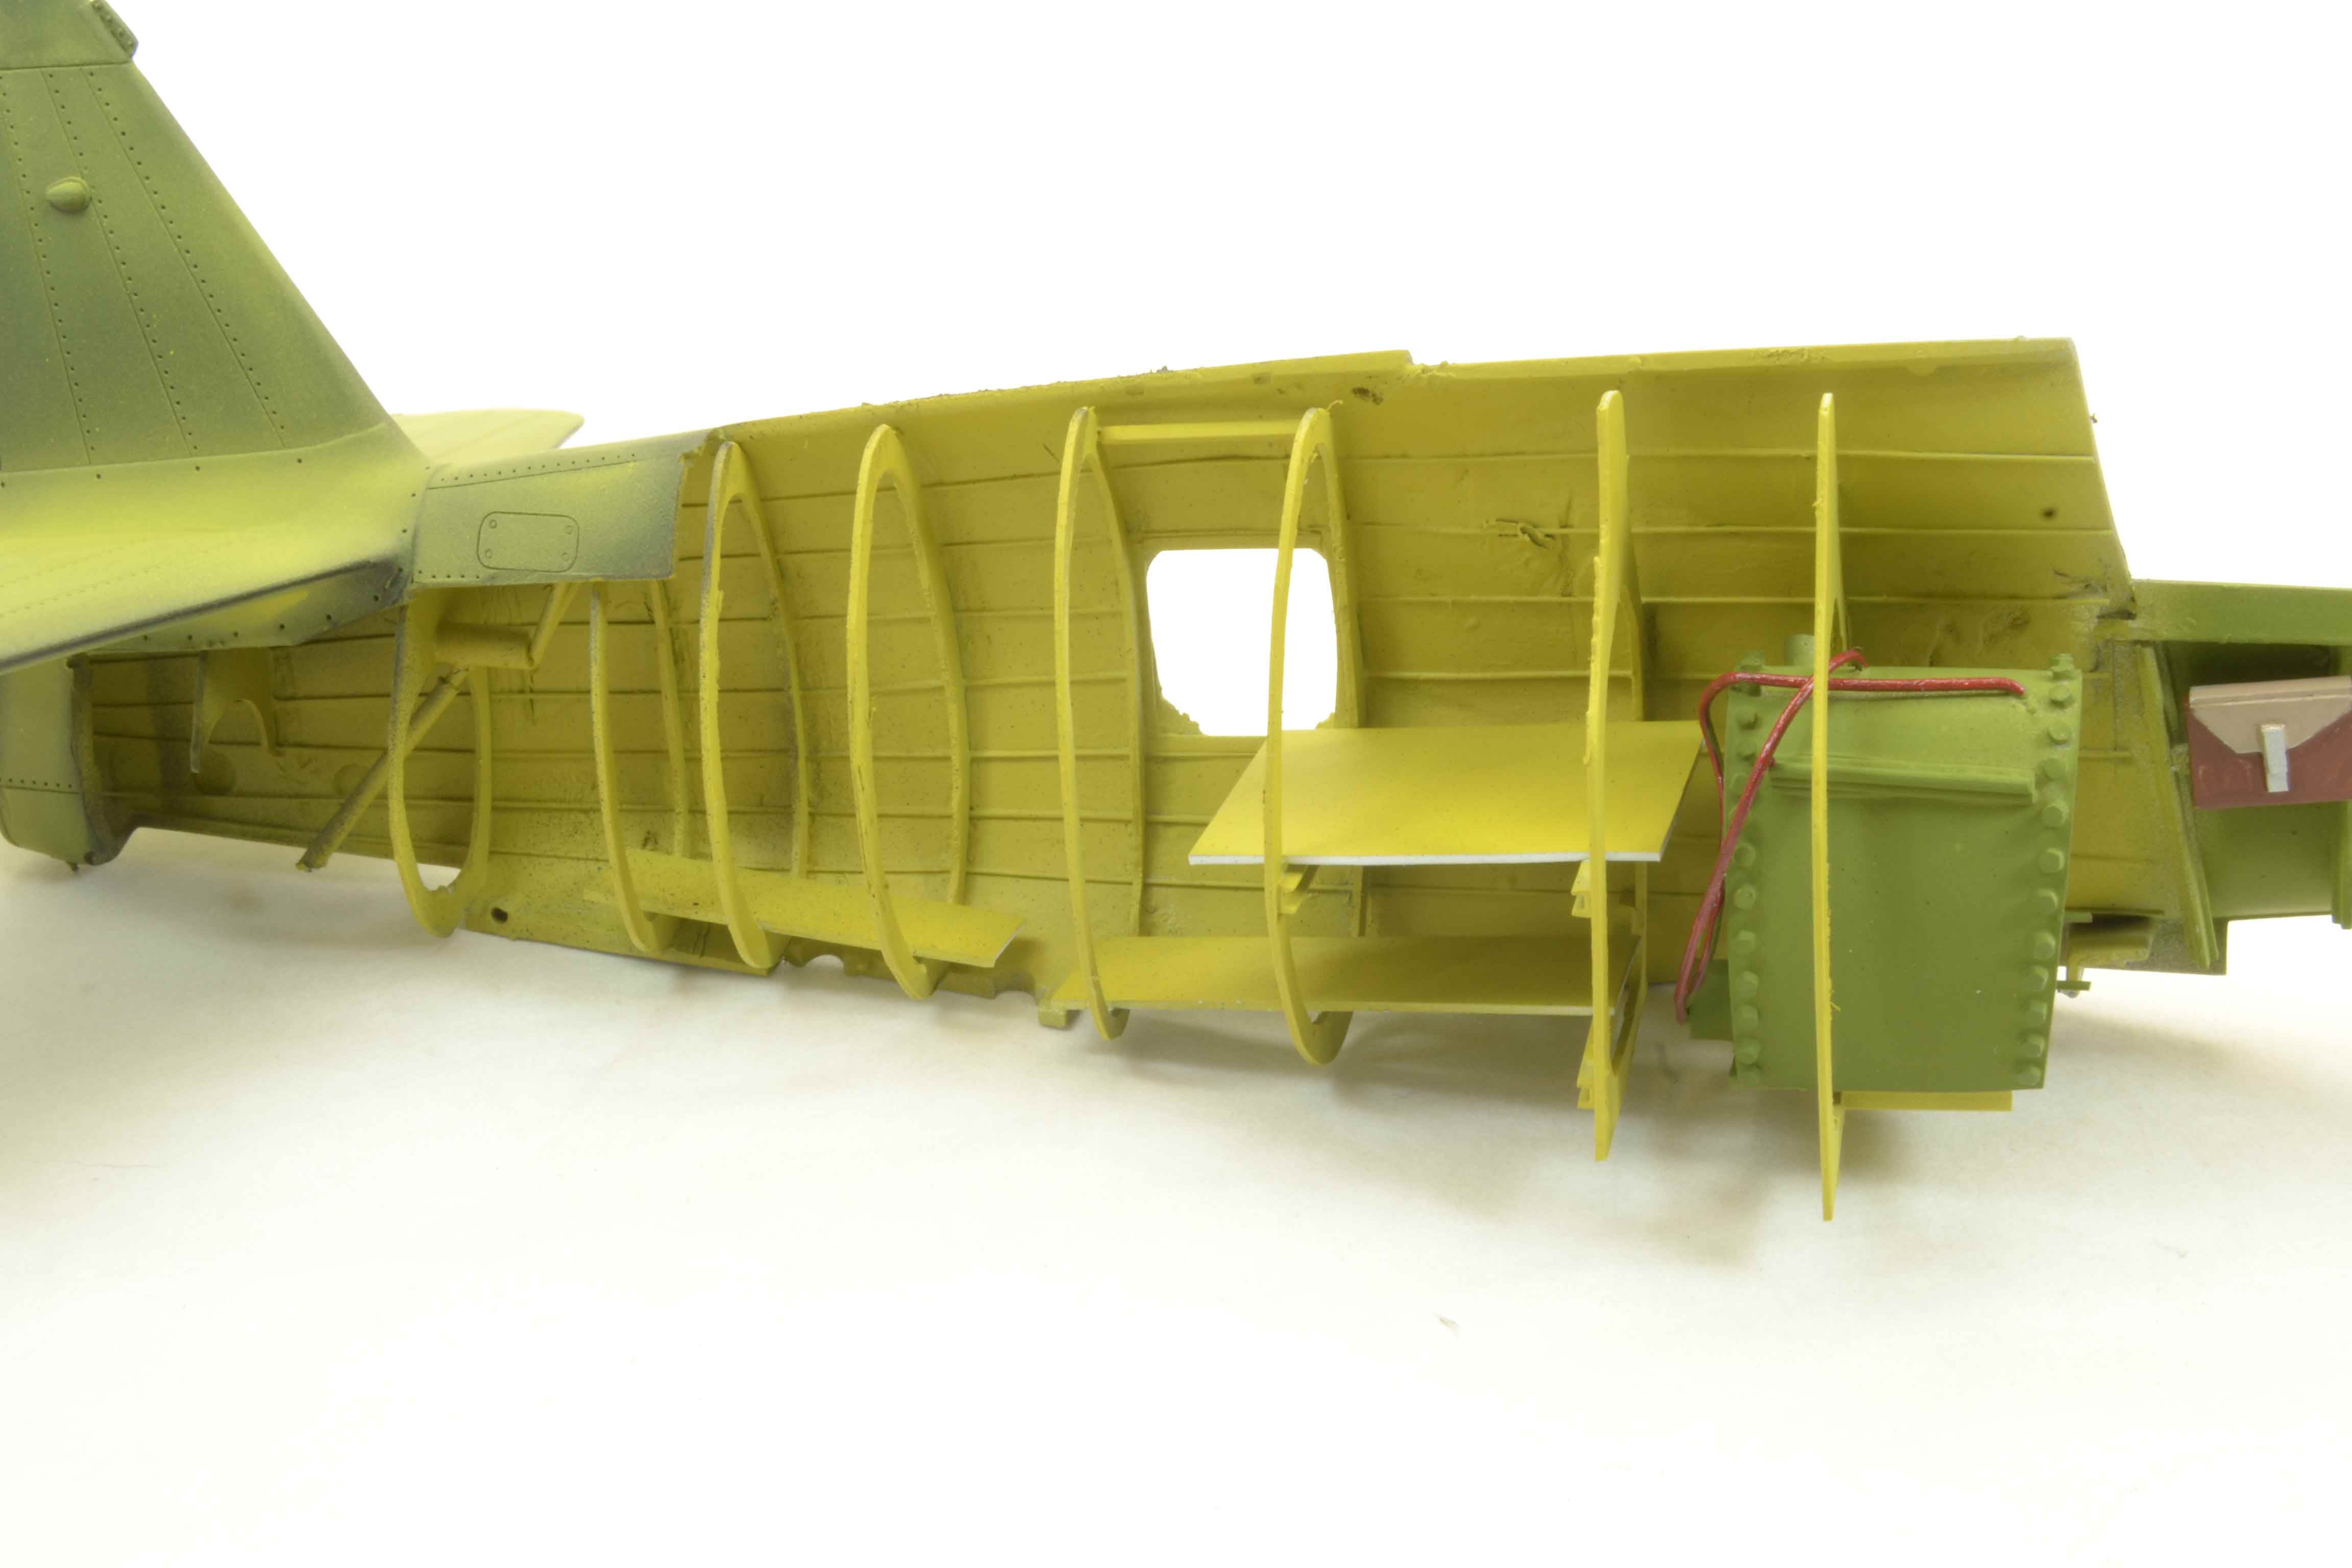


Next up is the exterior. First was a coat of Stynlrez Black Primer. Over this using the Badger Extreme 105 I spray the same Zinc Chromate. Now at this point let me tell you that I truly hate Model Master Acrylics. I have had zero luck getting them to spray decent. This time was no different.
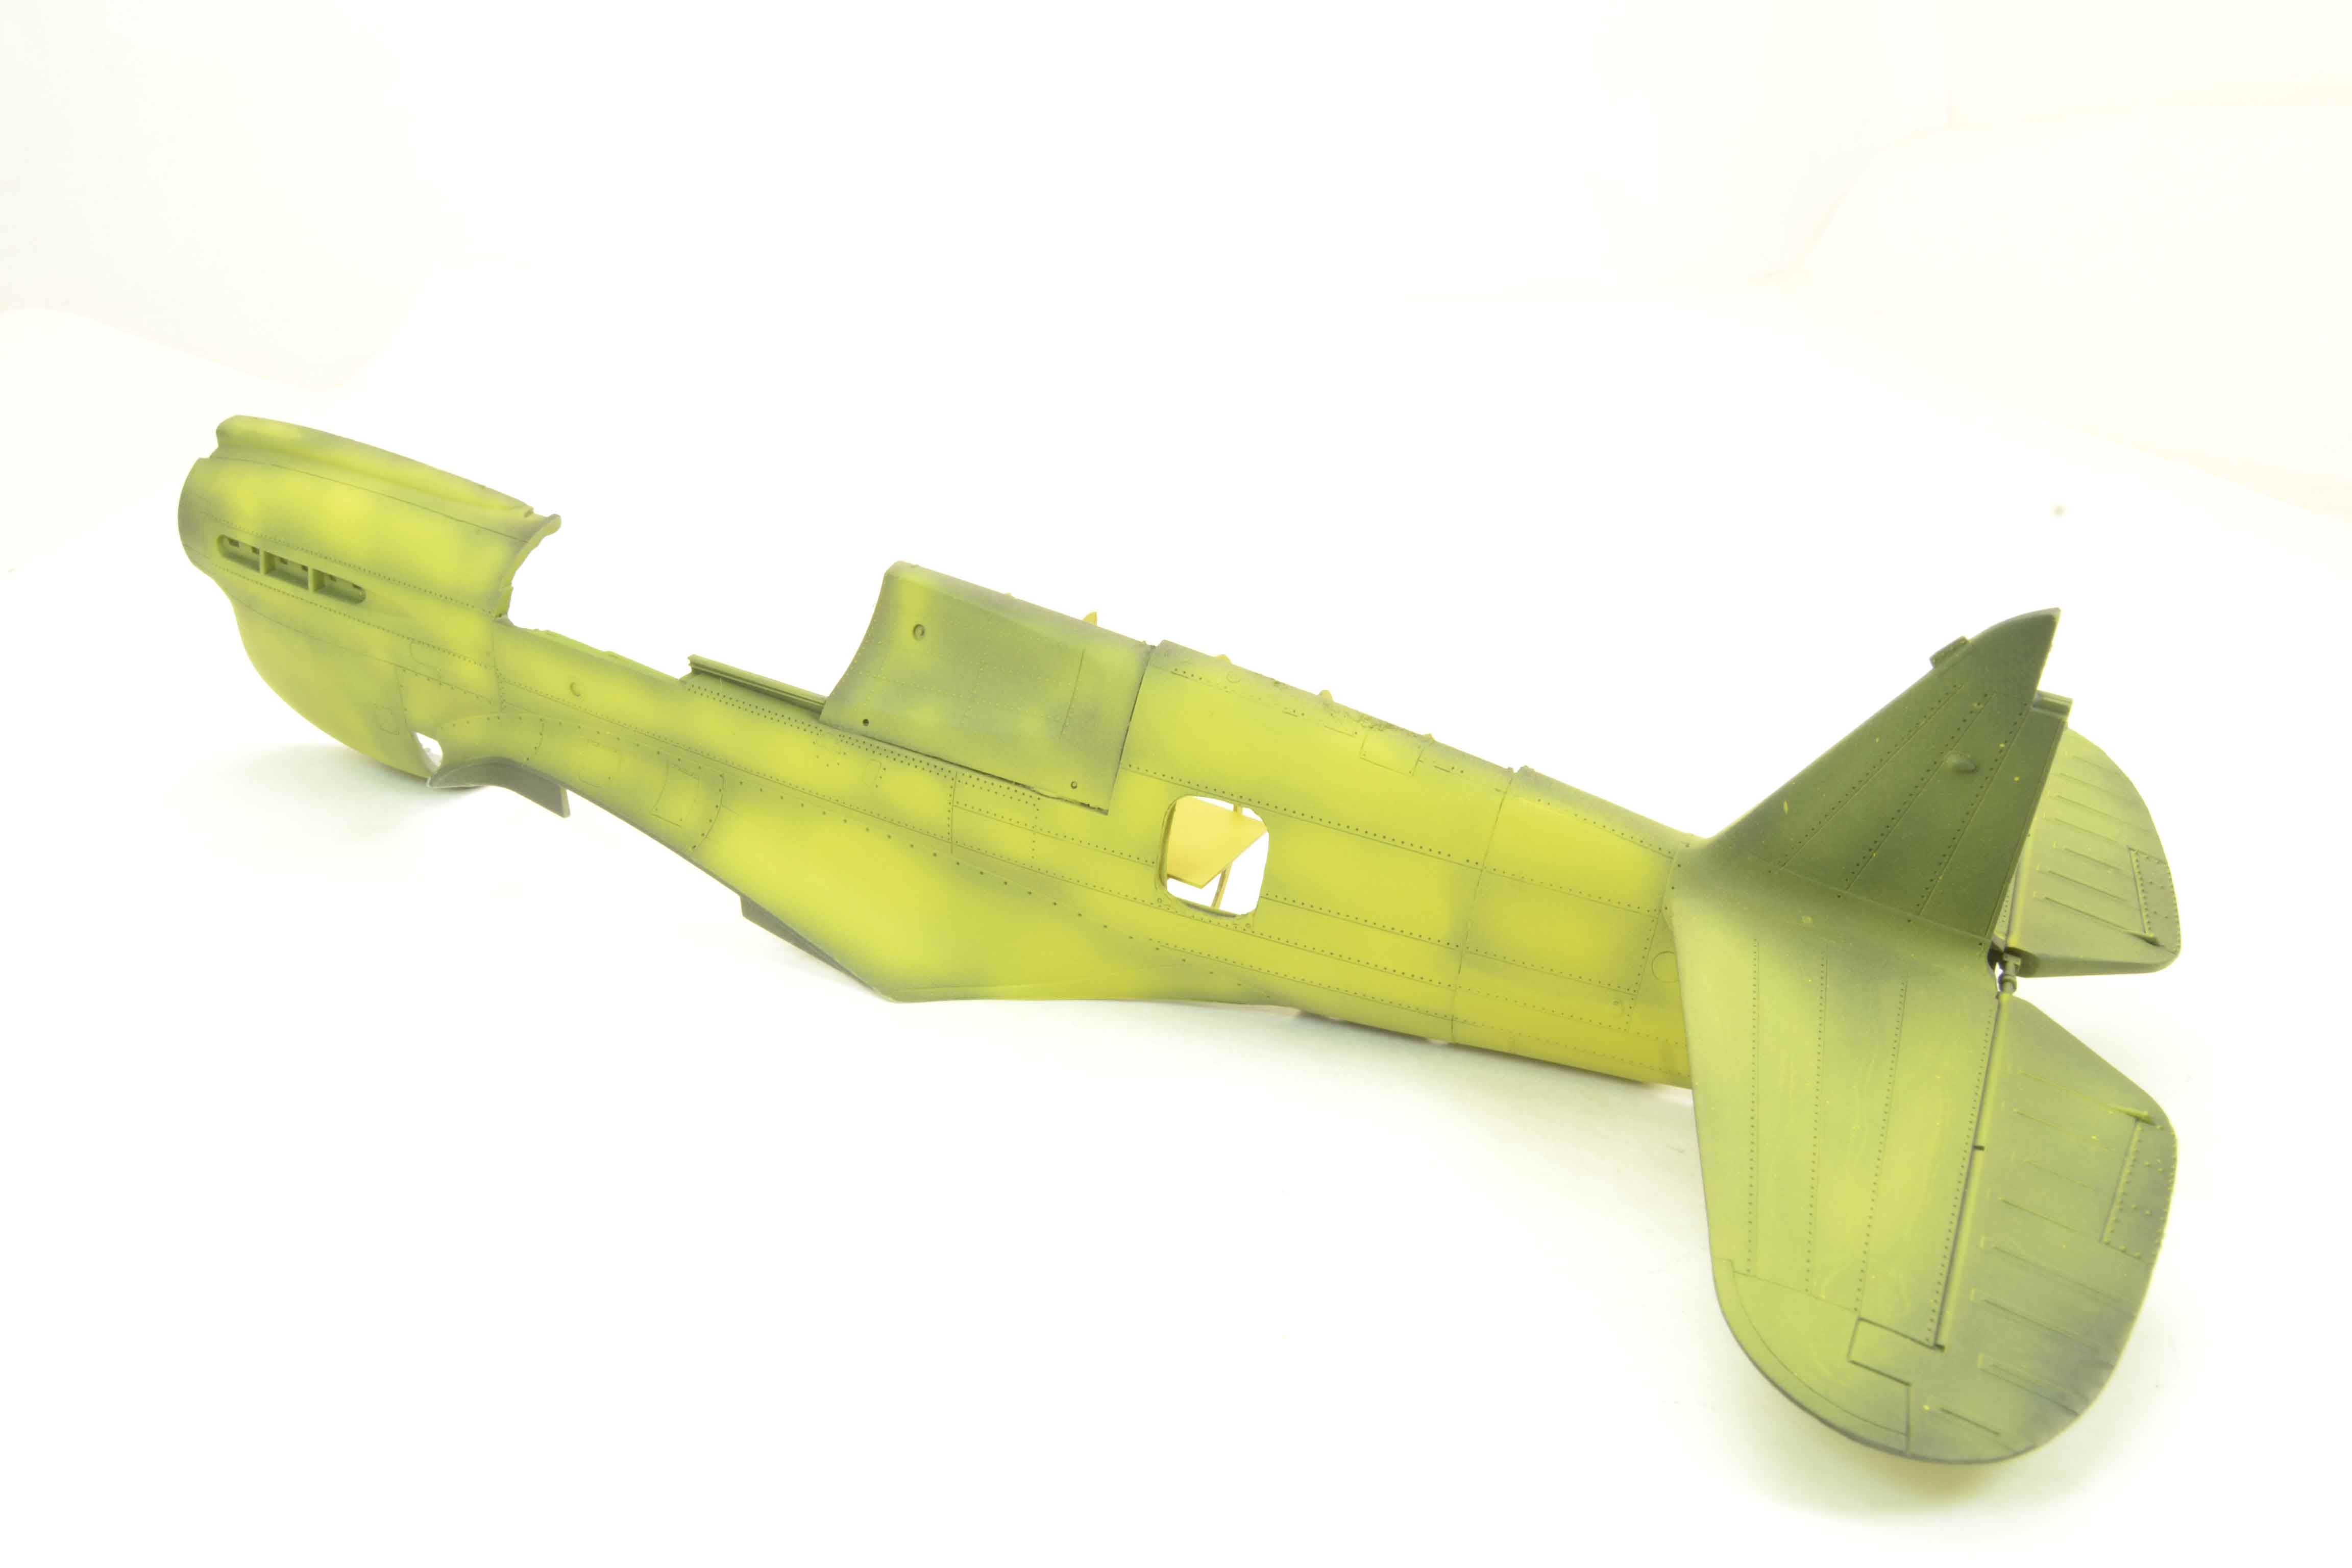
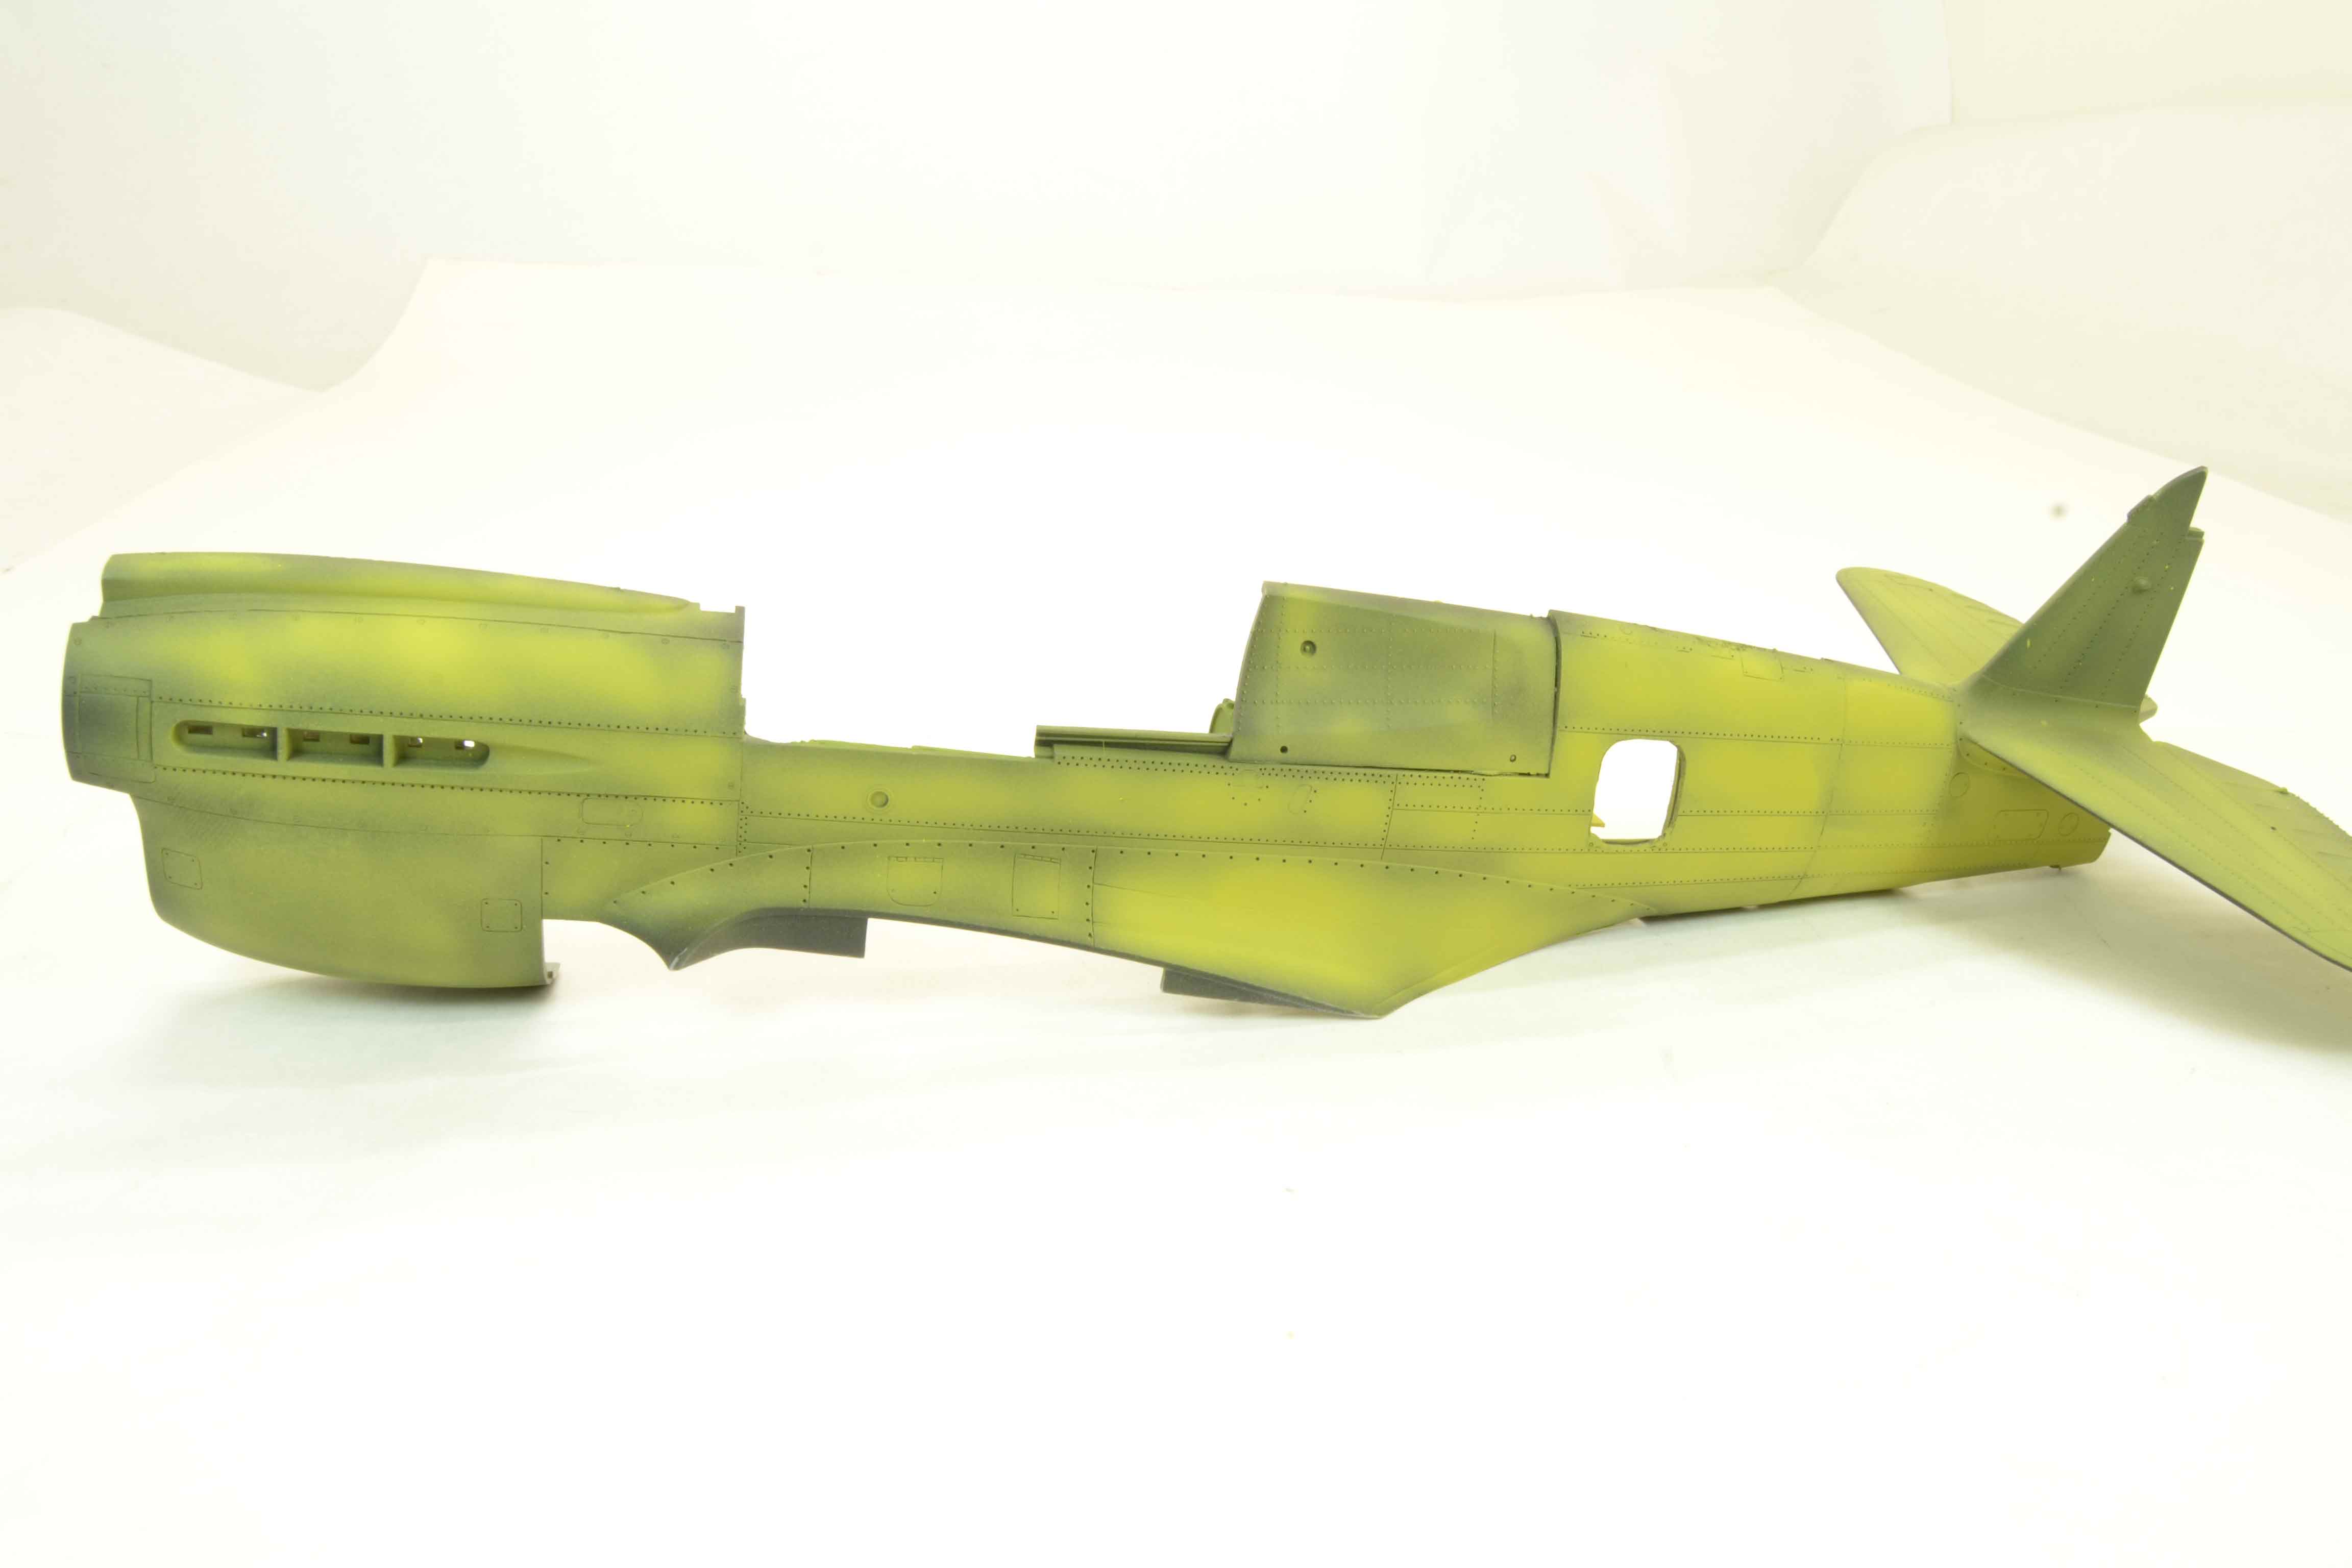


I am hoping that by doing this layer and then spraying light coats of the top colors I can give the aircraft a faded look with just a hint of the primer coat underneath.

Now as a bonus for this post I can also show the painted engine.
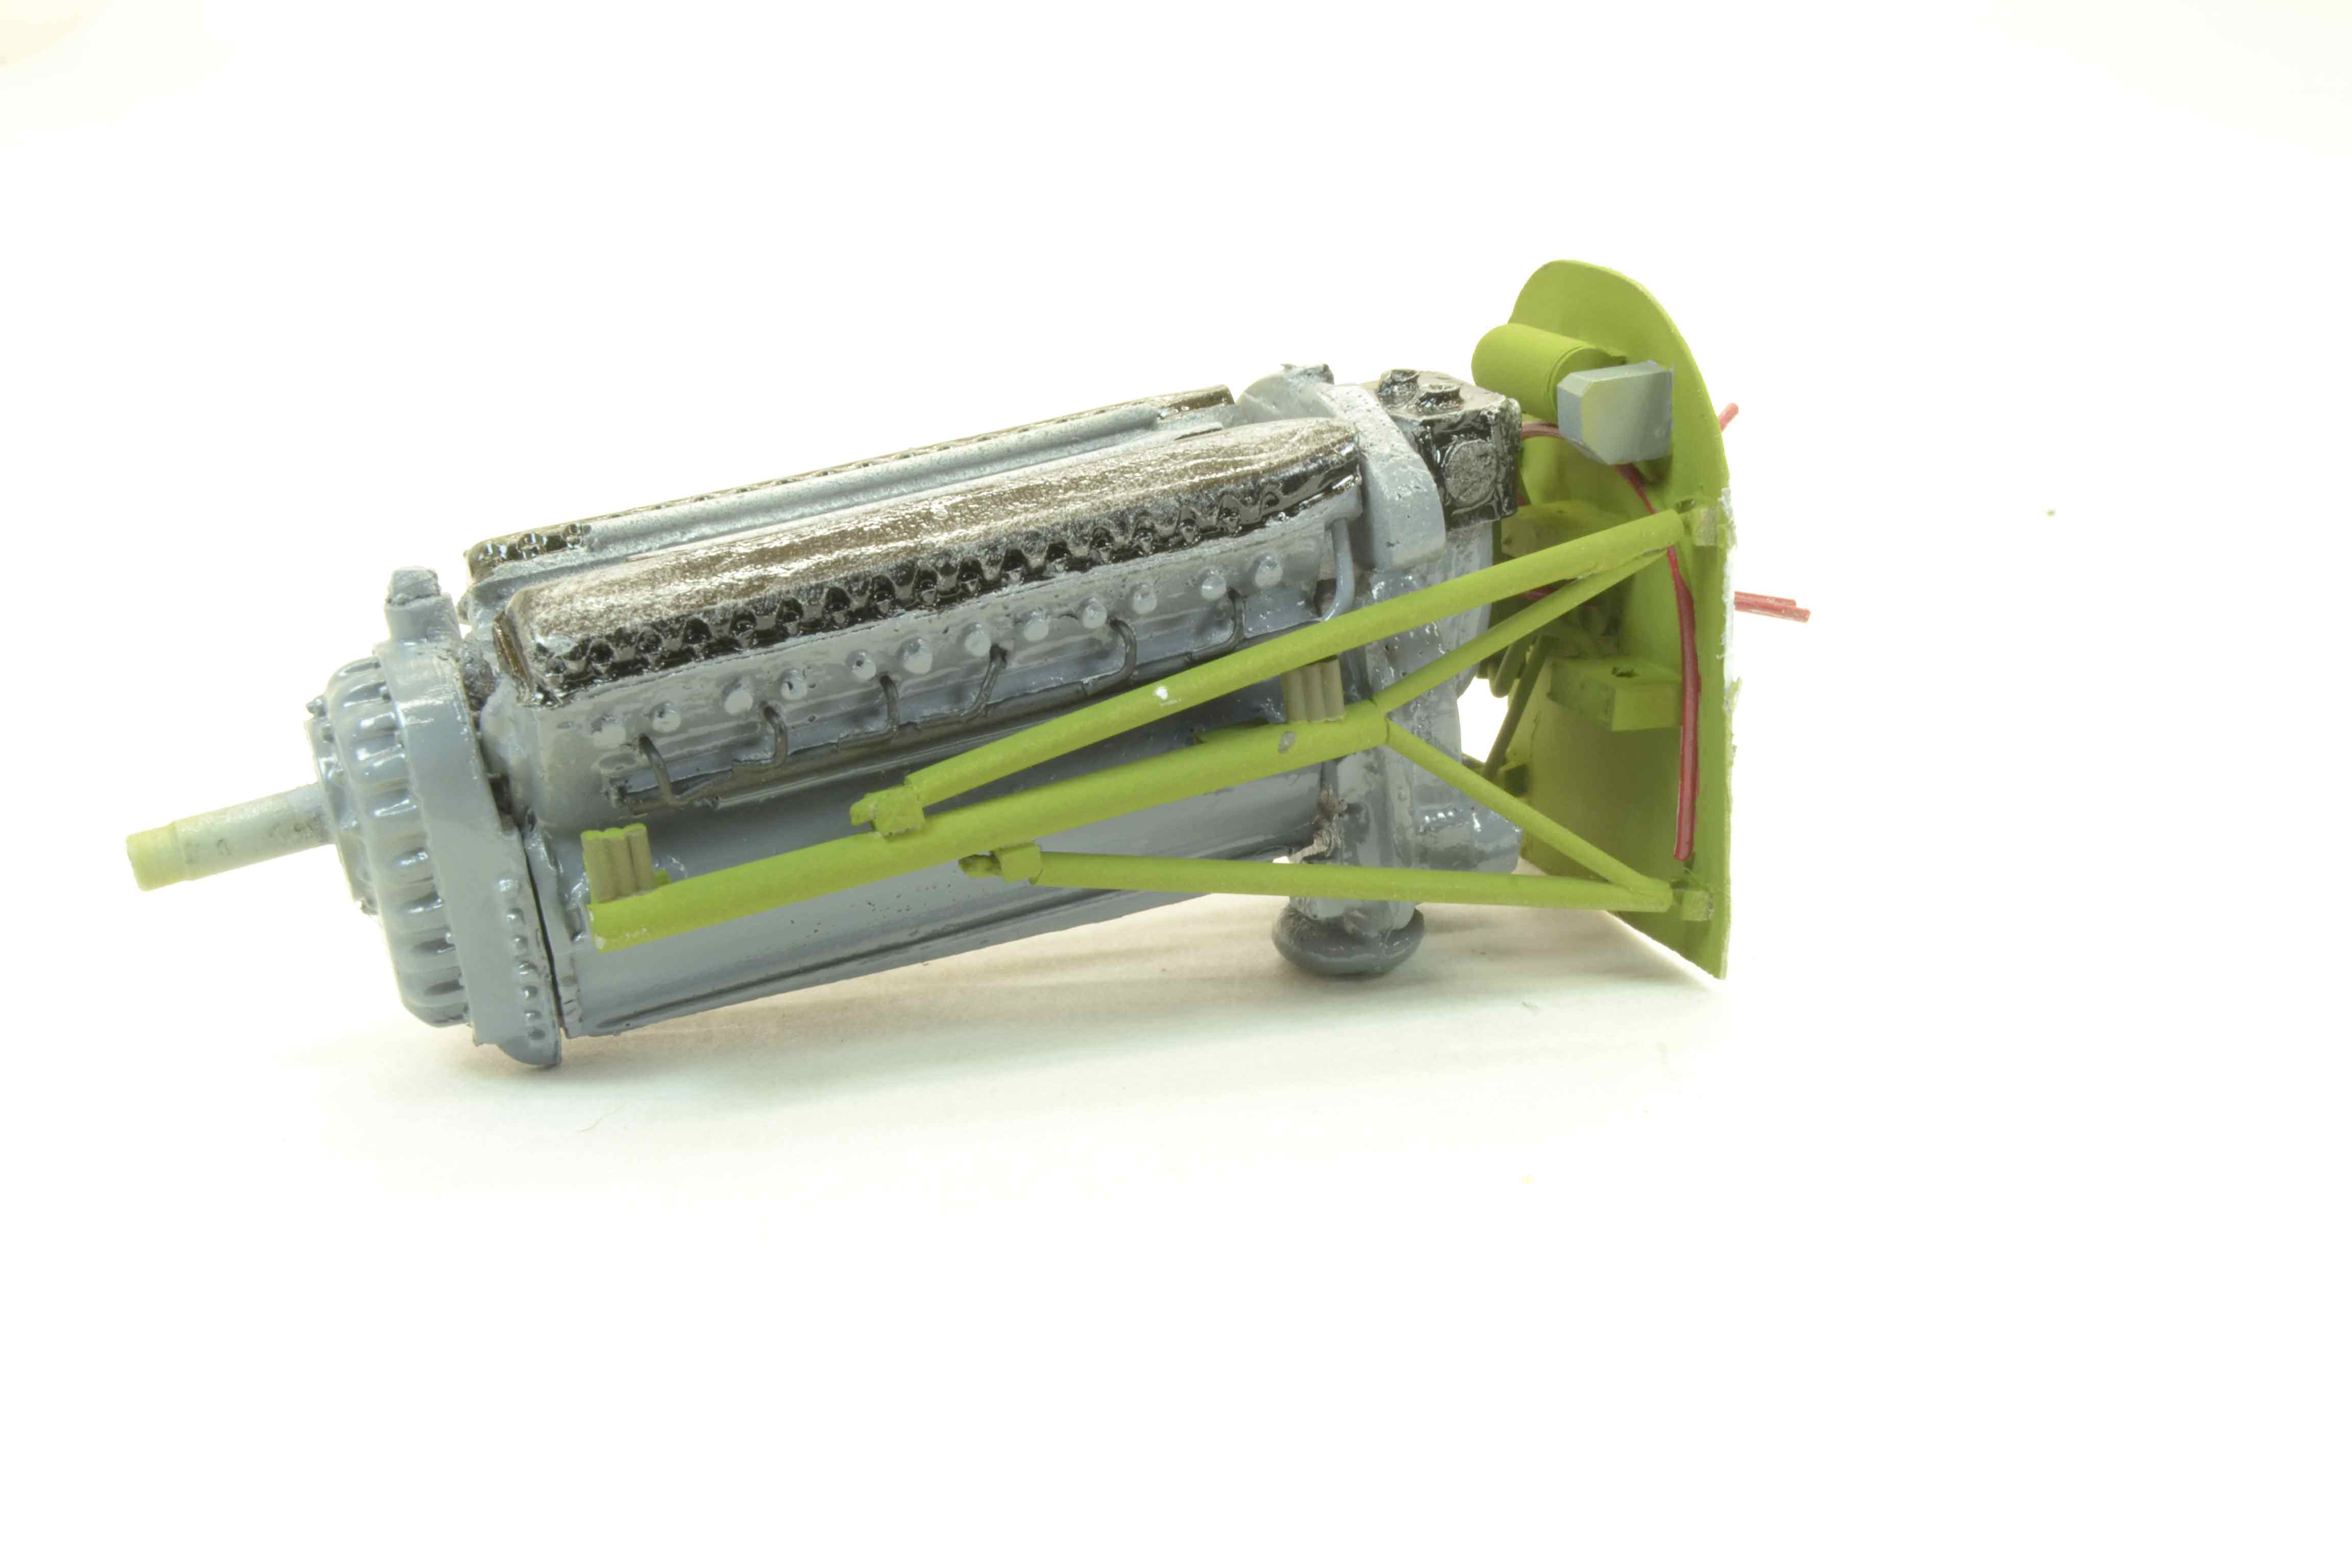


So with this being to this point now I can concentrate on the exterior and get that out of the way. I believe I will get it all painted as then I will not have to try to get the same mixtures.

As always all comments, critiques, and criticism are encouraged.


Joe
fightnjoe
_VISITCOMMUNITY
Washington, United States
Joined: August 16, 2004
KitMaker: 603 posts
AeroScale: 565 posts
Posted: Saturday, November 17, 2018 - 10:24 AM UTC
Well folks it has been an interesting week but moving forward.

Here is an update on the Hasegawa 1/32 P-40E.

This week is all about the radio and the interior. To prep for that I needed to get some initial paint on the cut side and then while I had the airbrush out I sprayed some on the uncut side.


After that dried for a couple of days on to the radio.


Next up is to continue the interior with more work in the cockpit. As for the radio equipment I am pleased with how it looks.


All comments, critiques, and criticism are encouraged.


Joe
redcap
_VISITCOMMUNITY
England - East Midlands, United Kingdom
Joined: November 06, 2005
KitMaker: 753 posts
AeroScale: 311 posts
Posted: Saturday, November 17, 2018 - 12:45 PM UTC
Masterful work !

Gary
Scrodes
_VISITCOMMUNITY
Ontario, Canada
Joined: July 22, 2012
KitMaker: 771 posts
AeroScale: 763 posts
Posted: Saturday, November 17, 2018 - 01:35 PM UTC
Agreed on the MM Acrylics - certified TERRIBLE.

I really like their enamels though.

They cover so well and thin perfectly with their own thinner.
fightnjoe
_VISITCOMMUNITY
Washington, United States
Joined: August 16, 2004
KitMaker: 603 posts
AeroScale: 565 posts
Posted: Monday, November 19, 2018 - 05:26 AM UTC
Many thanks.

Matt the Enamels are what I grew up with. I learned how to thin, brush, and then airbrush with them. These Acrylics seem to defy even the most basic lessons I learned on all three.


Joe
goodn8
_VISITCOMMUNITY
Berlin, Germany
Joined: October 12, 2008
KitMaker: 709 posts
AeroScale: 651 posts
Posted: Tuesday, November 20, 2018 - 01:58 AM UTC

Awesome work, additional detailing and paint job!
Great to watch, keep it on

Th mas
ColinEdm
Staff MemberAssociate Editor
ARMORAMA
_VISITCOMMUNITY
Alberta, Canada
Joined: October 15, 2013
KitMaker: 1,355 posts
AeroScale: 107 posts
Posted: Tuesday, November 20, 2018 - 02:06 AM UTC
Wow, anazing work on the interior, very impressive! Very niceceork on th e painting as well.
fightnjoe
_VISITCOMMUNITY
Washington, United States
Joined: August 16, 2004
KitMaker: 603 posts
AeroScale: 565 posts
Posted: Saturday, December 15, 2018 - 11:26 AM UTC
First my apologies for such a late reply.


Thank you both you are very kind.


Joe
fightnjoe
_VISITCOMMUNITY
Washington, United States
Joined: August 16, 2004
KitMaker: 603 posts
AeroScale: 565 posts
Posted: Saturday, December 15, 2018 - 11:26 AM UTC
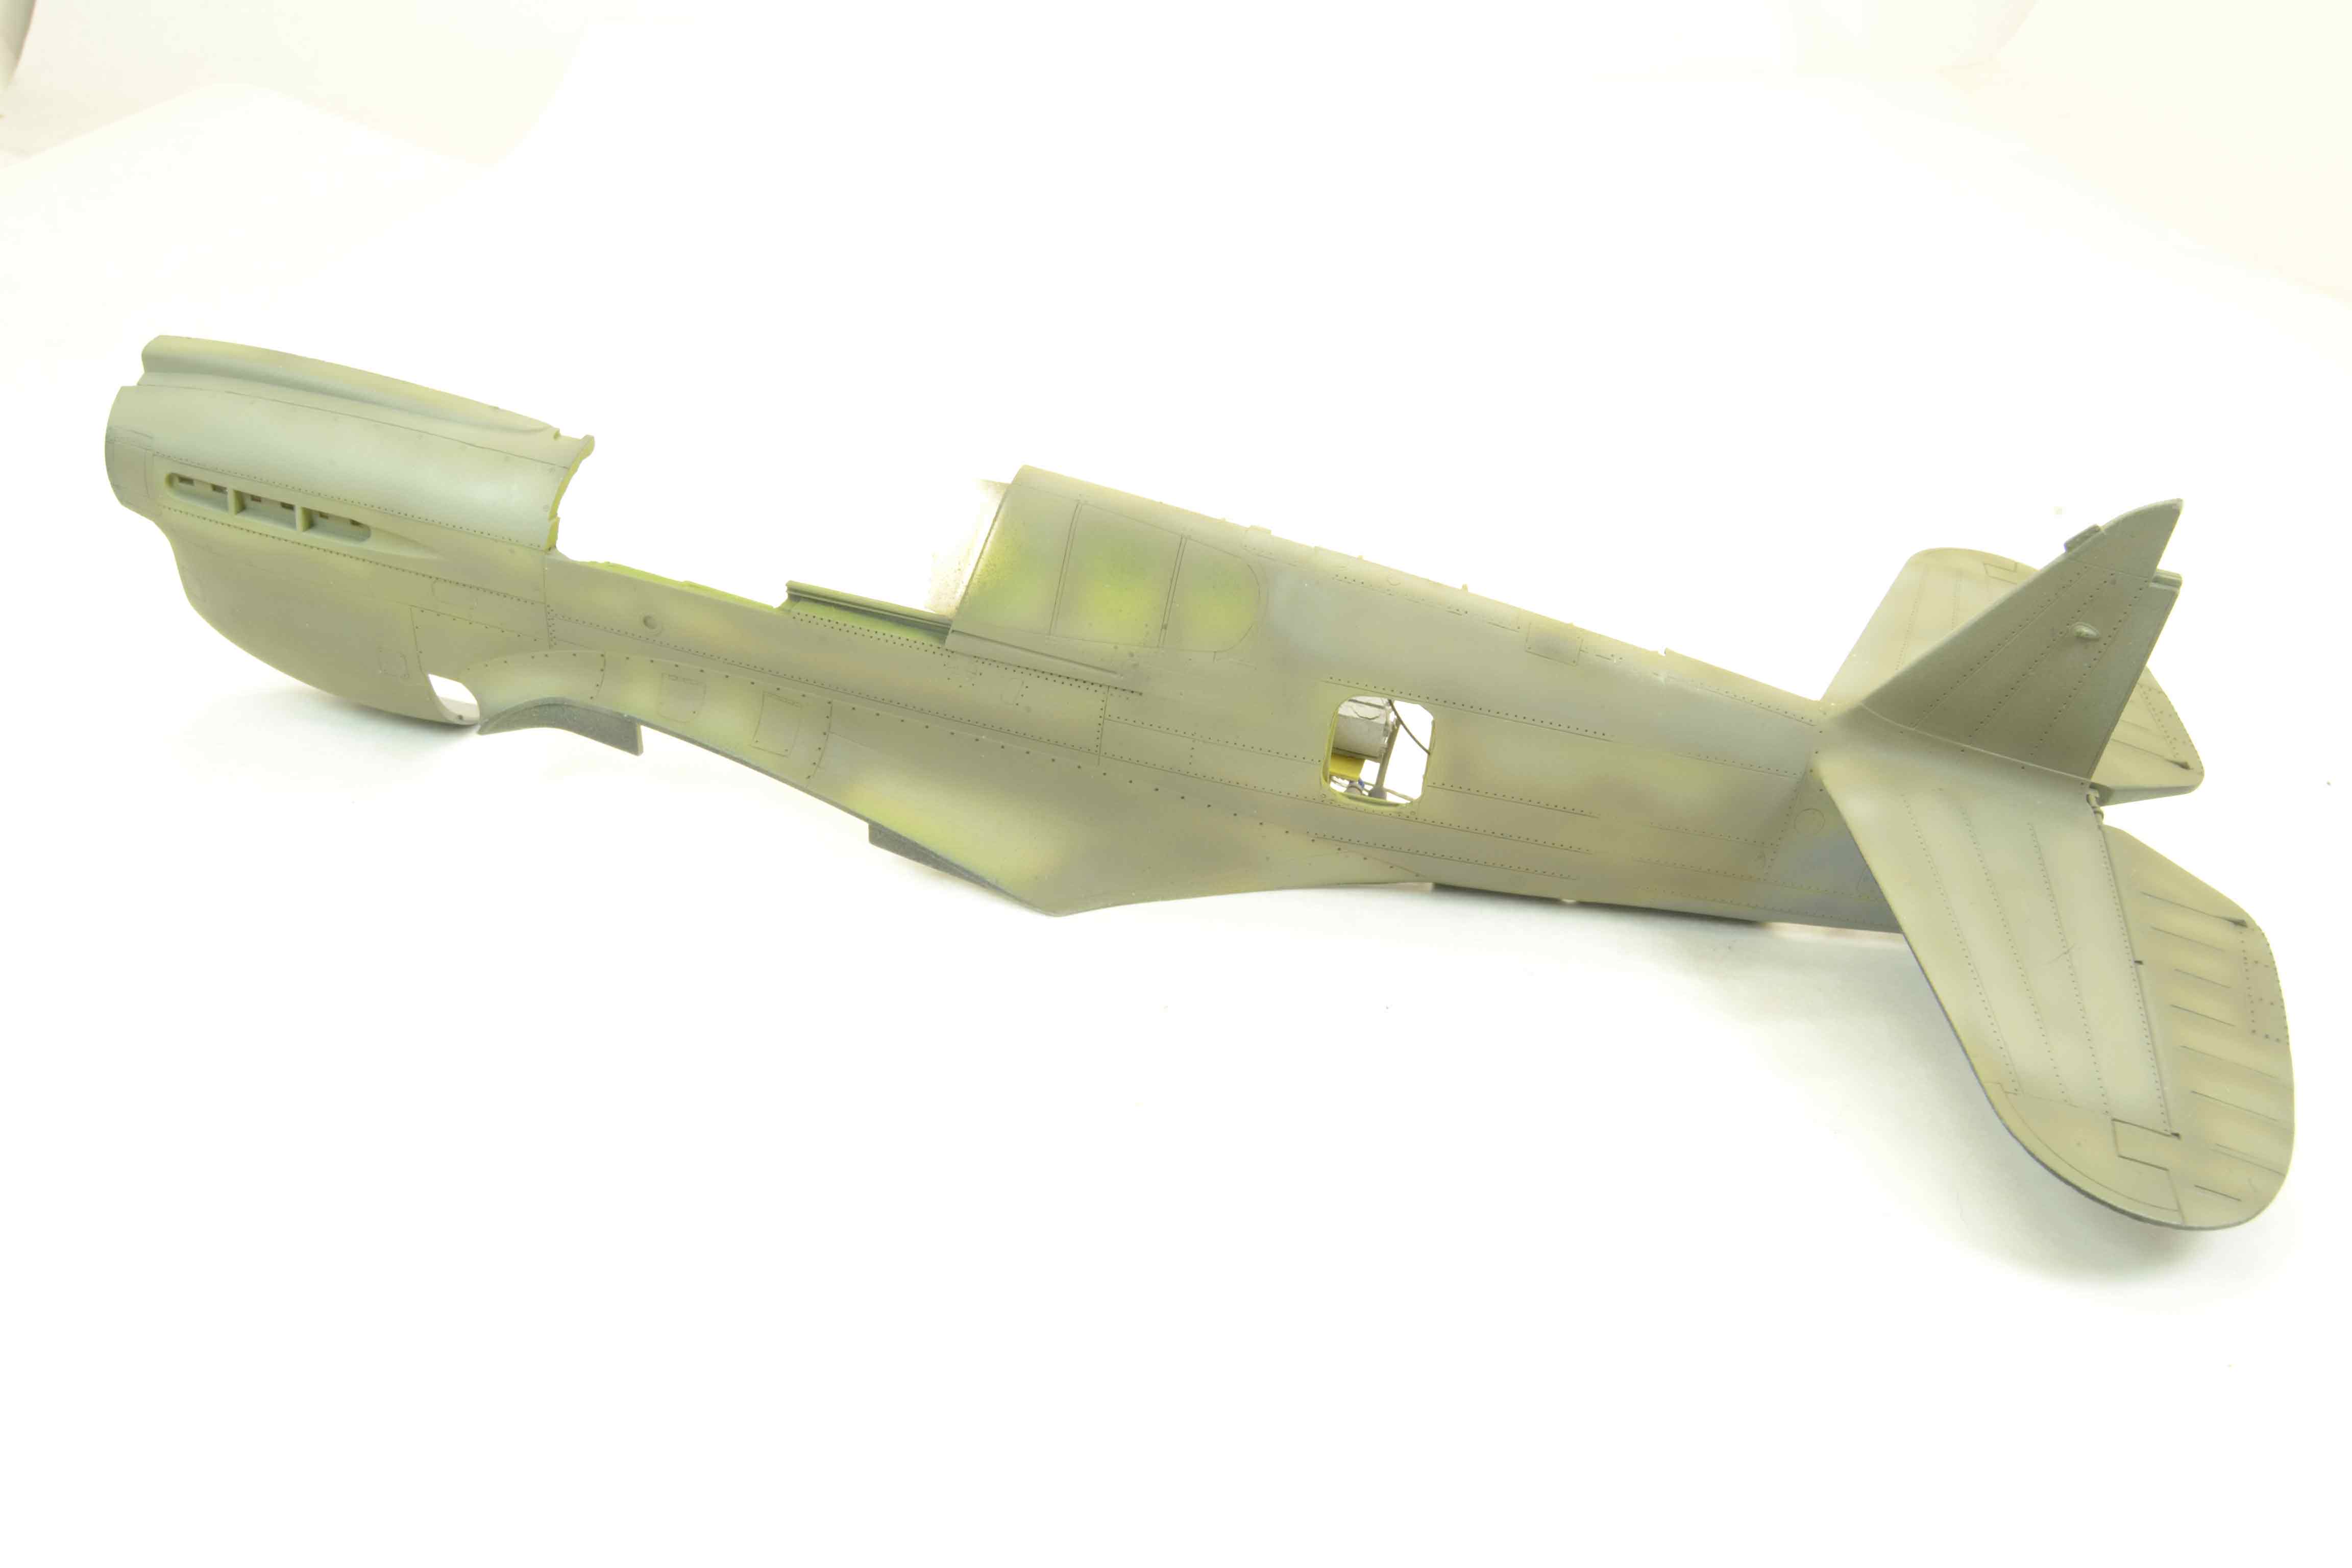
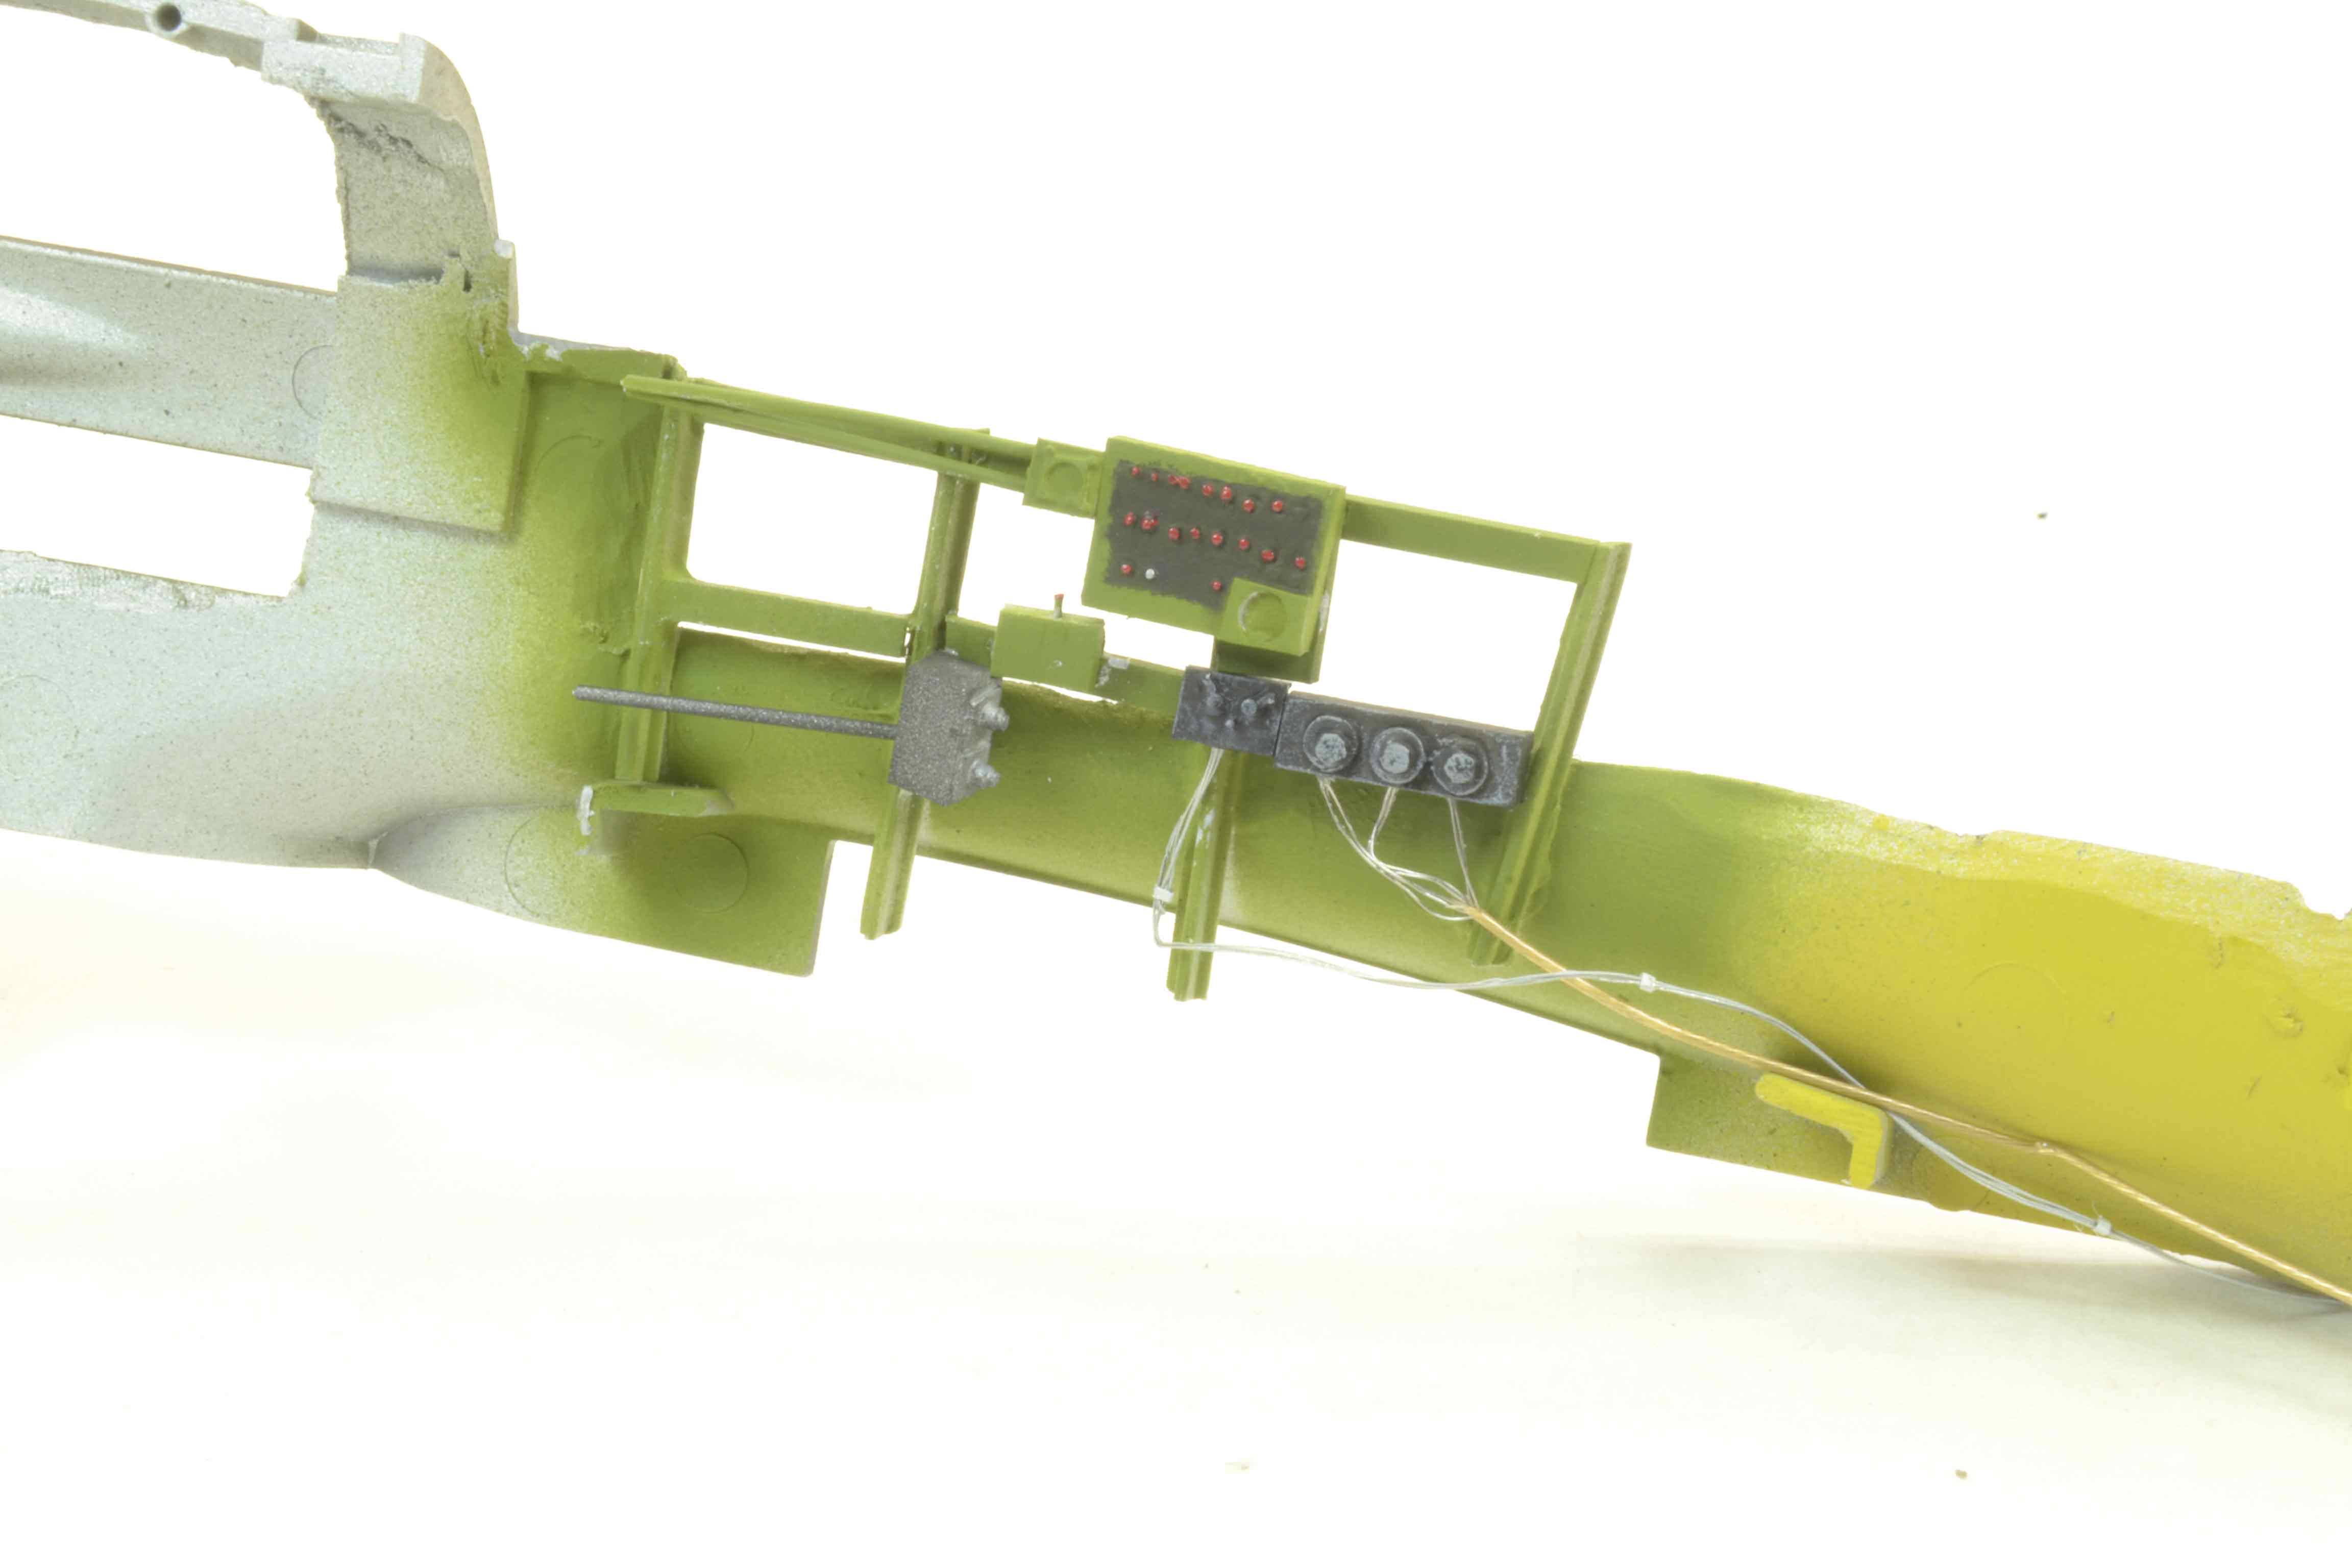
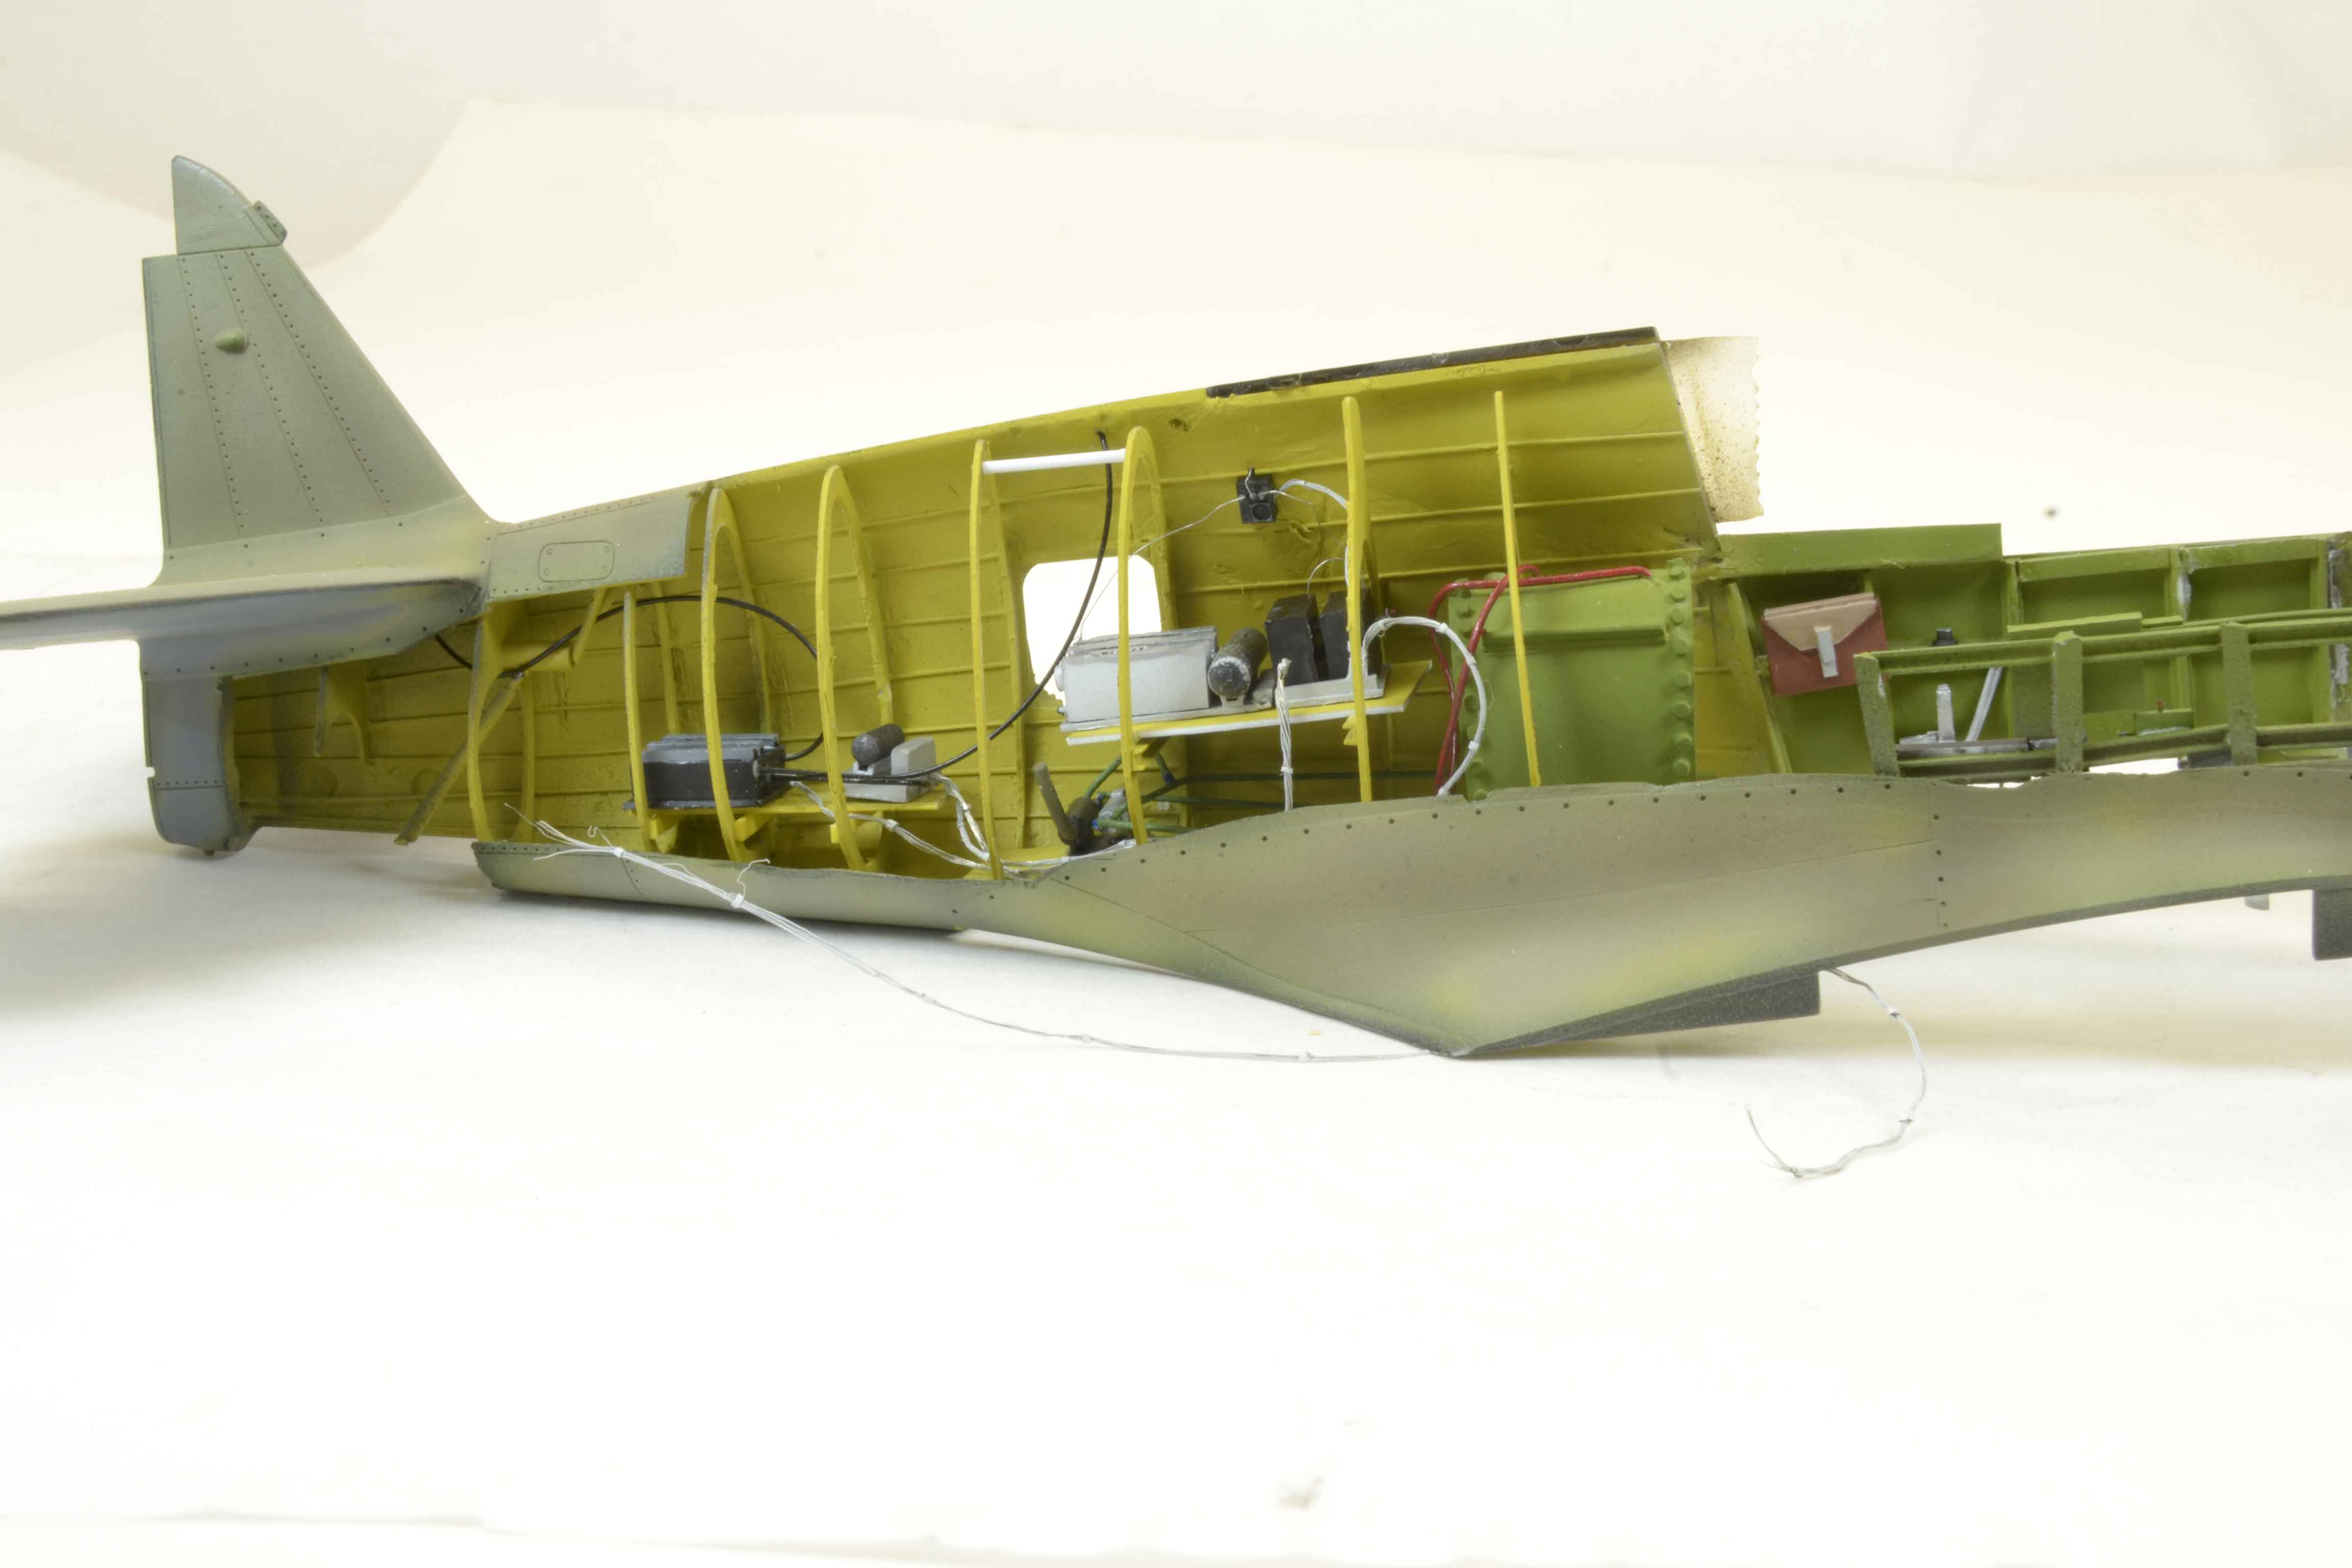
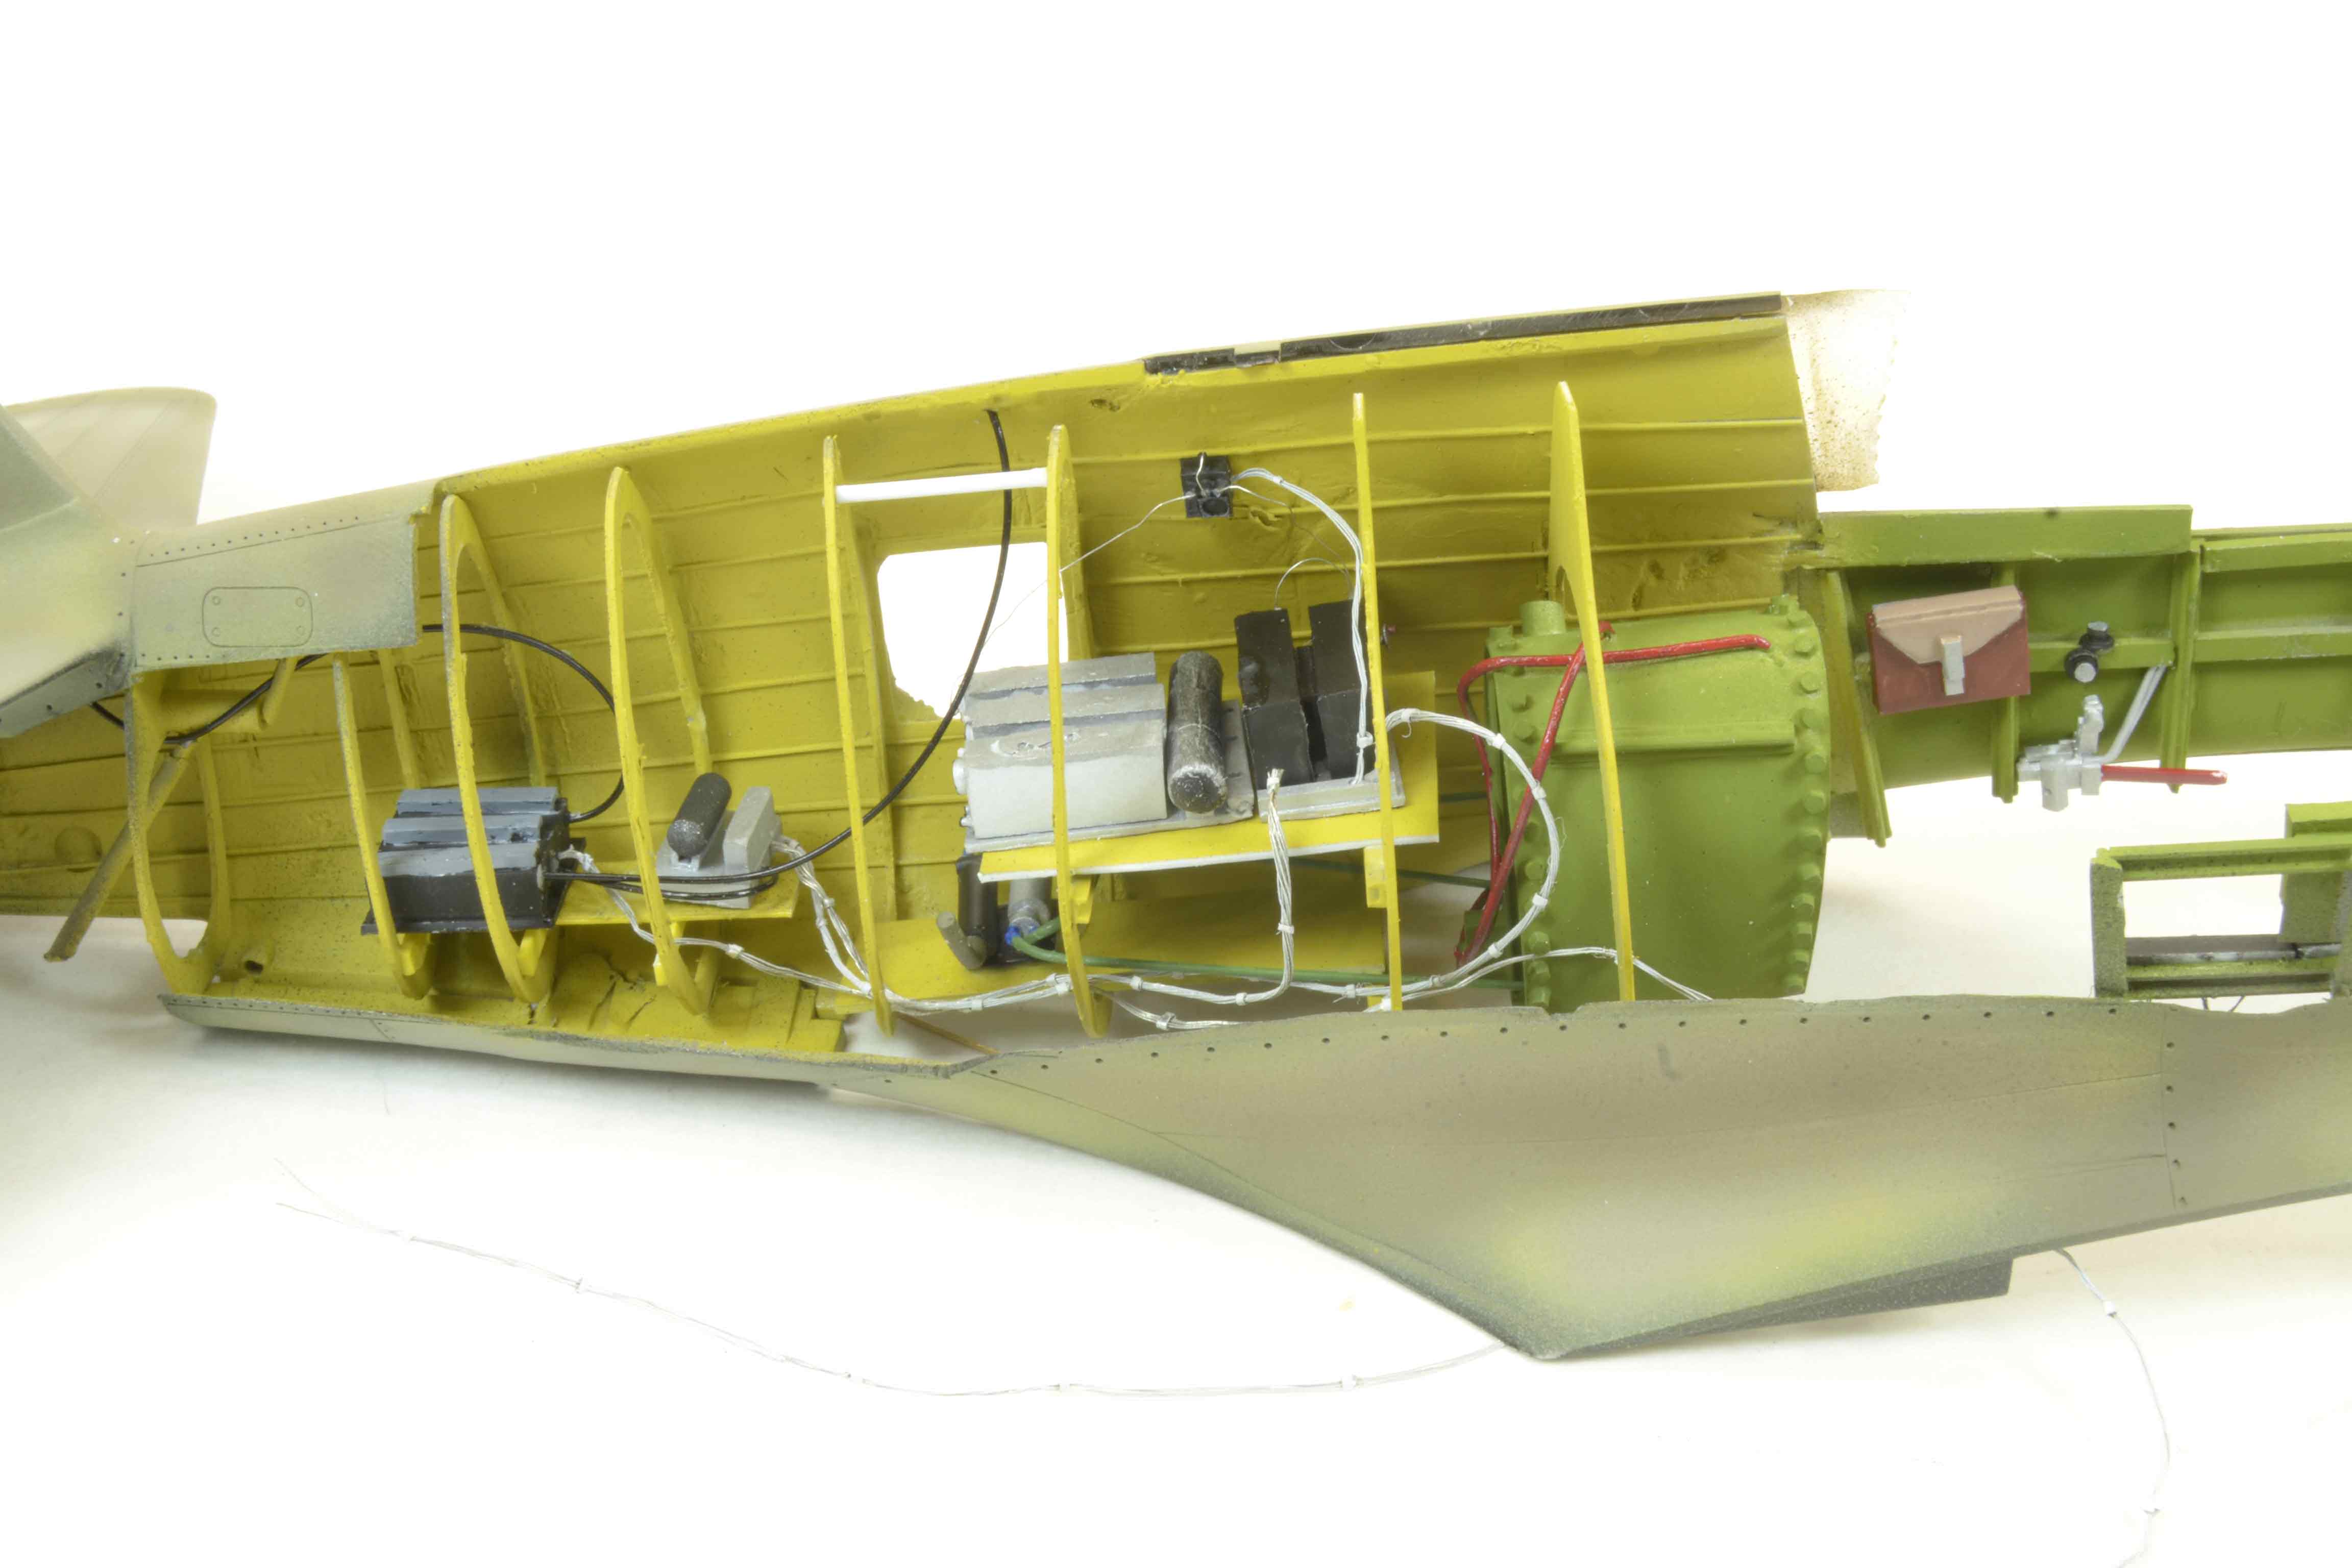
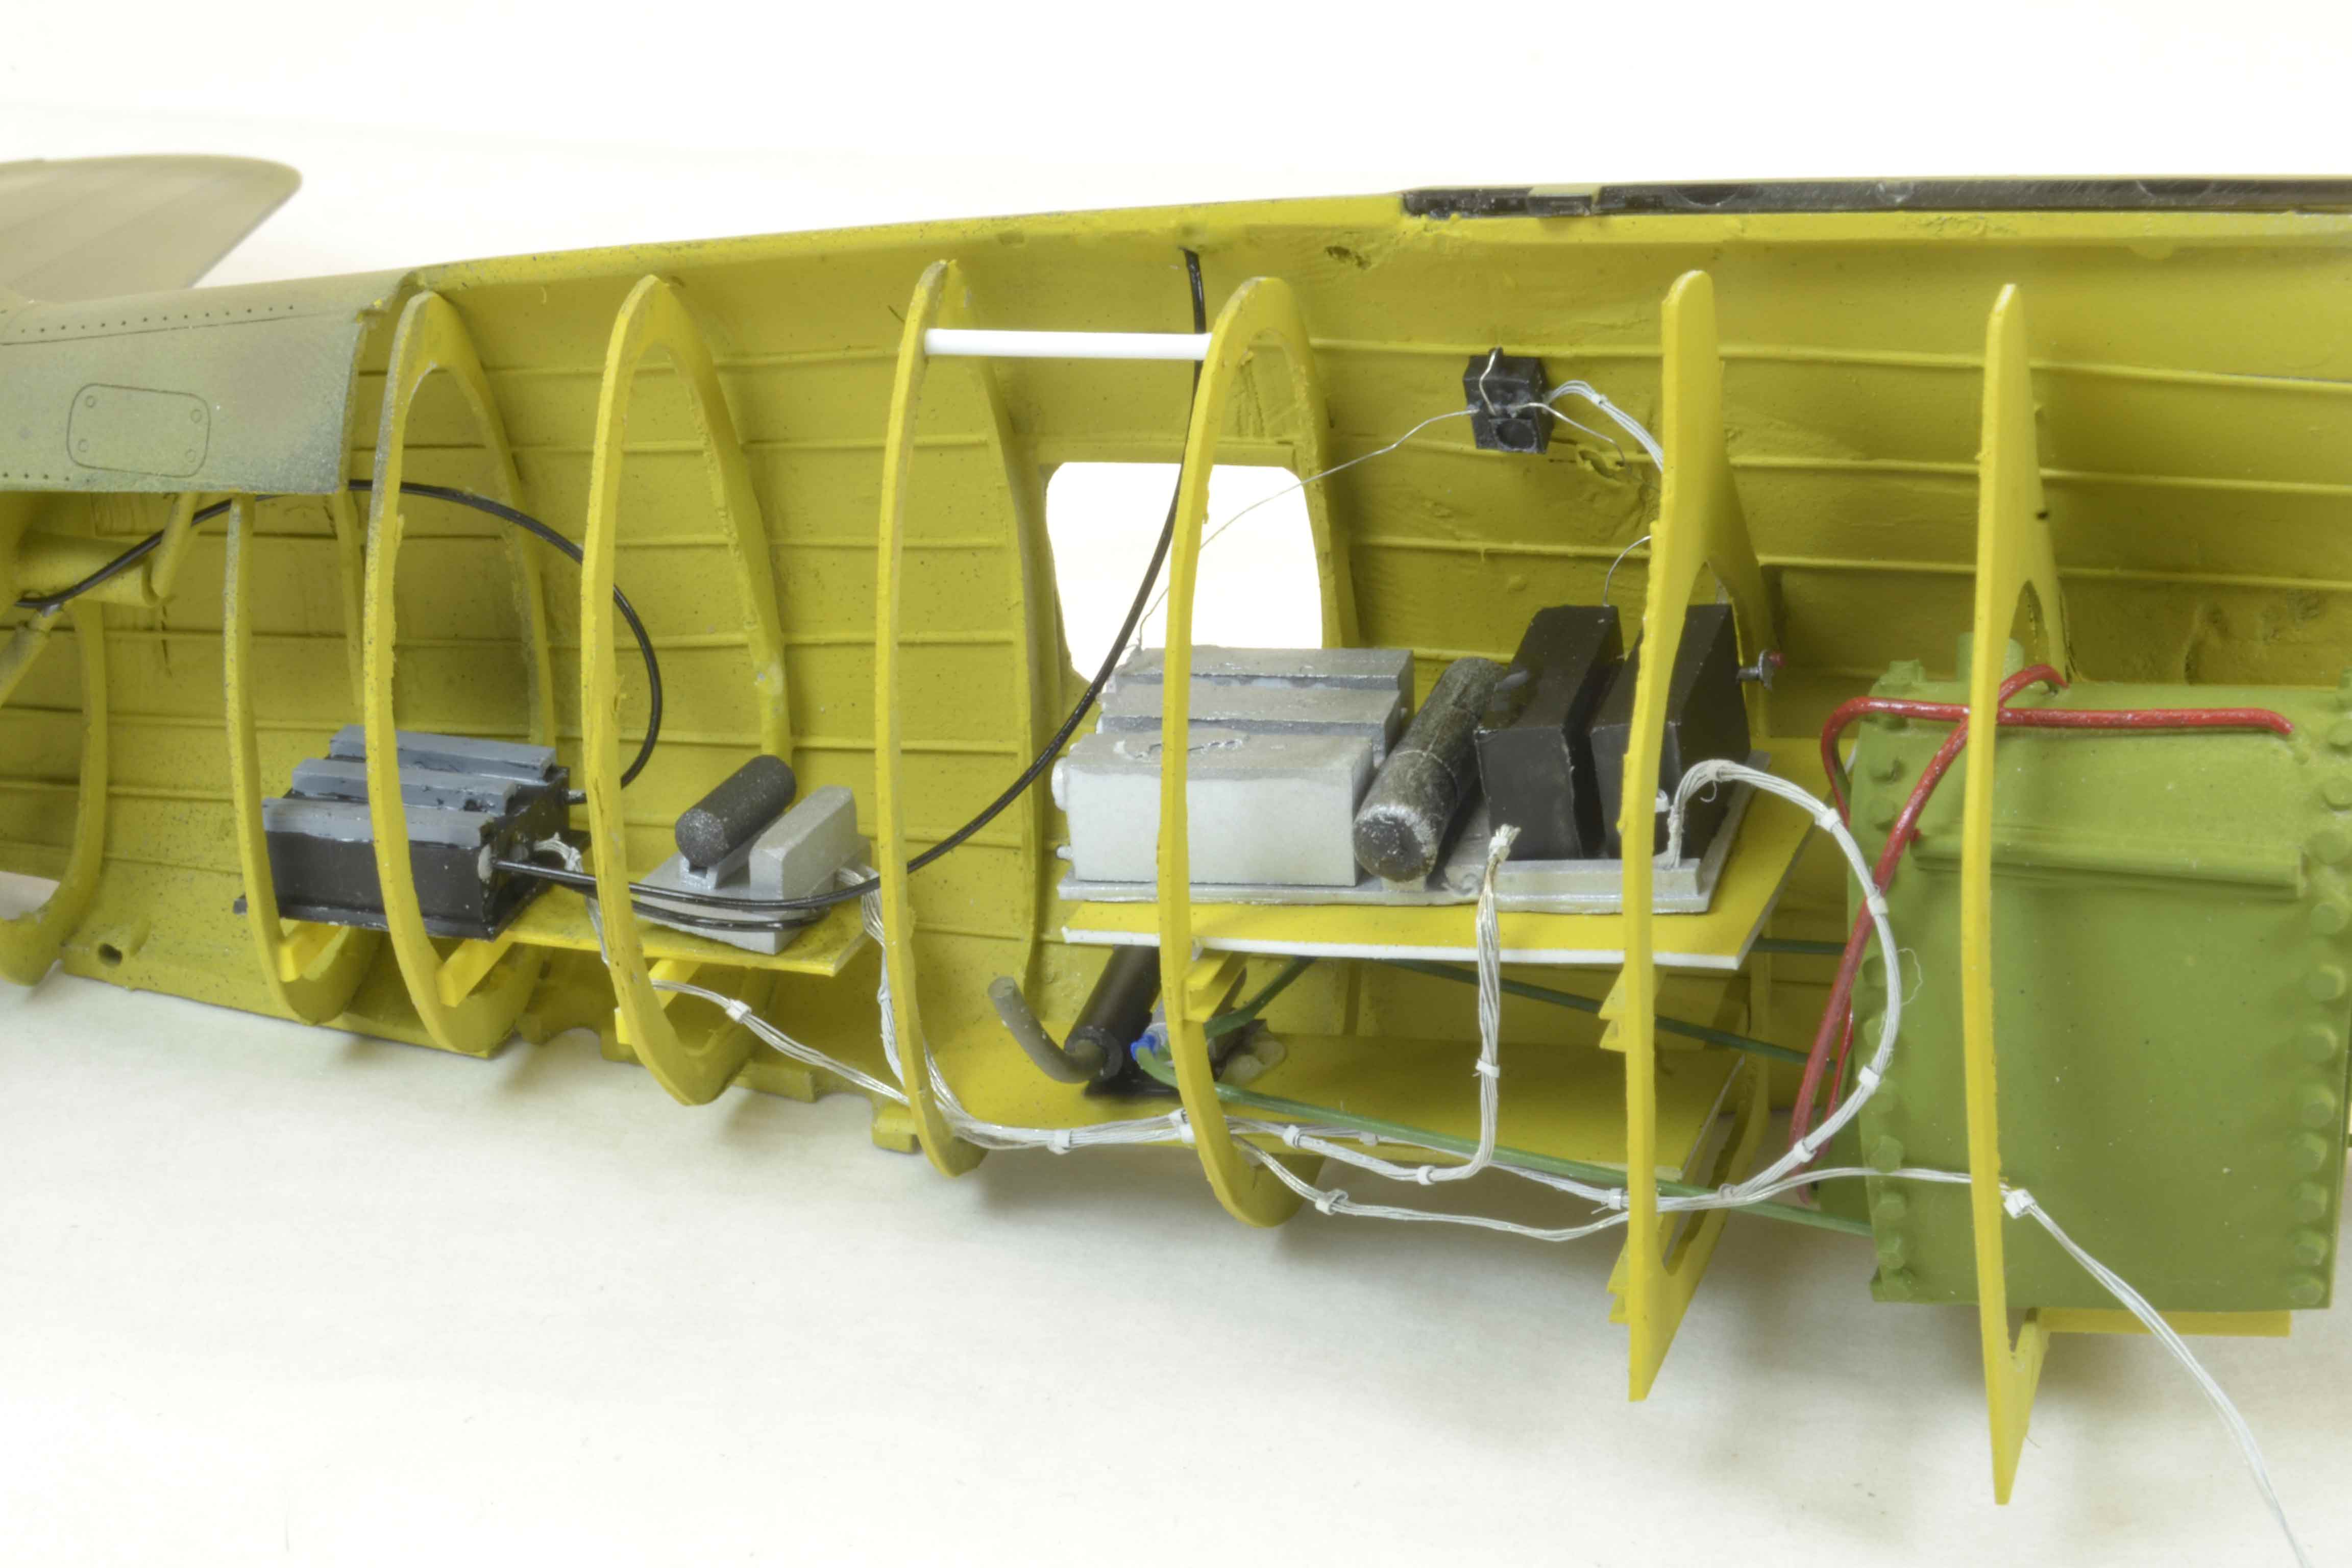
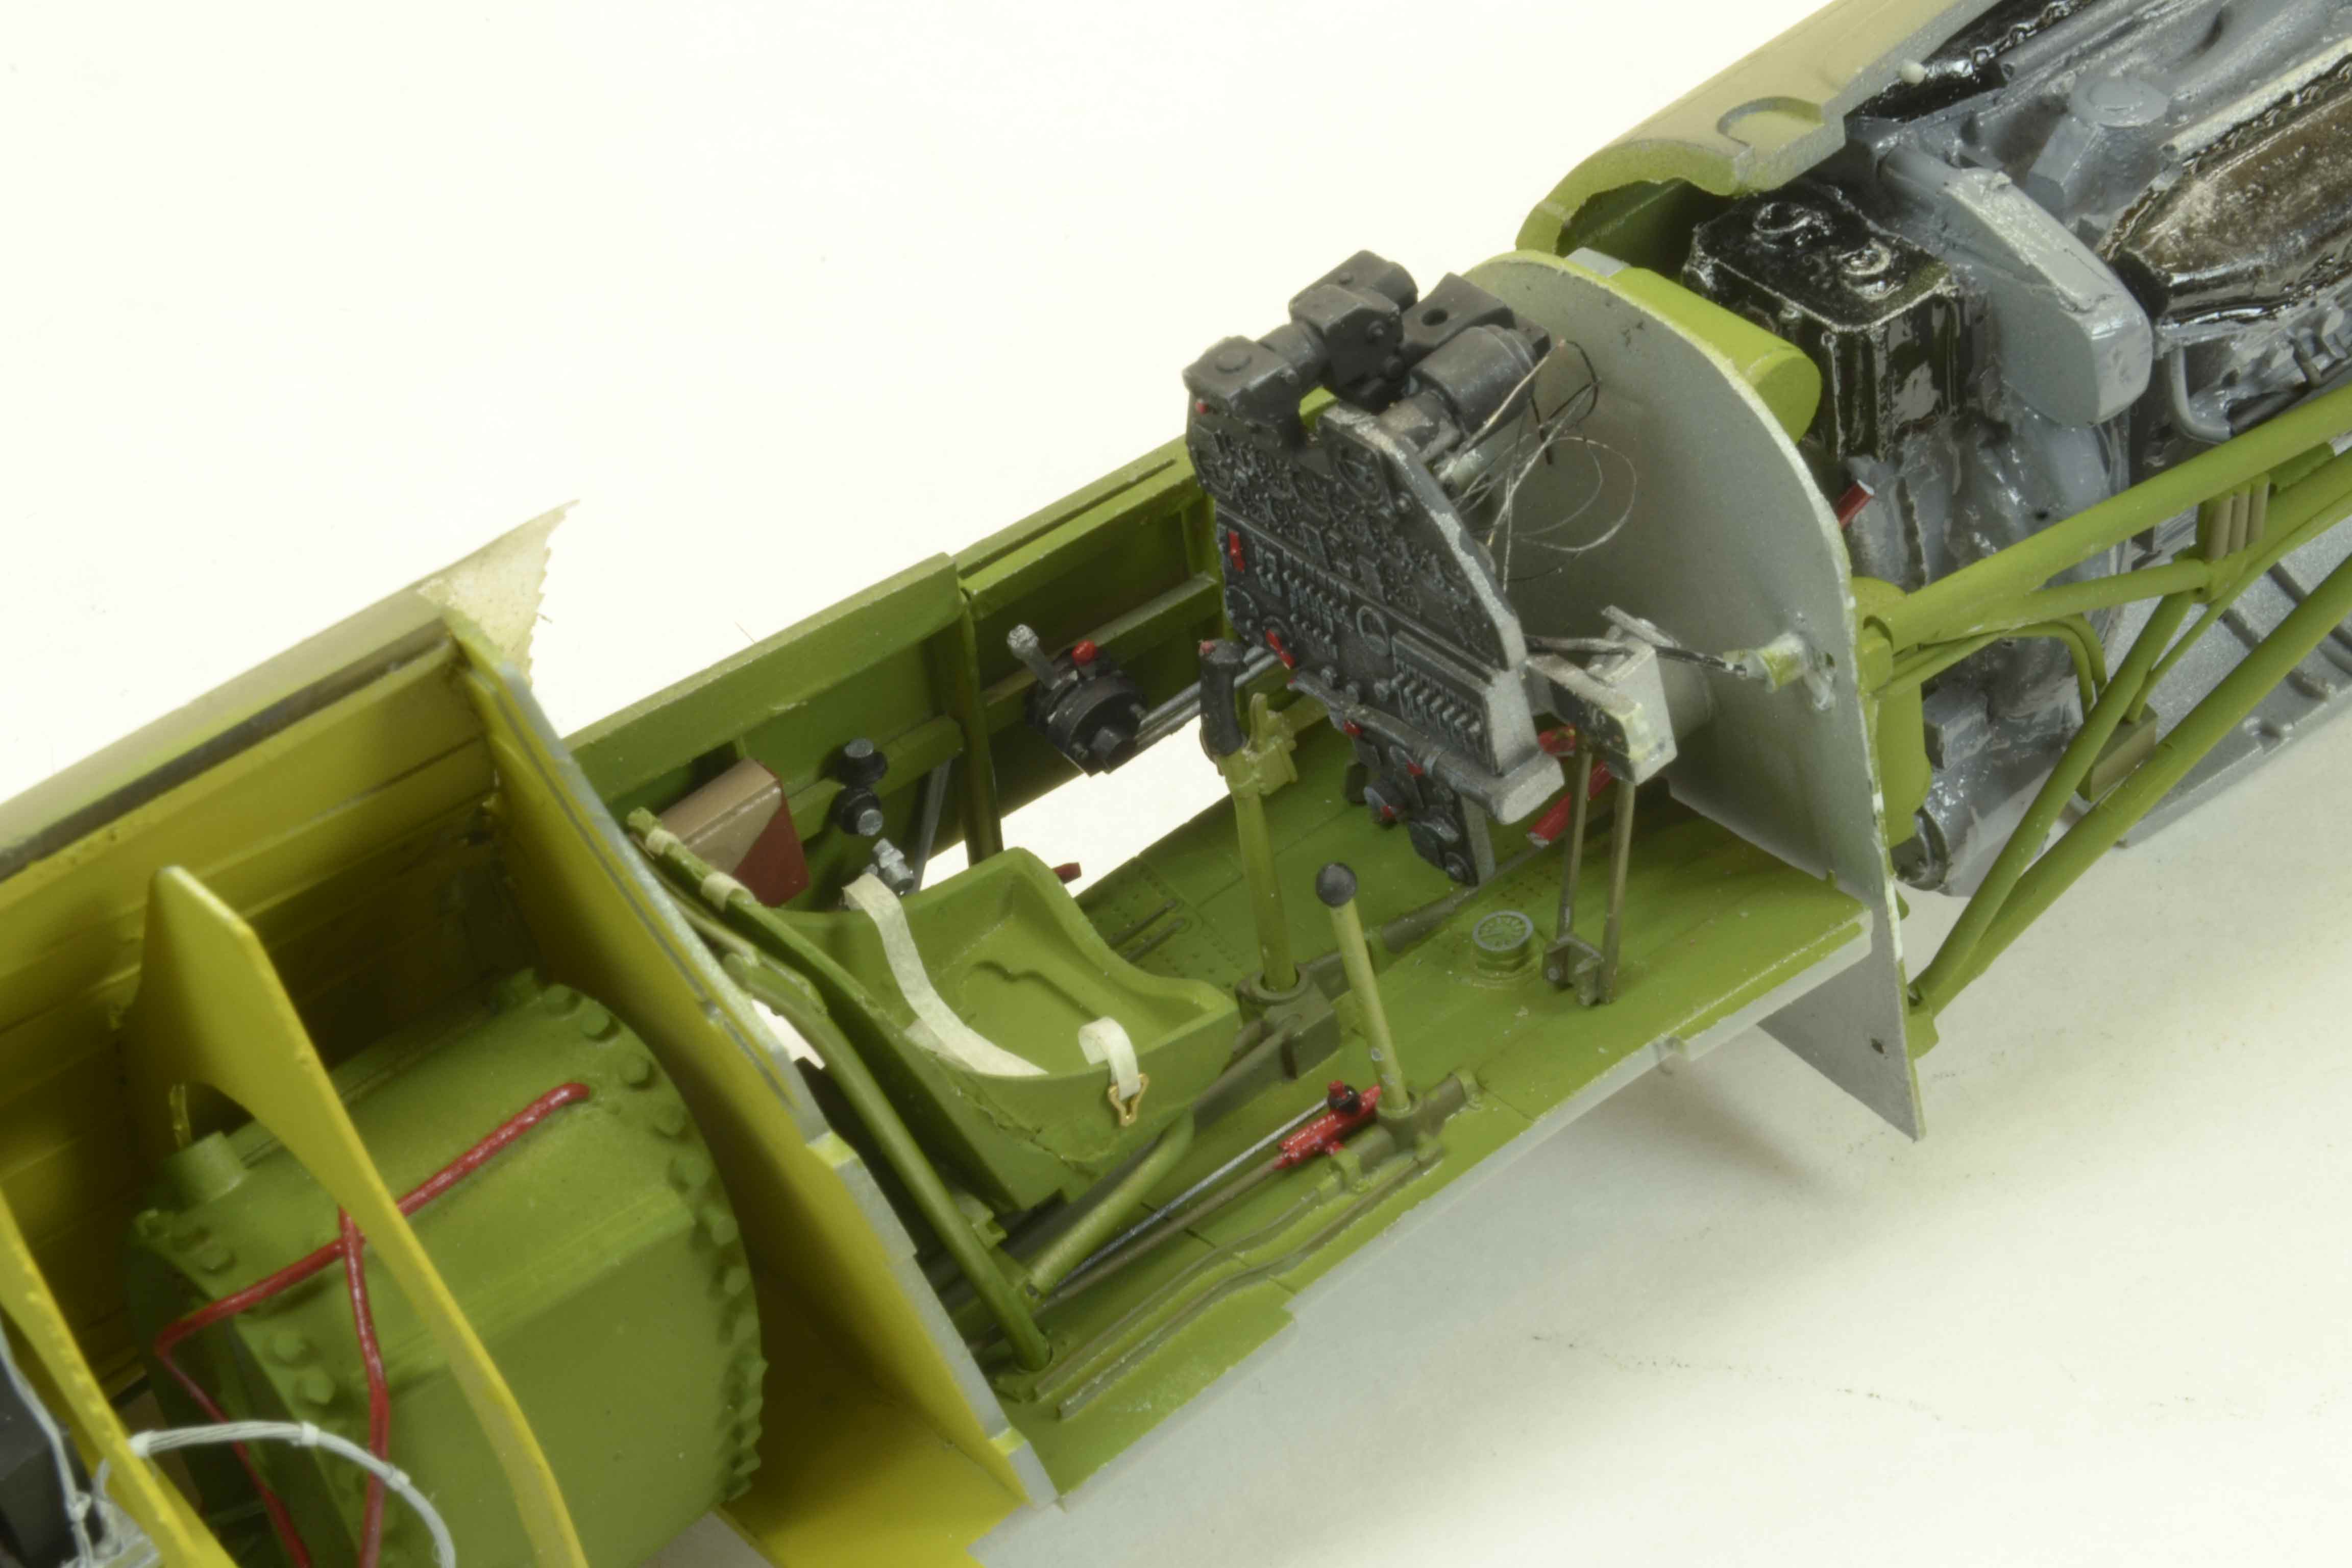
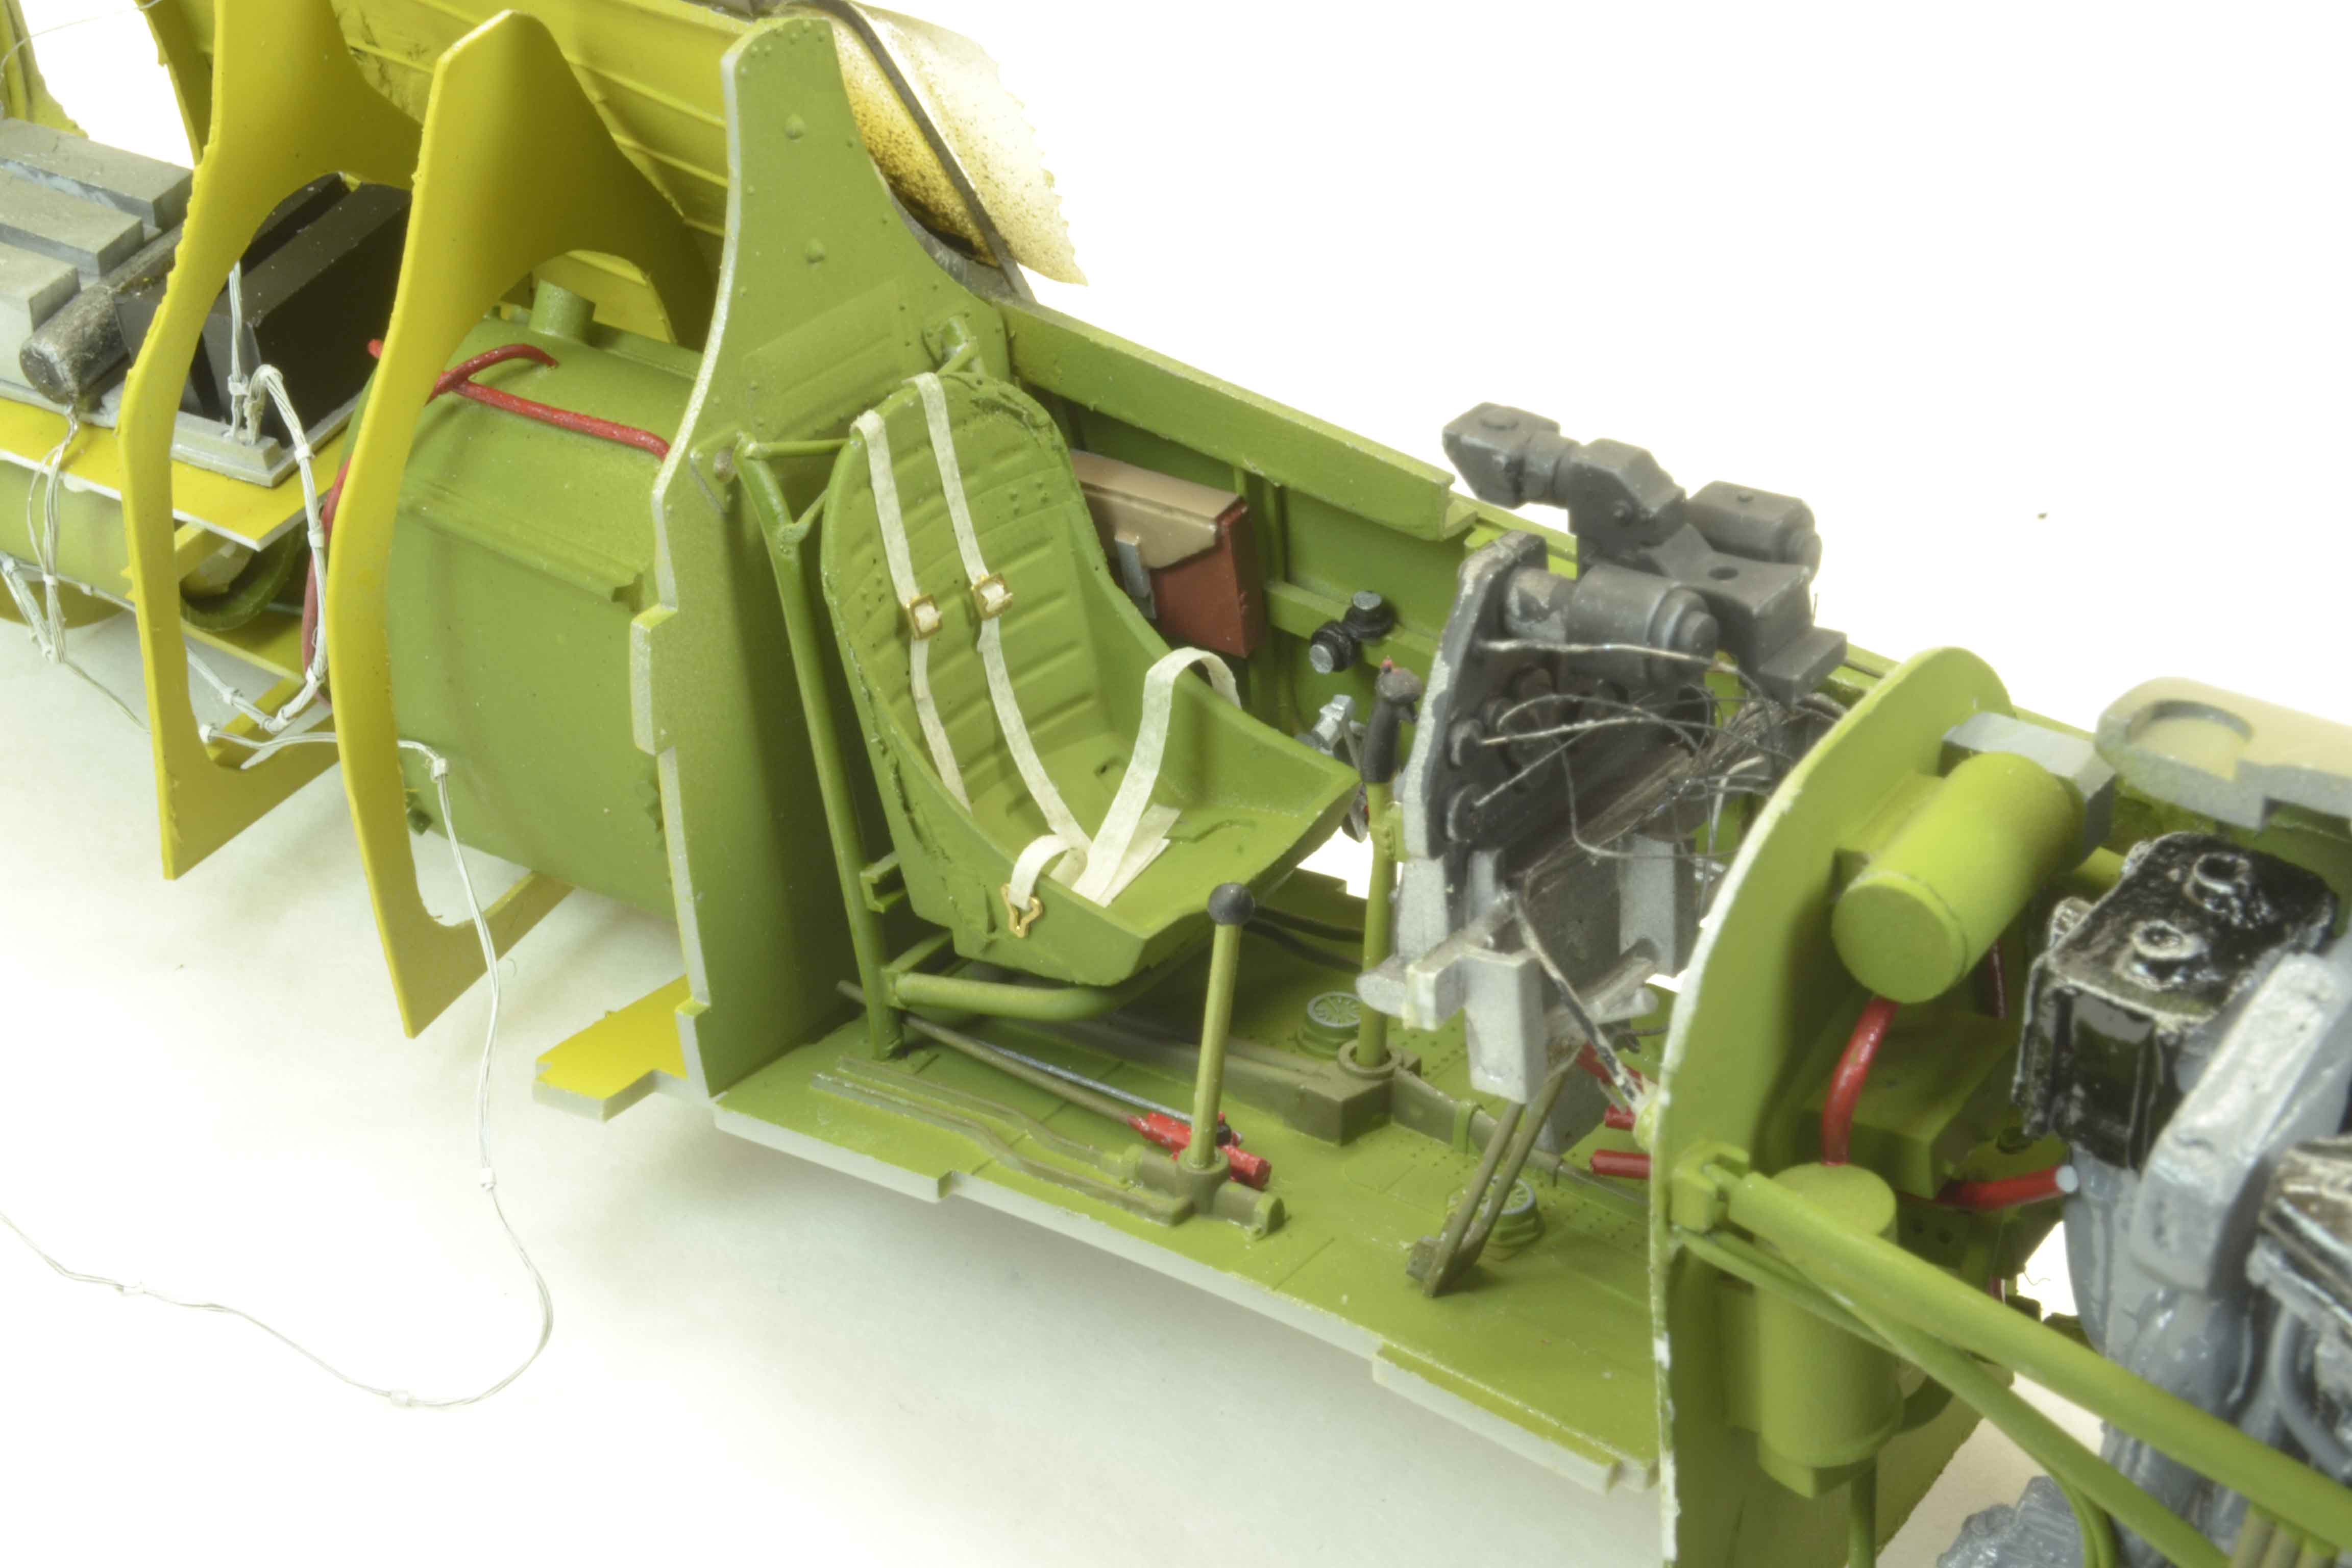
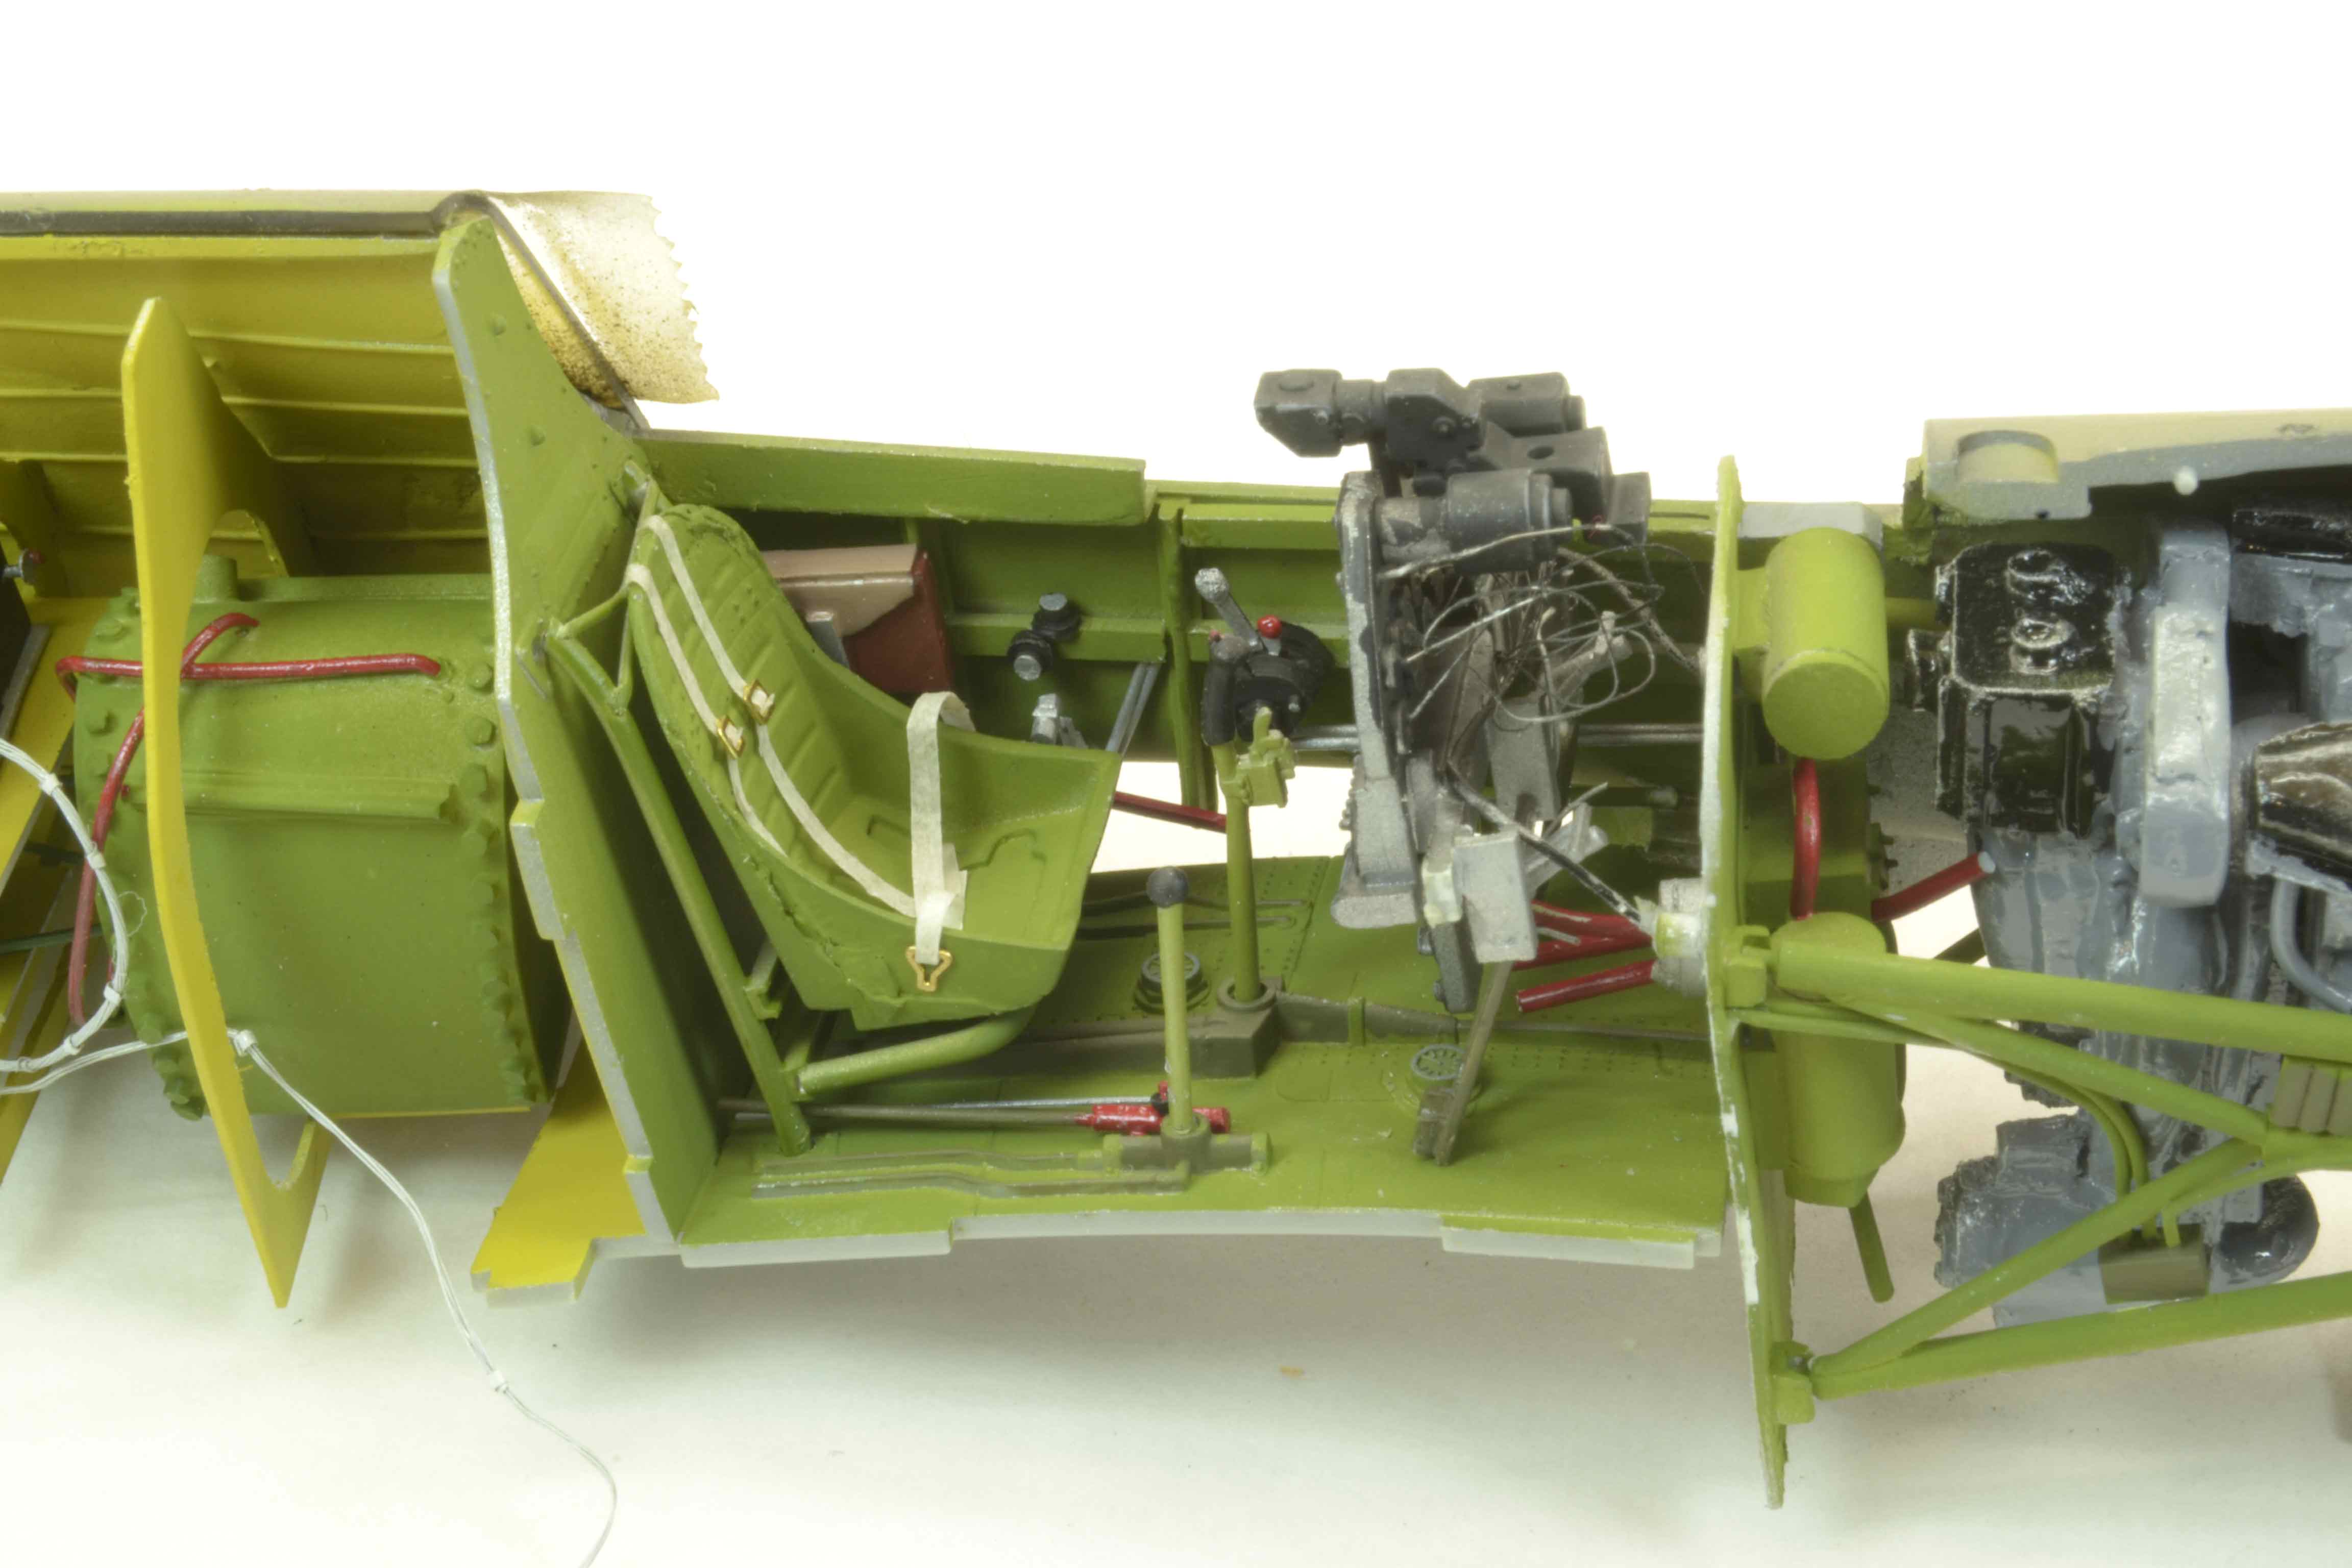
How about another update on the Hasegawa 1/32 P-40E.

First up here are the last pictures of the interior prior to closing the fuselage.


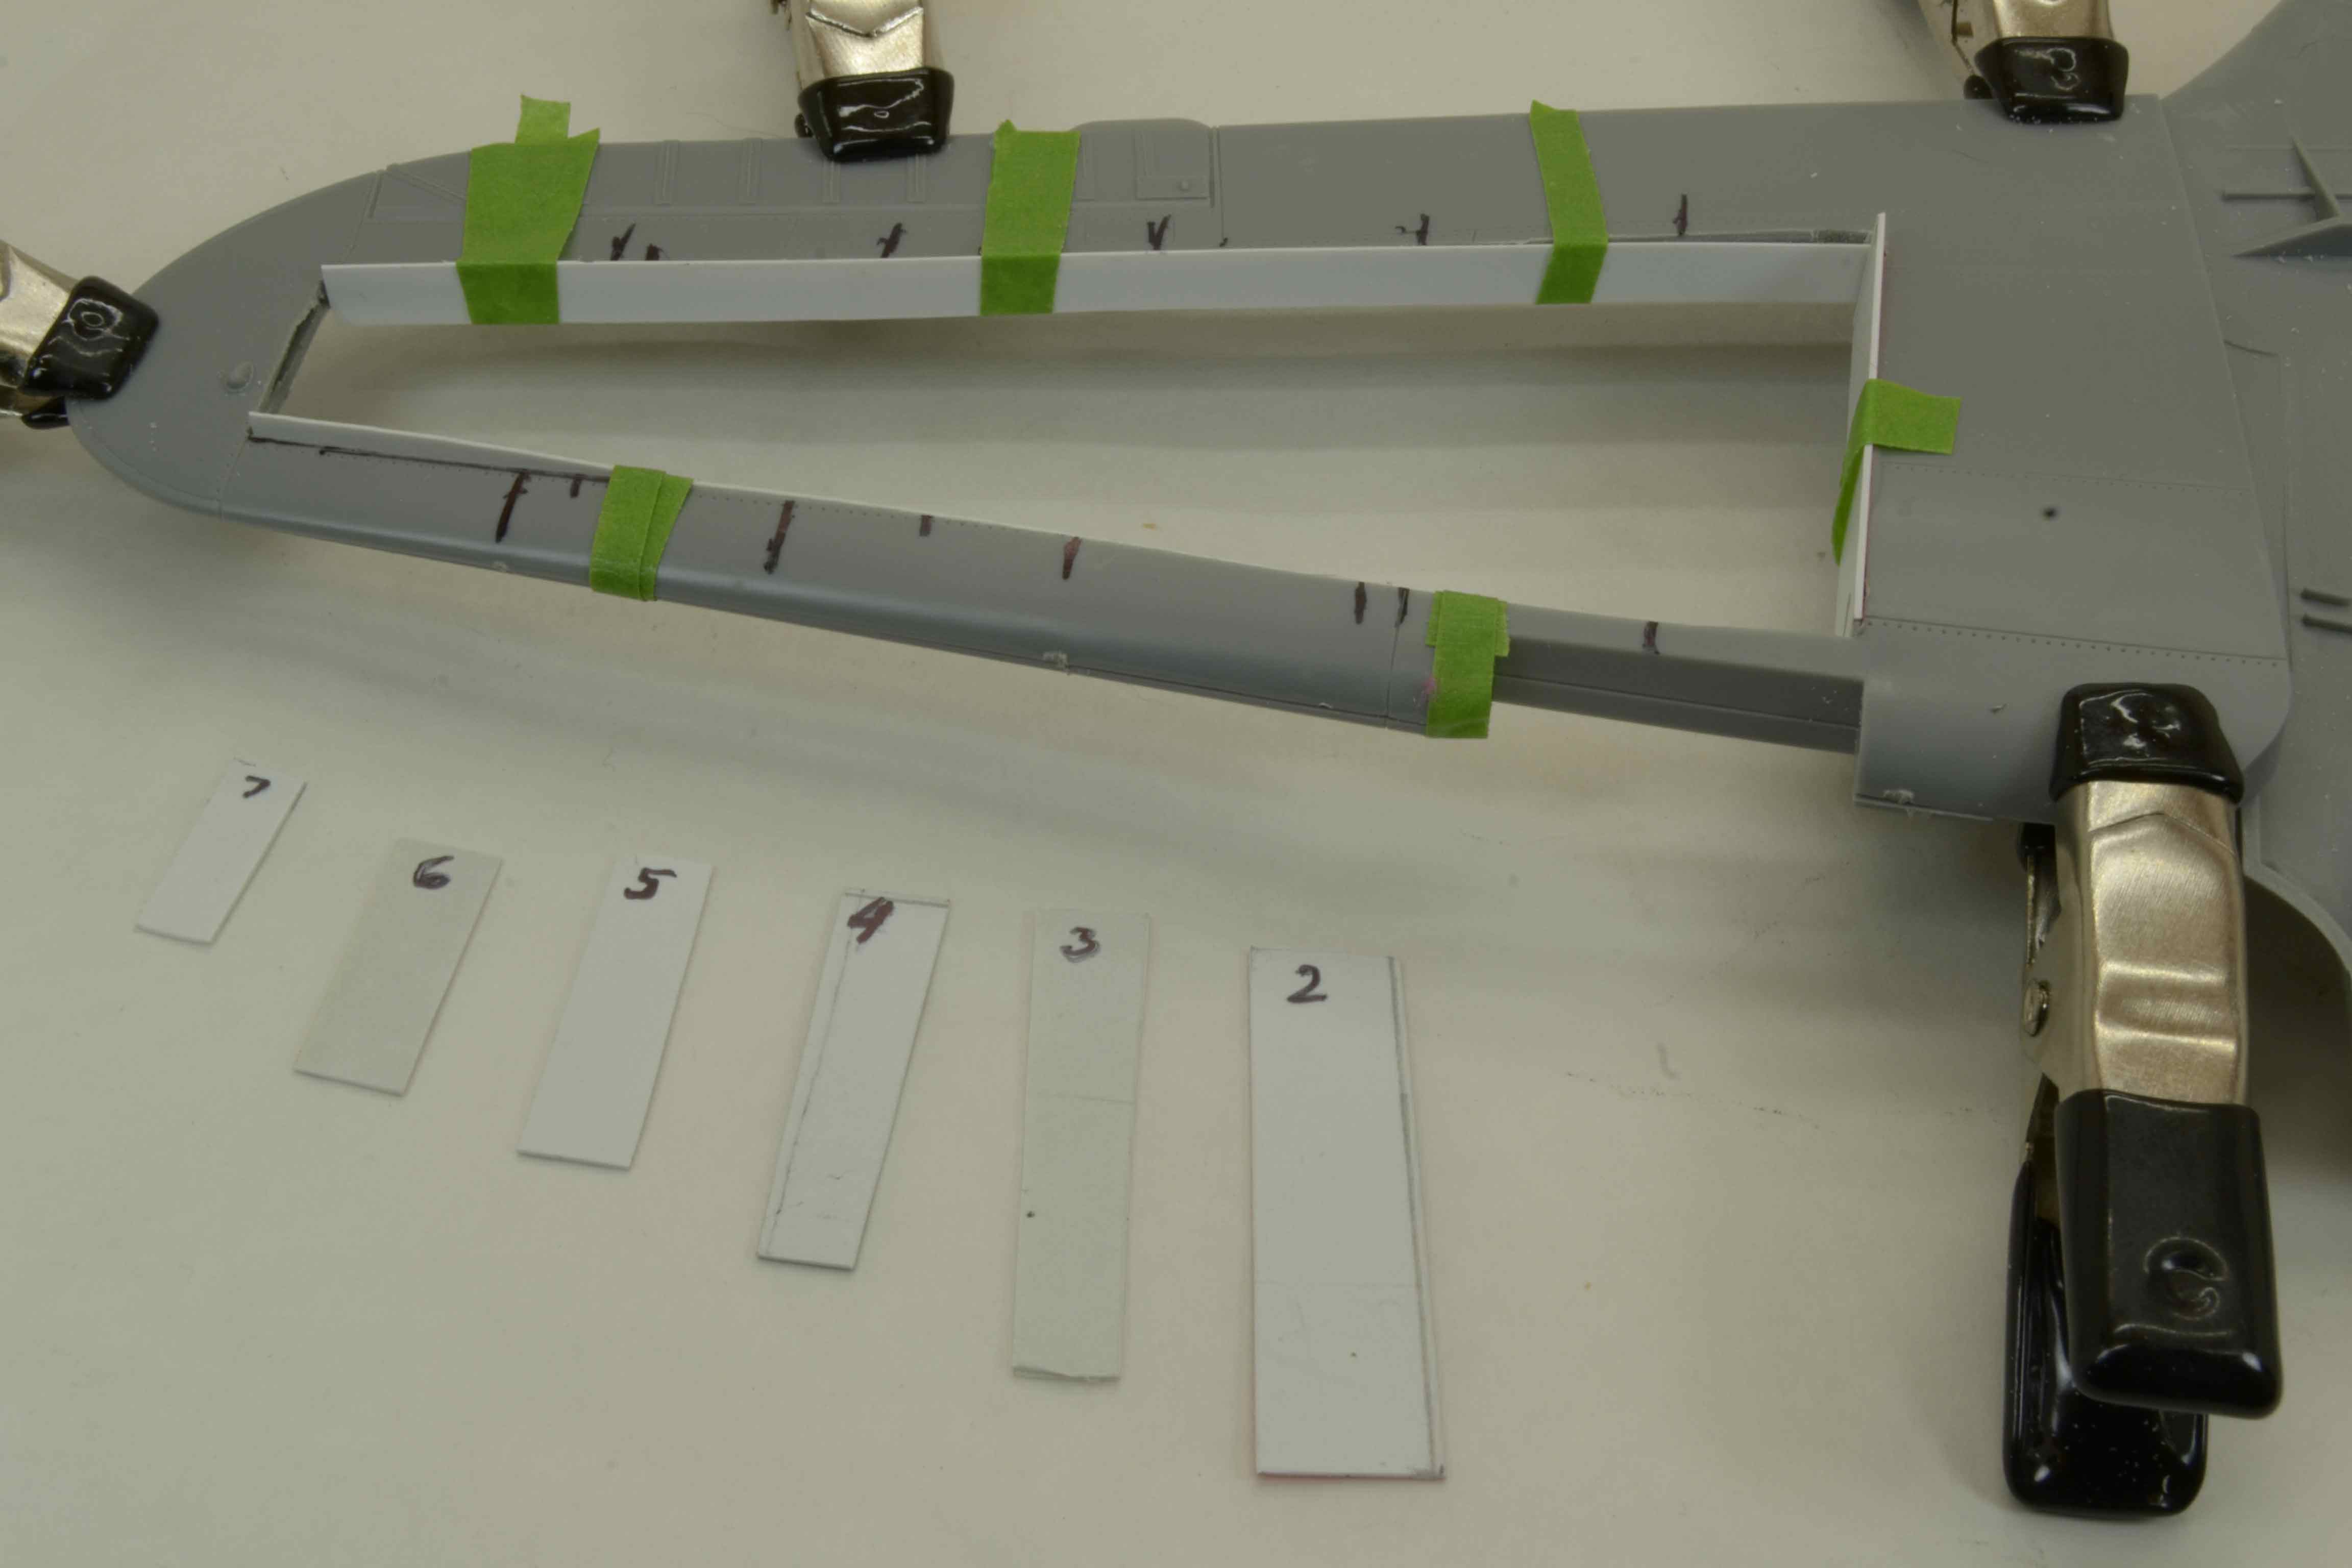
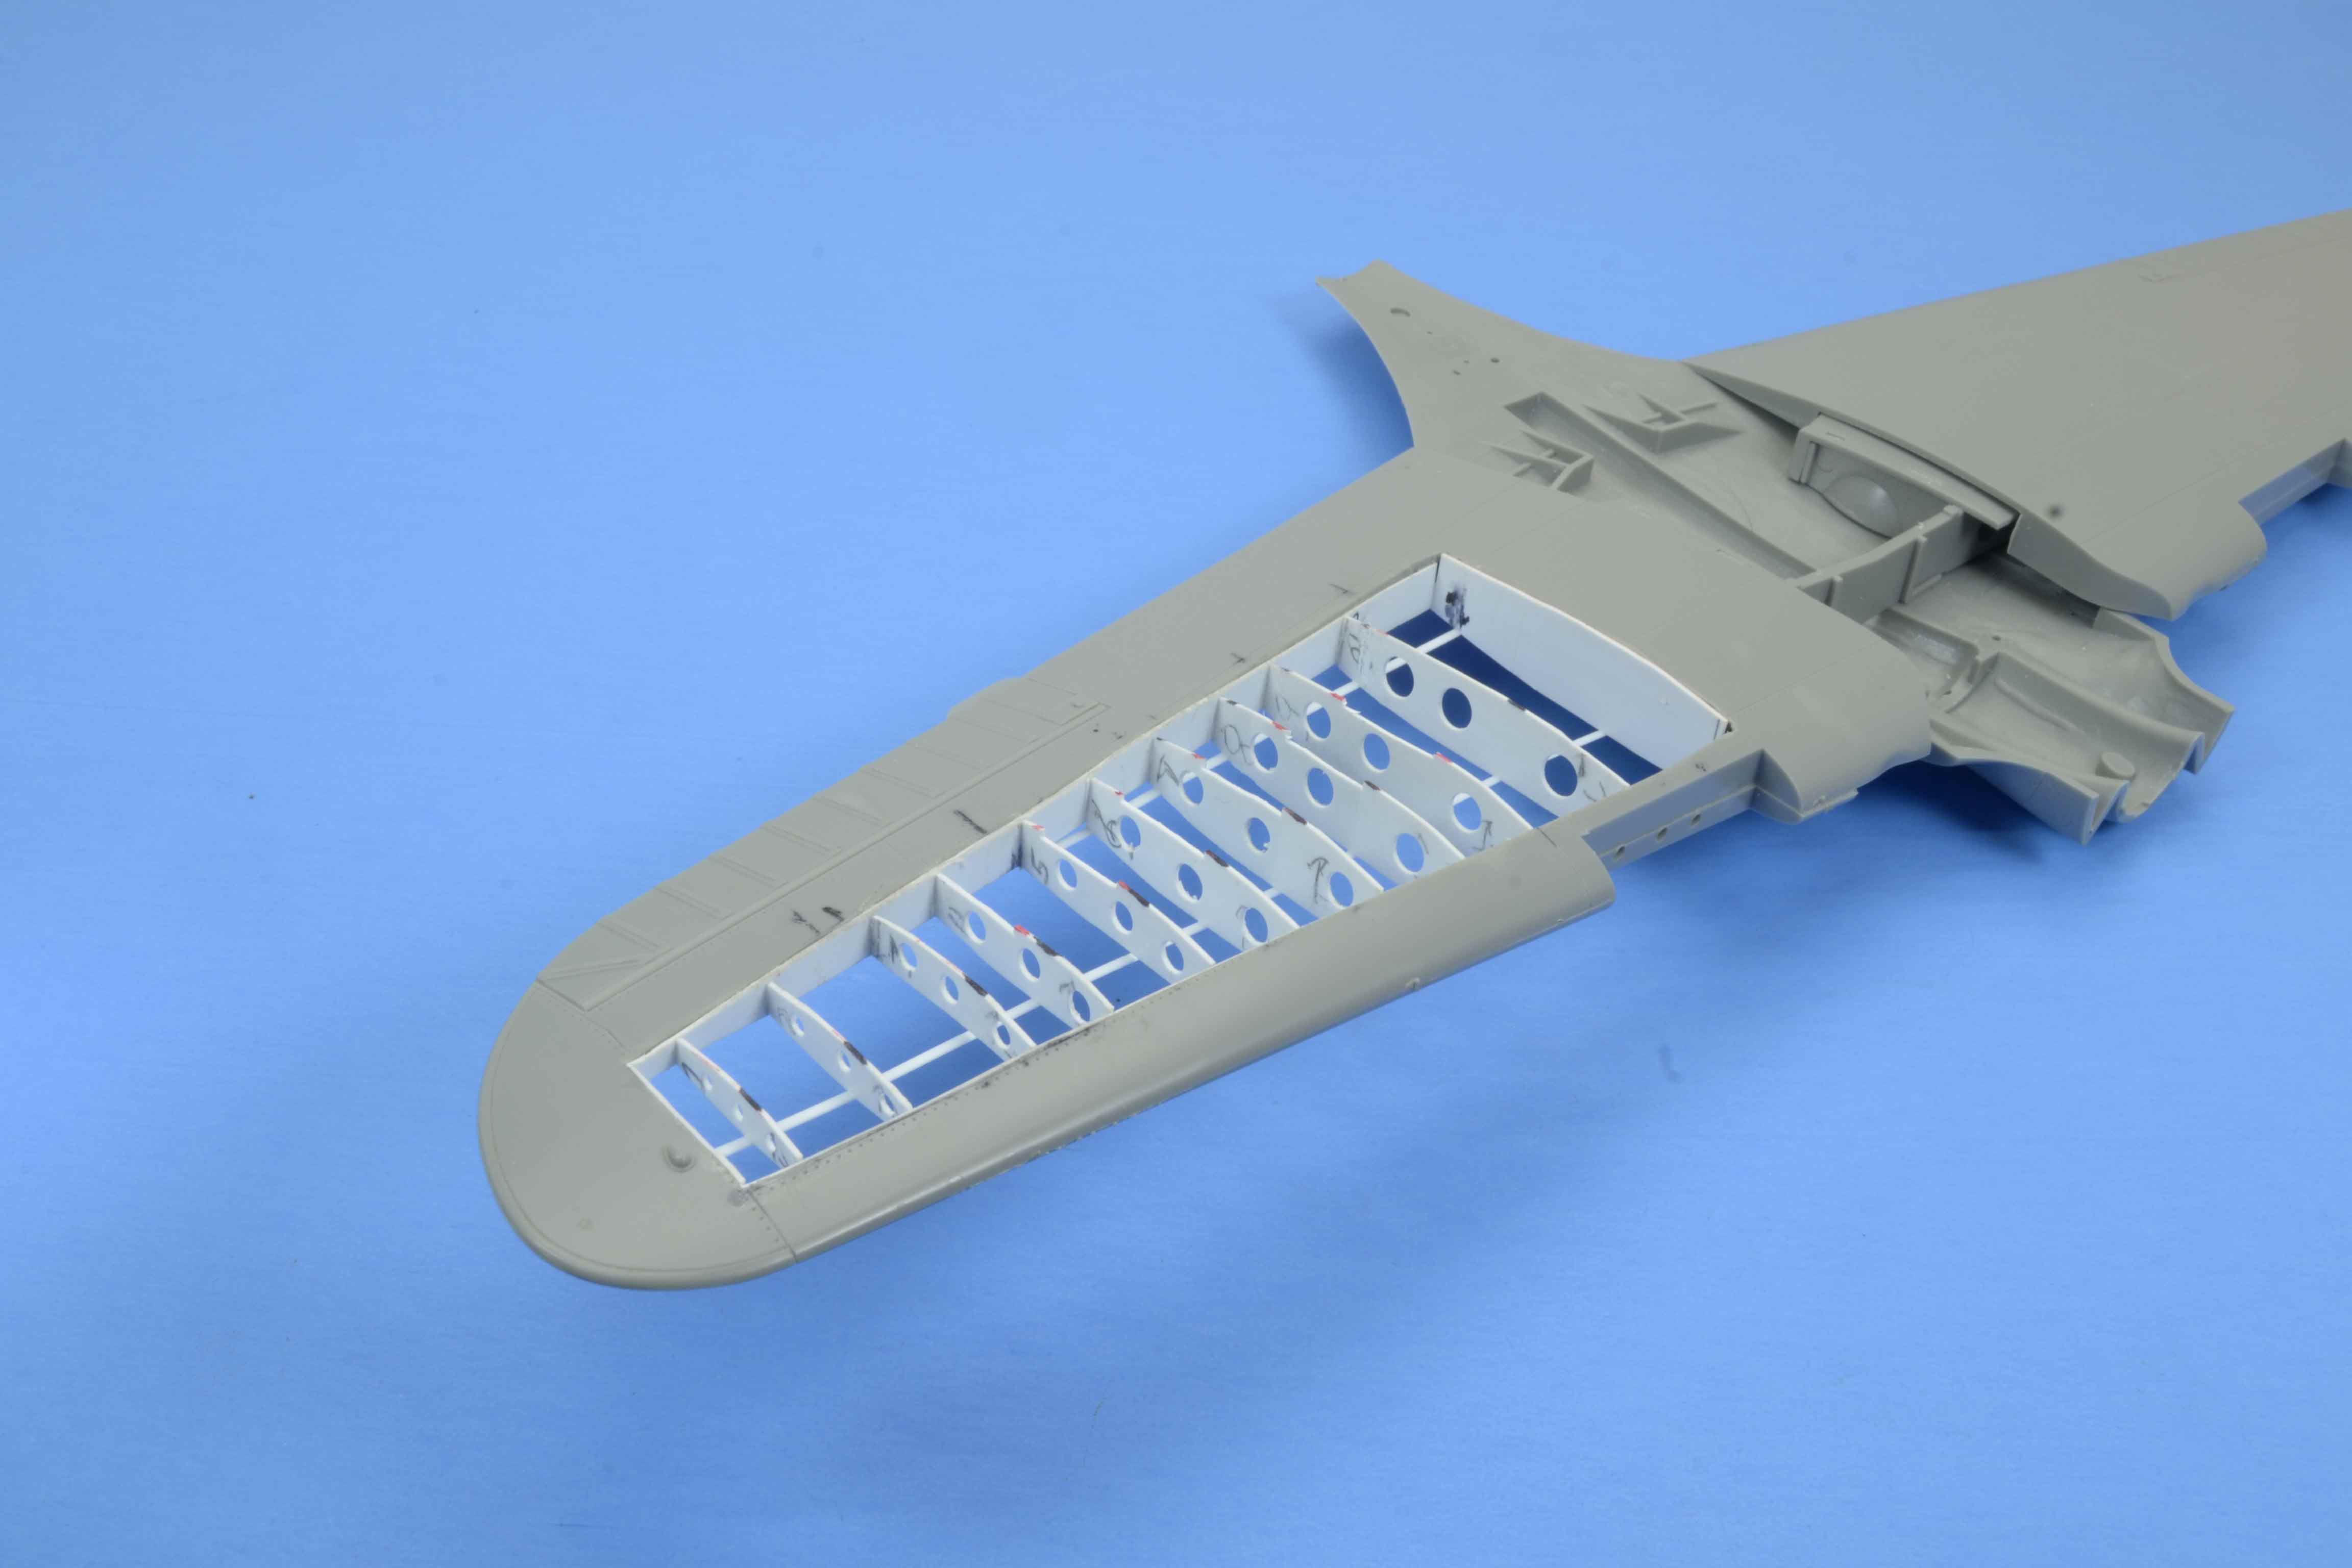
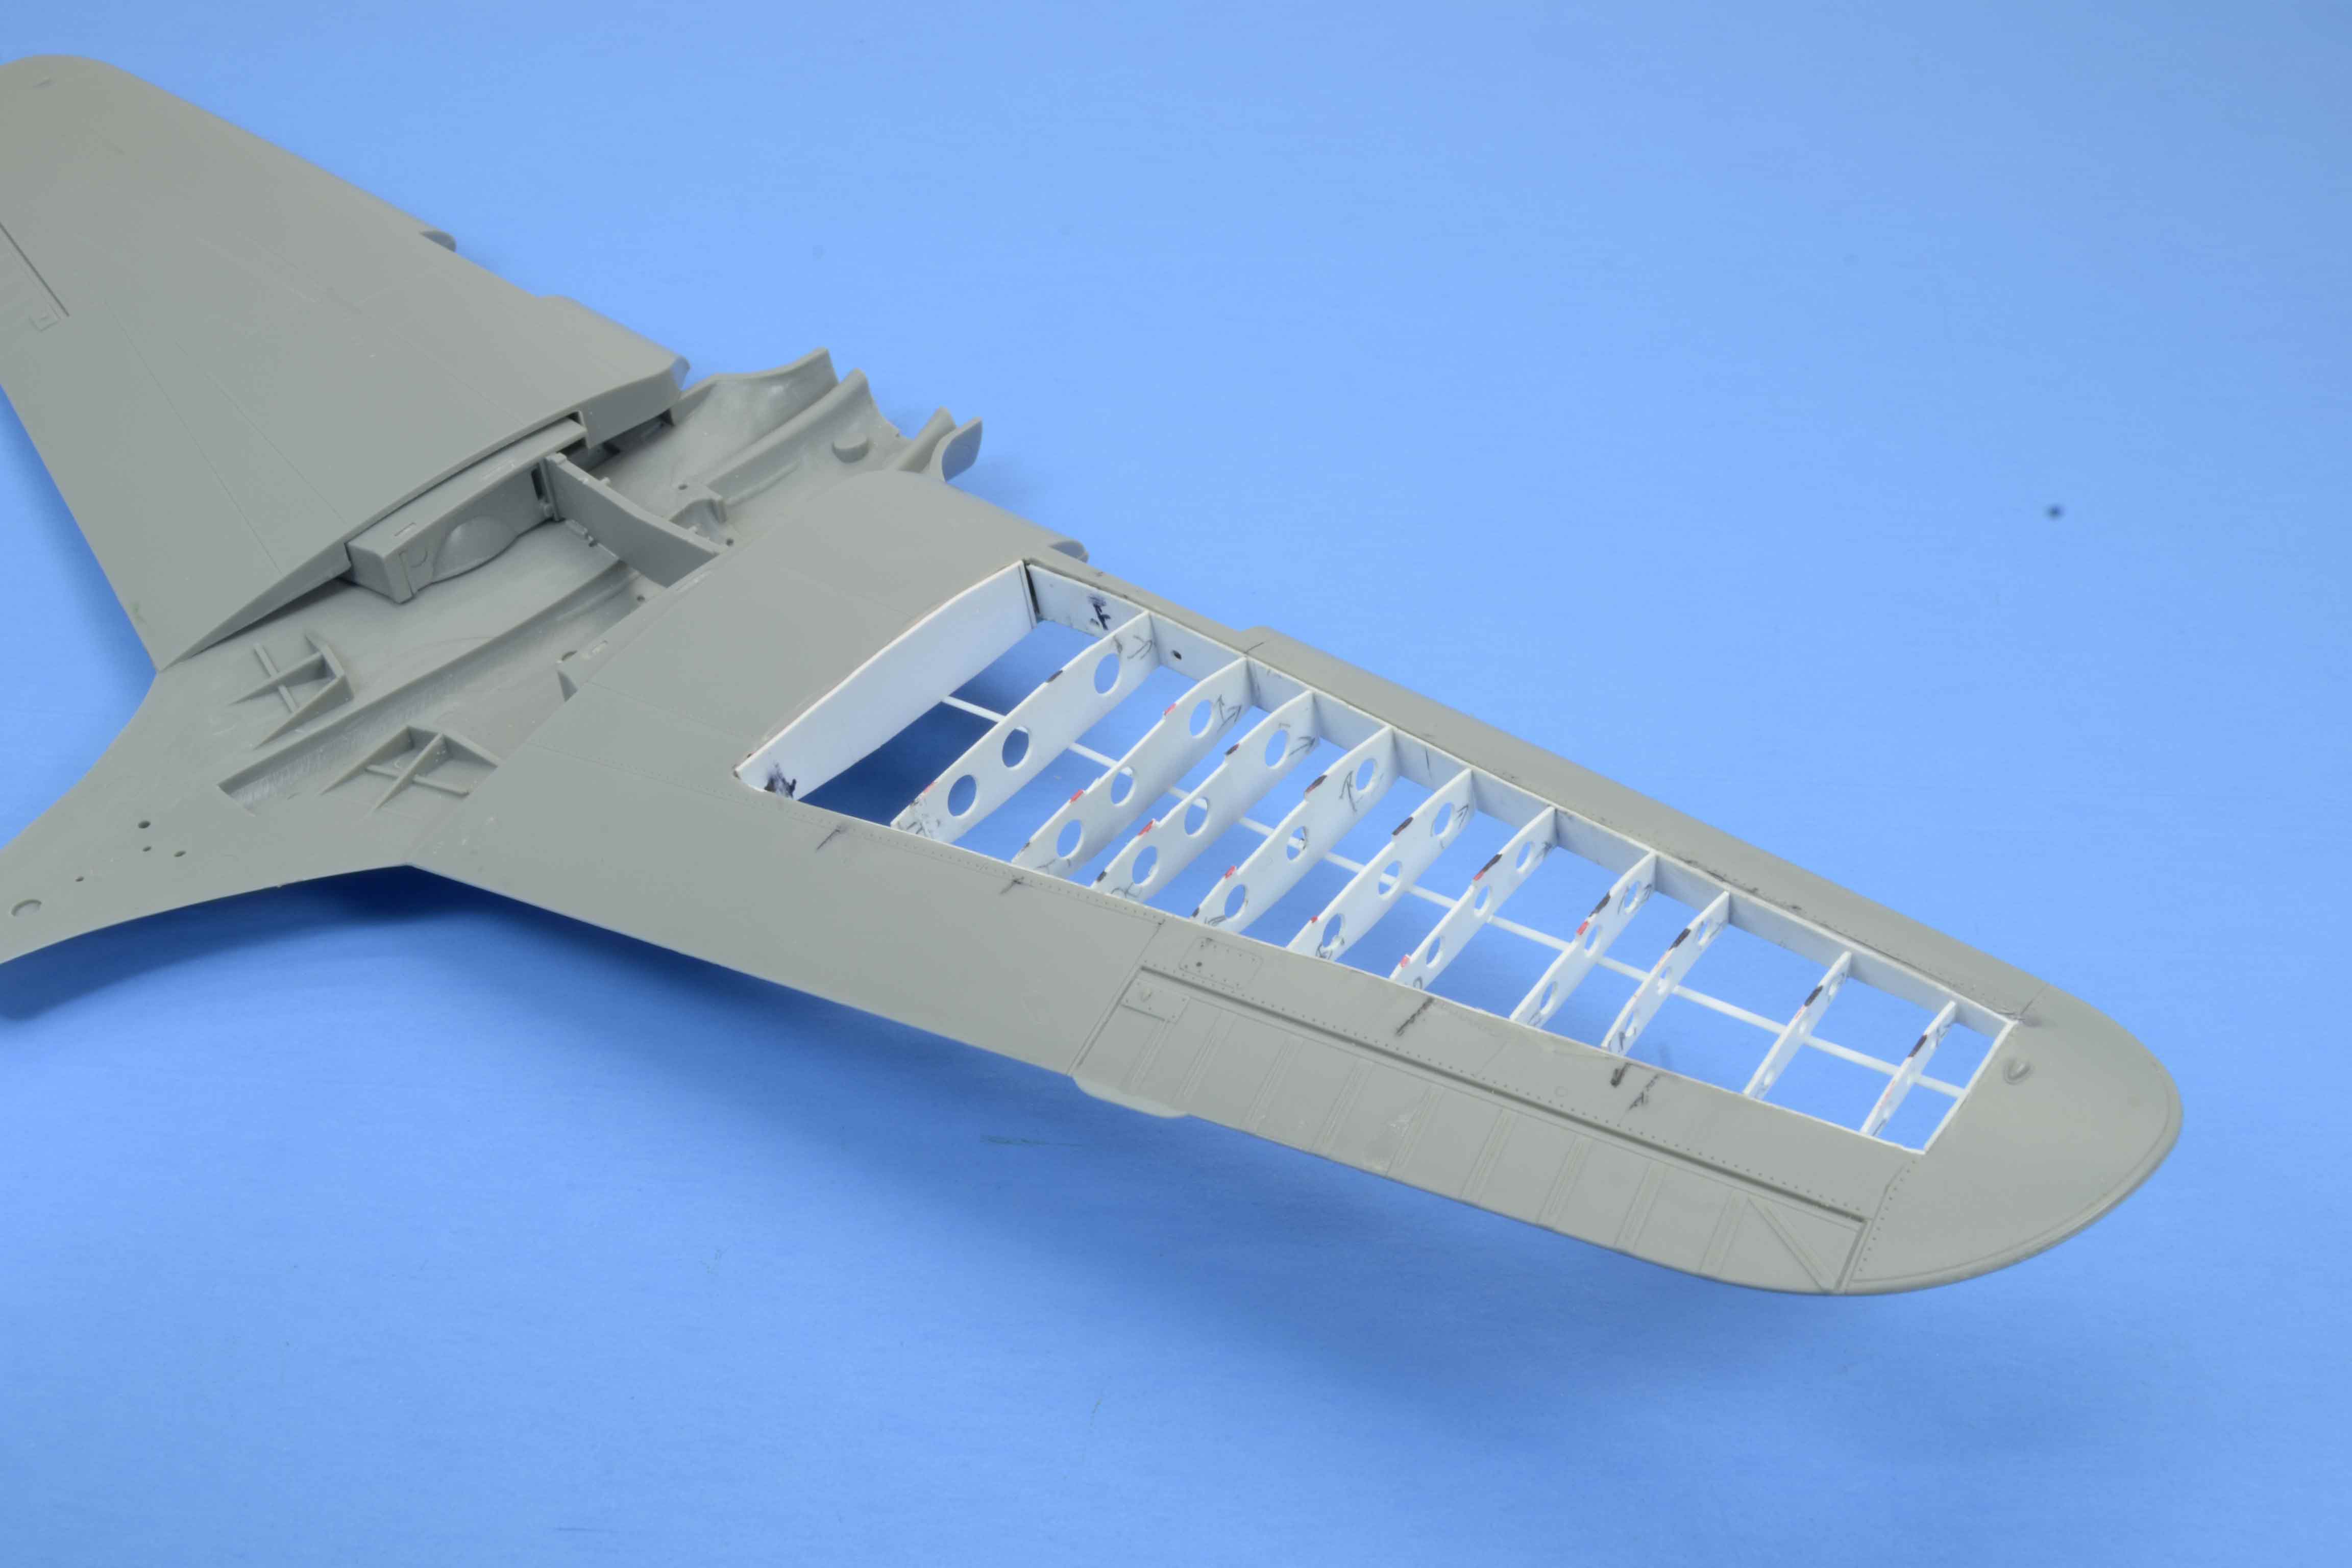
With that ready I can begin the reconstruction of the wing. Starting with the framework.


I did do a bit of work on the wing armament. Here is my rendition of the M-2 fifty cal.


And not forgetting. A picture of the fuselage closed.


All comments, critiques, and criticism are encouraged.


Joe
redcap
_VISITCOMMUNITY
England - East Midlands, United Kingdom
Joined: November 06, 2005
KitMaker: 753 posts
AeroScale: 311 posts
Posted: Saturday, December 15, 2018 - 12:19 PM UTC
Brilliant work so far!

Gary
fightnjoe
_VISITCOMMUNITY
Washington, United States
Joined: August 16, 2004
KitMaker: 603 posts
AeroScale: 565 posts
Posted: Sunday, December 16, 2018 - 03:47 PM UTC
Very kind.


Joe
fightnjoe
_VISITCOMMUNITY
Washington, United States
Joined: August 16, 2004
KitMaker: 603 posts
AeroScale: 565 posts
Posted: Thursday, December 27, 2018 - 02:40 PM UTC
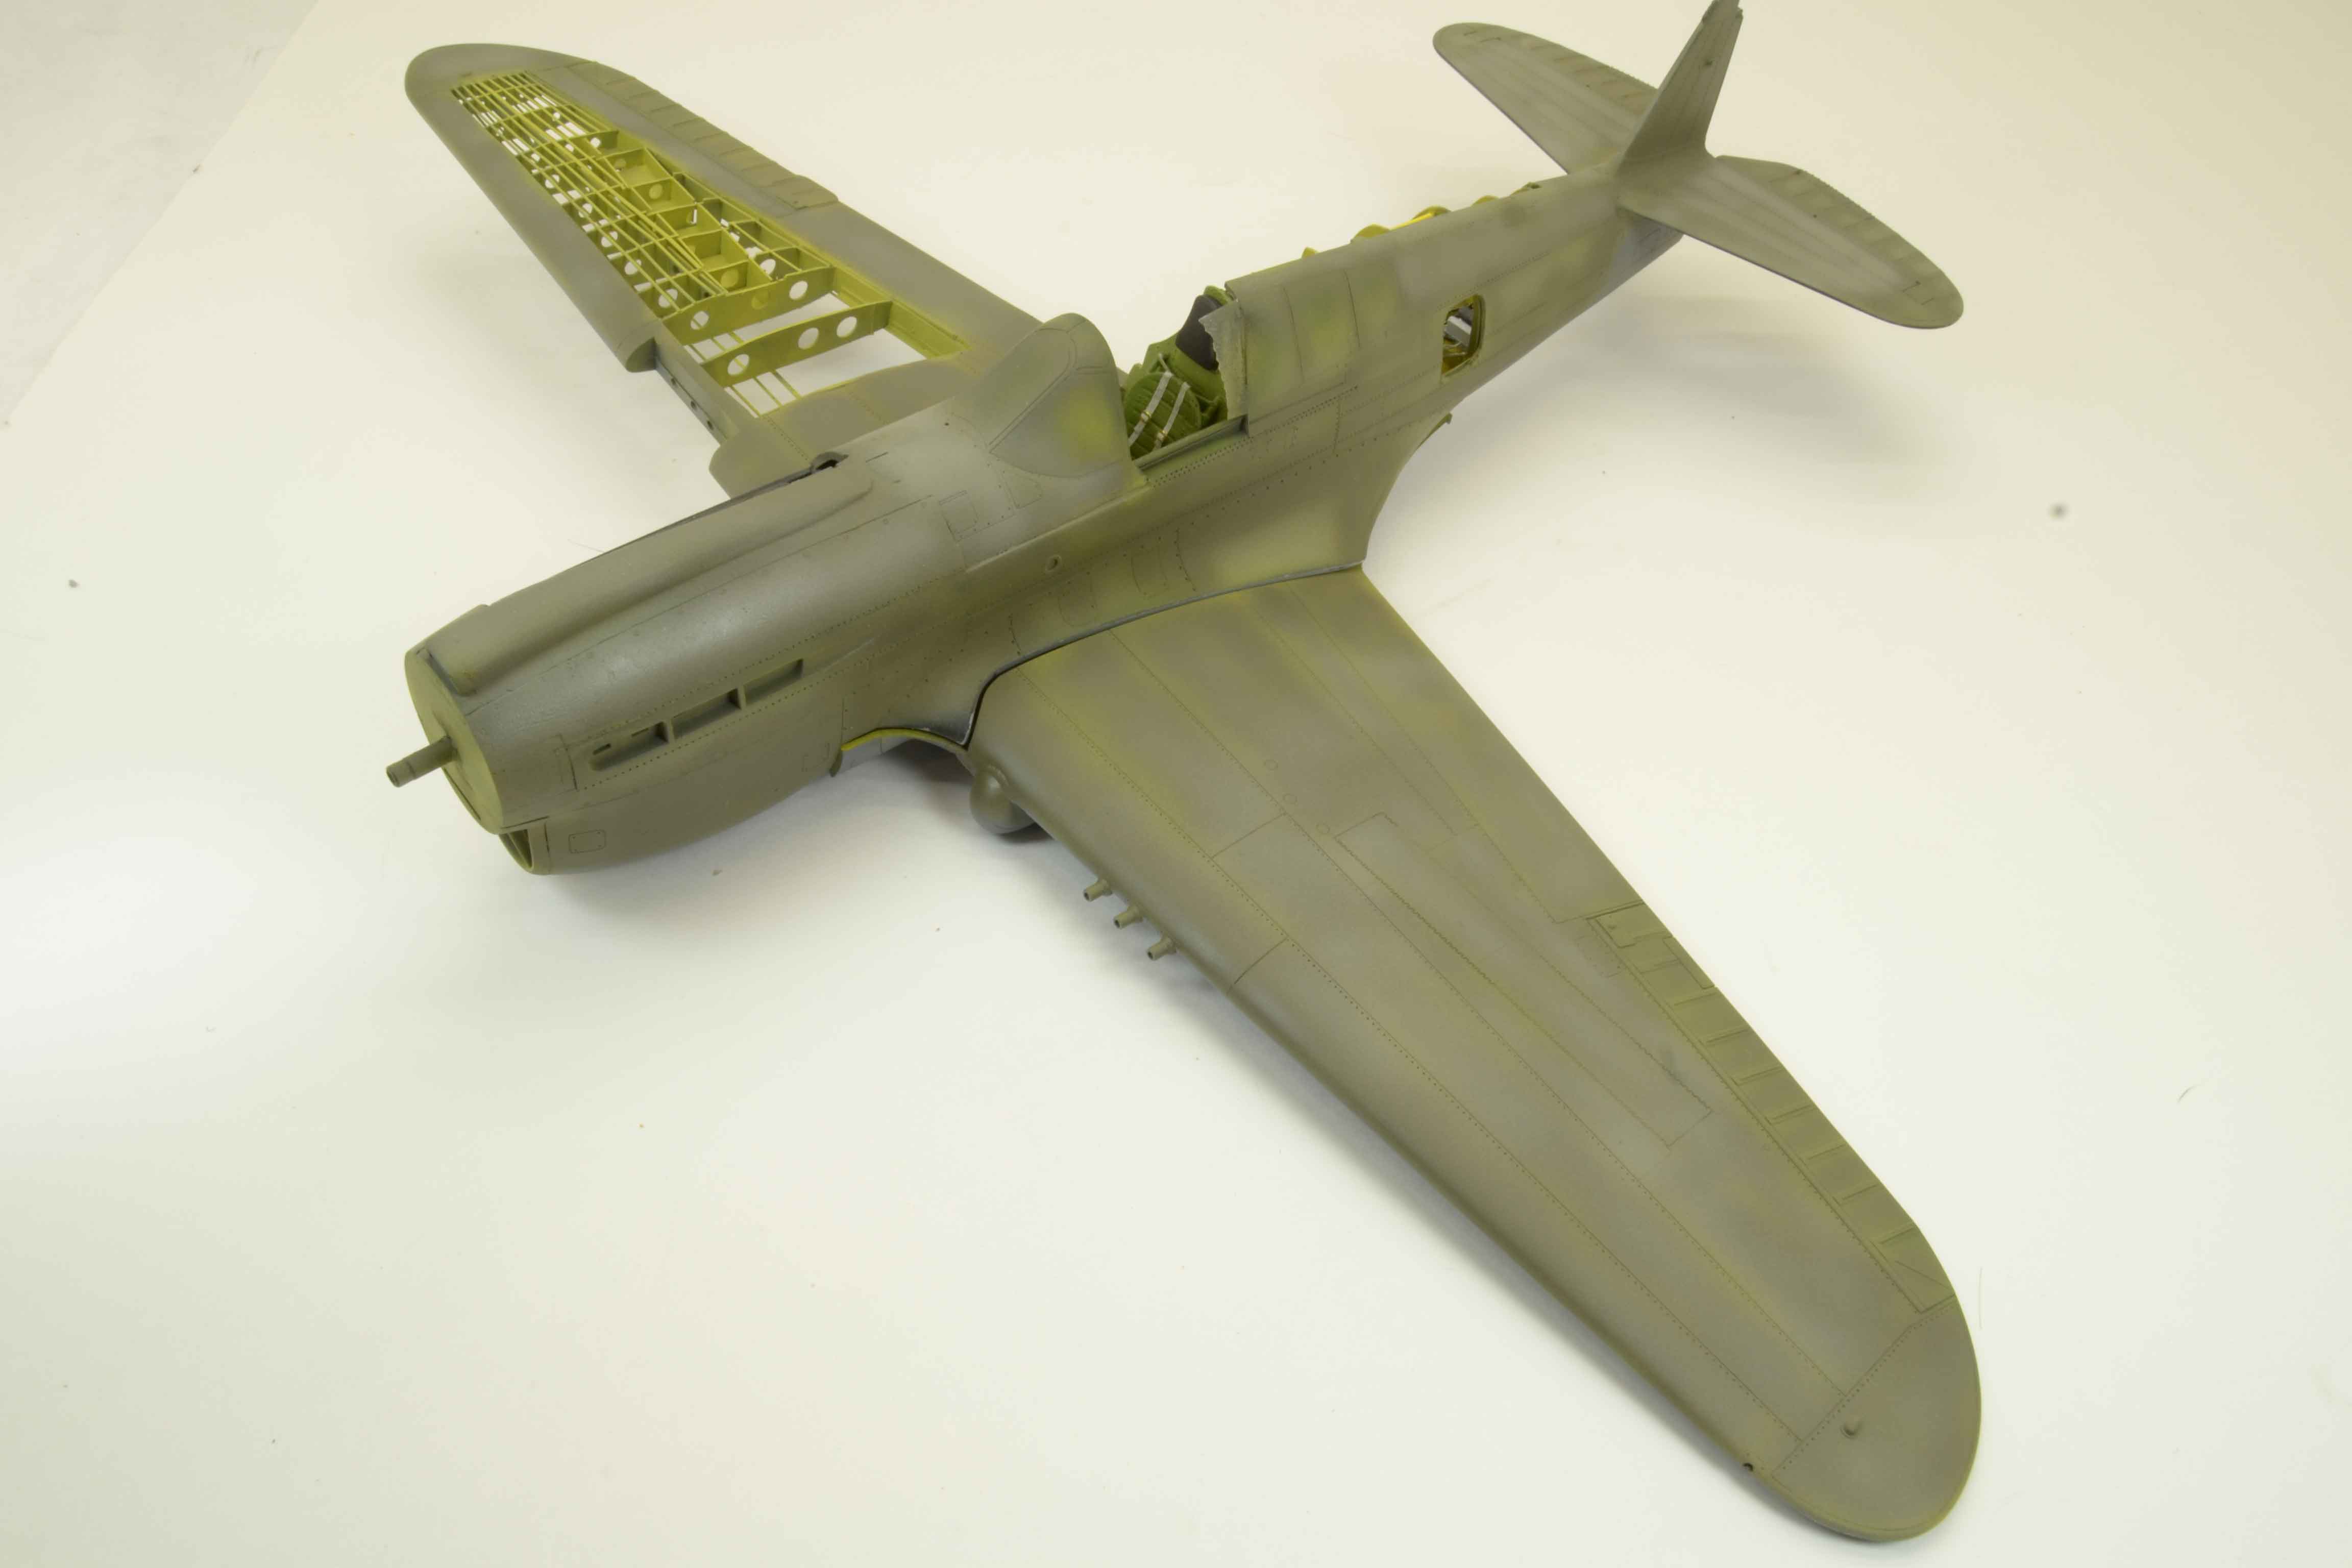
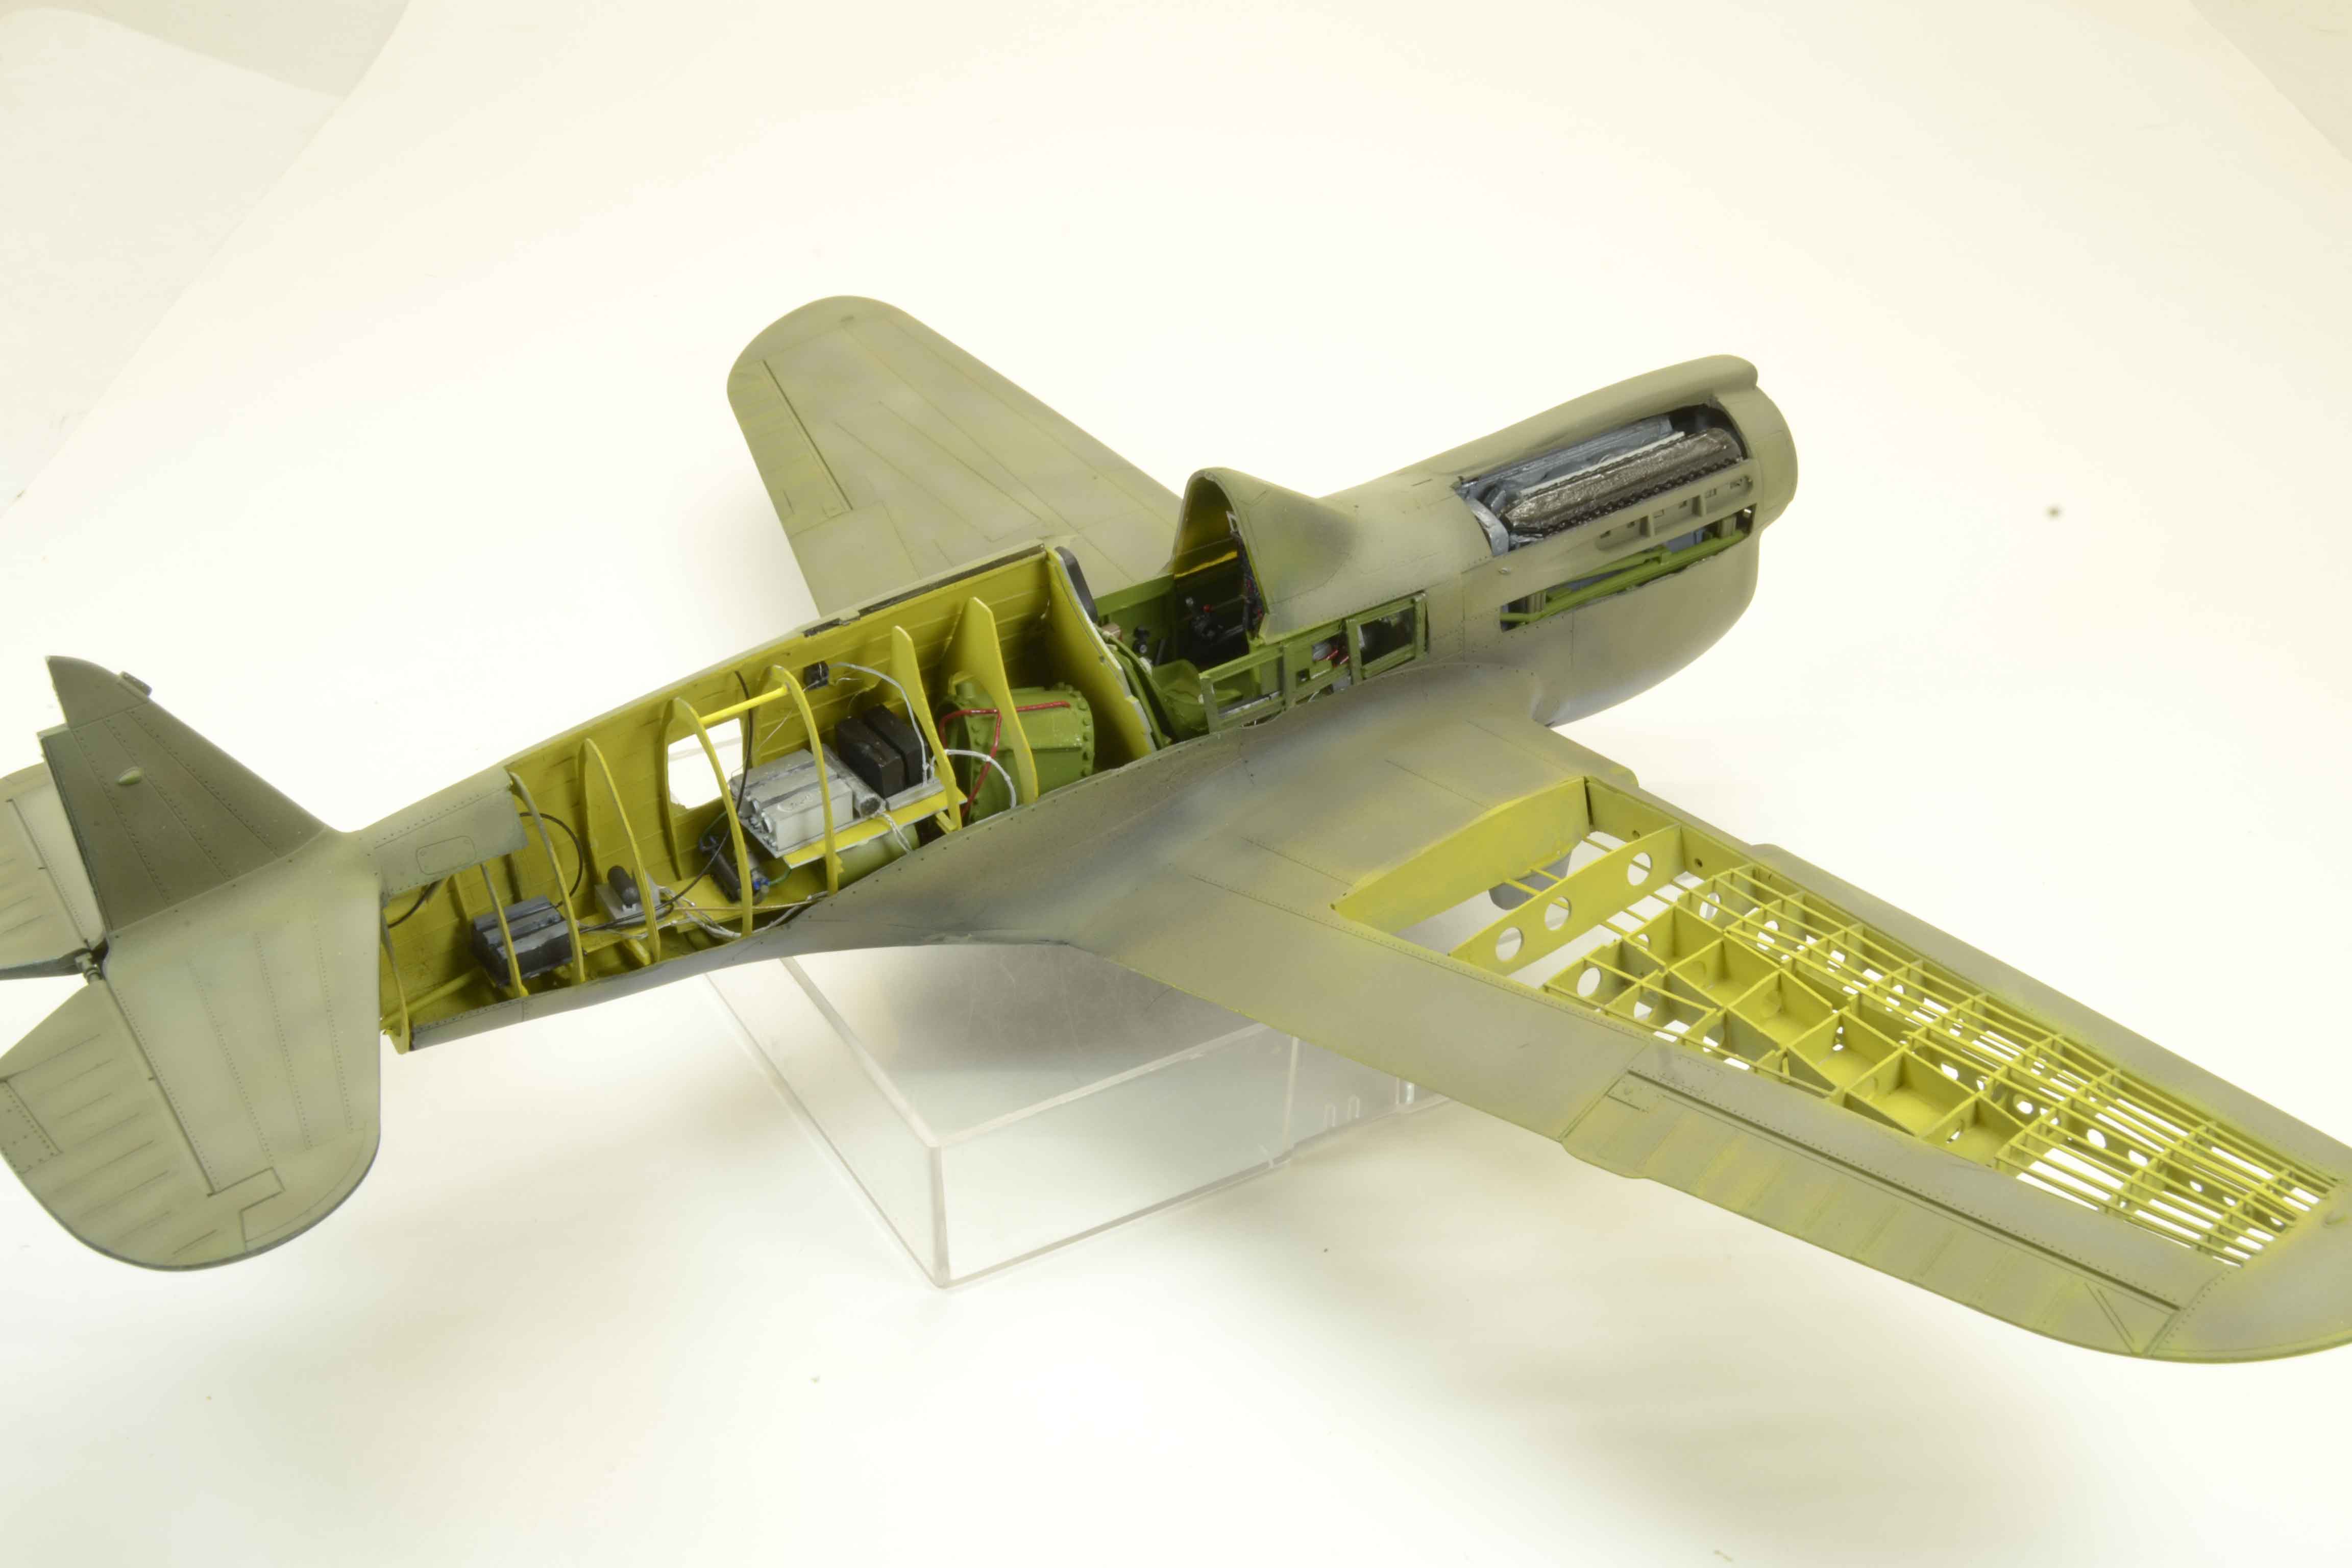
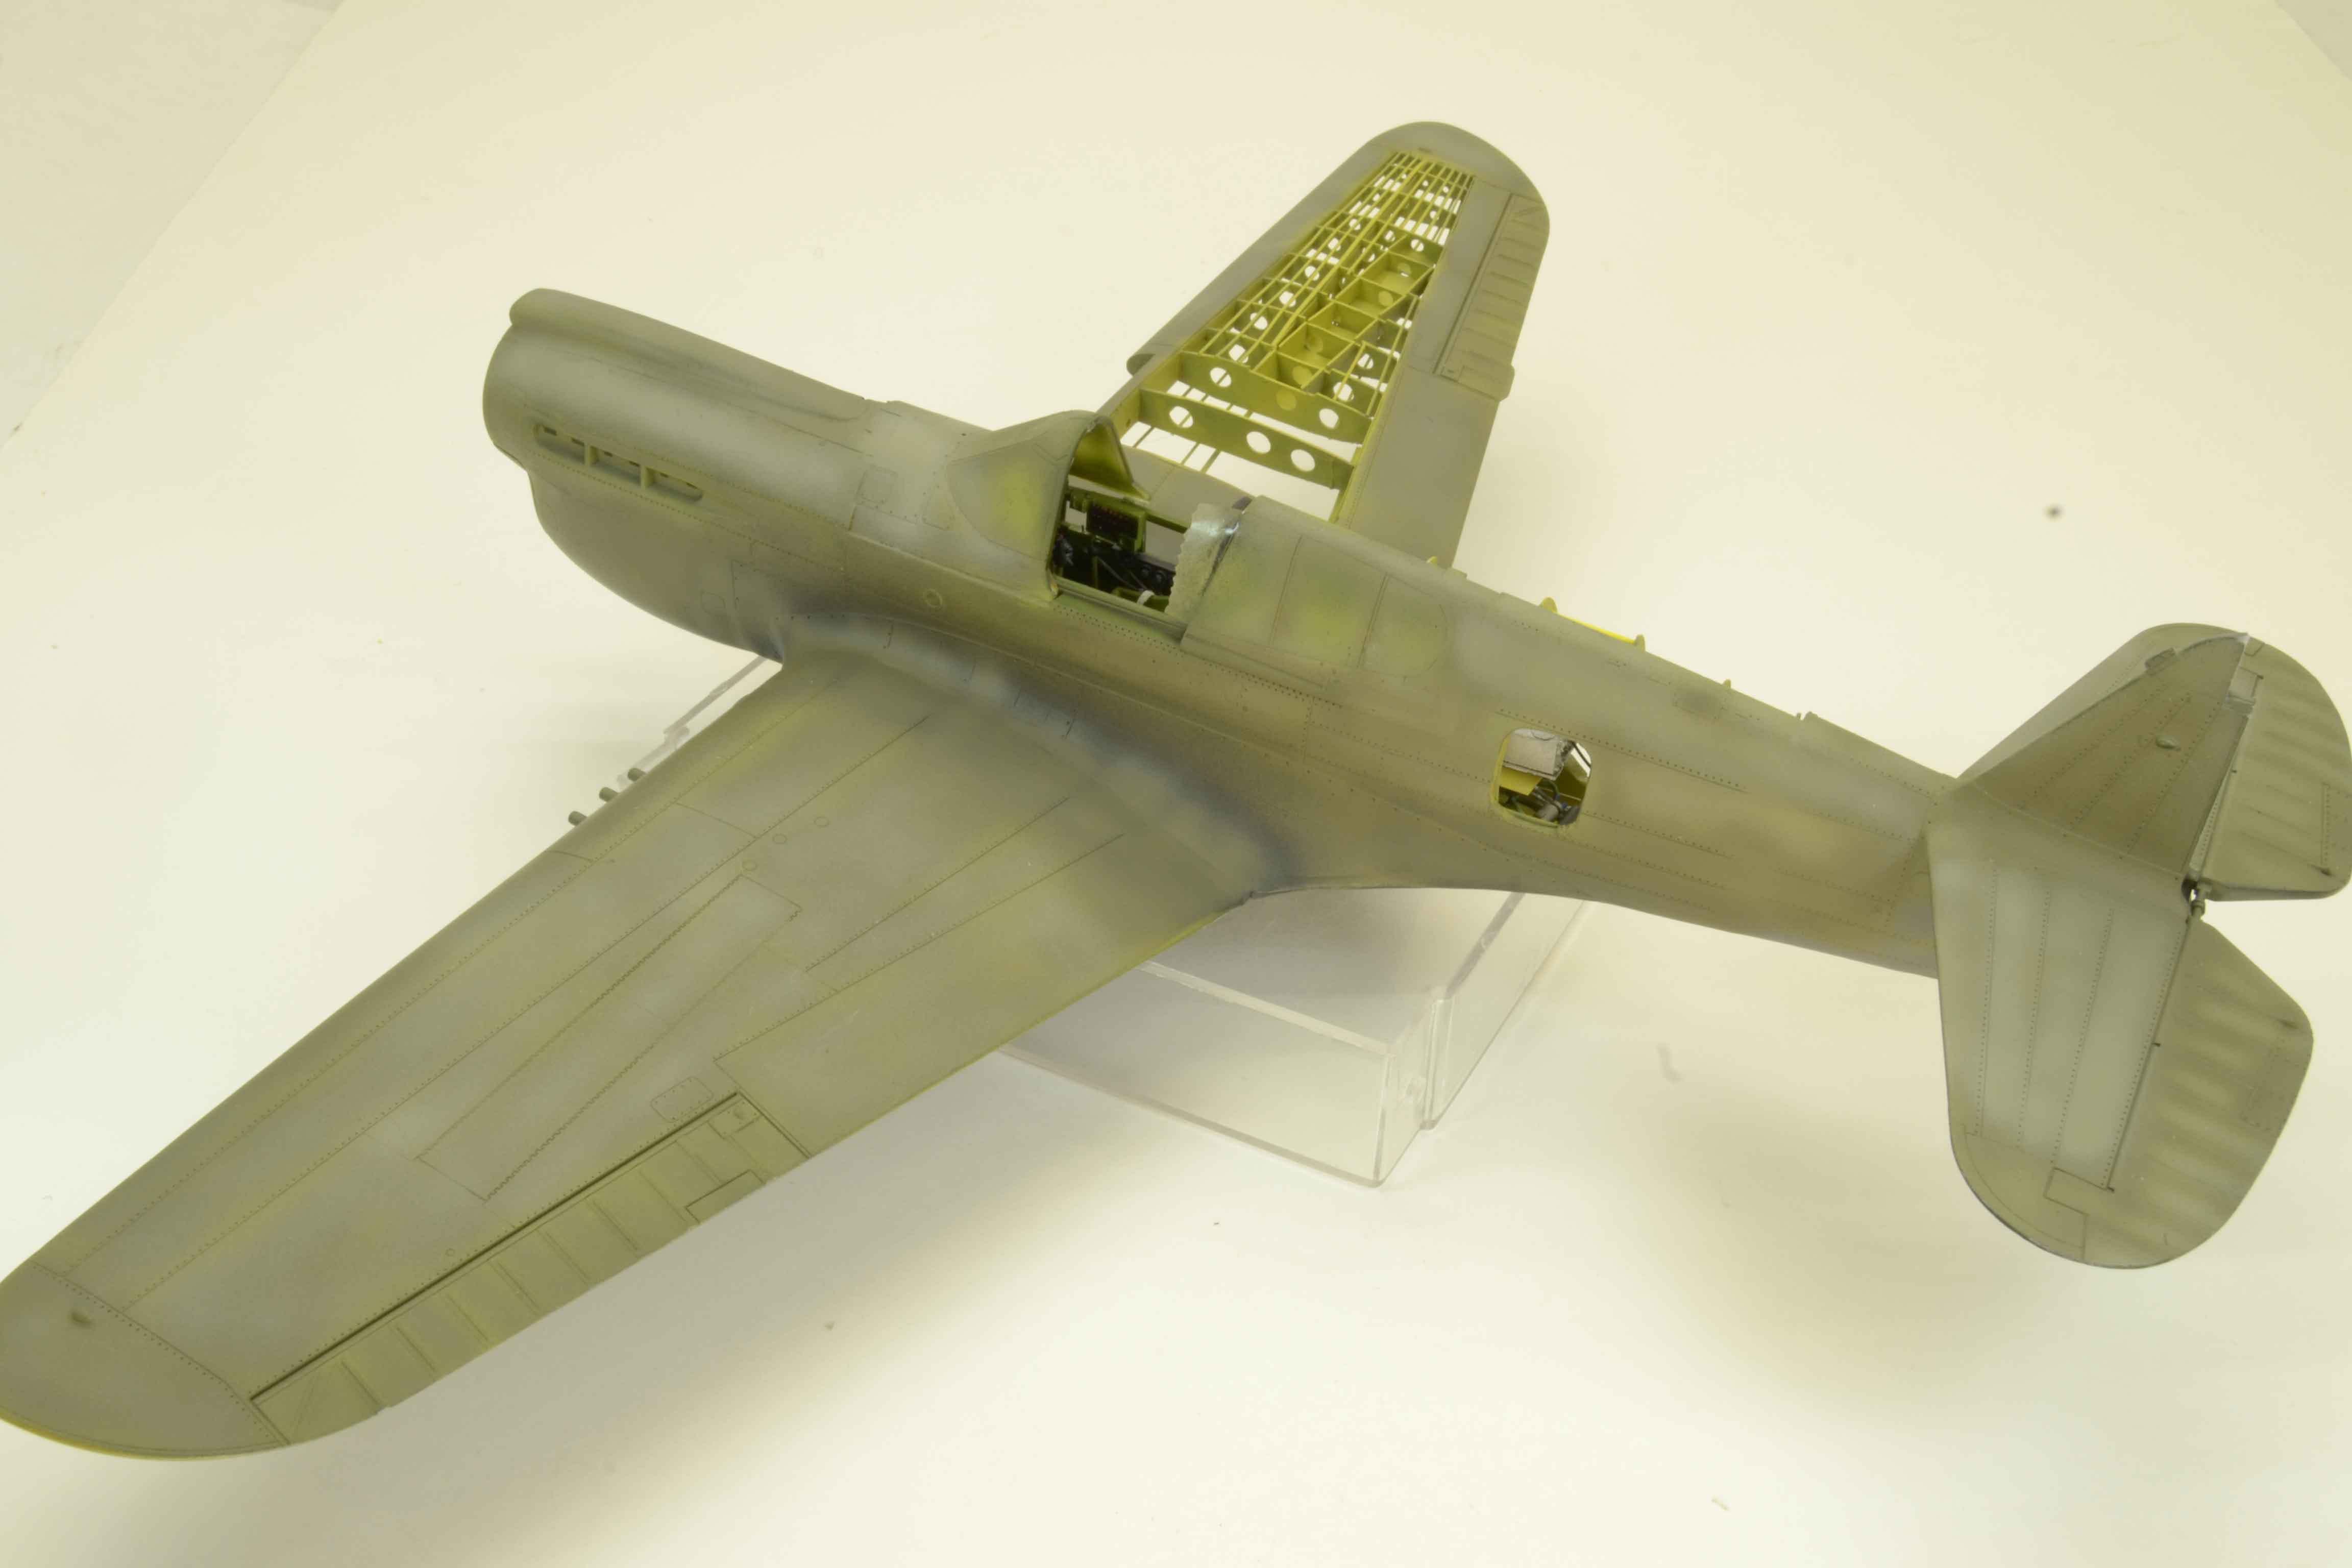
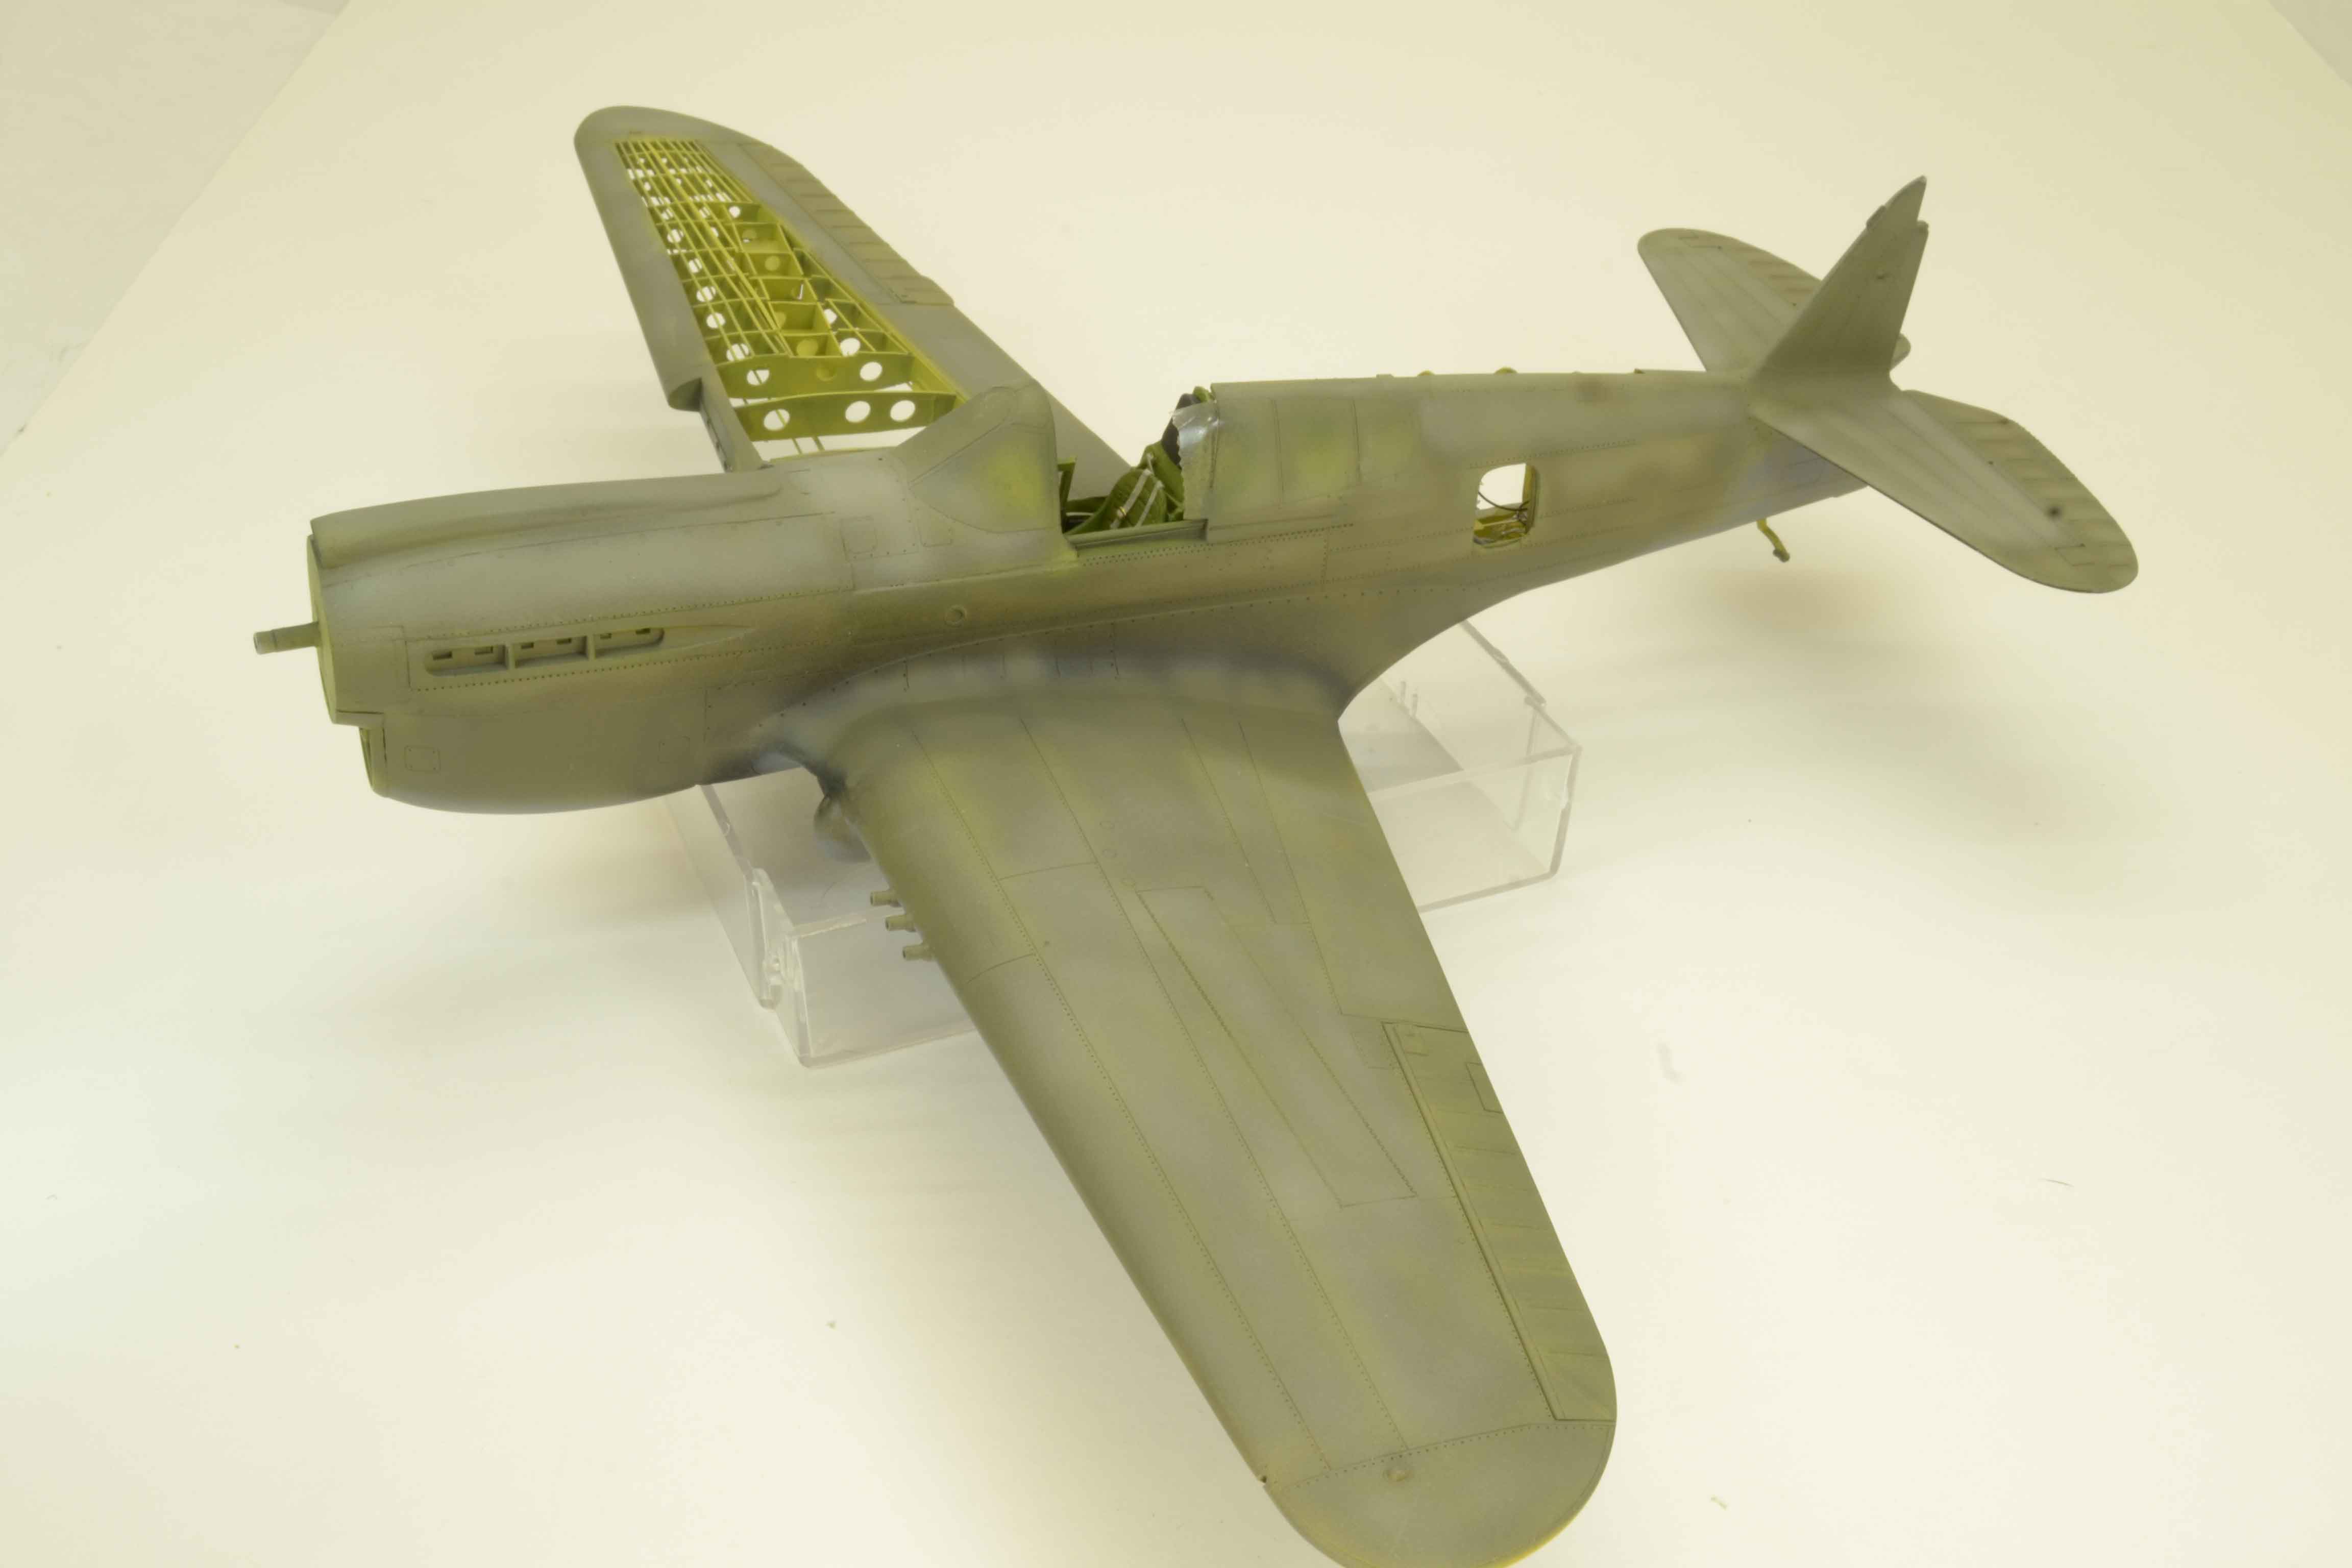
Well my friends another update on the Hasegawa 1/32 P-40E.

This one is all about the wings.


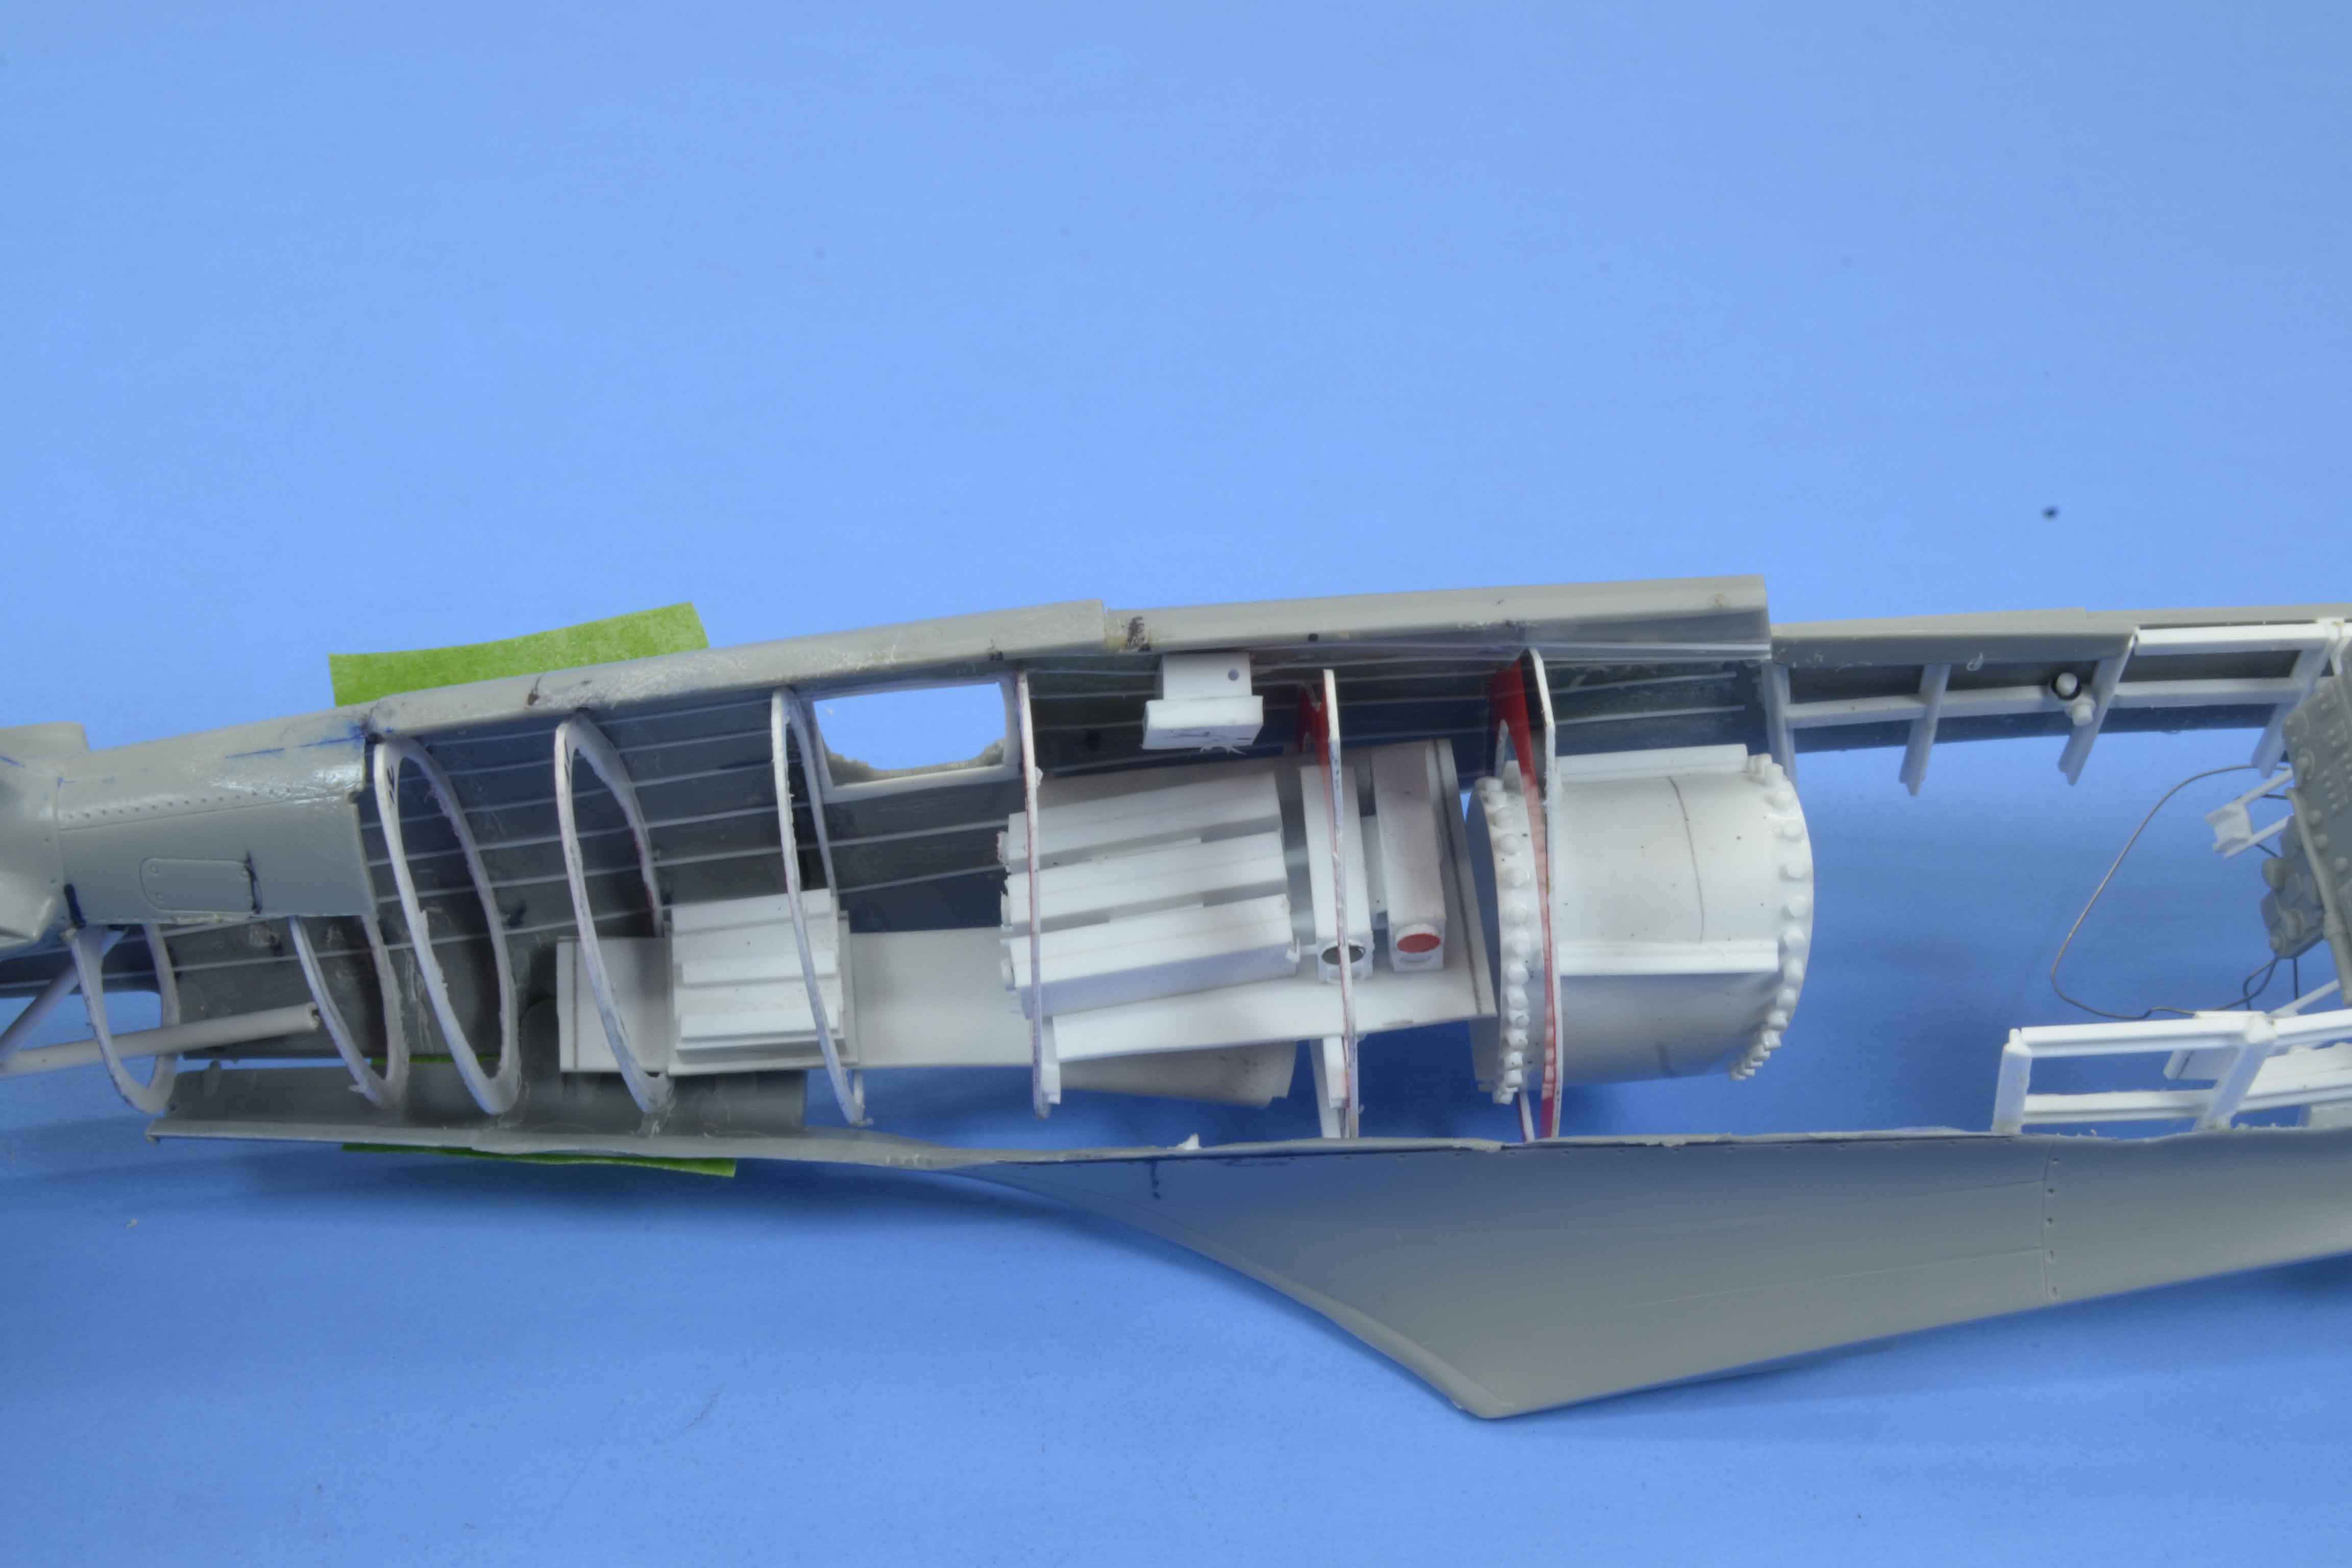
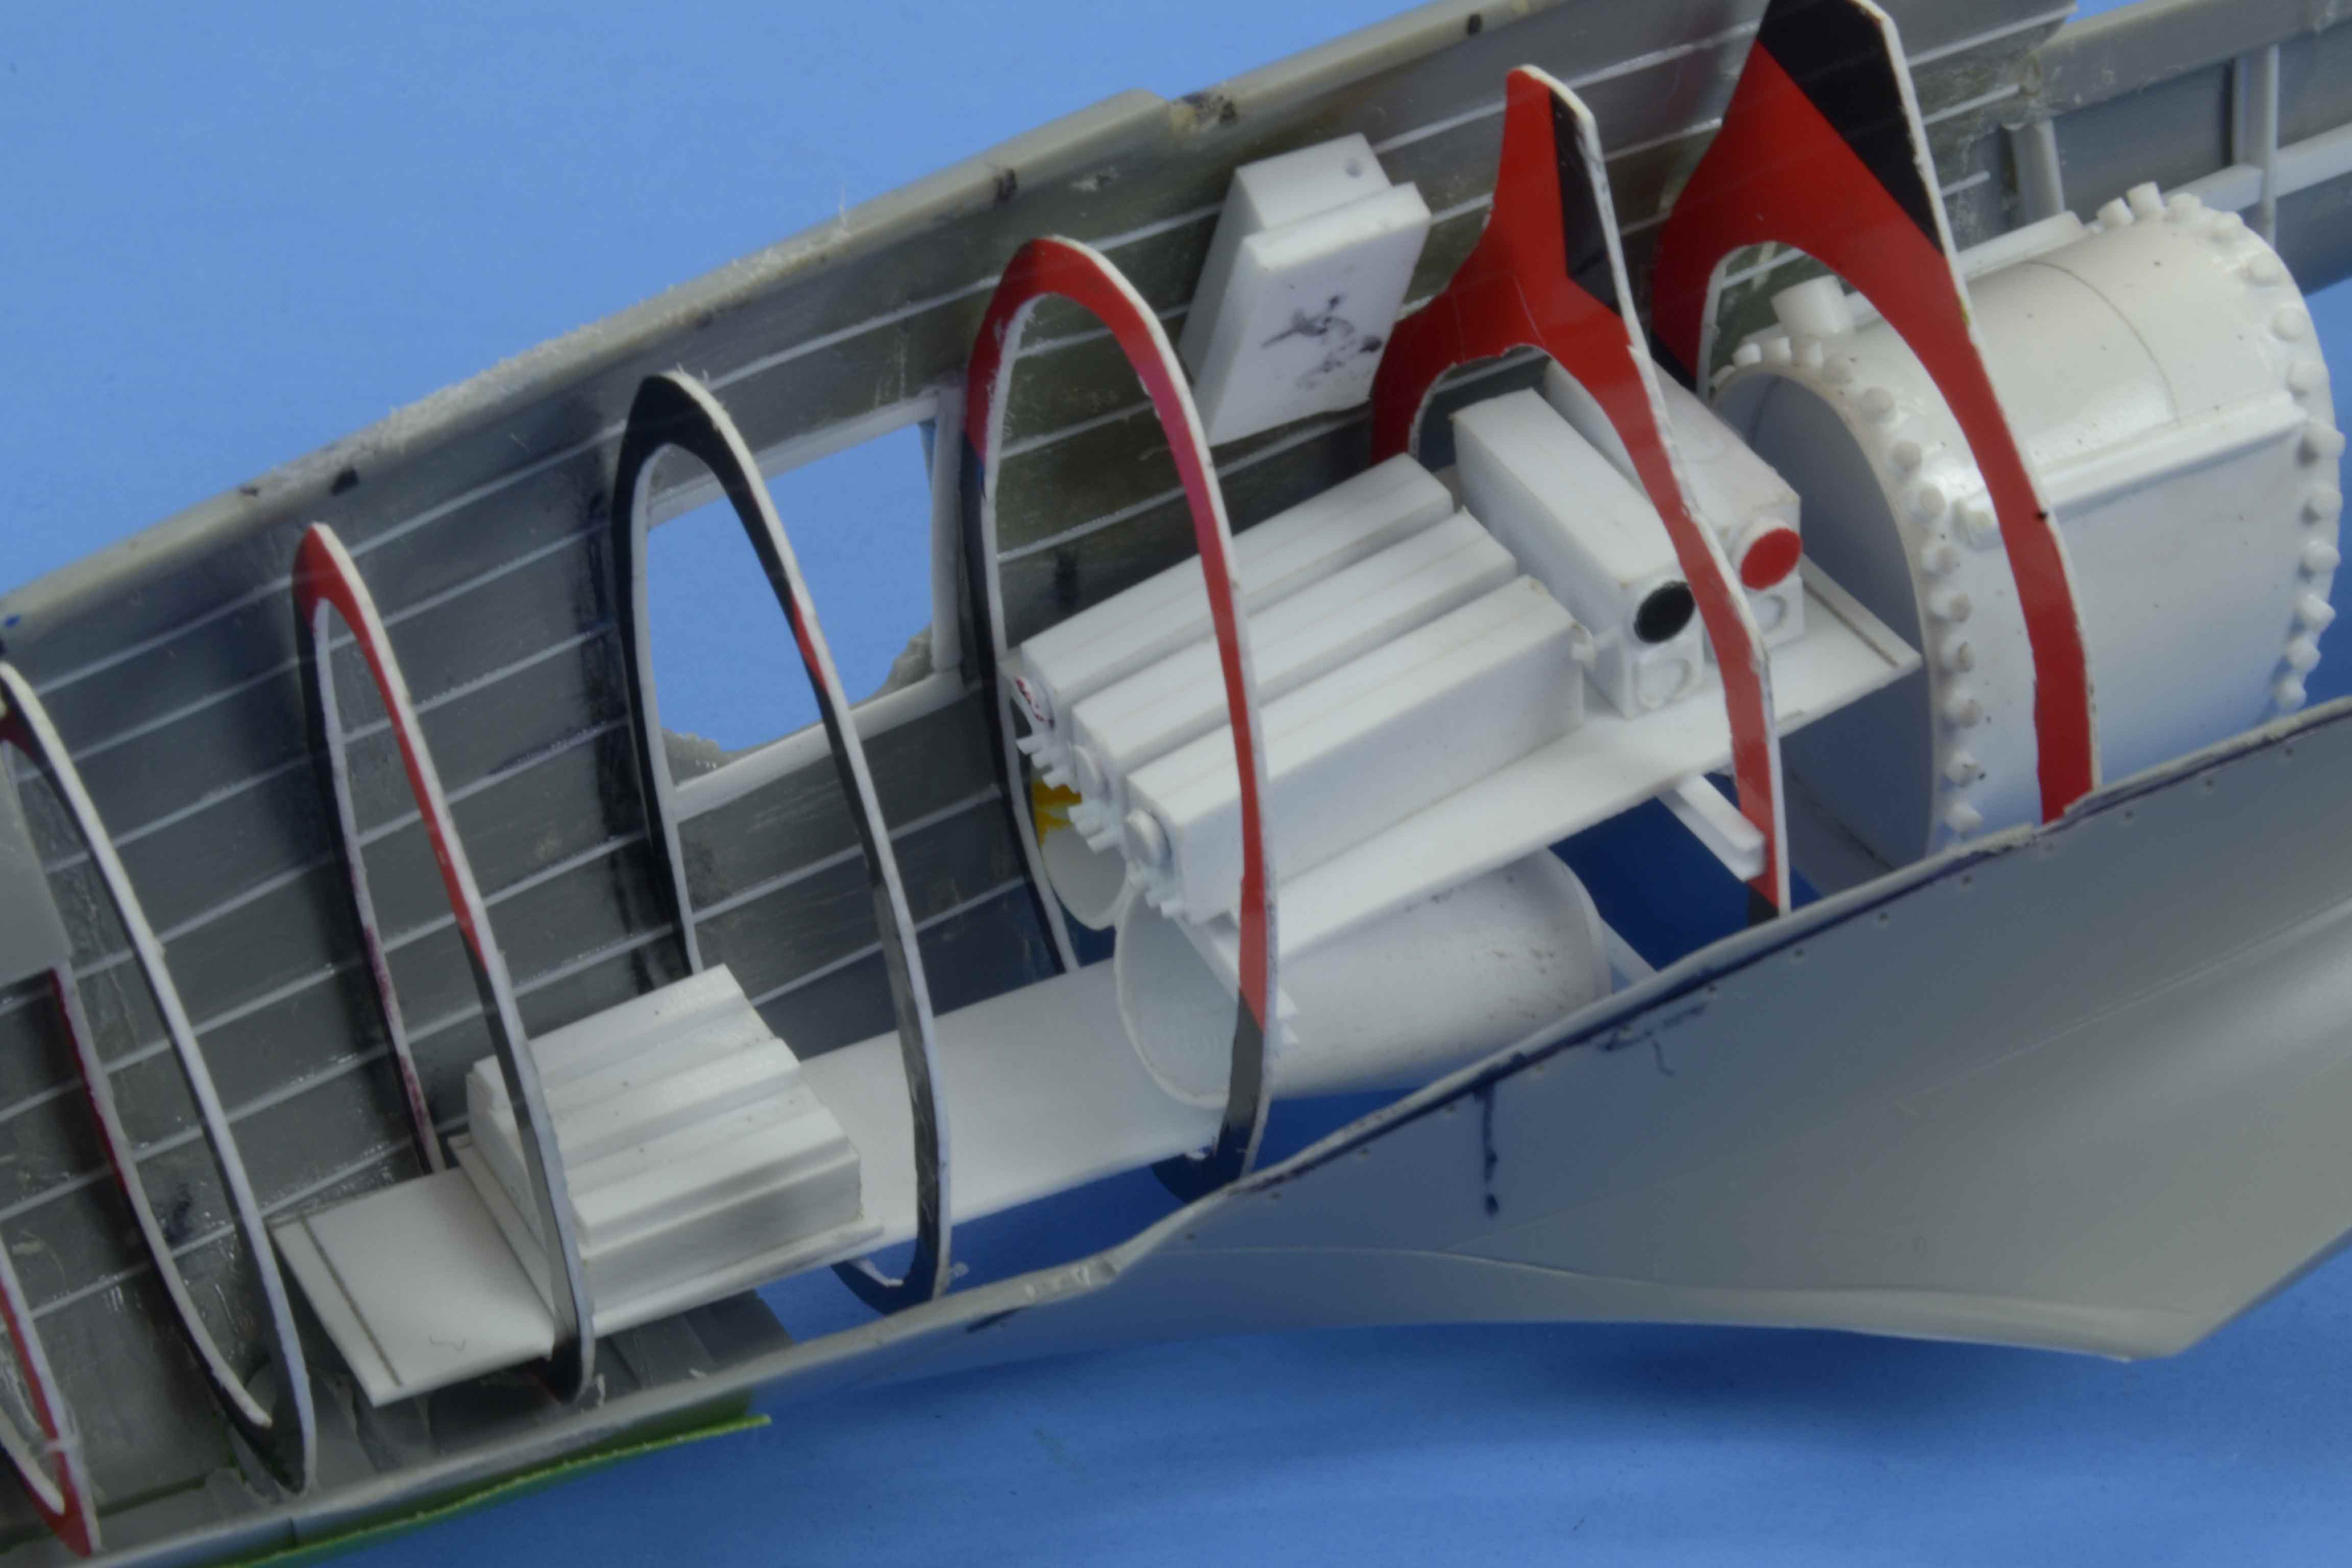
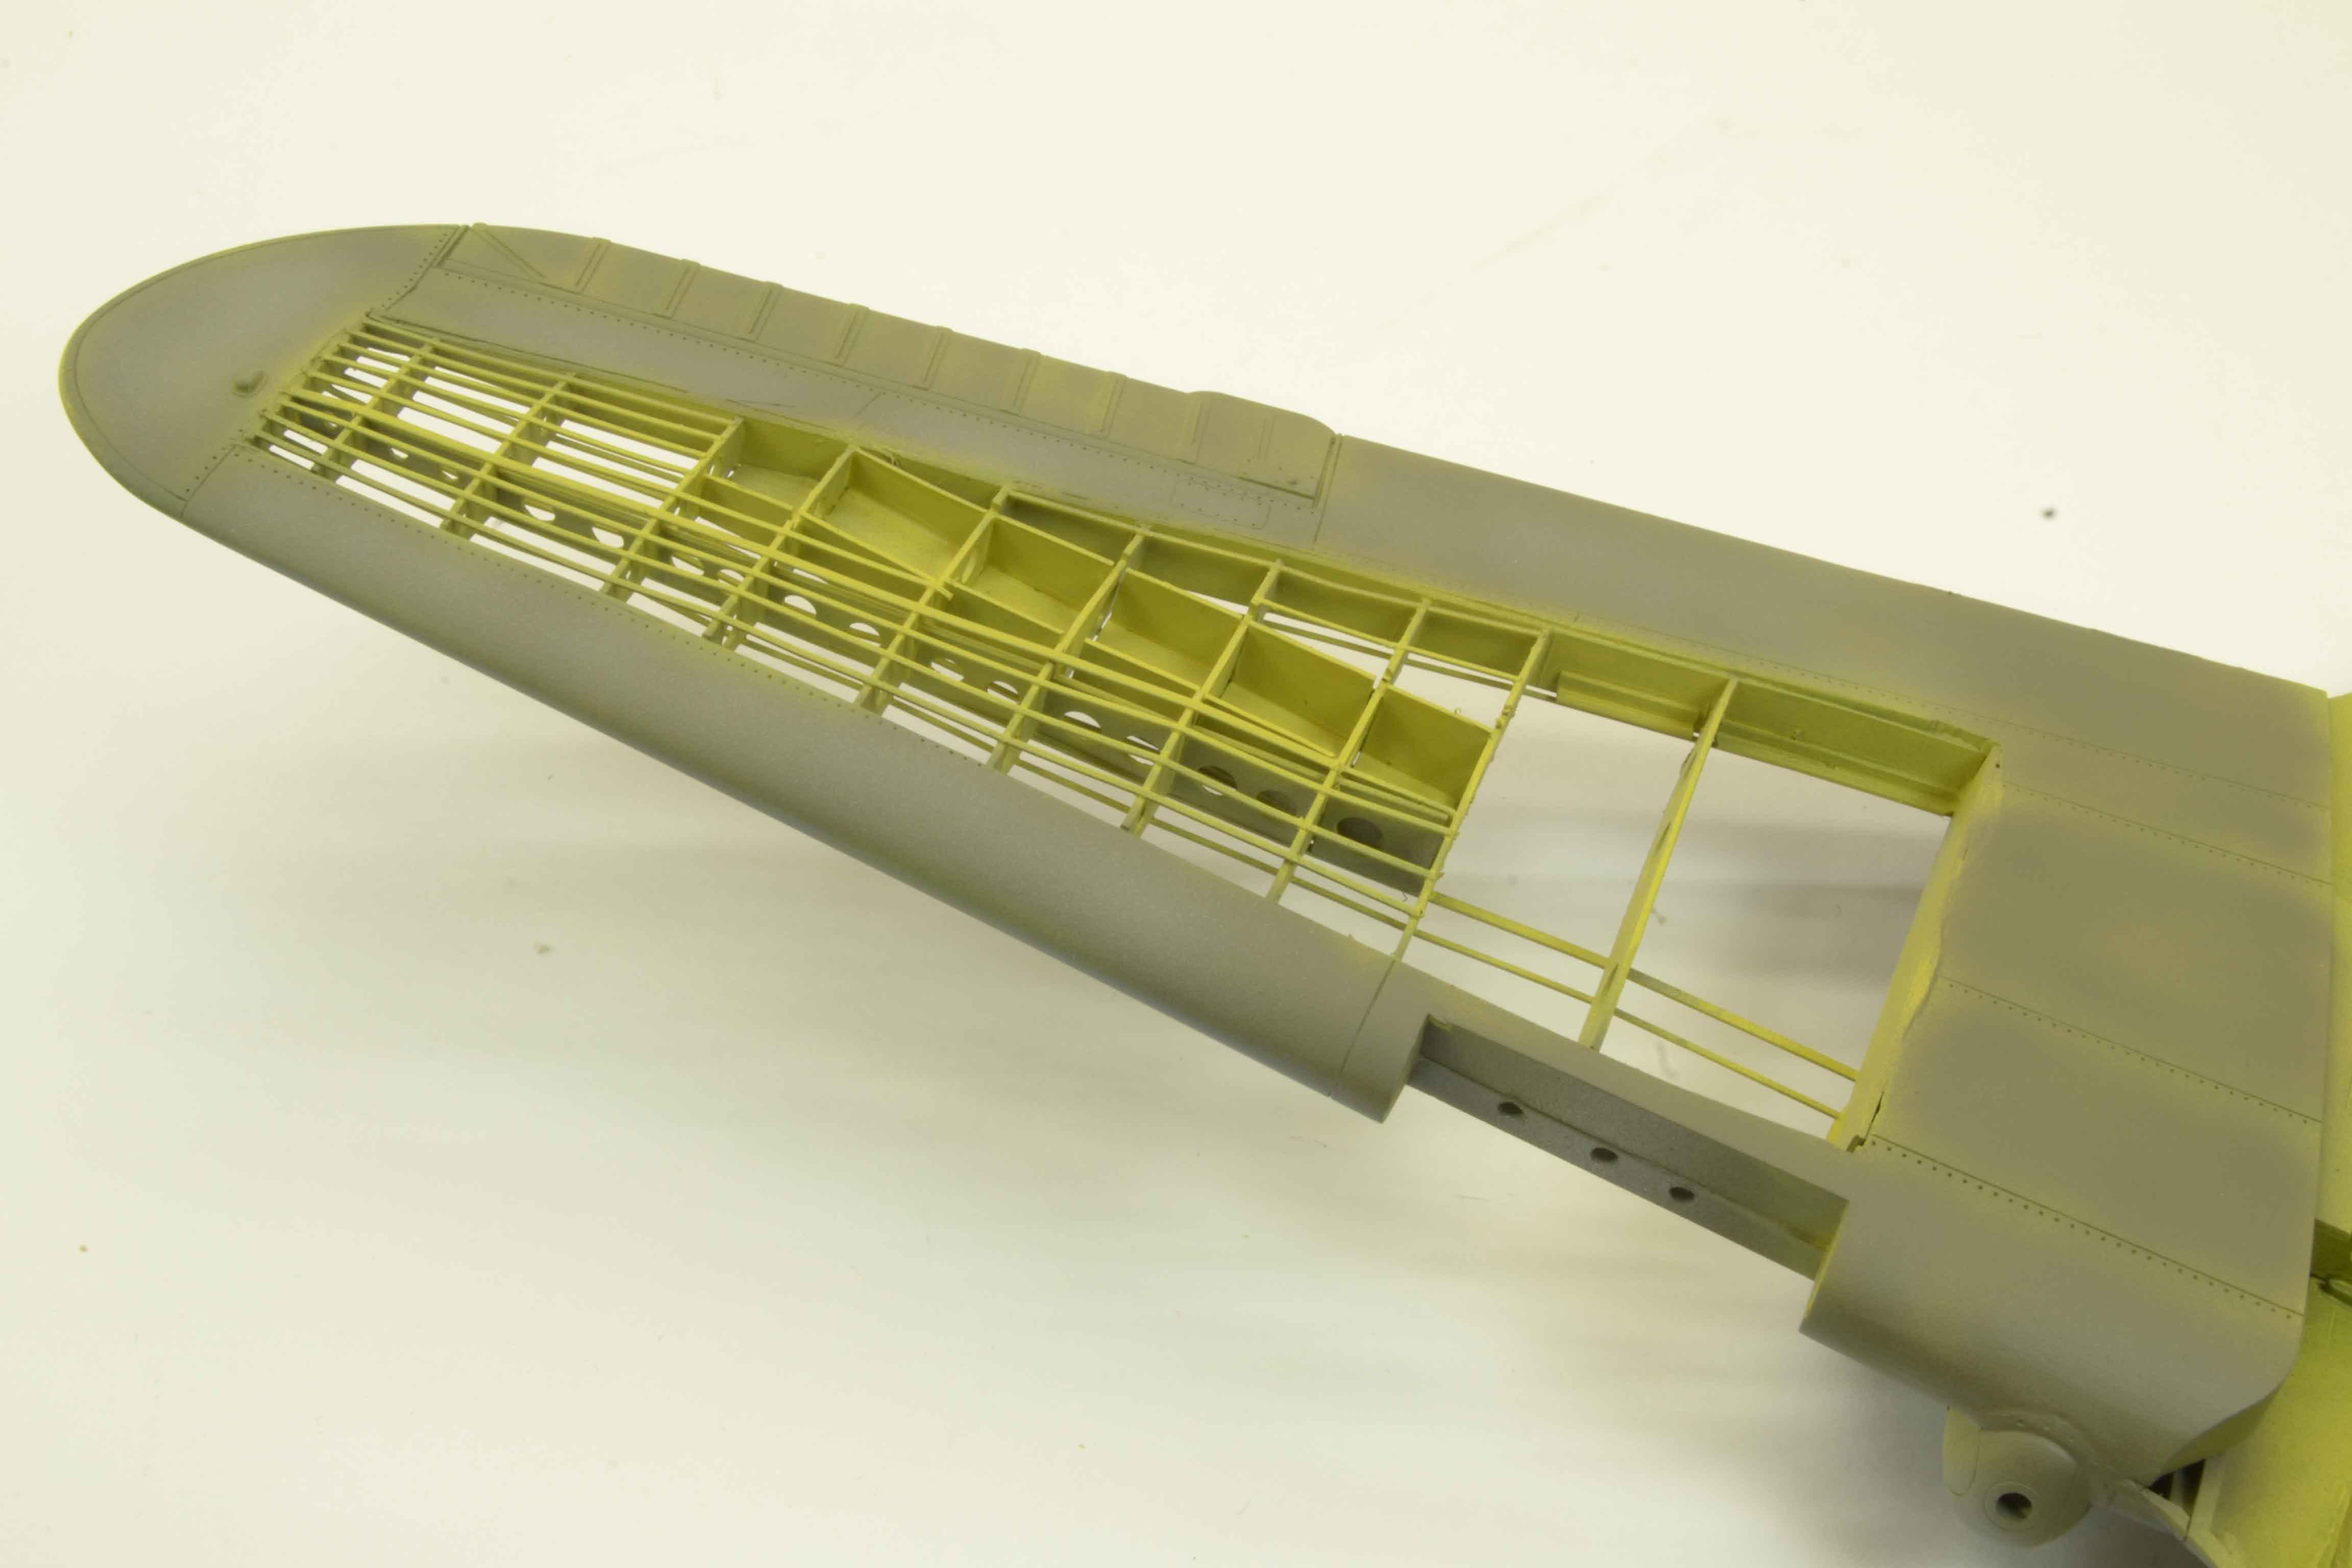
Construction of the framework is done. The stringers are in. The ammo box is in. The wing has been prepped for the armament.

Next up is adding some color.

First is a base of Stynelrez Metal Primer. On that a very uneven almost haphazzard coat of Stynelrez Flat Black. The true colors start with a patchy coat of Model Master Acrylic Zinc Chromate Yellow. This coat is to mimic the actual primer coat of WW2 aircraft. Model Master Enamel Olive Drab is sprayed paying attention to the panel lines but allowing a bit of overspray in areas. A bit of sun bleaching is added by spraying Olive Drab lightened with Model Master Enamel Flat White.

Honestly it is how I had hoped.


Next step is the little bits and bobs for the interior of the wing and then to attach the wing to the fuselage. You can see one of the major issues upcoming, that wing root gap.


All comments, critiques, and criticism are encouraged.


Joe
fightnjoe
_VISITCOMMUNITY
Washington, United States
Joined: August 16, 2004
KitMaker: 603 posts
AeroScale: 565 posts
Posted: Wednesday, January 02, 2019 - 04:29 PM UTC
A quick update on the Hasegawa 1/32 P-40E.

In short the wing is on. It took a massive six hour battle but it is on. There was some collateral damage. Of the damage some I was able to work with, the rest I cannot fix without total tear down. Not sure I want to go there at the moment.

For now.


Now I can move on. My real decision is do I place the details in the wing and risk breaking them in the rest of the process or do I move on with decals and smaller parts. Gonna have to think on that one.


All comments, critiques, and criticism are encouraged.


Joe
 _GOTOTOP