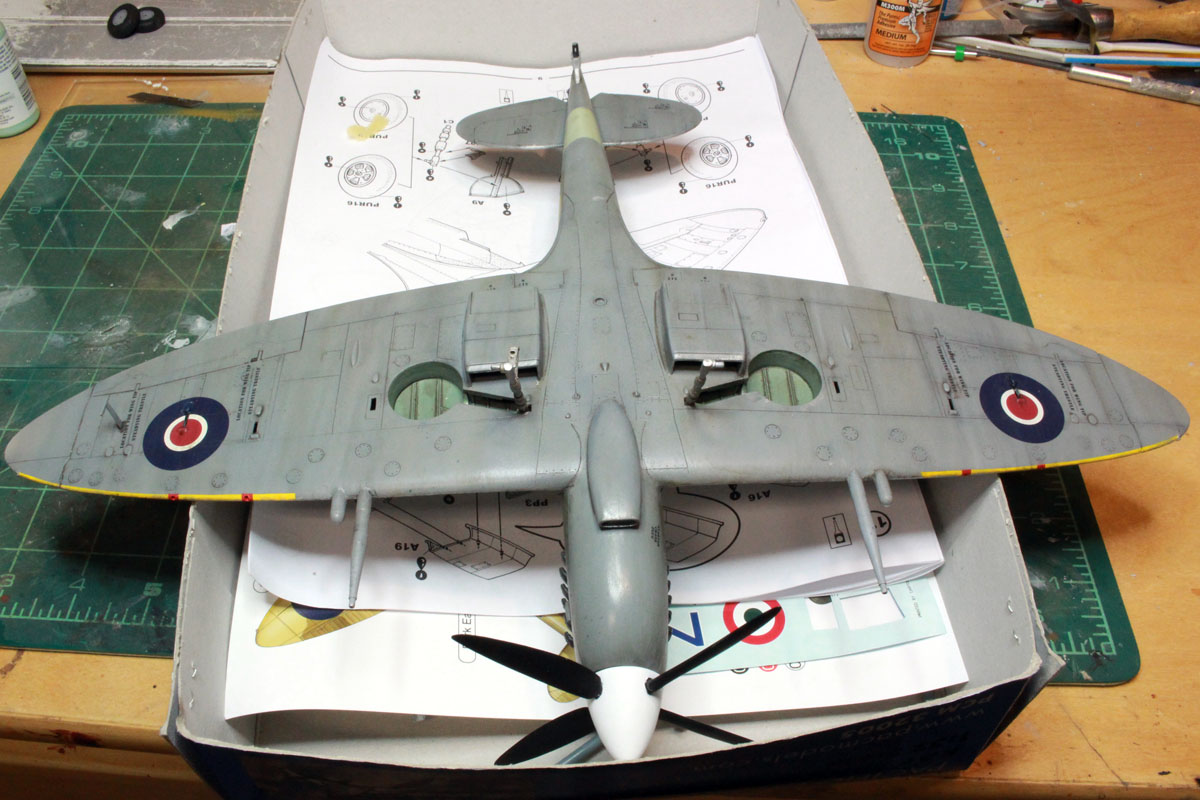
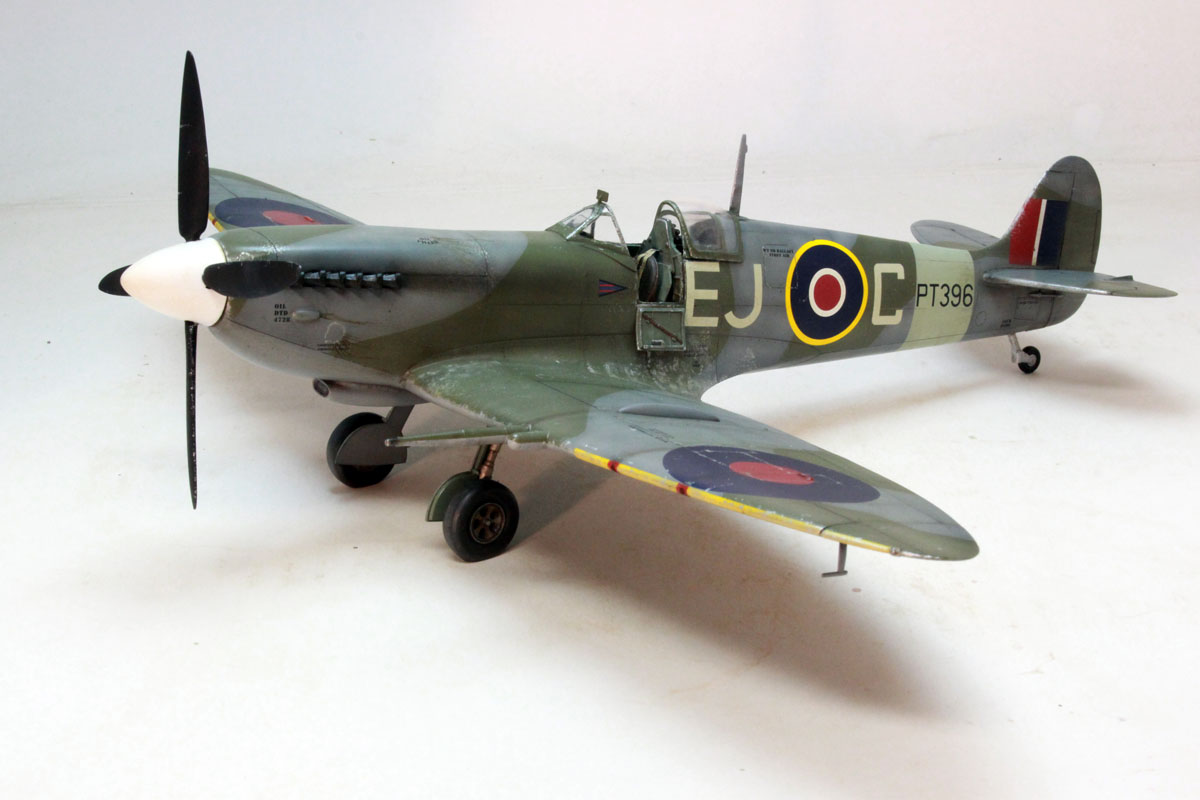
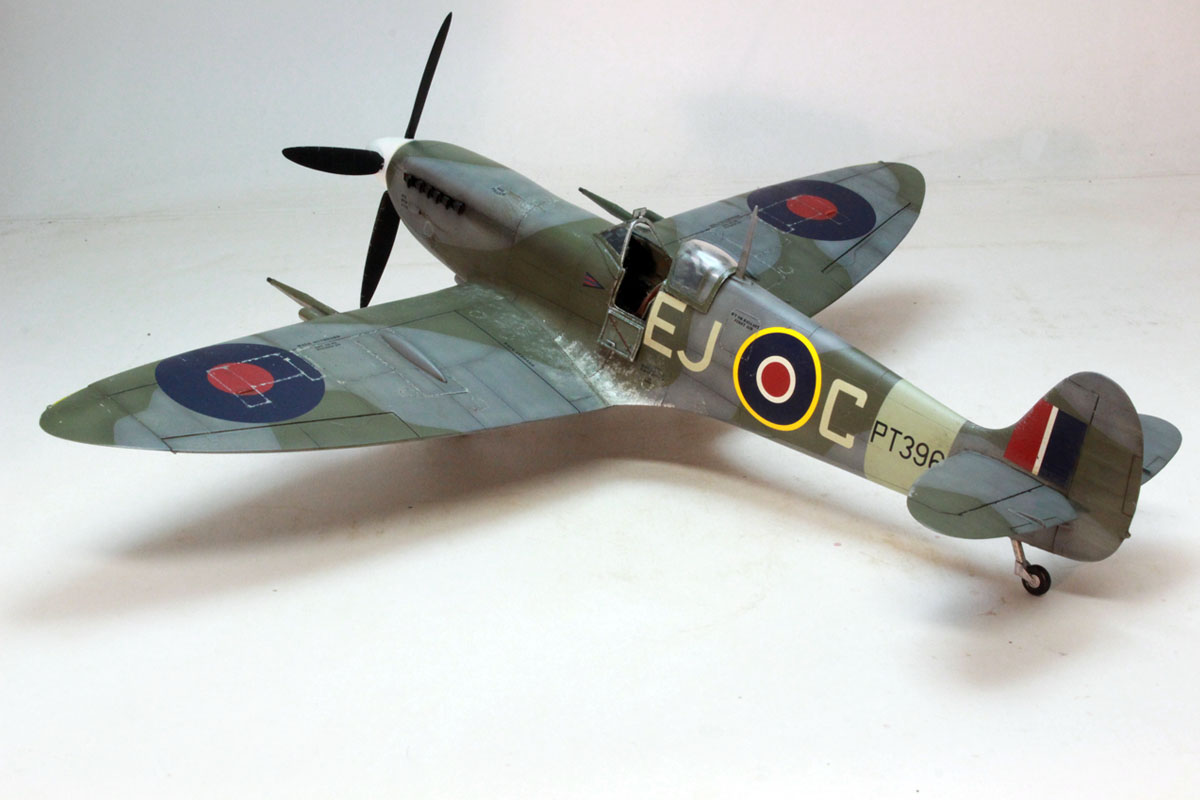
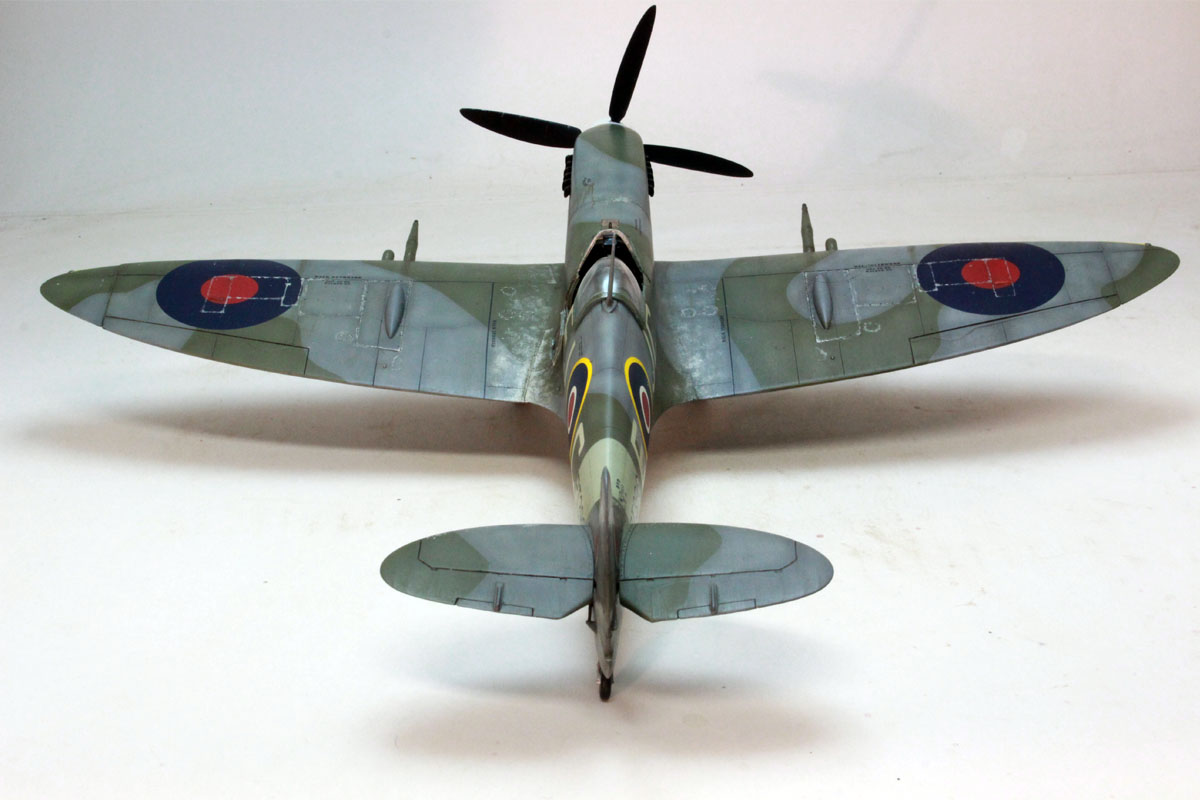
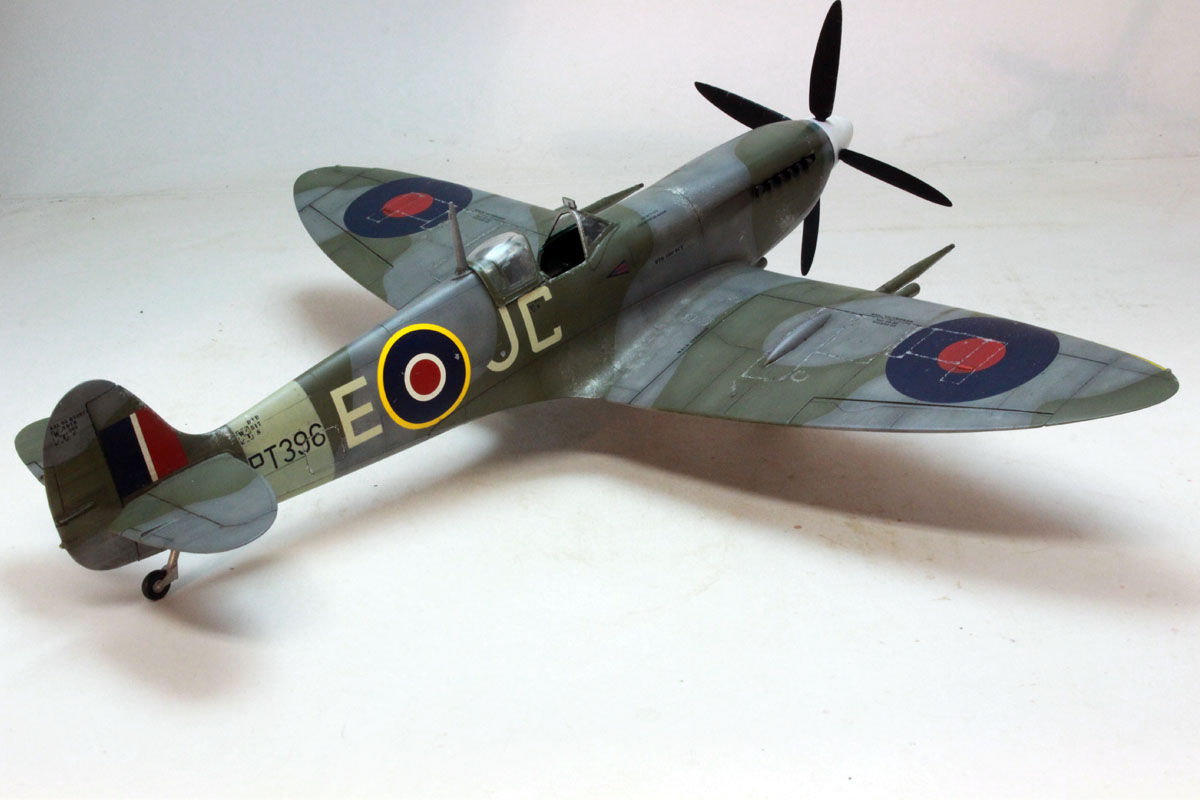
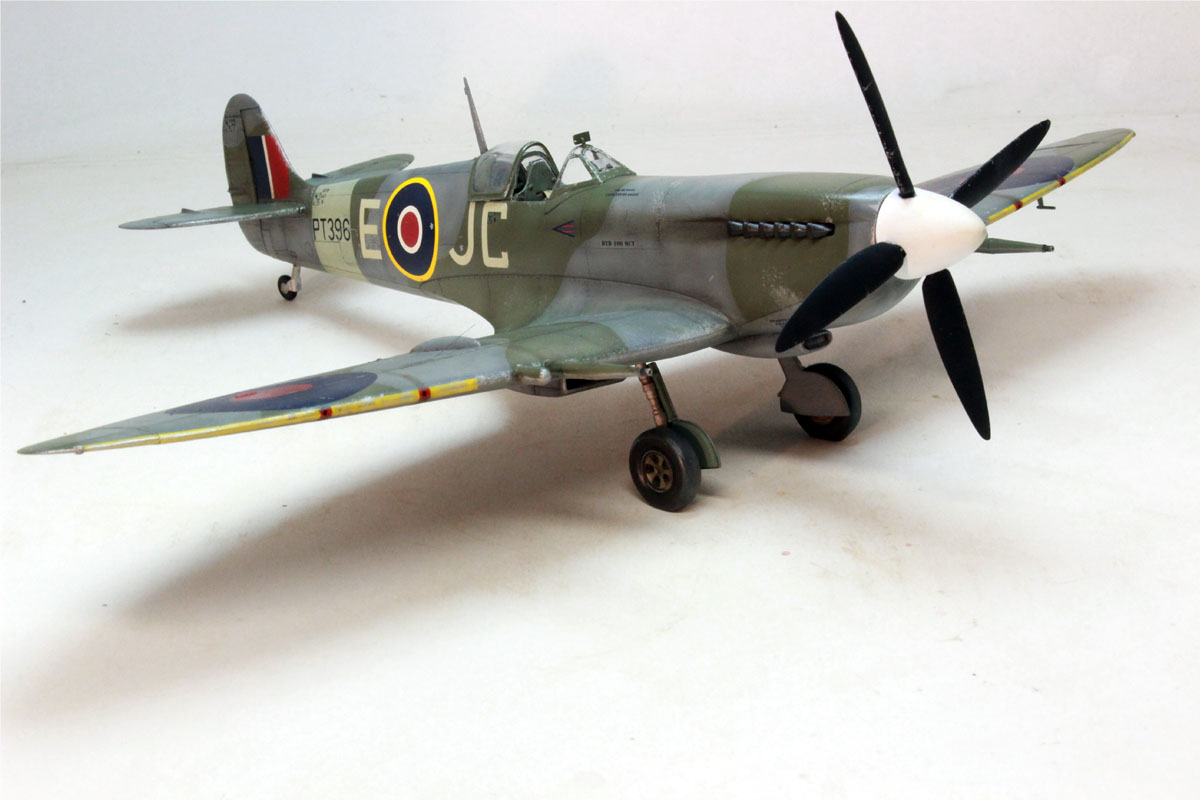
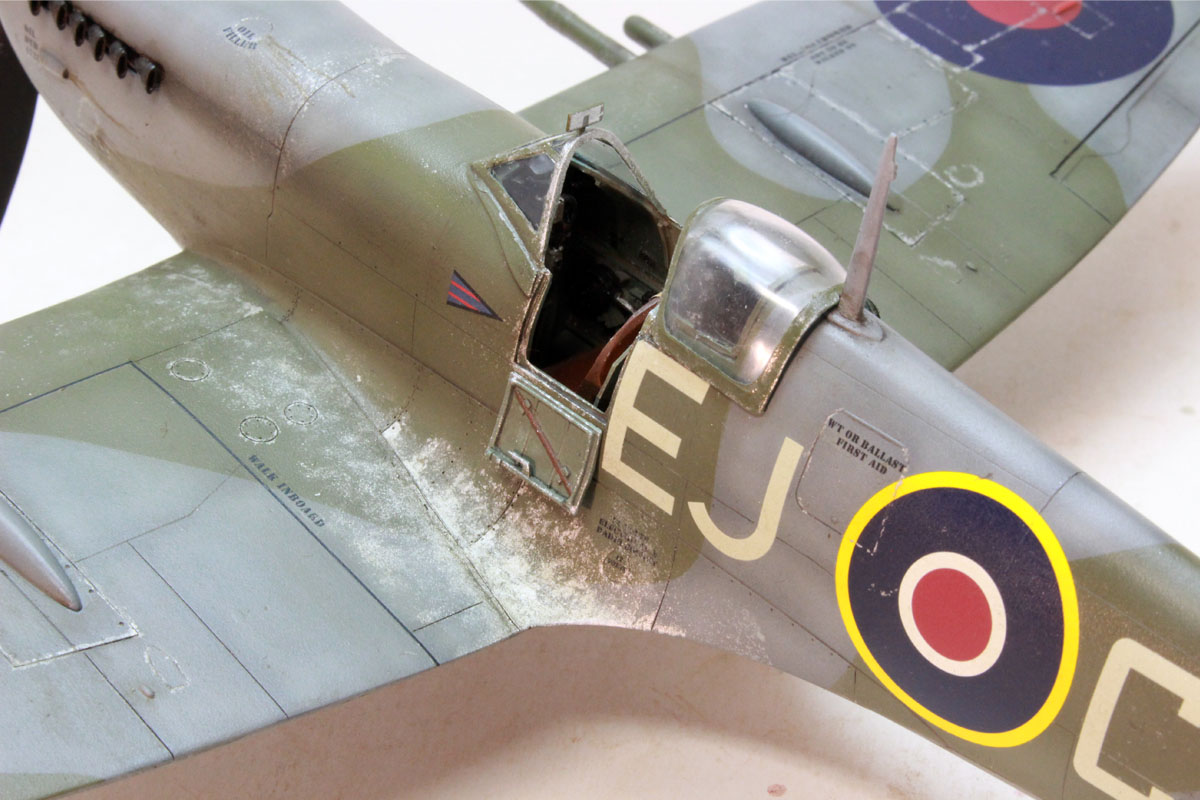
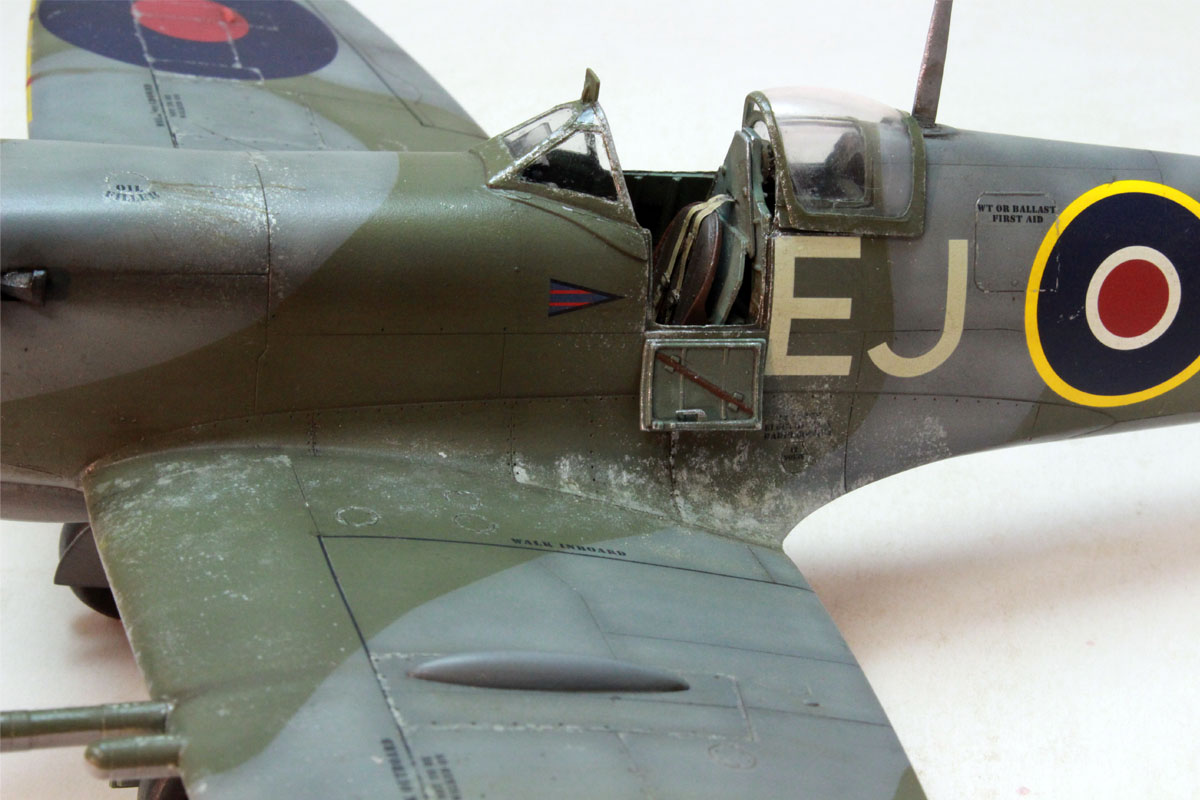
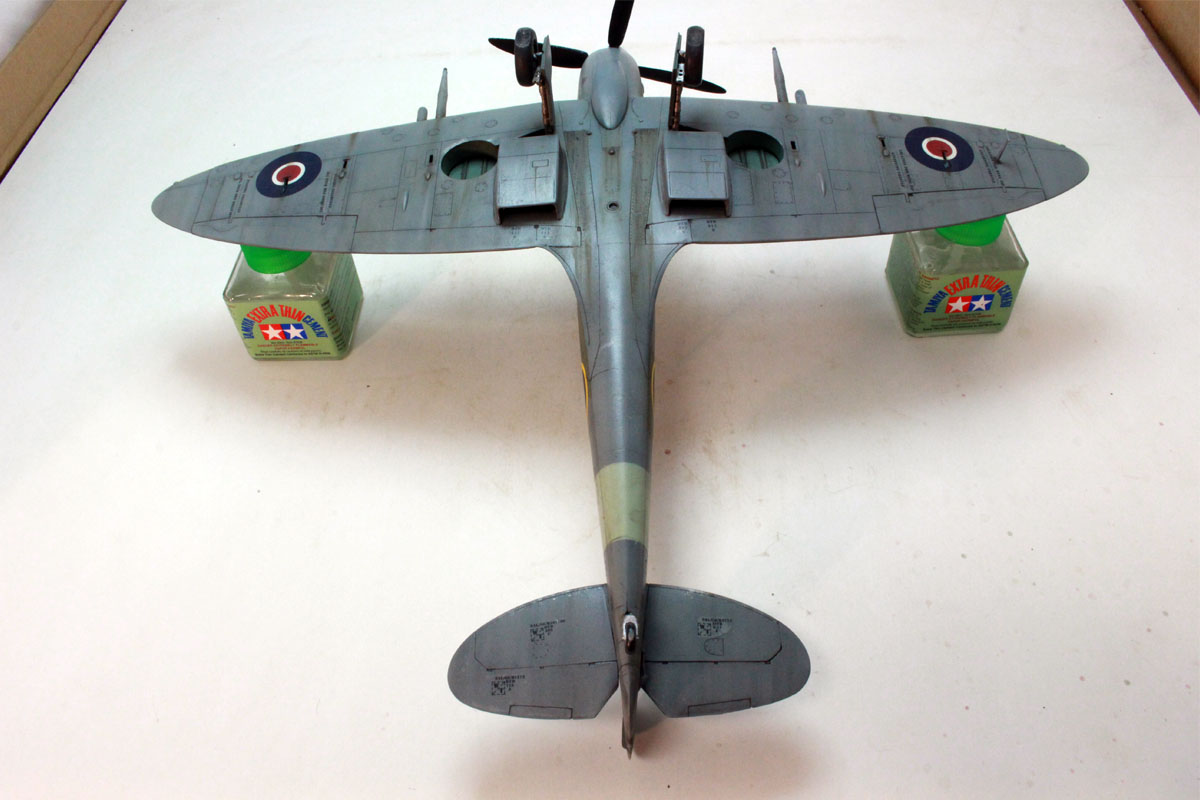
Pacific Coast Models Spitfire IXc
ColinEdm
 Associate Editor
Alberta, Canada
Joined: October 15, 2013
KitMaker: 1,355 posts
AeroScale: 107 posts
Posted: Saturday, December 01, 2018 - 04:38 PM UTC
Hi All, here is my next build, Pacific Coast Models Spitfire IXc in 1/32 scale:
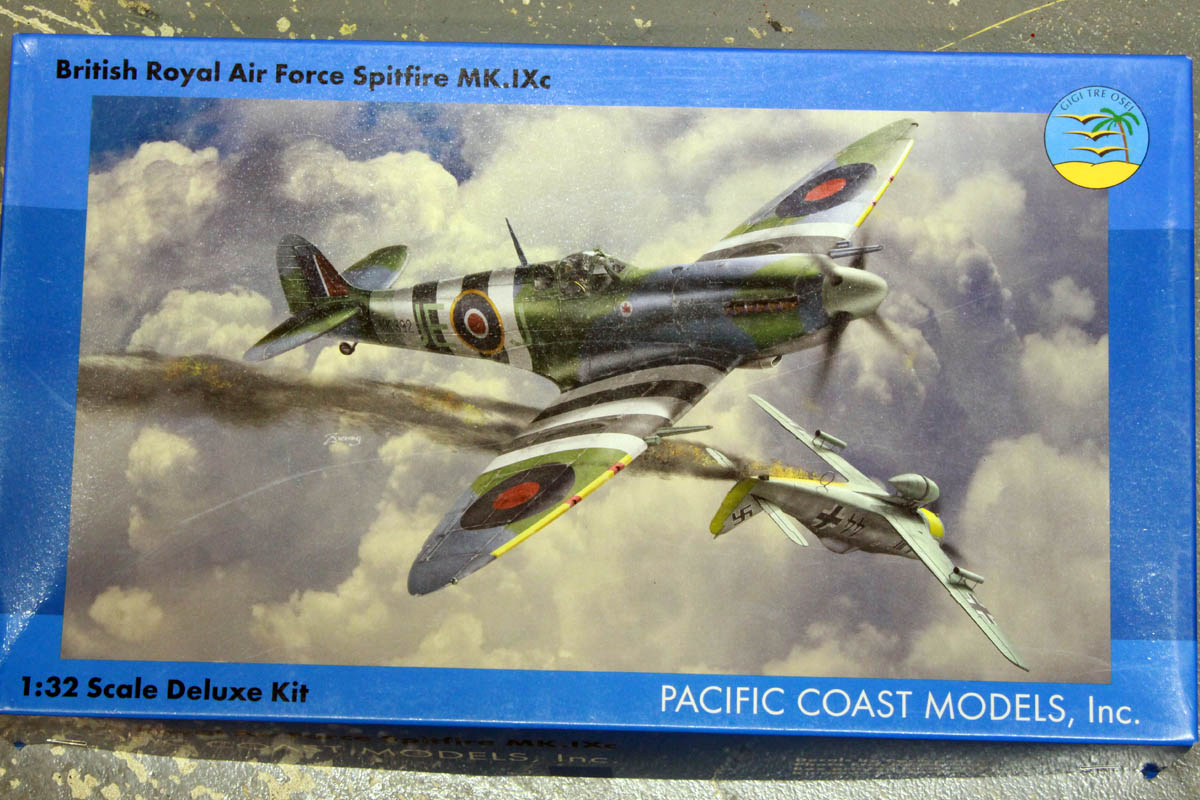
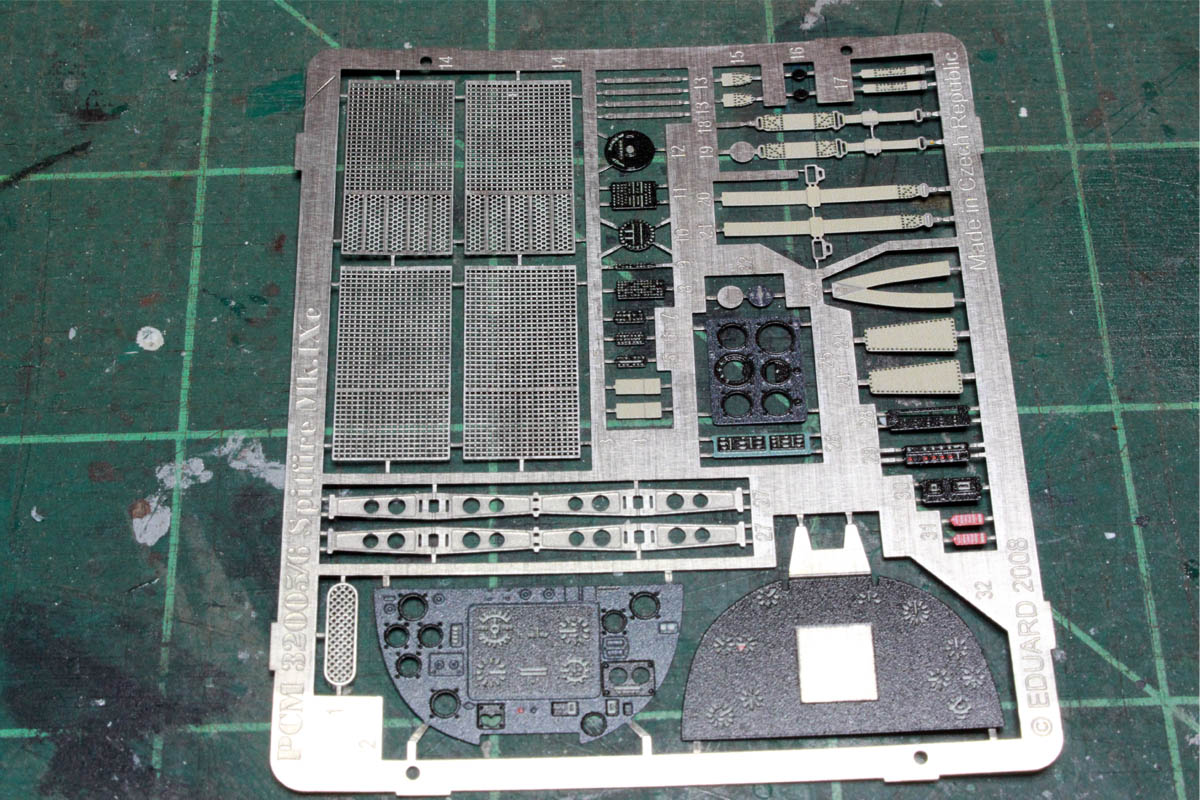
At first blush, it looks pretty decent, some nice Eduard PE:
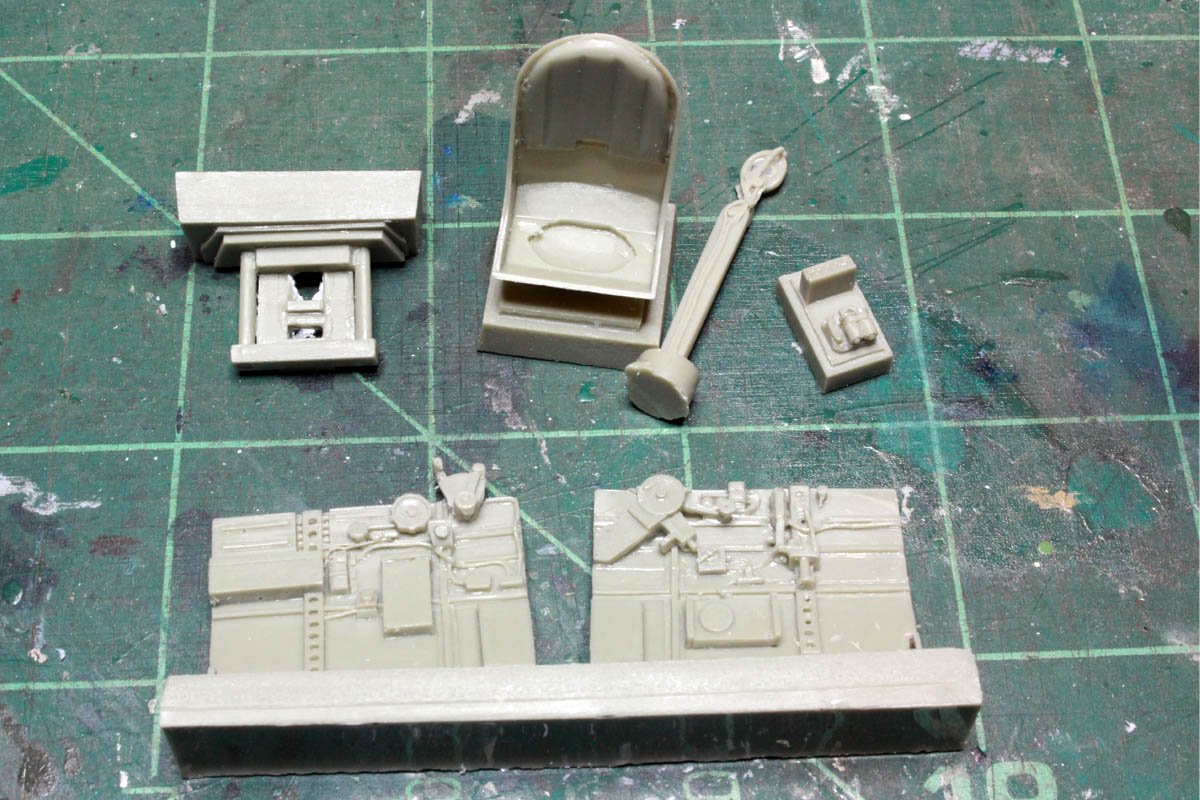
Lots of resin for the cockpit, wheel wells, two different types of wheels and exhaust stacks:
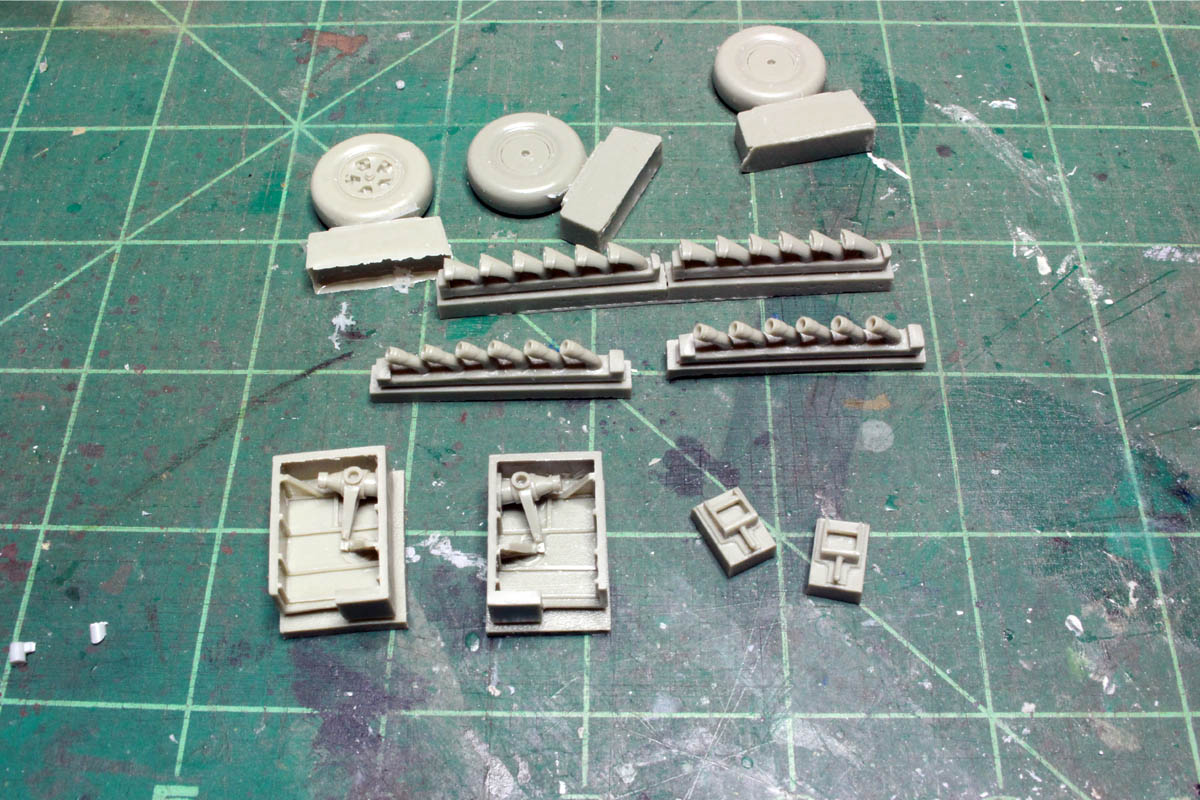
But closer looks reveal a fair bit of clean up is required...and this:
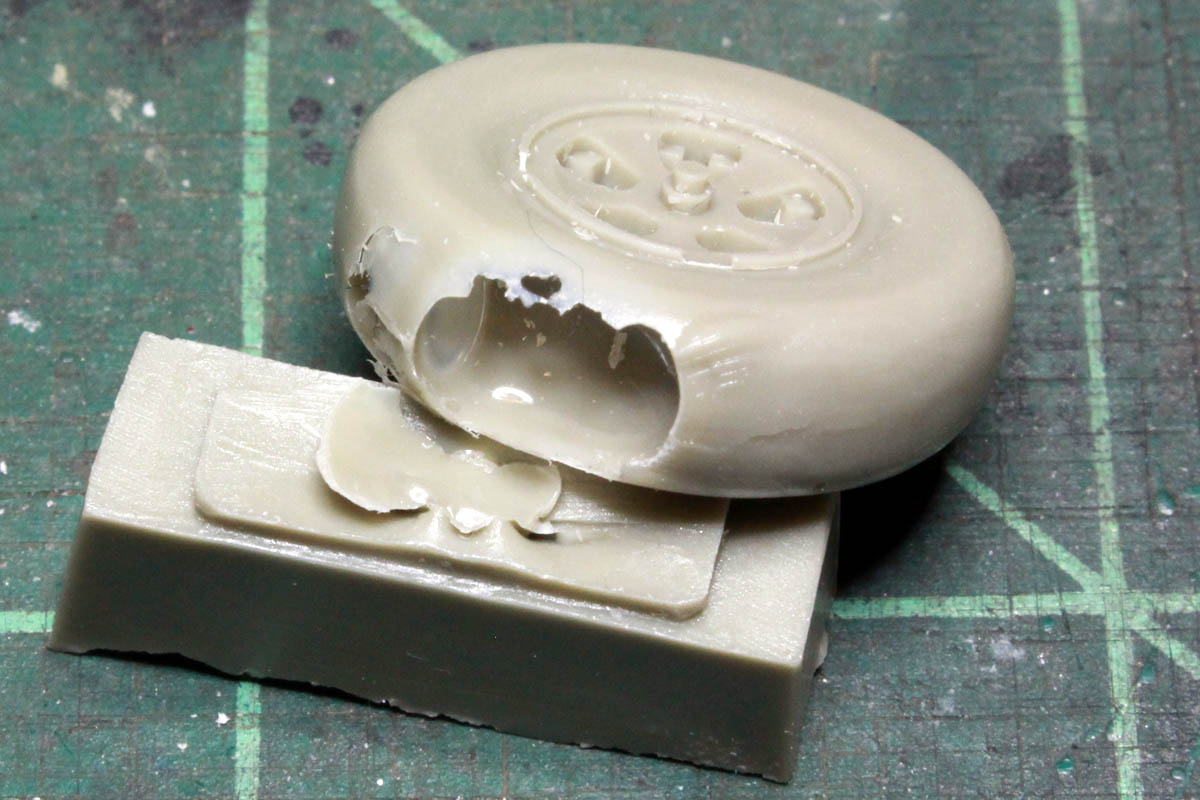

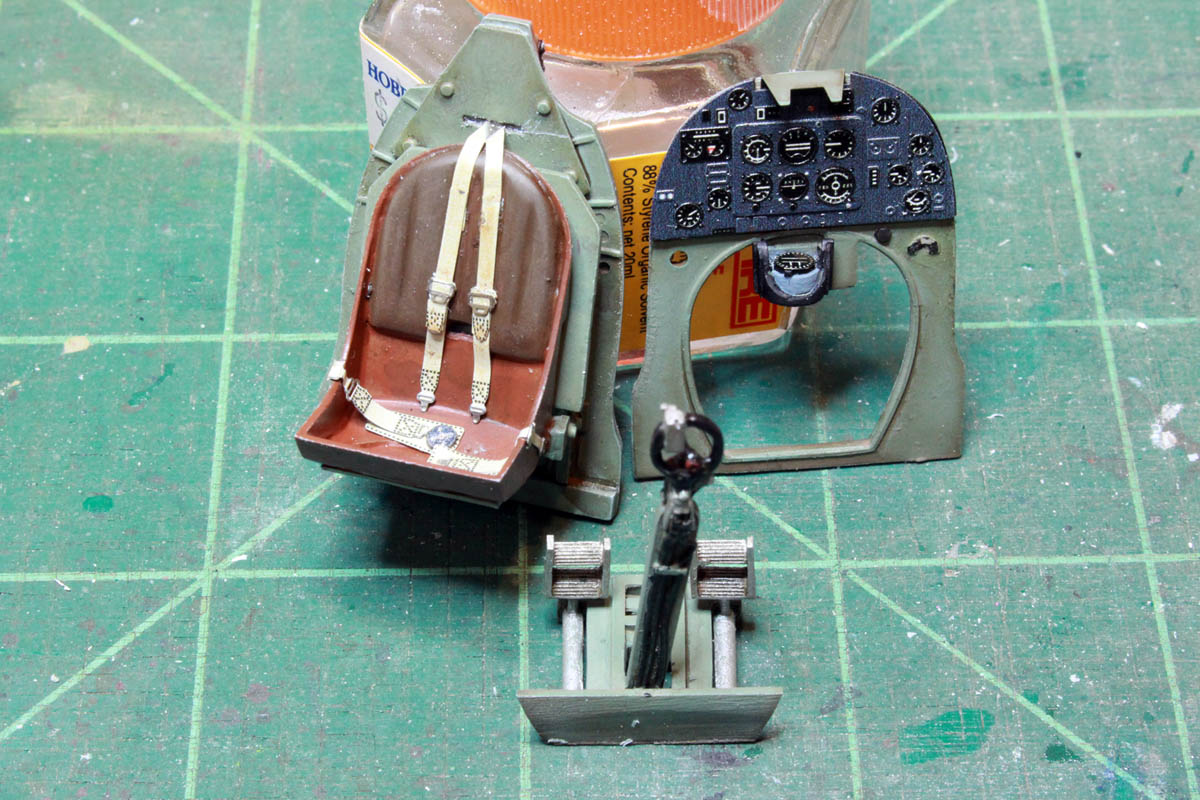
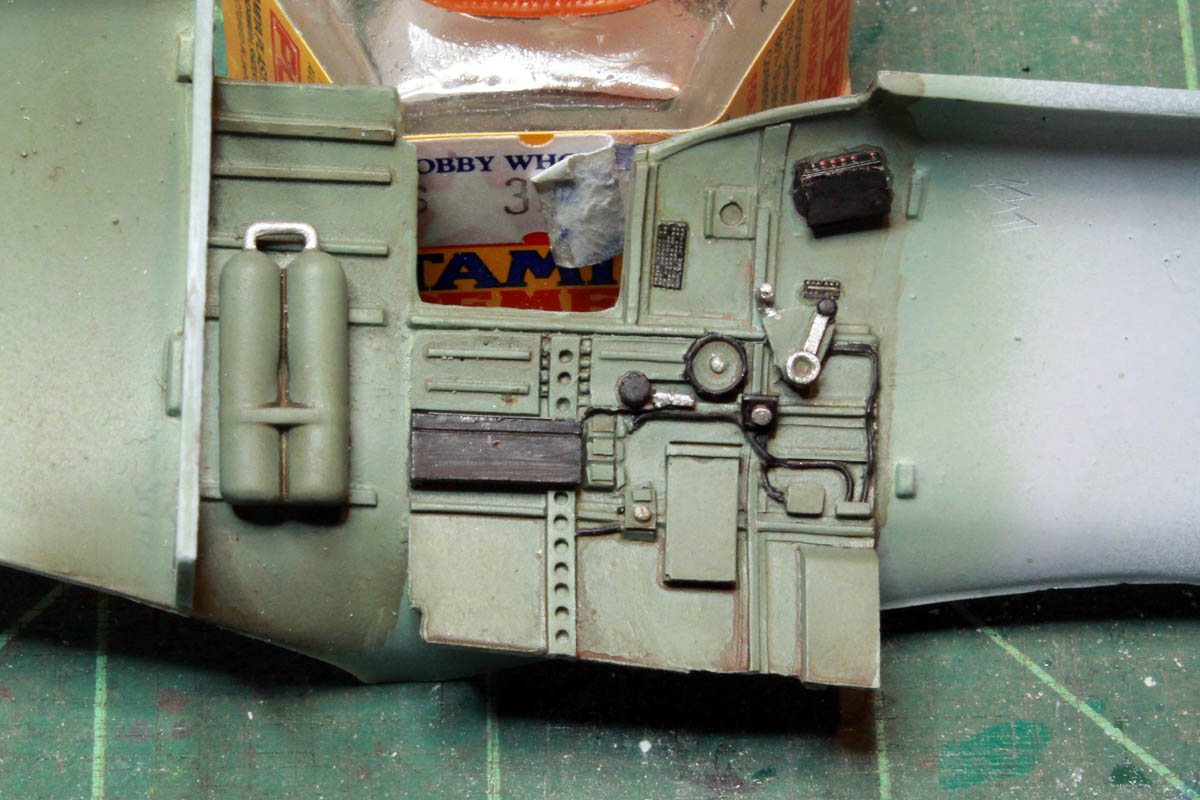
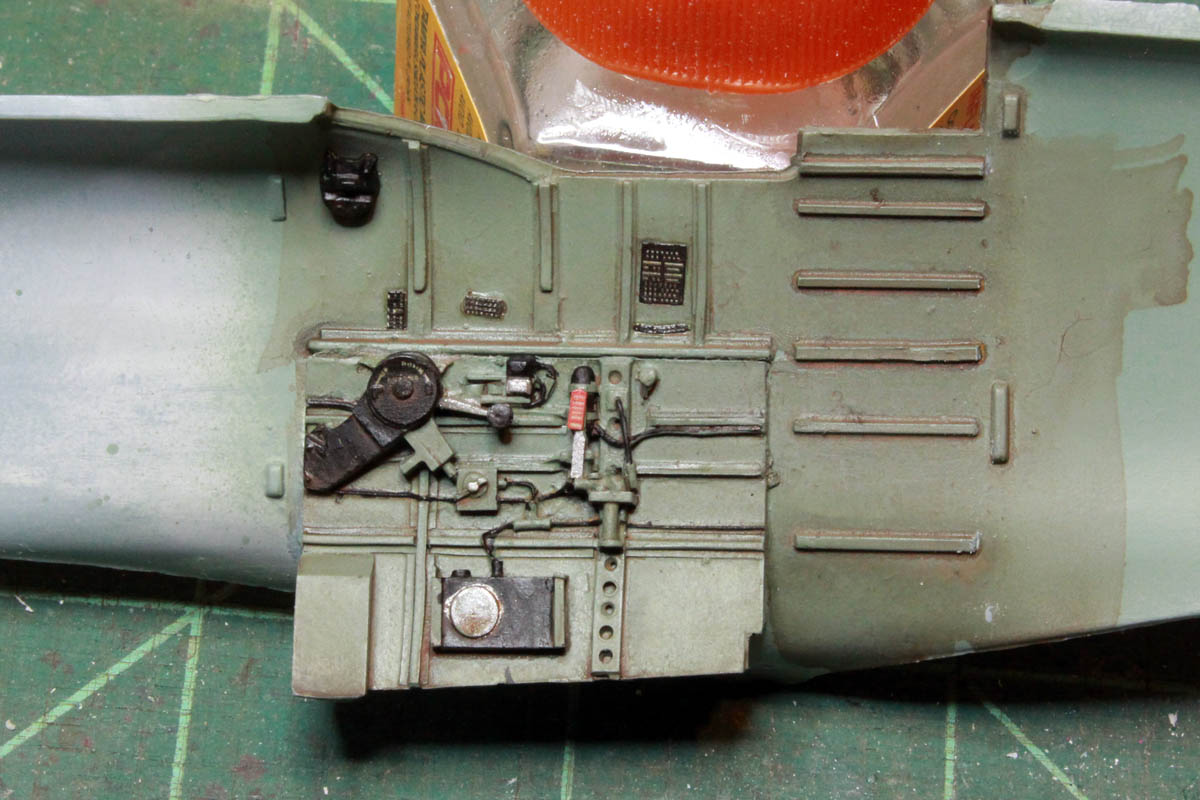
That's a helluva bubble! Well, we'll see if I can fix it up. Cleaned up the cockpit resin, seems more brittle than other resin I've dealt with, a few breaks that needed fixing but ready for primer:
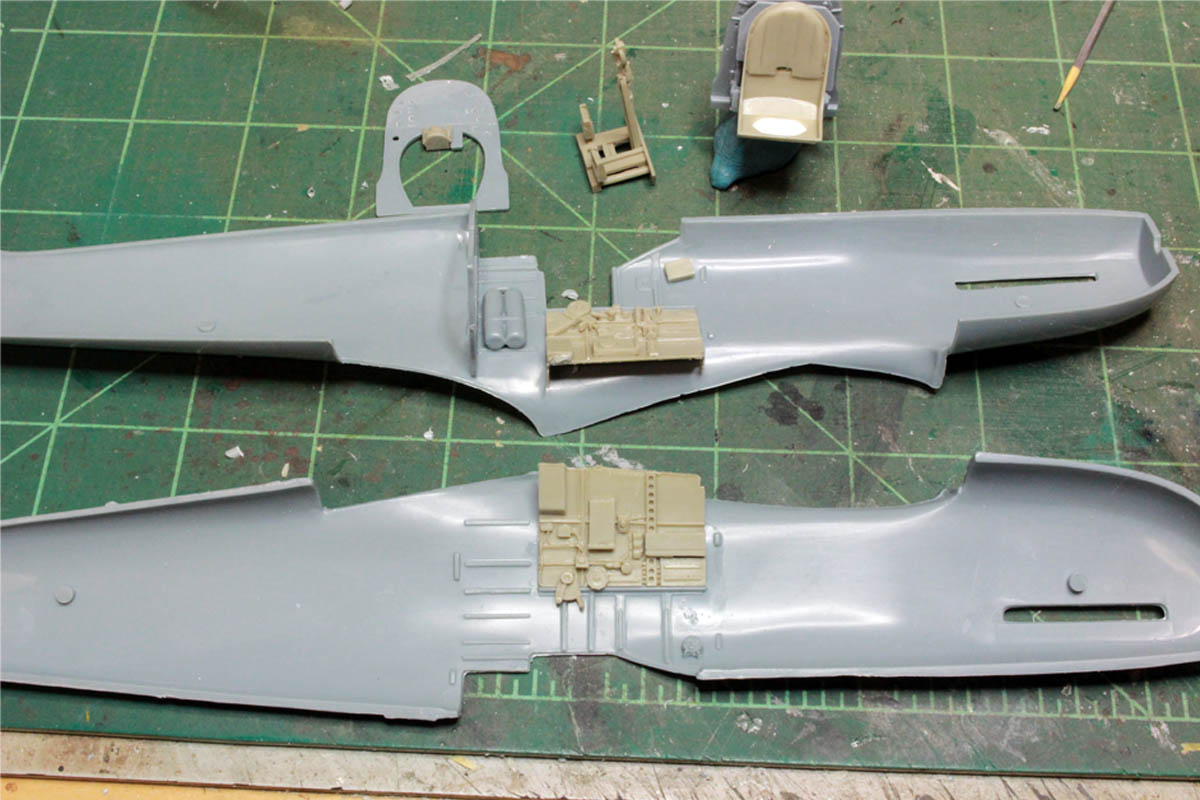
Some of the pastic mouldings seem a bit suspect, a fair bit of flash and large sprue attachment points. I'll have my work cut out for me.
The voices are back.....excellent....
Uusimaa, Finland
Joined: March 30, 2004
KitMaker: 2,845 posts
AeroScale: 1,564 posts
Posted: Sunday, December 02, 2018 - 01:06 AM UTC
Ouch... that's quite an air bubble alright. Good thing it's a smooth tyre - should be relatively easy to fill with milliput and sand to shape.
Good luck with the build. I've heard Pacific Coast kits can be a handful to build.

Alberta, Canada
Joined: January 19, 2008
KitMaker: 6,743 posts
AeroScale: 6,151 posts
Posted: Sunday, December 02, 2018 - 02:00 AM UTC
Oh my , that is a nasty air bubble . Will follow on your adventure with this build . Any idea on a scheme ?
Terri
MichaelSatin
 Campaigns Administrator
Colorado, United States
Joined: January 19, 2008
KitMaker: 3,909 posts
AeroScale: 2,904 posts
Posted: Sunday, December 02, 2018 - 03:36 AM UTC
I've actually built this kit a couple of times. Tamiya, it ain't. But it's a good solid kit, rather better than some other limited runs I've dealt with. That's the first time I've seen a bubble like that, hope you can fix it.
Take your time, test fit a couple of times, and you can come up with a very nice model!
Michael

On the bench:
Sorta depends on your definition of "on the bench"...
ColinEdm
 Associate Editor
Alberta, Canada
Joined: October 15, 2013
KitMaker: 1,355 posts
AeroScale: 107 posts
Posted: Sunday, December 02, 2018 - 03:45 AM UTC
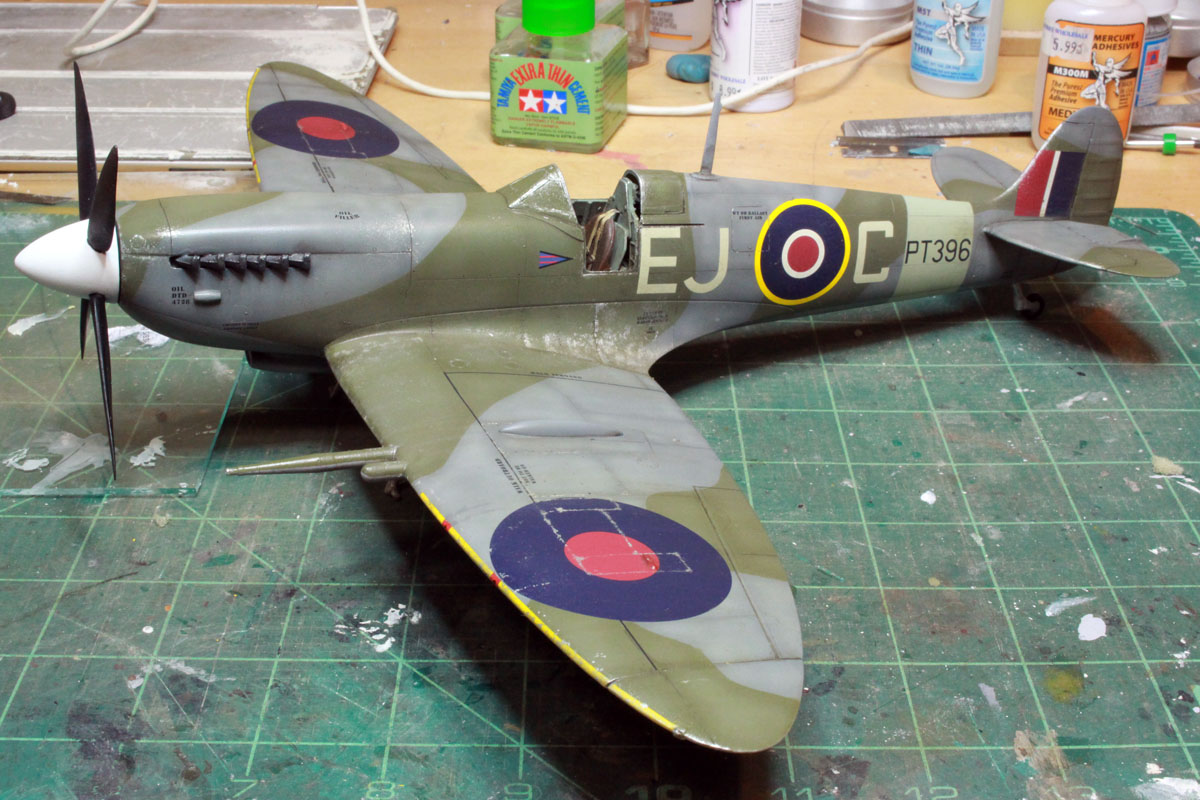
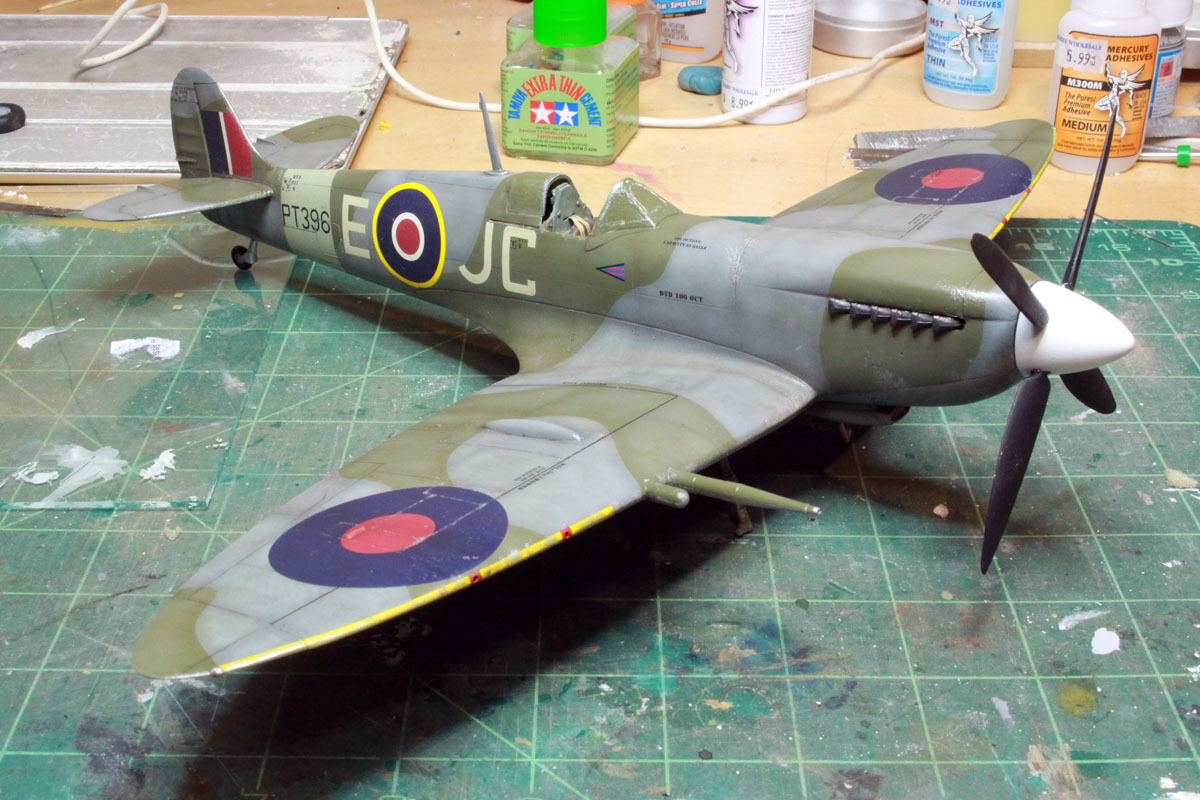
Yeah, I did a lot of research on this before buying the kit, so I had a pretty good idea what I was getting myself into (except for that bubble!), but it was only about 1/3 the cost of the Tamiya offering, so figured it would be good practice. I am building it as a surprise for my brother who is an airplane fan and loves Spitfires. I will either do Wing Cdr Johnnie Johnson or Wing Cdr Jack Charles, probably the latter, Dark Green and Dark Sea Grey with D-Day stripes. Just going to have to be patient as you say with lots of test fitting.

The voices are back.....excellent....
ColinEdm
 Associate Editor
Alberta, Canada
Joined: October 15, 2013
KitMaker: 1,355 posts
AeroScale: 107 posts
Posted: Wednesday, December 05, 2018 - 11:49 AM UTC
The voices are back.....excellent....
Merlin
 Senior Editor
#017
United Kingdom
Joined: June 11, 2003
KitMaker: 17,582 posts
AeroScale: 12,795 posts
Posted: Friday, December 07, 2018 - 09:56 AM UTC
Hi Colin
Nice work on your Spit!

If you haven't already closed the fuselage, there are a couple of points that might be worth checking:
The area behind the seat was usually left unpainted originally (it's often painted Grey-Green on restorations) along with the rear face of the fuselage frame that the pilot's seat attached to.
Also, the pre-coloured instrument panel does look rather grey in your photo. Maybe it's darker to the naked eye? Going by the photo, though, I'd be tempted to carefully apply a black wash because the real thing was finished in black.
All the best
Rowan

BEWARE OF THE FEW...
As I grow older, I regret to say that a detestable habit of thinking seems to be getting a hold of me. - H. Rider Haggard
ColinEdm
 Associate Editor
Alberta, Canada
Joined: October 15, 2013
KitMaker: 1,355 posts
AeroScale: 107 posts
Posted: Friday, December 07, 2018 - 01:25 PM UTC
Thanks for the tips Rowan! Unfortunately I have already closed up the fuselage but I will file for future reference - hopefully Tamiya's 1/32 Spit which will seem like a dream after this one!
The voices are back.....excellent....
Slovakia
Joined: October 15, 2010
KitMaker: 825 posts
AeroScale: 476 posts
Posted: Saturday, December 08, 2018 - 04:48 AM UTC
Wow You have some courage to get into this kit. I know Michael said its solid, but Im suspecting he would say the same thing about a short run limited copy of a 50 years old vacuform

ColinEdm
 Associate Editor
Alberta, Canada
Joined: October 15, 2013
KitMaker: 1,355 posts
AeroScale: 107 posts
Posted: Saturday, December 08, 2018 - 06:27 AM UTC
Much filing, fitting, filling and f*cking about has ensued...along with significant adult language (and beverages).
The voices are back.....excellent....
Merlin
 Senior Editor
#017
United Kingdom
Joined: June 11, 2003
KitMaker: 17,582 posts
AeroScale: 12,795 posts
Posted: Saturday, December 08, 2018 - 11:44 PM UTC
Quoted Text
Thanks for the tips Rowan! Unfortunately I have already closed up the fuselage but I will file for future reference - hopefully Tamiya's 1/32 Spit which will seem like a dream after this one!
Hi Colin
I'm sorry I was too late with my post, but going by the quality of what you've done so far you're going to have a great looking Spit!

And, yes, the Tamiya kit is in a different league of fit and engineering.

I'm also really tempted to get the Revell Mk. IX, because that does seem to be a great value alternative, but there are just so many kits competing for attention and so little time available at the workbench these days.
All the best
Rowan

BEWARE OF THE FEW...
As I grow older, I regret to say that a detestable habit of thinking seems to be getting a hold of me. - H. Rider Haggard
Alberta, Canada
Joined: January 19, 2008
KitMaker: 6,743 posts
AeroScale: 6,151 posts
Posted: Sunday, December 09, 2018 - 03:02 AM UTC
Your progress is coming along nicely so far Colin . The Tamiya spit will be a dream to build , built one already with another in the stash .
Colourful language hitsas all when sitting in front of the bench ...I'm pretty sure of it ..
Looking forward on your next up-date .
Terri
ColinEdm
 Associate Editor
Alberta, Canada
Joined: October 15, 2013
KitMaker: 1,355 posts
AeroScale: 107 posts
Posted: Sunday, December 09, 2018 - 10:52 AM UTC
The voices are back.....excellent....
ColinEdm
 Associate Editor
Alberta, Canada
Joined: October 15, 2013
KitMaker: 1,355 posts
AeroScale: 107 posts
Posted: Thursday, December 27, 2018 - 04:41 PM UTC
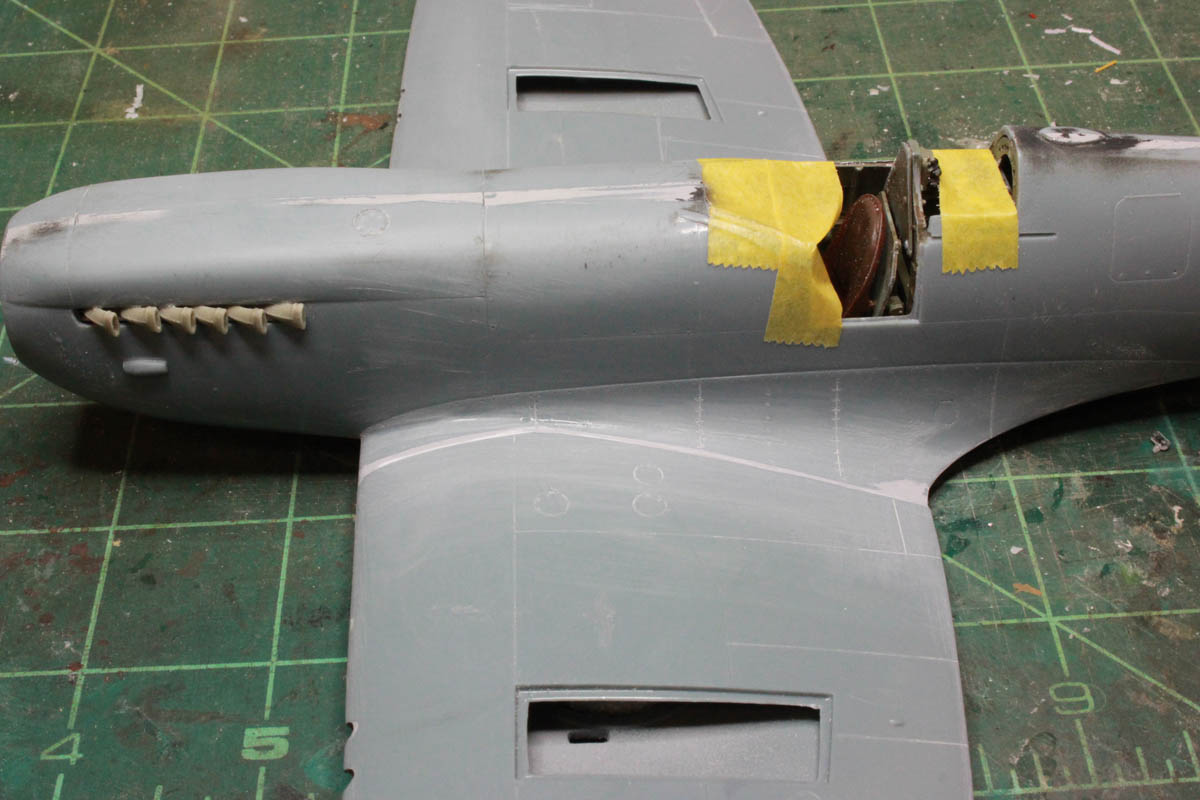
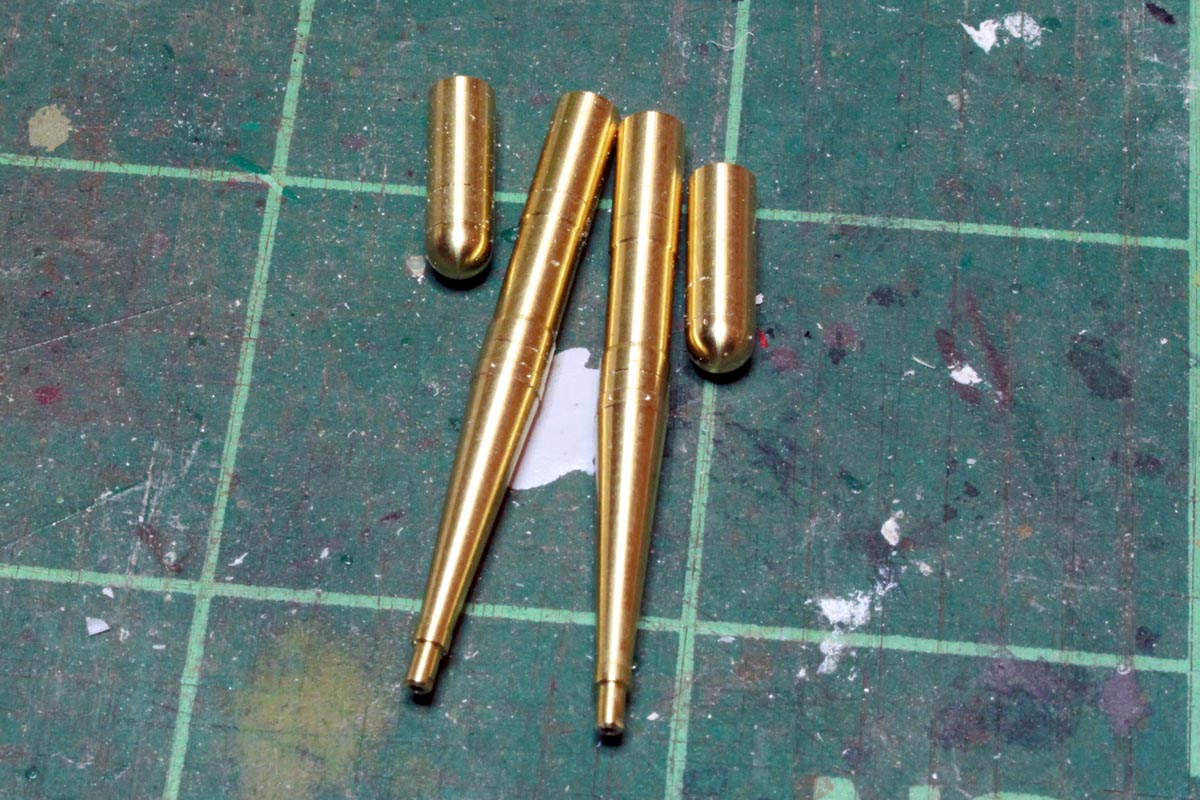
time for an update, been doing a lot of filling, sanding and scribing, plus I got a set of turned brass 20mm barrels to replace the rather sketchy kit ones:
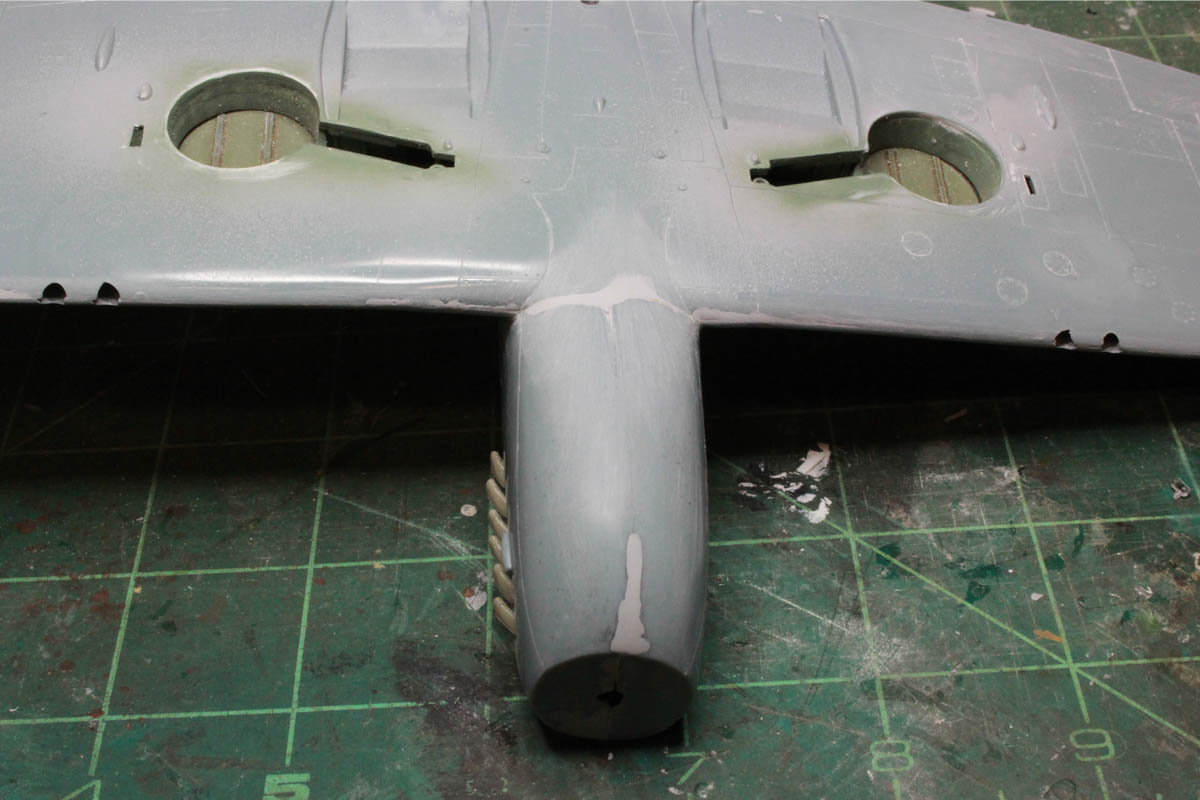
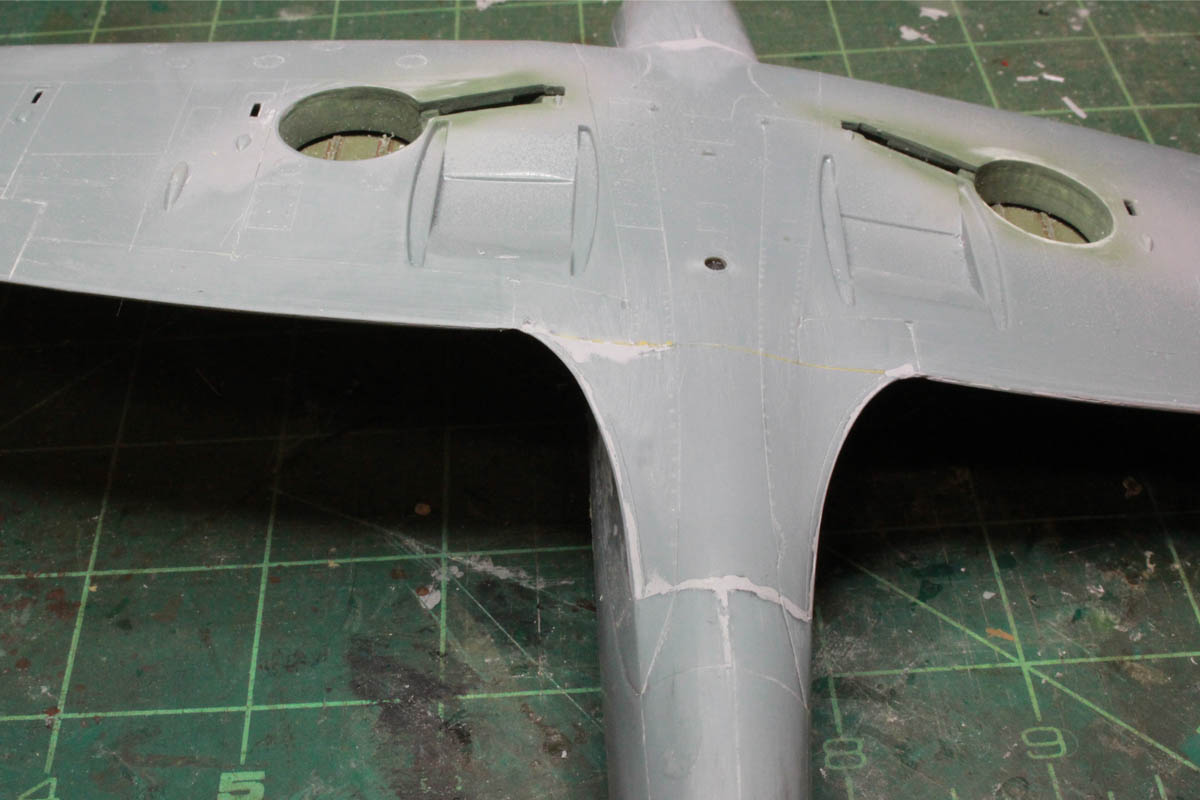
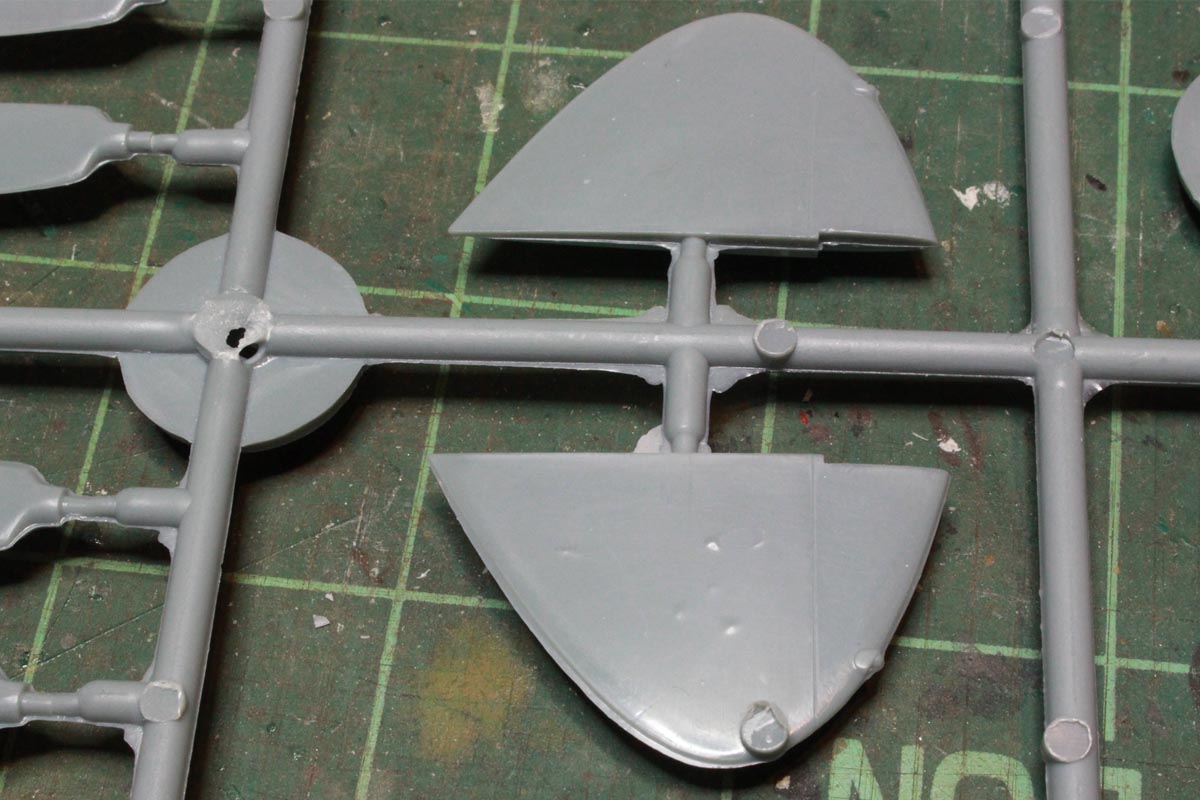
Some of the crud i've been dealing with, pour plugs on the outside surface of the wingtips, plus various other flaws and the ever present flash:
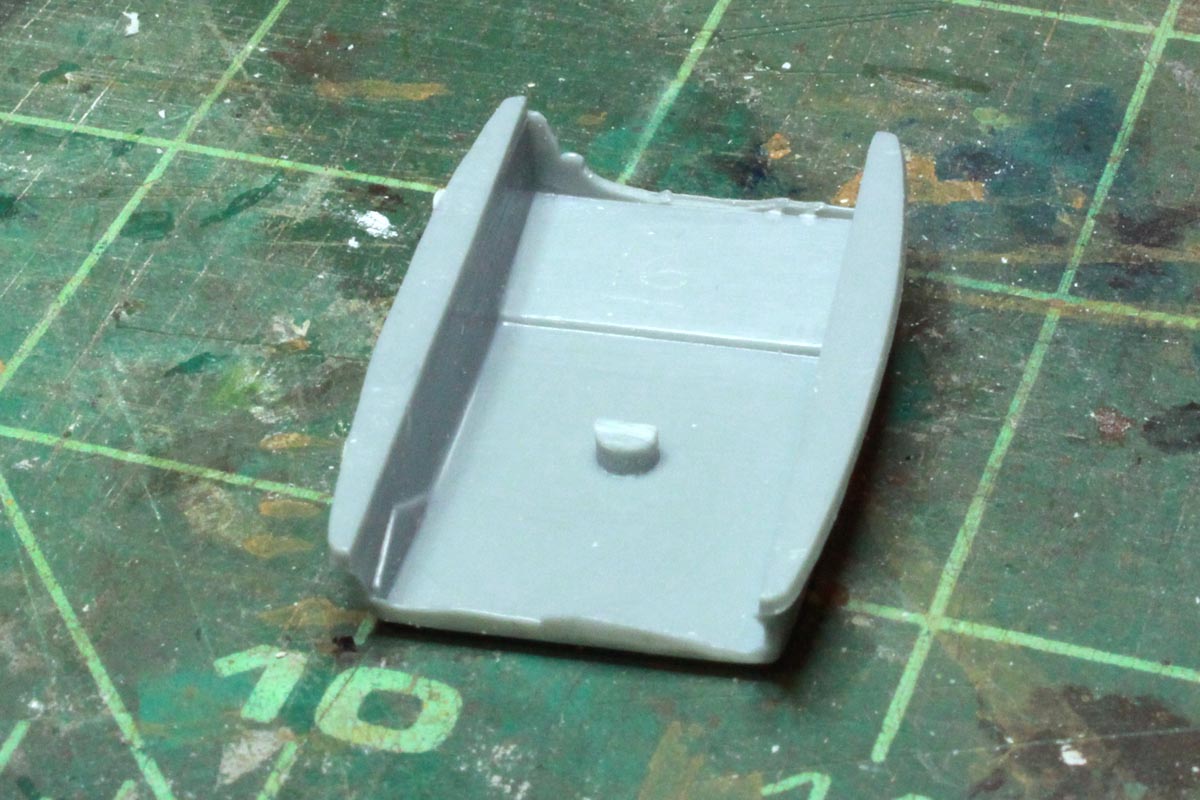
More extra-thick flash on the radiator scoops:
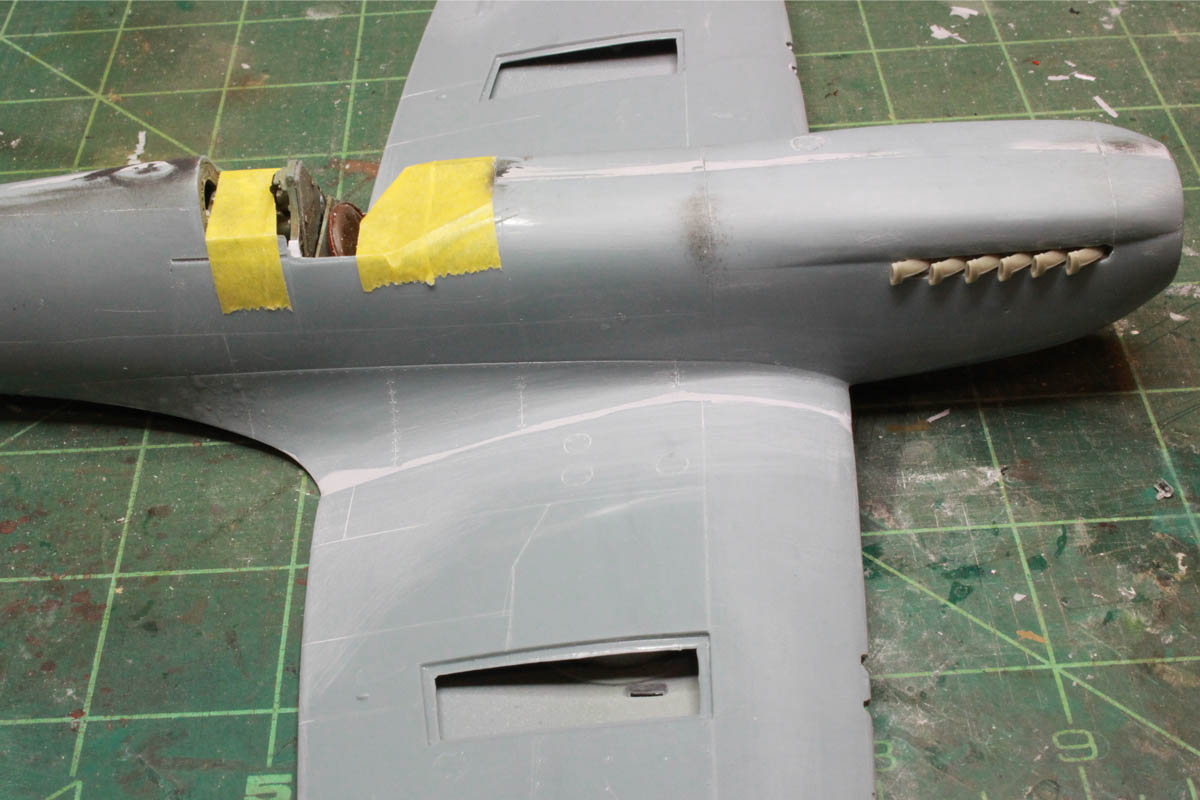
It's fit, trim, fit, trim, fit, fill sand, repeat...bit of a bear this one, but it's looking like a Spitfire!
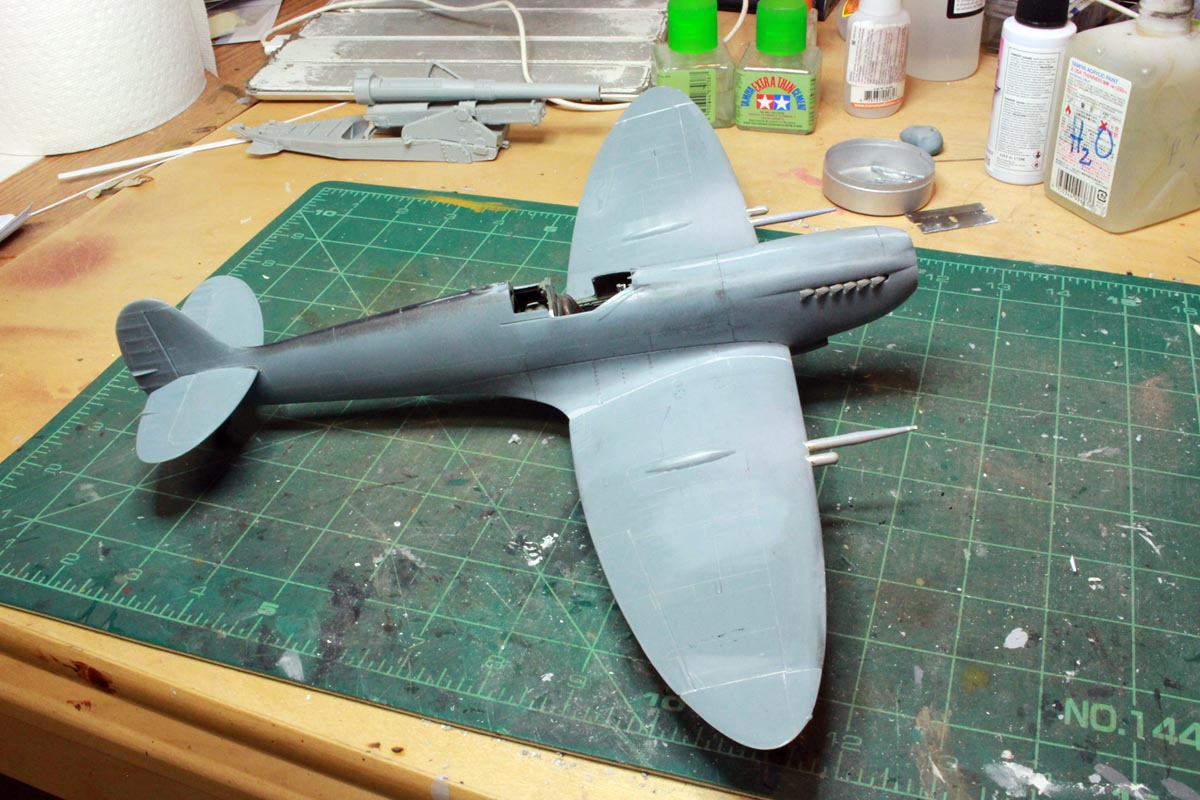
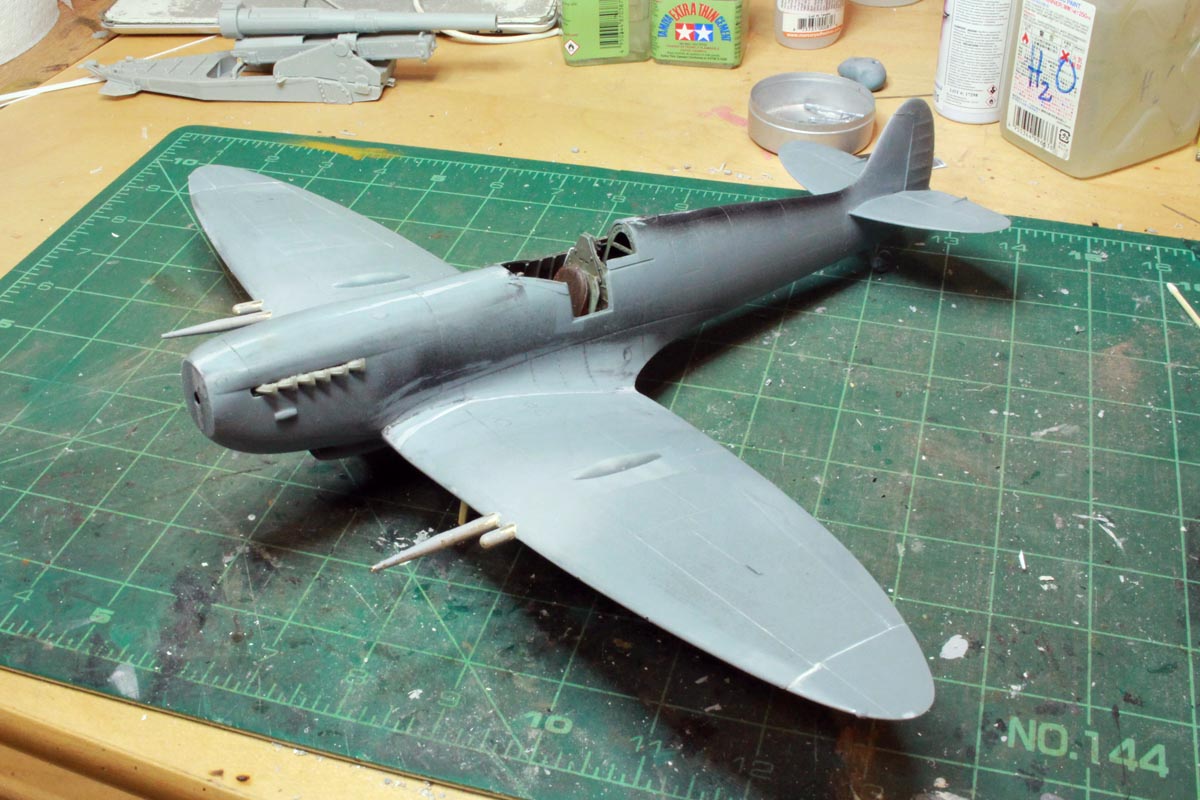
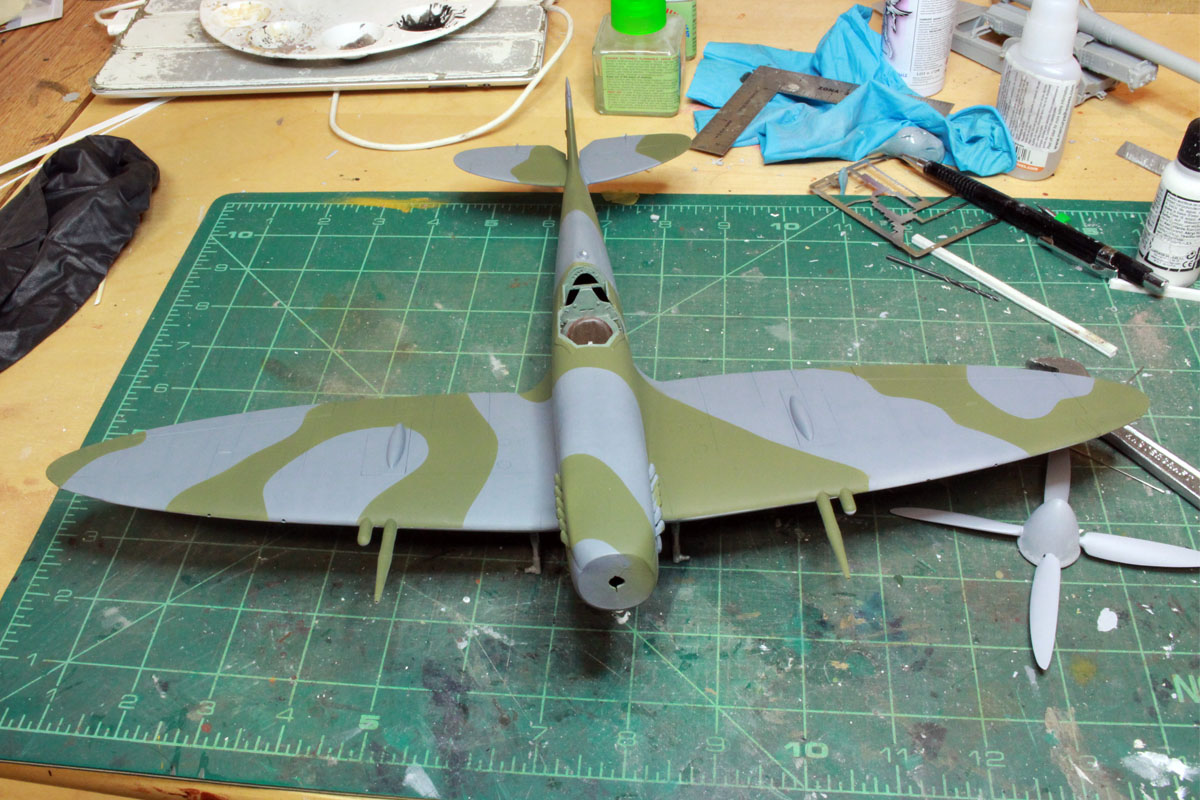
Aerial and pitot tube then it's ready for primer and paint, far from perfect but should look all right when painted up as long as you don't look too close

.
The voices are back.....excellent....
ColinEdm
 Associate Editor
Alberta, Canada
Joined: October 15, 2013
KitMaker: 1,355 posts
AeroScale: 107 posts
Posted: Sunday, December 30, 2018 - 06:53 AM UTC
The voices are back.....excellent....
ColinEdm
 Associate Editor
Alberta, Canada
Joined: October 15, 2013
KitMaker: 1,355 posts
AeroScale: 107 posts
Posted: Monday, December 31, 2018 - 04:07 AM UTC
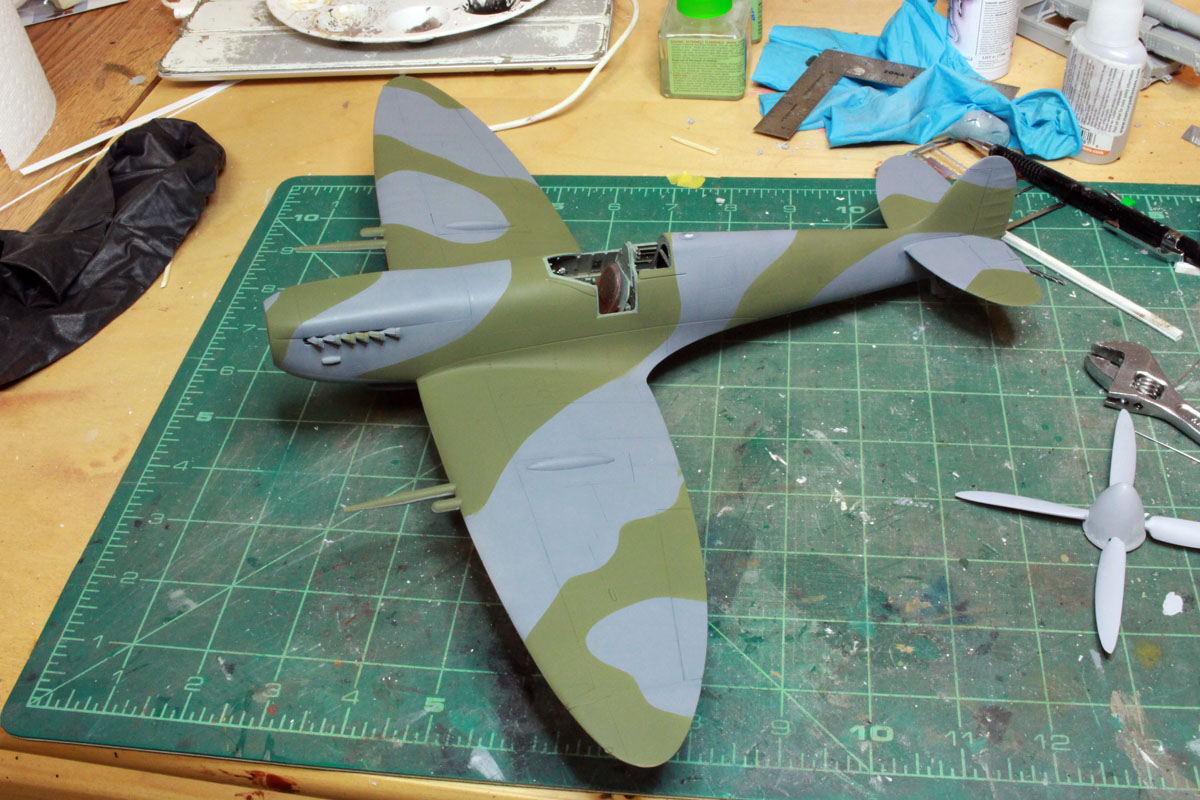
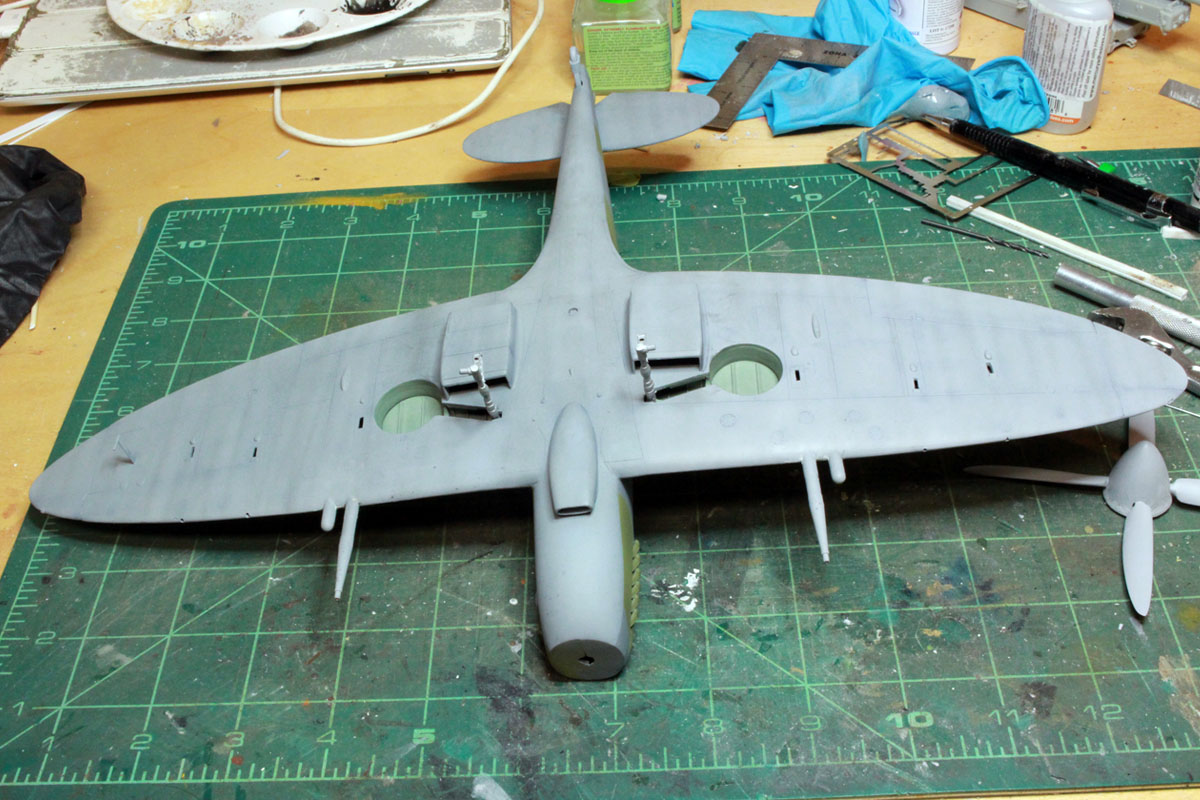
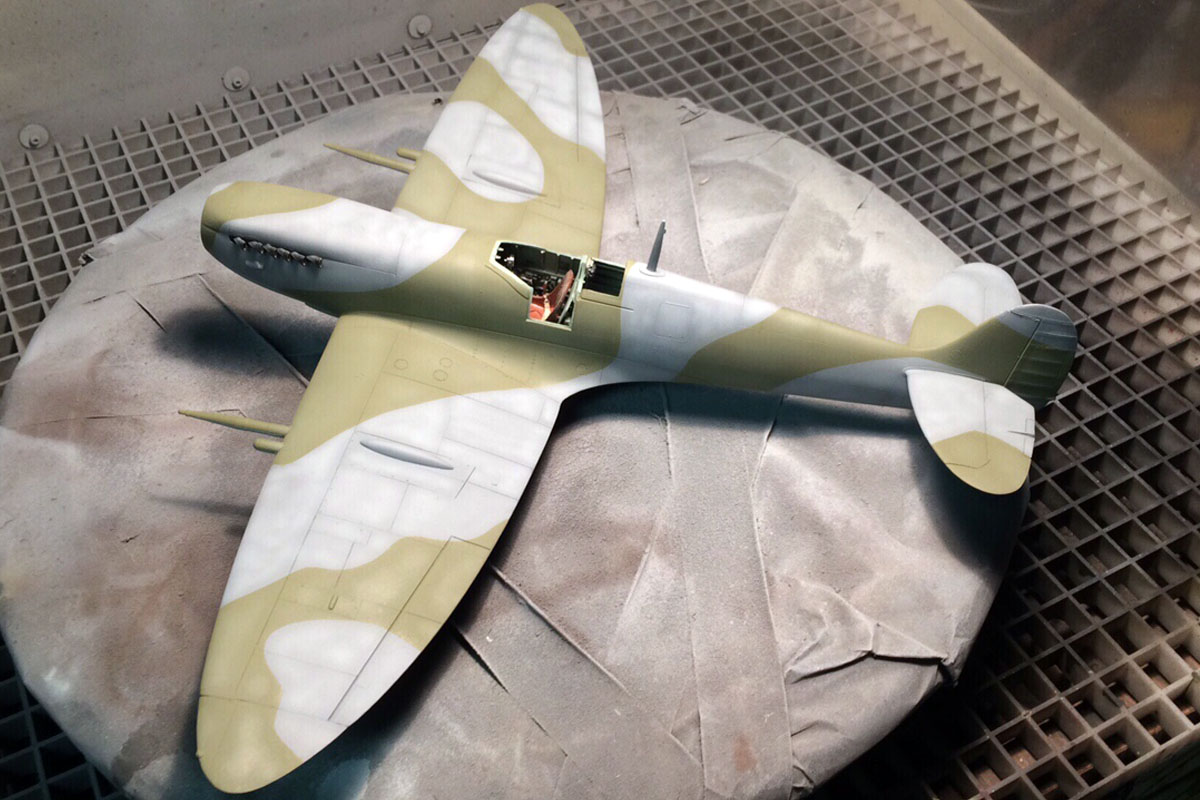
Added some post shading to get a more worn look:
The voices are back.....excellent....
Alberta, Canada
Joined: January 19, 2008
KitMaker: 6,743 posts
AeroScale: 6,151 posts
Posted: Thursday, January 03, 2019 - 12:25 PM UTC
Nice job on the camo and post shading Colin , really starting to shape up now . Looking forward to the next up-date

Terri
ColinEdm
 Associate Editor
Alberta, Canada
Joined: October 15, 2013
KitMaker: 1,355 posts
AeroScale: 107 posts
Posted: Saturday, January 12, 2019 - 11:06 AM UTC
The voices are back.....excellent....
Alberta, Canada
Joined: January 19, 2008
KitMaker: 6,743 posts
AeroScale: 6,151 posts
Posted: Saturday, January 12, 2019 - 01:45 PM UTC
Fantastic job all around so far Colin

Terri
ColinEdm
 Associate Editor
Alberta, Canada
Joined: October 15, 2013
KitMaker: 1,355 posts
AeroScale: 107 posts
Posted: Saturday, January 12, 2019 - 05:38 PM UTC
The voices are back.....excellent....

#424
Queensland, Australia
Joined: April 23, 2015
KitMaker: 4,648 posts
AeroScale: 1,938 posts
Posted: Saturday, January 12, 2019 - 08:14 PM UTC
That's quite a transformation Colin! Looks very nice!
Gaz
"Artillery adds dignity, to what would otherwise be an ugly brawl."
Frederick The Great
ColinEdm
 Associate Editor
Alberta, Canada
Joined: October 15, 2013
KitMaker: 1,355 posts
AeroScale: 107 posts
Posted: Sunday, January 13, 2019 - 02:12 AM UTC
The voices are back.....excellent....
ColinEdm
 Associate Editor
Alberta, Canada
Joined: October 15, 2013
KitMaker: 1,355 posts
AeroScale: 107 posts
Posted: Sunday, January 13, 2019 - 07:20 AM UTC
The voices are back.....excellent....
MichaelSatin
 Campaigns Administrator
Colorado, United States
Joined: January 19, 2008
KitMaker: 3,909 posts
AeroScale: 2,904 posts
Posted: Sunday, January 13, 2019 - 07:30 AM UTC
Excellent job Colin! Told you you could do it.
Michael

On the bench:
Sorta depends on your definition of "on the bench"...
ColinEdm
 Associate Editor
Alberta, Canada
Joined: October 15, 2013
KitMaker: 1,355 posts
AeroScale: 107 posts
Posted: Sunday, January 13, 2019 - 11:34 AM UTC
Thanks Michael! Yep, lots of test fitting (followed by lots of sanding, filling and more sanding).
The voices are back.....excellent....


 That's a helluva bubble! Well, we'll see if I can fix it up. Cleaned up the cockpit resin, seems more brittle than other resin I've dealt with, a few breaks that needed fixing but ready for primer:


