It has been a long time since I had a blog in this section of Kitmaker but while waiting for items for my latest ship build I have started building some of my older kits that have been in the stash for 20+ years and some others from manufacturers I have not built kits from before.
I started the Italeri 1/72 SM-82 Canguro, Roden 1/48 PC-6 Turboporter and the Valom 1/72 Albemarle last weekend. All are now up to paint stage and I am now waiting for masks for them all, especially the intricate Albemarle. Yep, three kits in one week, mainly because I had it off as I got a virus and didn't want to go to work and spread it around.
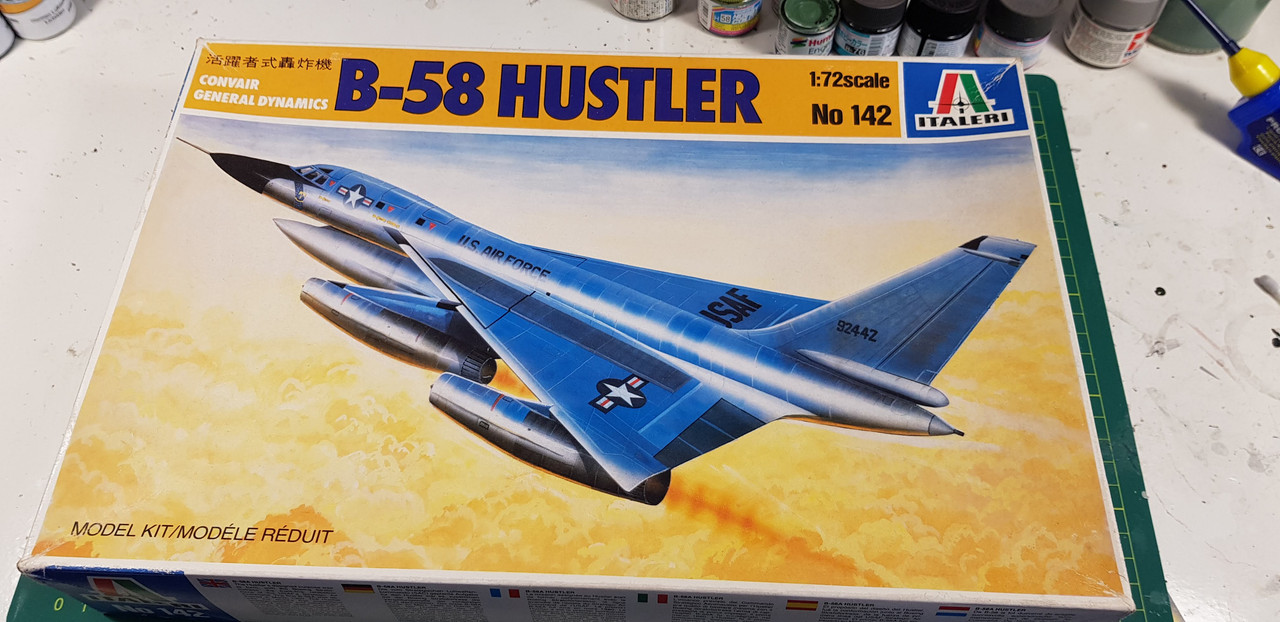
I went to the shed this stash facility this afternoon and picked three more kits, Tamiya's 1/48 Shinden, Trumpeter's 1/72 Tu-16 and the Italeri 1/72 B-58 Hustler, the subject of this blog. I have had this kit since just after it was released and it has followed me all over Australia moving either with the RAAF or my work post-RAAF. I thought it would be interesting to see how bad the fit was etc like many people seem to think on some other sites I inhabit. Let me state categorically they are wrong. The fit of this ancient kit is excellent and will need very little filler, if any , to finish.
I started at about 2pm and all the wings, engines etc are all built and the fuselage buttoned up by 4.30pm! Woohoo! A quick build is a good build.
The box top..
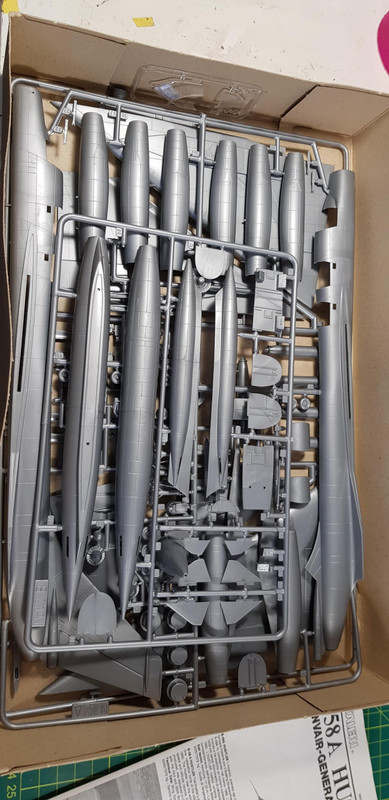
Contents.
I found one moulding fault in one of the instrument pedestals in one of the drew areas..
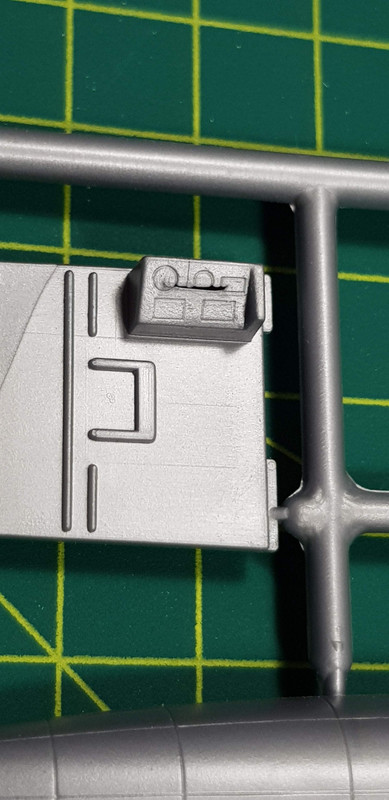
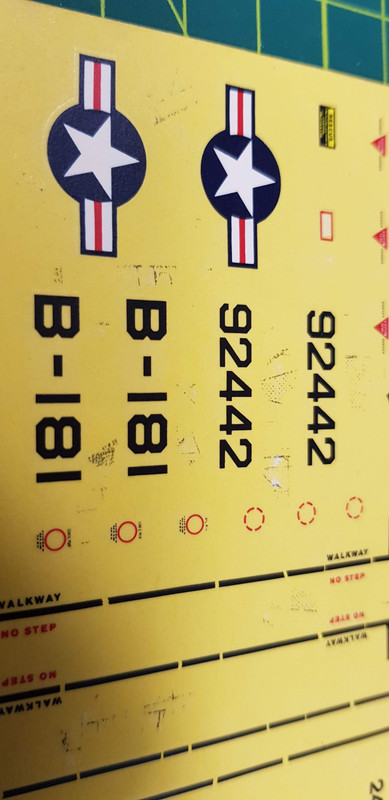
Not too worried as there are only four tiny windows which you wont even be able to see through for this area. Another problem I found was with the original decals..
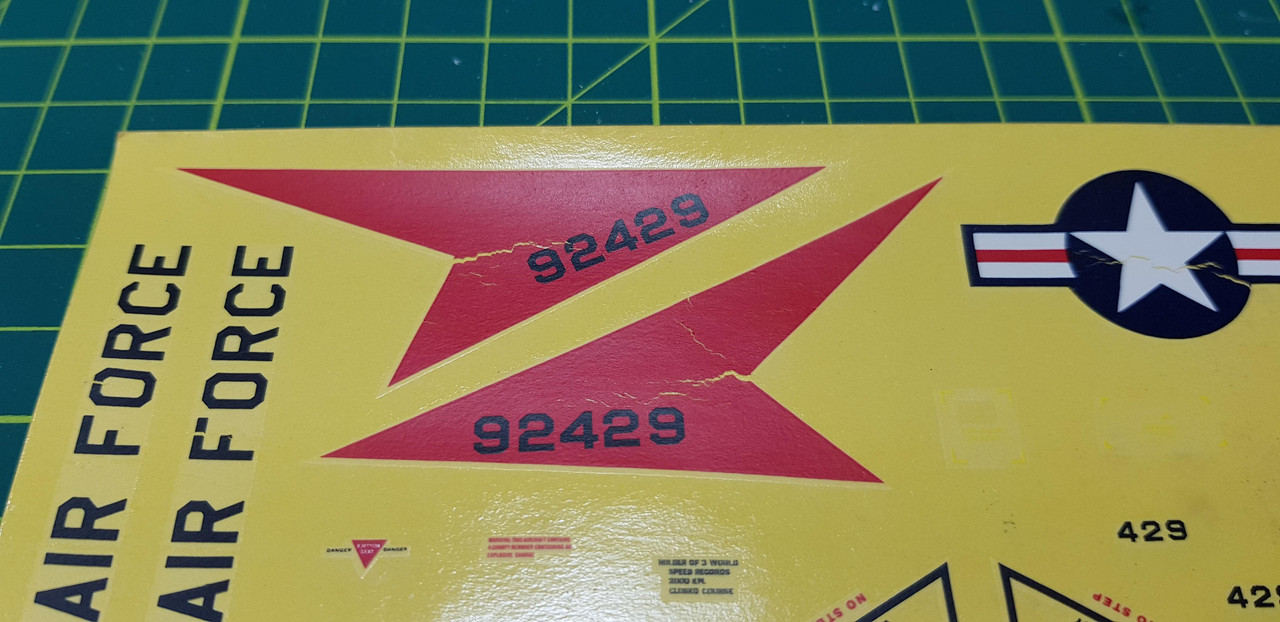
Oh well. And some weird patterns on other parts of the sheet, . Think they came off the instructions at some time..
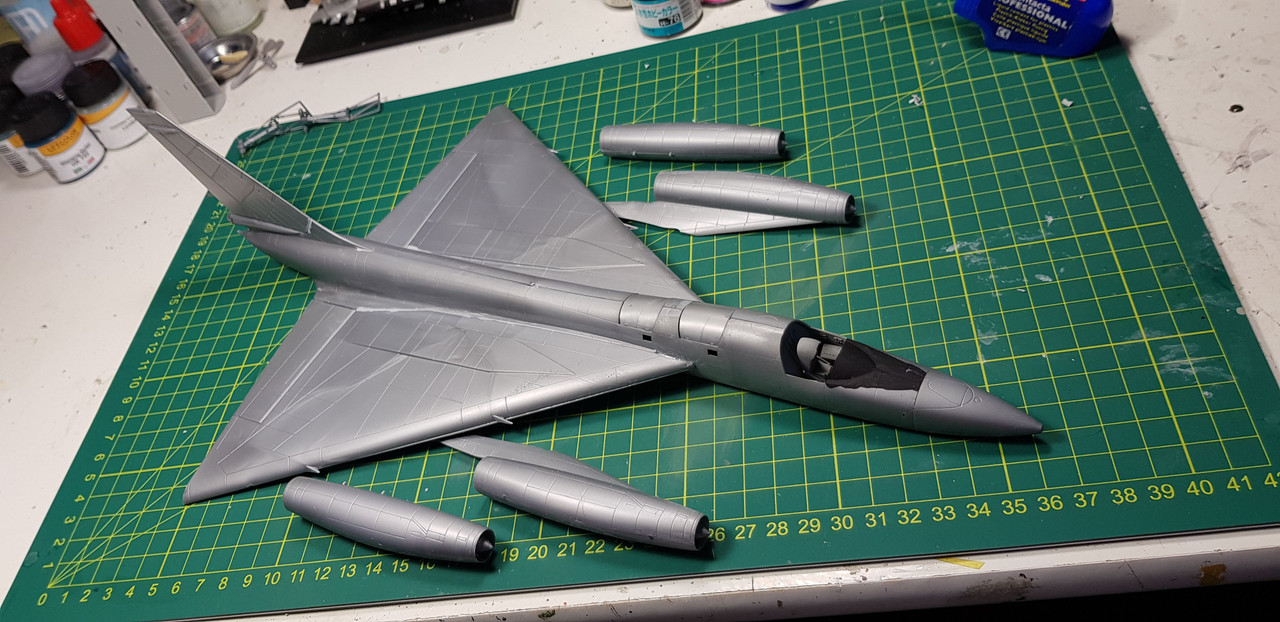
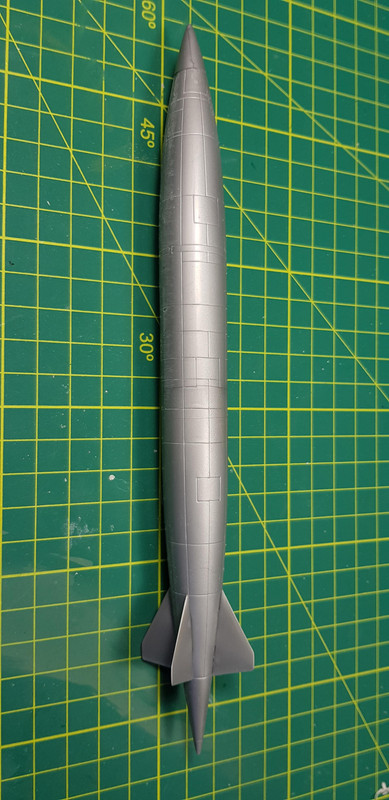
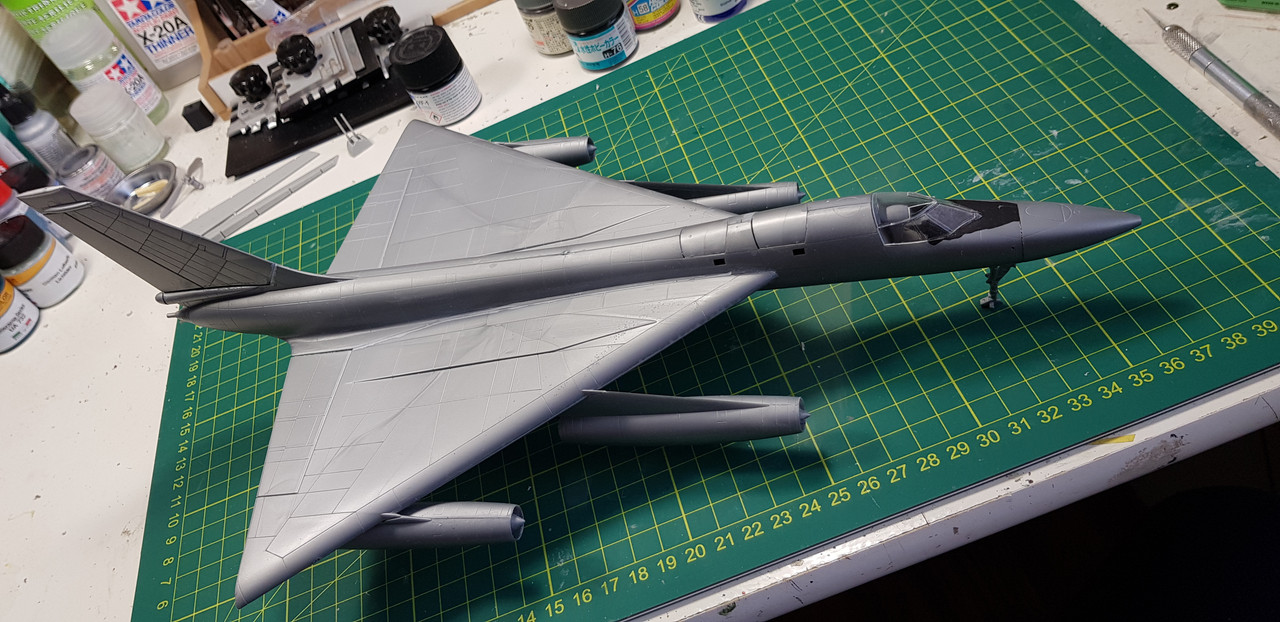
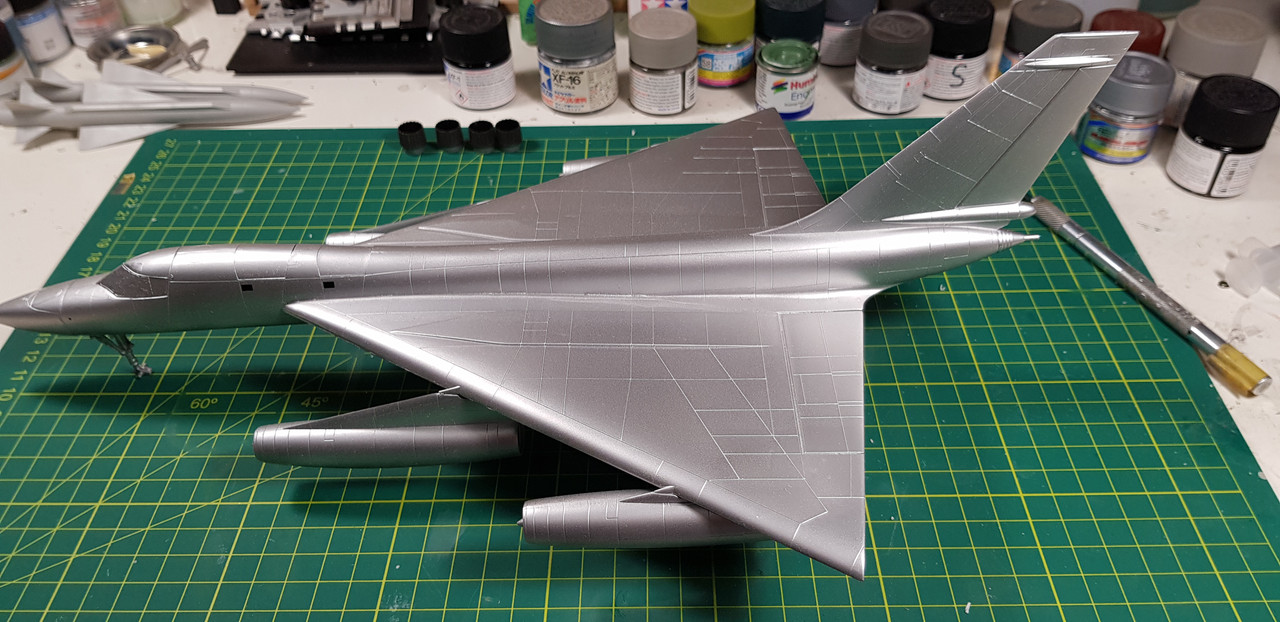
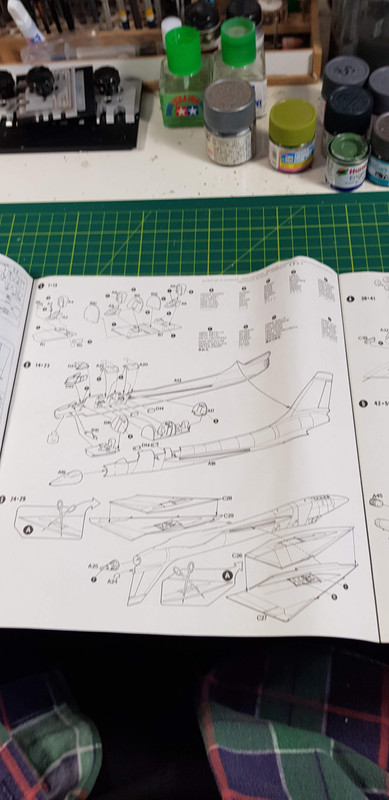
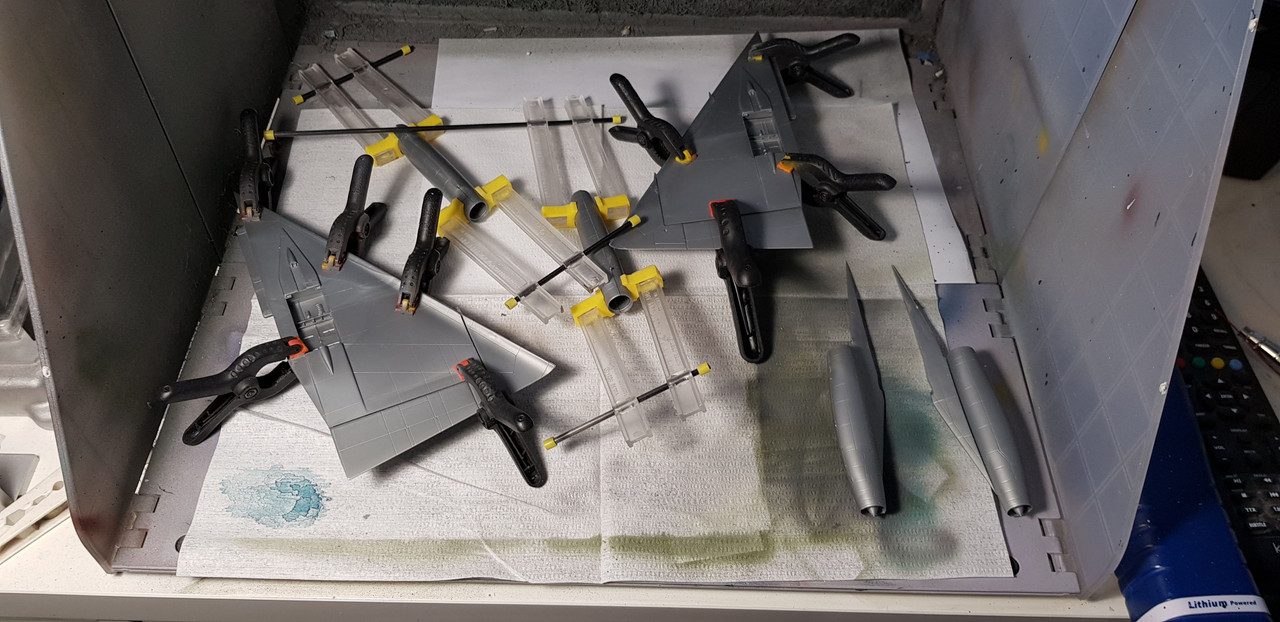
Here are all the subassemblies waiting for their time to shine when they get attached to the fuselage..
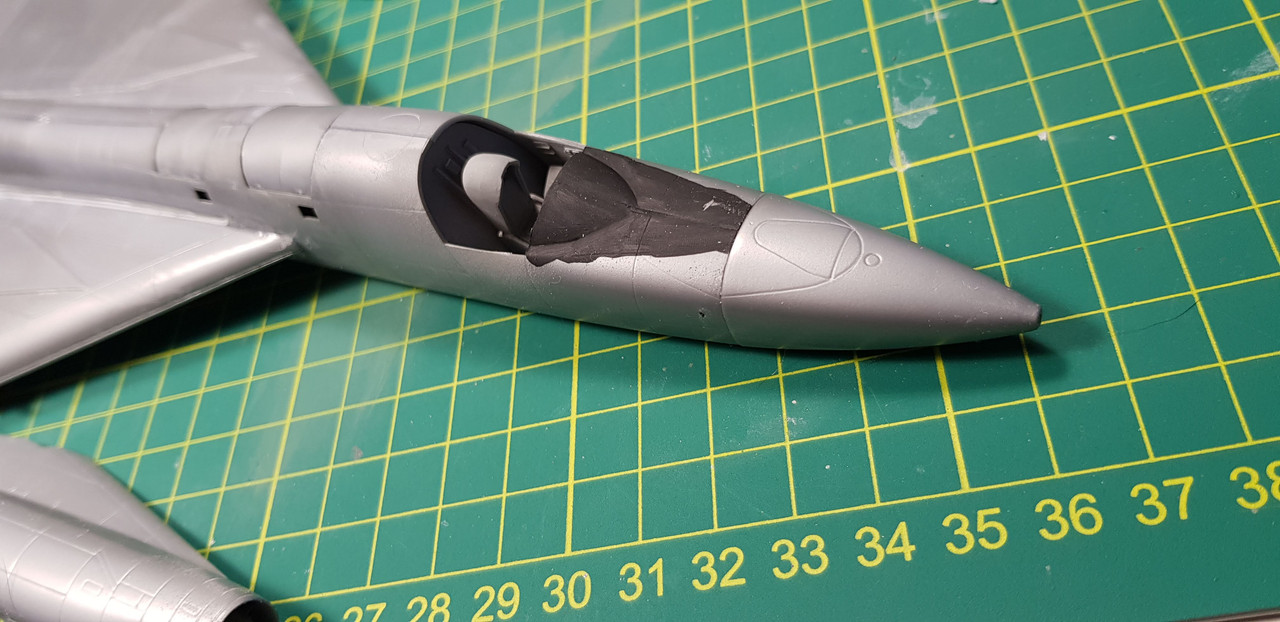
And I took a photo after I buttoned up the fuselage..
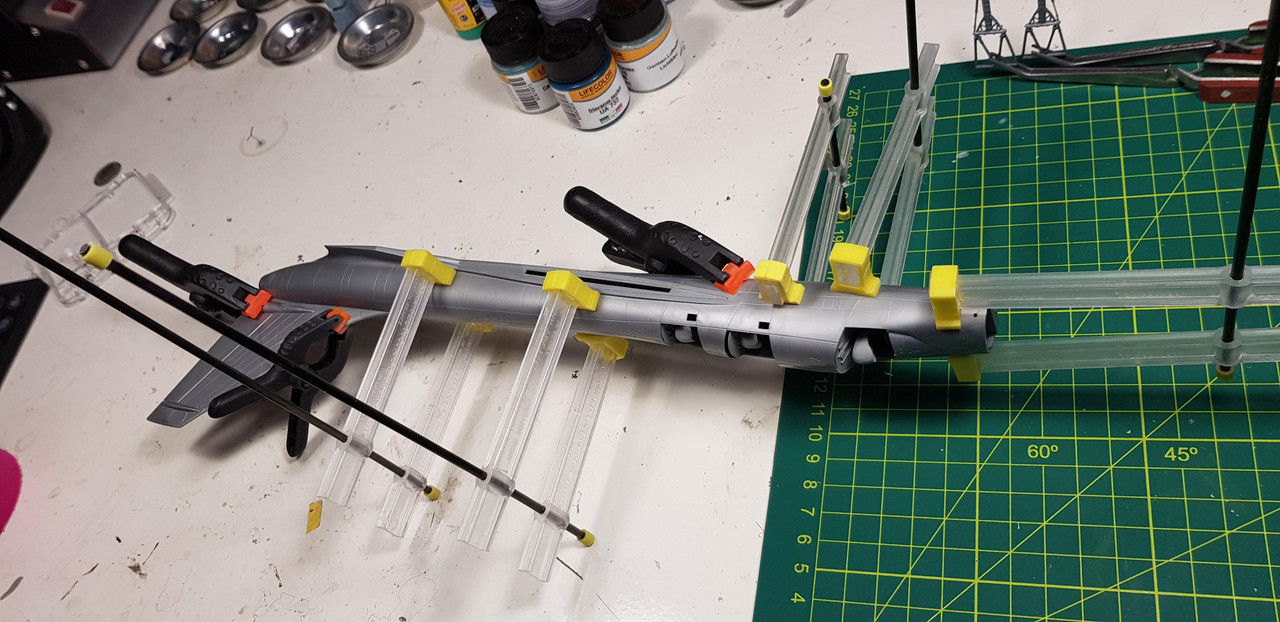
Just one or two clamps. But again fit is marvellous.
That;s it for now. Might even finish it this week..

Cheers
Warren