Good evening!
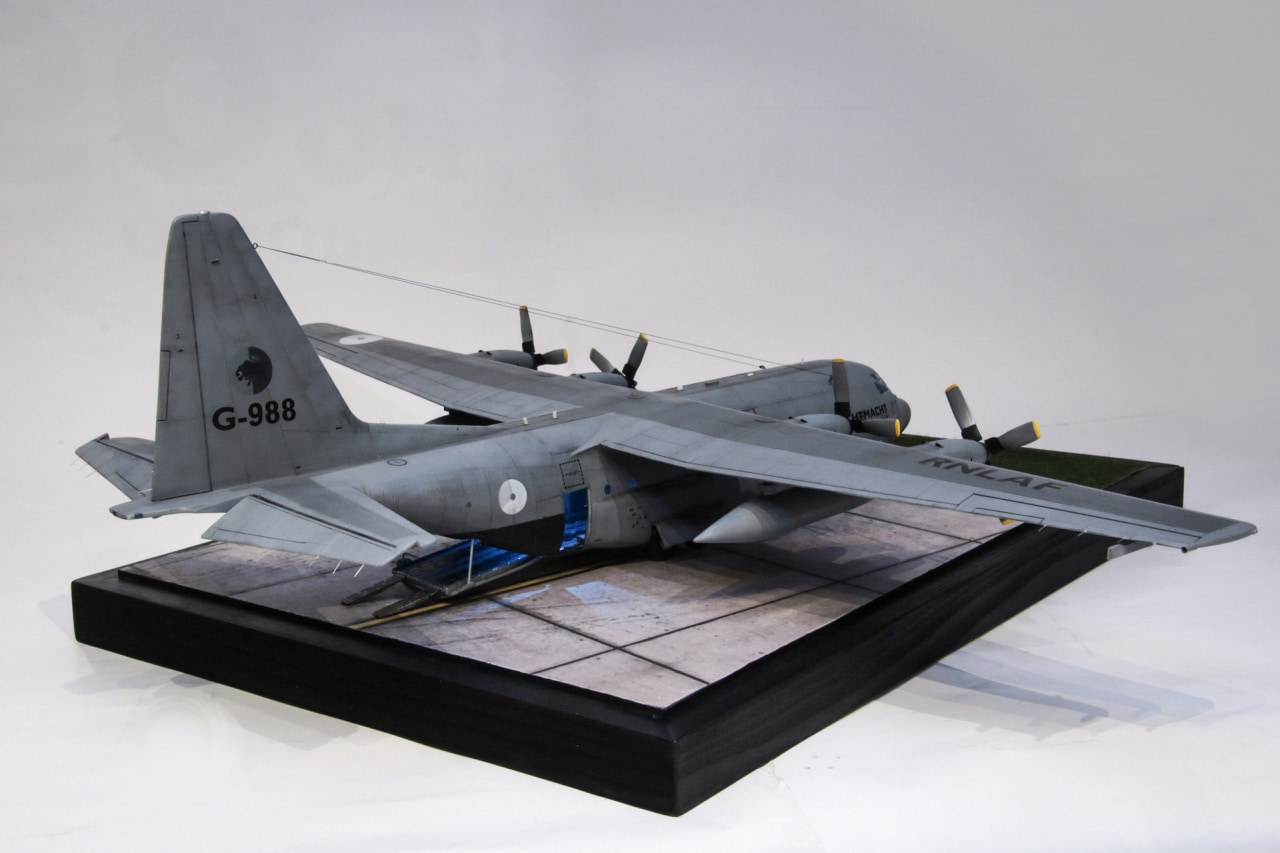
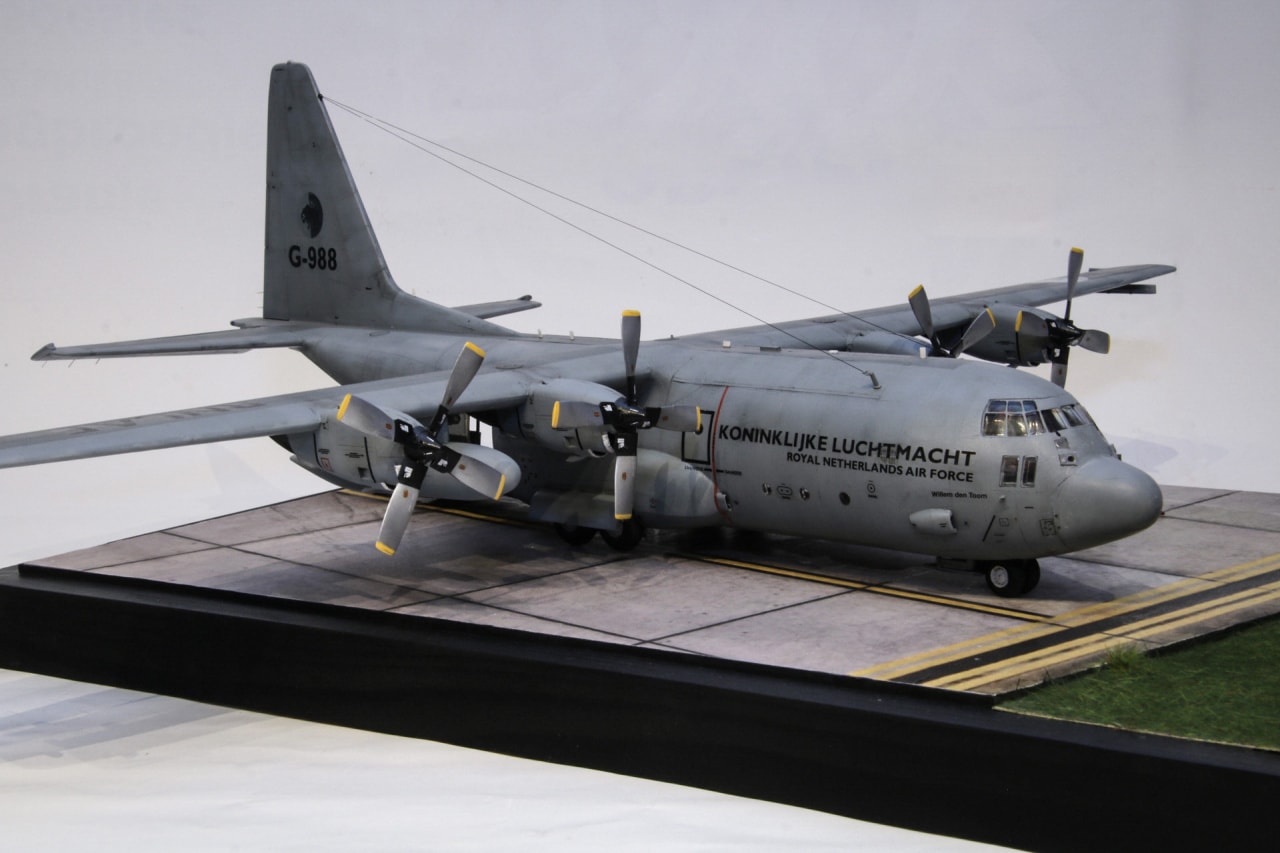
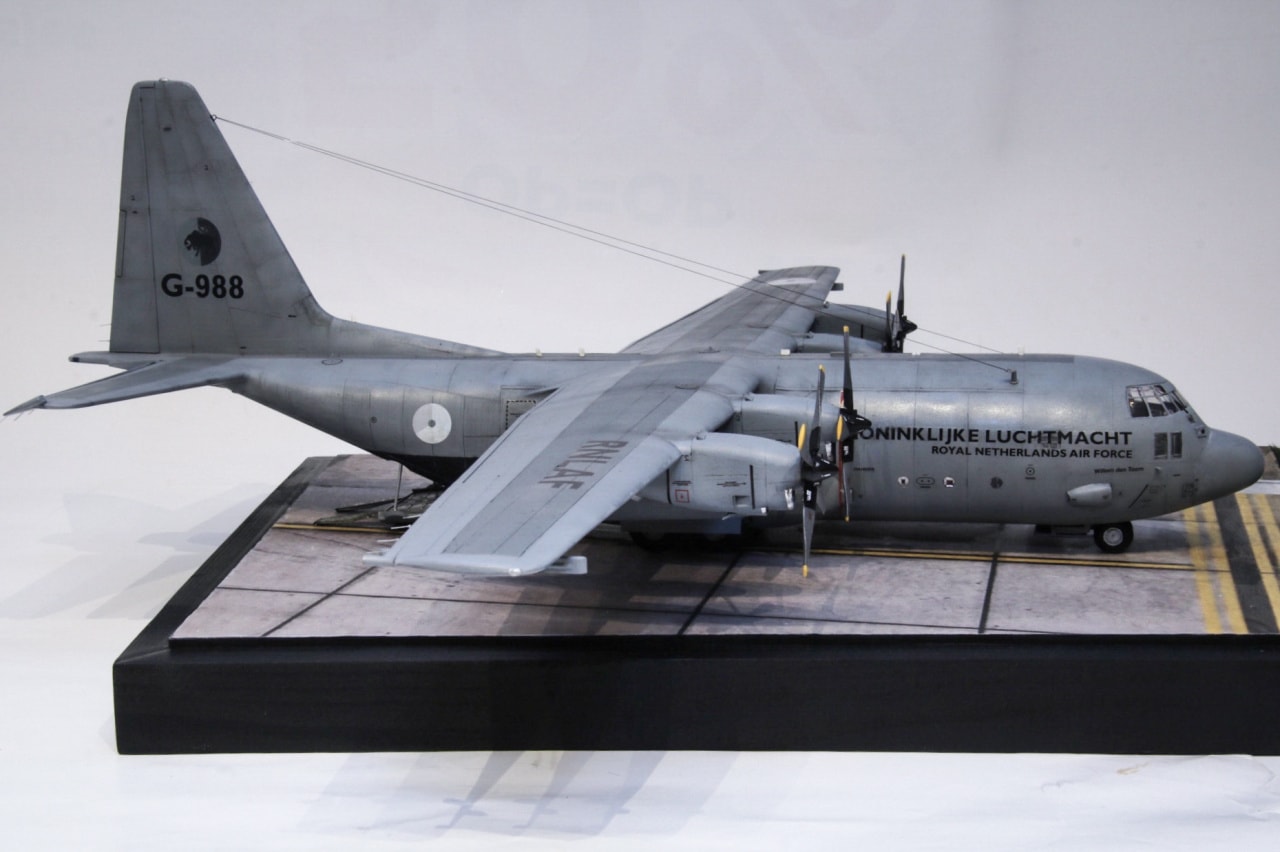
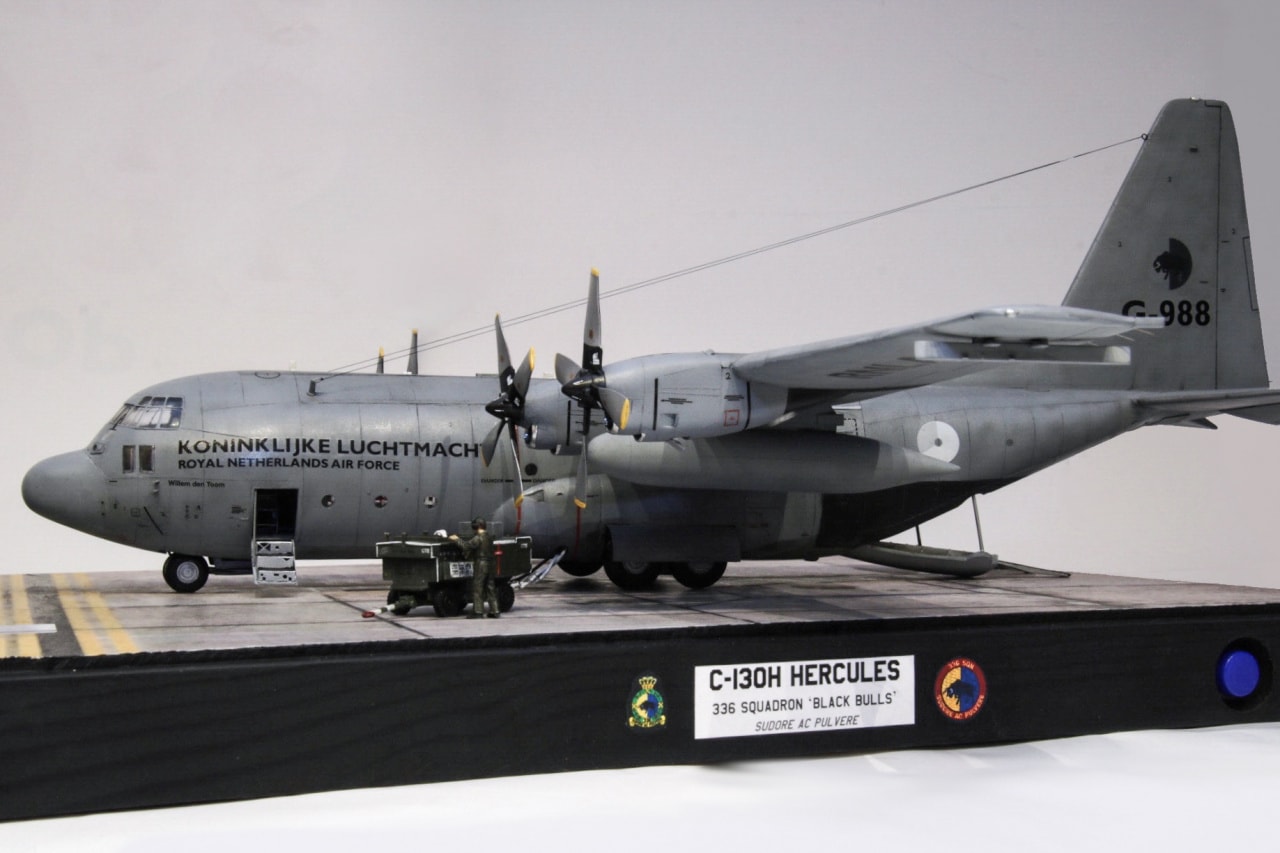
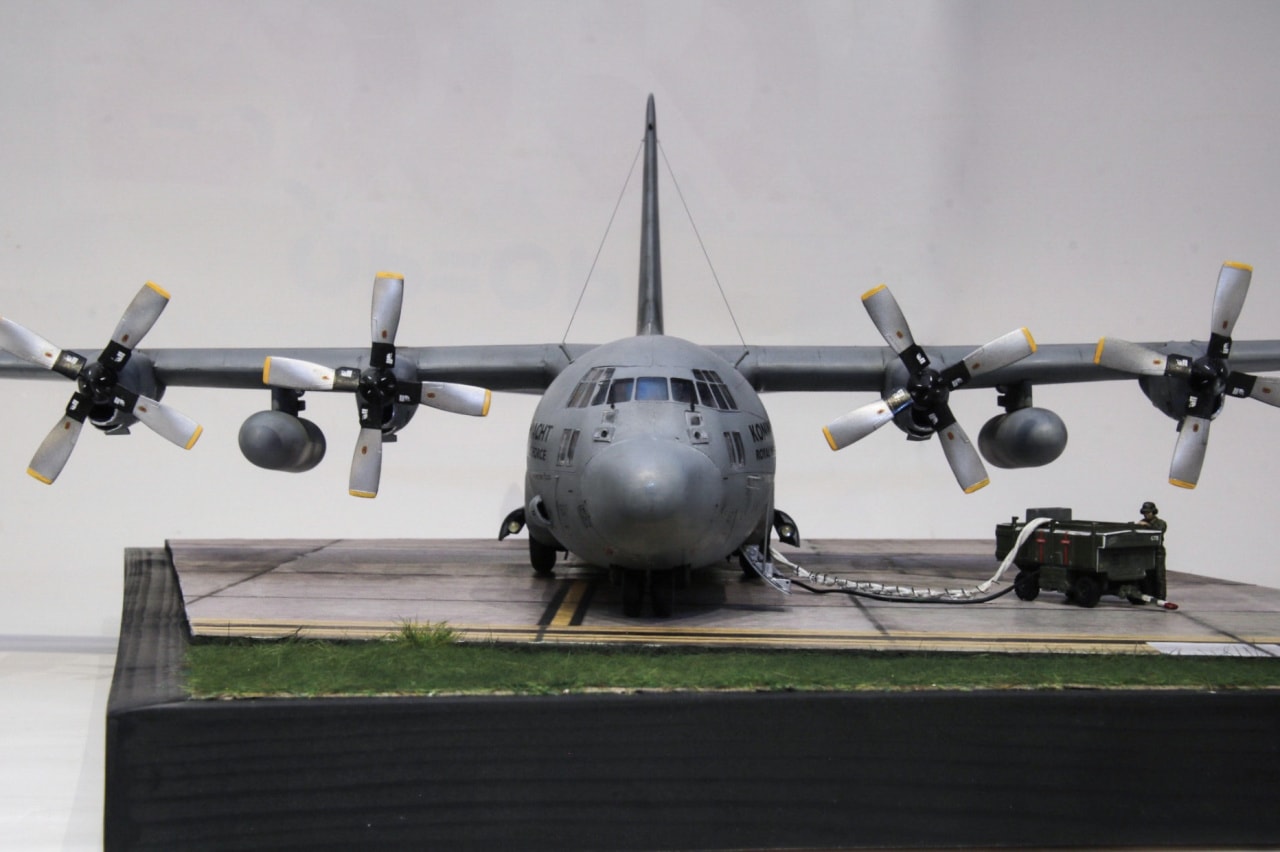
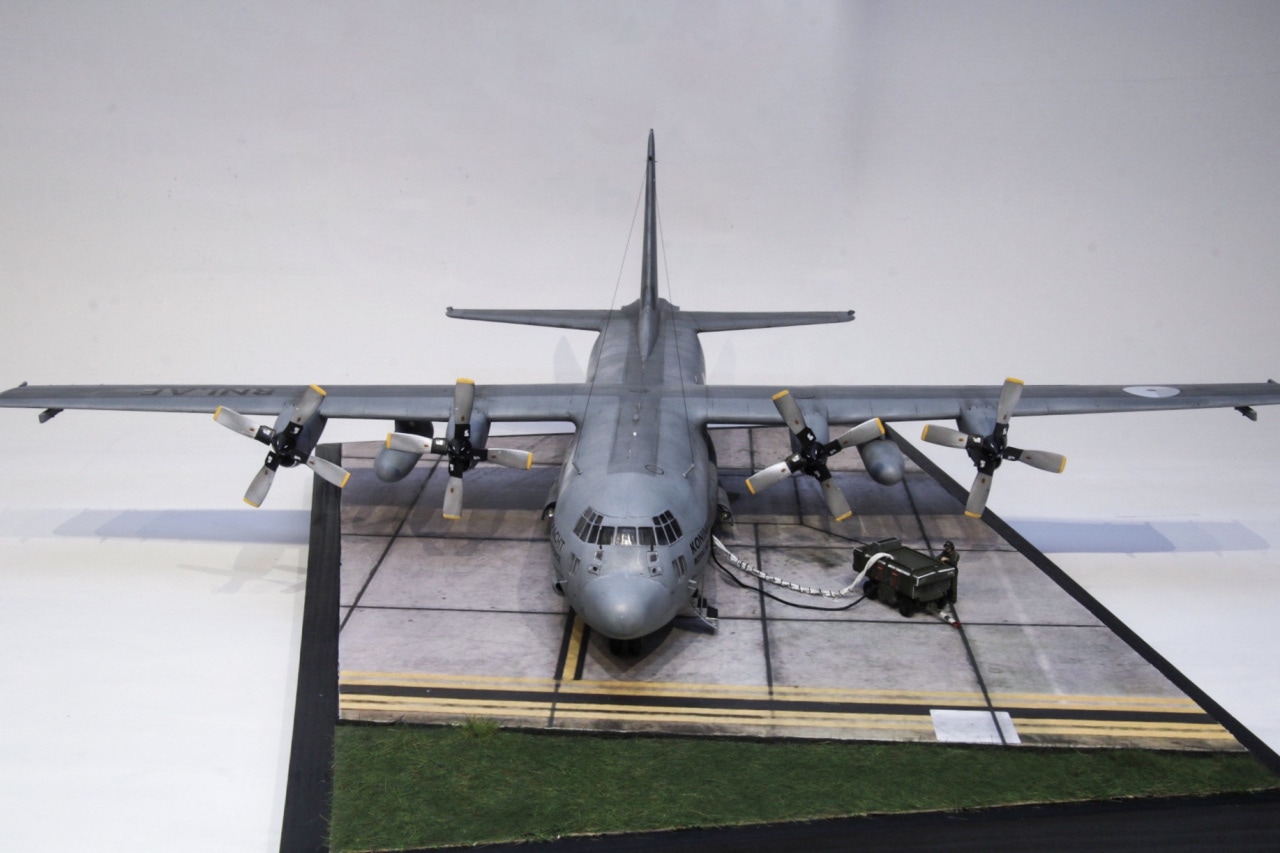
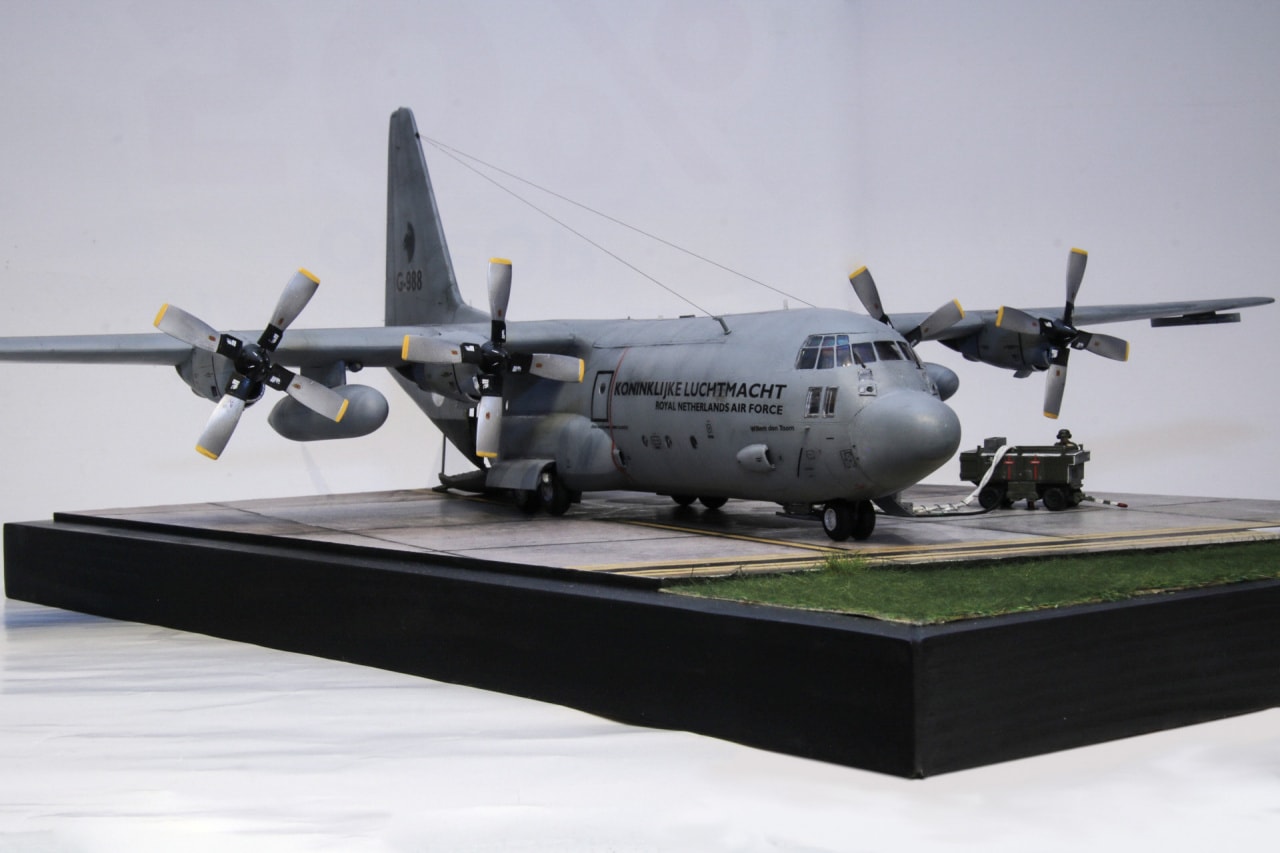
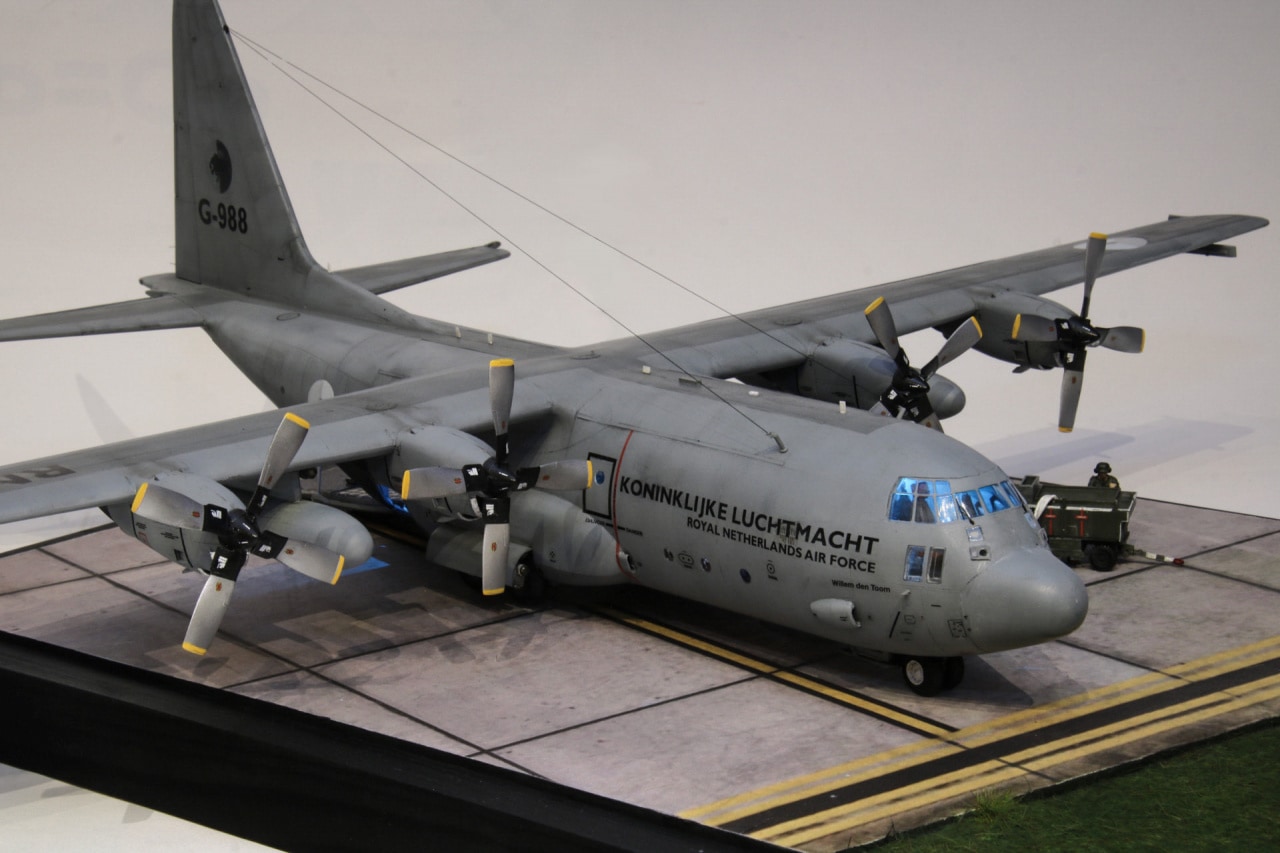
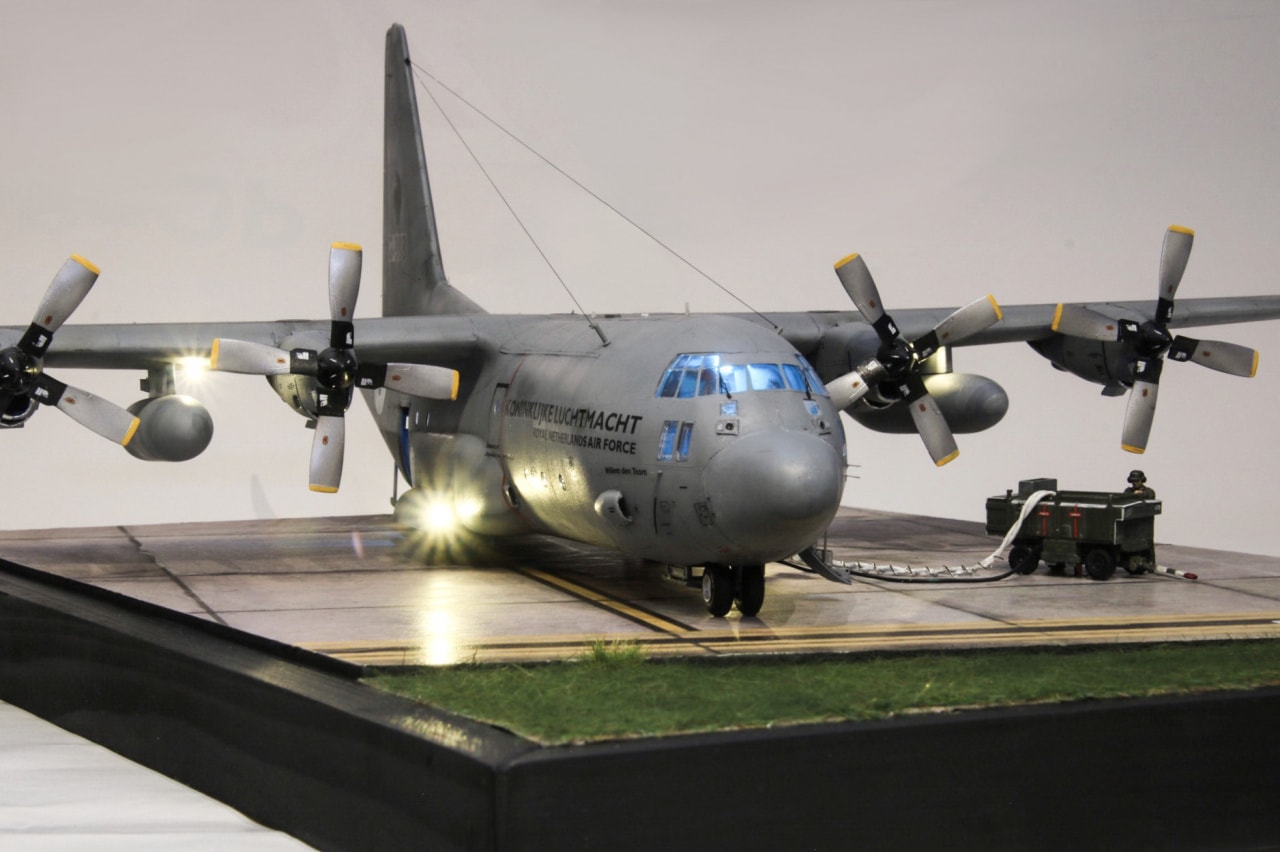
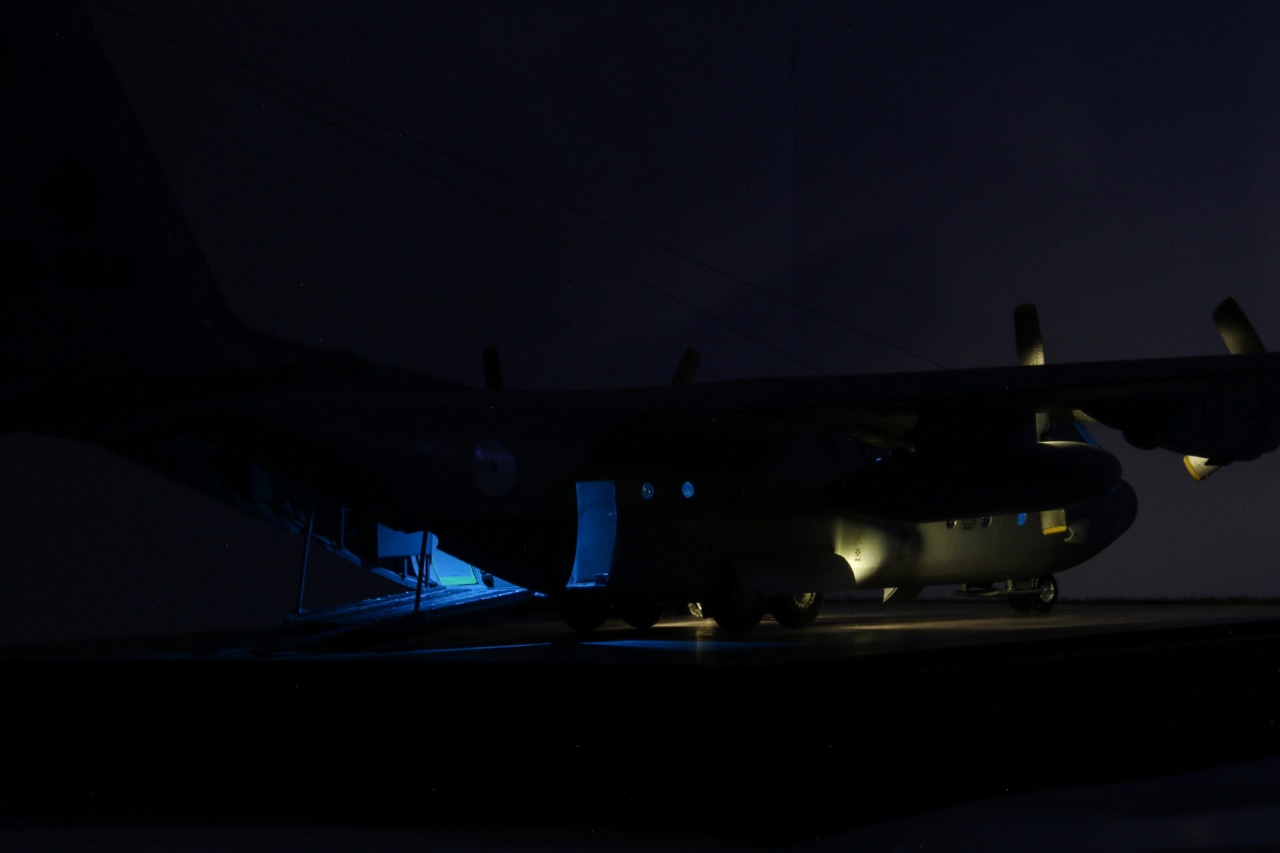
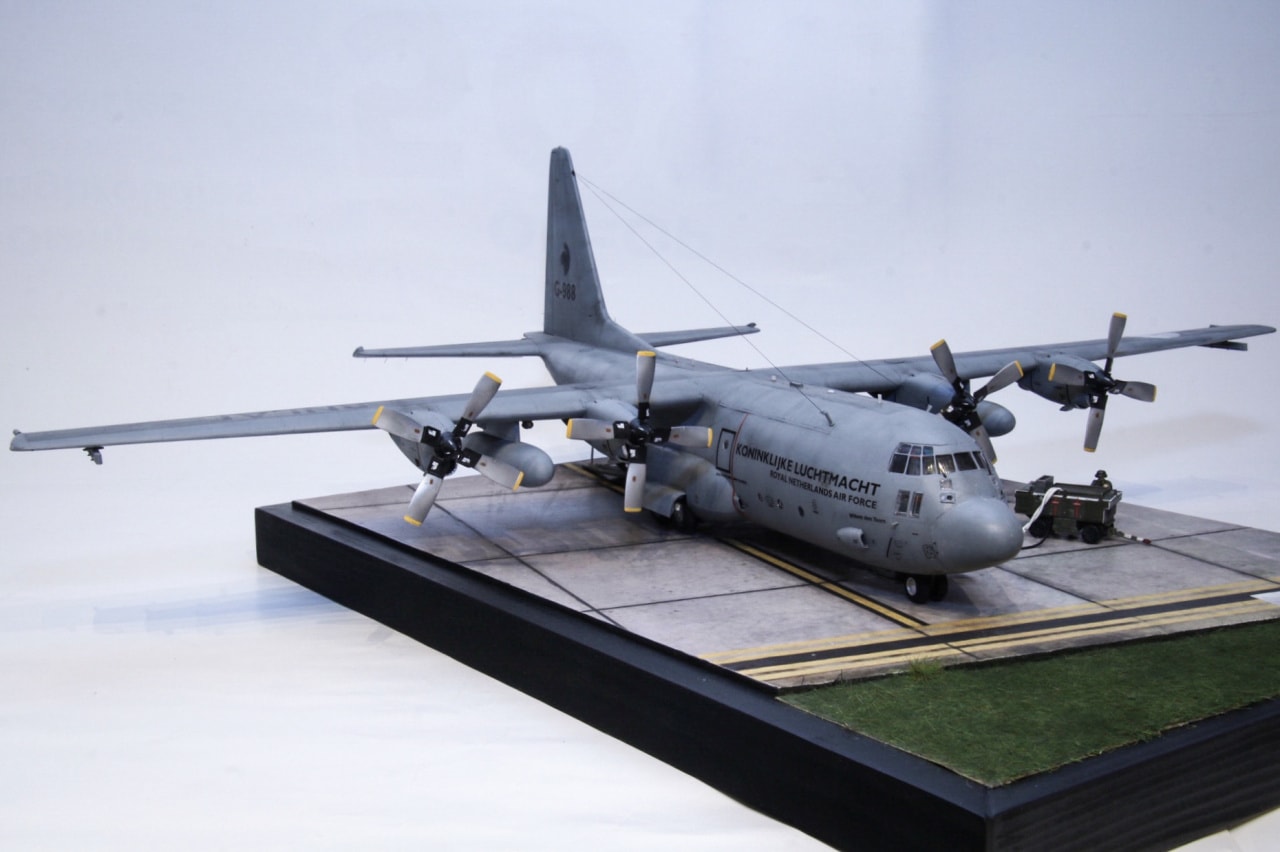
I'd like to share some pictures of my recently completed 1:72 Hercules.
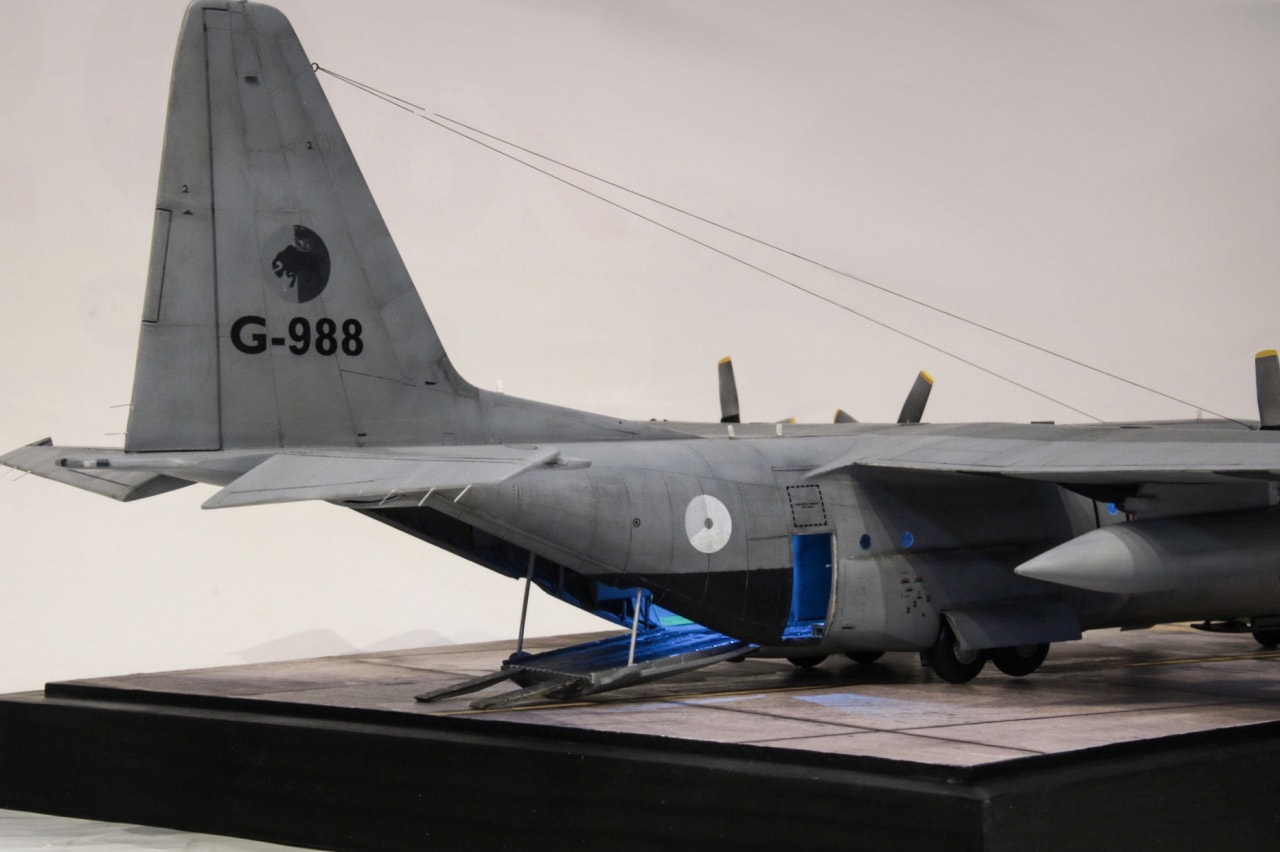
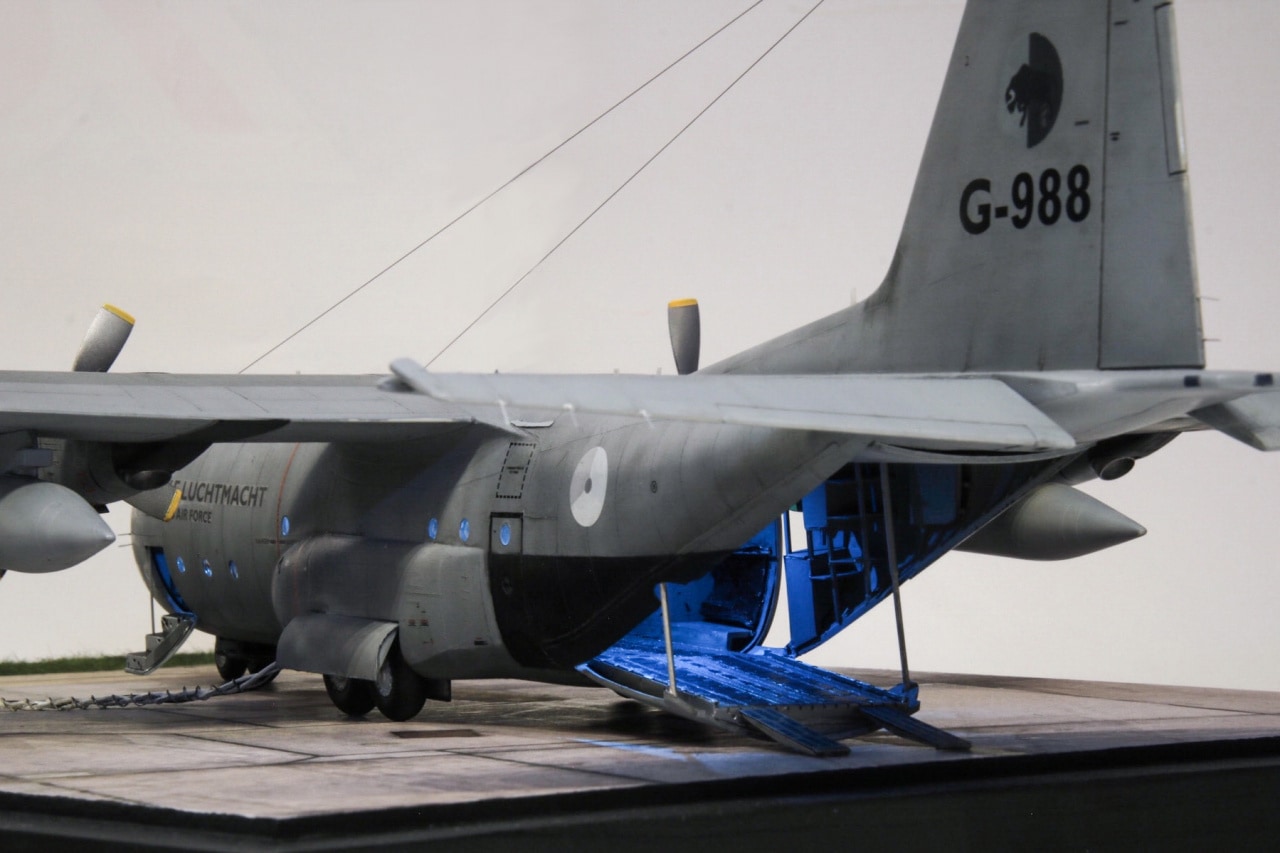
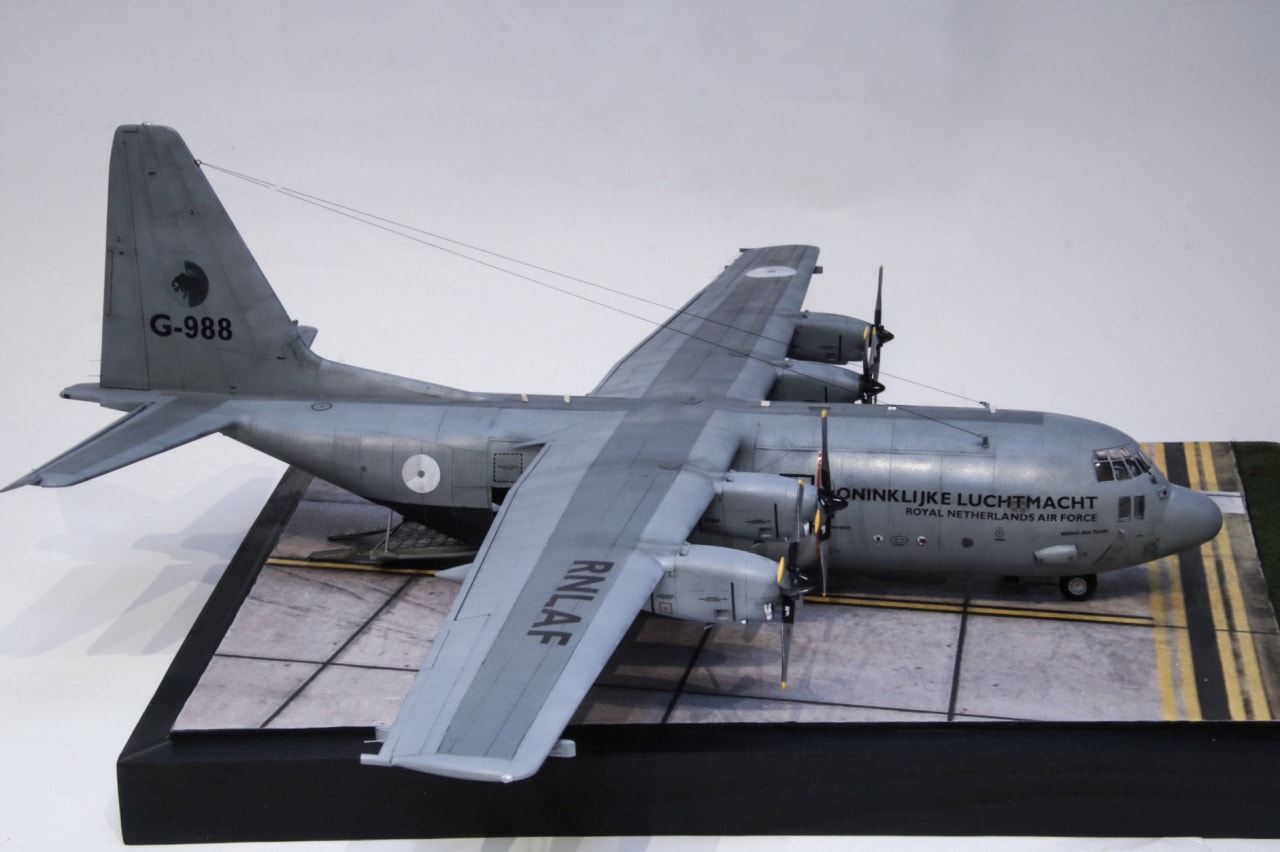
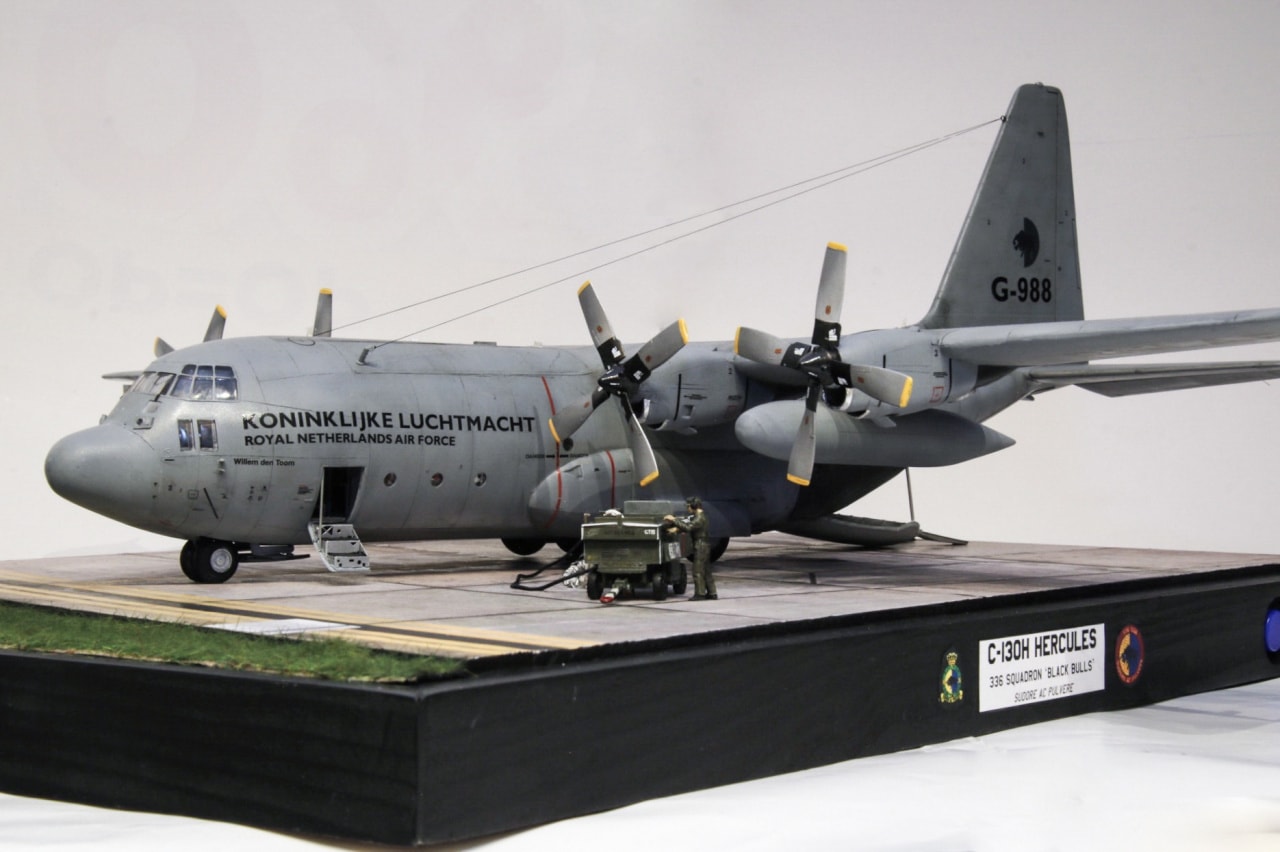
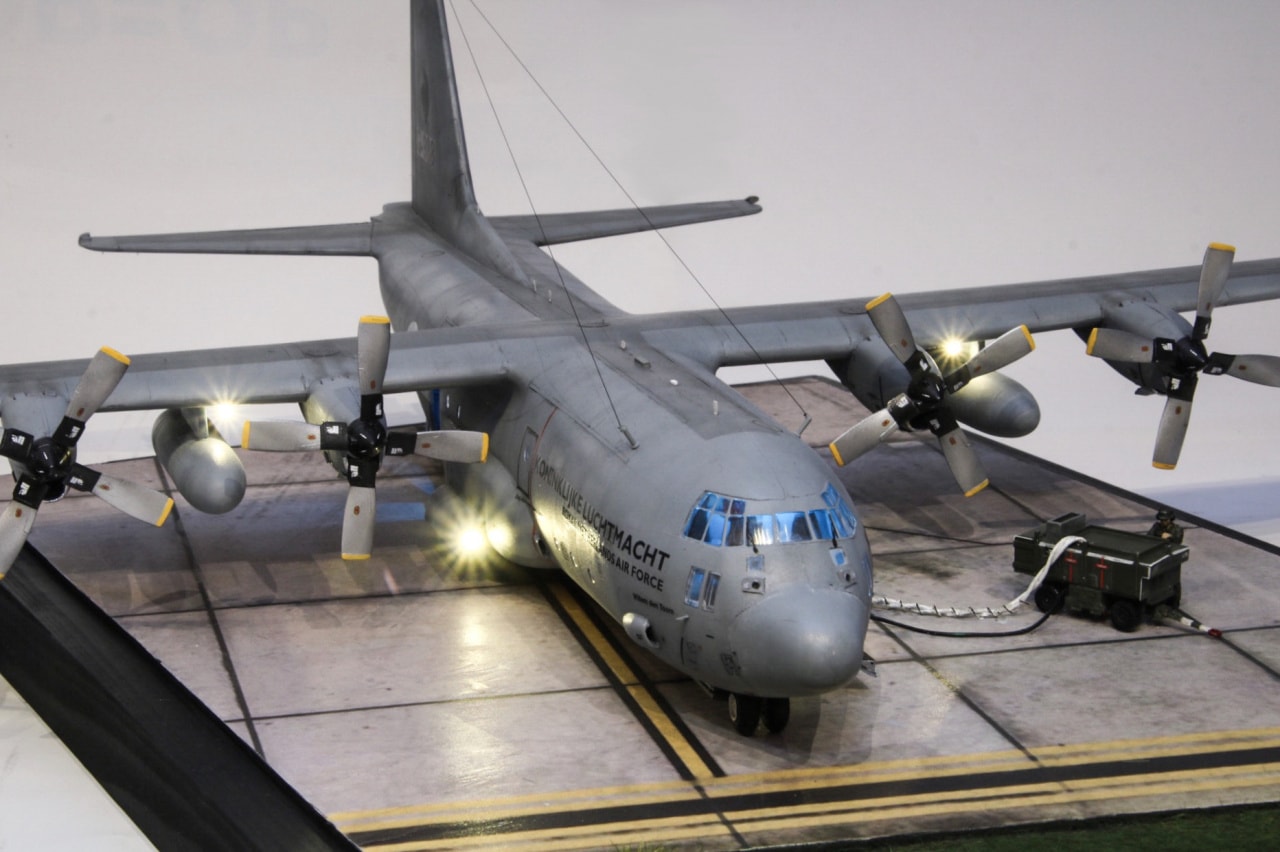
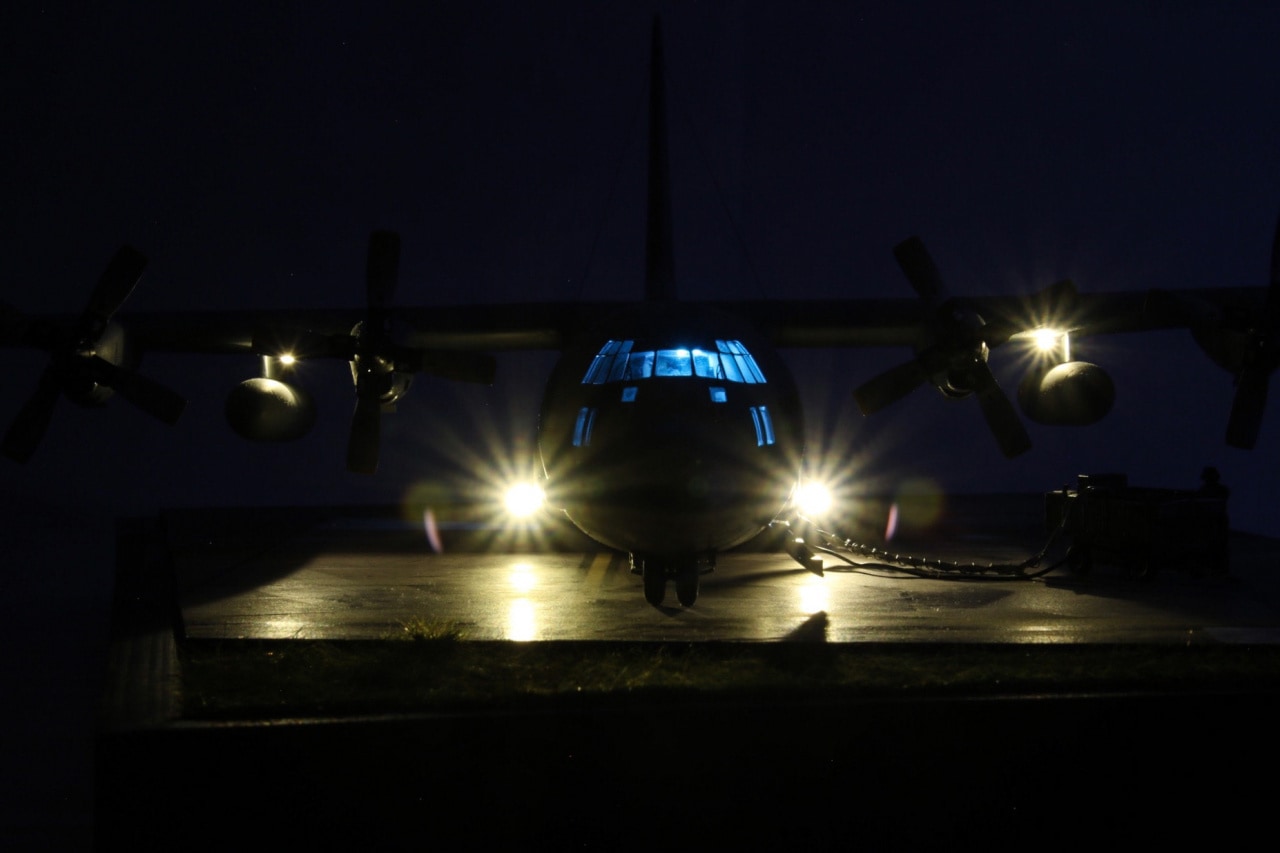
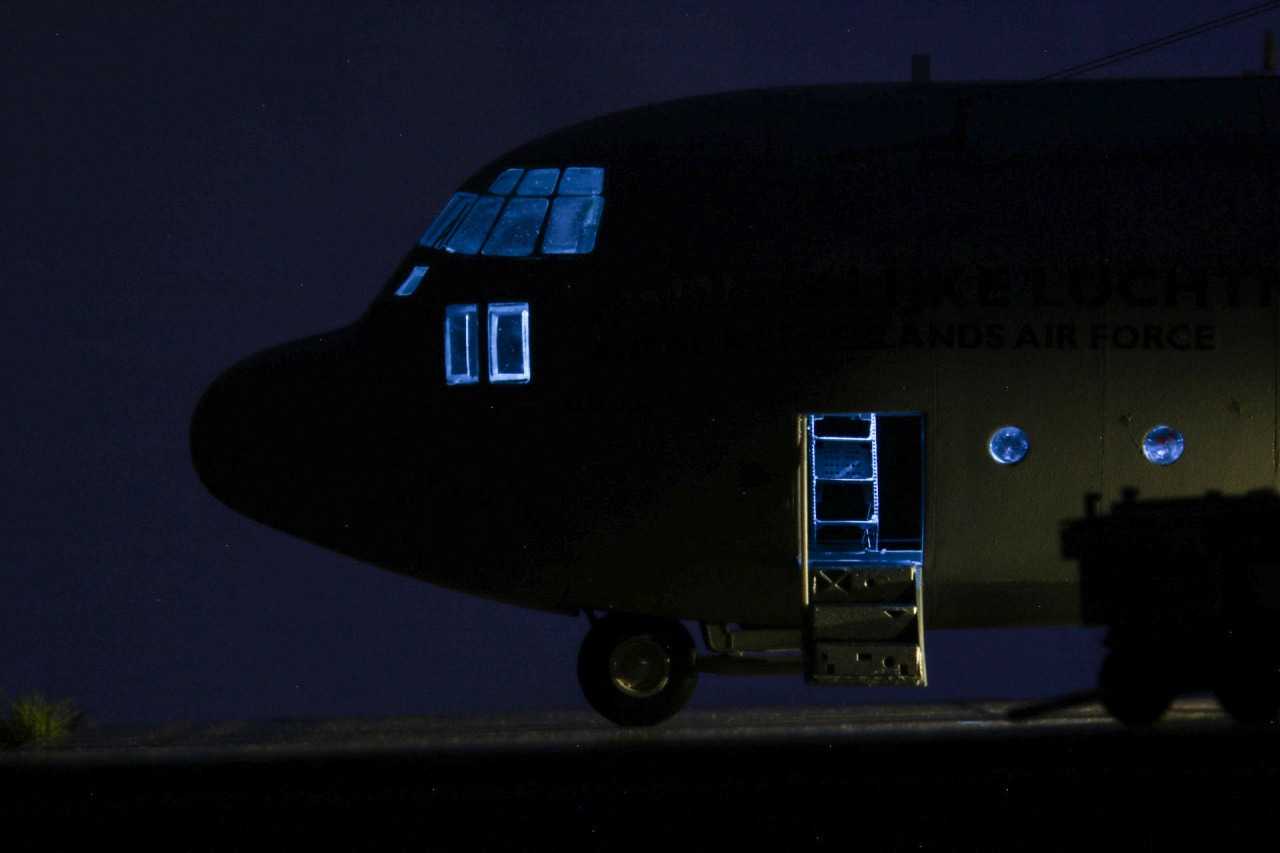
I decided to try something a little different on this model by adding lighting to it. If modelling isn’t hard enough, try adding lighting to your model! This is my C-130H Hercules by Italeri in scale 1:72. After finding this kit, complete with the hard to find decals for a Dutch bird I knew what my next build was going to be. Since the kit is quite basic I decided to bring it up to standards. I started by rescribing the kits raised panel lines. I also used the Eduard BigEd set to add some more detail. The model is finished in the colours of 336 Squadron Royal Netherlands Air Force, using a decalset by Flevo Decals. SInce there is quite a bit of wiring to hide, I made a simple diorama base for the model.
I hope you like it!
Modern (1975-today)
Discuss the modern aircraft age from 1975 thru today.
Hosted by Jim Starkweather
C-130H Hercules RNLAF - Italeri 1:72
Jasperb12
Zuid-Holland, Netherlands
Joined: July 23, 2016
KitMaker: 105 posts
AeroScale: 25 posts
Joined: July 23, 2016
KitMaker: 105 posts
AeroScale: 25 posts
Posted: Monday, January 13, 2020 - 09:22 AM UTC
Posted: Monday, January 13, 2020 - 10:35 AM UTC
Great work! Looks really effective in the low light photos.
Did you cover the interior with anything to stop light bleed? Or just a good dark primer?
Jasperb12
Zuid-Holland, Netherlands
Joined: July 23, 2016
KitMaker: 105 posts
AeroScale: 25 posts
Joined: July 23, 2016
KitMaker: 105 posts
AeroScale: 25 posts
Posted: Monday, January 13, 2020 - 11:48 PM UTC
Quoted Text
Great work! Looks really effective in the low light photos.
Did you cover the interior with anything to stop light bleed? Or just a good dark primer?
Thank you Stephen!
I used gaffertape to give the interior the insulated look the real thing has. This also stops any light from bleeding out. Other than that I didn't really take any precautions, other than using a black primer coat over the cockpit area.
Antilles
Nordrhein-Westfalen, Germany
Joined: March 22, 2015
KitMaker: 671 posts
AeroScale: 614 posts
Joined: March 22, 2015
KitMaker: 671 posts
AeroScale: 614 posts
Posted: Tuesday, January 14, 2020 - 03:31 AM UTC
Jasper,
this is really a great model. I especially like the different shades of the color you have applied. And the lighting makes is outstanding. Thank You for sharing.
Oliver
this is really a great model. I especially like the different shades of the color you have applied. And the lighting makes is outstanding. Thank You for sharing.
Oliver
Jasperb12
Zuid-Holland, Netherlands
Joined: July 23, 2016
KitMaker: 105 posts
AeroScale: 25 posts
Joined: July 23, 2016
KitMaker: 105 posts
AeroScale: 25 posts
Posted: Tuesday, January 14, 2020 - 07:09 AM UTC
Quoted Text
Jasper,
this is really a great model. I especially like the different shades of the color you have applied. And the lighting makes is outstanding. Thank You for sharing.
Oliver
Thank you very much Oliver! Black basing was very effective on this grey camouflage, which other wise looks fairly boring. I'm glad you like it!
Removed by original poster on 01/14/20 - 19:34:43 (GMT).
Klaus-Adler
Campaigns Administrator
Scotland, United Kingdom
Joined: June 08, 2015
KitMaker: 1,505 posts
AeroScale: 193 posts
Joined: June 08, 2015
KitMaker: 1,505 posts
AeroScale: 193 posts
Posted: Tuesday, January 14, 2020 - 08:55 AM UTC
you've done a fantastic job in lighting this kit, I just wish you could have shown us how you did it.
Posted: Tuesday, January 14, 2020 - 09:32 AM UTC
Quoted Text
Quoted TextGreat work! Looks really effective in the low light photos.
Did you cover the interior with anything to stop light bleed? Or just a good dark primer?
Thank you Stephen!
I used gaffertape to give the interior the insulated look the real thing has. This also stops any light from bleeding out. Other than that I didn't really take any precautions, other than using a black primer coat over the cockpit area.
Great idea. Never thought about gaffer tape, but yeah it does look like the insulation!
Did you use those tiny SMD LEDs?
Jasperb12
Zuid-Holland, Netherlands
Joined: July 23, 2016
KitMaker: 105 posts
AeroScale: 25 posts
Joined: July 23, 2016
KitMaker: 105 posts
AeroScale: 25 posts
Posted: Tuesday, January 14, 2020 - 10:40 AM UTC
Quoted Text
you've done a fantastic job in lighting this kit, I just wish you could have shown us how you did it.
Thank you
I don’t like taking pictures during my building process, so unfortunately I can’t help you with that. Soldering is hard enoug with two hands already
I used this build as reference for my own, so maybe it is of any help to you too. I did not use any of the fancy electronics however, and just connected my 4 white and 3 blue LEDs to a 3 Volt battery pack, with two buttons to switch them on separately. I used simple 3 millimetre LEDs. I found a set of turquoise/pastel blue ones on eBay that are almost identical to the colour of the real interior lights.
I hope that helps
Jasper
magnusf
Stockholm, Sweden
Joined: May 02, 2006
KitMaker: 1,953 posts
AeroScale: 1,902 posts
Joined: May 02, 2006
KitMaker: 1,953 posts
AeroScale: 1,902 posts
Posted: Tuesday, January 14, 2020 - 08:04 PM UTC
That's a good looking Hercules, you did an excellent job bringing the grey camo to life! I've seen your "reference model" live here in Stockholm by the way !
Magnus
Magnus
Jasperb12
Zuid-Holland, Netherlands
Joined: July 23, 2016
KitMaker: 105 posts
AeroScale: 25 posts
Joined: July 23, 2016
KitMaker: 105 posts
AeroScale: 25 posts
Posted: Wednesday, January 15, 2020 - 03:33 AM UTC
Quoted Text
That's a good looking Hercules, you did an excellent job bringing the grey camo to life! I've seen your "reference model" live here in Stockholm by the way !
Magnus
Thank you very much Magnus!
I am sure that Swedish Hercules looked impressive with the working props and lights! Personally I am not a fan of motorizing models, but to each his own!
Jasper
Posted: Sunday, January 19, 2020 - 02:38 PM UTC
Excellent build and presentation.
The lighting really adds that extra touch!
BRAVO!
The lighting really adds that extra touch!
BRAVO!
SF-07-18D
Madrid, Spain / España
Joined: December 19, 2016
KitMaker: 366 posts
AeroScale: 58 posts
Joined: December 19, 2016
KitMaker: 366 posts
AeroScale: 58 posts
Posted: Wednesday, May 13, 2020 - 09:31 PM UTC
Great dio!!
I have a 130J just like yours, with inner light and working propellers. But it´s abandoned for a while. The idea is the same like yours, but loading a Stryker. I also bought the ground equipment.
I guess I'll resume this project whe I finish my actual build.
COngratulations for your dio. Very good!!
Jasperb12
Zuid-Holland, Netherlands
Joined: July 23, 2016
KitMaker: 105 posts
AeroScale: 25 posts
Joined: July 23, 2016
KitMaker: 105 posts
AeroScale: 25 posts
Posted: Thursday, May 14, 2020 - 04:36 AM UTC
Thank you very much sir!
That sounds like a very interesting project aswell, be sure to share the result here!
Regards
That sounds like a very interesting project aswell, be sure to share the result here!
Regards