litespeed
 News Reporter
England - North West, United Kingdom
Joined: October 15, 2009
KitMaker: 1,976 posts
AeroScale: 1,789 posts
Posted: Tuesday, March 31, 2020 - 11:44 AM UTC
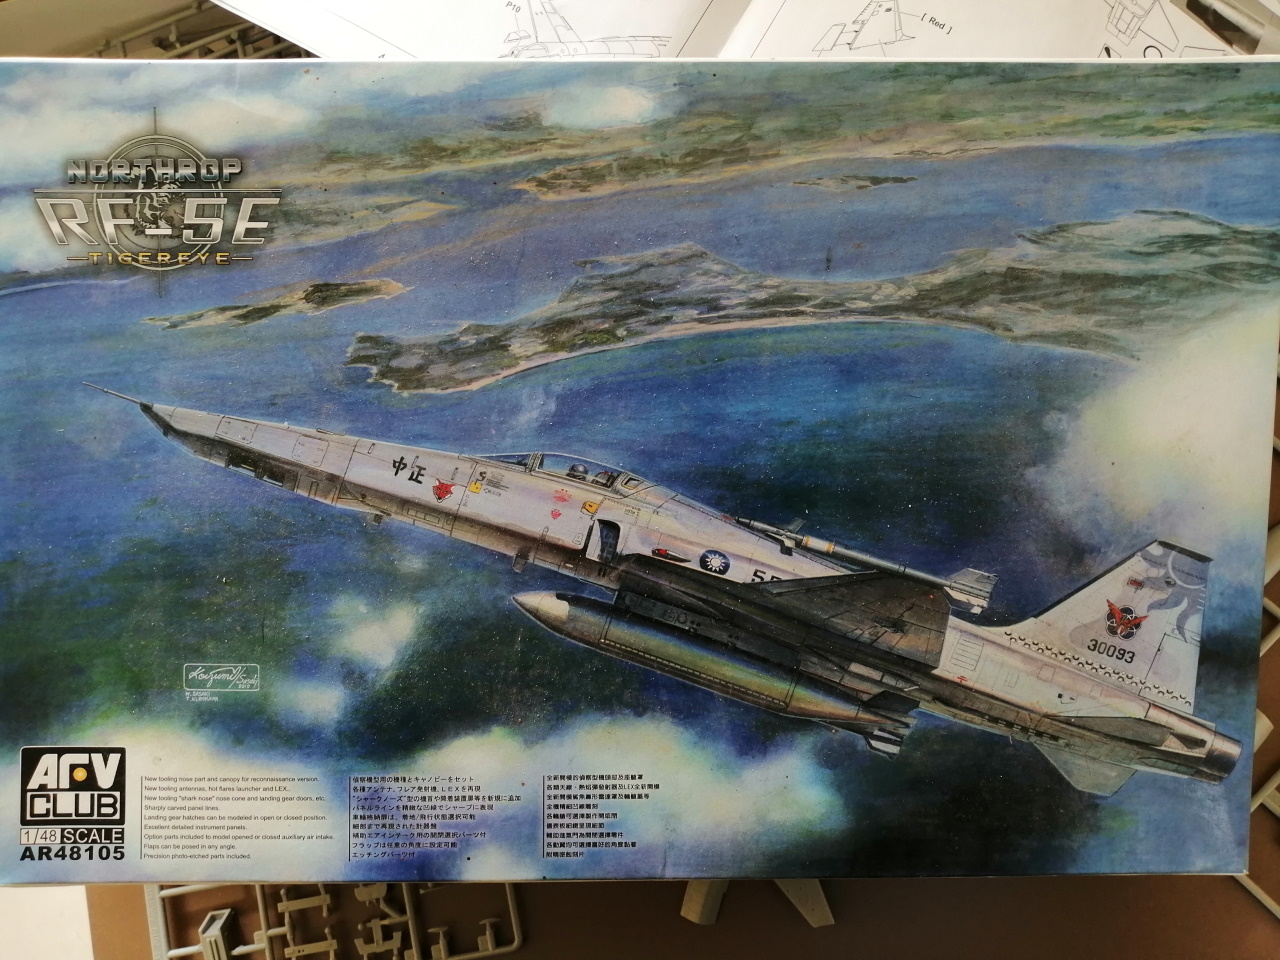
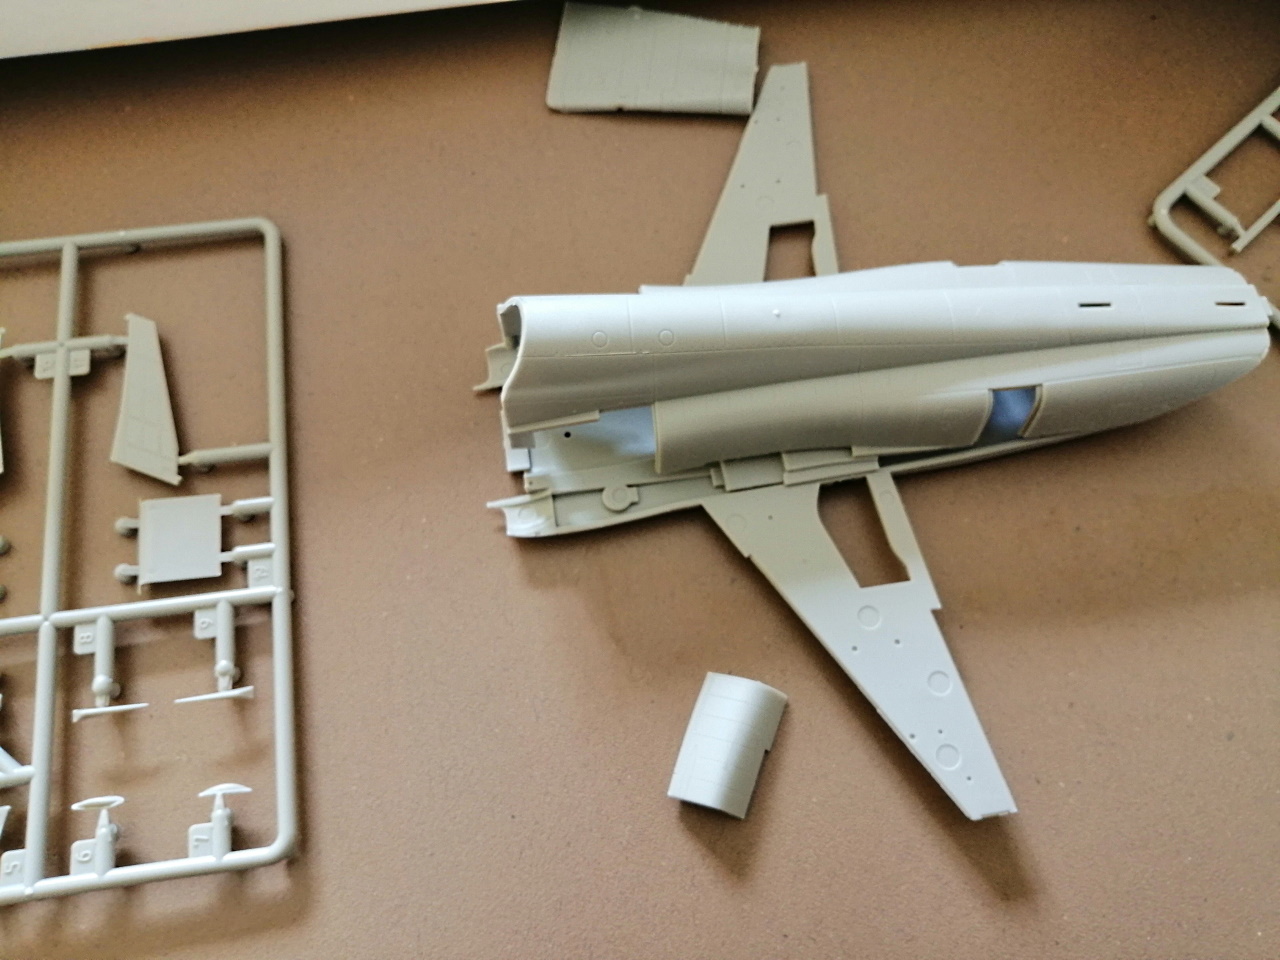
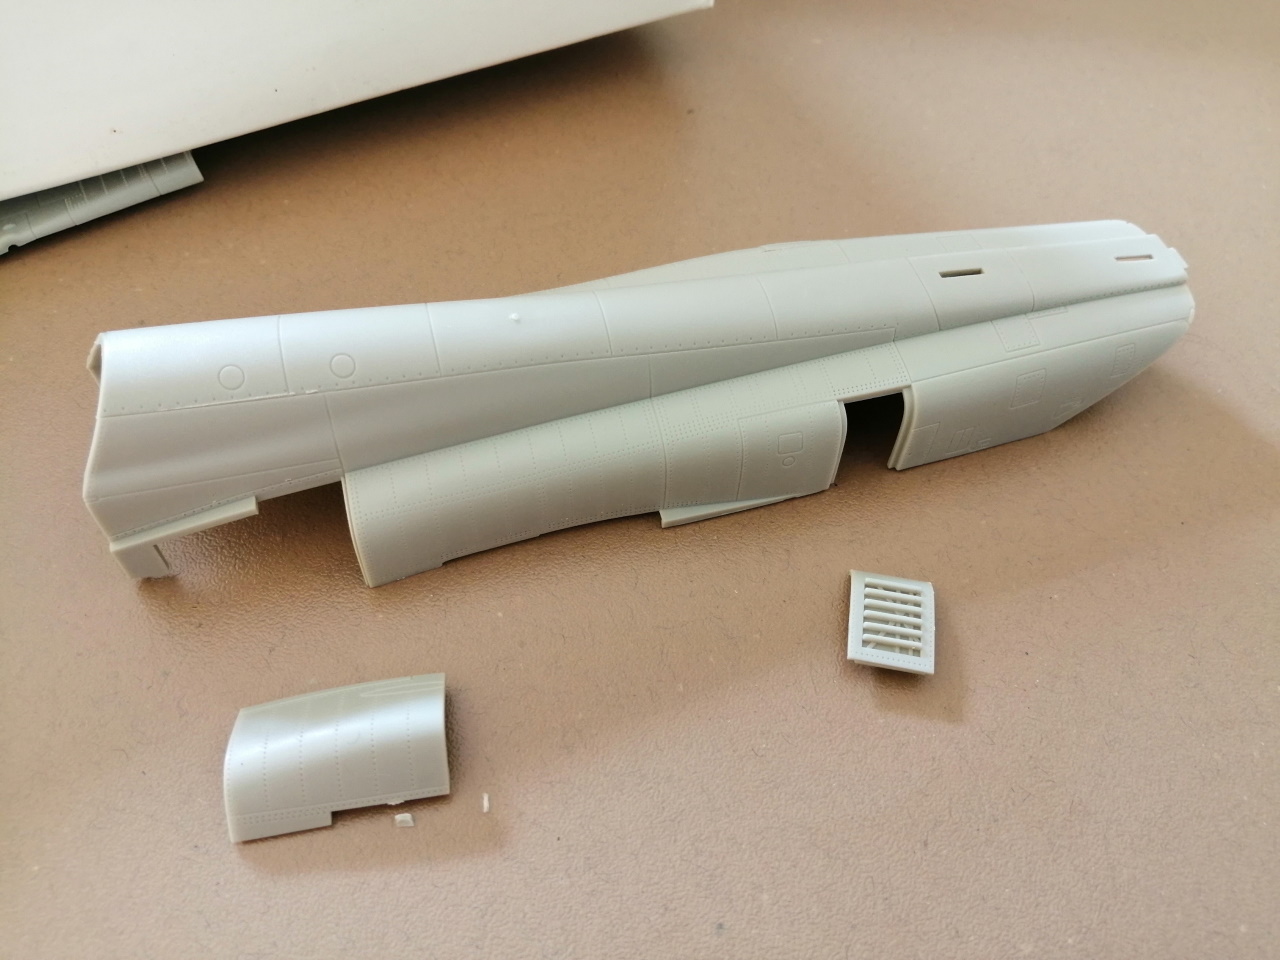
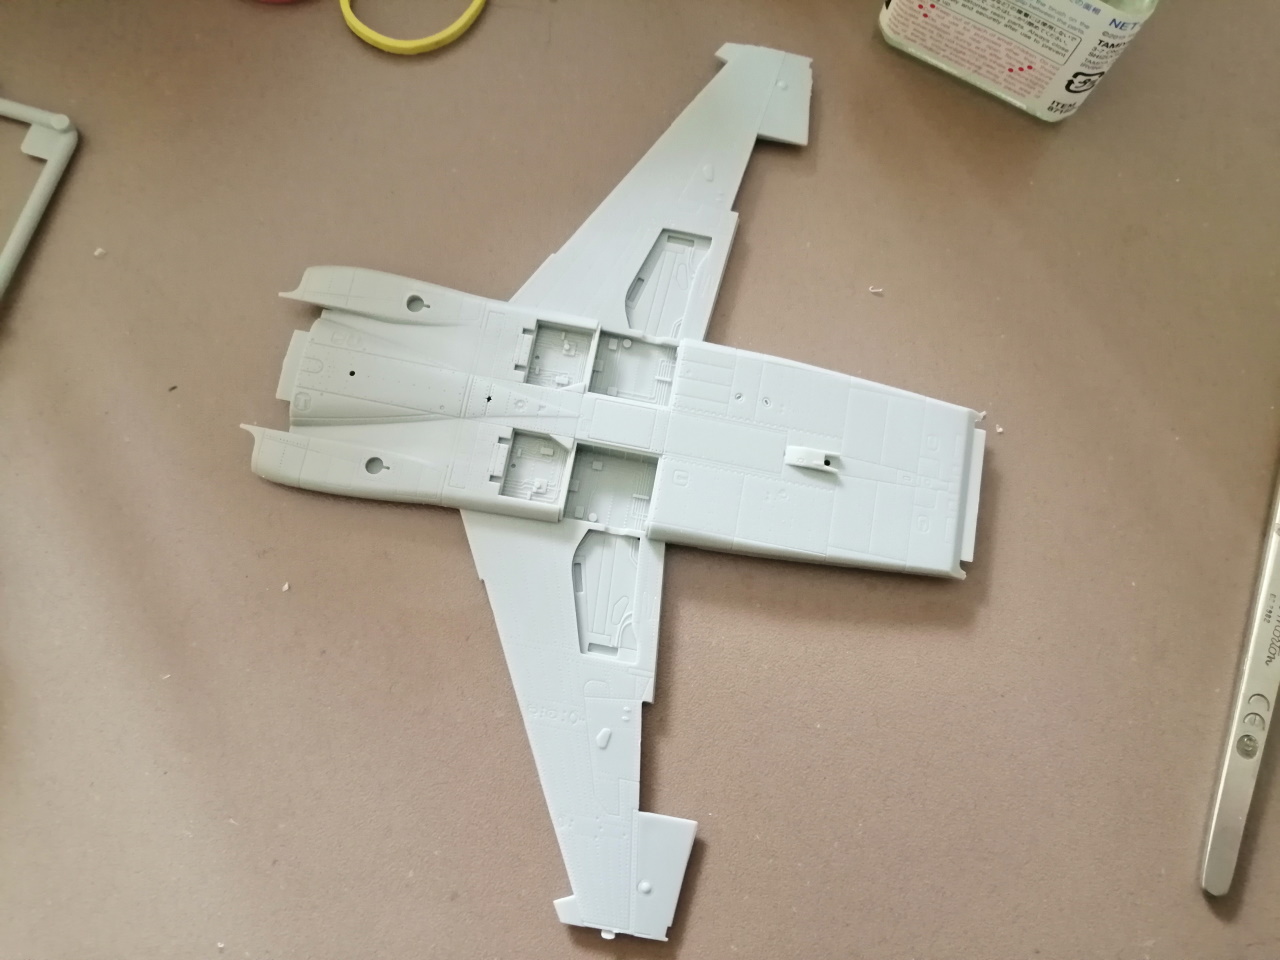
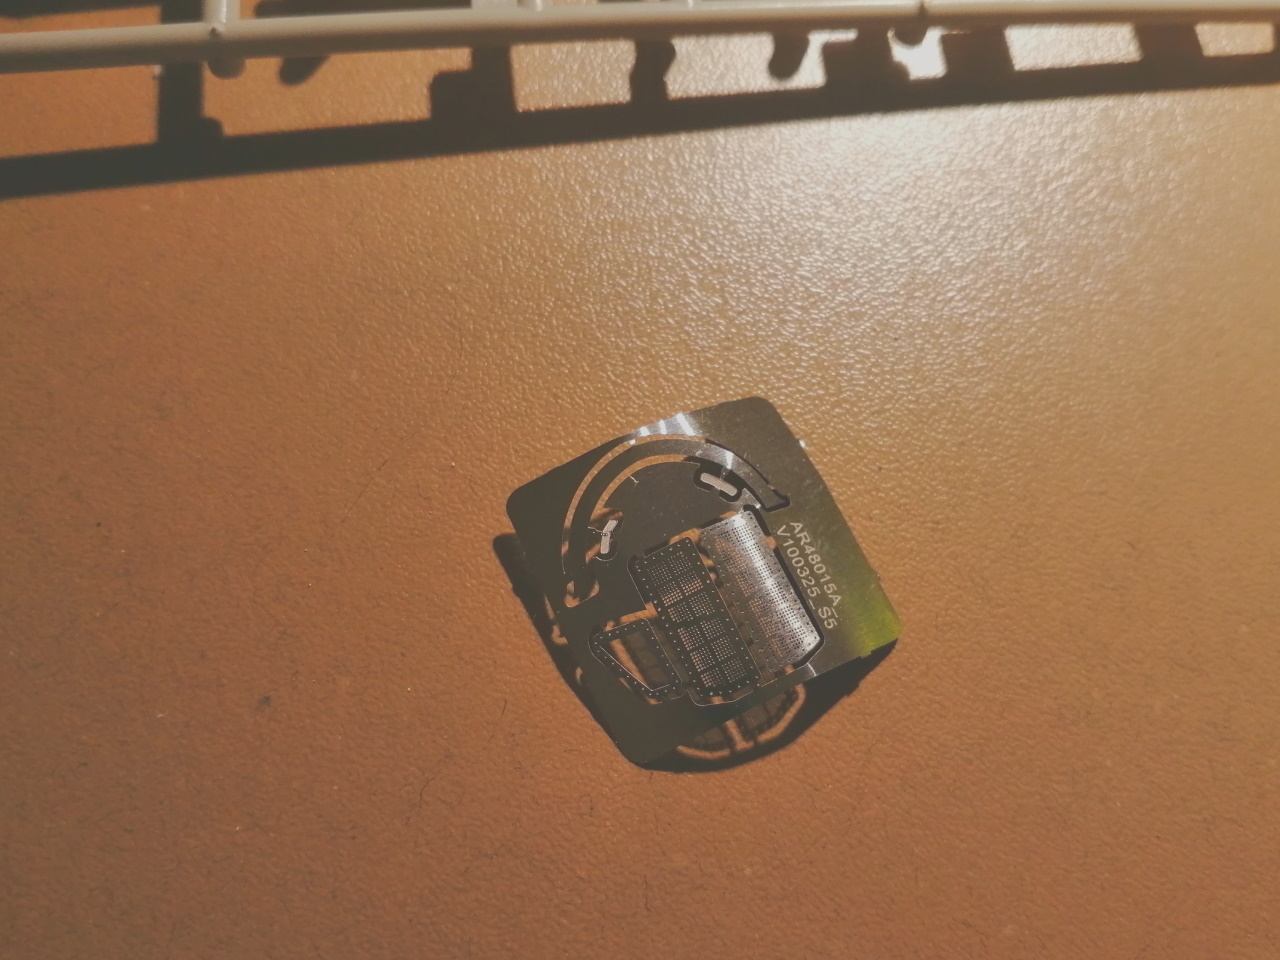
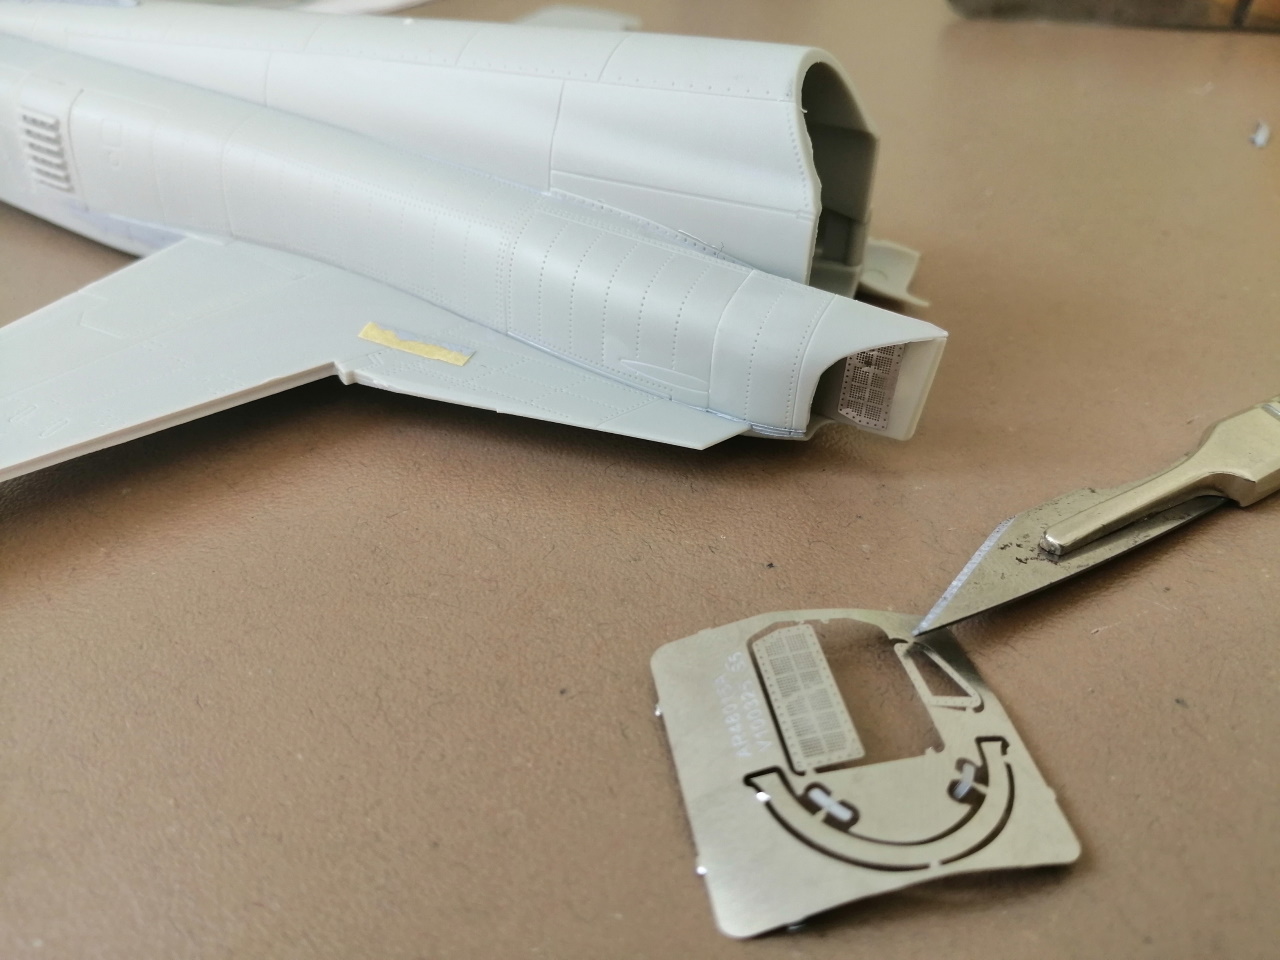
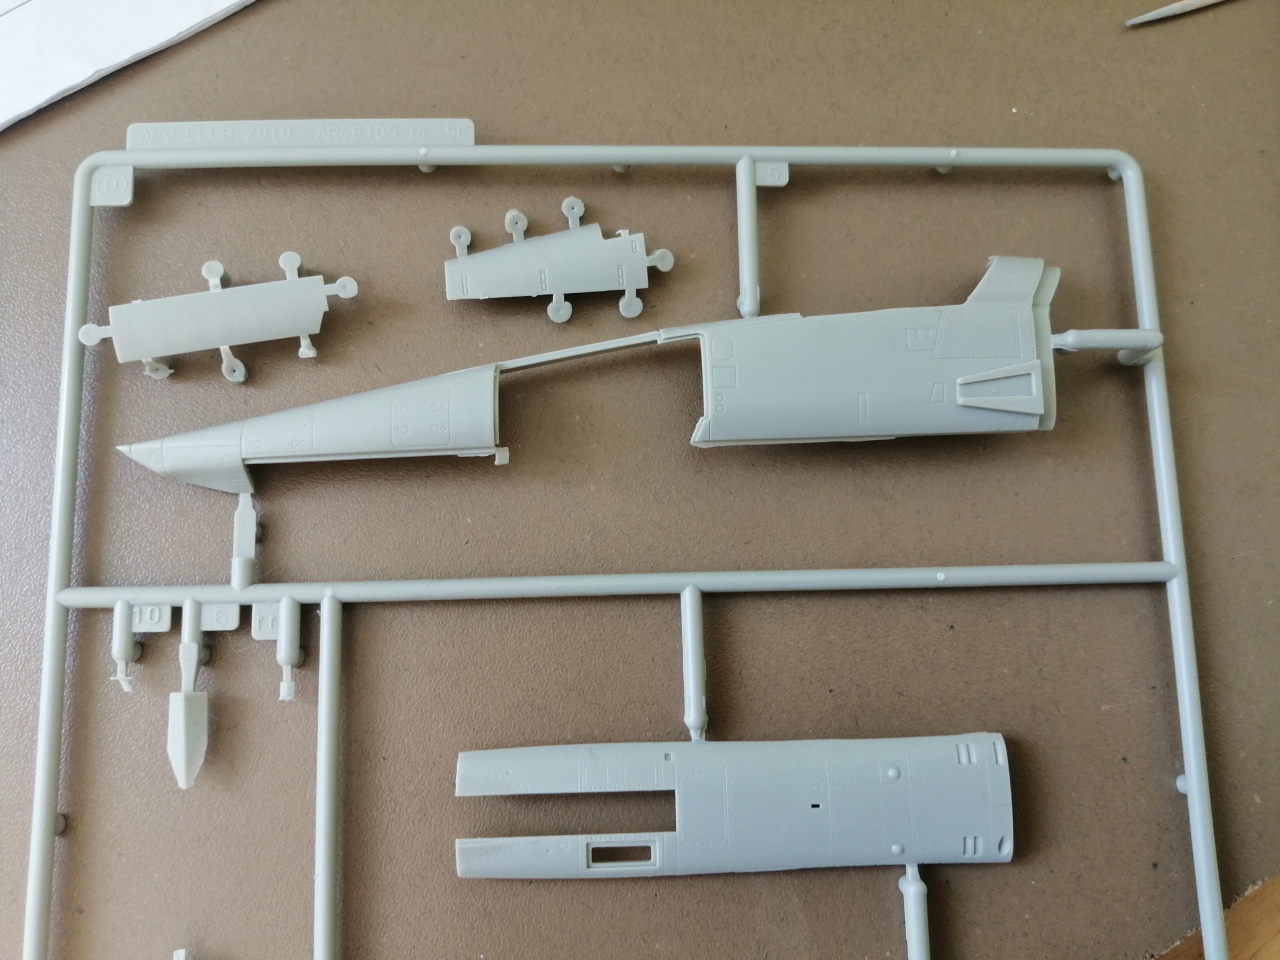
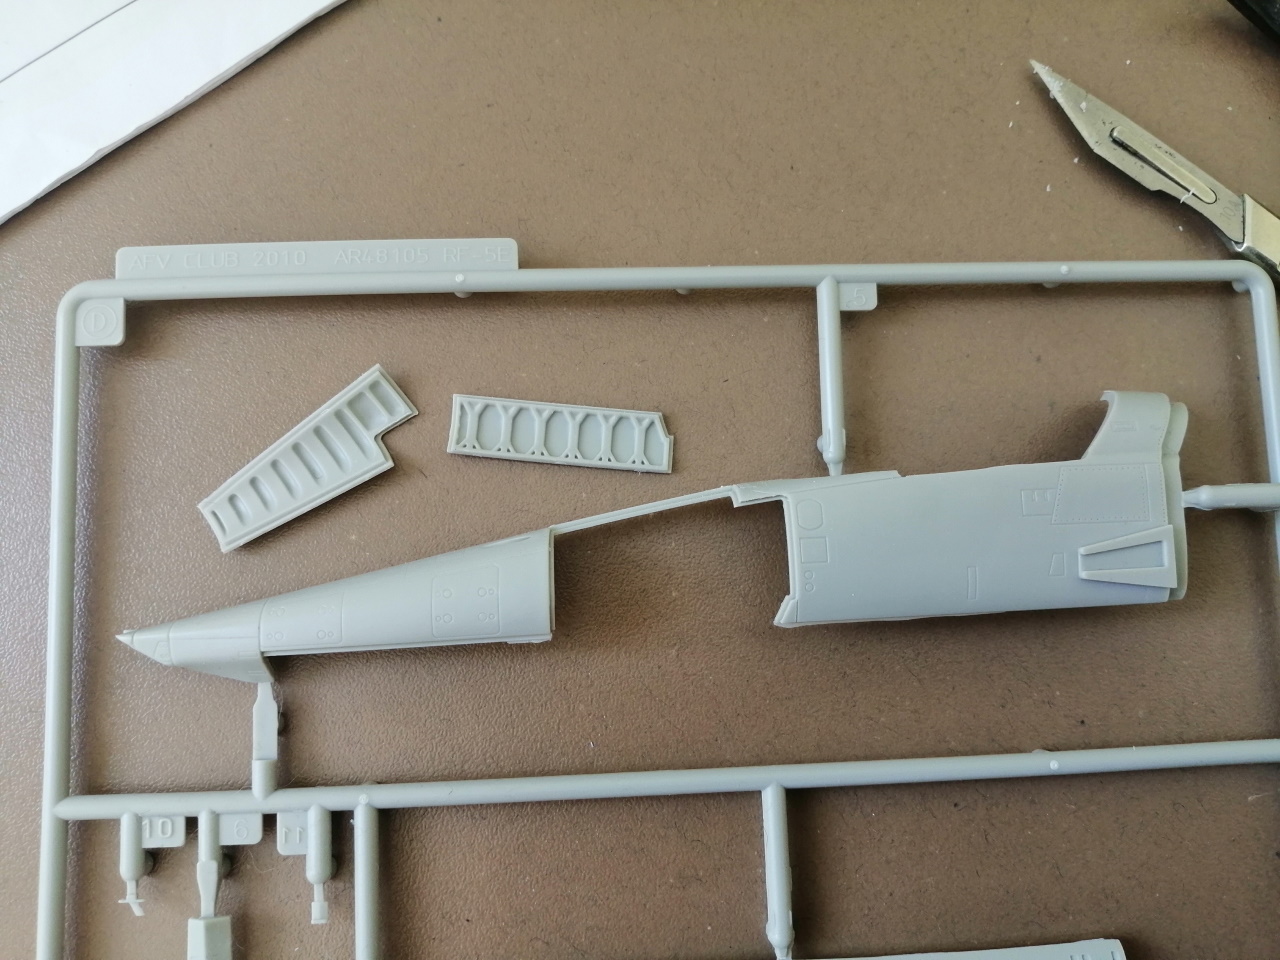
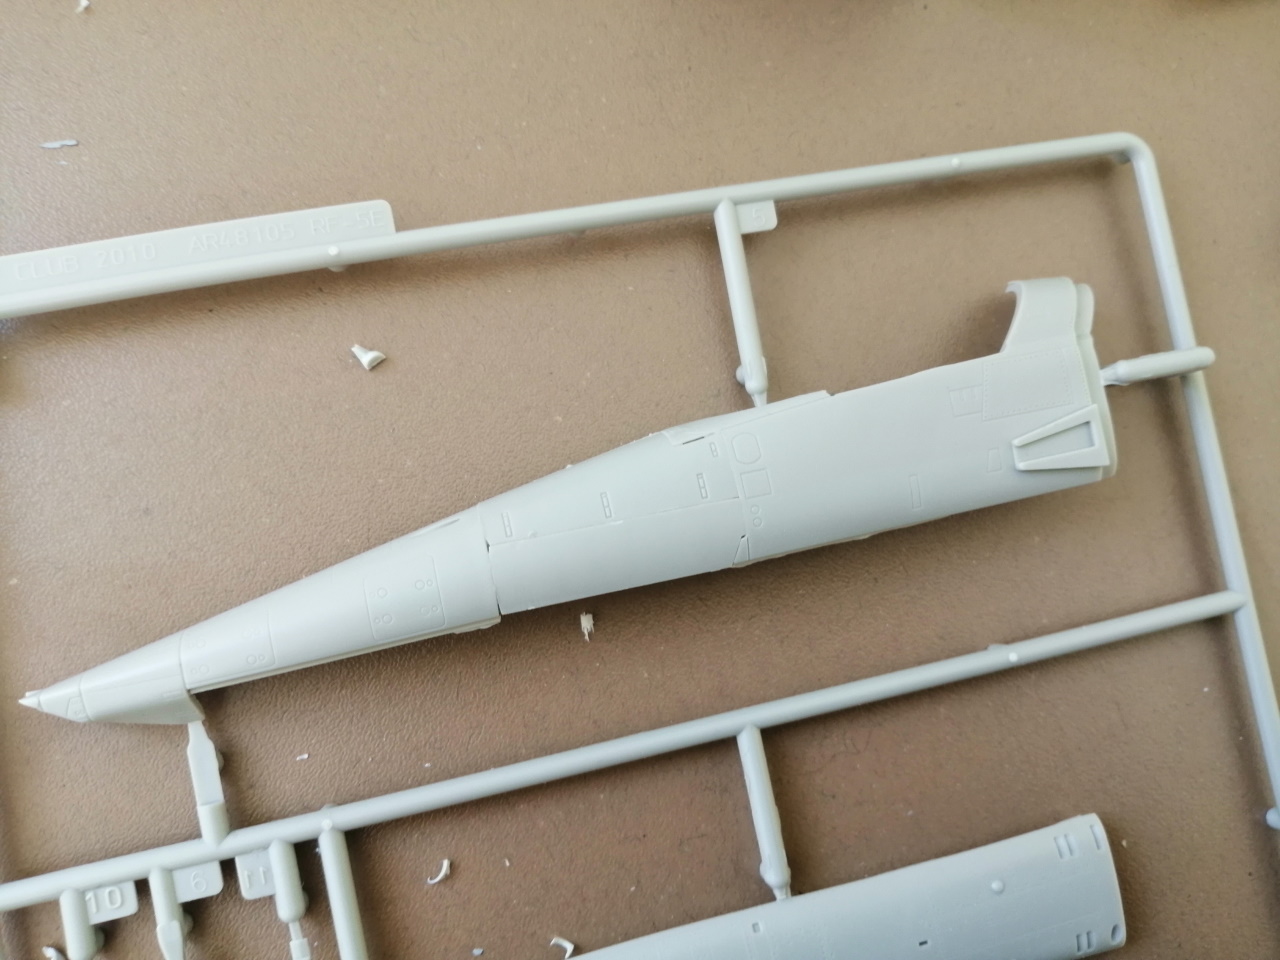
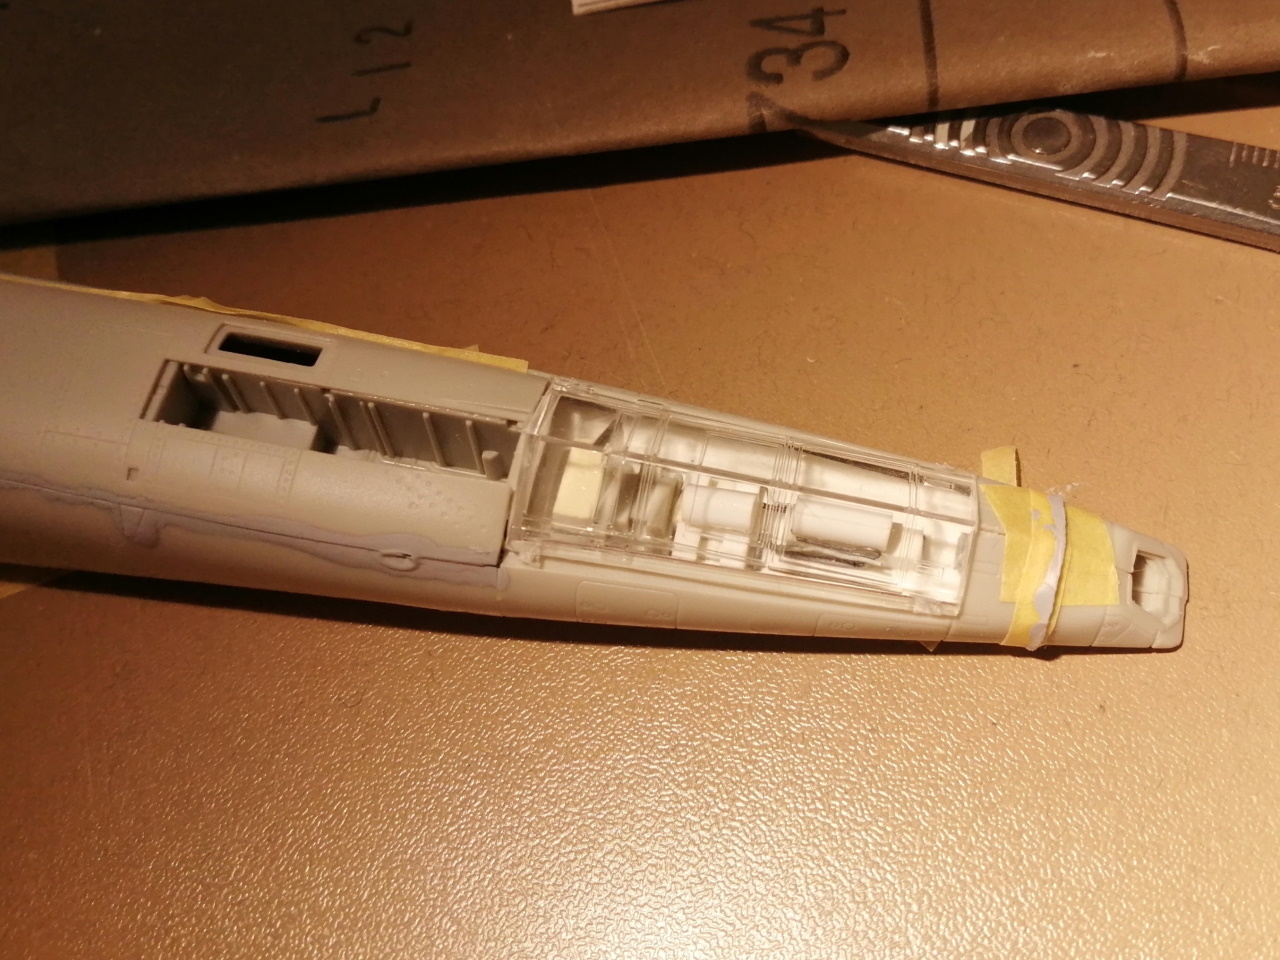
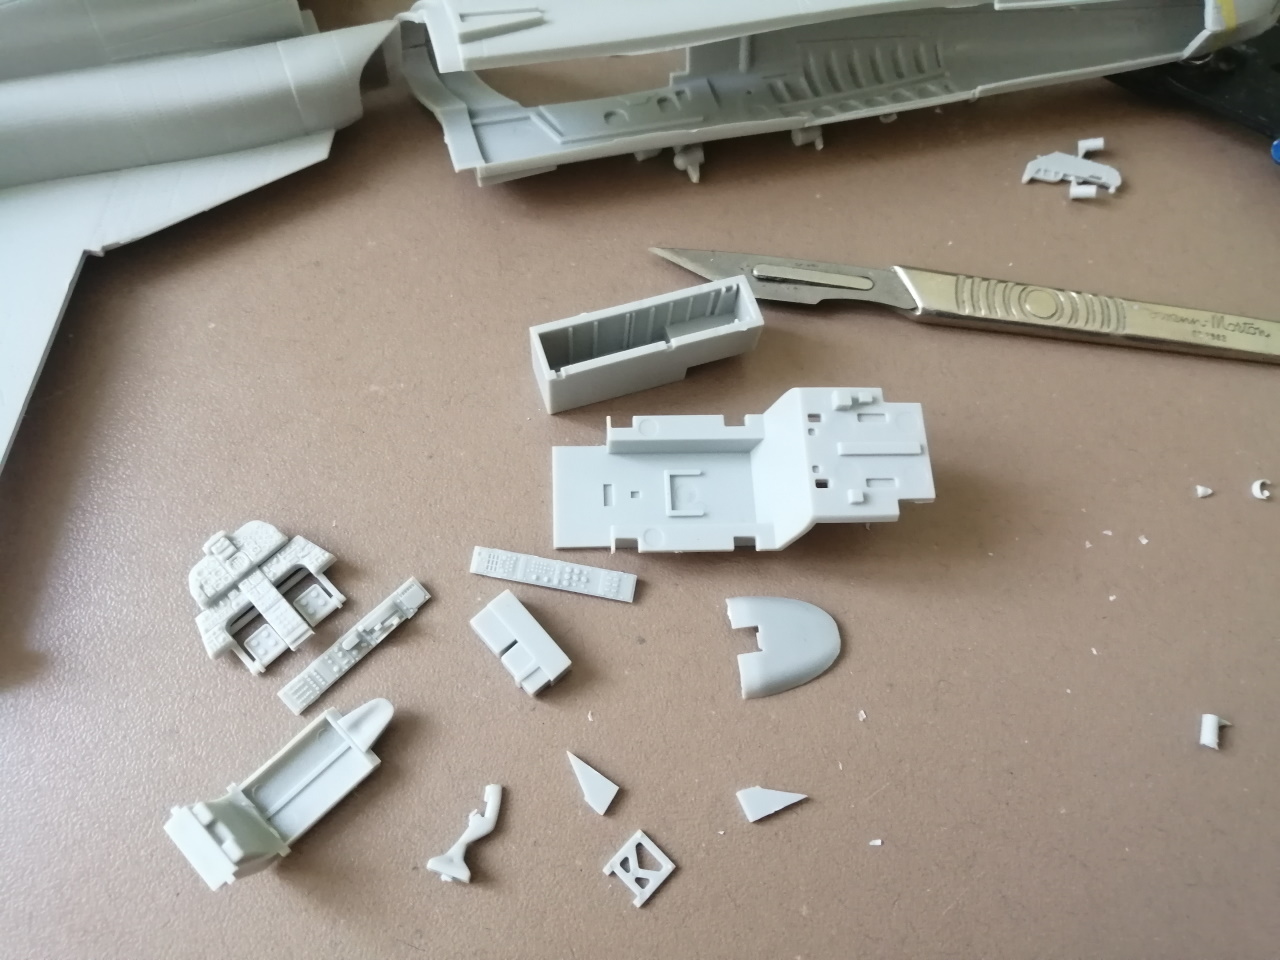
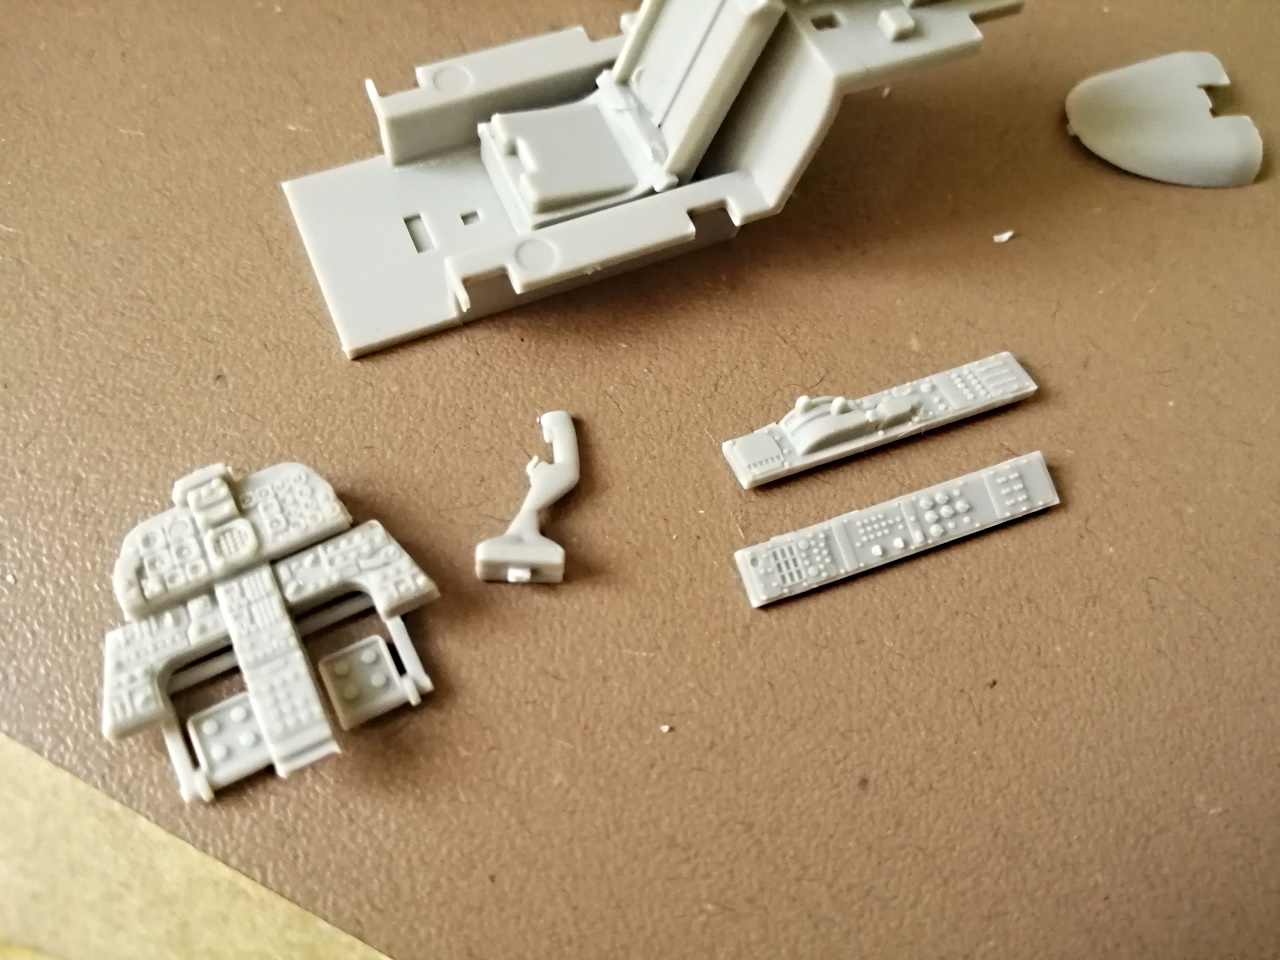
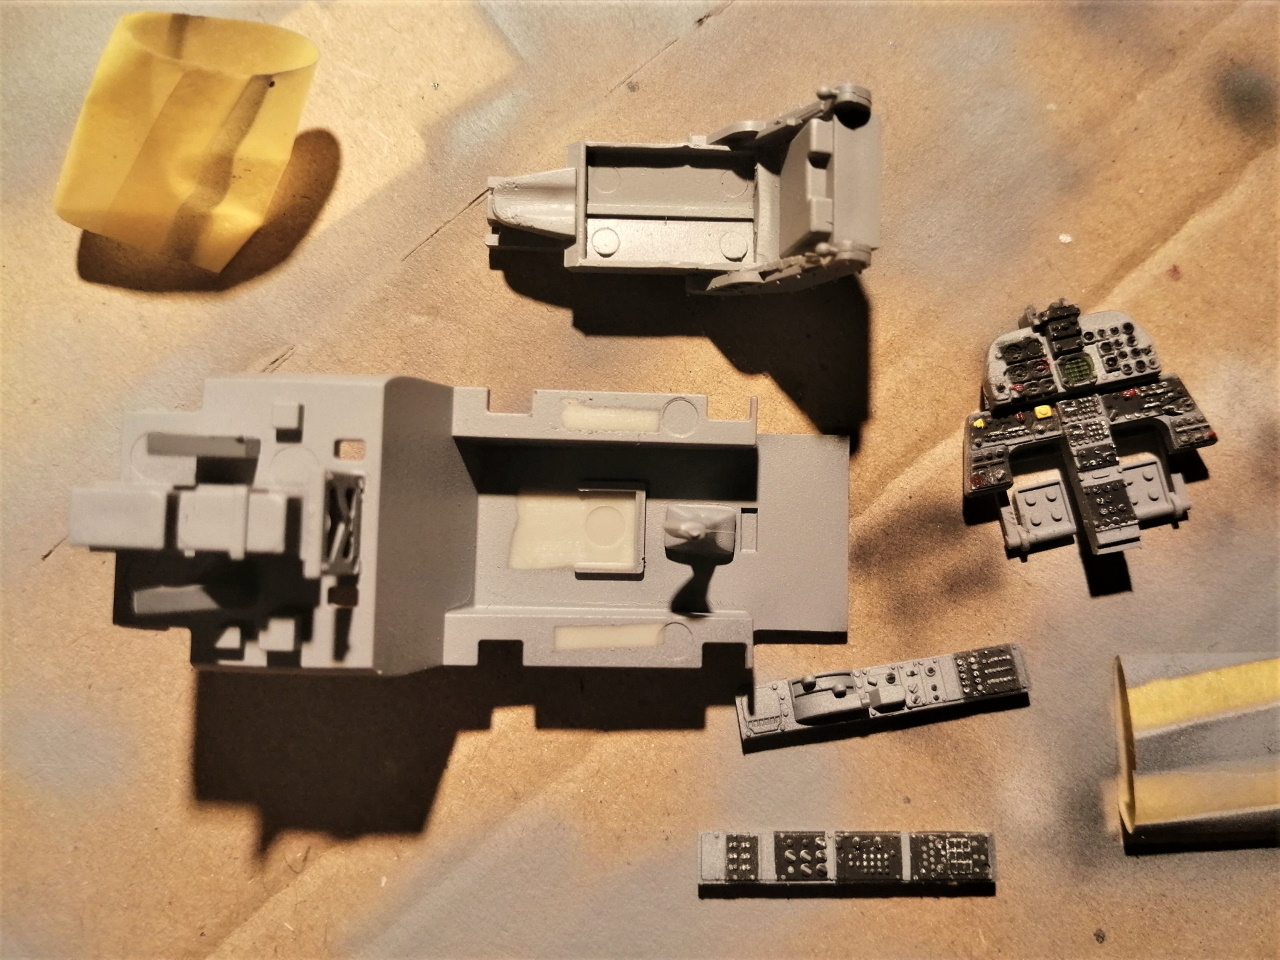
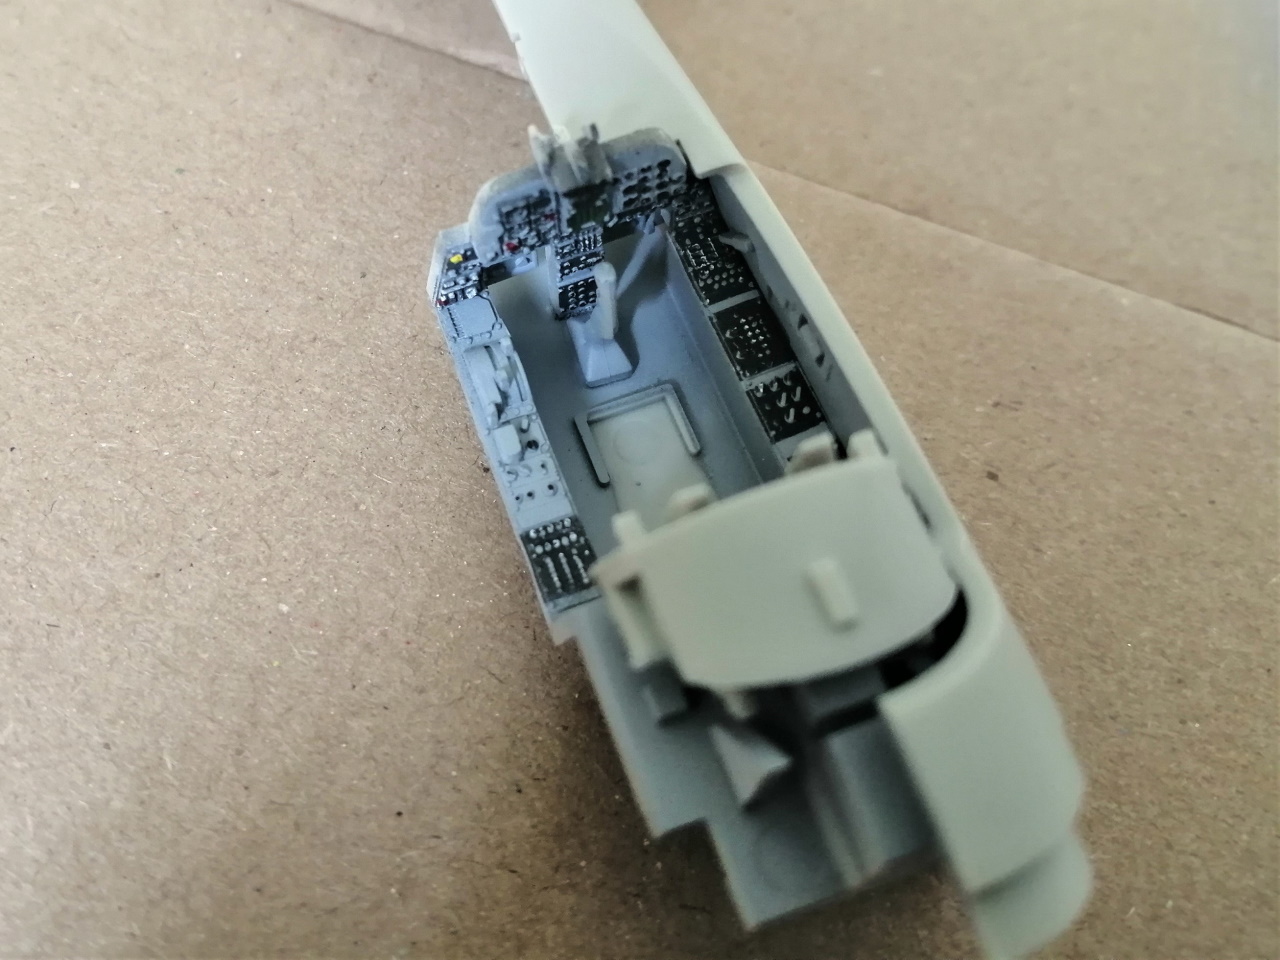
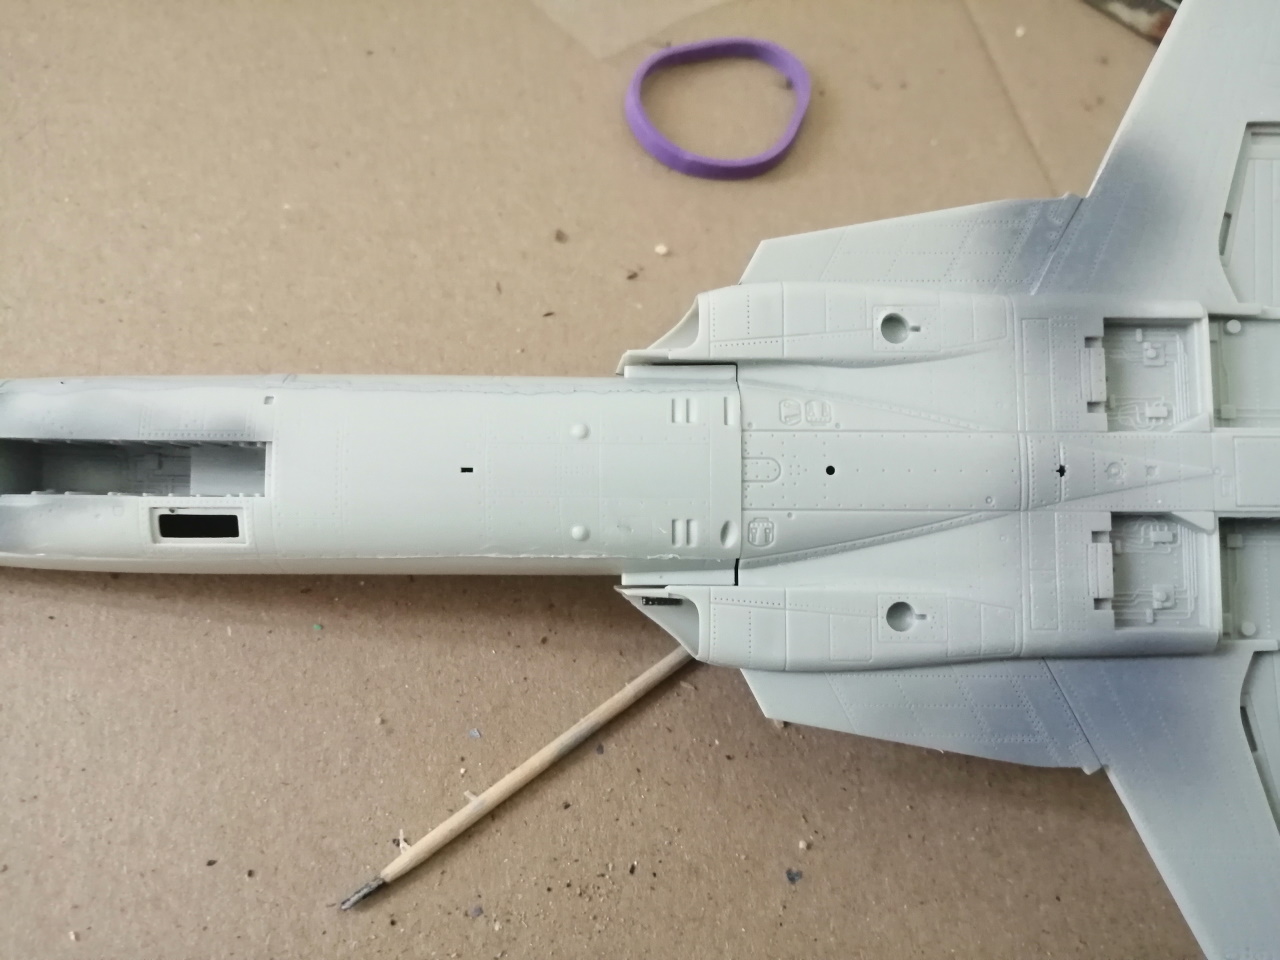
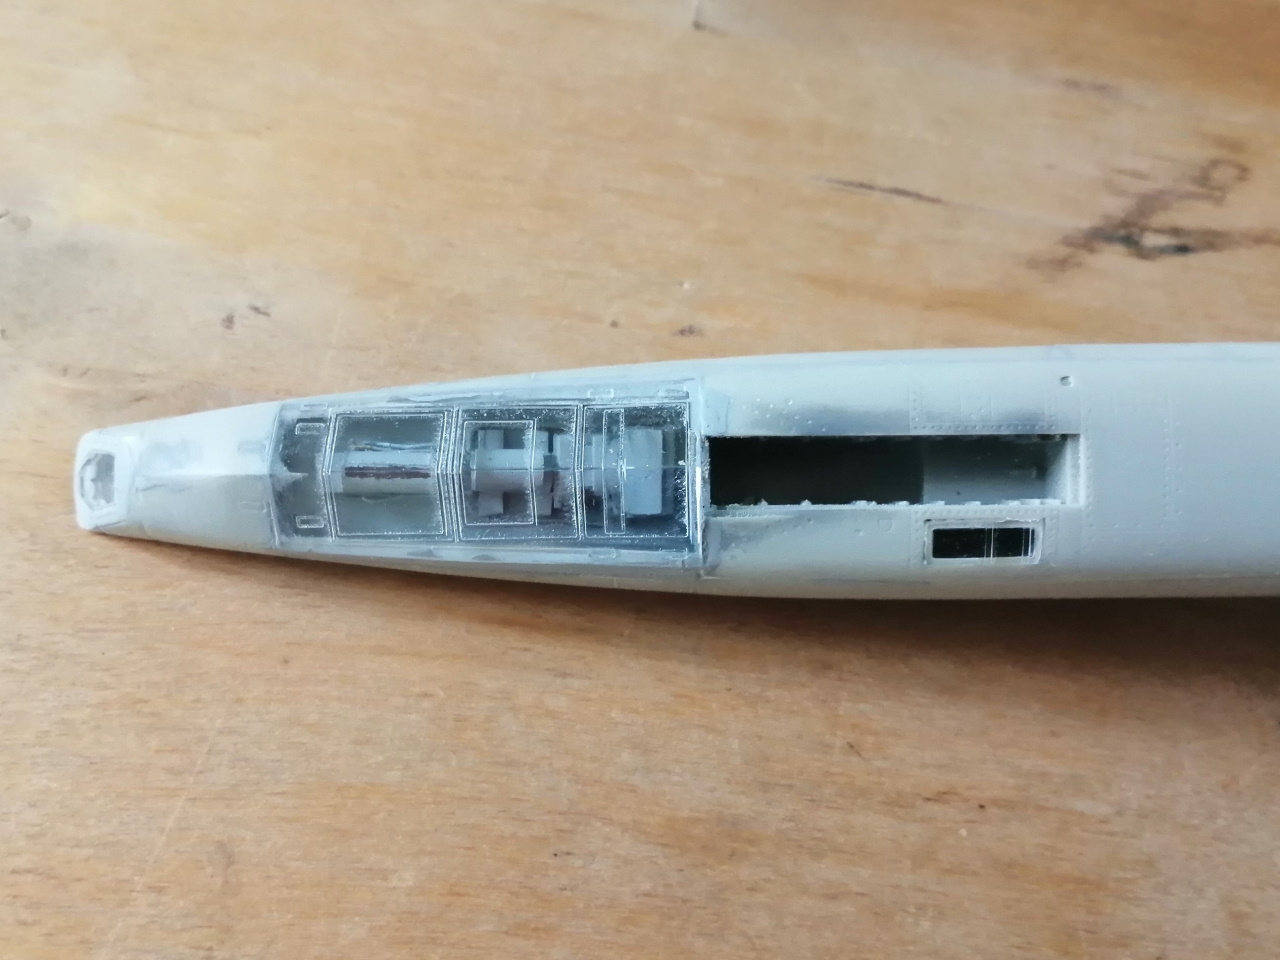
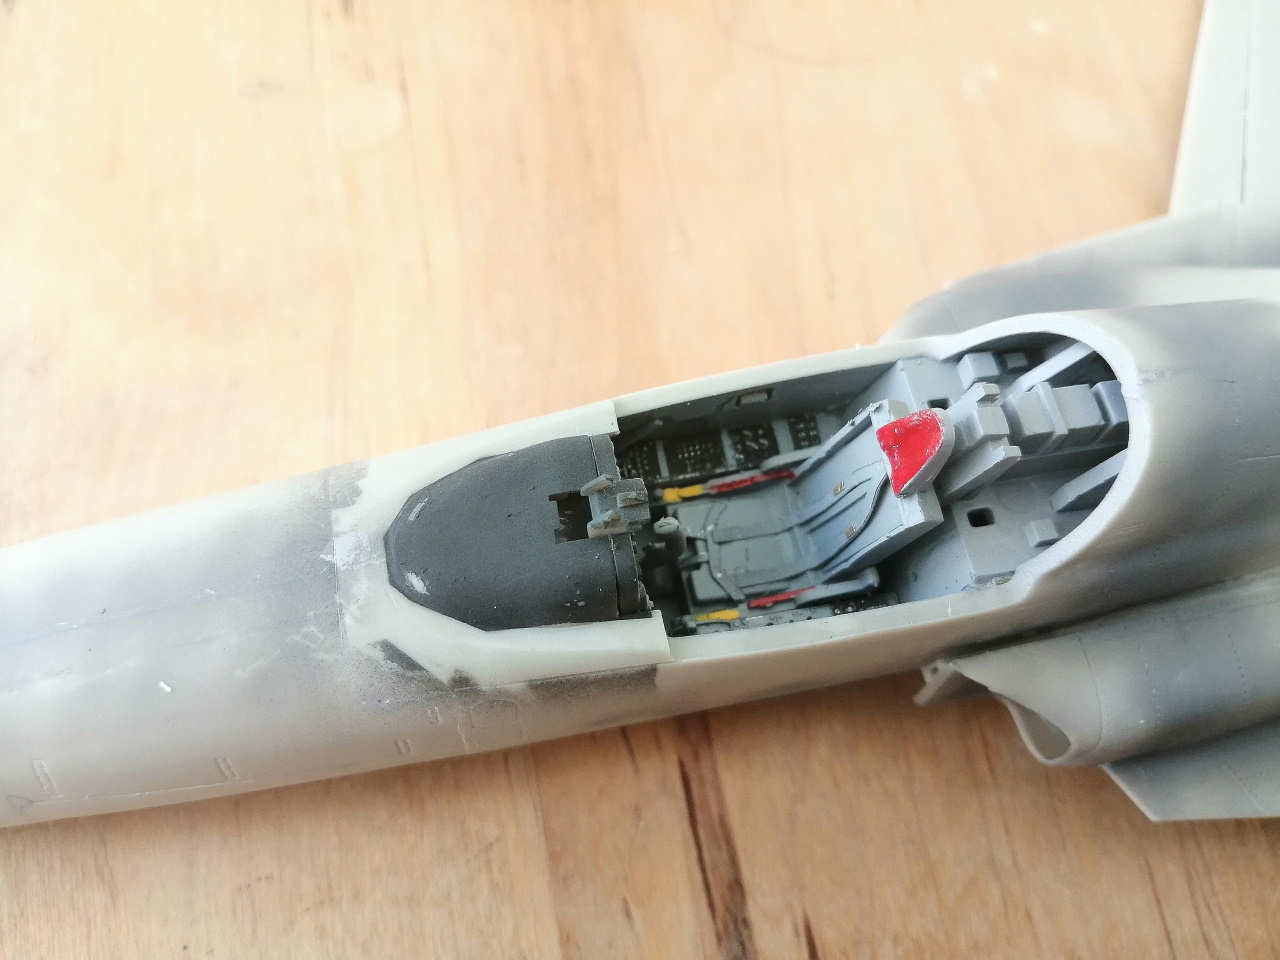
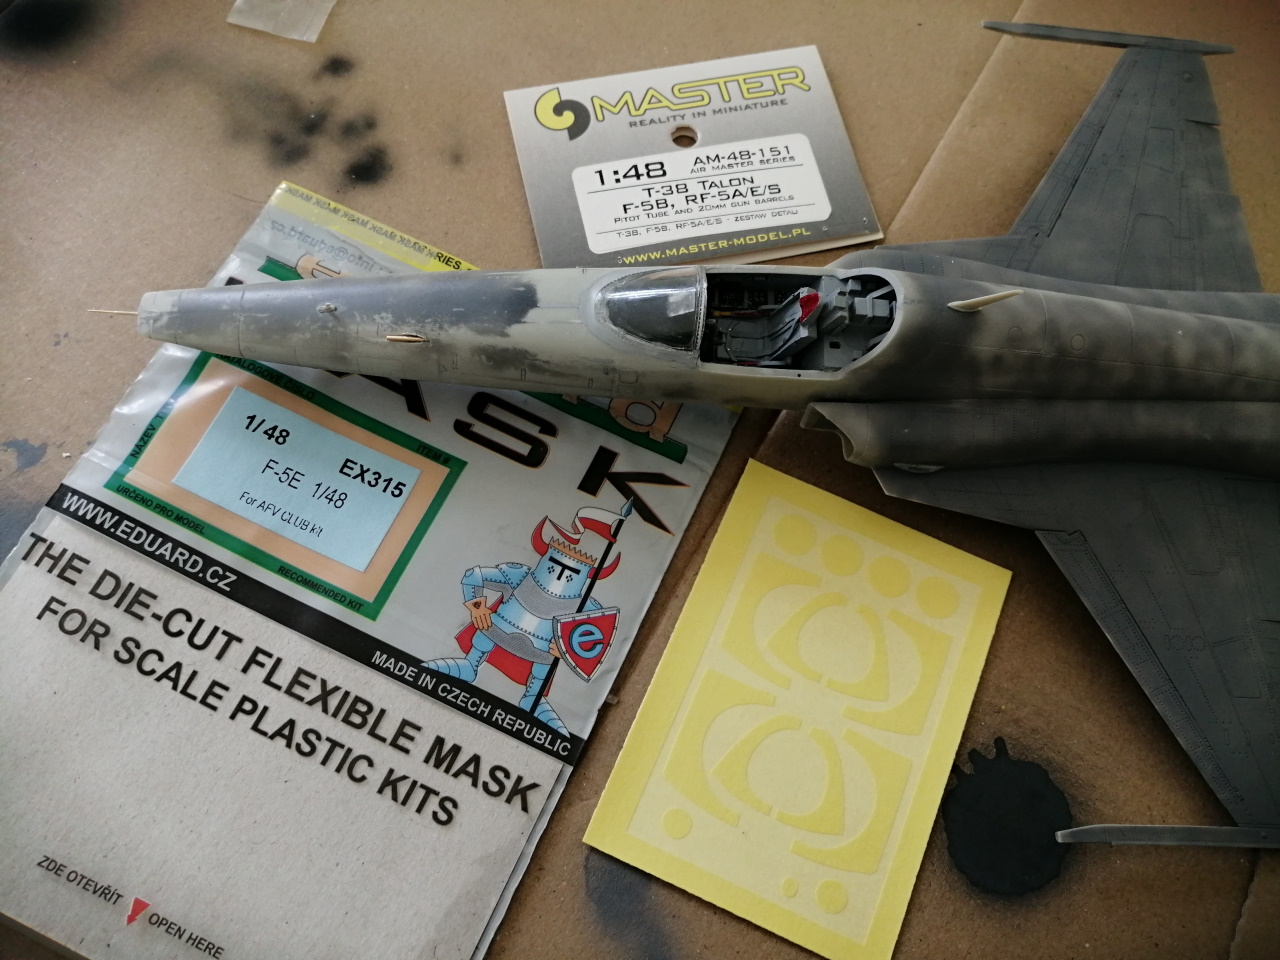
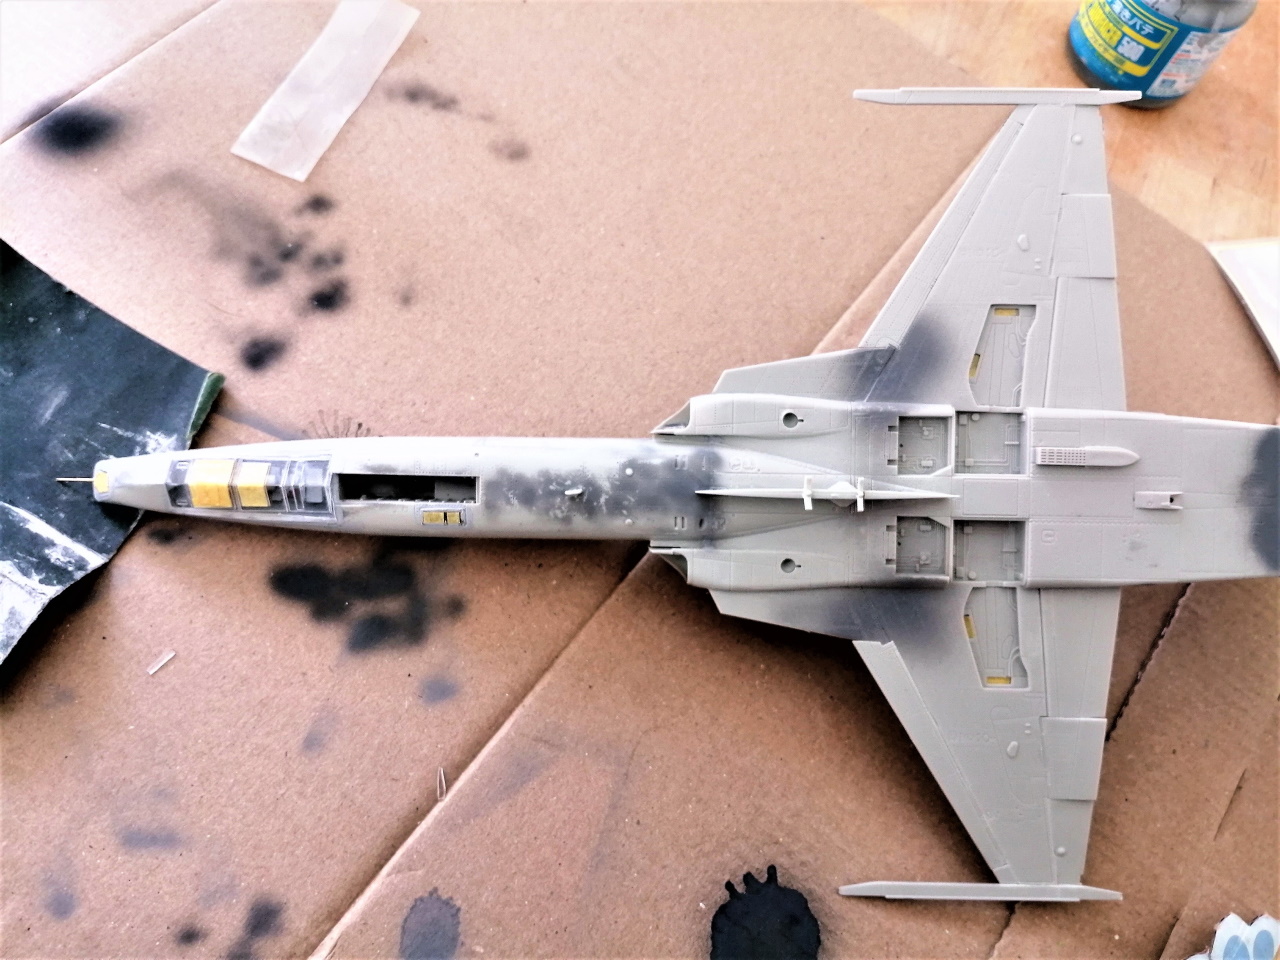
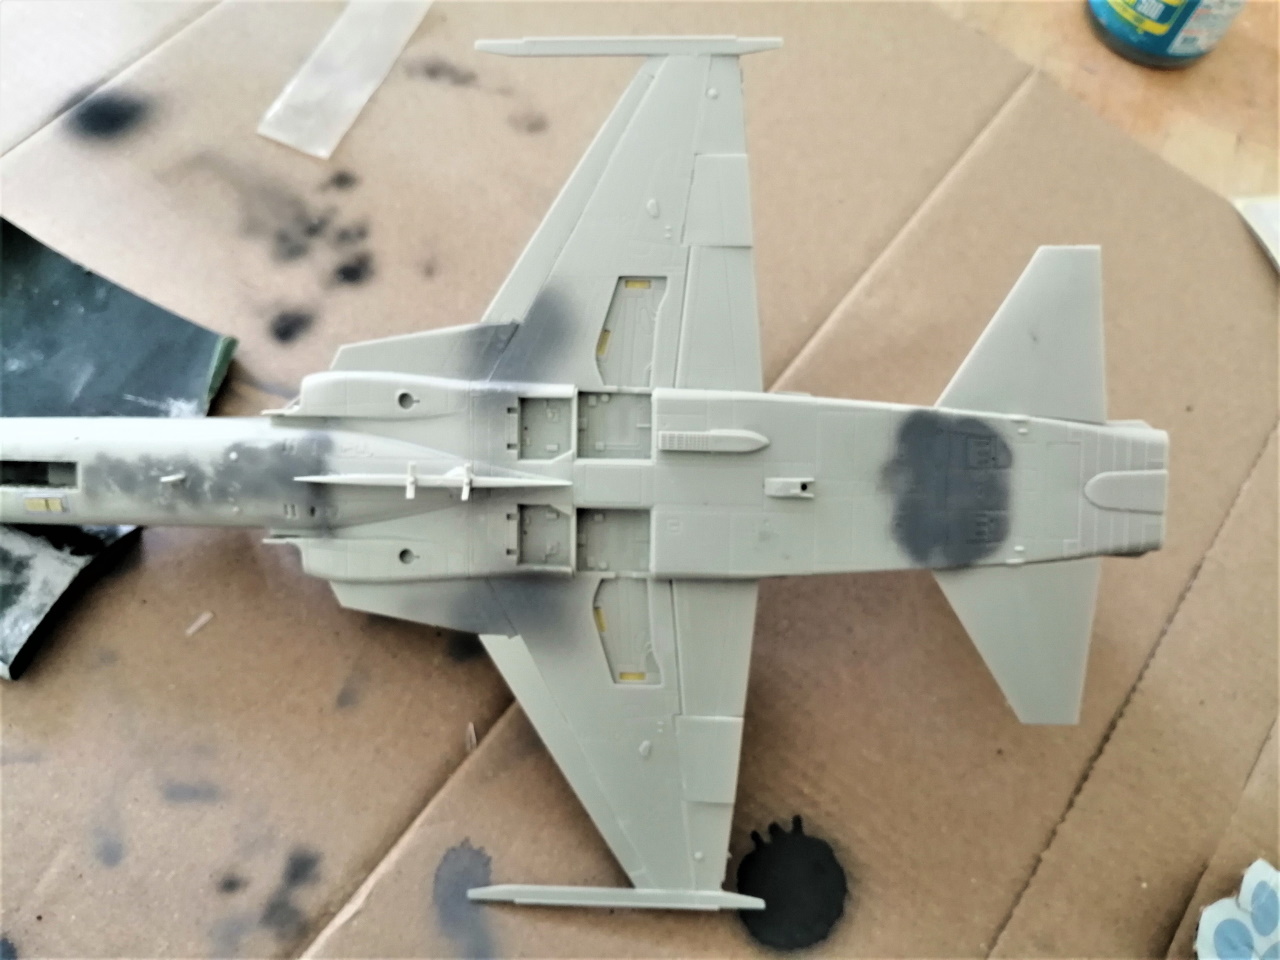
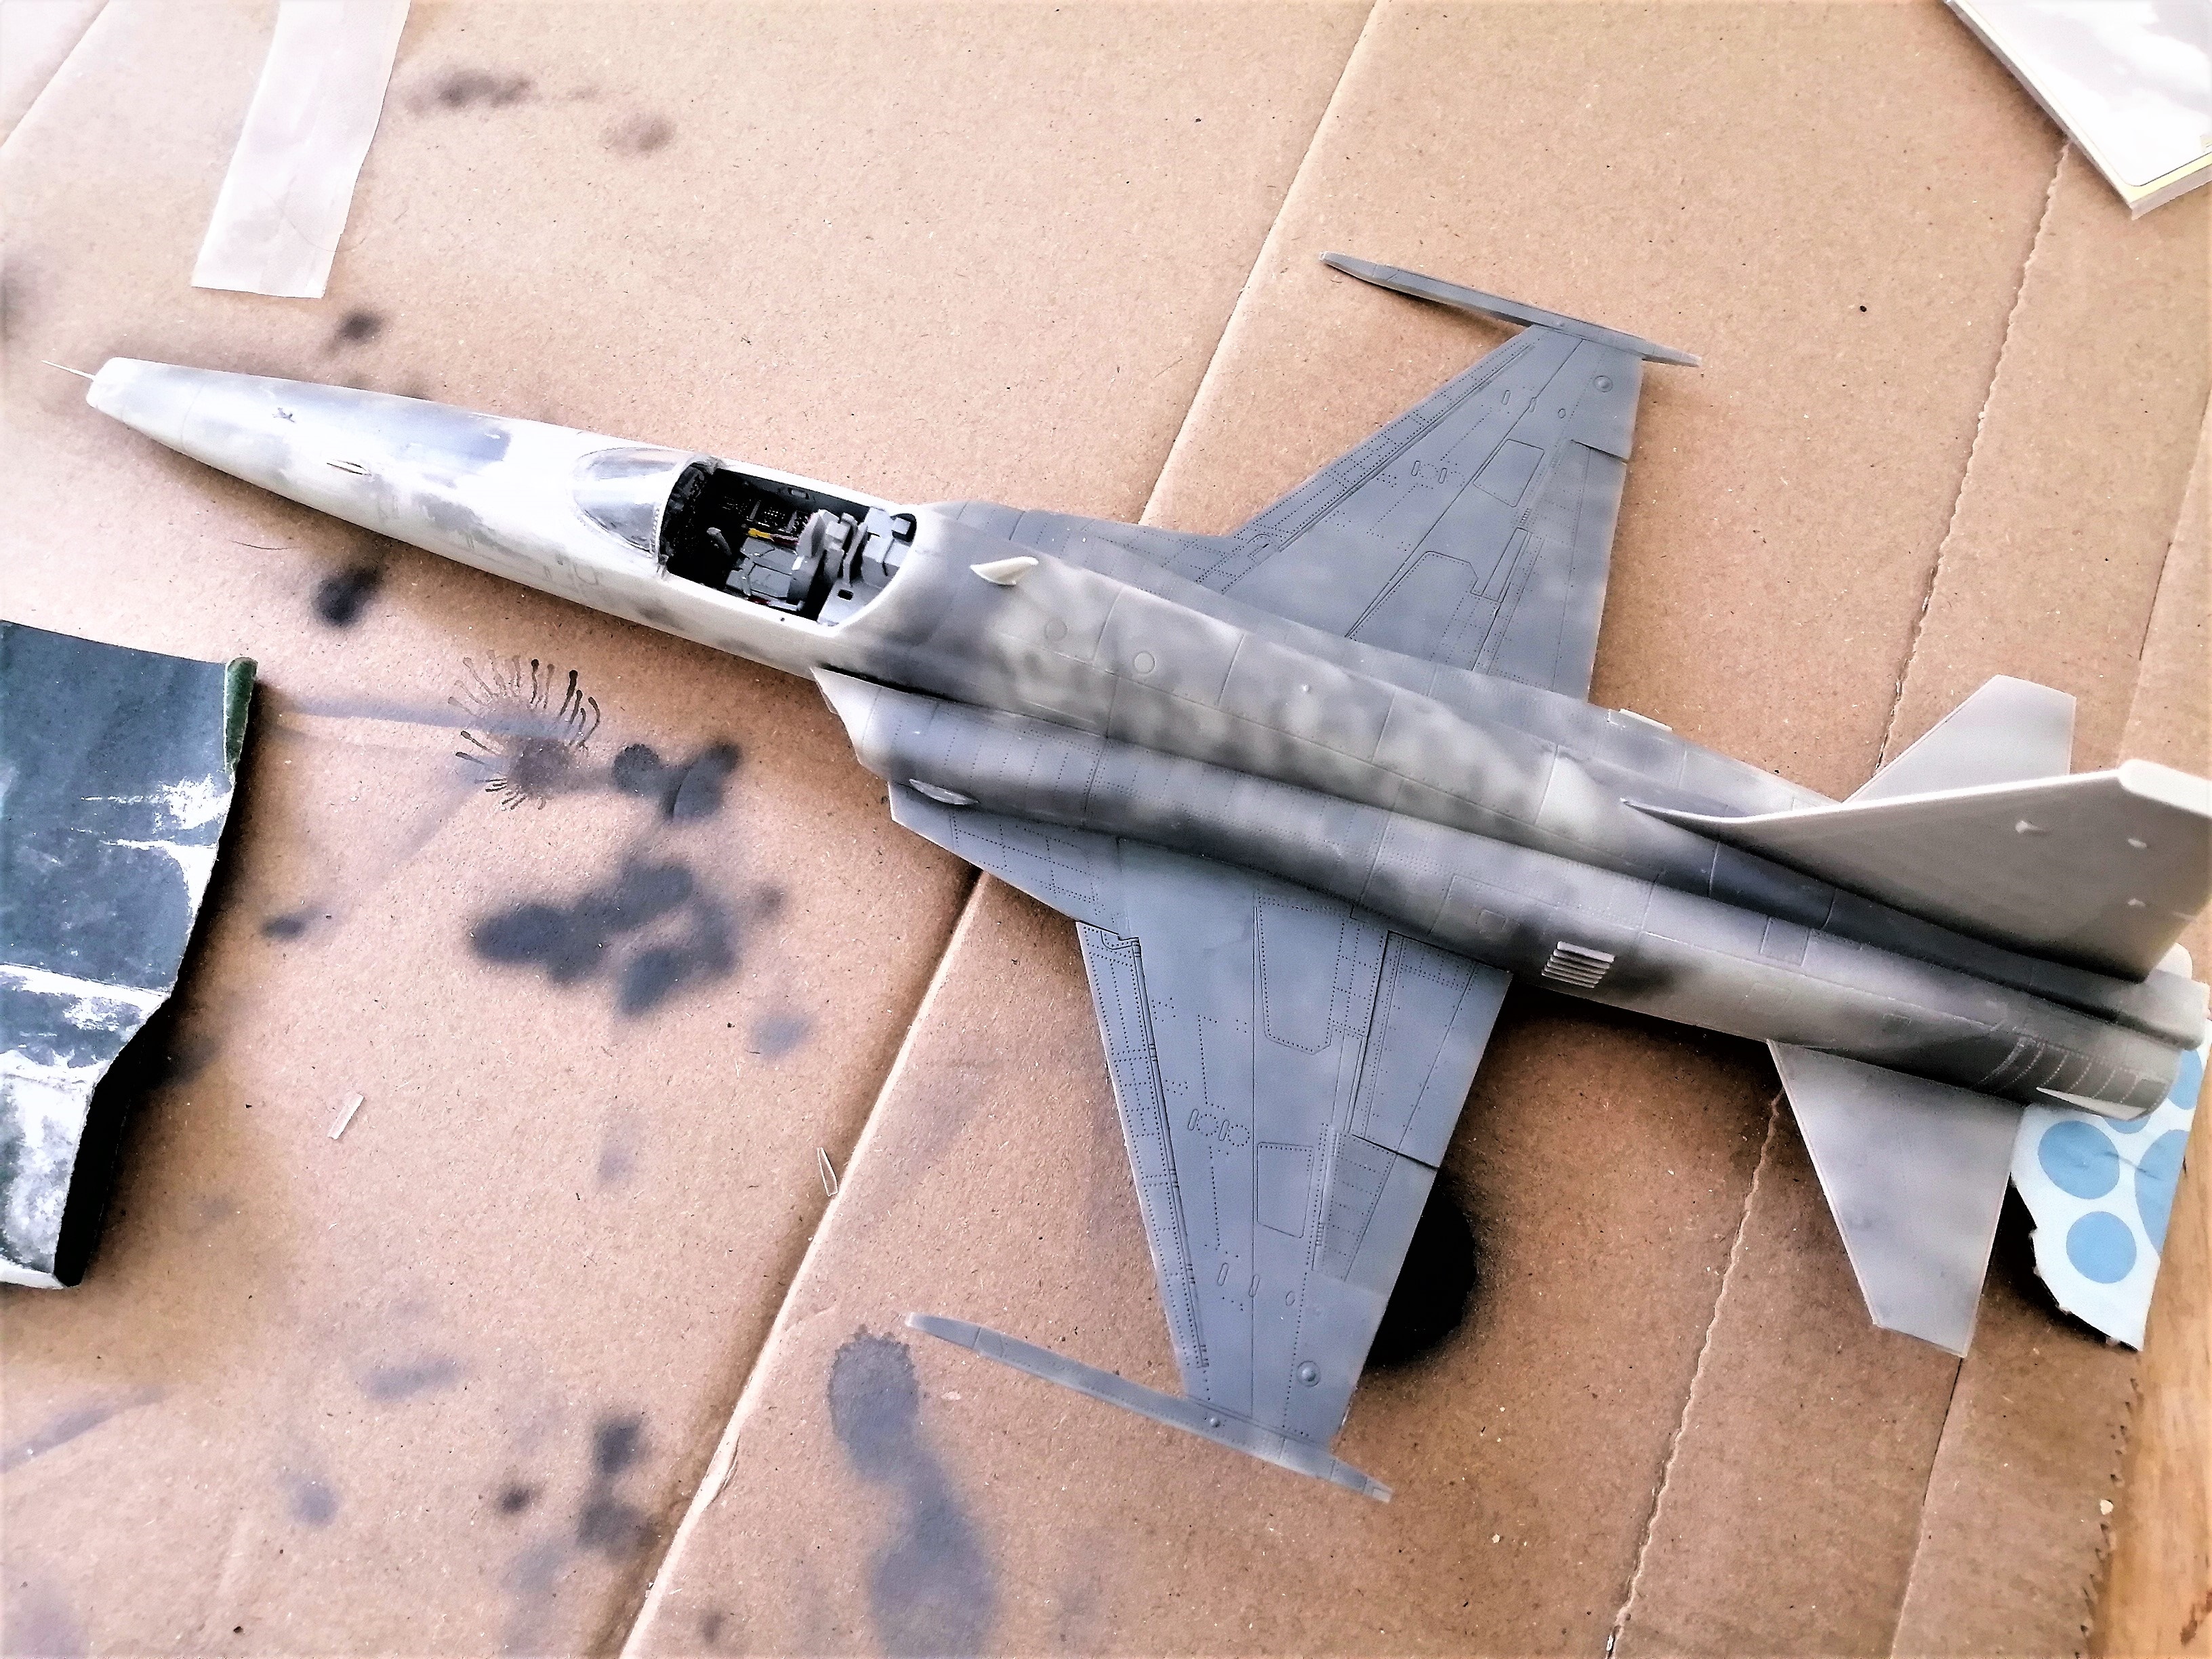
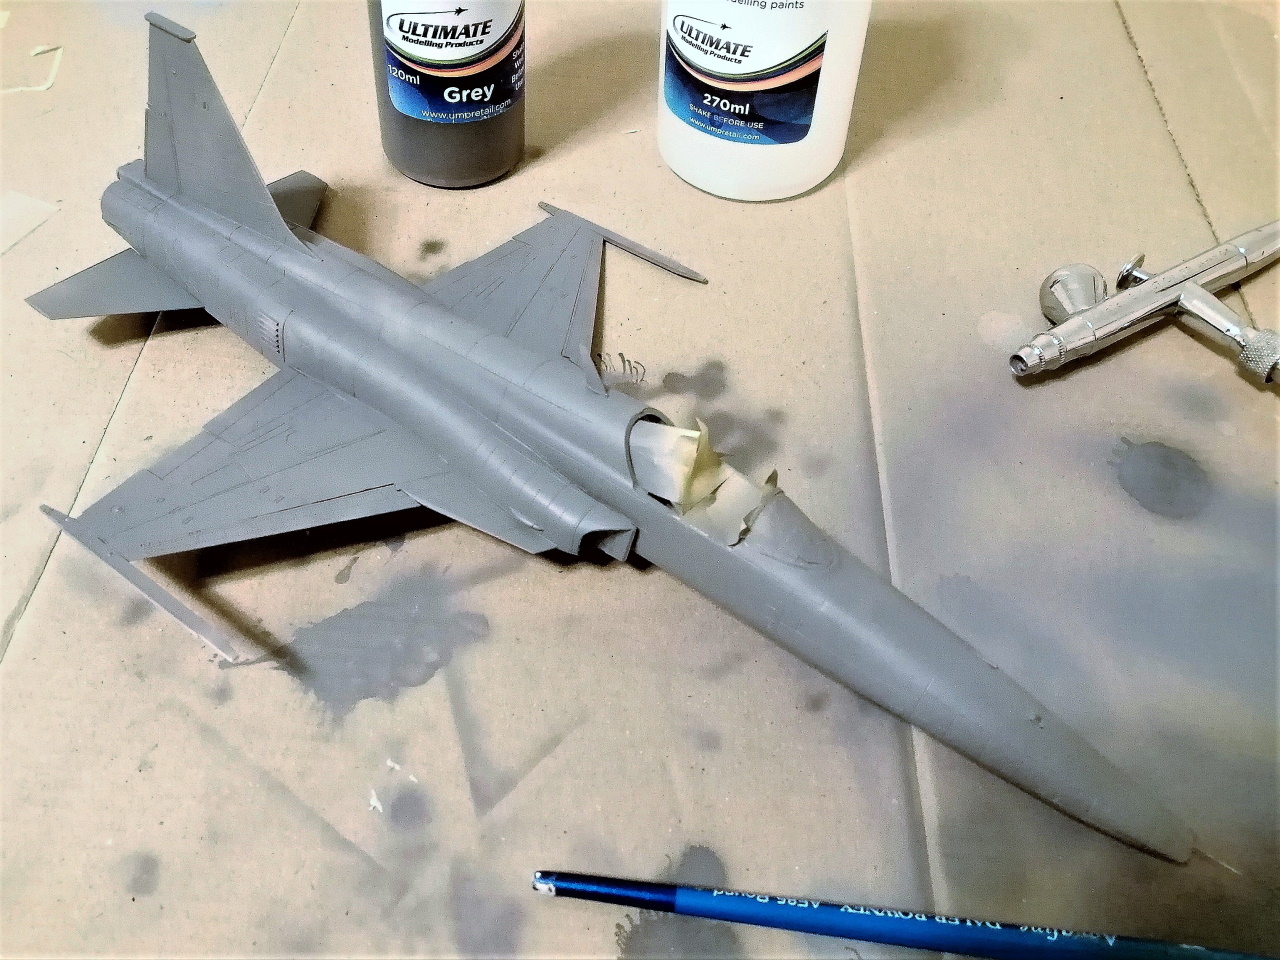
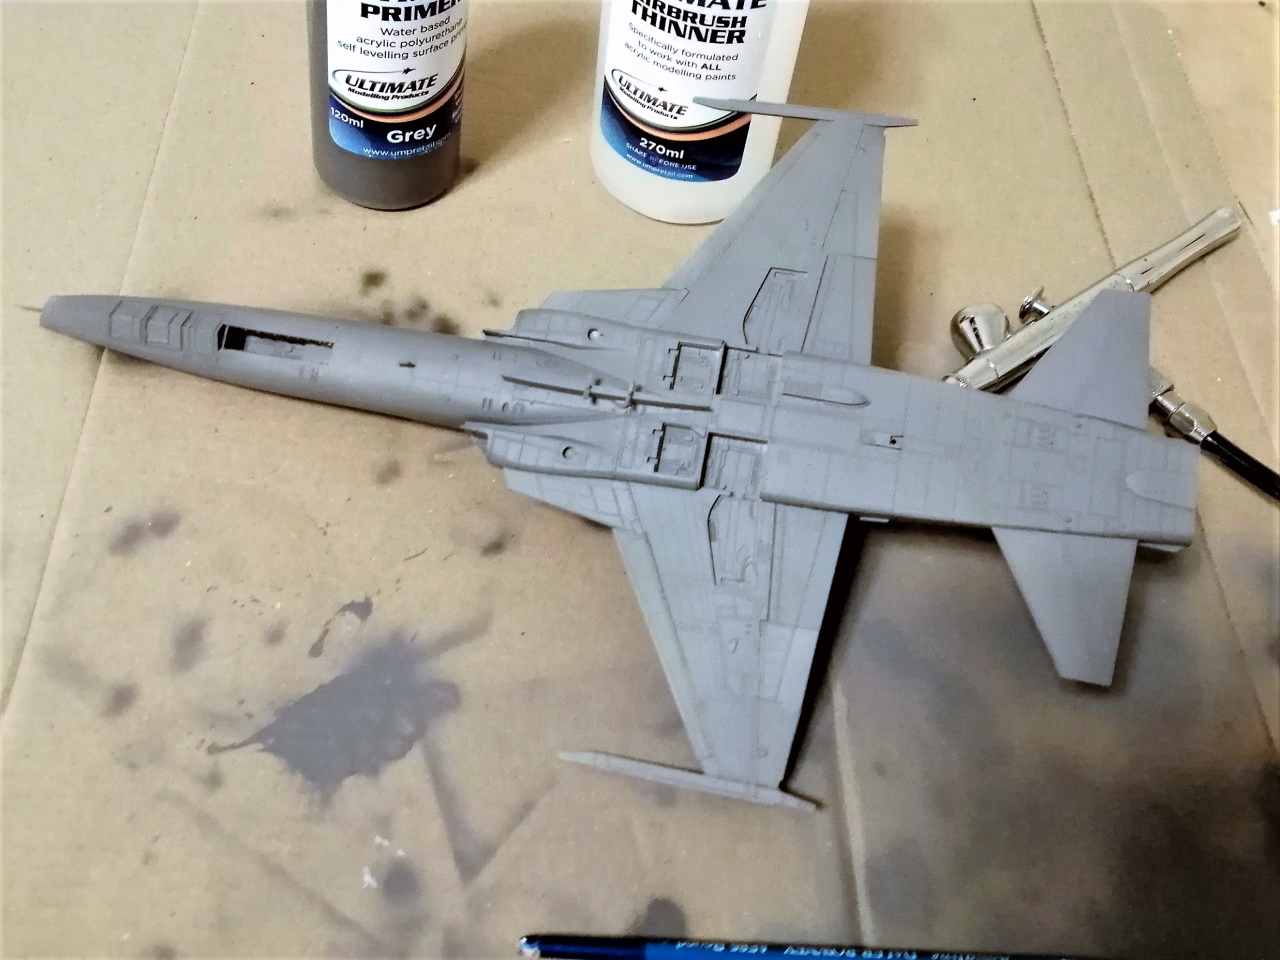
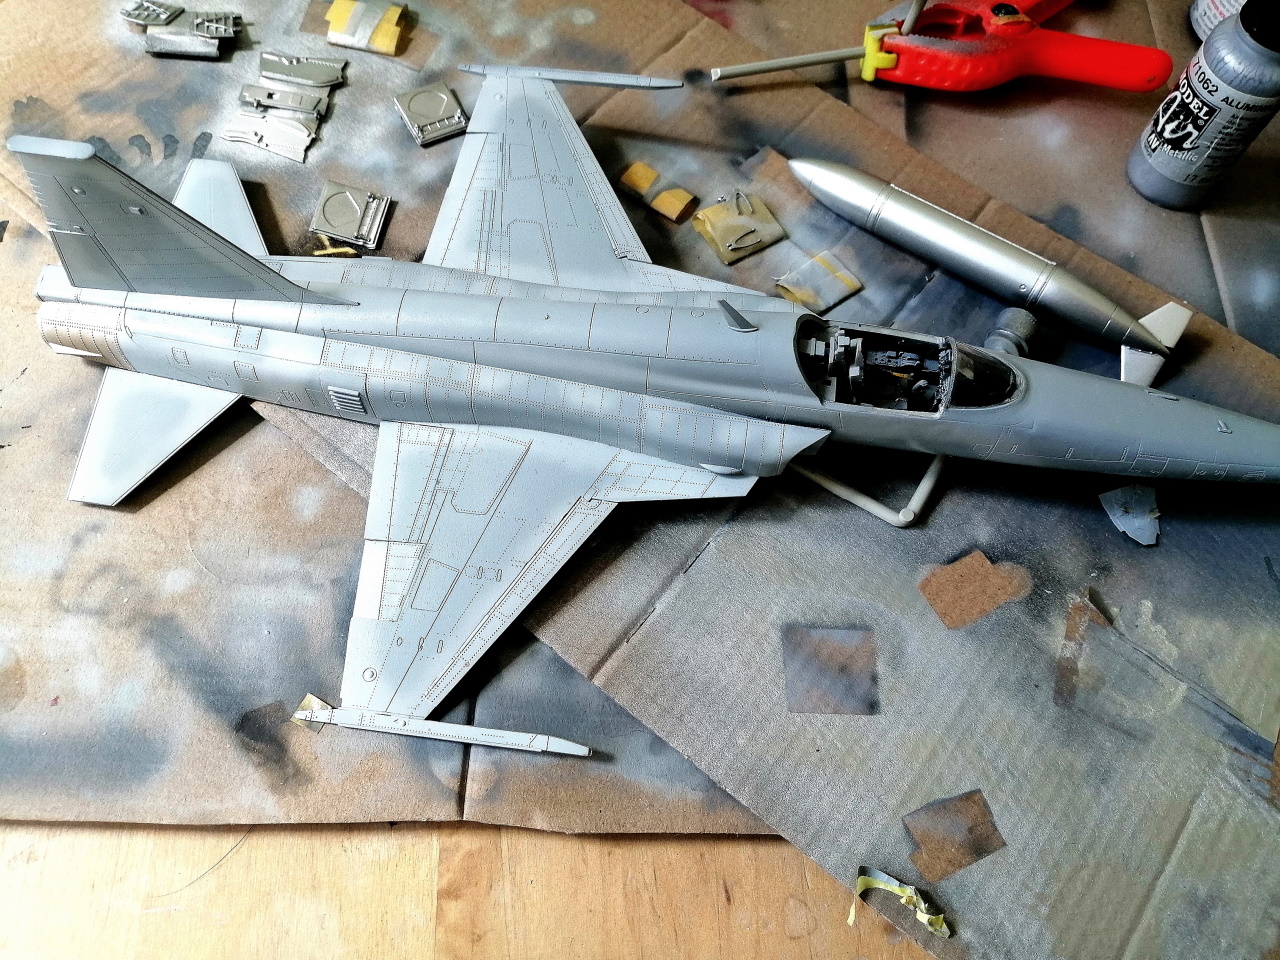
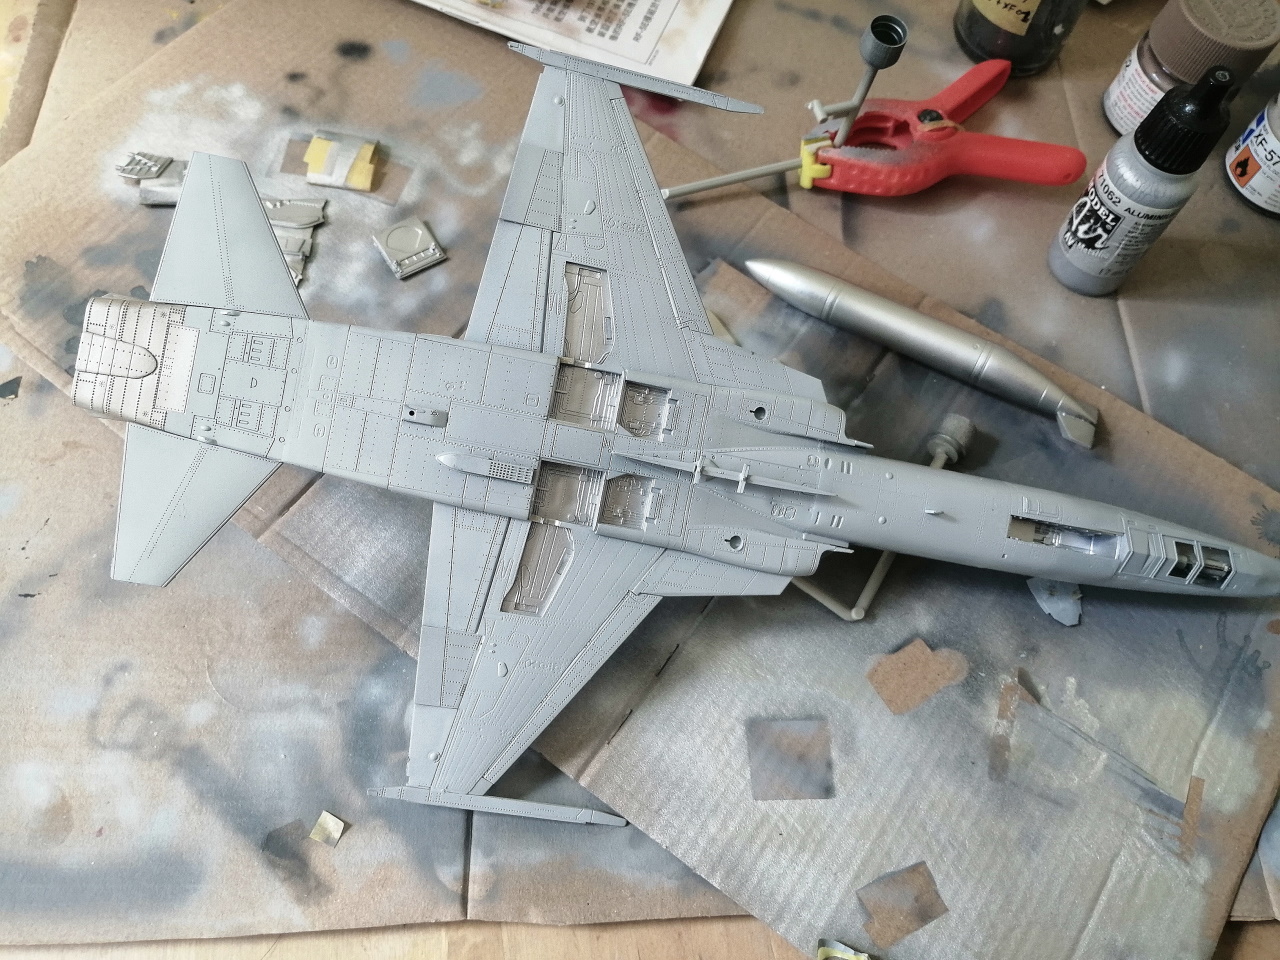
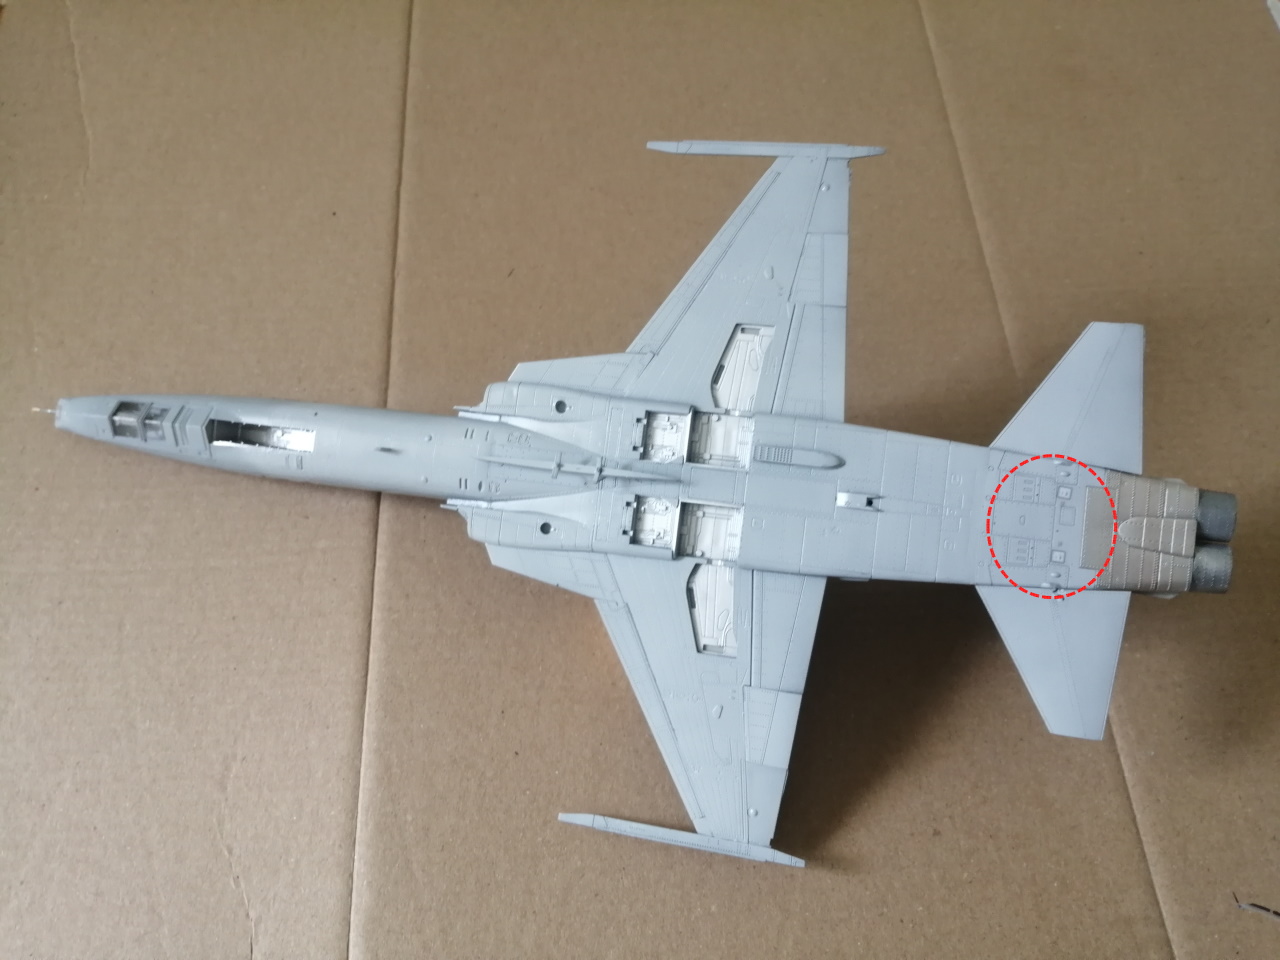
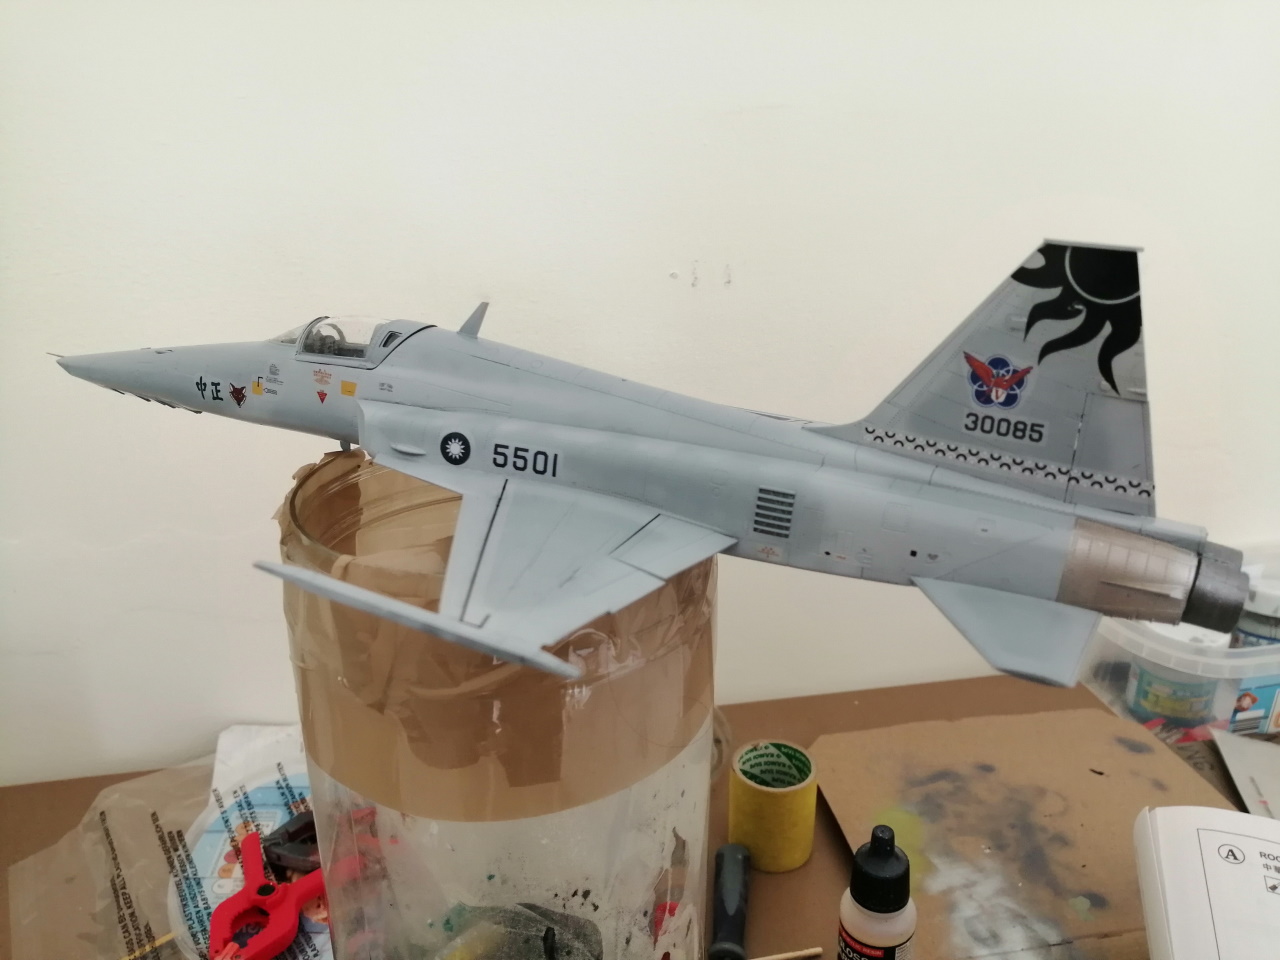
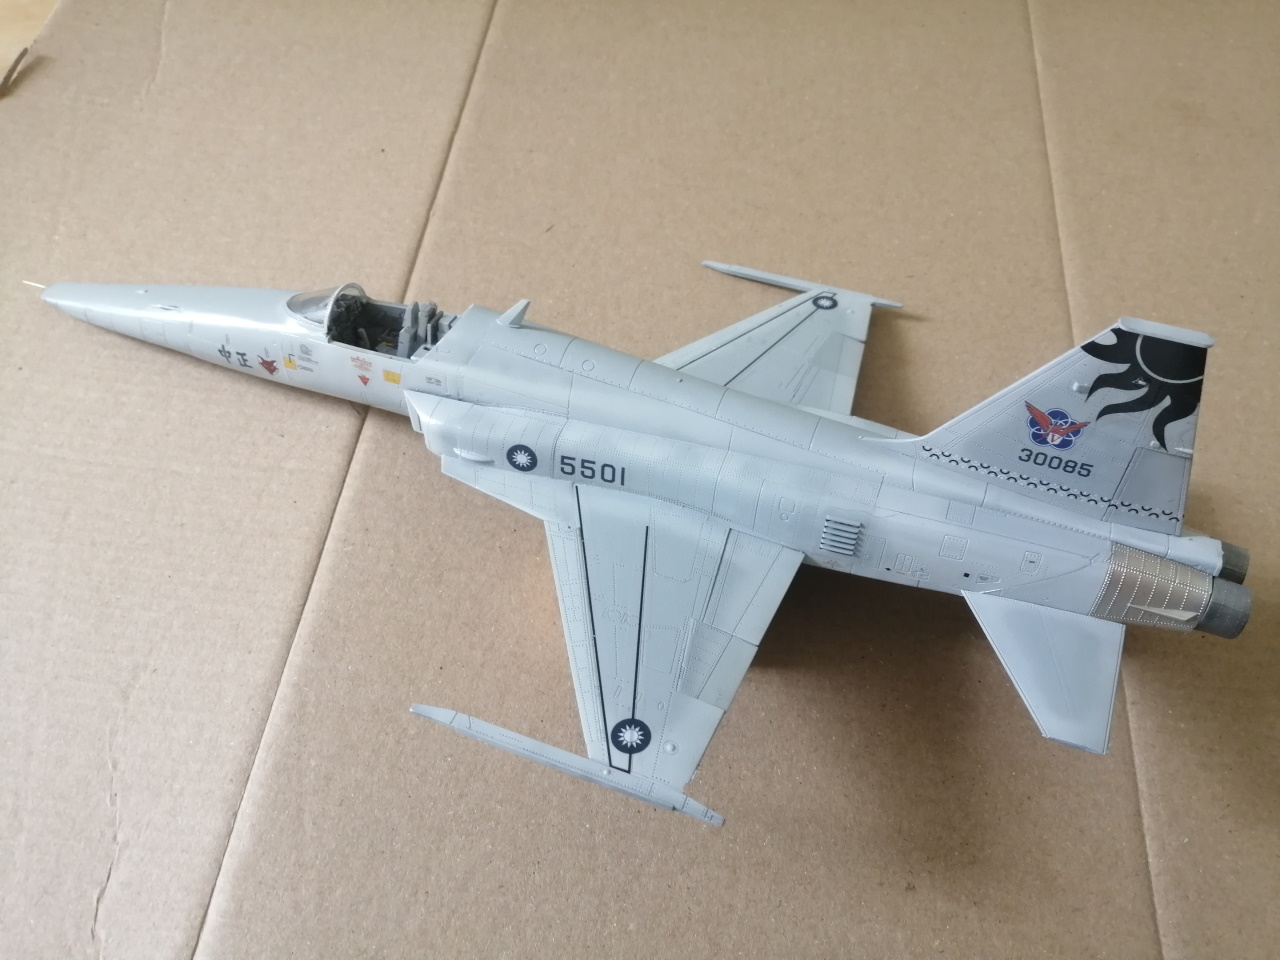
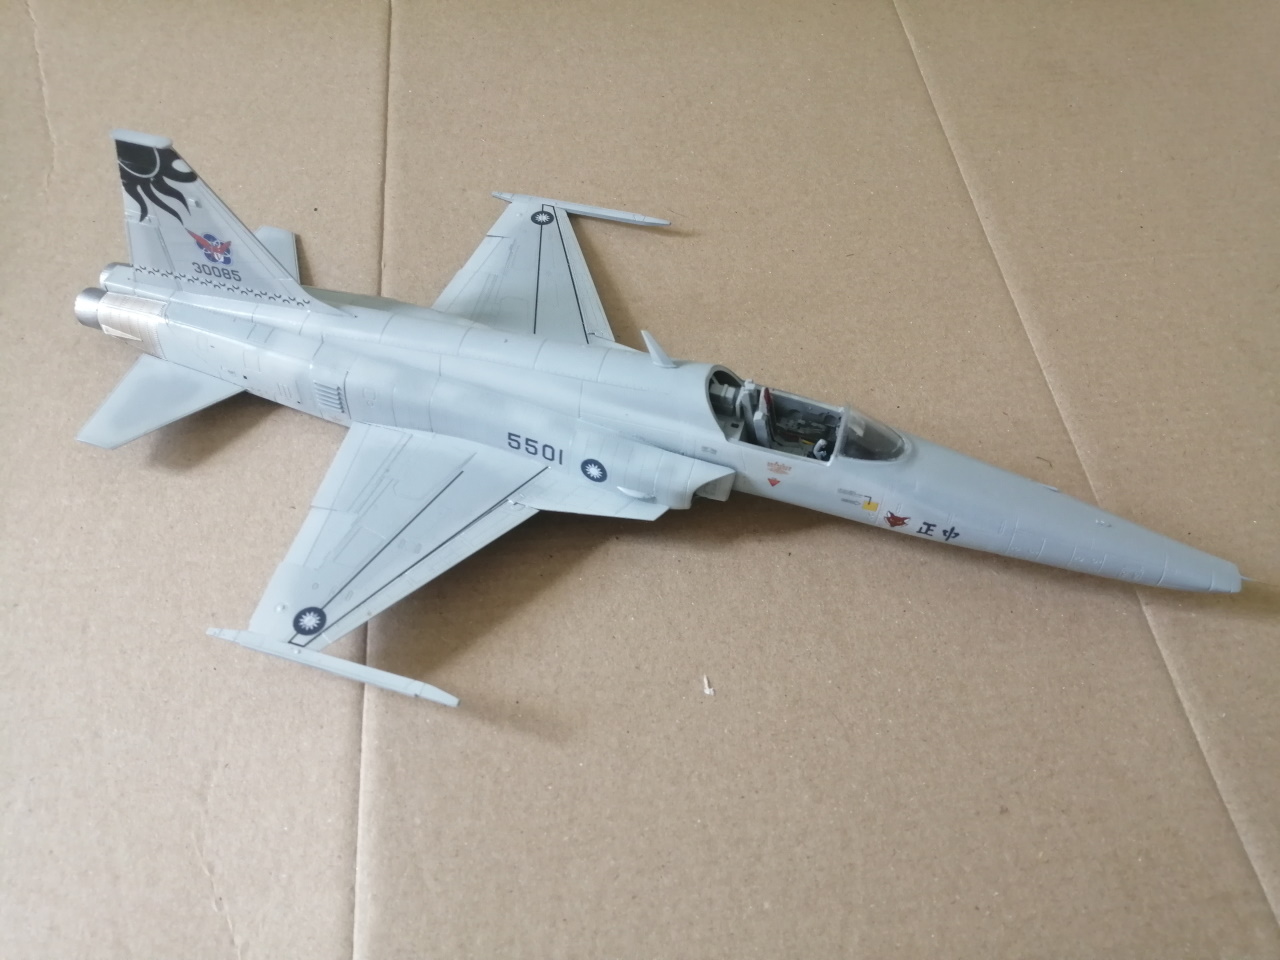
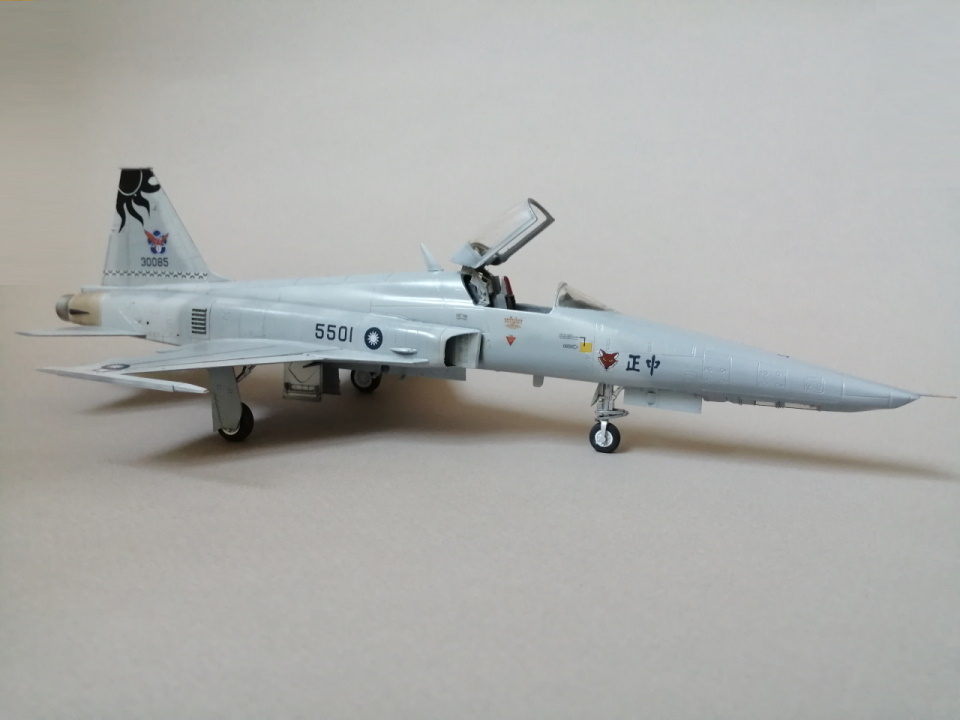
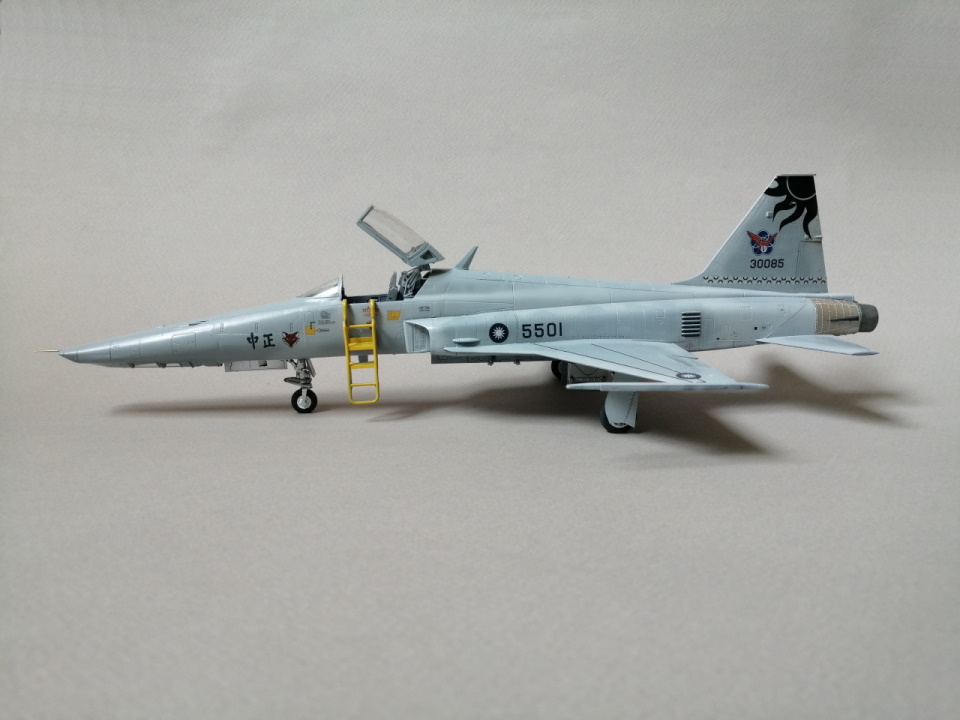
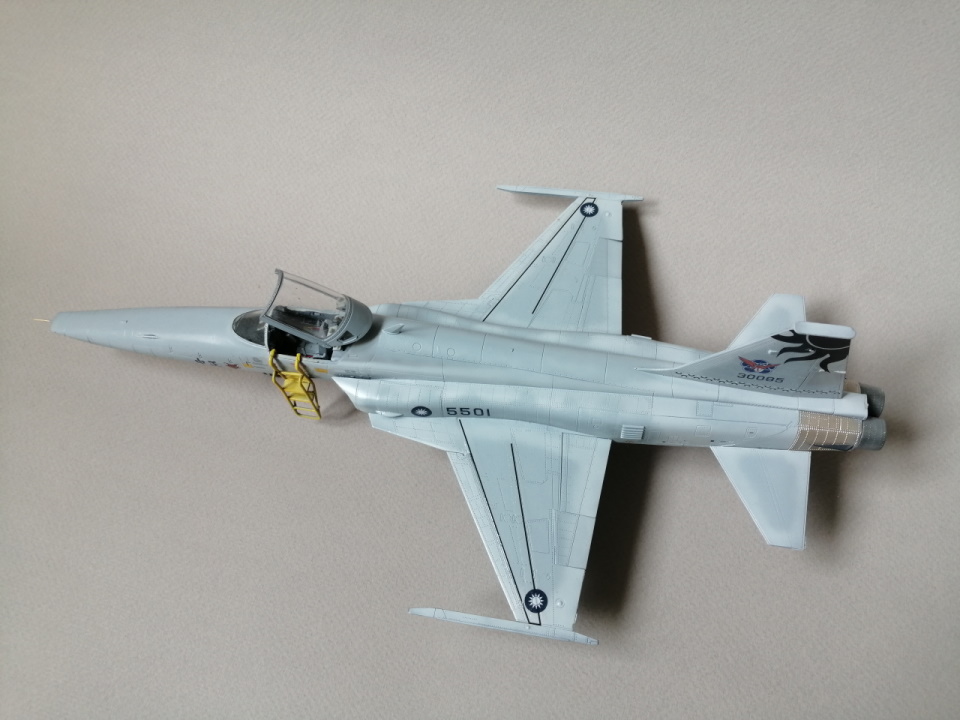
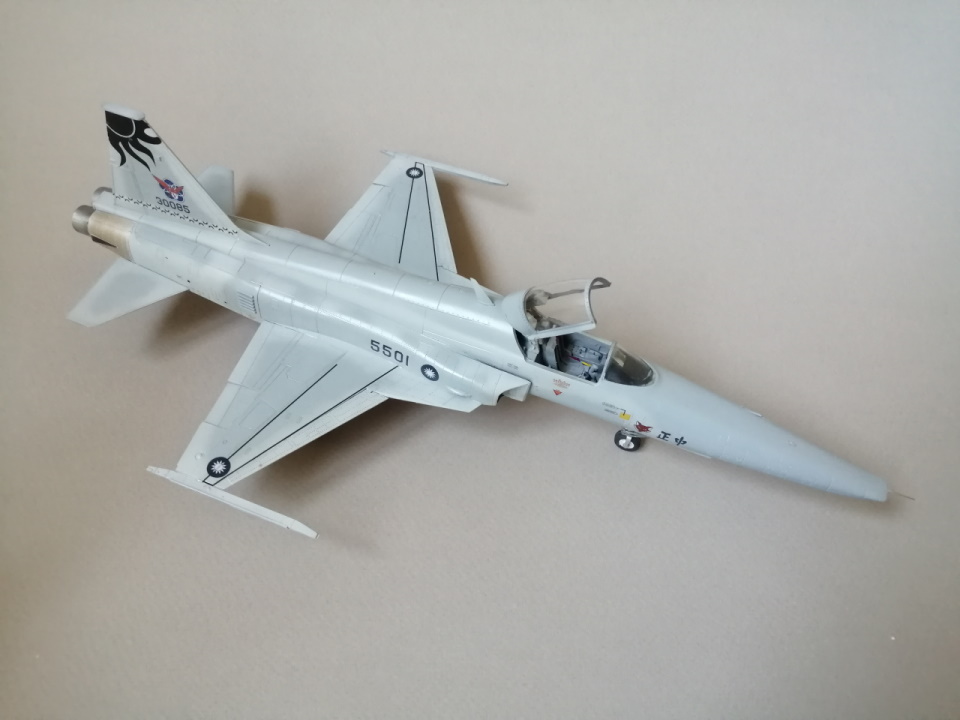
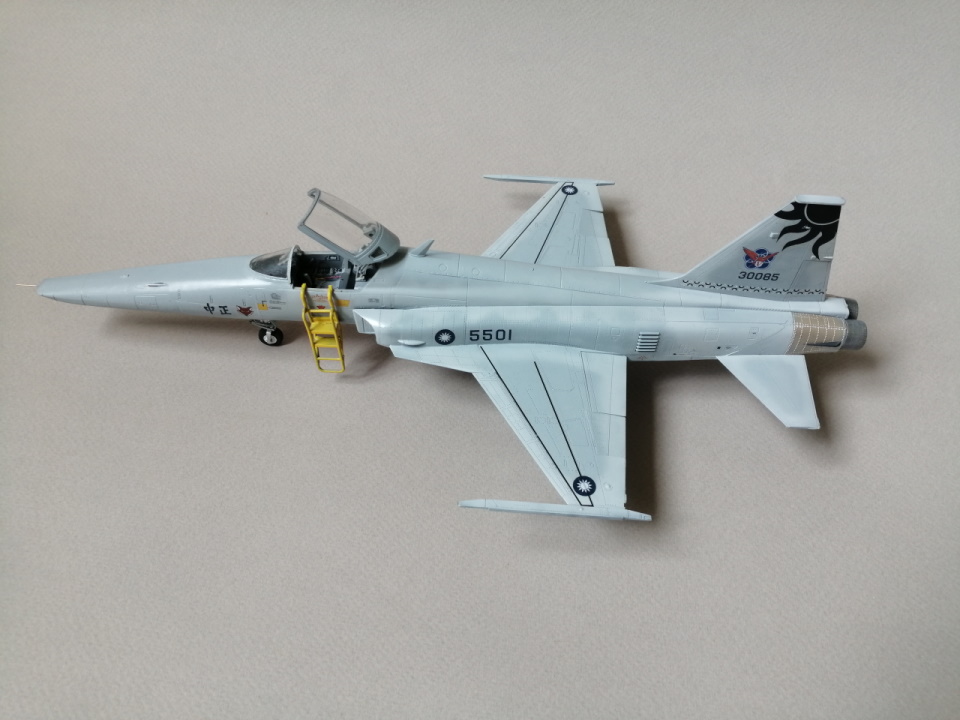
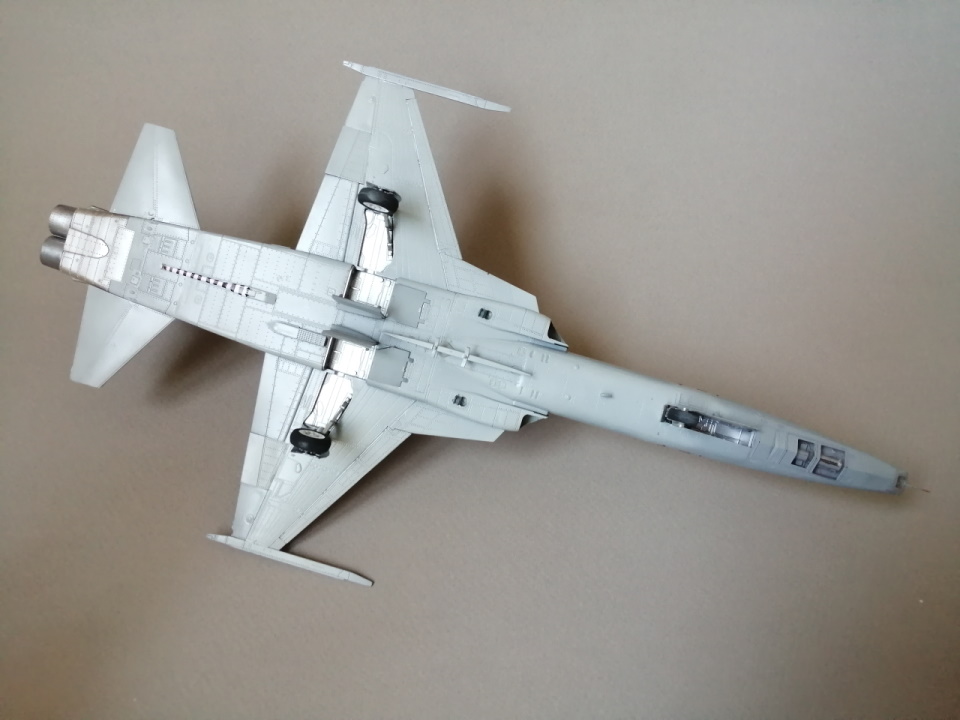
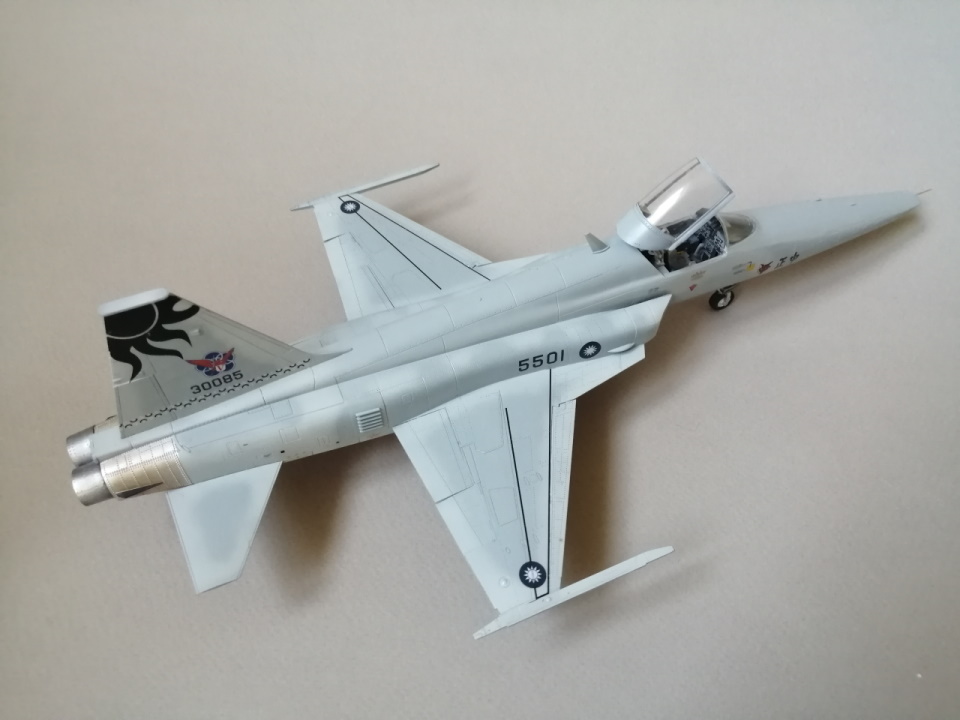
News items from companies due to the Coronavirus (COVID-19) outbreak is drying up giving me time to do some building, something I have not done for a while. I thought Iíd build AFVís 1/48 scale RF-5E Tigereye as I have a soft spot for reconnaissance aircraft. The AFV RF-5E looks good in the box, detail is generally excellent although there are a few places where the detail has a kind of smudged look to it. Iím not sure about the breakdown of the parts, it seems overly complex. I donít want to reveal the internal detail of the camera bay as there arenít any parts included in the box, except for the access hatches
litespeed
 News Reporter
England - North West, United Kingdom
Joined: October 15, 2009
KitMaker: 1,976 posts
AeroScale: 1,789 posts
Posted: Tuesday, March 31, 2020 - 12:00 PM UTC
litespeed
 News Reporter
England - North West, United Kingdom
Joined: October 15, 2009
KitMaker: 1,976 posts
AeroScale: 1,789 posts
Posted: Wednesday, April 01, 2020 - 12:40 PM UTC
litespeed
 News Reporter
England - North West, United Kingdom
Joined: October 15, 2009
KitMaker: 1,976 posts
AeroScale: 1,789 posts
Posted: Wednesday, April 01, 2020 - 01:05 PM UTC
betheyn
 Senior Editor
#019
England - South East, United Kingdom
Joined: October 14, 2004
KitMaker: 4,560 posts
AeroScale: 2,225 posts
Posted: Wednesday, April 01, 2020 - 11:17 PM UTC
Great start so far Tim.
I can't believe they didn't include anything for the camera bay.
I shall follow your build with interest.
Andy

It's not the same, better, but not the same...
litespeed
 News Reporter
England - North West, United Kingdom
Joined: October 15, 2009
KitMaker: 1,976 posts
AeroScale: 1,789 posts
Posted: Thursday, April 02, 2020 - 10:52 AM UTC
Thanks Andy, great to have you along

litespeed
 News Reporter
England - North West, United Kingdom
Joined: October 15, 2009
KitMaker: 1,976 posts
AeroScale: 1,789 posts
Posted: Thursday, April 02, 2020 - 10:58 AM UTC
England - South East, United Kingdom
Joined: September 15, 2004
KitMaker: 4,728 posts
AeroScale: 1,351 posts
Posted: Thursday, April 02, 2020 - 08:16 PM UTC
Nice progress Tim, following along as I have one of these plus several other AFV F-5ís in the stash.
On the bench...
Italeri A129 Mangusta
British Bulldog Spitfire theme build
litespeed
 News Reporter
England - North West, United Kingdom
Joined: October 15, 2009
KitMaker: 1,976 posts
AeroScale: 1,789 posts
Posted: Thursday, April 02, 2020 - 09:37 PM UTC
thanks Luciano. Really like the F-5, and the AFV kit is going together very nicely...
litespeed
 News Reporter
England - North West, United Kingdom
Joined: October 15, 2009
KitMaker: 1,976 posts
AeroScale: 1,789 posts
Posted: Wednesday, April 08, 2020 - 12:40 PM UTC
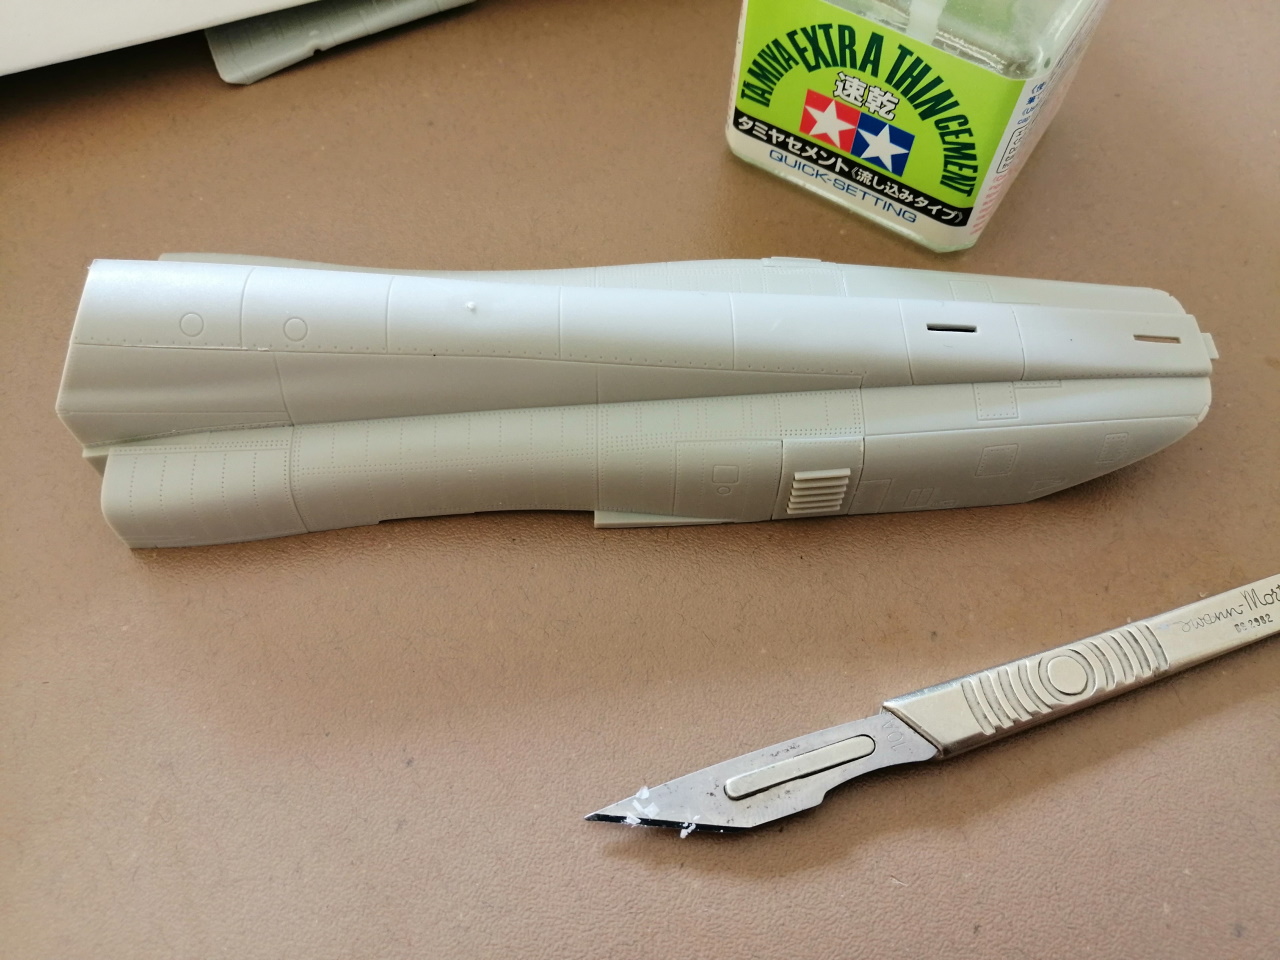
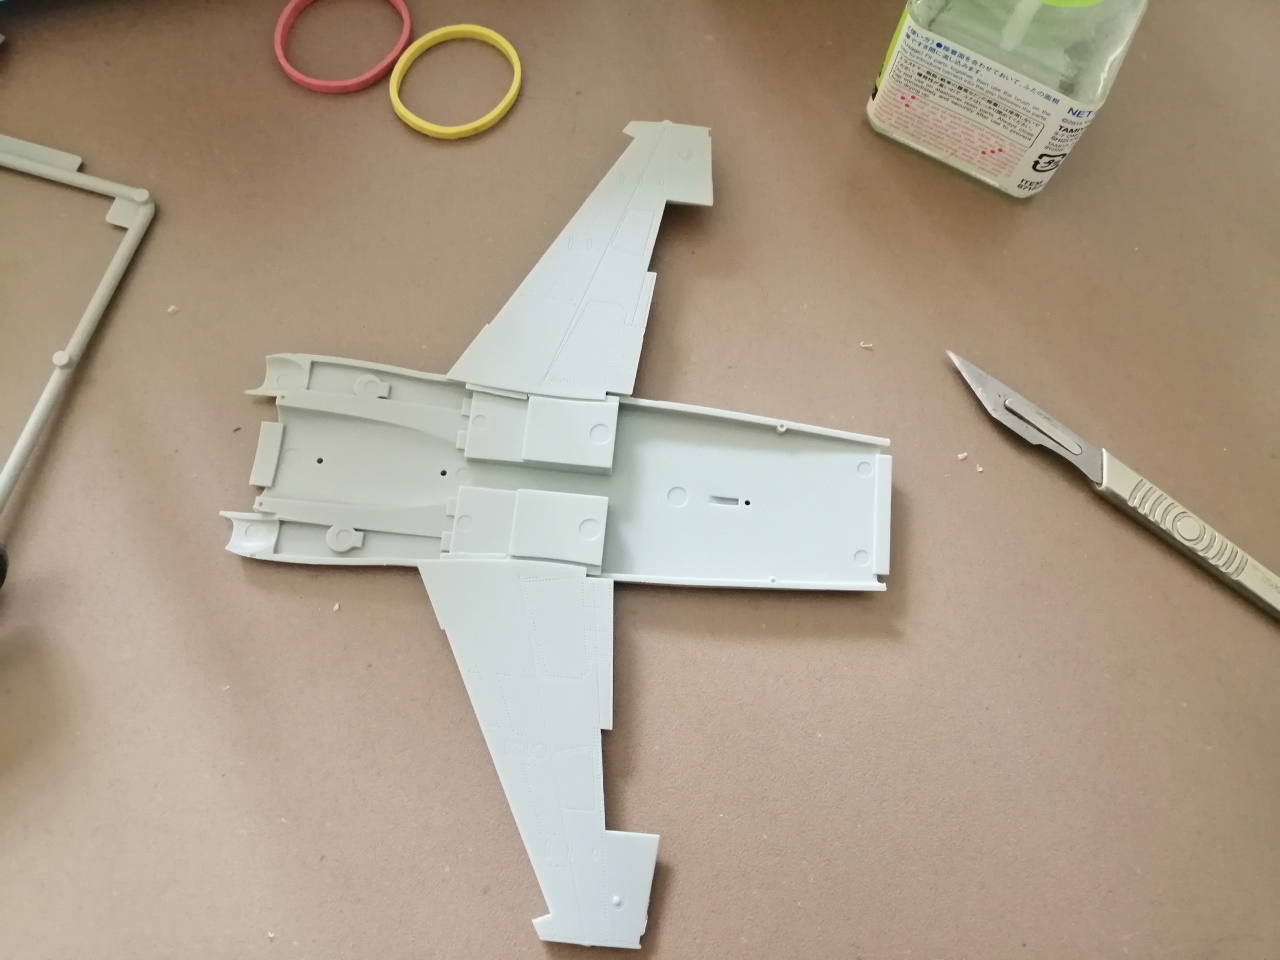
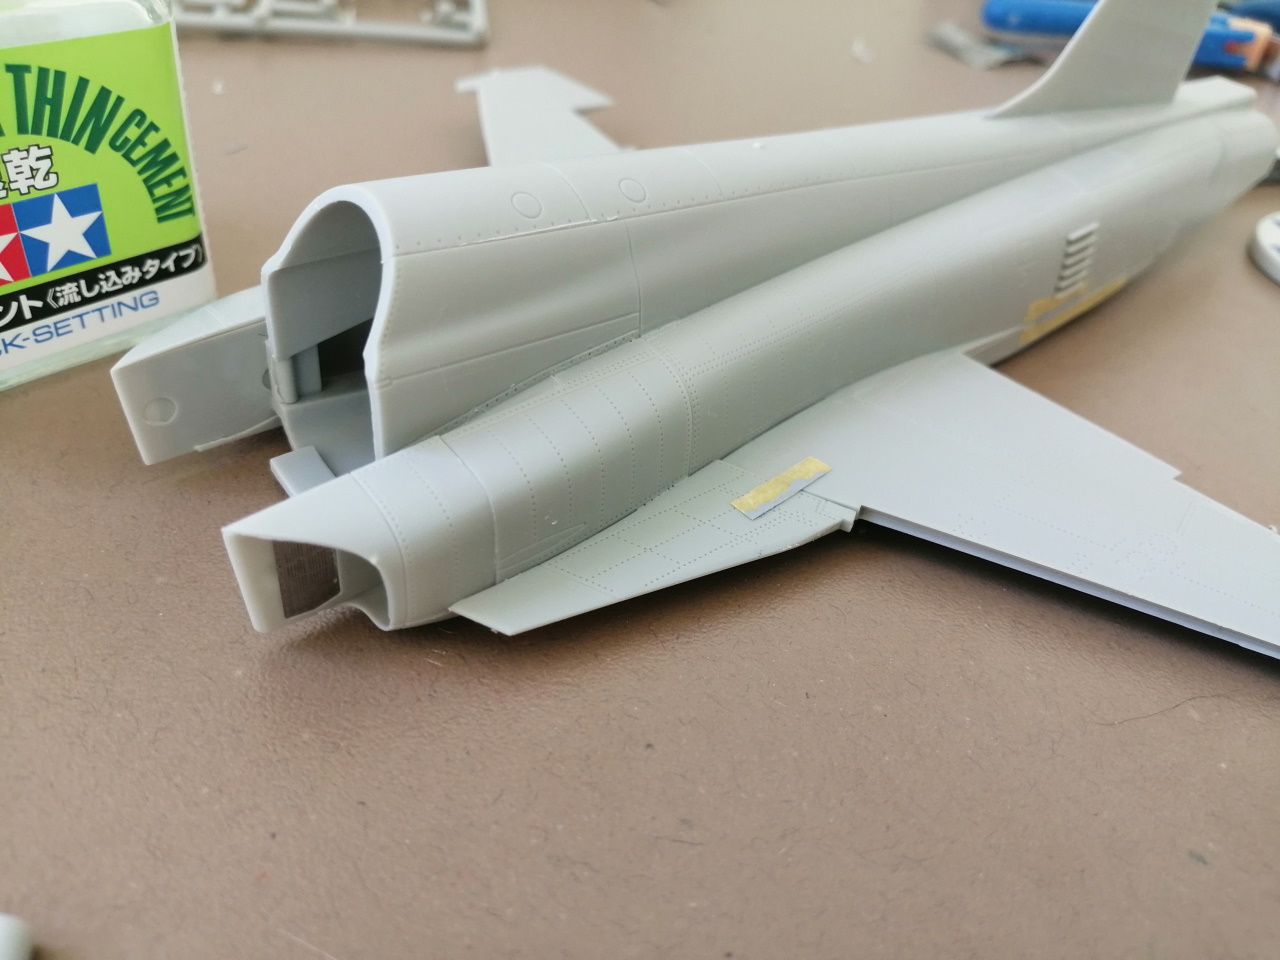
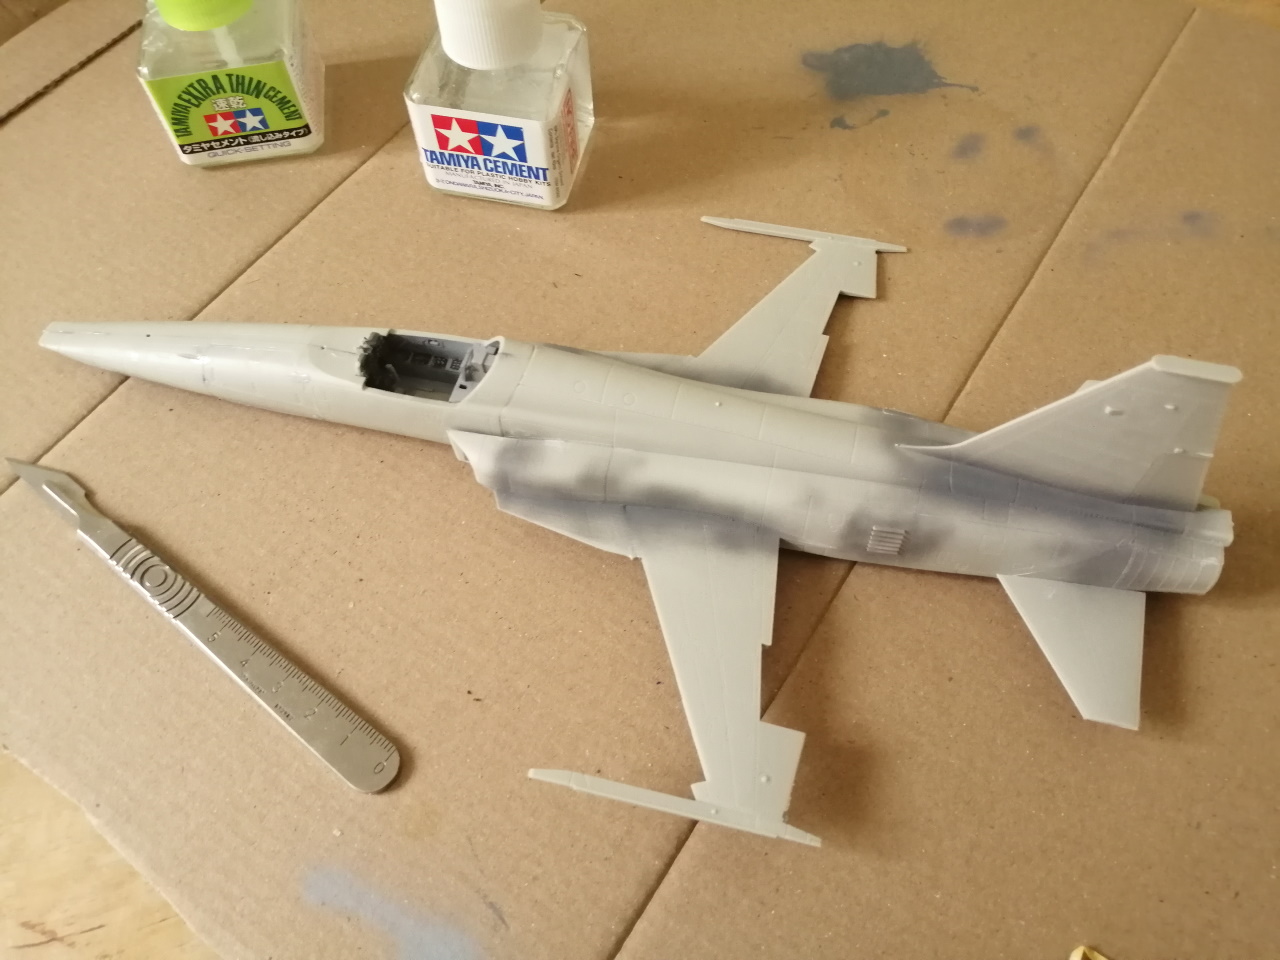
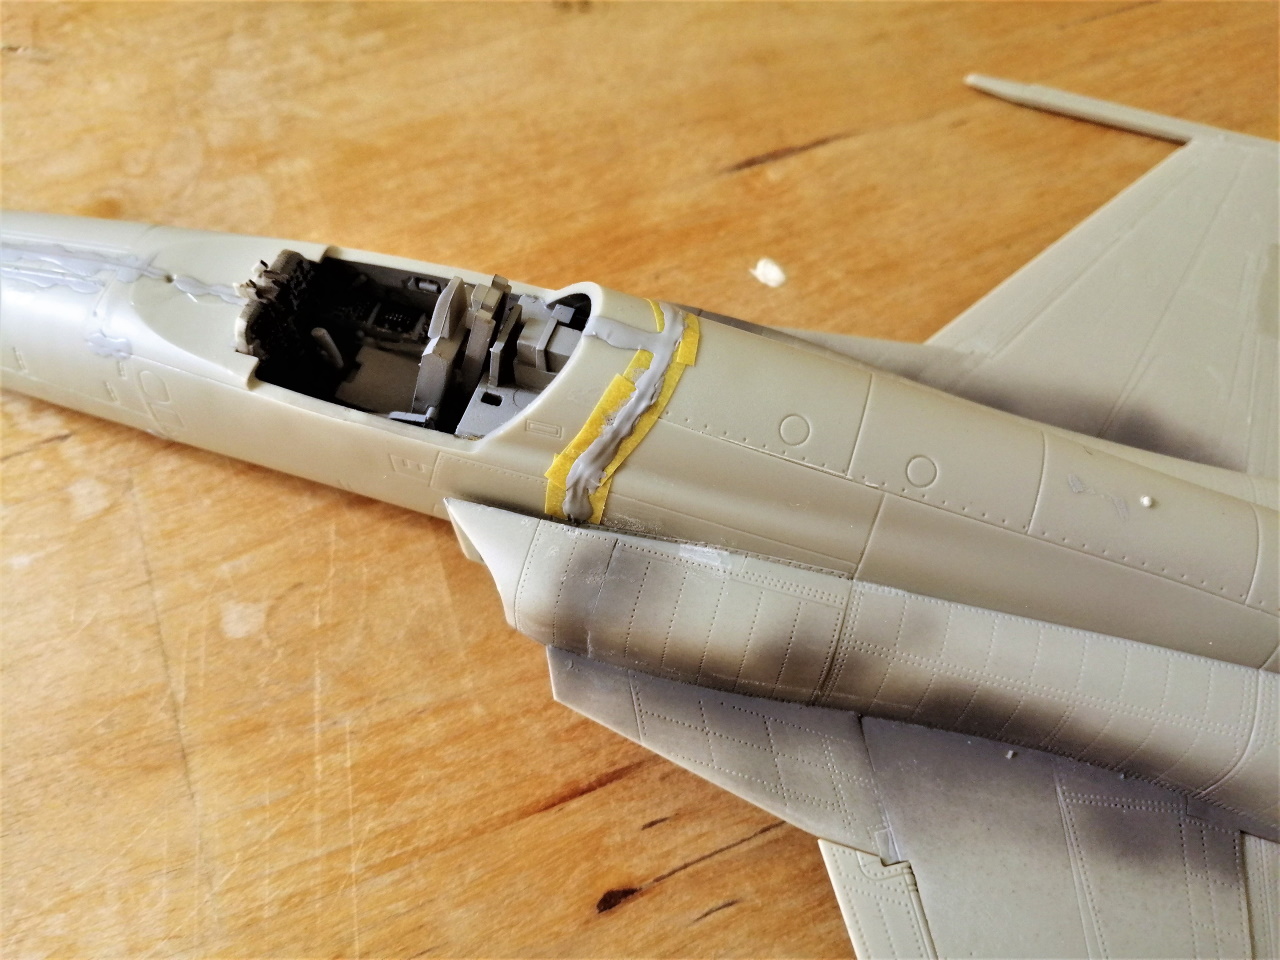
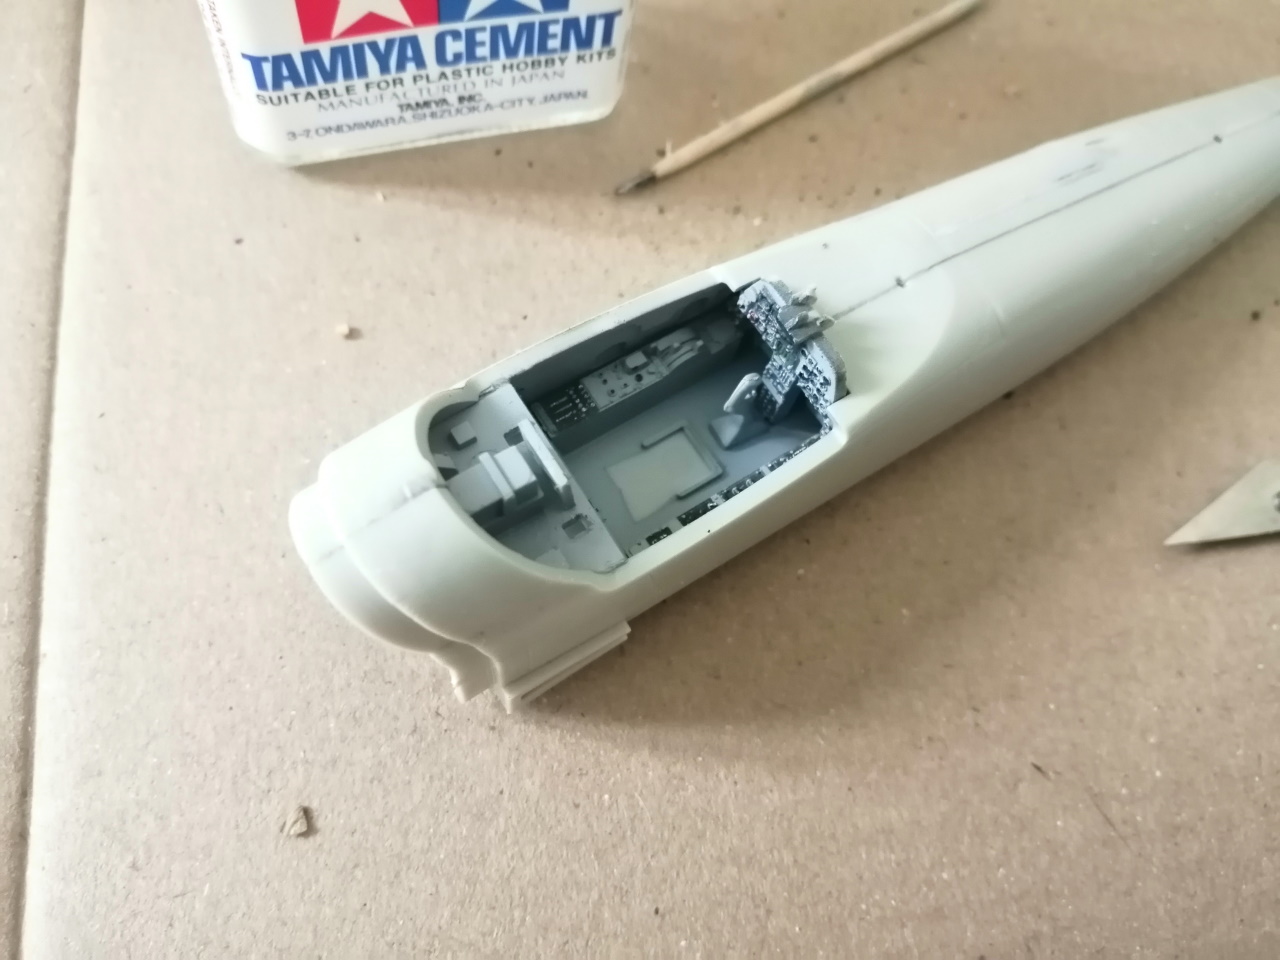
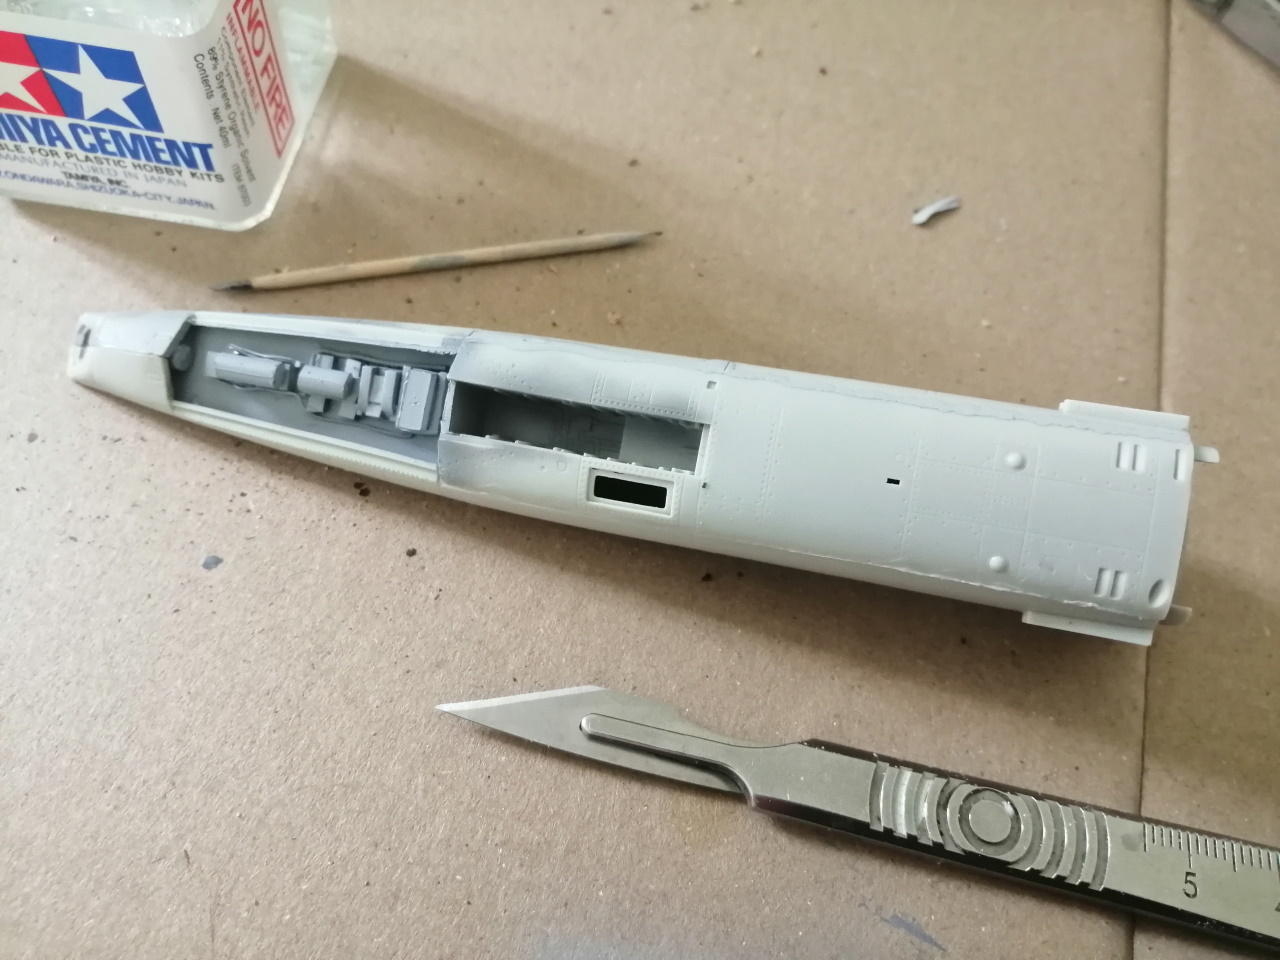
The forward fuselage was glued together, but the seams will need some attention. Test fitted the forward fuselage with the rest of the fuselage once the glue had set. Not badÖ.
litespeed
 News Reporter
England - North West, United Kingdom
Joined: October 15, 2009
KitMaker: 1,976 posts
AeroScale: 1,789 posts
Posted: Thursday, April 09, 2020 - 11:40 AM UTC
litespeed
 News Reporter
England - North West, United Kingdom
Joined: October 15, 2009
KitMaker: 1,976 posts
AeroScale: 1,789 posts
Posted: Saturday, April 11, 2020 - 09:38 AM UTC
litespeed
 News Reporter
England - North West, United Kingdom
Joined: October 15, 2009
KitMaker: 1,976 posts
AeroScale: 1,789 posts
Posted: Friday, April 17, 2020 - 09:56 AM UTC
litespeed
 News Reporter
England - North West, United Kingdom
Joined: October 15, 2009
KitMaker: 1,976 posts
AeroScale: 1,789 posts
Posted: Saturday, April 18, 2020 - 10:04 AM UTC
litespeed
 News Reporter
England - North West, United Kingdom
Joined: October 15, 2009
KitMaker: 1,976 posts
AeroScale: 1,789 posts
Posted: Thursday, April 30, 2020 - 12:36 PM UTC
litespeed
 News Reporter
England - North West, United Kingdom
Joined: October 15, 2009
KitMaker: 1,976 posts
AeroScale: 1,789 posts
Posted: Monday, May 04, 2020 - 11:20 PM UTC
litespeed
 News Reporter
England - North West, United Kingdom
Joined: October 15, 2009
KitMaker: 1,976 posts
AeroScale: 1,789 posts
Posted: Monday, May 18, 2020 - 06:28 AM UTC
betheyn
 Senior Editor
#019
England - South East, United Kingdom
Joined: October 14, 2004
KitMaker: 4,560 posts
AeroScale: 2,225 posts
Posted: Monday, May 18, 2020 - 07:19 AM UTC
Excellent build Tim, she has come out looking great.
I shall expect to see more builds from you now as you have done your first in a while.
Andy

It's not the same, better, but not the same...
litespeed
 News Reporter
England - North West, United Kingdom
Joined: October 15, 2009
KitMaker: 1,976 posts
AeroScale: 1,789 posts
Posted: Monday, May 18, 2020 - 09:59 AM UTC
Thanks Andy, you know I think I seem to remember you sending me this kit many moons ago

betheyn
 Senior Editor
#019
England - South East, United Kingdom
Joined: October 14, 2004
KitMaker: 4,560 posts
AeroScale: 2,225 posts
Posted: Monday, May 18, 2020 - 10:38 AM UTC
Quoted Text
Thanks Andy, you know I think I seem to remember you sending me this kit many moons ago 
Well I reviewed one in 2010, and as I no longer have it, either you have it or the Ex got it

.
Andy

It's not the same, better, but not the same...
England - South East, United Kingdom
Joined: September 15, 2004
KitMaker: 4,728 posts
AeroScale: 1,351 posts
Posted: Monday, May 18, 2020 - 03:18 PM UTC
Beautiful build Tim, makes me want to get mine out but no, to many things on the bench already.
Andy, I don't thing you gave it to me although I do have one, and most of the rest of the range plus some AM decal sets.

On the bench...
Italeri A129 Mangusta
British Bulldog Spitfire theme build
England - North West, United Kingdom
Joined: January 02, 2010
KitMaker: 11 posts
AeroScale: 10 posts
Posted: Monday, May 18, 2020 - 08:10 PM UTC
Really nice outcome. Agree with Andy you need to get back into building some more kits . Maybe a WW2 prop for a change ?
Richard
litespeed
 News Reporter
England - North West, United Kingdom
Joined: October 15, 2009
KitMaker: 1,976 posts
AeroScale: 1,789 posts
Posted: Monday, May 18, 2020 - 11:52 PM UTC
Thanks guys its much appreciated


