Here is the teaser boxart.

The kit comes on seven grey sprues, one clear sprue, a large PE fret, and a large decal sheet with two marking options. One option as a modern HH-60G in overall AFSOC Gray and the other a slightly older (around 2003-ish) HH-60G in Euro-1 camo. Overall, it is very detailed and very complete.
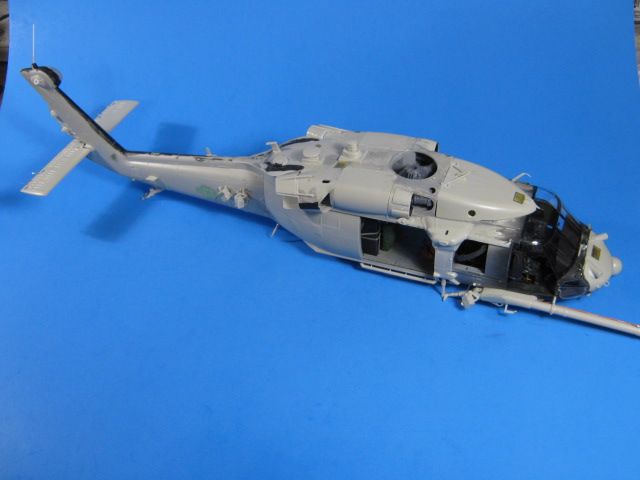
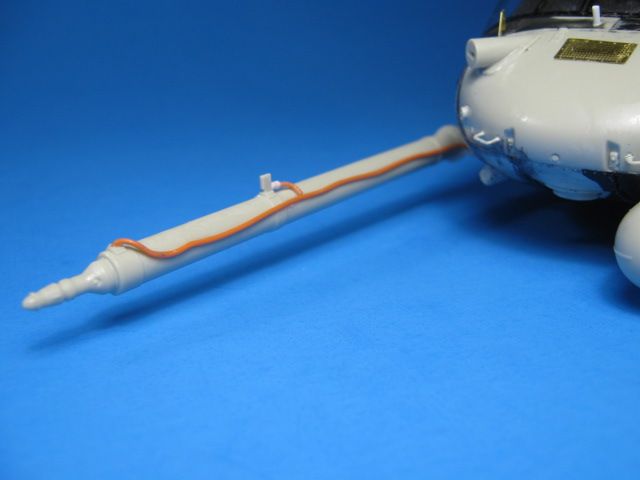
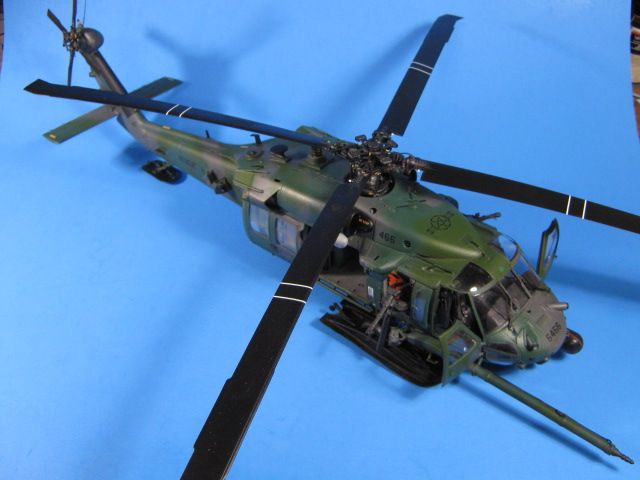
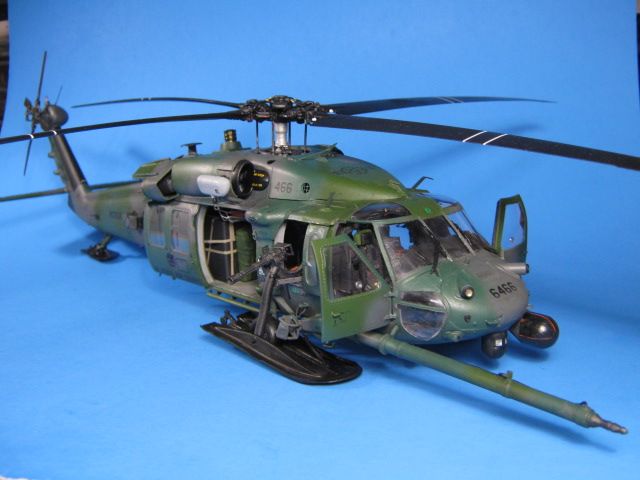
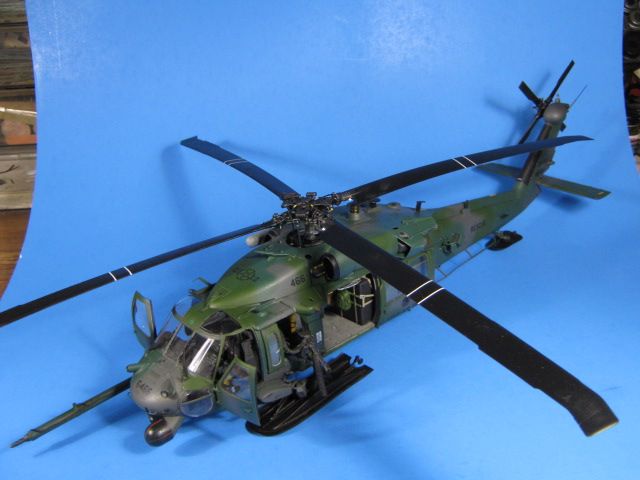
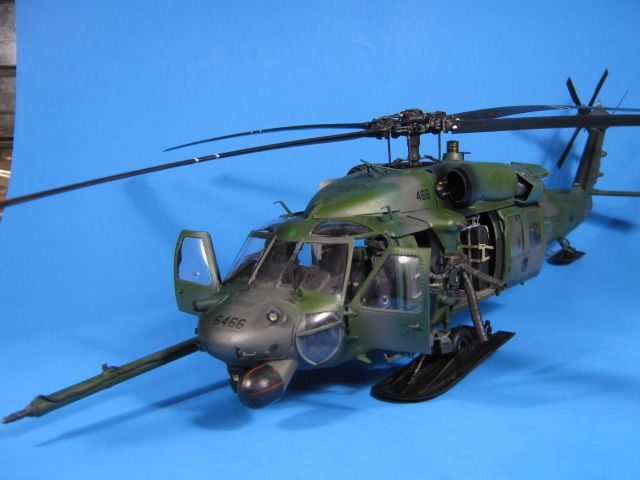
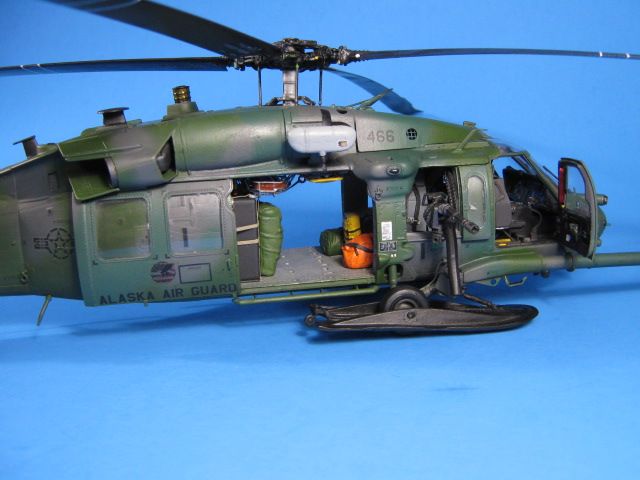
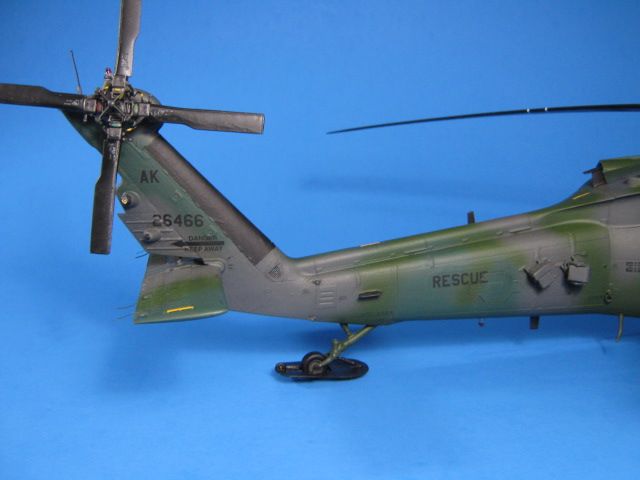
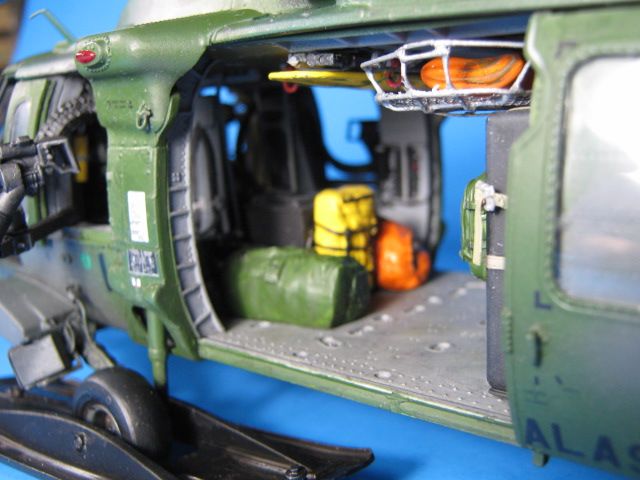
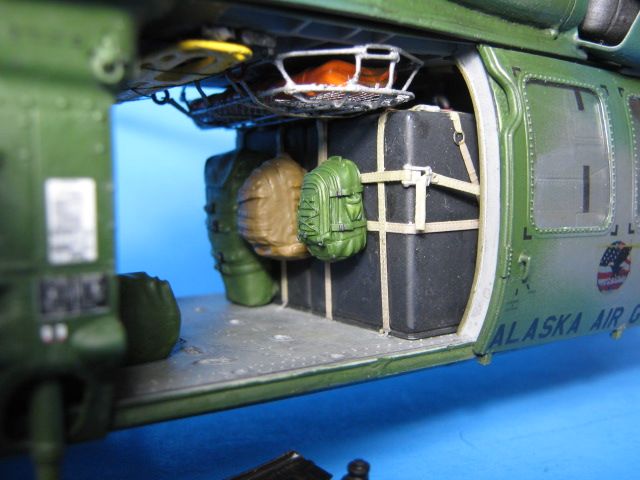
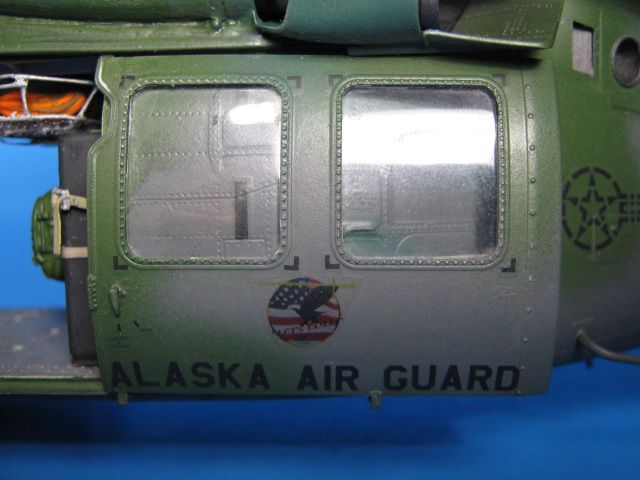
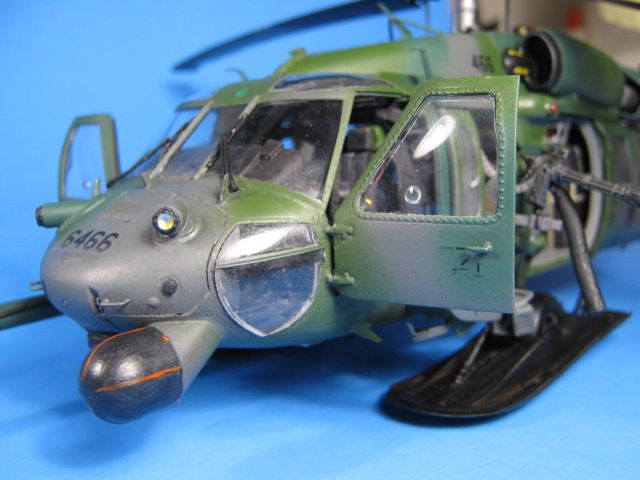
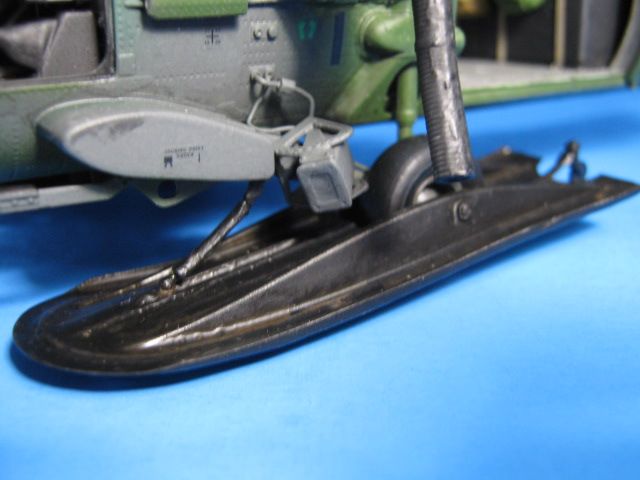
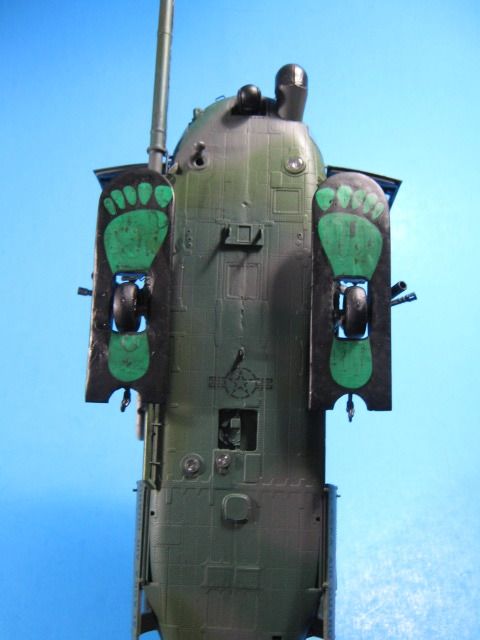
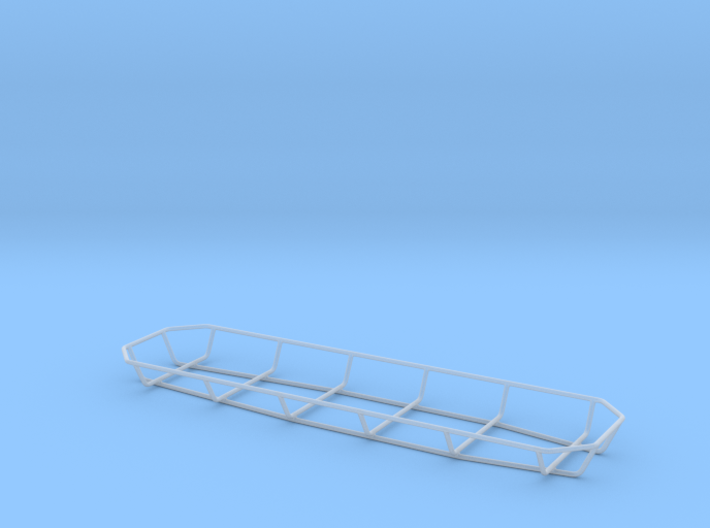
I plan on building mine as an early 2000s HH-60G in Euro-1 camo from the Alaska Air National Guard using Werner's Wings Skis on it. It will look something like below.
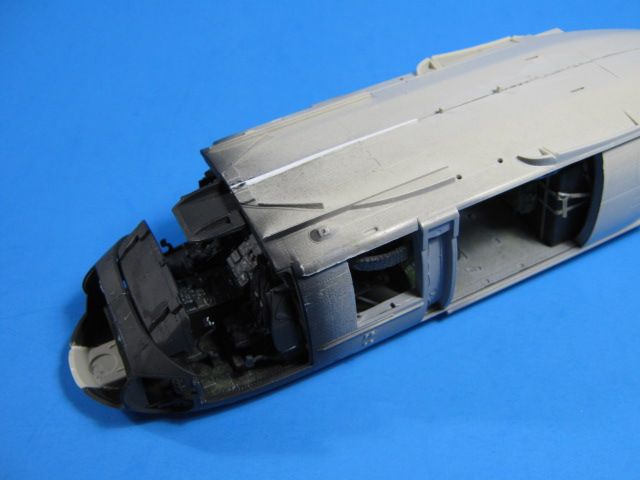
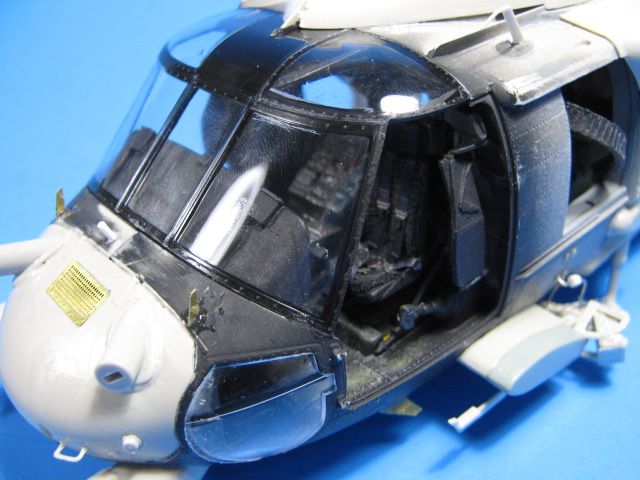
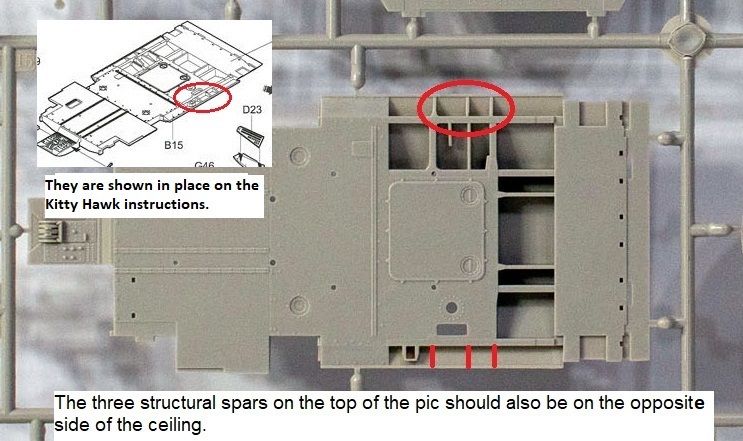
There are only a few shortfalls that I have identified so far. One is pictured below. There are three small structural spars on each side of the ceiling in the cabin. Kitty Hawk missed one side of these. They are easy to add though using a few strips of 0.040 sheet styrene.
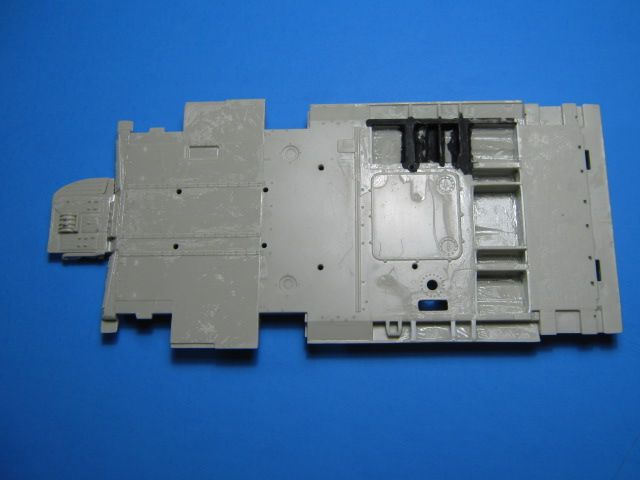
Added on my ceiling.
I have found a few issues with the instructions so far.
In the first step, the seat back for the gunners' seats are misnumbered. They are listed as E8, but that is the seat back for the troop seats in the rear. They should be G37, which are the correct gunners' seats with head rests.
In step two, you are supposed to build an additional seat for the middle between the gunners' seats facing forward. This seat is very infrequently carried, especially facing forward. If anything it faces rearward. If facing forward, there is no way for anyone to get into the seat as it is blocked by the gunners' seats. I decided to leave this off.

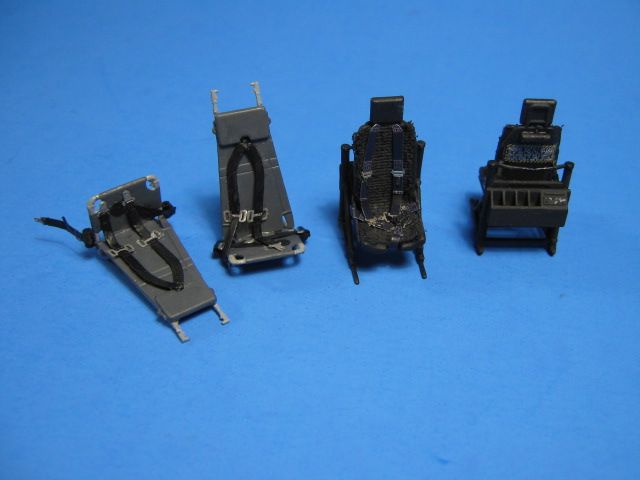
In step 3, I fixed the H-Bar seat support that the gunners' seats attach to. The kit part is more of a "U" bar and turned 180 degrees from where it should be. I turned it around and added the forward leg making it an H-bar, which is shaped like a lower case "h".

Actual H-bar. You can see the open end facing rearward and the forward, single bar, making a lower case h. In this case (in an Army UH-60), the extra seat is facing rearward.

On HH-60Gs with the internal ammo cans, the ammo cans go between the gunners' seats. The H-bar can be seen here as well.

I have not decided if I will go with the internal or external ammo cans/gunmounts yet.
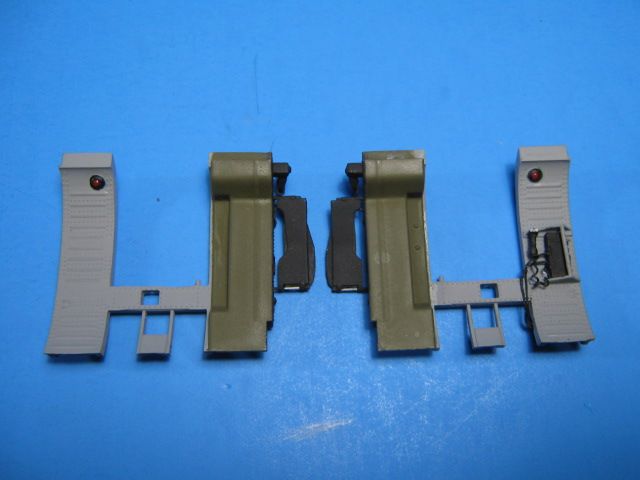
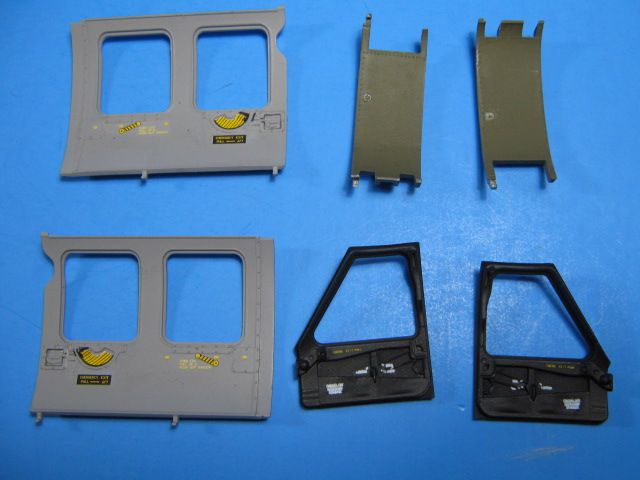
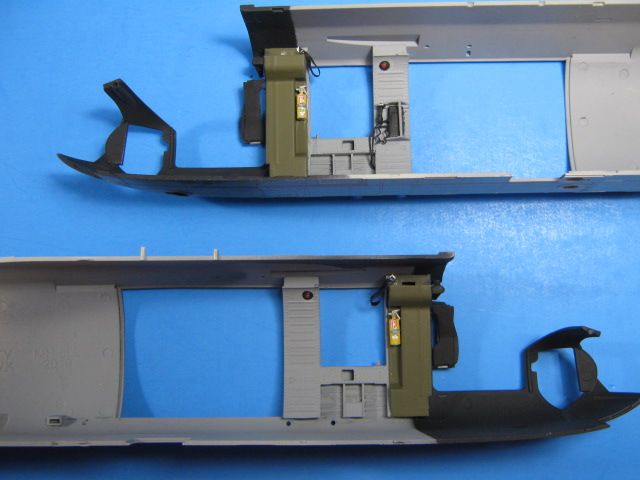
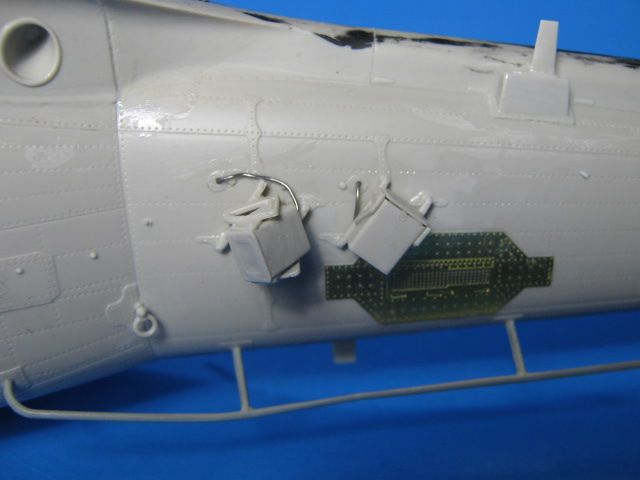
In steps 4 and 5, you build the gunners' side bulkheads. There is one small correction here. On both side bulkheads, there are raised strips that are to mount the hoist control box and a guard for it. The issue is that only the strarboard side one should have these mounts as these parts are only on the starboard side. I shaved the port side mounts off with a sharp xacto knife.

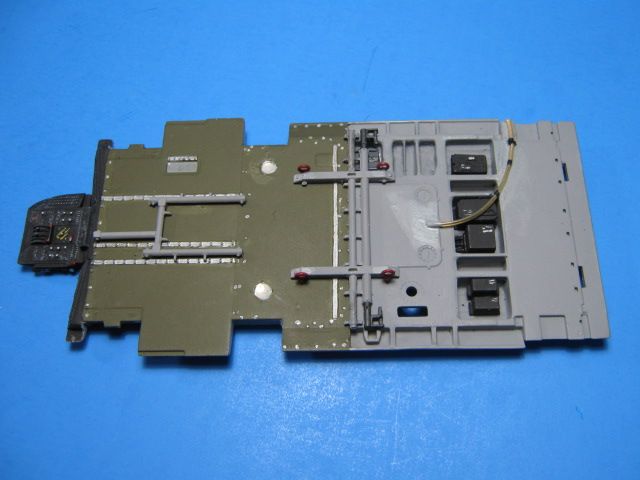
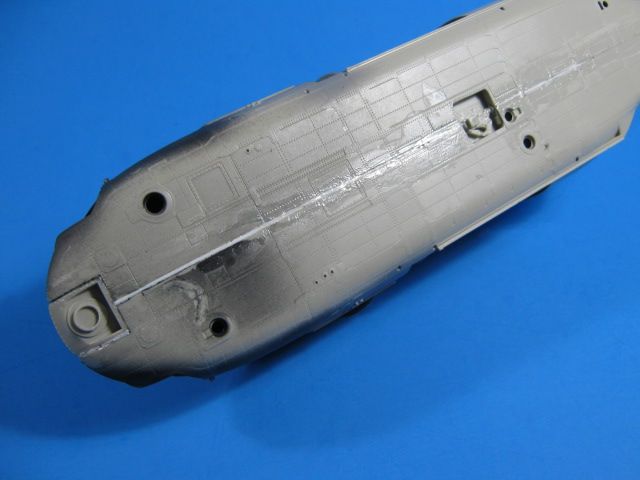
I also added the release handle and cable for the sliding armor plates along the pilots' seats. Lastly, I cut the tabs off the bottoms of the side walls as I have heard the cabin is slightly too wide for the fuselage. I plan to attach the side walls to the fuselage insides and not the cabin structure to hopefully correct this issue.
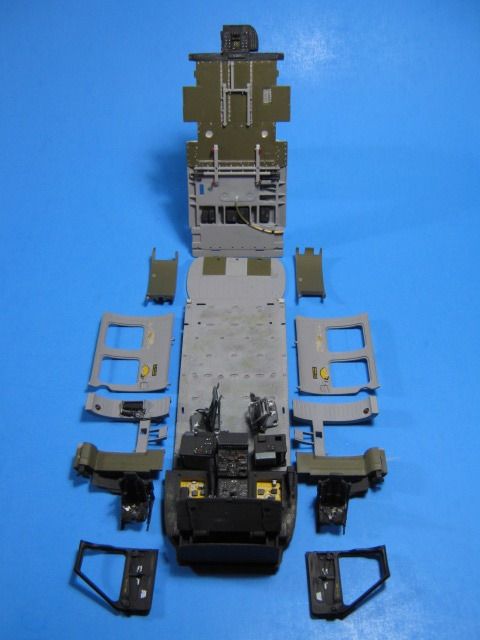
So far, I have most of the cabin parts built up, but need to paint them and put them all in place. I had no real issues with all the parts and they went together well.
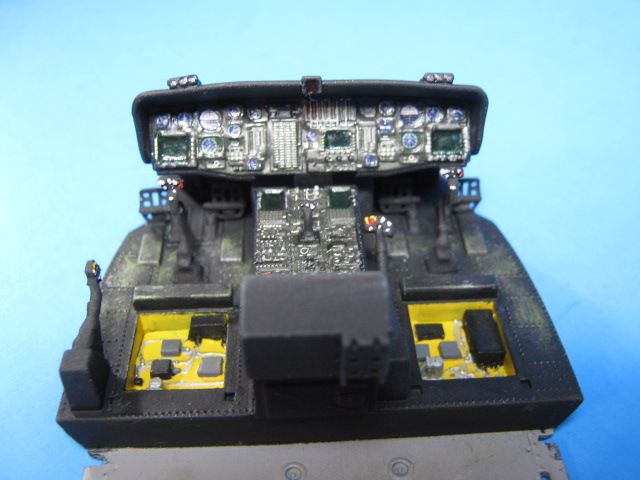
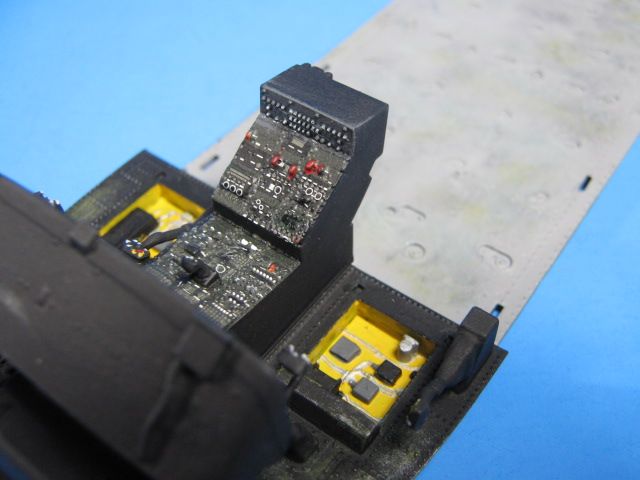
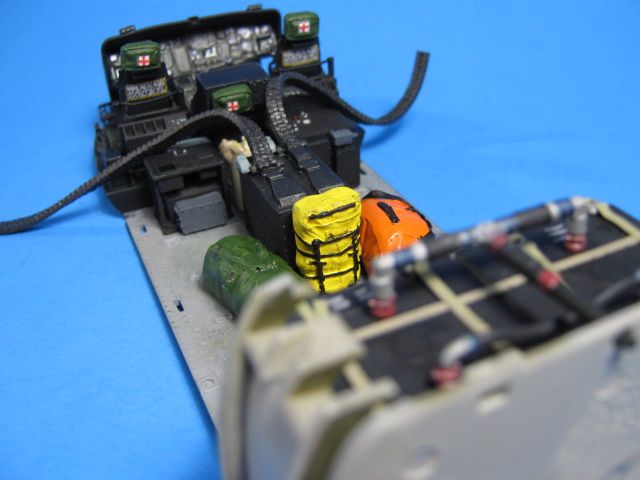
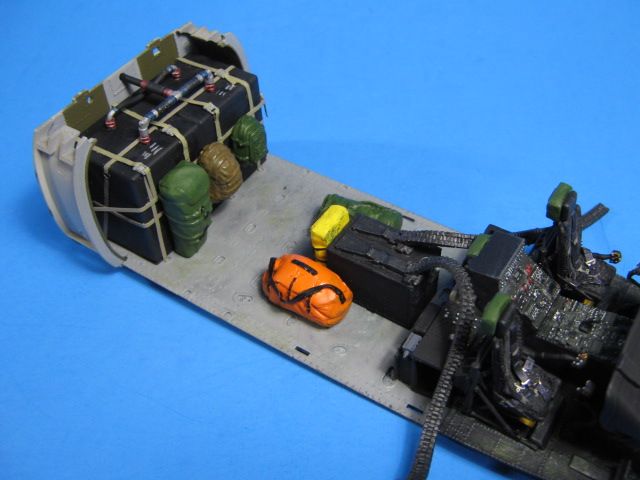
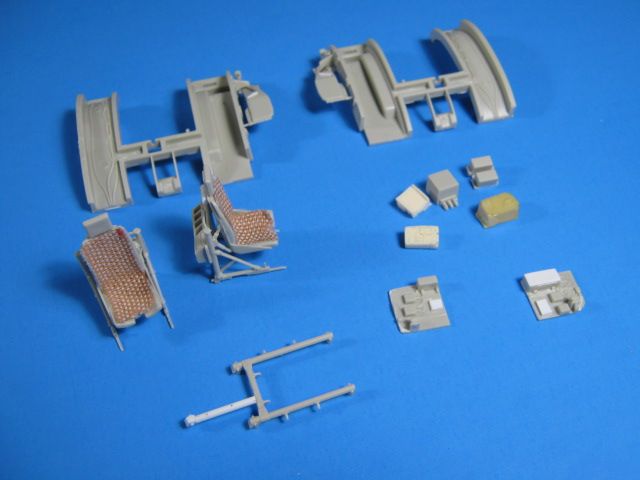
Below is my corrected H-bar, the pilots seats with cloth bandaid fabric added to replicate the sheepskin seat covers and the seat belt retractors added to the rear of the seats, sidewalls with handles added, and electronic boxes that will go into the open ceiling structures and under the pilots' seats. I cut up the pieces for the front electronics compartment in the nose (B18 and forward part of cockpit floor) since I was not leaving it open. Most of the above electronic boxes come from it and a few I had left over from resin sets.
A few other small corrections/additions I found when going through the steps to build the cabin and cockpit. These are pretty self-explanatory.


That is it so far. More to come later.