_GOTOBOTTOM
Pre-Flight Check
Constructive critique of your finished or in-progress photos.
UH-1C "Frog" - 174th Assault Helicopter Comp.
clausen
_VISITCOMMUNITY
Fyn, Denmark
Joined: May 03, 2003
KitMaker: 449 posts
AeroScale: 0 posts
Posted: Monday, June 21, 2004 - 10:55 PM UTC
This is my first helicopter kit ever! – I usually stay with modern AFV’s!
This is the Academy UH-1C “Frog” 1/35.
I started building the helicopter in December 2002, but it was soon put back in it’s box, and stayed there, until I decided to look at it again about two months ago!

Someone will probably notice that the control stick for the pilot i missing! - I somehow managed to loose it during the painting of the model... So if someone has a spare...?

The model depicts a 174th Assault Helicopter Company UH-1C #66-15161 called “Surfer”, that was shot down over Laos on February 21 1971.

Read the story about it on 174th Assault Helicopter Company's homepage: http://www.174ahc.org/mike-2.htm


And here is the real thing (Photos form 174th AHC homepage)


I have more photos on my website: http://www.howitzer.dk

Bjoern
PvtParts
_VISITCOMMUNITY
New Jersey, United States
Joined: June 18, 2003
KitMaker: 1,876 posts
AeroScale: 0 posts
Posted: Monday, June 21, 2004 - 11:01 PM UTC
Im by no means an expert on Wind Beaters, but, This one looks very nice. For a first effort you did yourself proud. Really like the interior detail.
Petro
_VISITCOMMUNITY
Connecticut, United States
Joined: November 02, 2003
KitMaker: 984 posts
AeroScale: 0 posts
Posted: Monday, June 21, 2004 - 11:20 PM UTC
Damn, nice instrument panel. Is that a decal or just some very careful painting?
clausen
_VISITCOMMUNITY
Fyn, Denmark
Joined: May 03, 2003
KitMaker: 449 posts
AeroScale: 0 posts
Posted: Monday, June 21, 2004 - 11:27 PM UTC
Thanks for the comments!

Petro, I painted panel... And yes it took some time!
Sensei
_VISITCOMMUNITY
Belgrade, Serbia & Montenegro
Joined: October 25, 2003
KitMaker: 1,217 posts
AeroScale: 28 posts
Posted: Monday, June 21, 2004 - 11:31 PM UTC
I like this birdie a lot... im also having one of theese birdies back in the box somewhere in my room... your work makes me wanna find it and "take a look at it again..."


cheers
LogansDad
_VISITCOMMUNITY
North Carolina, United States
Joined: March 30, 2004
KitMaker: 938 posts
AeroScale: 109 posts
Posted: Tuesday, June 22, 2004 - 04:17 AM UTC
Clausen, that is one beauty of a Mixmaster you've got there. Must be very impressive size-wise being 1:35!
Was it your intention to post in Rivet Review? This forum is intended for critiques of unfinished models, and by your thread title you are counting this as completed.
Since It is here, would you like a bit of a constructive critique? I have a few Items I've noted that you can consider...
1. For the (very well executed) weathered & faded state of your huey's exterior, the Crew compartment looks, well, 'Factory Fresh'. As an aircraft mechanic, several areas that would show wear leap to my attention: Cabin floor,crew seats, pilot & copilot seat armor should all show lots of obvious paint wear & chipping. The ctrl. pnl. support bulkhead btwn. the pilot & CP got all hell kicked out of it during ladout & flight. All of these areas would have a layered look, with they grey paint giving way to green primer, then 'frosted' aluminum, and lastly highly polished aluminum in high use areas.
The ctrl pnl would be smudged up around the instrument bezels, with tooling marks anthumb prints at all switches & levers. This goes double for the center console.(though it's so pretty it seems a shame to ding it up!)
Not too sure about Army, but even in peacetime it was very rare for our Marine Helo det. to have such clear perspex windows in our A/C. areas which "hazed" almost immediately were the Pilot &CP mains where their arms(& all the crap on their flightsuits) would rub. The side doors also got a lot of attention around the handles from some well meaning grunt( )
The tops of your skids, especially at the side & ckpt doors could use some scuffing & tooling marks- and the undersides... well, this thing Lands on 'em...
The insulation blanket in the cabin can get smudges at hip level, and all kinds of tiny rips and snags from the Crew's gear/ ammo cans.
2. Nice buildup on the Rotorhead, but were you aware that these things were almost comically multicolored?
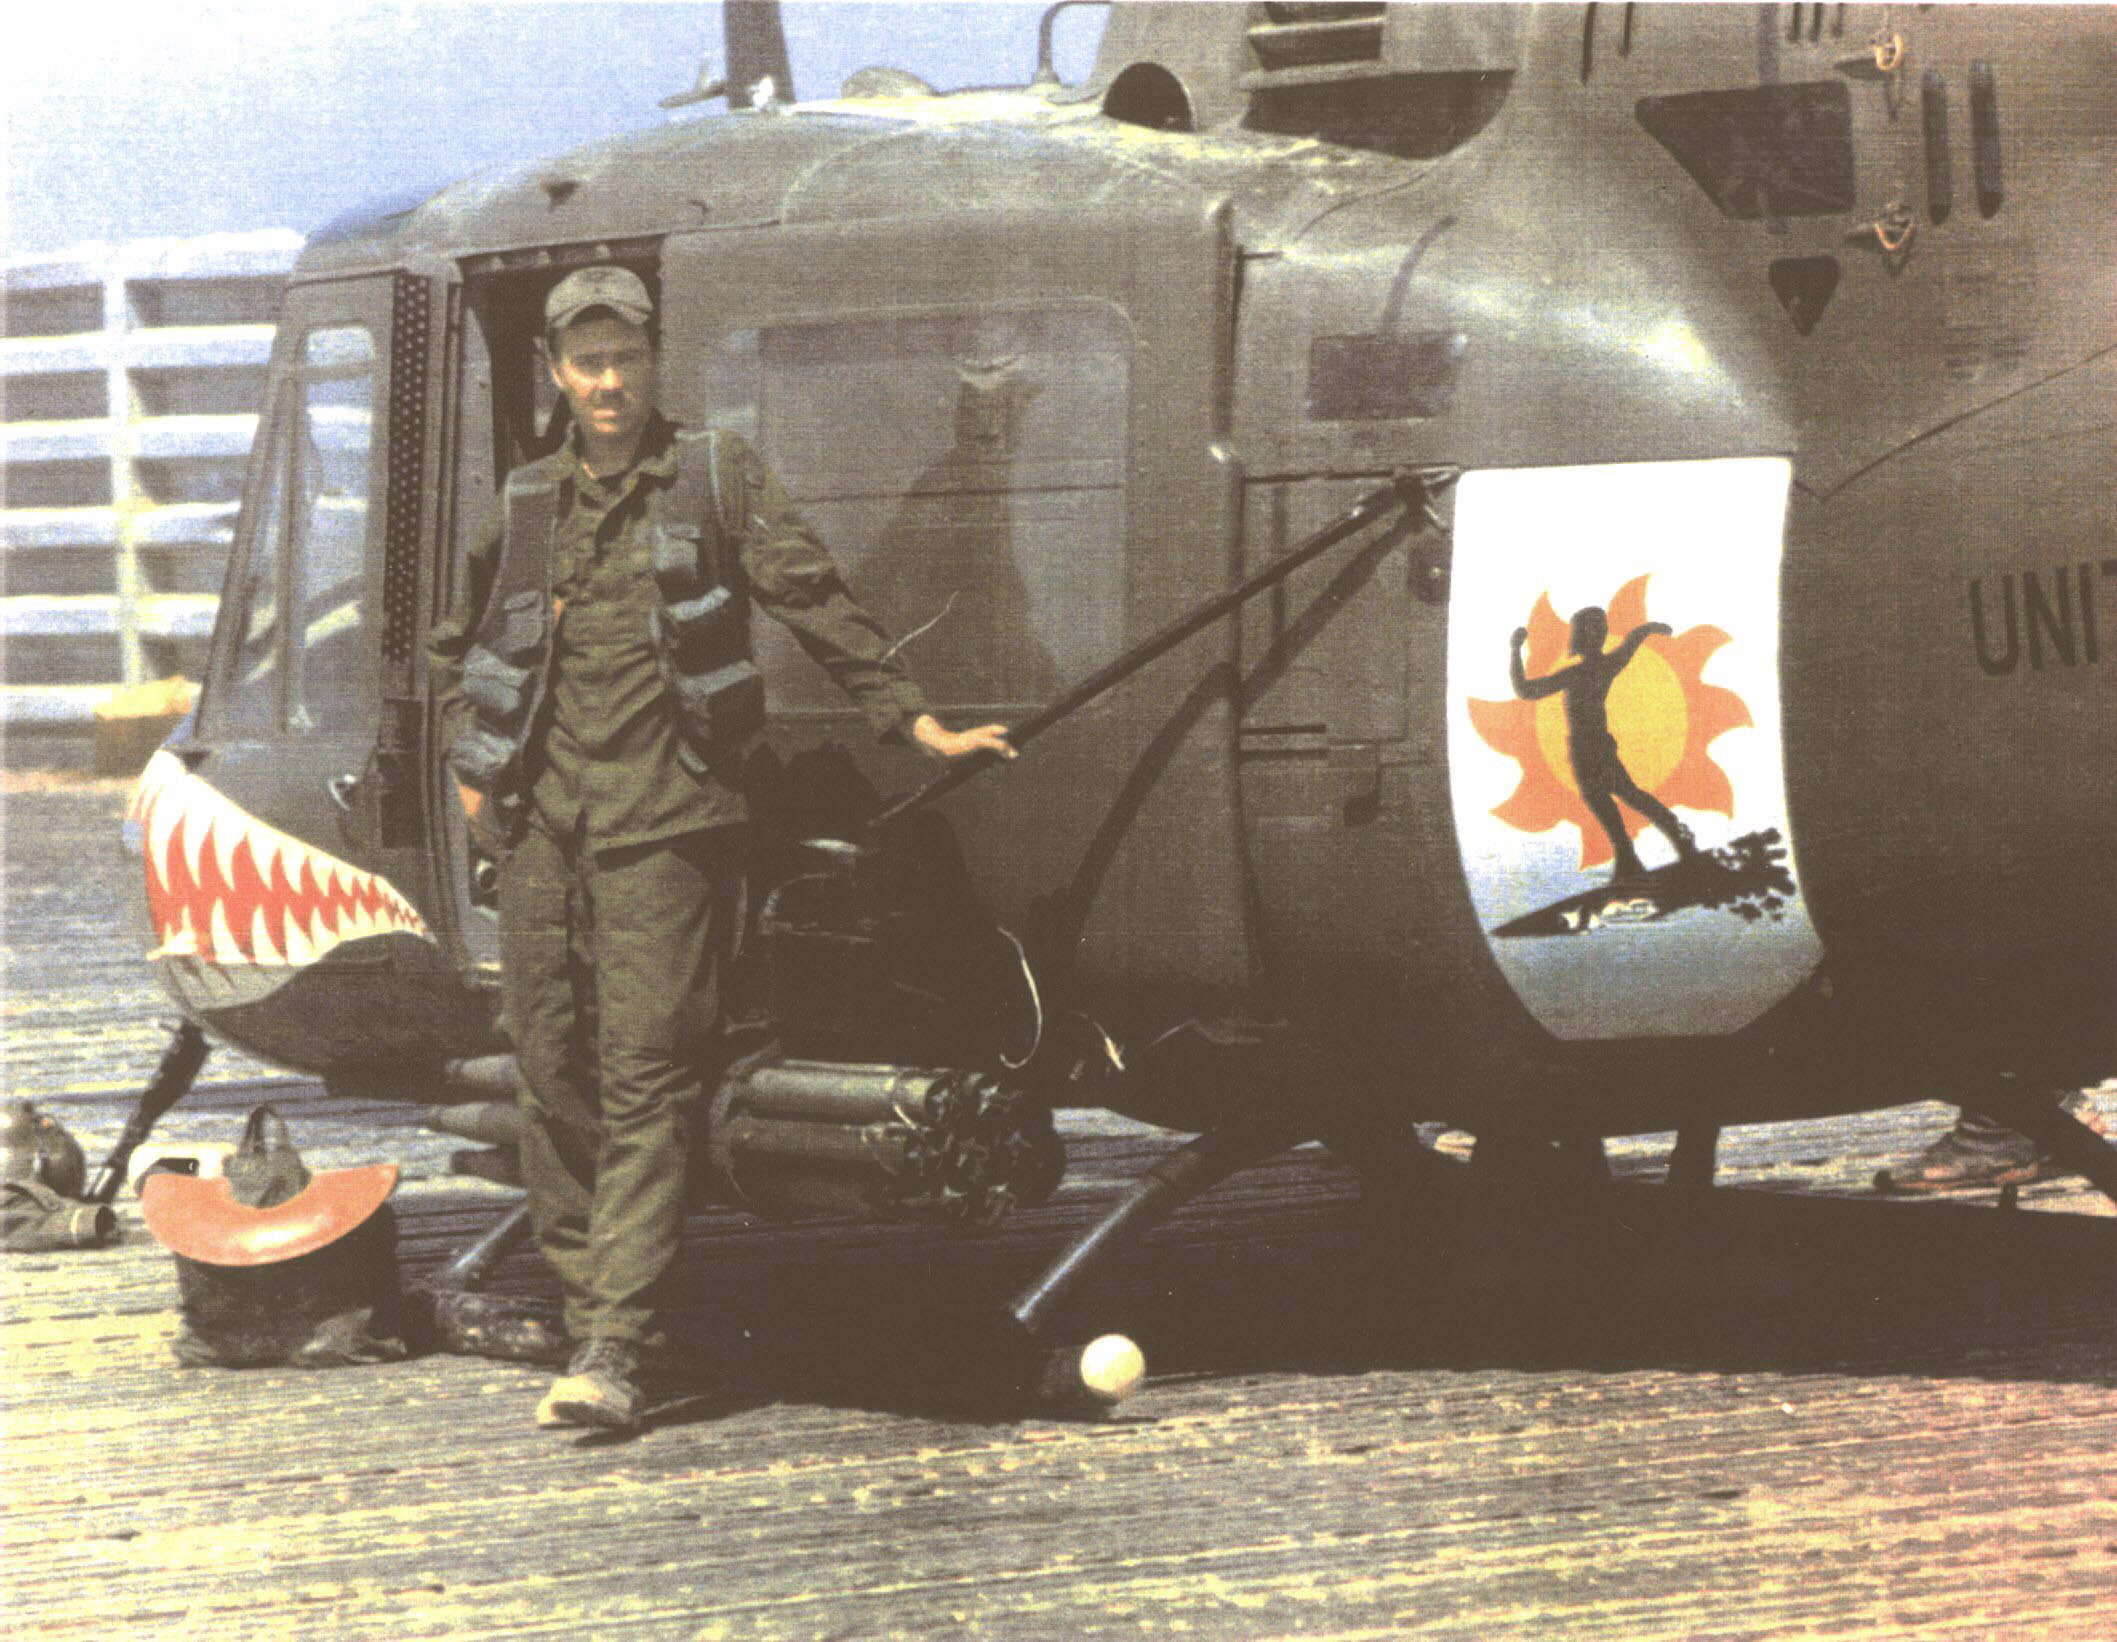
for just an example I'll point out your second pic of the real chopper. Notice th red stripe around the rotor mast? All of the dust boots (the ridged areas) on the rotorhead would be either this red or a sickly light green color. Counterweights were sometimes 'clown' colored as well. If you can't find any good color closeups of this area, I have some- unfortunately they're film, so I'll have to see If I can get them scanned & loaded...
3. The closer I look, it seems that some of your decals have silvered- especially the large 'ARMY' ones on the tail boom... solvaset might help, but If your basecoat hasn't been urethaned, you could kill that beauty of a finish... Archer Fine Transfers may make a set of letraset letters for this scale & font...
4. Remove that poster immediately!(and send it to my house!) Just kidding! great touch!
Whew! that's not a few points, it's a bloody novel! NO reflection on your fine work, just my tendency to go waaayyyy overboard with detail.
I hope I haven't bothered you with my Critique, just thought you might like a little more (o.k., o.k., a LOT more) info. In all, a very pleasurable model, and I wish you much success in the future!


ShermiesRule
_VISITCOMMUNITY
Michigan, United States
Joined: December 11, 2003
KitMaker: 5,409 posts
AeroScale: 0 posts
Posted: Tuesday, June 22, 2004 - 05:23 AM UTC
Nice whirlybird you got there. I think than instrument panel is outstanding. That girlie poster is also a good touch.
Whiskey
_VISITCOMMUNITY
Texas, United States
Joined: May 30, 2002
KitMaker: 1,038 posts
AeroScale: 252 posts
Posted: Tuesday, June 22, 2004 - 06:51 AM UTC
I have read about that particular Charlie model on the 174th's website. It was a good looking bird and Im impressed with your rendition of it.
bracomadar
_VISITCOMMUNITY
Arkansas, United States
Joined: March 01, 2003
KitMaker: 410 posts
AeroScale: 0 posts
Posted: Tuesday, June 22, 2004 - 09:02 AM UTC
That's a nice looking poster, oh wait, there's a helicopter attached to it :-) This is a great looking kit you put together. I agree with LogansDad, the inside needs some wear and tear and the decals on the outside need some extra attention (I never can get decals right myself). That's a very nice paint job you did there. You did a really good job on your homework too. What kit was this, Academy?
clausen
_VISITCOMMUNITY
Fyn, Denmark
Joined: May 03, 2003
KitMaker: 449 posts
AeroScale: 0 posts
Posted: Tuesday, June 22, 2004 - 07:27 PM UTC
LogansDad, thank you for the very constructive comments! - I'll try to look at the things you pointed out! You are right the interior looks to clean and new! - Although the original helicopter only served for about two months before it was shot down. (As far as I remember!)


Bjoern
USArmy2534
_VISITCOMMUNITY
Indiana, United States
Joined: January 28, 2004
KitMaker: 2,716 posts
AeroScale: 246 posts
Posted: Wednesday, June 23, 2004 - 02:03 AM UTC
In the general scheme, two months is nothing for birds that were used for years, but two months in a combat zone, especially one that was seeing combat in Laos and Vietnam, is a long time.

However be, proud that you finished your model. I put my Hasagawa 1/48 SH-3D/H Sea King (the company never did figure out which version it wanted to model; hence the reason and frustration I put it away). I swear, its those dang rotors.
Makrel
_VISITCOMMUNITY
Denmark
Joined: June 20, 2004
KitMaker: 102 posts
AeroScale: 3 posts
Posted: Wednesday, June 23, 2004 - 04:44 AM UTC
Nice one Clausen.

Did you have any problems with the build op or was it a click together.

clausen
_VISITCOMMUNITY
Fyn, Denmark
Joined: May 03, 2003
KitMaker: 449 posts
AeroScale: 0 posts
Posted: Wednesday, June 23, 2004 - 07:24 PM UTC
As this was my first helicopter ever... I had several problems with the build! - I normally build modern AFV's, and have done so in several years. When I build an AFV, I know what to do, and not to do, because of my experience!

I think the kit is excellent, but I made the job harder for my self than necessary!

This was one the reasons why I lost the motivation quite fast, and the model were put back in its box, and stayed there for over a year!

But I think I'll try another 1/35 heli kit one day... You know, learning by doing!


Bjoern
Major_Goose
_VISITCOMMUNITY
Kikladhes, Greece / Ελλάδα
Joined: September 30, 2003
KitMaker: 6,871 posts
AeroScale: 0 posts
Posted: Thursday, June 24, 2004 - 08:06 PM UTC
Well done my friend . U have done a very very very good job, and having build this very same kit fro the DFA campaign i have to say that u ve done it very very good. i like the detailed interrior nice painting and the whole picture.
I agree on whats presaid about a bit more weathered look both inside and outside cause i ve seen these birdies even loaded with soil !!!! so they were abusing them a lot ..
Just some thickness on the eye decal is shown but i have experienced but decals from Academy so i know its not your fault .

Very good work i like it very much
BRAVO

COSTAS
clausen
_VISITCOMMUNITY
Fyn, Denmark
Joined: May 03, 2003
KitMaker: 449 posts
AeroScale: 0 posts
Posted: Thursday, June 24, 2004 - 10:18 PM UTC
Thanks Costas!

I remember your UH-1C! - It actually helped me getting motivated to start this project, after some time in the box!

Wasn’t it that model of yours, that was destroyed by a snowball...? And you had to rebuild the whole thing!

Bjoern
 _GOTOTOP