Nice job, I too love the Corsair, this makes me want to start the one I have in my stash

Just a couple of observations:
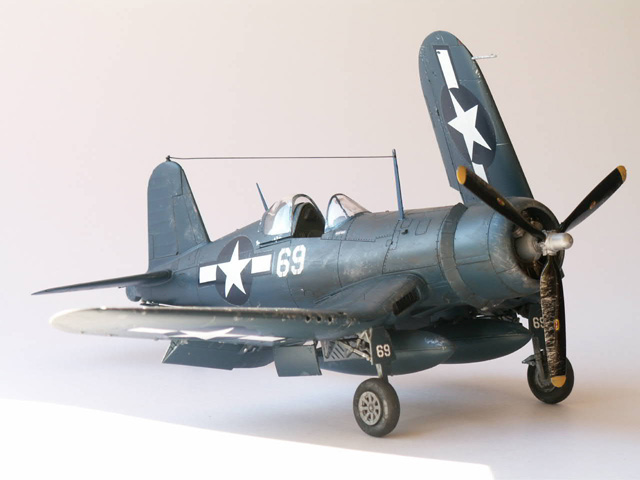
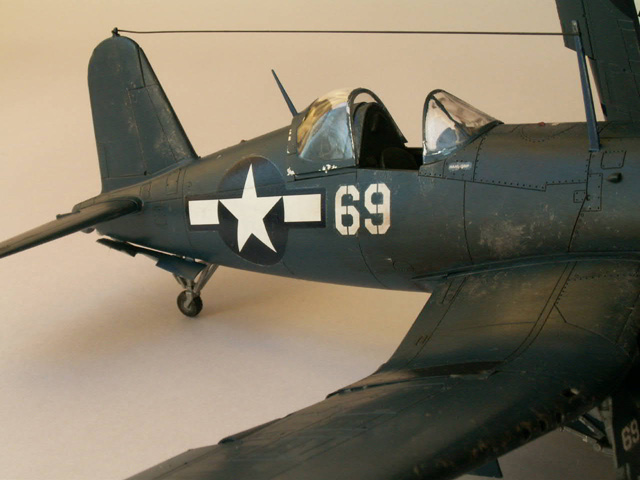
Must agree with Steve, the antenna wire is to thick, I use smoke coloured invisible mending thread (You can see the effect on my Corsair F4U-1 in the Gallery). It looks like you have glued the wire to one side of the fin post and forward antenna? An equally easy, but more convincing way to show this is to drill a 0.2mm hole through the fin post and, using a triangular file, file an indent into the top of the forward antenna. Draw your invisible thread through the fin post, until near the end. Add a drop of CA to the end then pull through until the end just disappears. Pull taught (not too much) lay in the groove of the forward antenna, keeping the tension and add a drop of CA, hold until dry, or use kicker. Cut of the end. On my Corsair I went a little further and added a ring at the fin post, this is even more prototypical.

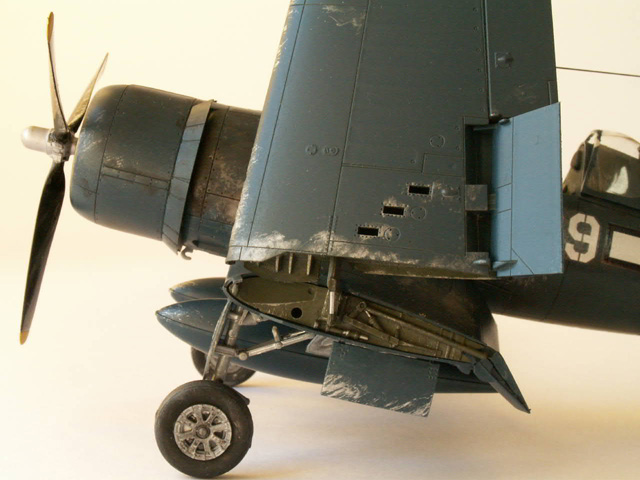
You obviously realised about the paint chipping on the props, an easy mistake. To know which way they turn think about them as wings, which is what they are. The thickest part will lead.
Got to agree with Keith, the decals look a bit to clean. Remember these markings were actually painted on and so would weather along with the rest of the aircraft. To achieve this the decals would have to be applied before weathering begins. This can of course present more problems, in that the decals can get damaged in the process. To prevent this happening I apply the decals then cover with a couple of coats of Klear (Future in the US) floor polish. Any clear varnish will do, as long as it is impervious to any weathering you carry out, such as oil washes.
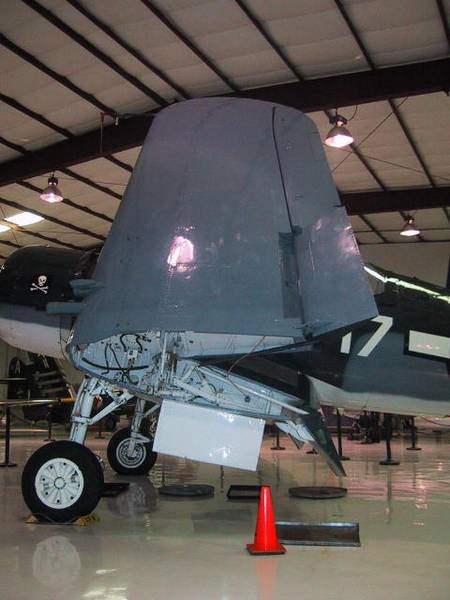
When weathering the Corsair be aware of the fabric covered areas. Part timer mentions the rudder but on the Corsair about a third of the wing is fabric covered as well. My point is that fabric areas weather differently to metal areas, basically they would appear a little lighter. Of course you don't have to do this but it can be achieved by dry brushing (if you do decide to do it be very subtle). I achieved it by masking off the metal panels, including the screws, and over spraying with a very diluted and light mist coat of medium sea grey.
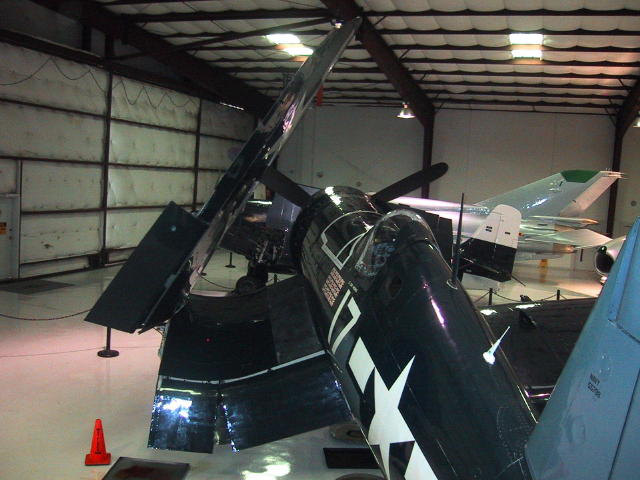
On the second picture the folded wing appears not to be pushed fully home? I could be wrong because on the last pic it seems to be correct. I know when I test fitted mine one of them was a little tight, so I carefully sanded the arm and kept test fitting until it went on. I achieved a nice tight fit but it was a bit traumatic because this is quite weak. I also notice that you haven't fitted the support bracket for the folded wing, again your call, but it does add strength and a little colour. I painted mine yellow
I think the star and bar decal on the folded wing is back to front?
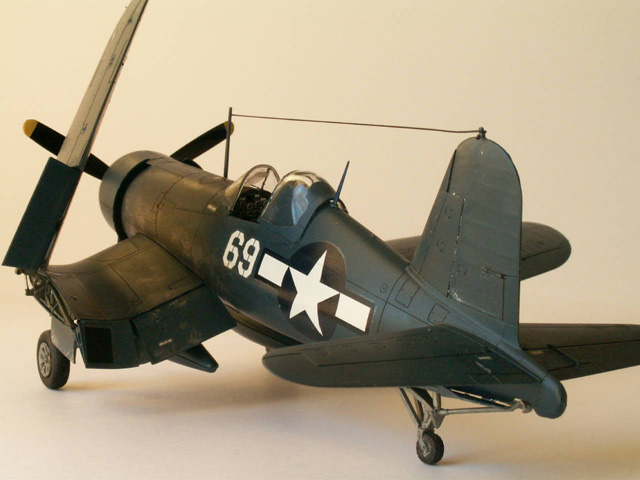
From what I can see of the engine it looks good. The tyres look good, but I can't tell whether you have painted them black or dark grey. Tyres (IMHO) look best if painted dark grey. It looks as if the separate wheel centres are not quite pushed far enough in. This is probably caused by flash around the ejection rod indents, on the rear. I got around this by simply sanding the backs of the wheels until they went fully home. Apart from that the undercarriage looks spot on.
The canopy looks nice and clear, what did you use to mask it?
OK, I hope you don't feel that I have been to harsh. I have tried to offer solutions to a few minor things that I feel could be improved. Still a very nice model of a wonderful aircraft, thanks for sharing :-)
Mal


 .
.